• Please visit and share your knowledge at our sister communities:
  • If you have not, please join our official Homebrewing Facebook Group!

    Homebrewing Facebook Group

Show us your sculpture or brew rig

Homebrew Talk

Help Support Homebrew Talk:

This site may earn a commission from merchant affiliate links, including eBay, Amazon, and others.
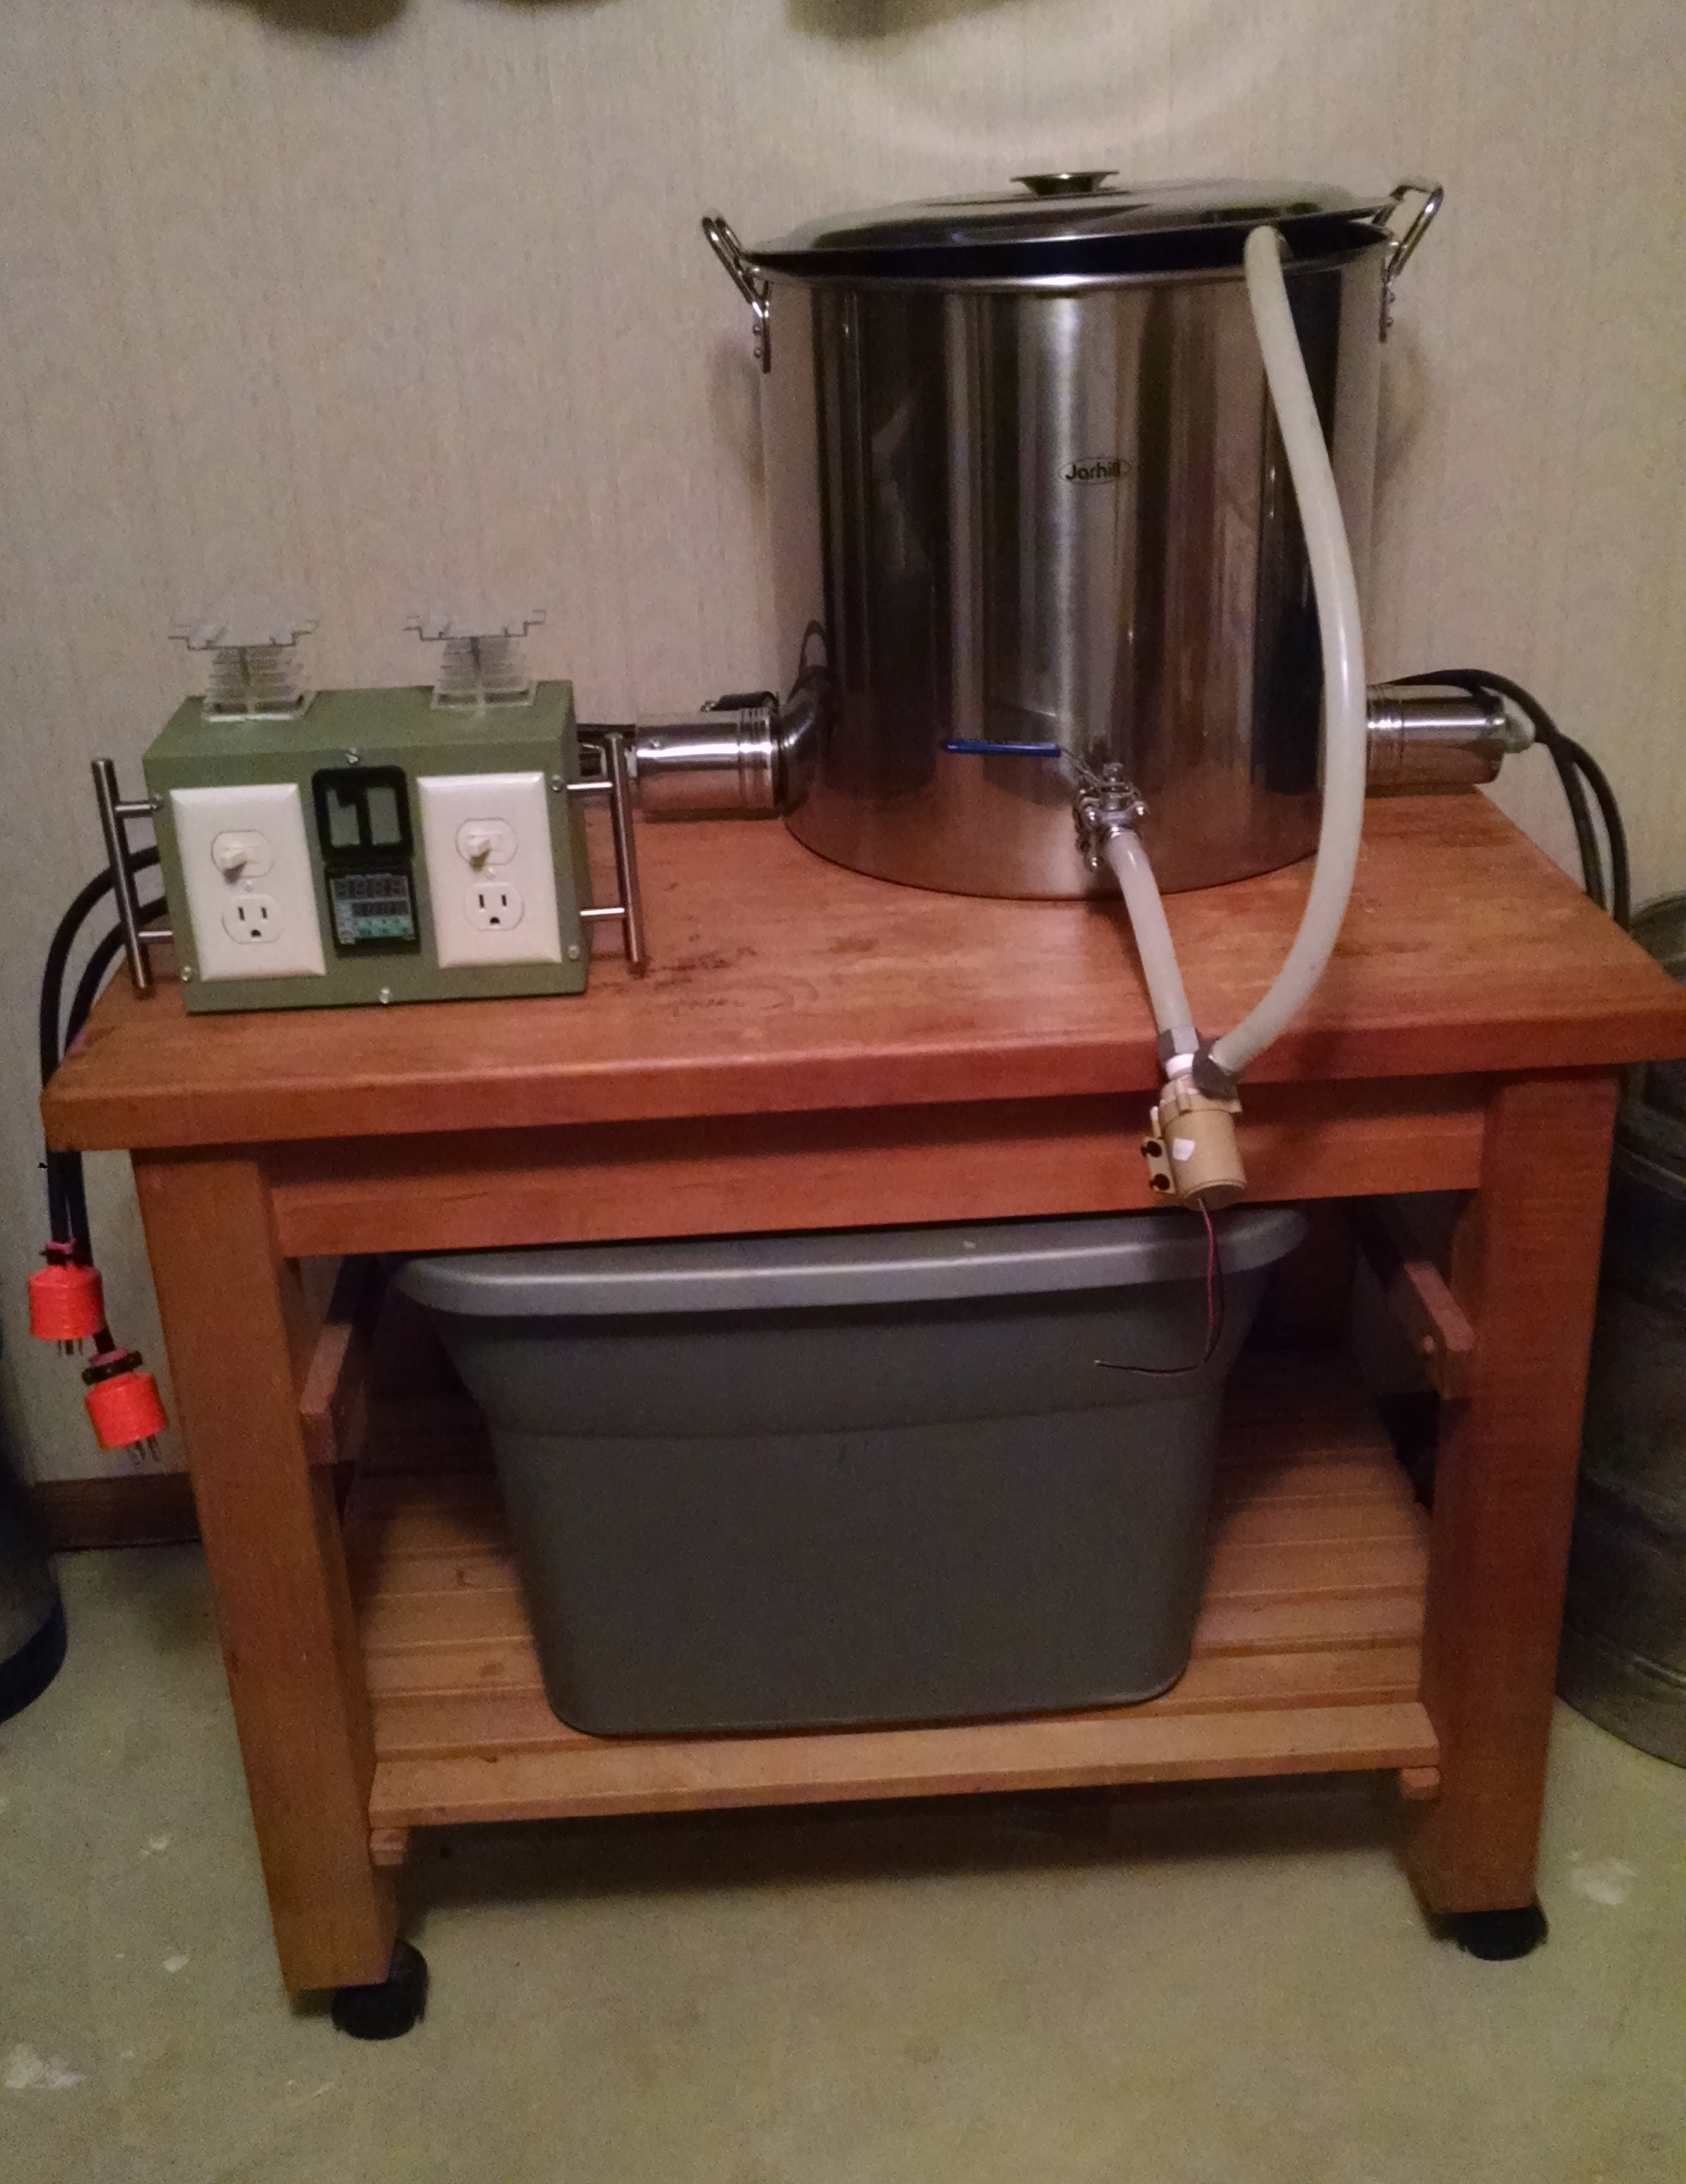
I like the simplicity of it and the fact that you accomplished it with 110v power!

I work as a mechanical design engineer and I cant leave good enough alone. I am scrapping my box and redesigning the control panel. It will be better / a little more blingy / a little simpler and more friendly.

The current green box was just a junk box i had laying around. Im going to have my new box have a laser cut stainless face and back plate, and a rapid prototyped plastic body.

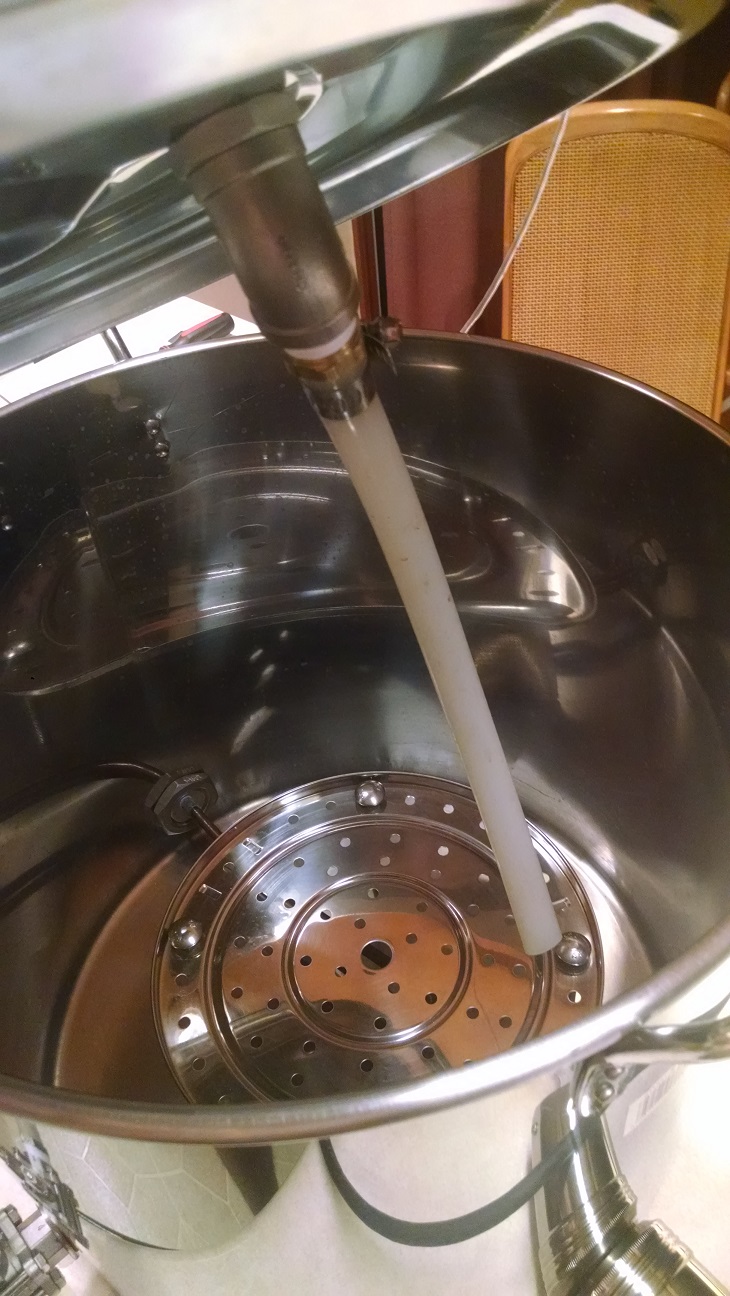
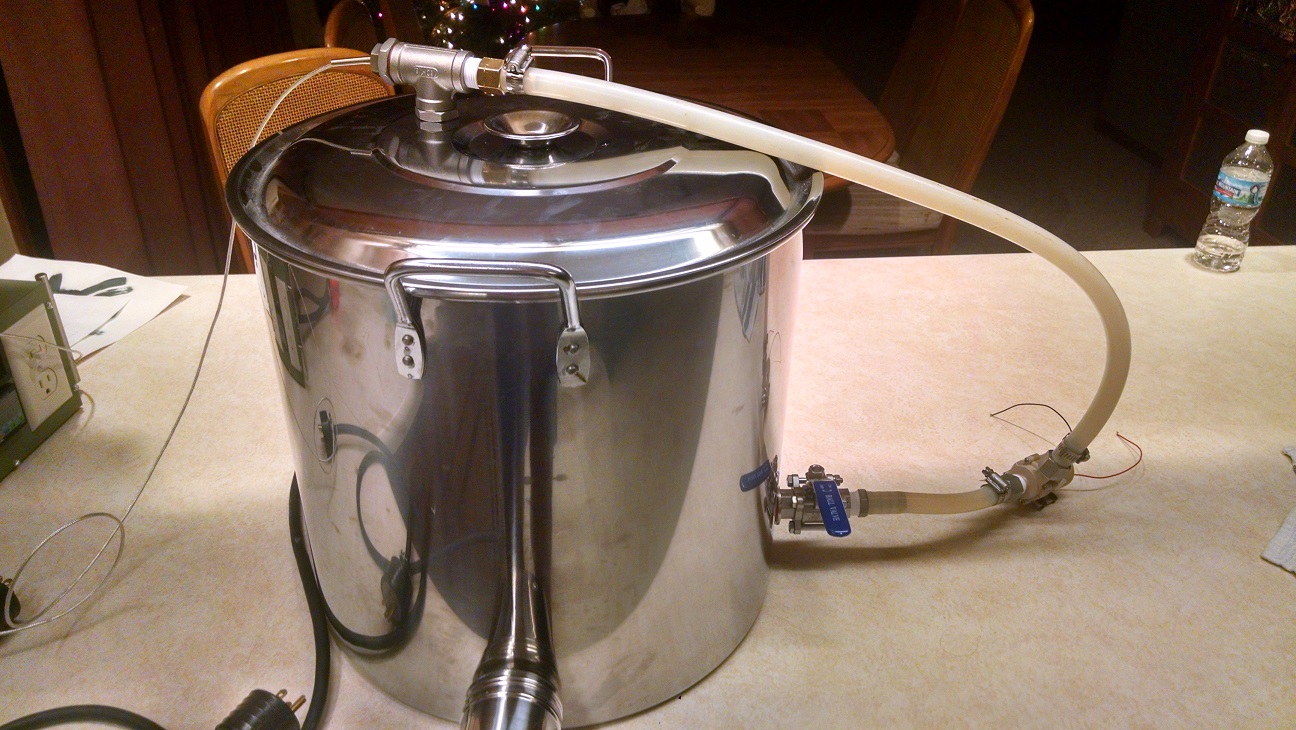
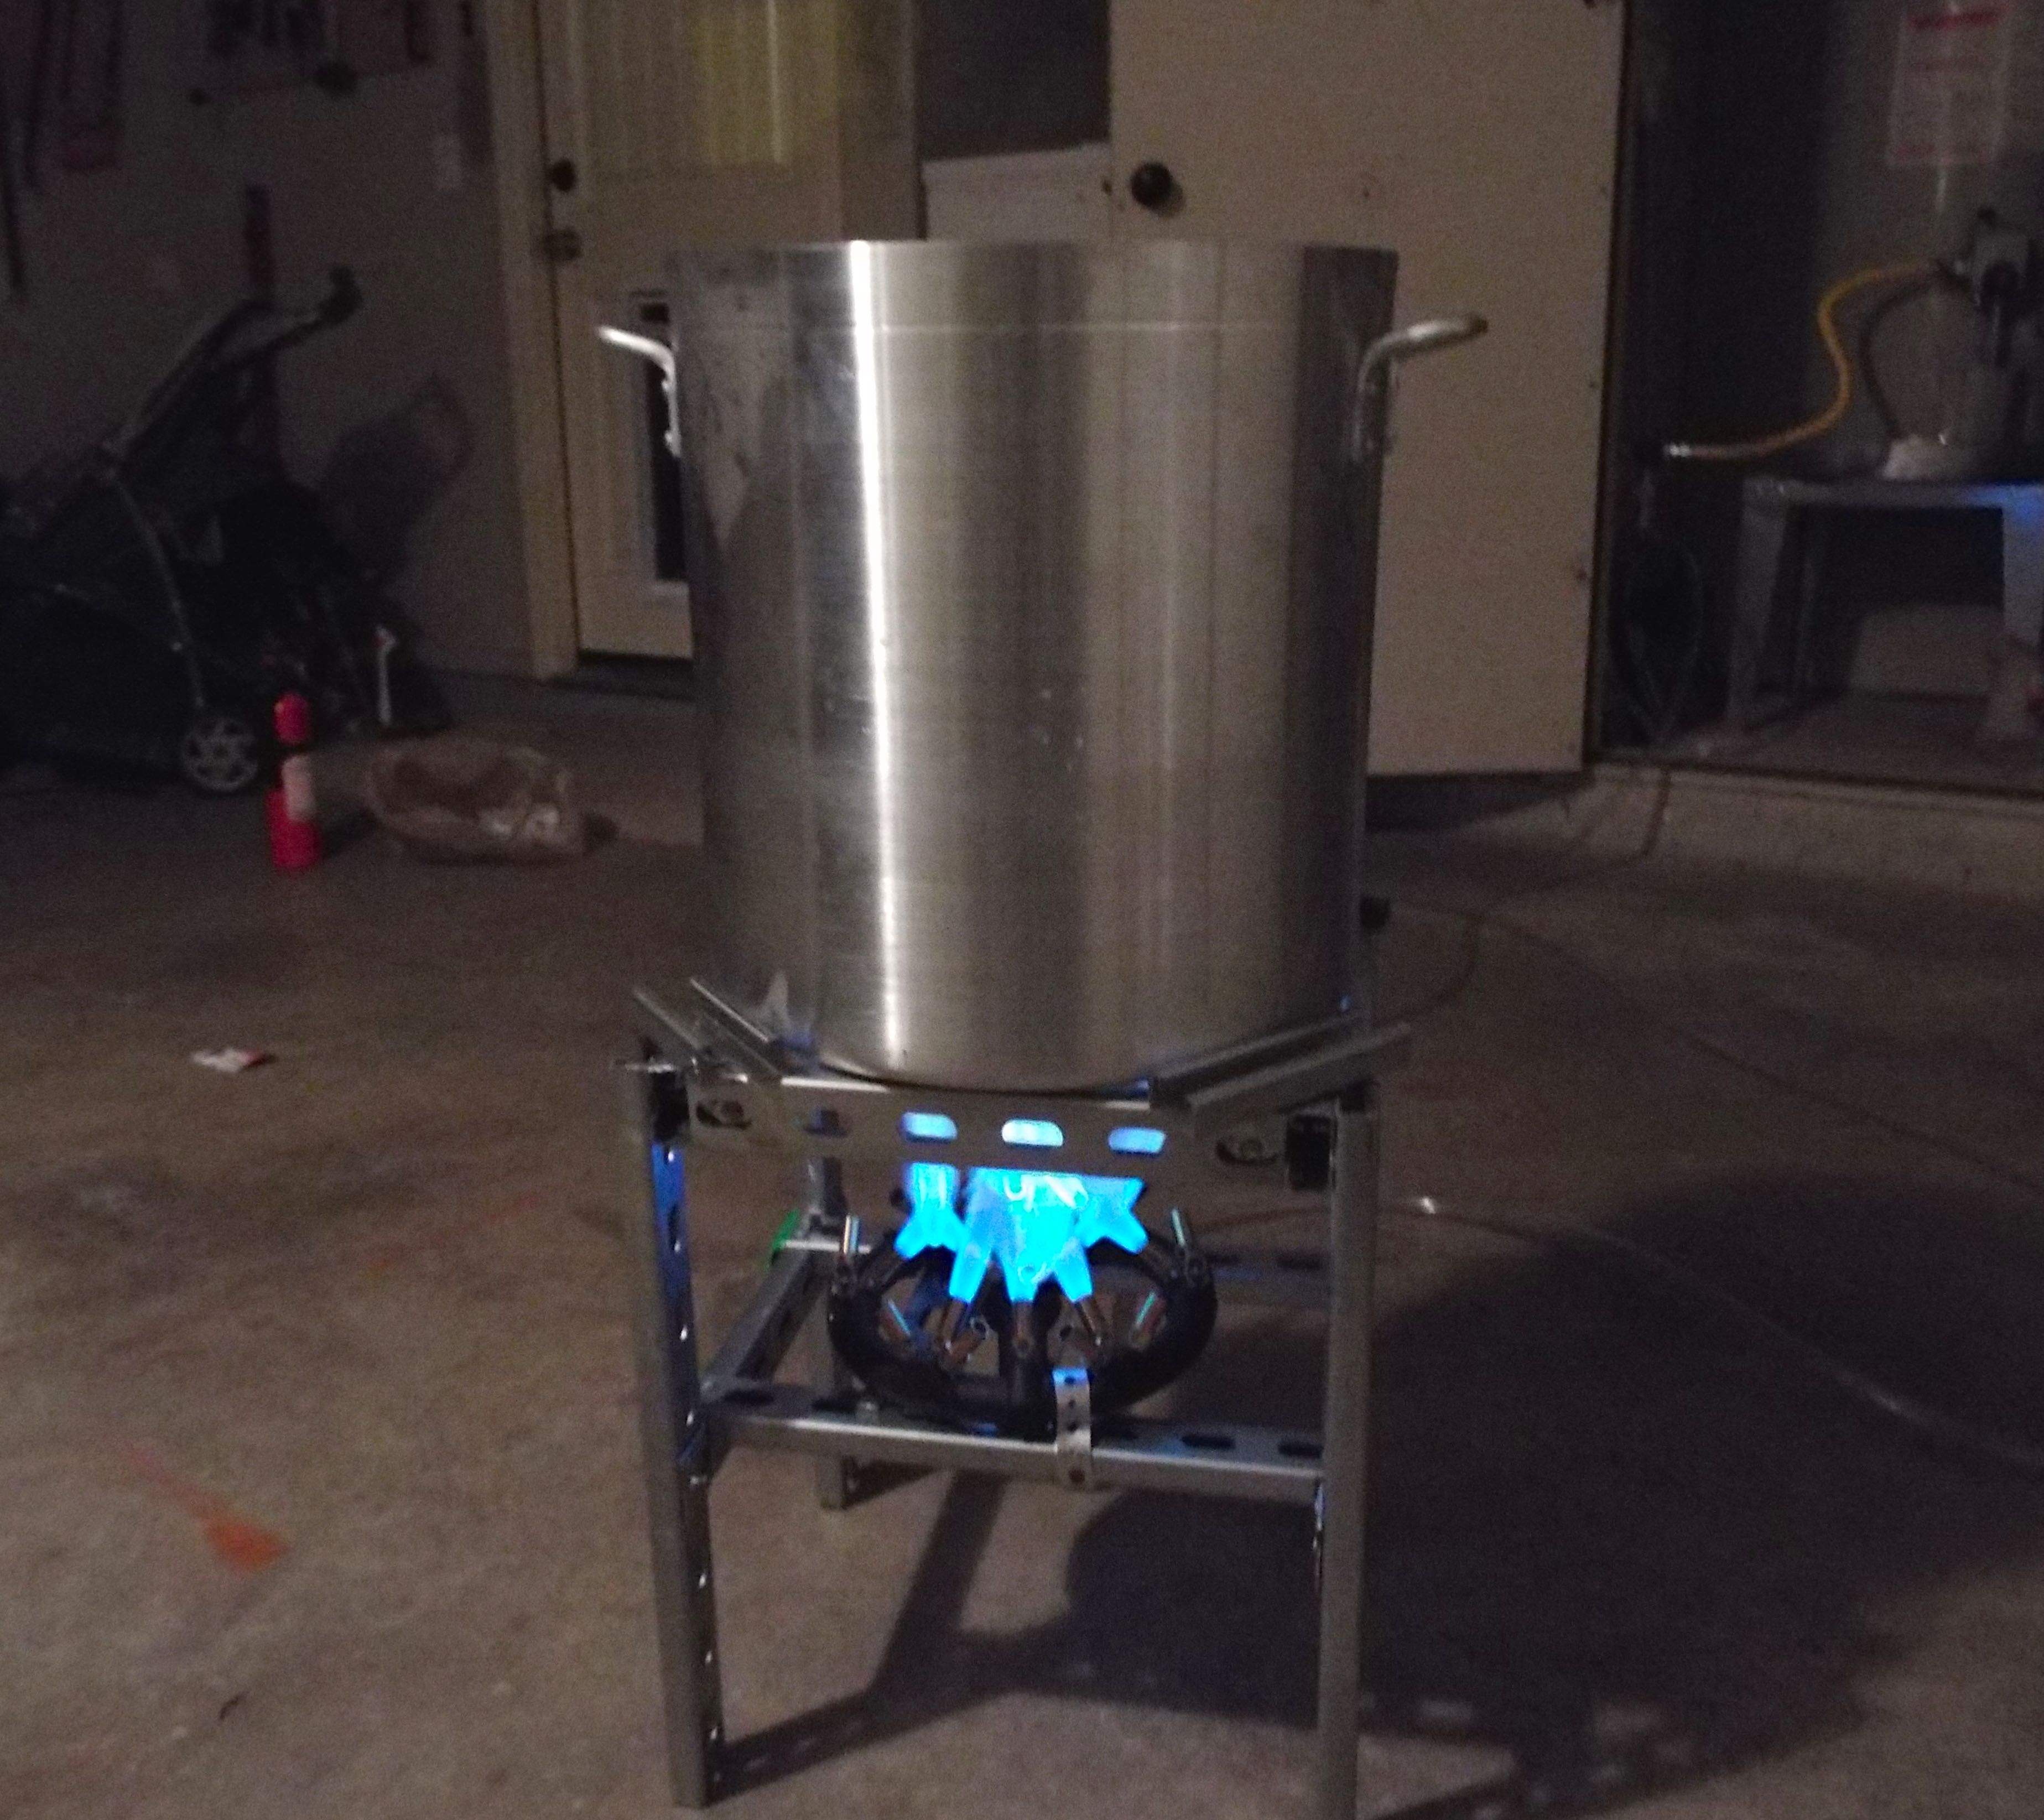
If theres intrest i can document the whole build. ( I am working on building the cad models for it right now ) .. I have made a few improvements to my vessel as well. So other than whast pictured there wont be any changes to the vessel... well i guess i might add a sight glass and wrap it in relfectix.

img_20141211_2229115711-64363.jpg

img_20141211_224410079_hdr-64364.jpg
 
For safety you need an additional shelf between the two you are using. Already leaning. These shelves hold an incredible amount of weight when properly assembled.


Agree. They are rated to around 700lbs evenly spread per shelf. I want to reassemble it properly outside with the shelves in a slightly different configuration which will give it more rigidity, do a test boil with say 5 gals water then finally assess whether more shelving is required to finish it.
 
Be careful with those stands. I tried using the "HDX" ones from Home Depot and even though the plastic clamps where lined up withe notches in the leg and the shelf wedged into tight, once a lot of weight was put on it the shelf actually still started slipping down the leg. The plastic on some models isn't as strong or the nub inside the plastic that is supposed to lock into the notch on the leg isn't sufficient. I imagine that once heat starts transferring throughout the metal shelf from the hot pots, it will soften the plastic even more.


Hopefully your shelves are better than the ones I had.


Thanks yeah I think there are different ratings of wire shelving, we use these for industrial purposes at work and they are pretty damn strong.
 
Be careful with those stands. I tried using the "HDX" ones from Home Depot and even though the plastic clamps where lined up withe notches in the leg and the shelf wedged into tight, once a lot of weight was put on it the shelf actually still started slipping down the leg. The plastic on some models isn't as strong or the nub inside the plastic that is supposed to lock into the notch on the leg isn't sufficient. I imagine that once heat starts transferring throughout the metal shelf from the hot pots, it will soften the plastic even more.

Hopefully your shelves are better than the ones I had.

Drill a pilot hole through the shelf corner loop and the leg and put a tek screw into it. It won't slip anywhere.
 
23 tip NG Chinese wok burner with 12 tips plugged. Stand made from strut. I was worried I wouldn't be able to keep a blue flame with it cranked down but it seems to work fine. I will probably add some sort of wind screen at some point.
38KNuxD.jpg
 
23 tip NG Chinese wok burner with 12 tips plugged. Stand made from strut. I was worried I wouldn't be able to keep a blue flame with it cranked down but it seems to work fine. I will probably add some sort of wind screen at some point.
38KNuxD.jpg


That's a beast of a burner, I've been looking into those. How fast are you reaching your strike and boil temps?
 
Sneezye
I have three of the thirty+ tip NG burners I got for free. You think if I plug a bunch of the ports I can use them or ?
 
That's what I was thinking, each port seems to be set to light the adjacent port. I may try to convert my BG12 s first. Read on the forum where it had been done even though classic says it cannot.
 
Sneezye
I have three of the thirty+ tip NG burners I got for free. You think if I plug a bunch of the ports I can use them or ?

I don't know how the 30 tip is set up but if you only leave tips open that face other tips, it should work just fine. I only plugged the outside ring of tips and have no issues keeping the rest lit.
 
This is my brewery. There are many like it, but this one is mine.
My brewery is my best friend. It is my life. I must master it as I must master my life.
My brewry, without me, is useless. Without my brewery, I am useless.

Square1 - Dual Element 110v 6 gallon E-BIAB
img_20141207_125148536-64329.jpg

Your control box made my jaw drop! That contraption is art.
 
On the 23 tip burners there are 3 tips that aren't paired. I plugged those up and the burners seen to burn well using NG. Others even plug all except 10 tips.
 
Your control box made my jaw drop! That contraption is art.

It was an old bastardized box that had holes already cut in it. I literally just brewed with it yesterday for the first time. I've already decided I am going to scrap it and build a new blingyer panel. There was no point to control that second element. I'm just going to plug t in the wall and set my alarm on my panel.. When the temps up I'll unplugged and element 1 will maintain the mash.. When mash is done I'll put element 1 on manual 100%, and just plug element 2 back into the wall.

I'm designing the new panel in cad right now and hope to start a build thread in the next couple weeks.
 
Drill a pilot hole through the shelf corner loop and the leg and put a tek screw into it. It won't slip anywhere.

I already thought about doing that but since I am not using those shelves for that purpose anymore, I just didn't bother. I built my entire brew stand out of wood (I have an all electric setup).
 
Couldn't be happier with the final results of the brew stand, an early Christmas gift! Just a few more fittings on my boil kettle and I'm content.


update
 
This is my two teir single pump Herms system I designed and built with a good friends help. - decided to have it powder coated gloss black to showcase the copper clad burners. Designed to be universal, compact, and Mobil.

Has to many features to list - clean in place - big burners - flush mounted expanded metal shelfs - triangle in side another triangle to create an nice Illinois that make it seem smaller in size. Can fit kettles and mash tuns big enough to do 20 gallon high gravity beers. Shown with my 5 gallon set up. Due to tripod design allows my weber kettle to fit nicely.

Mashtuns up top gravity feeds
Pump is used to pump strike water / HeRMS/ then Finishes with sparge to clean Herms system in place.

I would put more pictures showing detail but can only do one per post I guess.

image.jpg
 
This is my two teir single pump Herms system I designed and built with a good friends help. - decided to have it powder coated gloss black to showcase the copper clad burners. Designed to be universal, compact, and Mobil.

Has to many features to list - clean in place - big burners - flush mounted expanded metal shelfs - triangle in side another triangle to create an nice Illinois that make it seem smaller in size. Can fit kettles and mash tuns big enough to do 20 gallon high gravity beers. Shown with my 5 gallon set up. Due to tripod design allows my weber kettle to fit nicely.

Mashtuns up top gravity feeds
Pump is used to pump strike water / HeRMS/ then Finishes with sparge to clean Herms system in place.

I would put more pictures showing detail but can only do one per post I guess.

That is a work of art! Looks like you put a lot of work into it. You can always start a build thread on it if you haven't already. Have you brewed on it yet?
 
I guess I can post a pic of mine finally. I started building in March, pretty much complete now and managed to brew on it for the first time yesterday. All went pretty good, but a little bit of a learning curve from my old gravity system. All-in-all, I was extremely happy with it. You can find all the particulars in my EHERMS build thread if interested (link in signature).

First_Sparge.jpg
 
Thanks Huaco, Love your system too. Did you ever use your inline O2 setup?

No. I was scared to have all those threads on the cold side of the boil... I have a stainless steel wand with a stone on the end. I had a buddy give me a HUGE medical Oxygen tank that he filled off his welding OXY bottle. I still run a HEPA filter inline on the oxygen line and I set my brewery timer for 90-120 seconds and stir the heck out of the wort while injecting 1 Liter/minute regulated oxygen. Works like a champ!
 
Thanks - I did put a lot into it - yes I have brewed multiple times - have not done a build thread - did not think of that.

Funny u should mention I am brewing on it right now.

Attached a close up of the welding detail on the shelves.

image.jpg
 
I guess I can post a pic of mine finally. I started building in March, pretty much complete now and managed to brew on it for the first time yesterday. All went pretty good, but a little bit of a learning curve from my old gravity system. All-in-all, I was extremely happy with it. You can find all the particulars in my EHERMS build thread if interested (link in signature).

Very impressive - :)
 
Thanks - I did put a lot into it - yes I have brewed multiple times - have not done a build thread - did not think of that.

Funny u should mention I am brewing on it right now.

Attached a close up of the welding detail on the shelves.

It looks like some very nice work. Did you do the welding/fabrication? You should definitely do a build thread. I know I enjoy seeing what others have done and how they did it. That's what helped me formulate the design of my system and gave me a lot of great ideas.
 

Latest posts

Back
Top