Nice Hex. Your location line says Ruhstaller. You affiliated with them? Are those your hops growing near Davis?
Yes to both. I auditioned for Ruhstaller and landed the brewmaster position last year. Turns out that they needed a brewery too, we are gypsy/contract brewing.
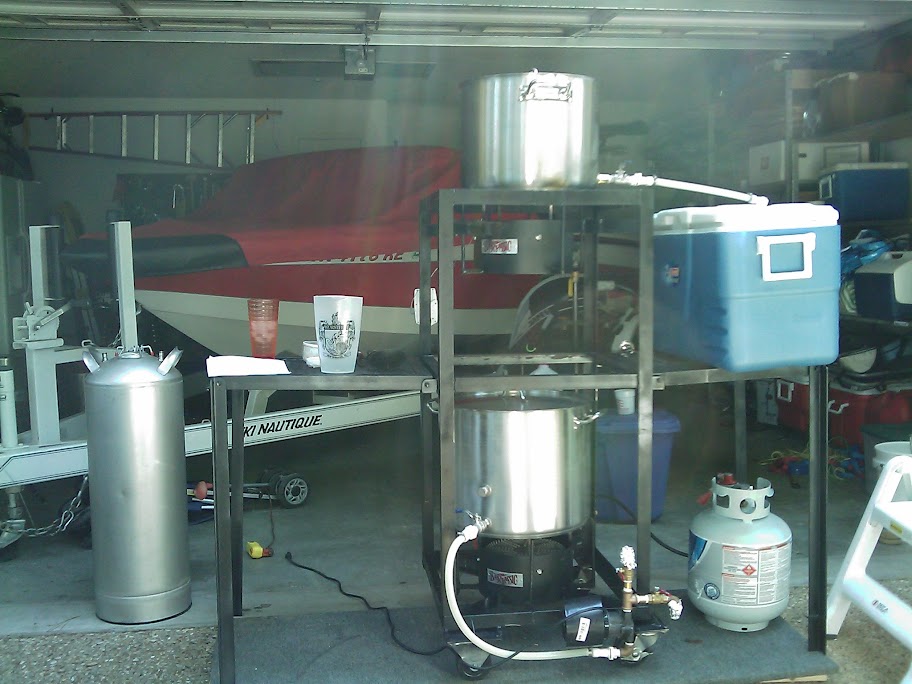
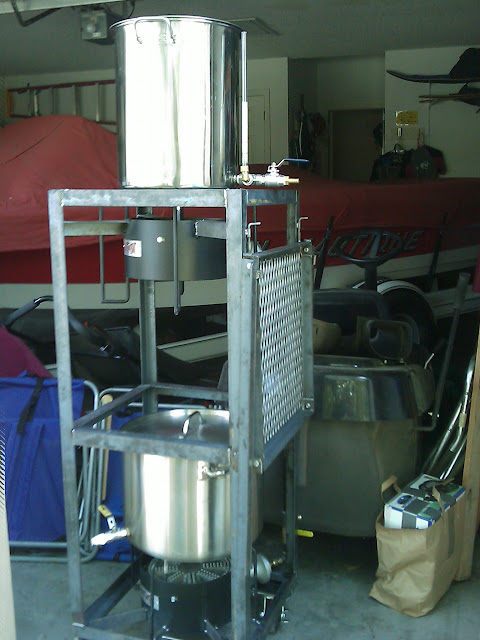
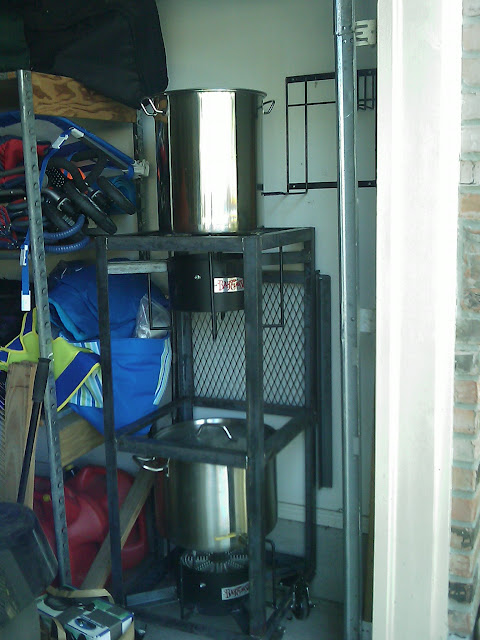
There were a lot of constraints on the design, mobile, no electricity and my rig worked out perfect. So I rent it to them, and produce double verses batches, and new recipes. I just finished my 50th seven gallon batch, a 12% Barleywine.
It's been a lot if work on a tight budget, but my invoices get paid, I get commissions for success, I'm being creative, and my name gets put on bottles of my signature recipes! We will grow, and I hope to help with design and process.
The hop field off hwy80 is actually our second, we started one in Winters on Sean McNamara's farm, Blue Heron. Ruhstaller has two great advantages, one we are superior marketers, two we are distributed by Tony's Foods. I'm looking forward to a full scale brewery, taphouse, and restaraunt in future, stay tuned!


![Craft A Brew - Safale S-04 Dry Yeast - Fermentis - English Ale Dry Yeast - For English and American Ales and Hard Apple Ciders - Ingredients for Home Brewing - Beer Making Supplies - [1 Pack]](https://m.media-amazon.com/images/I/41fVGNh6JfL._SL500_.jpg)


")