Dfitz
Well-Known Member
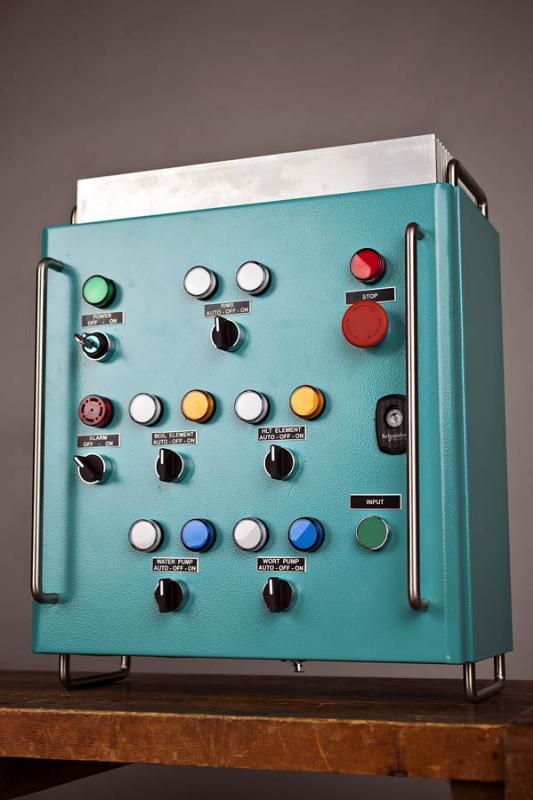
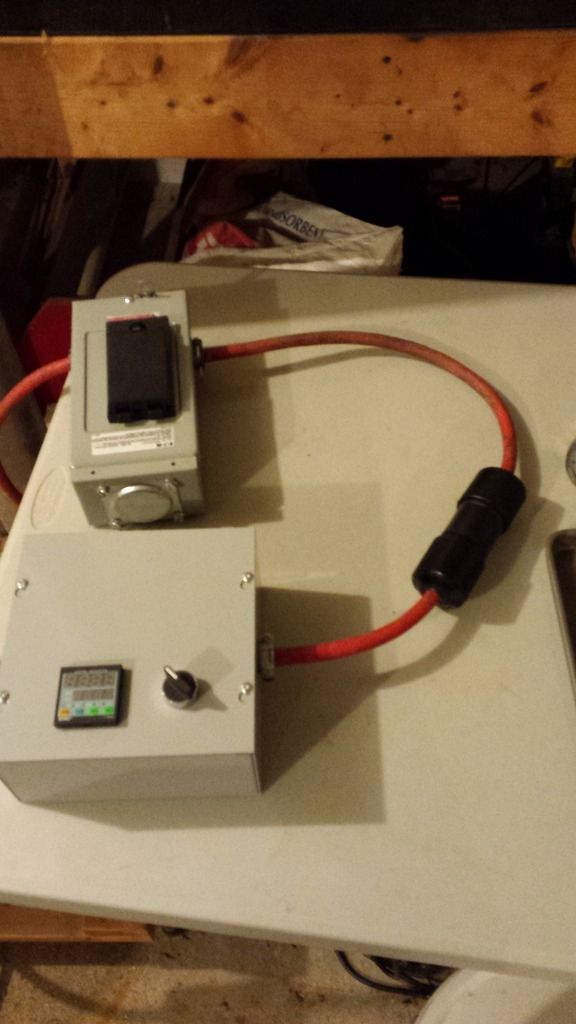
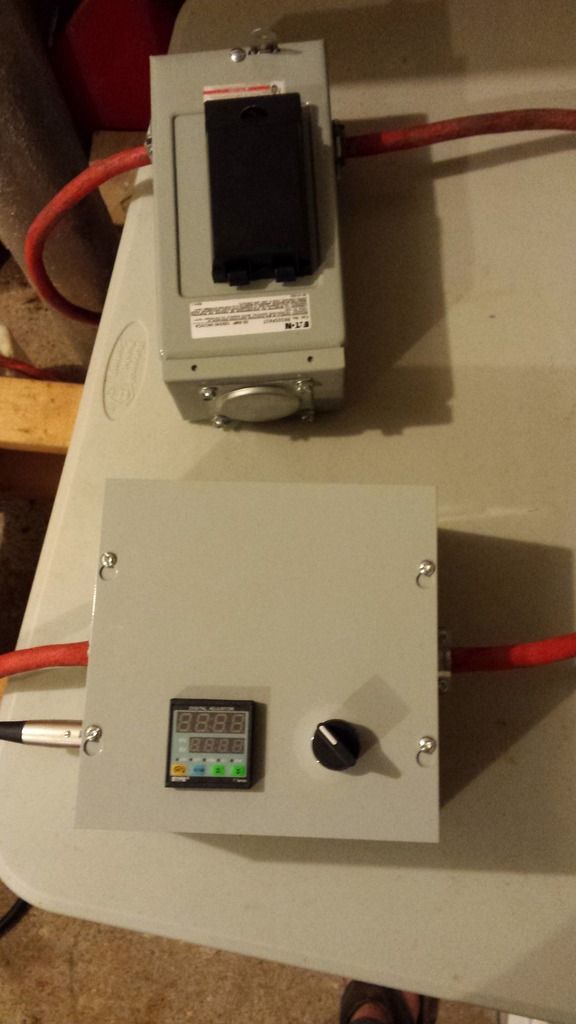
I call it Megatron. My double duty 50amp electric chair/beer brewer.


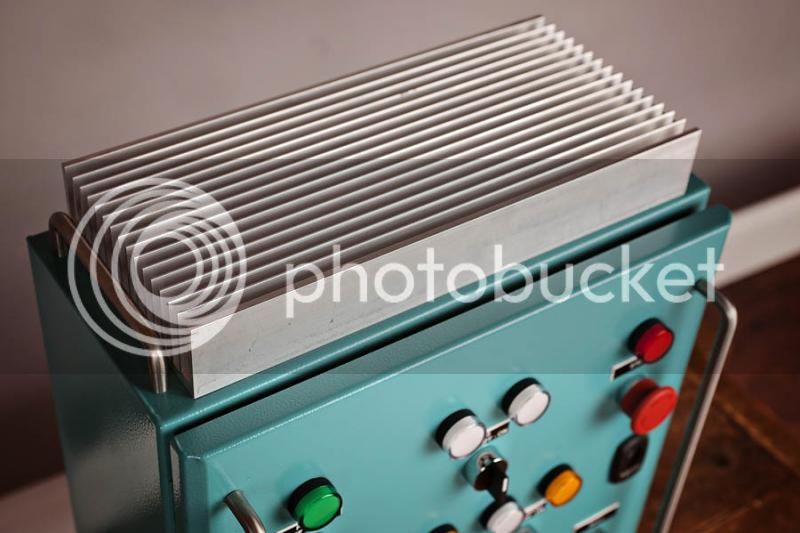
My updated panel. 3phase, 400v/16A (I live in Sweden, so the electric system differs from U.S)
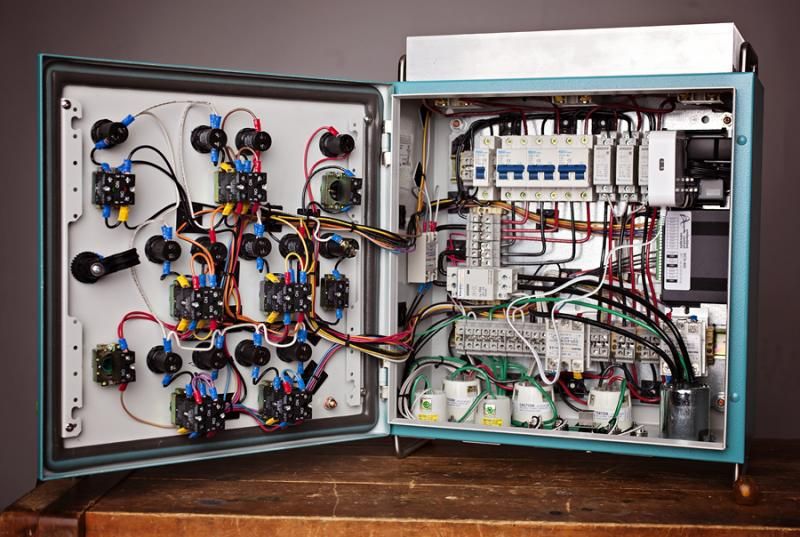
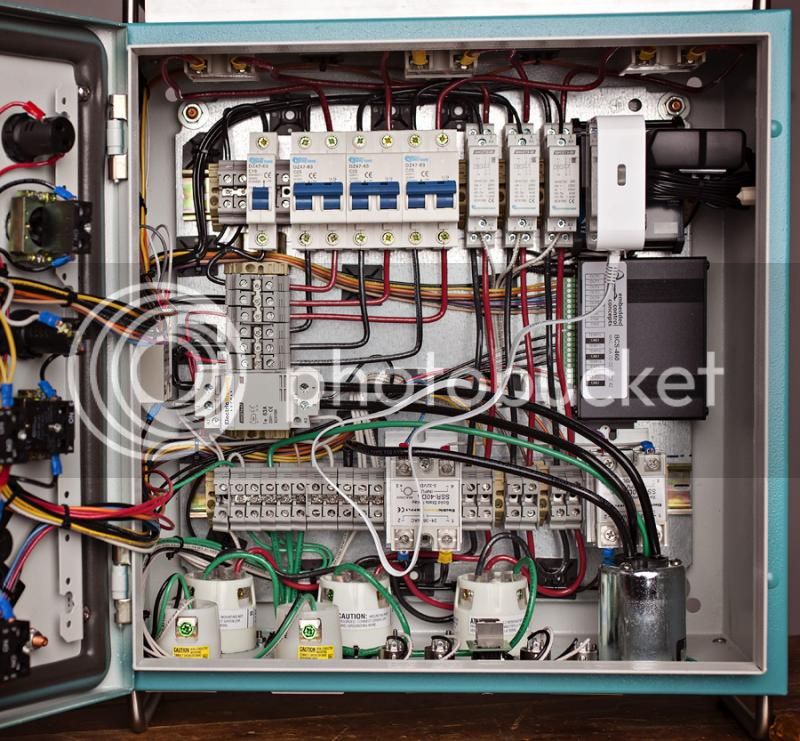
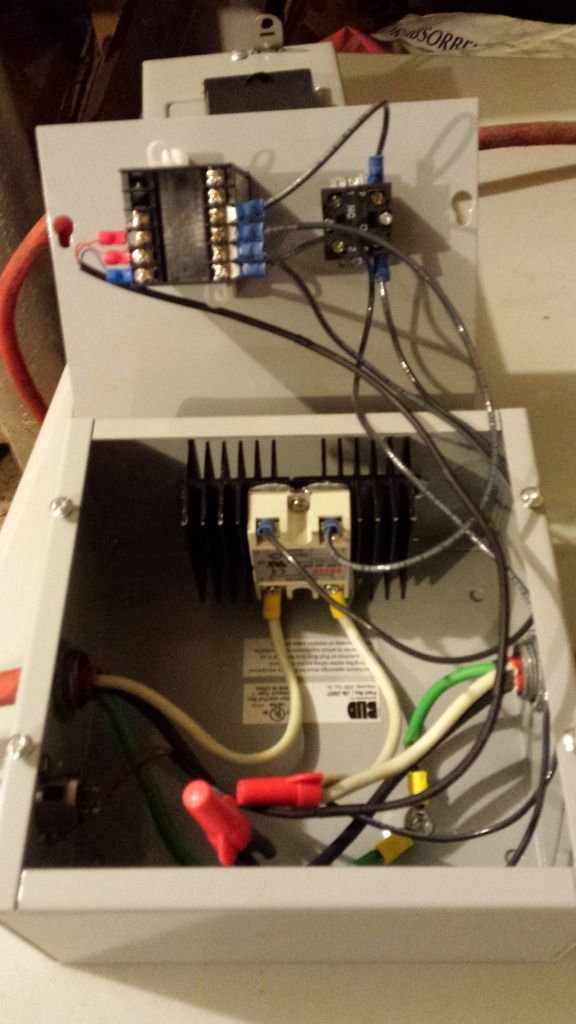
3 SSR with quite small heatsinks, but 2 fans makes sure that they stay cool.
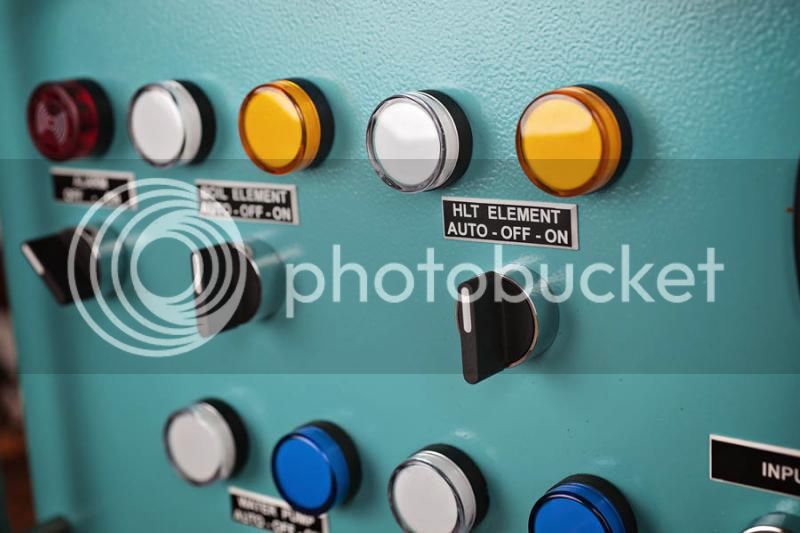
Dual outlet, one for HLT and one for the boiler. The on/on switch is used to choose if the PID or the "boil controller" triggers the SSRs.
Indivual Volt/Amp meters (one per phase)


You're one of the few people that turned the enclosure hinge horizontal. I was wondering why more people don't do this. I'm about to ouch holes in my build. I currently will only be running two PIDs, but if I wanted to add another it seems it would be easier since I can leave more space between them.
Just makes it slightly harder since you have to hold it open anytime you're in there.
I call it Megatron. My double duty 50amp electric chair/beer brewer.
I'm building a dual purpose controller for an "electric chair" too. [emoji78] What are all the pots on the bottom for? They look like analog voltage regulator controls, but that doesn't make sense since you've got the PIDs. I'm lost, but also impressed. Love your build.


![Craft A Brew - Safale S-04 Dry Yeast - Fermentis - English Ale Dry Yeast - For English and American Ales and Hard Apple Ciders - Ingredients for Home Brewing - Beer Making Supplies - [1 Pack]](https://m.media-amazon.com/images/I/41fVGNh6JfL._SL500_.jpg)


What about if the hinge was on the bottom?
Just make sure your wiring lengths are good to your front panel so when It swings down it doesn't rip any wires loose.


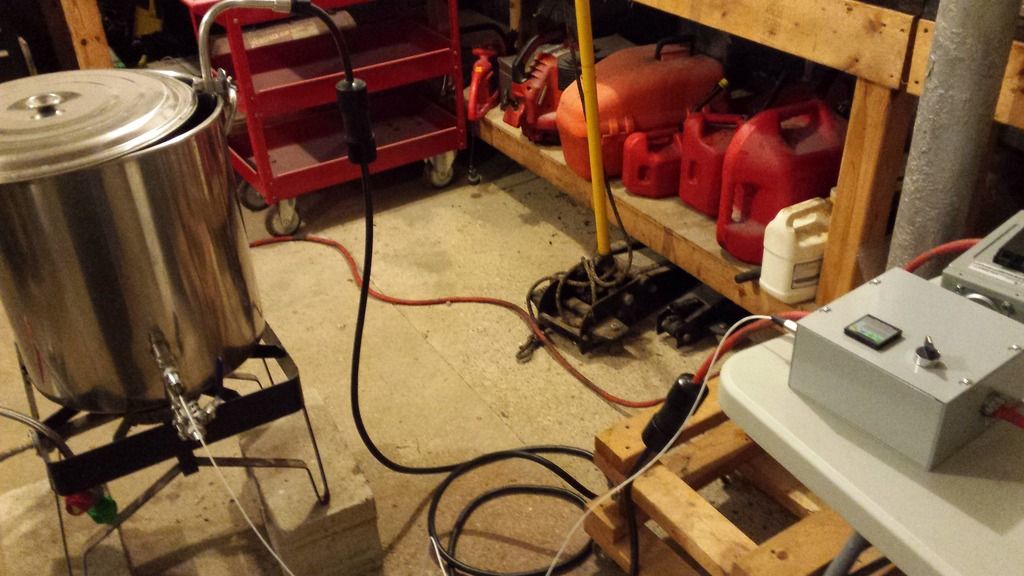
I am about 95% finished with my panel. Waiting on wire for the temp sensors. I built a brewery in my pump house. I will do a full write up on it after I get it up and running. Hoping to have the first brew in it next weekend.
I am about 95% finished with my panel. Waiting on wire for the temp sensors. I built a brewery in my pump house. I will do a full write up on it after I get it up and running. Hoping to have the first brew in it next .
That sticker looks pretty sweet.
I am about 95% finished with my panel. Waiting on wire for the temp sensors. I built a brewery in my pump house. I will do a full write up on it after I get it up and running. Hoping to have the first brew in it next weekend.


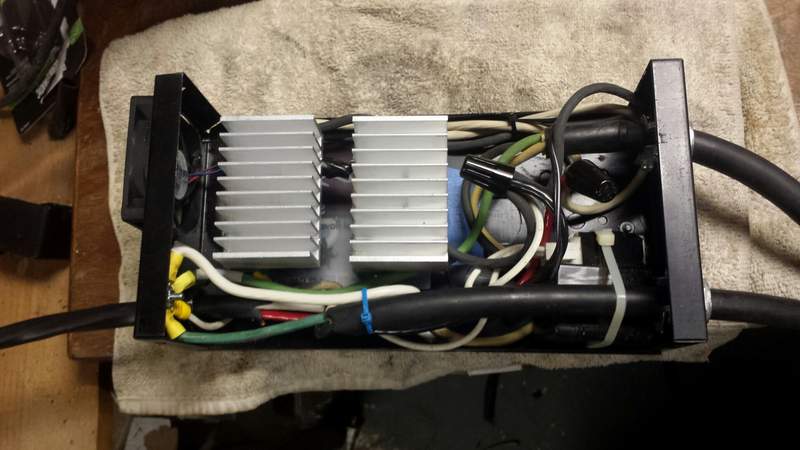
Are you planning on heatsinks for the SSR. I mounted this giant heatsink and it was barely warm after one hour of 2 elements running.
so with the switch its just 100% on? Why not just set the pid to something like 220 degrees from the beginning? it would accomplish the same thing without ever needing manual pwm mode. just curious.. I guess with the switch you could just leave the pid set at your mash temps and never have to adjust it?View attachment 374712 MyPin TD4 controlling a 2.4kW element and pump. Although the TD4 has a manual mode, I wired up a boil bypass switch - it's easier to flick a switch than dive through the PID menu


Just finished my 50A box and everything tested out great. Only "mistake" I made was following the manual for the Mypin and setting the + and - on the SSR output the way it was shown. Elements wouldn't fire. Tested with multi-meter and notice polarity was switched so reversed the connections and all works. (picture taken before changing from K to PT100 so read-out is 500+)
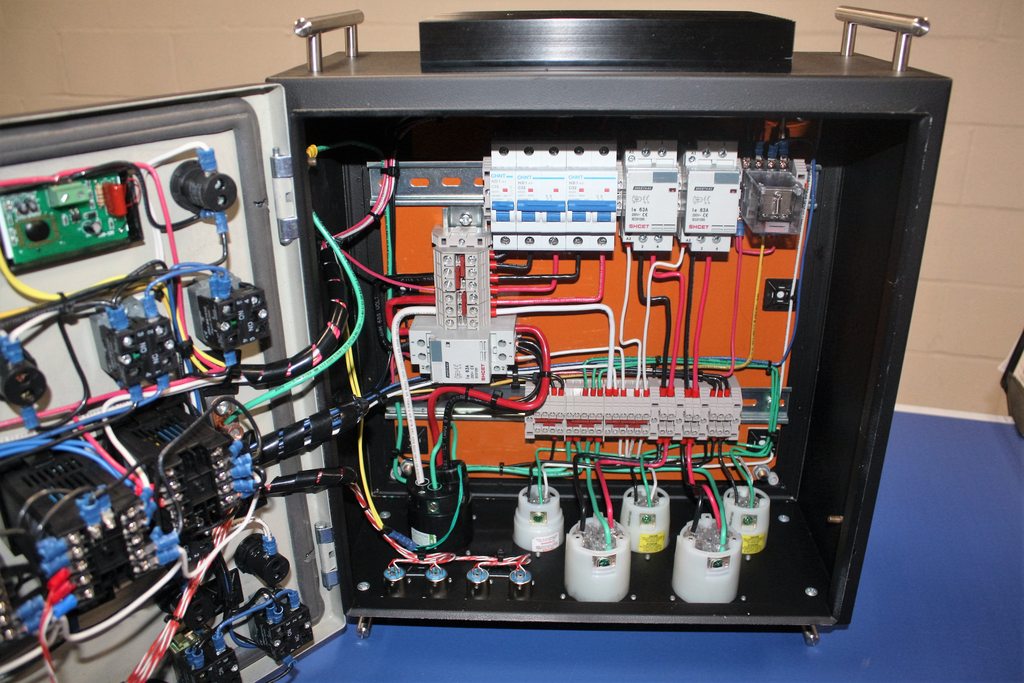
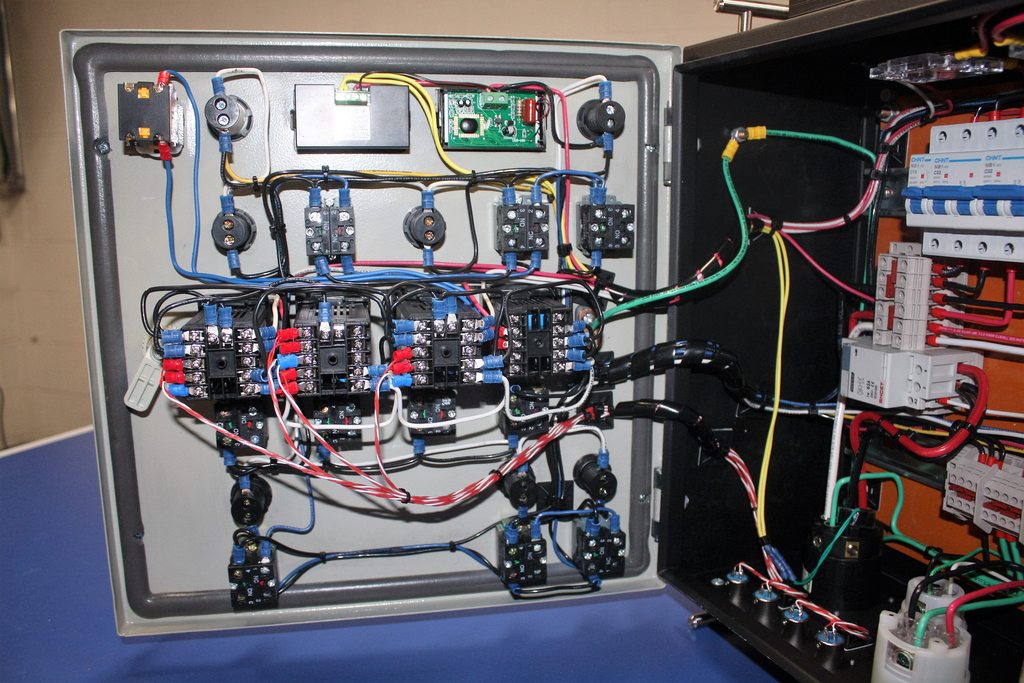
It has an interlock circuit on the 2 element contractors and it has an EPO on the side.
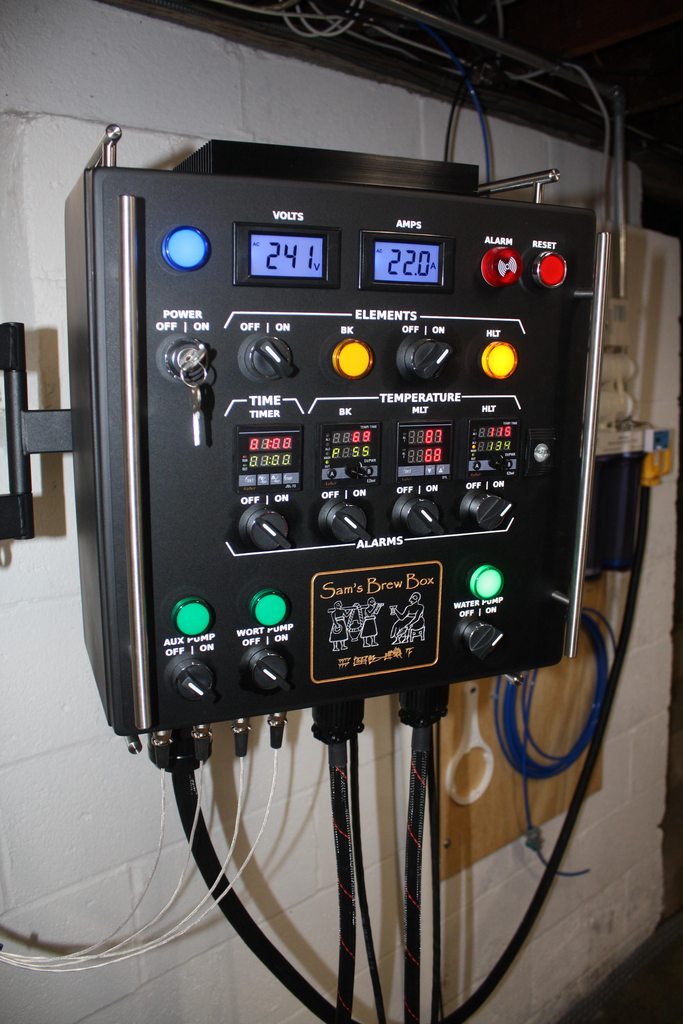
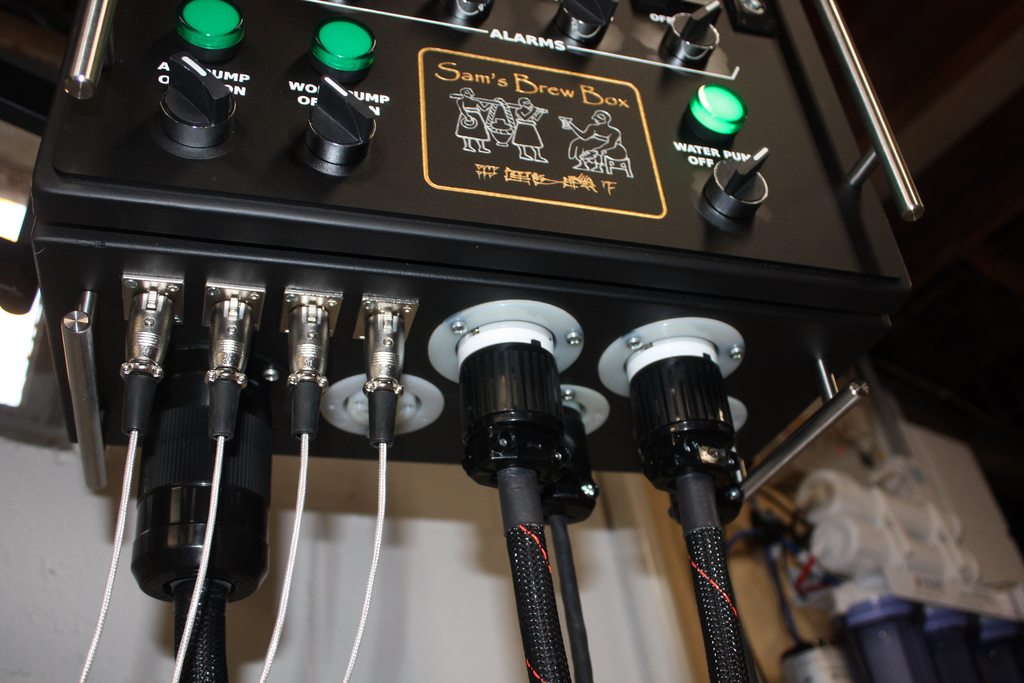
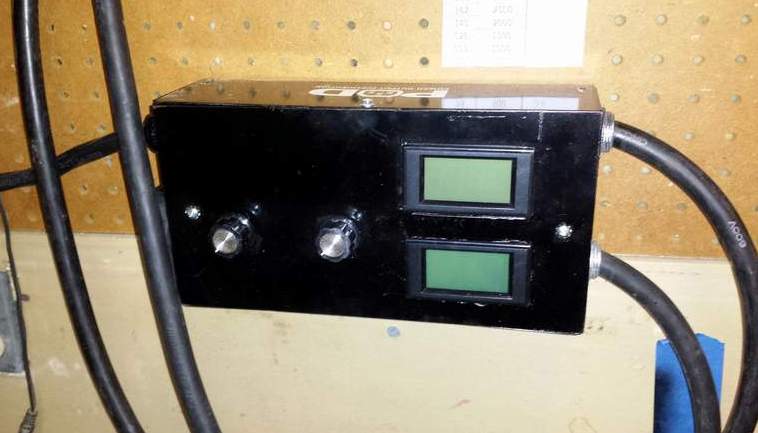
It has a dual alarm function. 3 way switch can select the alarm for the HLT or Boil or off. Separate speaker on top for louder alarm (installed before I got the flashing buzzer).
The top 2 readouts are my PWM's for my 24v pumps. They work great for me. (24v 8.5A supply inside)
Both SSR's are rated at 80A on a reclaimed heatsink.
Now that everything is working I just have to mount the box and auto tune my TD4 PID's.
Love the clean installation.
I really wish I would have taken the time to better organize my wiring like yours... mine looks like a birdnest unfortunately so when making changes or adding things its a bit stressful. its funny because I had a different wiring inconsistency between the label and the directions for my mypin pids if I rememeber right..