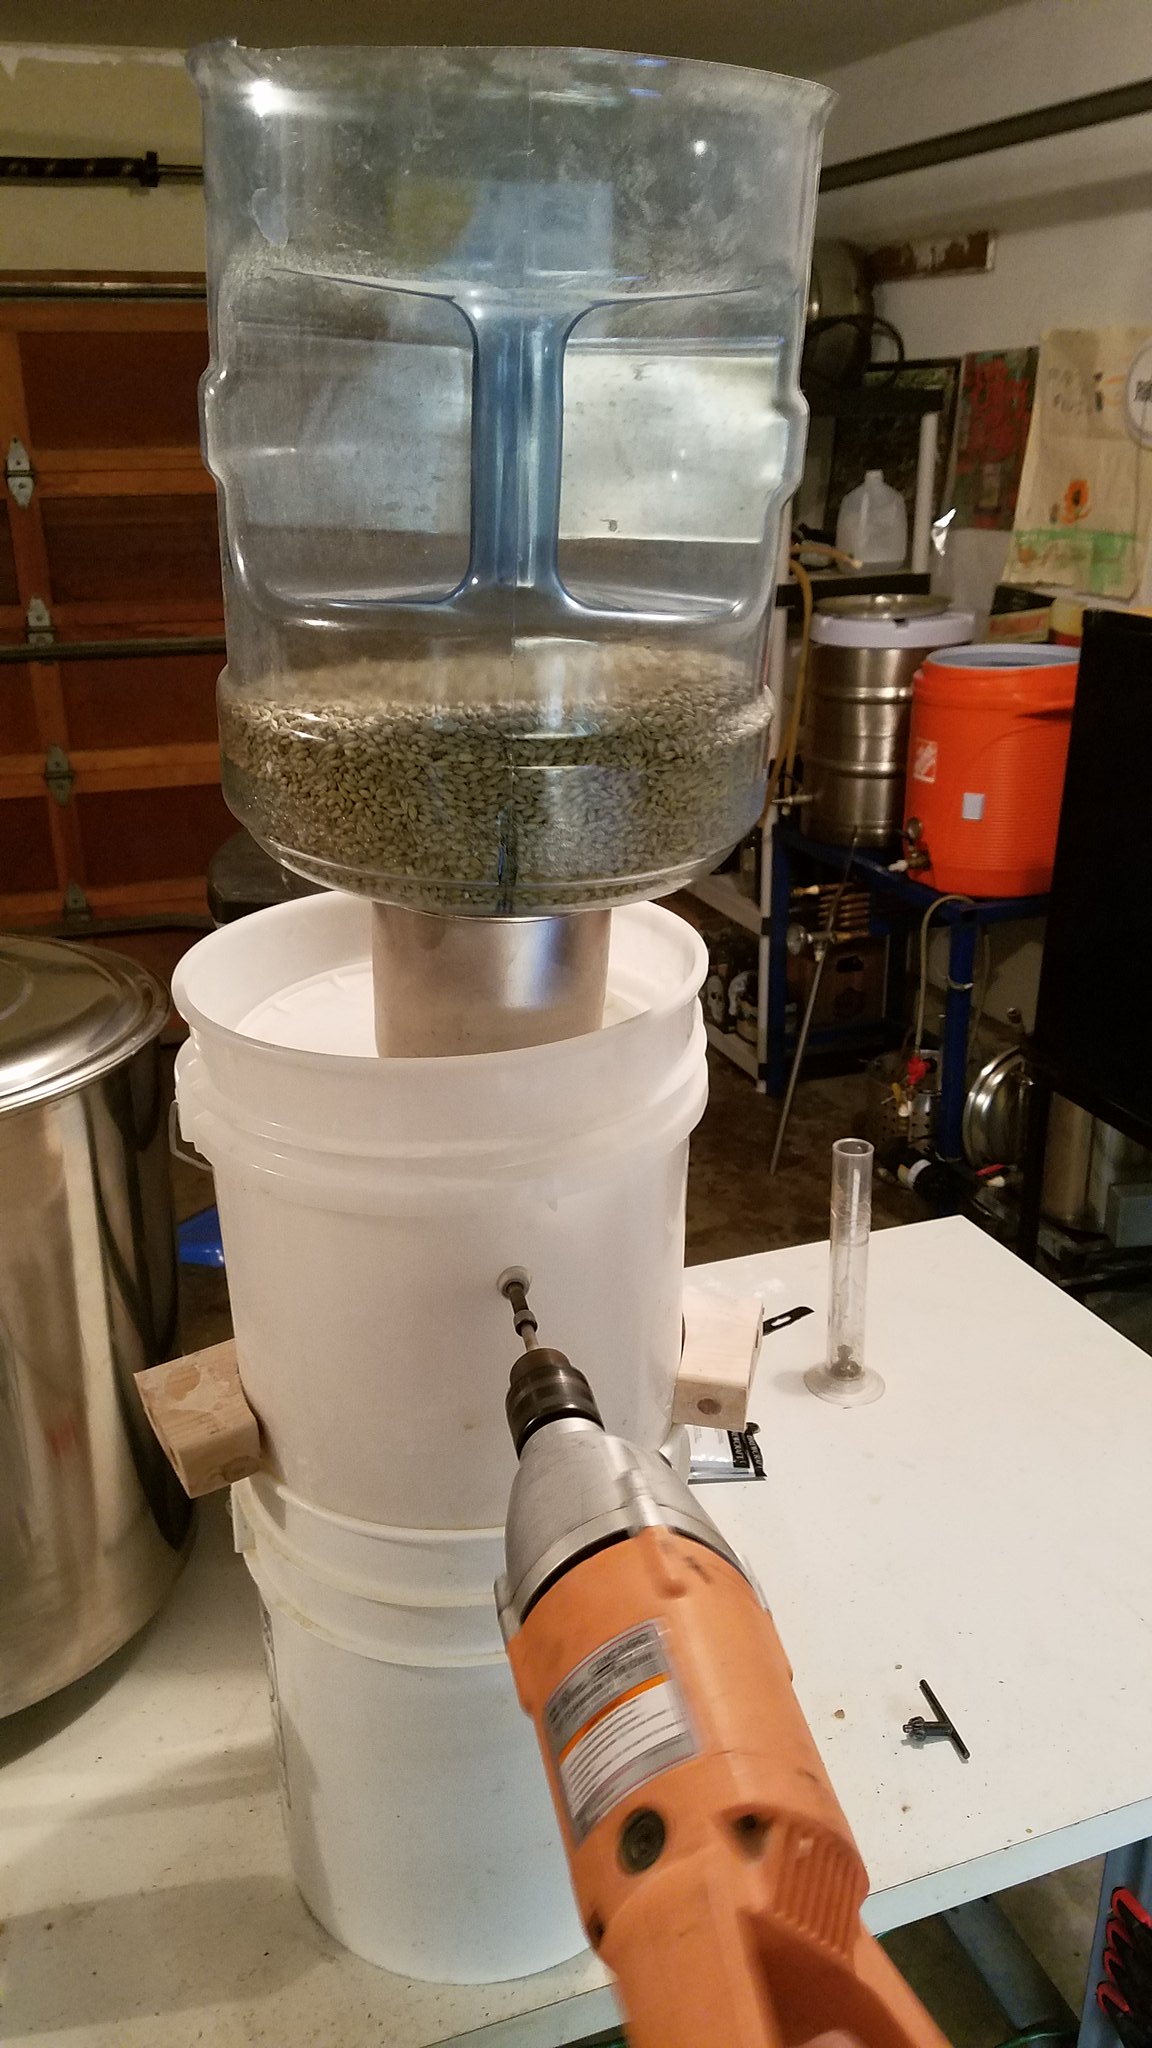
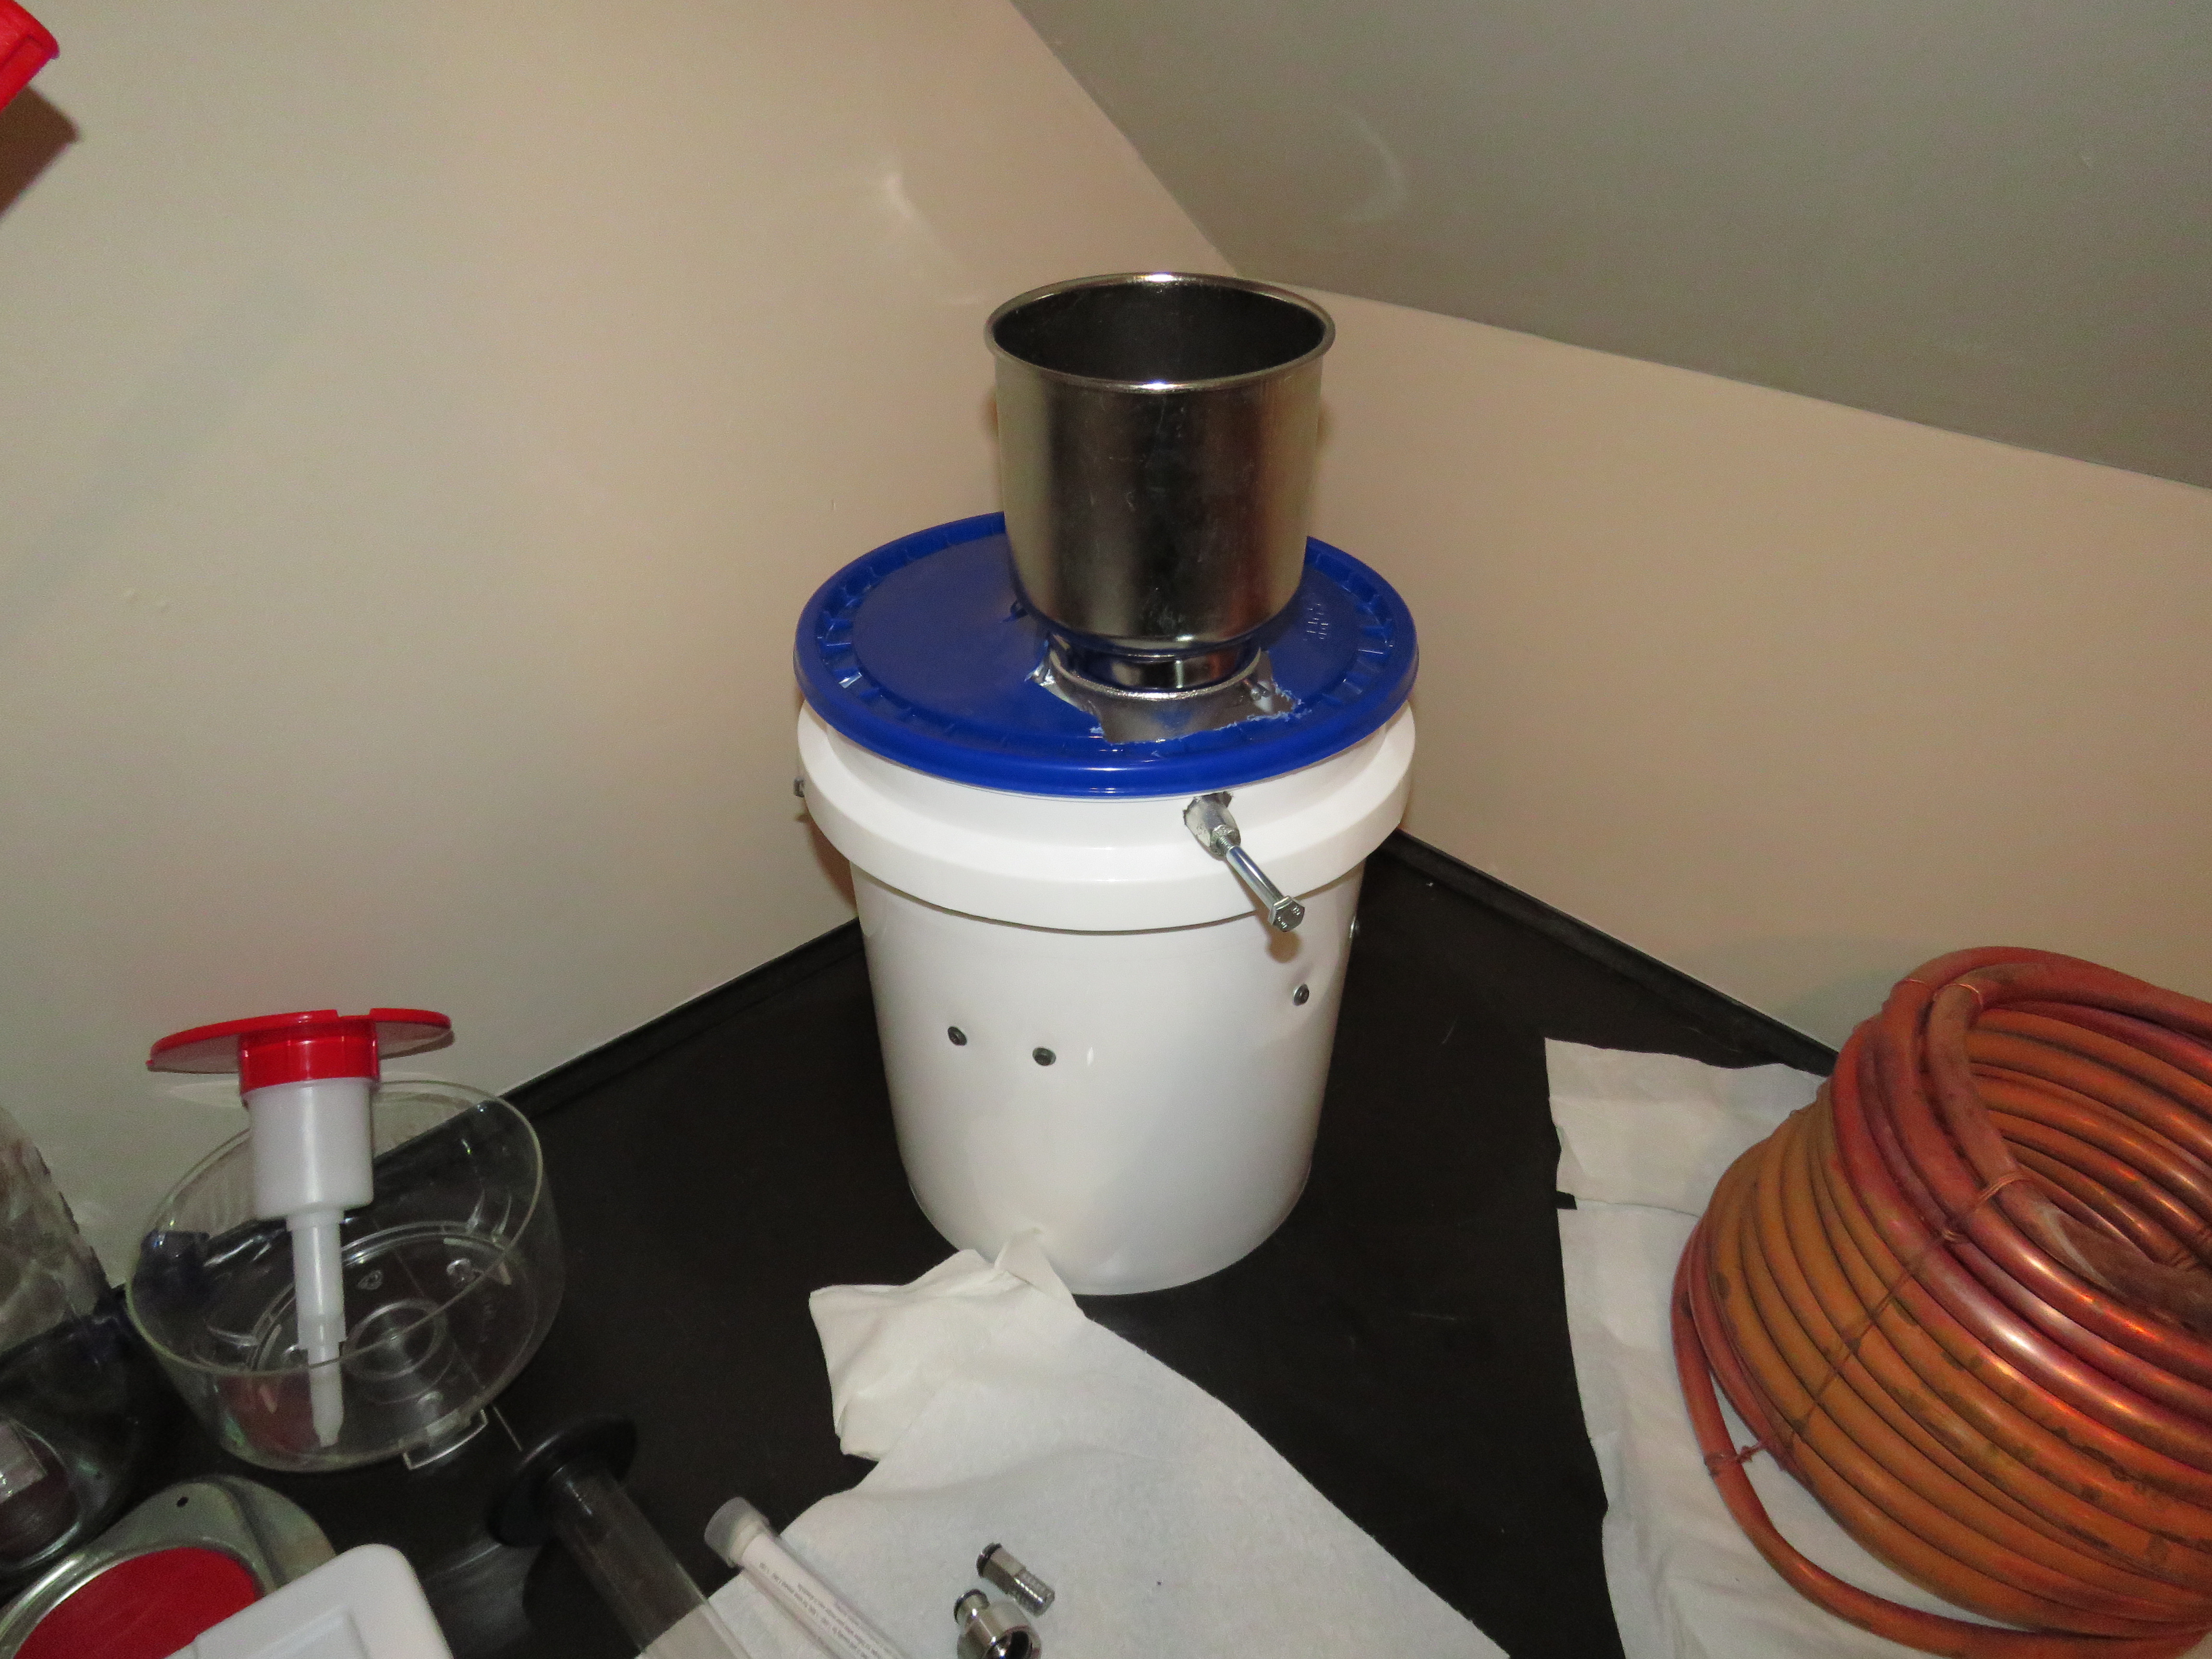
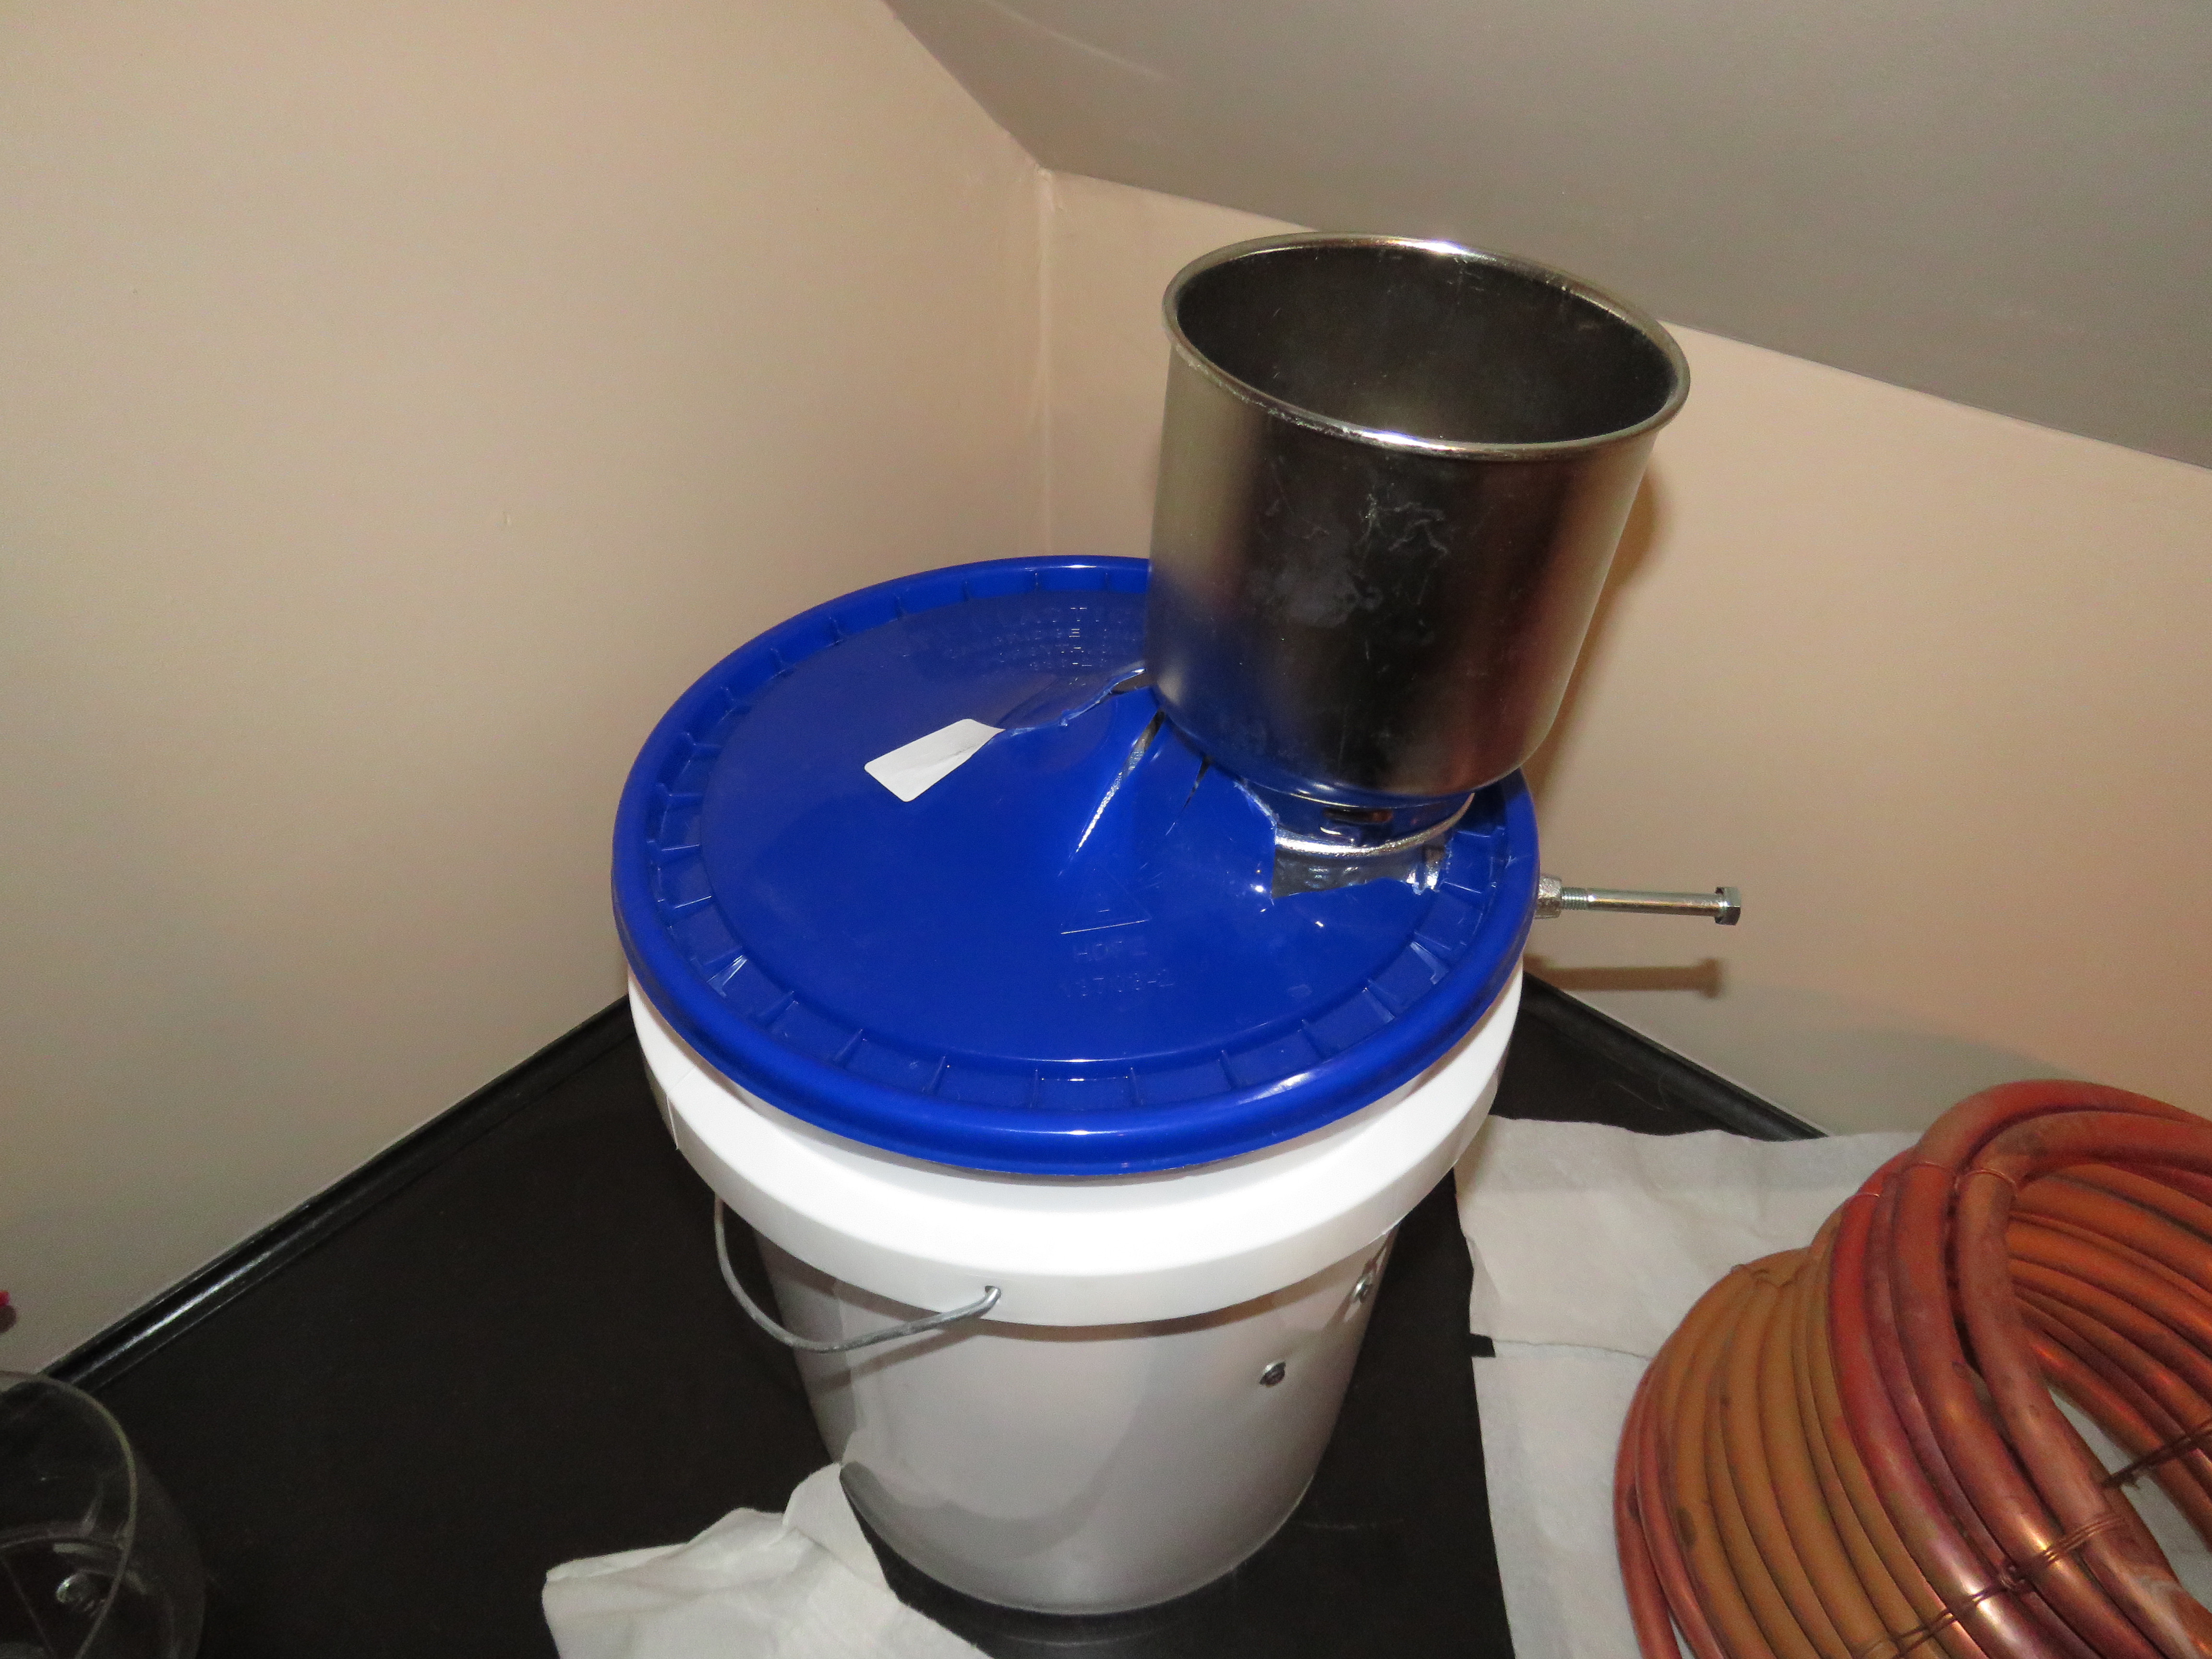
Great thread, if admitted a bit long winded. I did my homework, and brewed today with a shiny new single bucket mill station.
View attachment ImageUploadedByHome Brew1481011770.861936.jpg
View attachment ImageUploadedByHome Brew1481011800.631674.jpg
View attachment ImageUploadedByHome Brew1481011840.848304.jpg
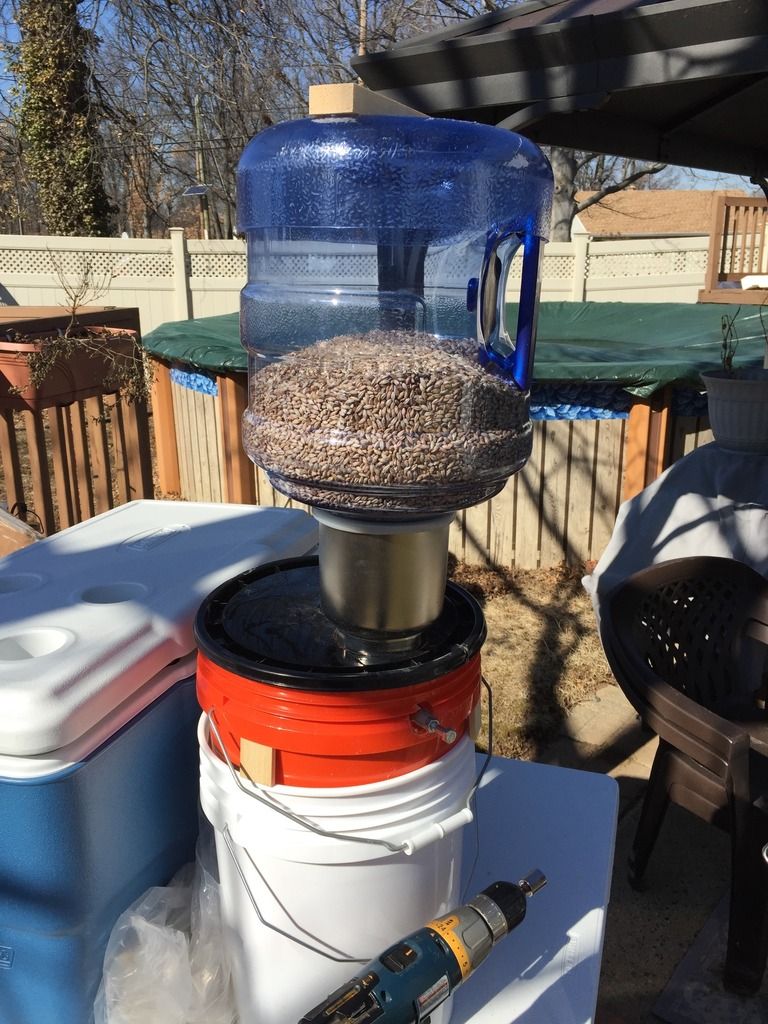
3 gal bottle for a hopper, 10#s no worries, the hopper and bucket could probably handle 15#s. that might be about capacity on the single bucket design.
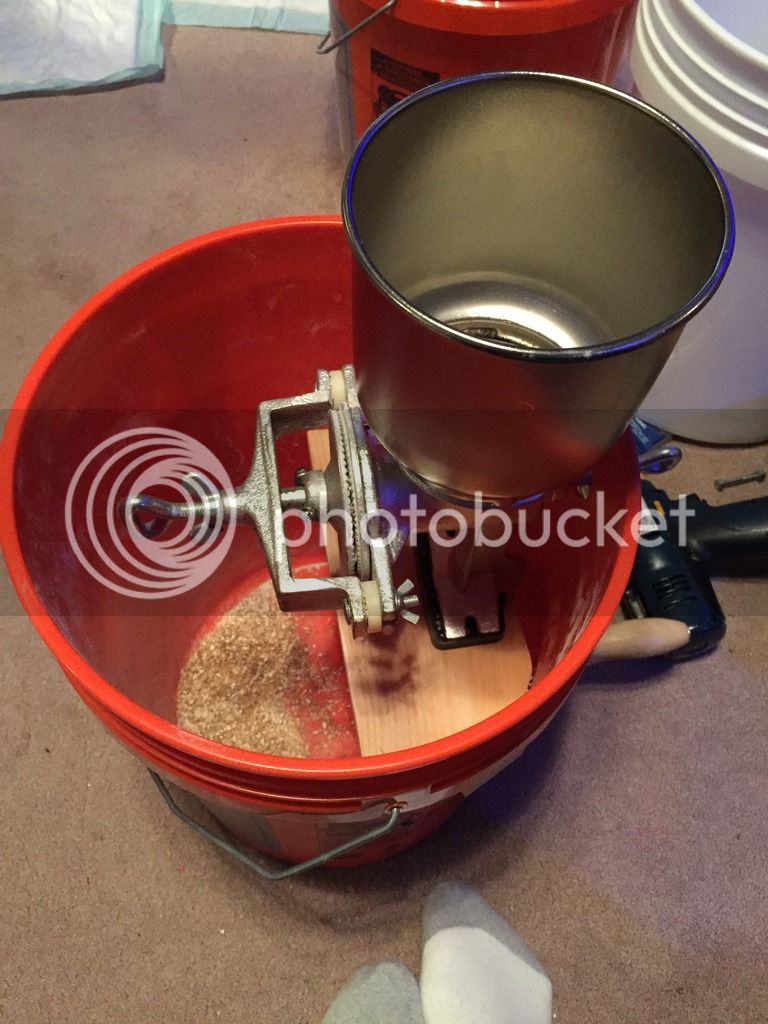
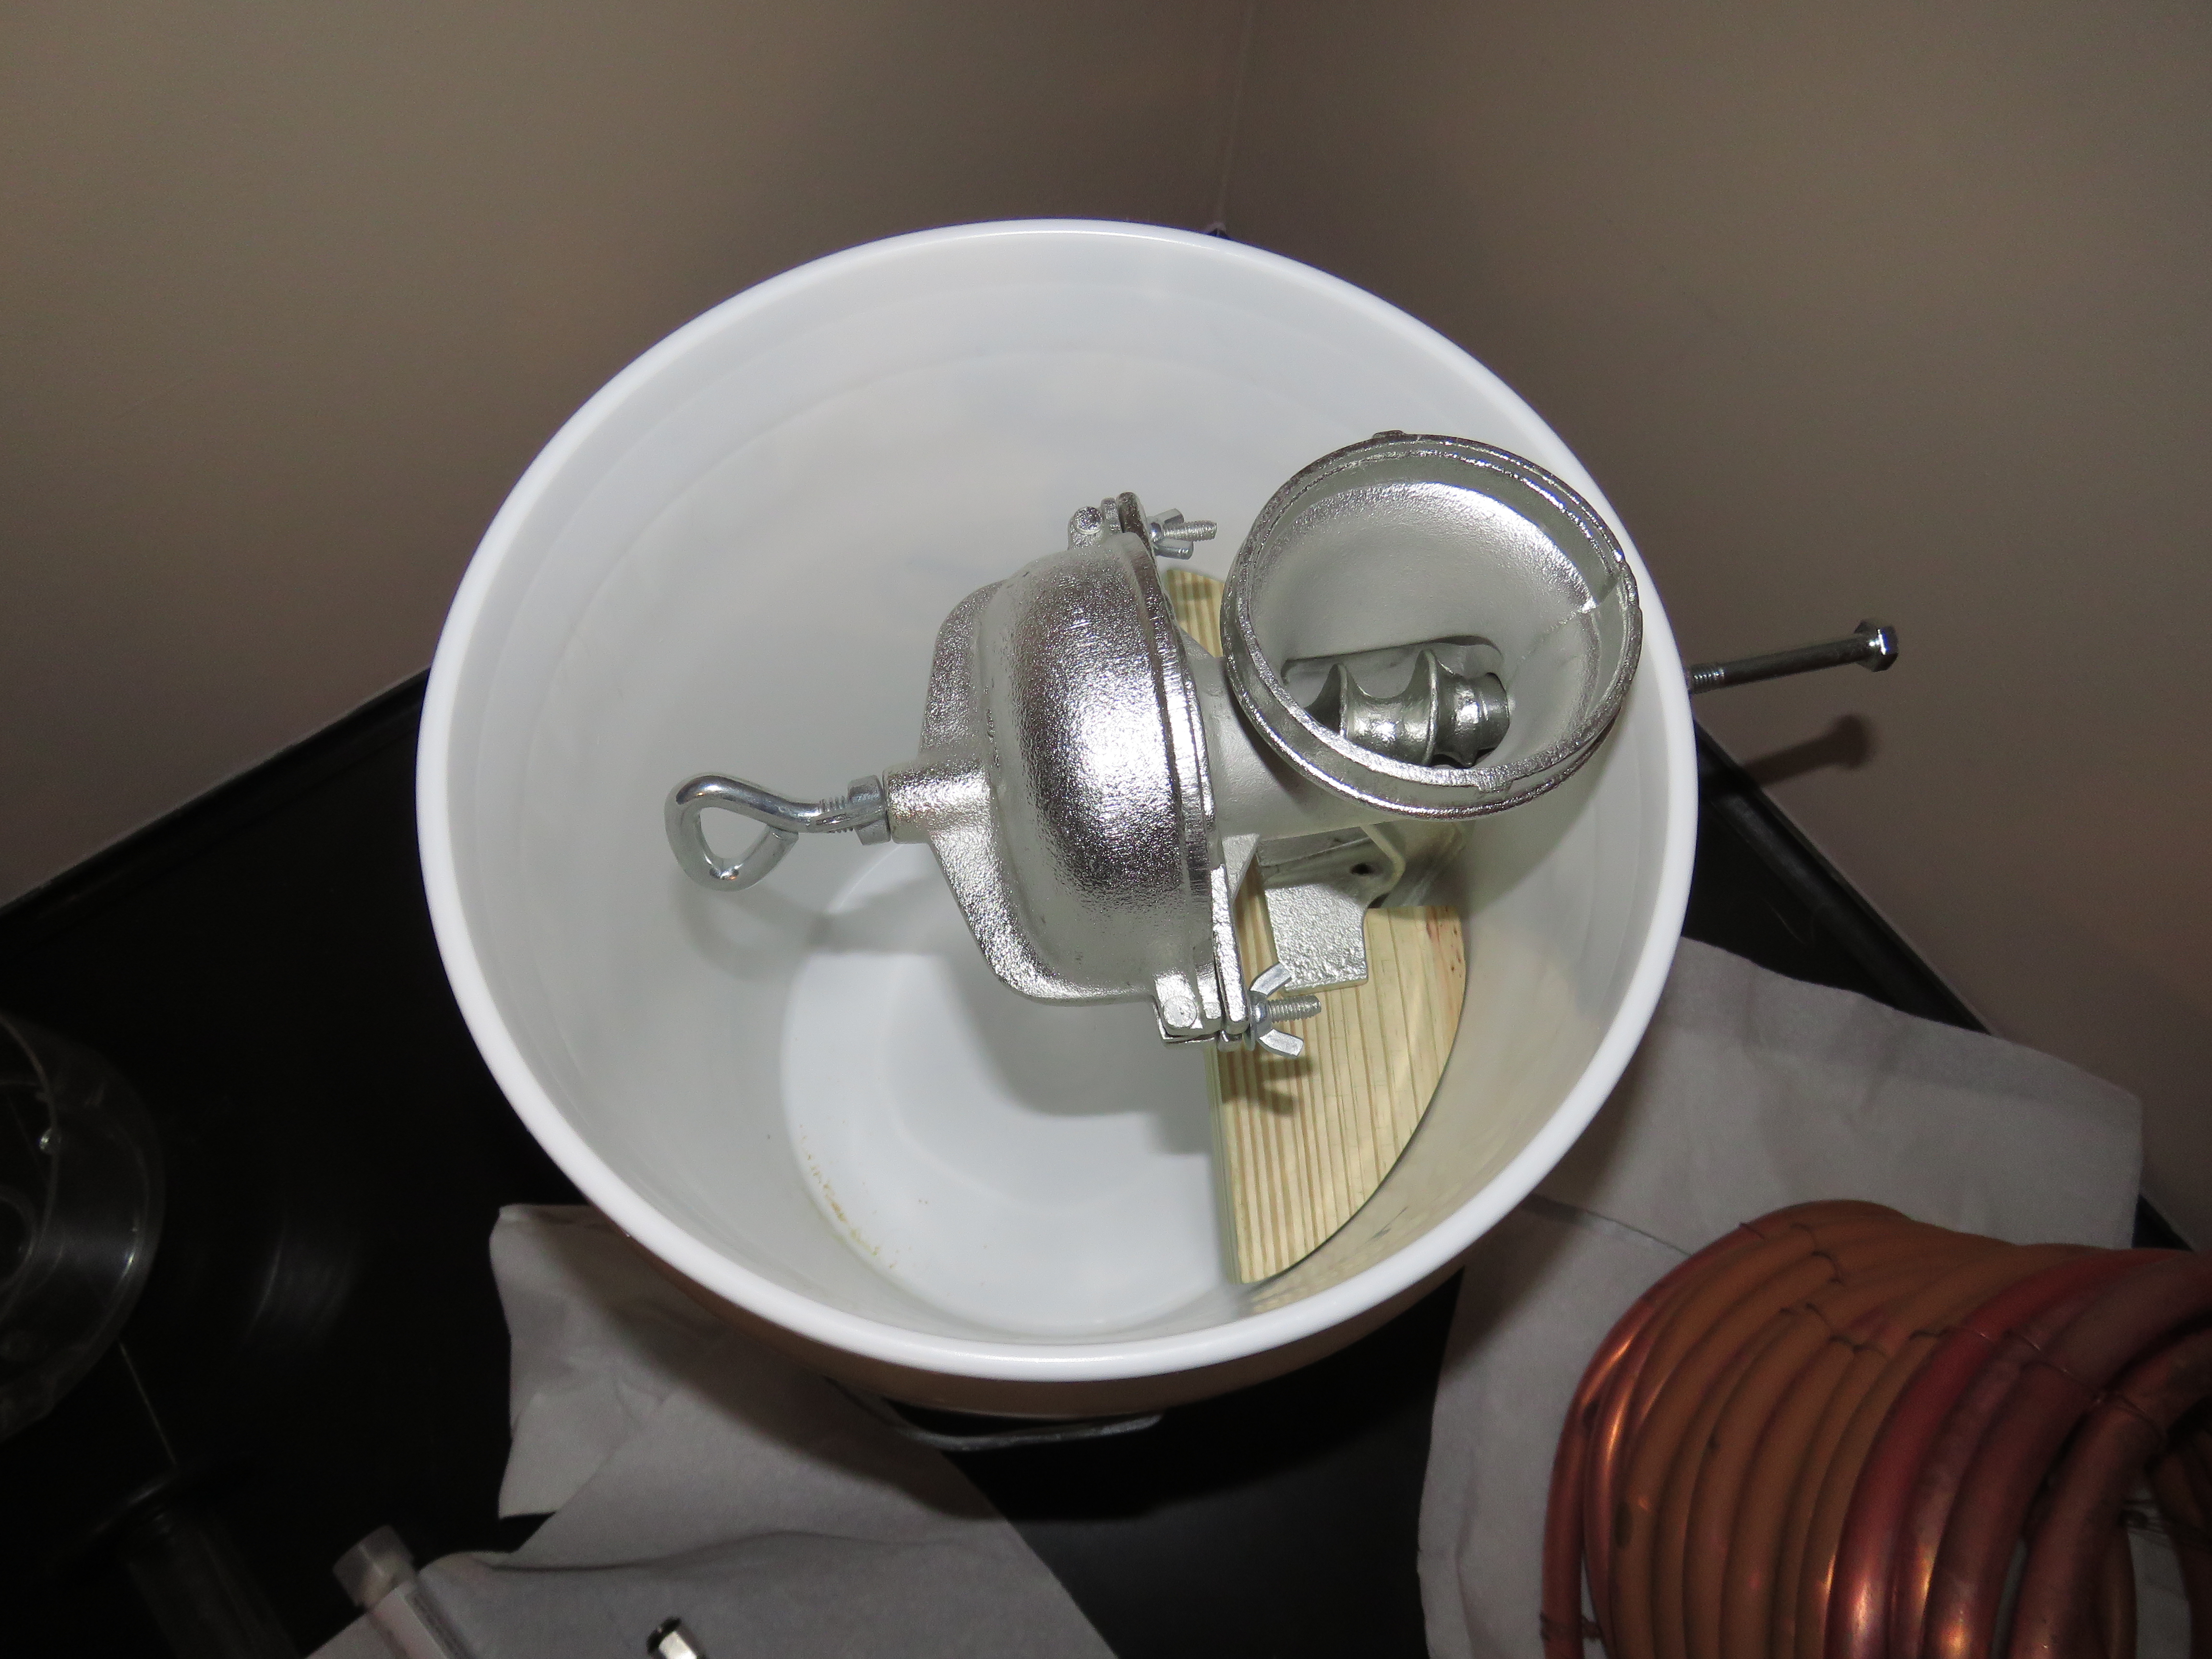
Gap set at .025" with the plate tooth depth (measure it if you doubt me PITA) actual gap (estimated) at .030" it's a corona after all.
View attachment ImageUploadedByHome Brew1481012305.268392.jpg
View attachment ImageUploadedByHome Brew1481012346.223290.jpg
Beat my calculated OG, real great brew day. Thanks for all the tips and hints, everybody. My not so ugly mill will serve me well for the foreseeable future.
Later Dick bags,
IZS
View attachment ImageUploadedByHome Brew1481011770.861936.jpg
View attachment ImageUploadedByHome Brew1481011800.631674.jpg
View attachment ImageUploadedByHome Brew1481011840.848304.jpg
3 gal bottle for a hopper, 10#s no worries, the hopper and bucket could probably handle 15#s. that might be about capacity on the single bucket design.
Gap set at .025" with the plate tooth depth (measure it if you doubt me PITA) actual gap (estimated) at .030" it's a corona after all.
View attachment ImageUploadedByHome Brew1481012305.268392.jpg
View attachment ImageUploadedByHome Brew1481012346.223290.jpg
Beat my calculated OG, real great brew day. Thanks for all the tips and hints, everybody. My not so ugly mill will serve me well for the foreseeable future.
Later Dick bags,
IZS


![Craft A Brew - Safale S-04 Dry Yeast - Fermentis - English Ale Dry Yeast - For English and American Ales and Hard Apple Ciders - Ingredients for Home Brewing - Beer Making Supplies - [1 Pack]](https://m.media-amazon.com/images/I/41fVGNh6JfL._SL500_.jpg)


") One also needs some carpentry skills to build it, I don't have a hole saw that large lol.
One also needs some carpentry skills to build it, I don't have a hole saw that large lol.