• Please visit and share your knowledge at our sister communities:
  • If you have not, please join our official Homebrewing Facebook Group!

    Homebrewing Facebook Group

My Ugly Junk- Corona Mill Station...

Homebrew Talk

Help Support Homebrew Talk:

This site may earn a commission from merchant affiliate links, including eBay, Amazon, and others.
...
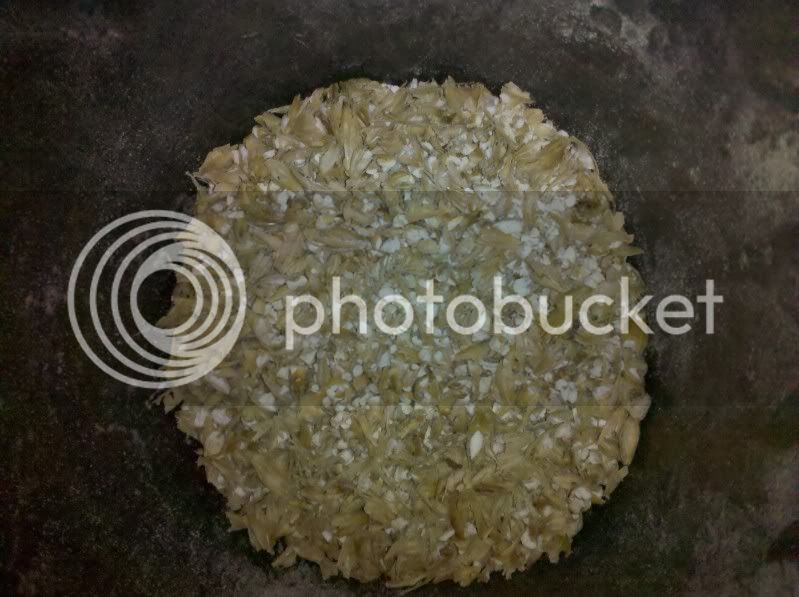
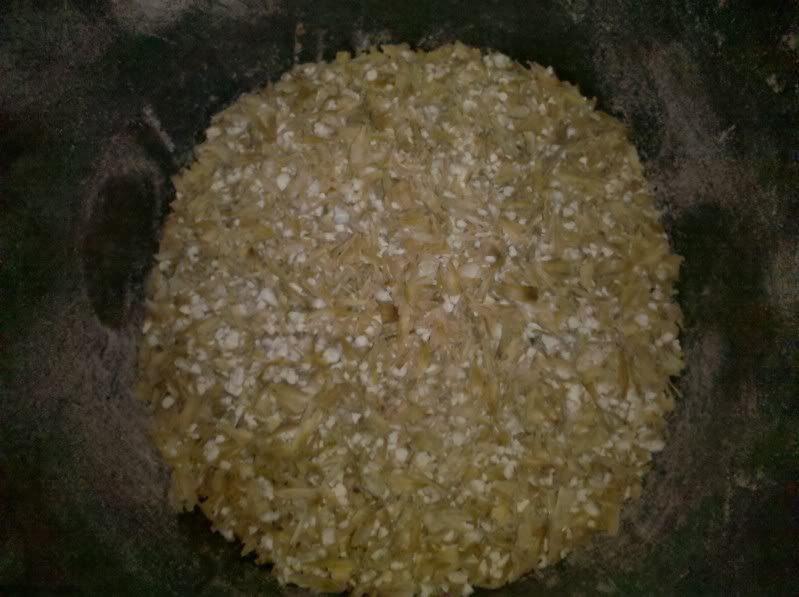
the layout so you can see that weird bolt thing (and the washer i got for it, i can't find a measuring tape for it, so i can't get the ID)
5487894618_85533bc12f_b.jpg


and here is the weird bolt without the washer on it so you can see how it connects and how it looks
5487895960_da988134ba.jpg

...

Interesting variation, the end of the shaft is threaded into the auger instead of being part of it. Conceivably one could grind down the end so the plates would open further without having to add washers. But the washers are a simpler solution.

Thanks for the post.
 
no problem! glad i could be of assistance! glad ya like my brewing partner :) technical rescue dog. Aussie Sheppard and red heeler, her name is chloe, but i refer to her as ******* alot.

My 10 yr old chocolate lab Guinness :D thinks her name is ********* dog or fu@%in' puppy...I think if she were registerable :drunk: her full name would ********* Guinness Stop It...Go Away!!! And we Love her dearly :)
 
I thought I would post my completed project here since you all inspired me so much.

I got in on a group buy of grain so I had no choice, I had to get a mill.

So I purchased all the parts and built this today.
I inserted washers on the outside bolts of the mill to get it to seat well. I do notice a slight wobble on the plate and may install a bolt to replace to pin as others have done, but i think i did enough for today.

The crush looks good for now.

(Sorry, links only for now. Need to upgrade that membership soon.)
http://www.imagebam.com/image/5685eb122328051
http://www.imagebam.com/image/08367d122328062
http://www.imagebam.com/image/319ace122328074
http://www.imagebam.com/image/29bc0b122328082
 
Dann, looks real nice. great job.

I noticed you have a cover over your burr plates, kinda like the part of a can or something. mine didn't come with a cover over the top part of the plates.

Did you put that on? does anyone think that is required?
 
I noticed you have a cover over your burr plates, .............
Did you put that on? does anyone think that is required?

Not required at all, some mills have a cover on the burr plate to keep the milled grain from flying all about, some don't. Without a cover on the plate can be a little messy...if you mill indoors you will likely want something. Previous posters have done many things to direct the milled grain. It can be as simple as putting a plastic bag over the mill head, or mounting the mill in a covered bucket. see link below
 
Mine came with that little cover. It is just a cheap plastic shroud.

I havent actually milled a full batch with it yet so i have determined if it is worth keeping on since i have it mounted in a bucket with a lid anyways.

I am afraid with how close it is to the burr plate that is might clog up.
 
I installed mine in an upside down bucket and then hot glued the rim to the top of another bucket with the lid on. Cut the center of the lid out and bam... Seems pretty good but I haven't used it yet, so not sure how good it will work out...
So,I'm not worried about the cover even if I use it inside I think it will work good.
 
i installed mine in an upside down bucket and then hot glued the rim to the top of another bucket with the lid on. Cut the center of the lid out and bam... Seems pretty good but i haven't used it yet, so not sure how good it will work out...
So,i'm not worried about the cover even if i use it inside i think it will work good.

pics???
 
just got my victoria grain mill two weeks ago. i havent gotten around to removing the cotter pin to put the bolt in but i have added a few washers to each side. the mill is still alittle wobbly. i plan on some type of bucket setup. it seems when i was adjusting the mill today i got to a decent point but im not sure about my crush im hoping someone would be able to help evaluate so heres the pic
IMG_20110126_163657.jpg


it seems if i loosen more slightly i get some uncrushed grains not sure if i should if i should tighten anymore. this pic the grain was crushed by hand im hoping to hookup the drill to it tomorrow to give it another go around

Here is a new crush with alittle tighter and using a drill instead of hand cranking. Please evaluate as I'm planning a bew day very soon. Once I get my crush set I will post a pic of my ugly junk. Thanks in advance

IMG_20110313_134852.jpg
 
Hard to tell....second pic definitely looks better than the first, but it's hard to say whether or not you've got any whole grains in there. Take a few tablespoons of that grist and spread it out. If you find any whole grains, crank down another quarter-turn, then repeat. That's what I did, and I hit all my numbers now. After you dial it in, the Corona / Victoria / Grizzly / ?? is a great mill.
 
Updated mine with a drill and while grinding for my 10G batch I cranked it down 'til I was beyond scared, I was frightened :eek:.
Finished the batch and checked my numbers, >80% efficiency. With these results, I won't be so scared with the next batch.

Thanks to all here for the tips and tricks. I'll see if I can't get some good pics of the thing to post.
 

Is this how close the plates are going to be when I crush my grain? I thought I'd need them to be a bit further apart (caveat being, I just got my knock off mill and put it together last night. I'll be getting some cheap base grain and messing around with it this weekend).
 
Alright. I read through most of the thread and saw someone said have the plates about a credit card width apart? Is that more in line with where I should start?
 
Awesome. Thanks for the help. I'm sure I'll have some photos of grain at some point to get some feedback on my crush.
 
Hard to tell from a picture, when the plates are that close, but it looks a lot like the spacing I'm using. I'm very happy with it- I get all my numbers when I brew, and nary a stuck sparge.
 
I mash in a bag, a large bag crafted from voile material.

Can / should I go with a finer crush since having larger pieces and hull material isn't important for filtering?
 
Hi all I see that most people run a 1/2" drill to power the mill. I set the plates using visual cues from the crush, think I ended up at about 0.020" or so. At that tight setting it takes some serious torque to spin the auger. I tried my 24v drill and if killed the battery in a few minutes. I purchased a 3/8" dewalt plug in drill and in order to spin slow I barely could touch the trigger. That must have stressed the motor or brushes cuz smoke was coming out of the drill body. Good thing for return policies! So now I'm going to try a 1/2" impact wrench. Anyone else use this? Should the auger be that hard to spin?
 
Looking for opinions...should I go for the original Corona, or the Weston knock-off? Does either work better than the other?

Their such low tech dealies that it just doesn't really matter. They really have one moving part, which is a pigtail/corkscrew holding a grinding plate, that there's really no difference.
 
Last edited by a moderator:
Their such low tech dealies that it just doesn't really matter. They really have one moving part, which is a pigtail/corkscrew holding a grinding plate, that there's really no difference.

Yeah - I have ther victoria knock off version of the corona - it works great. I would just grab whatever is cheapest.


For the drill, any corded variable speed should be enough. I am sure lots of battery powered will work too, but for my 24-28lbs of grain I am shredding, 1/2 inch corded milwaukee all the way.
 

Latest posts

Back
Top