My simple 3 wire electric brew rig

Homebrew Talk - Beer, Wine, Mead, & Cider Brewing Discussion Forum

Help Support Homebrew Talk - Beer, Wine, Mead, & Cider Brewing Discussion Forum:

This site may earn a commission from merchant affiliate links, including eBay, Amazon, and others.

Br3w4u

Well-Known Member
Joined
May 26, 2016
Messages
1,170
Reaction score
511
Location
Oklahoma
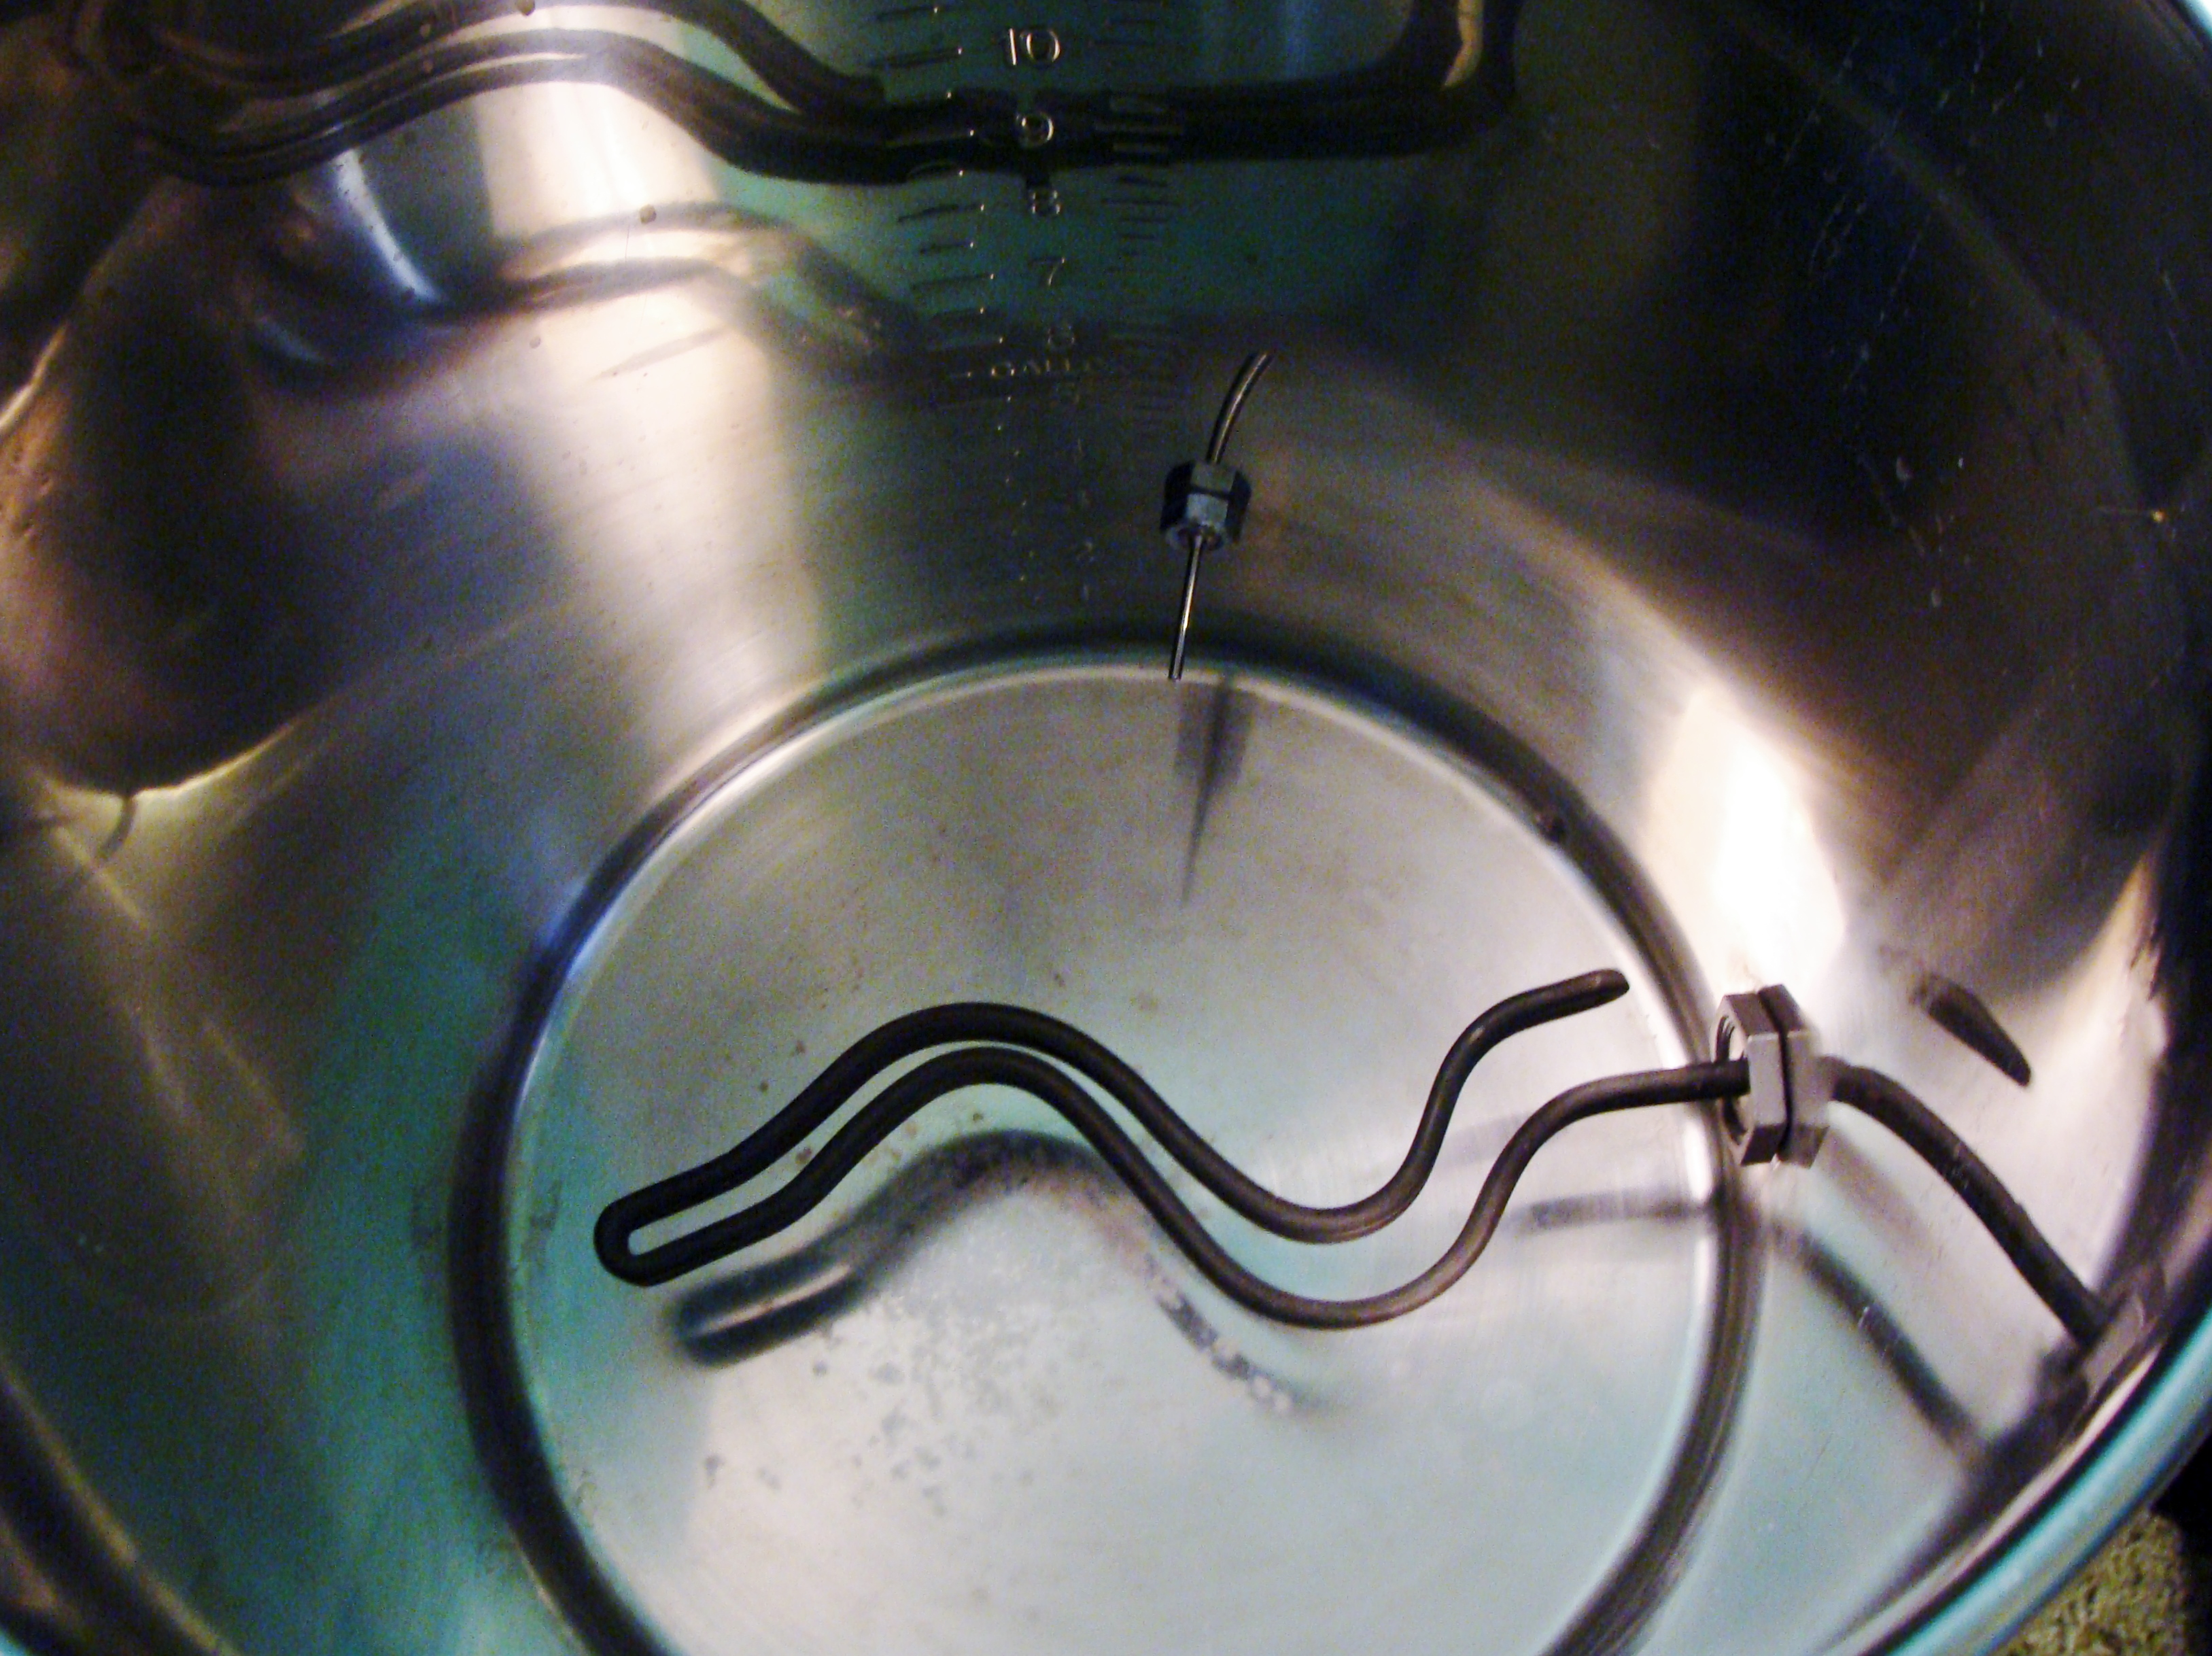
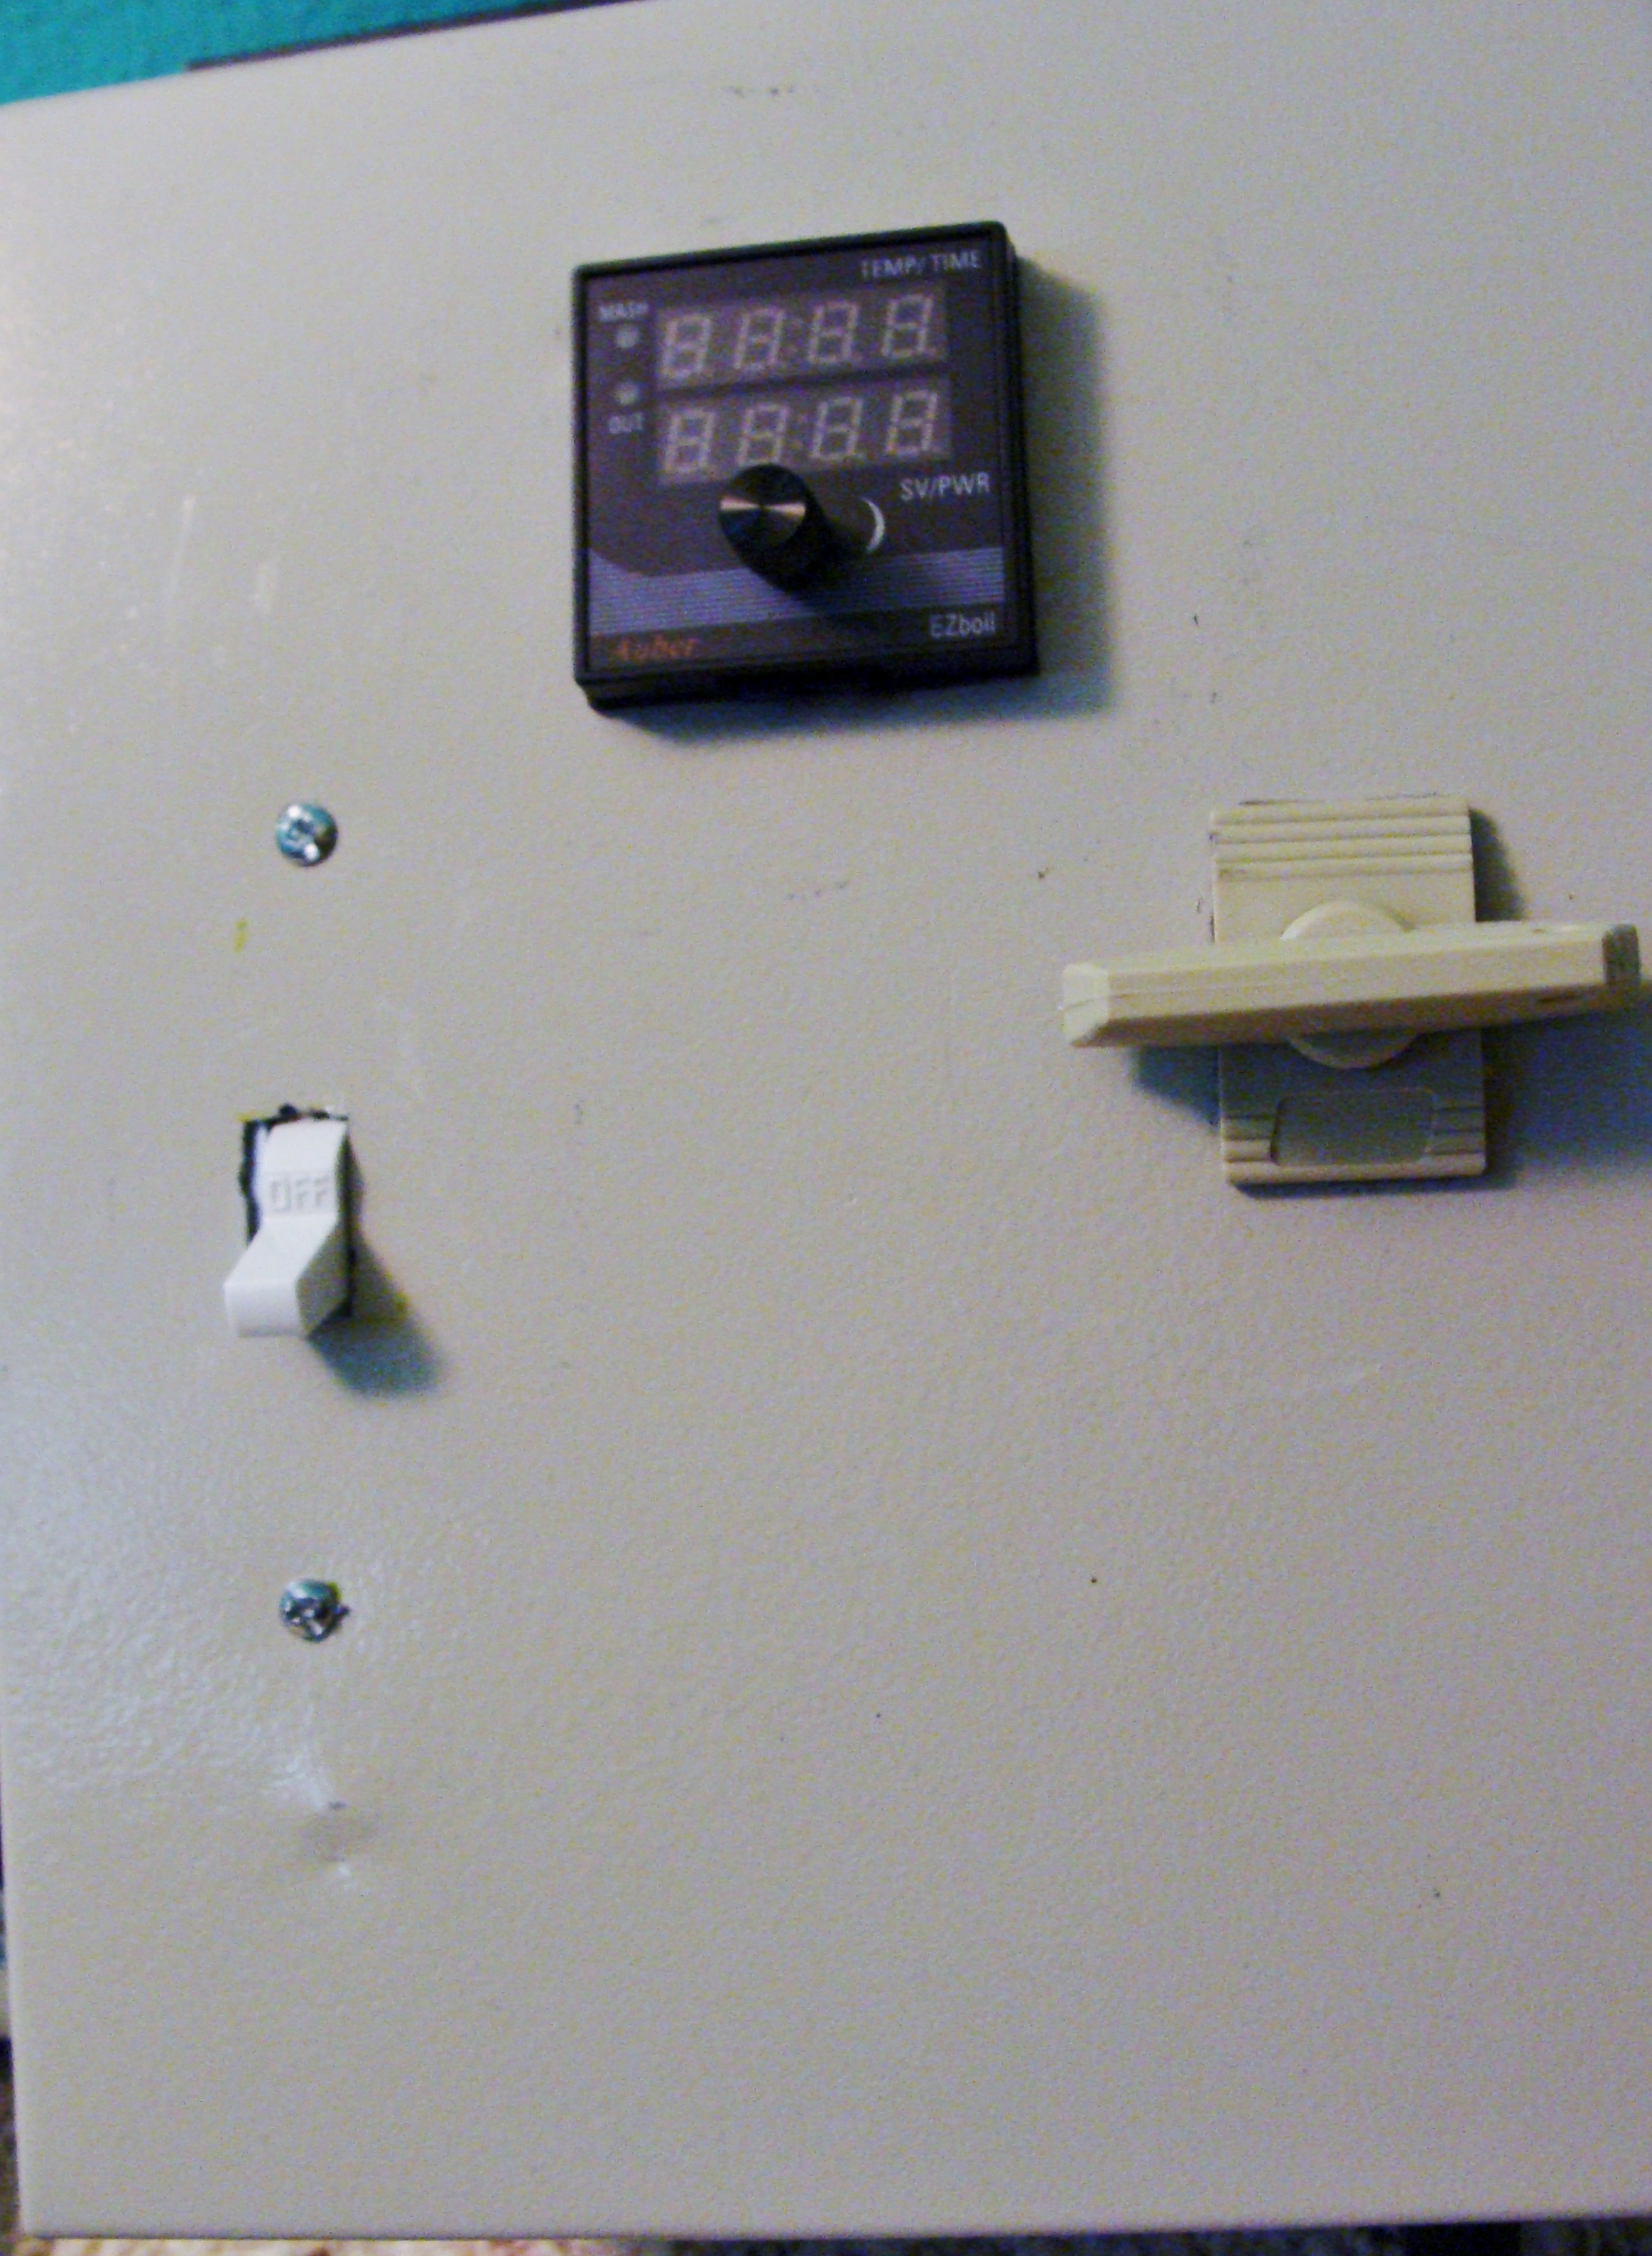
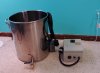
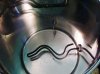
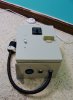
Here it is. Not the prettiest or most technical rig but it works great. I love the dspr120. I decided not to use any lights or alarms but the Auber dspr120 has a light that indicates when the SSR is being engaged and also has an alarm built in. The SSR I am using also has a light on it that shows when it is active so if I suspect it stopped working I can just open the door and see if the light is on. The switch toggles power on and off to the heating element so that I can prevent dry firing. I went with a 3 wire set up because I couldn’t install a GFCI breaker in my breaker panel but I was able to get a cheap 3 wire in-line GFCI cable. All I have left to do is make some sort of cart to put it on. I plan to brew with it this weekend so I will try to get pictures of it in action. Thanks to everyone who helped me in planning this build and to people who’s designs that I was able to take inspiration from. Special thanks to Doug293cz for providing the wiring schematic.
 

Attachments

  • 50FD8F15-2D69-454E-A962-EF0299E1F090.jpeg
    50FD8F15-2D69-454E-A962-EF0299E1F090.jpeg
    2.3 MB · Views: 451
  • C07BC19A-6247-45E1-8EB3-A2DCF1972465.jpeg
    C07BC19A-6247-45E1-8EB3-A2DCF1972465.jpeg
    2.5 MB · Views: 422
  • B1D7CD5A-AE0D-422A-8BE4-8D4287061F76.jpeg
    B1D7CD5A-AE0D-422A-8BE4-8D4287061F76.jpeg
    2.4 MB · Views: 485
  • E120D23E-5DA1-461B-AD55-A8FB7C54A99E.jpeg
    E120D23E-5DA1-461B-AD55-A8FB7C54A99E.jpeg
    2.2 MB · Views: 433
  • C0F08D45-8DA7-40A0-AC68-8B5E3BF0A541.jpeg
    C0F08D45-8DA7-40A0-AC68-8B5E3BF0A541.jpeg
    169.6 KB · Views: 442
The GFCI cable was from Woodhead. I bought it on Amazon for about 50 bucks. That was only 2 months ago and now it’s priced at over 200. I don’t really get it but what can you do right? There are some on amazon for around 150 and I would suggest biting the bullet and getting one because it would be a lot easier that way instead of having to rewire your house or buy GFCI breakers. I bought a regular dryer power cable from Lowe’s and cut the rings off, then put a female L6-30 plug on that end. I plug that in to the wall going to the in-line GFCI cable, then plug the power cable from my controller box in to the in-line GFCI cable. When I was wiring up my controller box I only ran 3 wires in the box using a 10/2 Jswoo power cable “I think that’s what it’s called” you can buy it at Lowe’s by the foot. It’s basically 3 THHN wires in insulation, 2 hots and 1 ground and I put a male L6-30 plug on the end of that coming out of the box. I really should take some better pictures...but from there you can just follow the wiring diagram.
 
What you did is almost exactly what I have and been using for 5 years without feeling like I need an upgrade of any kind.
Looks like a concord pot that I also that I have.
Nice job...simple works and works well.

I don't even run the pid during the mash anymore. Mash in kill the power to the element at around 154 and it holds pretty steady for the hour mash. Around 75% power for the boil

I ran a $50 spa panel (GFI) off my 3 wire dryer outlet
I absolutely love it. If I redo anything it will be the wiring inside. I bought just enough wire to do the project so it’s really tight but not a problem because I don’t need to open the box anyway. I bought the pot from adventures in home brewing. Not sure what brand but it was super cheap and it works.
 
I absolutely love it. If I redo anything it will be the wiring inside. I bought just enough wire to do the project so it’s really tight but not a problem because I don’t need to open the box anyway. I bought the pot from adventures in home brewing. Not sure what brand but it was super cheap and it works.
Every wire on mine is red because that's what I had. You'll never open the box unless theres a problem which is rare
 
Looking at it again I don't see a heat sink so I'm assuming its the pyramid one that came with the pid??

They get piping hot. I would have put it on the outside so it can breath and you can run a fan on it...that could be an issue.

If you used a Fotek SSR or one that come in a "pid kit" you might as well change it now..they always fry and melt..hopefully you used a different brand
 
Last edited:
No I used an oversized 40 amp heat sink. It’s on the top of the box but you don’t see it in the picture. I got everything from auber.
 
Back
Top