Phase 5
Tilt Bridge Installation
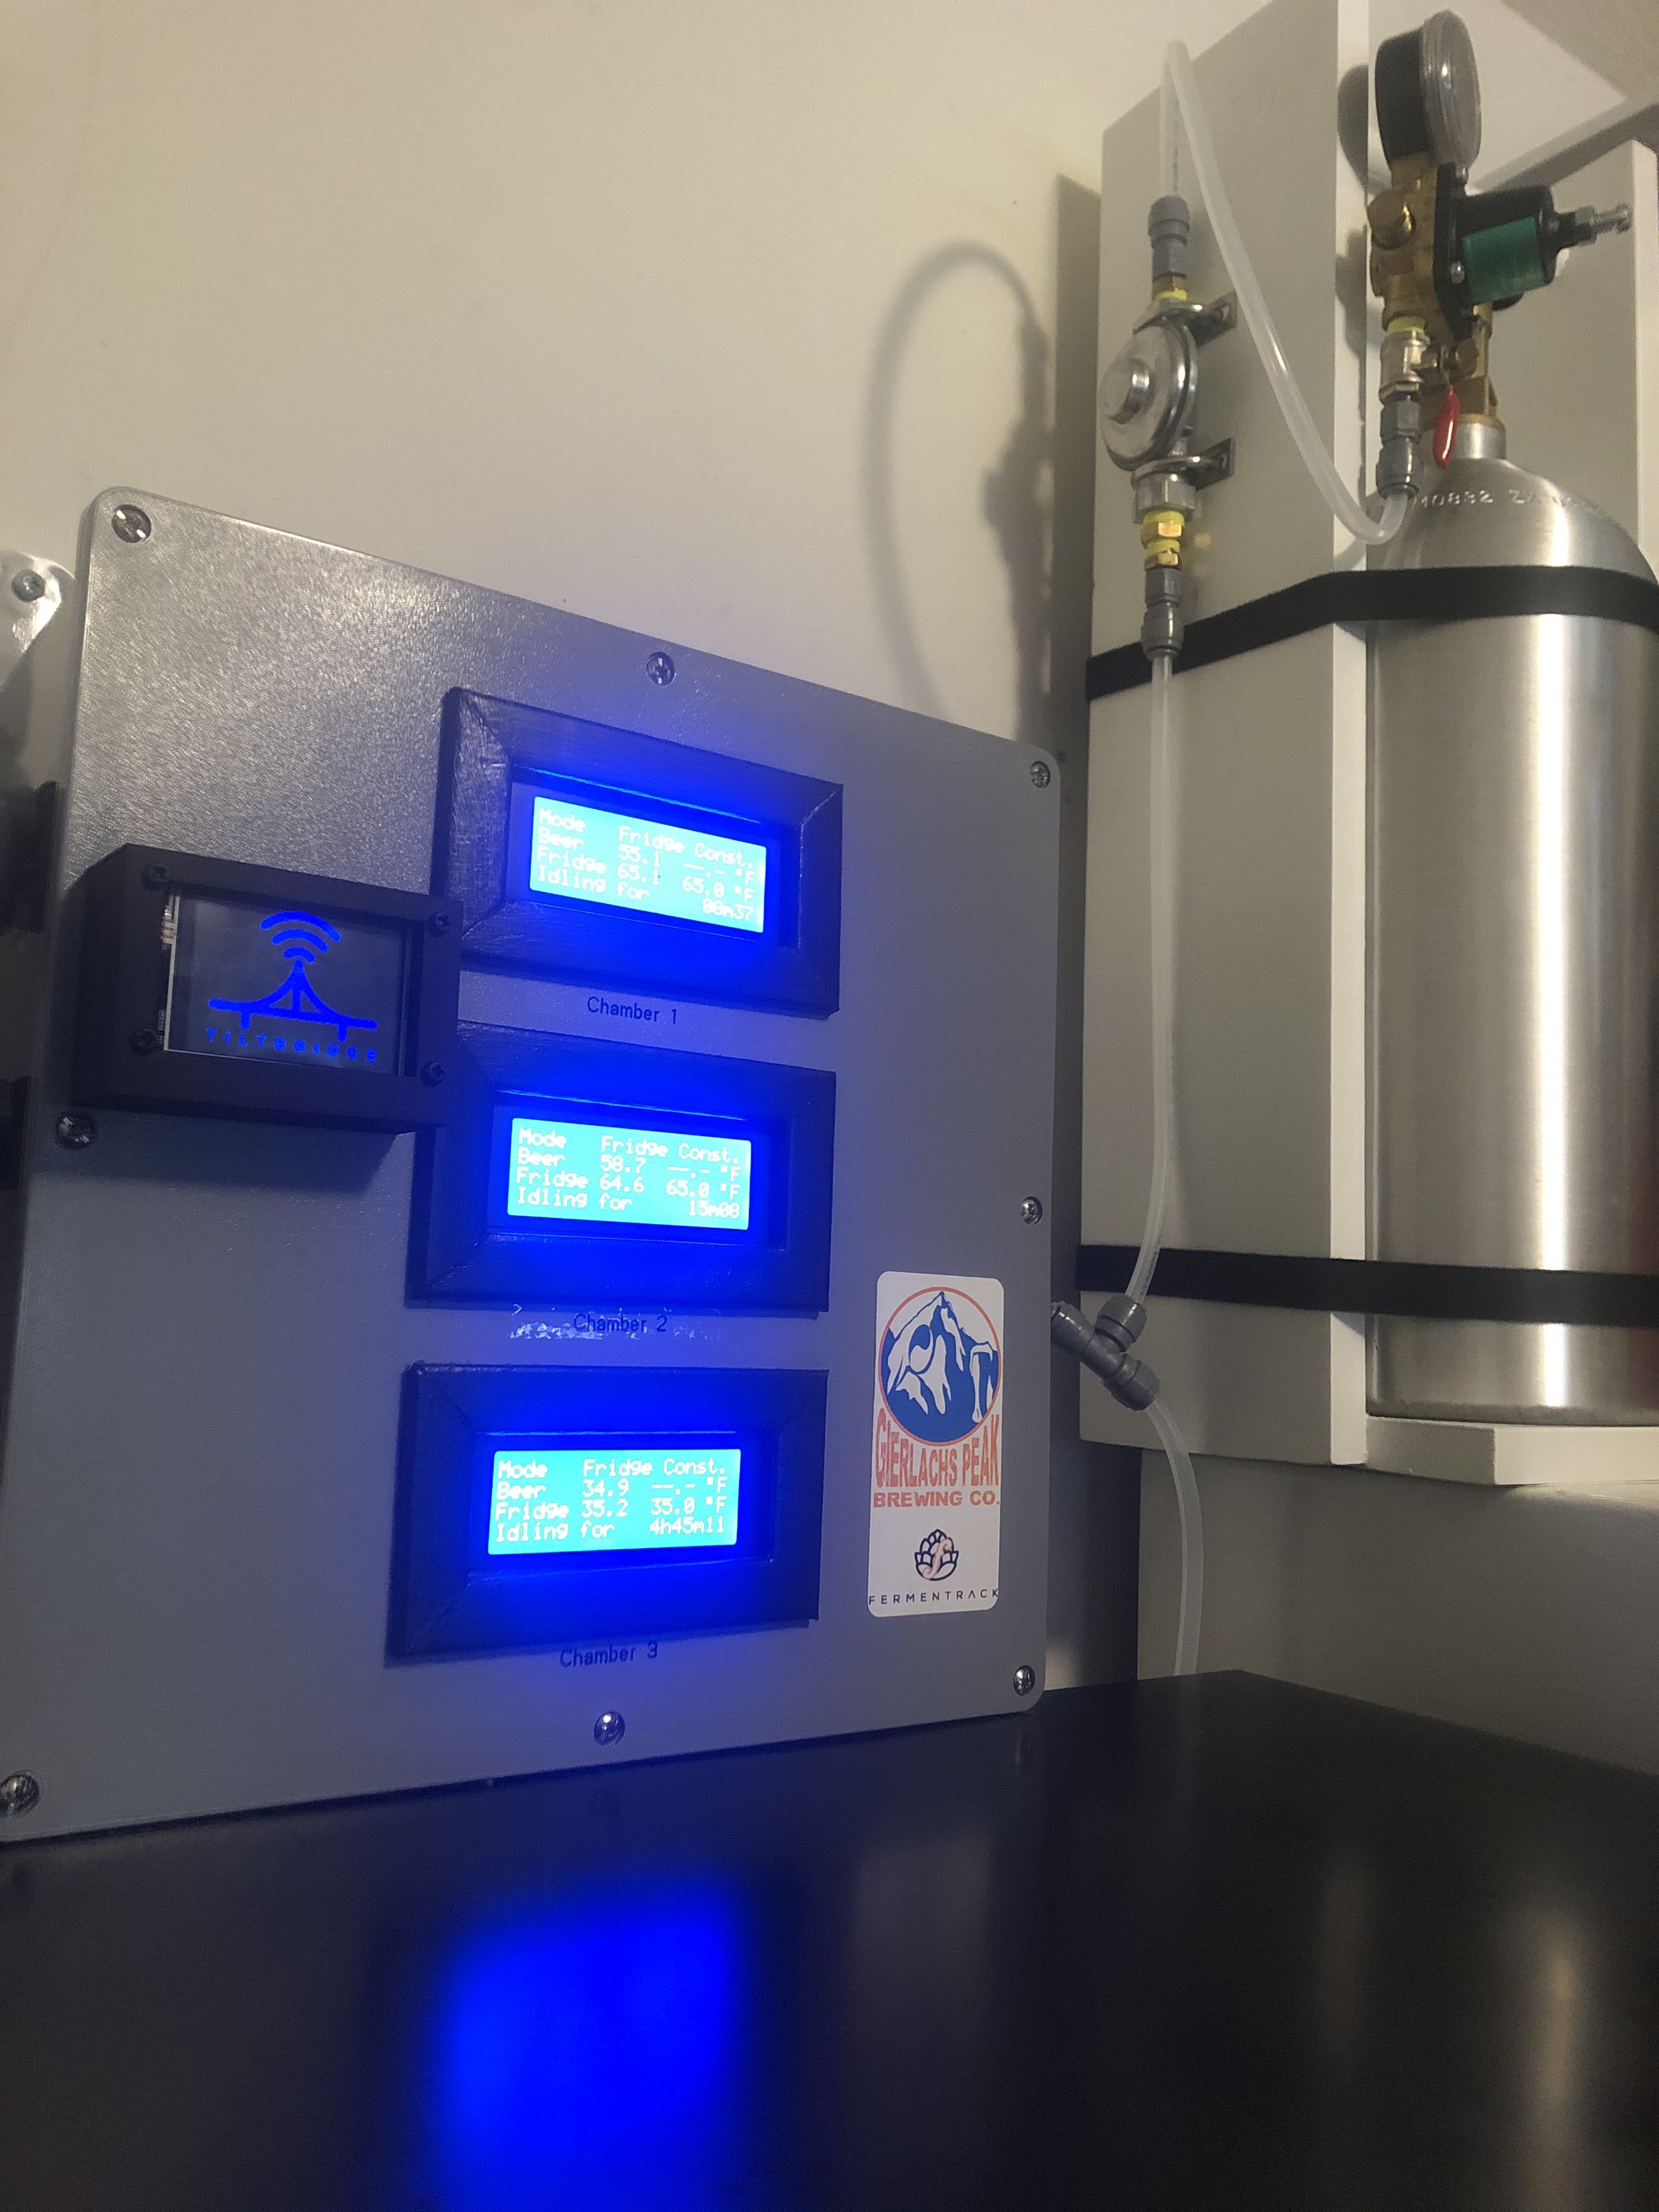
As I was coming to a close with my Fermentrack Build, the Tilt Bridge Project was announced. I currently do not have a Tilt Hydrometer, but I know that will change in the future. The toughest part of the install was designing an enclosure. I taught myself how to use OpenSCAD and designed my enclosure. After bouncing some design ideas off of Thorrak, I decided to move forward and have a design printed using shapeways.com.
B.O.M.
- M3 Nylon Screws and Nuts (Micro Center)
- ESP32 OLED Wemos WiFi Module+ Bluetooth Dual ESP-32 ESP-32S ESP8266 OLED For Arduino (Ali Express)
- Female to Female DuPont Connectors (Ali Express)
- Male Pin Header (Ali Express)
- Custom 3D printed ESP32 Surface Mount Enclosure (shapeways.com)
- Design ESP32 enclosure
- 3D print the design
- Flash ESP32 with Tilt Bridge **
- Solder male header pins onto the 3V, Gnd, Gnd, 5V locations on the ESP32.
- Place ESP32 into the enclosure, centering the OLED with the enclosures OLED window.
- Mark locations of the ESP32 mounting holes on the enclosure.
- Drill pilot holes on the marks and expand holes to allow the nylon screws to go through.
- Push nylon screws through the enclosure and through the ESP32 mounting holes.
- Position enclosure.
- Mark where nylon screws contact the surface.
- Mark where the male header pins contact the surface.
- Drill pilot holes on the surface marks where the screws contacted, and expand holes to allow nylon screws to go through.
- Drill pilot holes on the male pin marks, and expand if necessary.
- Mount ESP32 with enclosure to the surface using nylon screws and nuts to secure ESP32.
- Remove 1 Female DuPont terminus from 2 DuPont wires.
- Run 5v and Gnd wires from PS to ESP32 accordingly.
**when flashing the ESP32, please use Thorrak’s tutorials/references as your guide.
www.tiltbridge.com
docs.tiltbridge.com/en/master
Couple of things I picked up along the way...
When flashing, if Fermentrack doesn’t see the ESP32 when in serial mode, there’s a good chance the USB cable is at fault. If you are using a charging cable, this will happen. You will need to find a USB cable that is for Data transfer.
Once I started to use the correct cable, my flashing would timeout and Tilt Bridge would not flash onto the ESP32. I found that there can be an issue where an RPi and the USB to UART Bridge on the ESP32 will not communicate and allow flashing to occur. To get past this, I held down the ‘boot’ button on the ESP32 while flashing to install the Tilt Bridge.
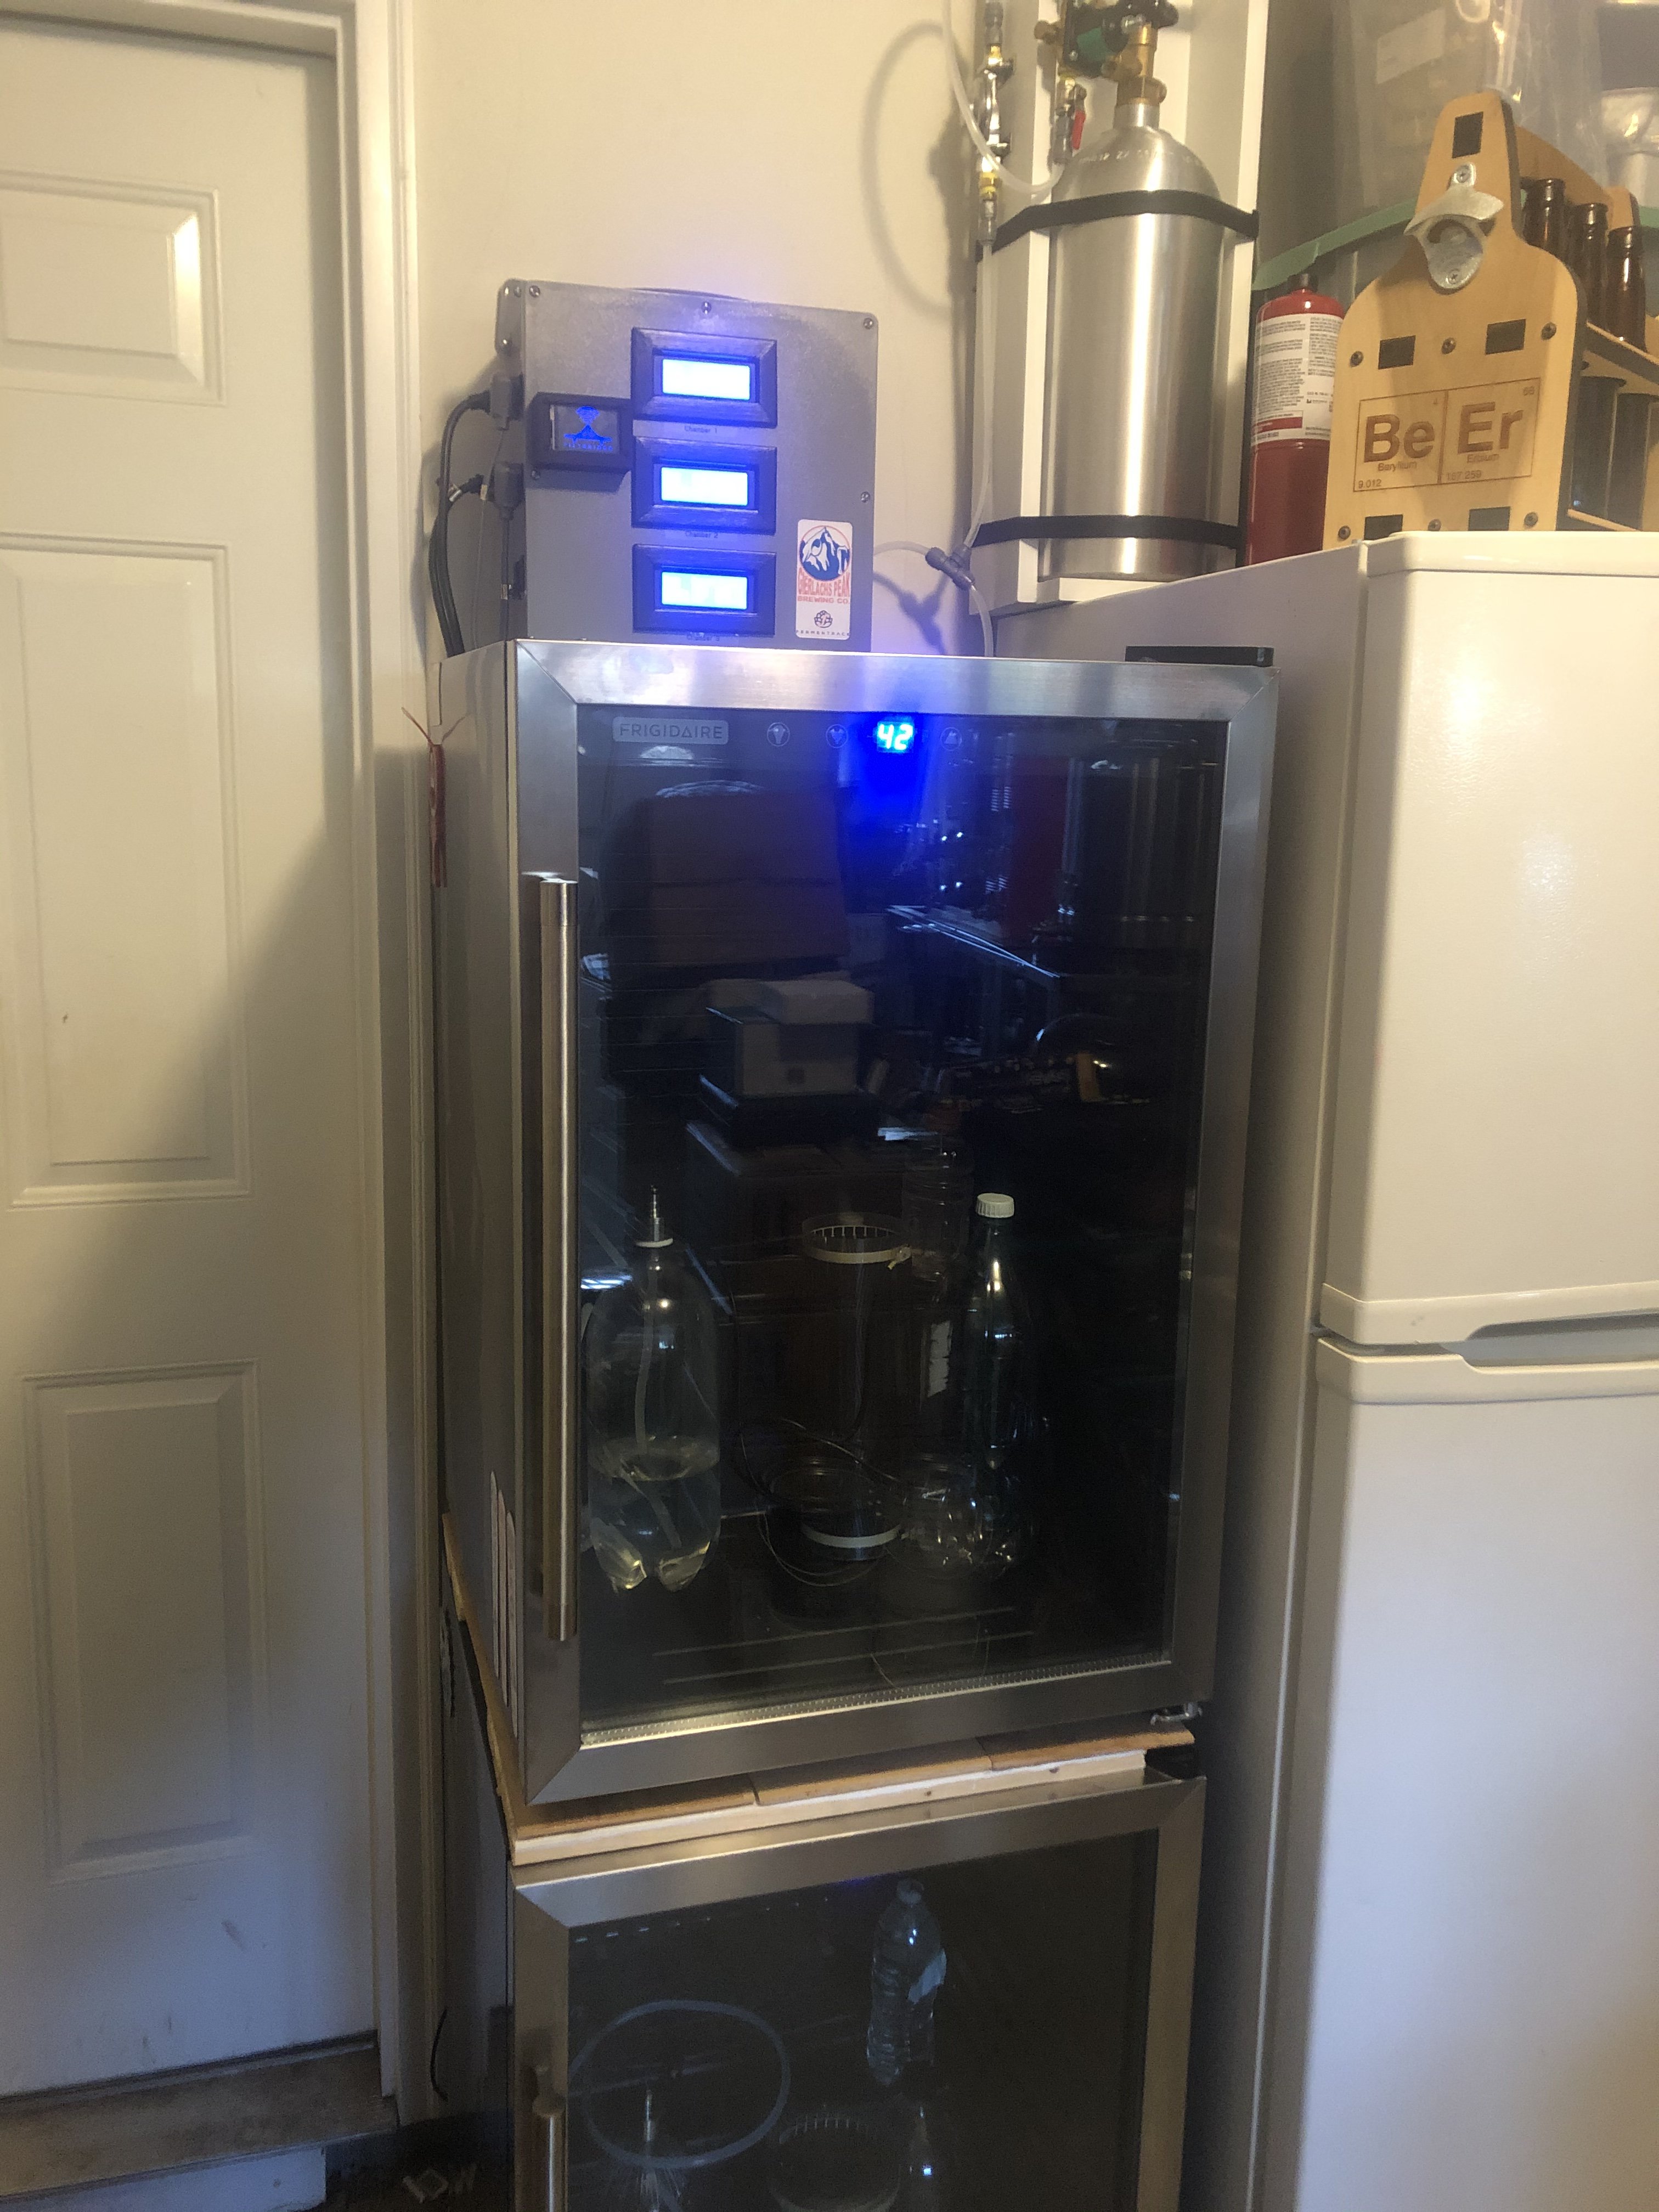
View attachment 627862 View attachment 627863 View attachment 627864 View attachment 627865


![Craft A Brew - Safale BE-256 Yeast - Fermentis - Belgian Ale Dry Yeast - For Belgian & Strong Ales - Ingredients for Home Brewing - Beer Making Supplies - [3 Pack]](https://m.media-amazon.com/images/I/51bcKEwQmWL._SL500_.jpg)


