jbsengineer
Well-Known Member
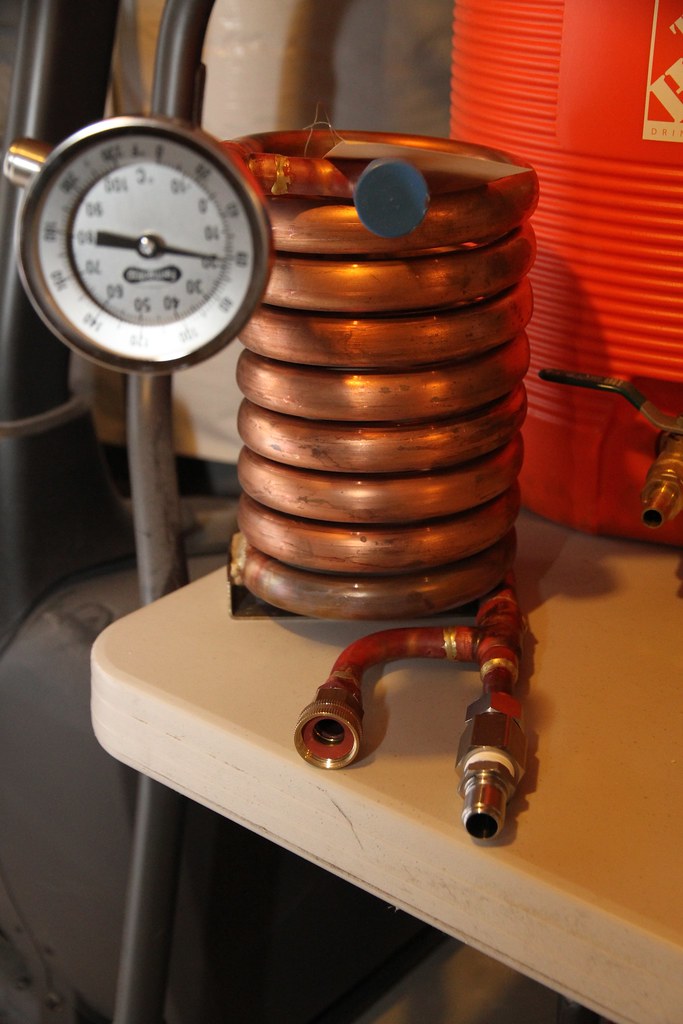
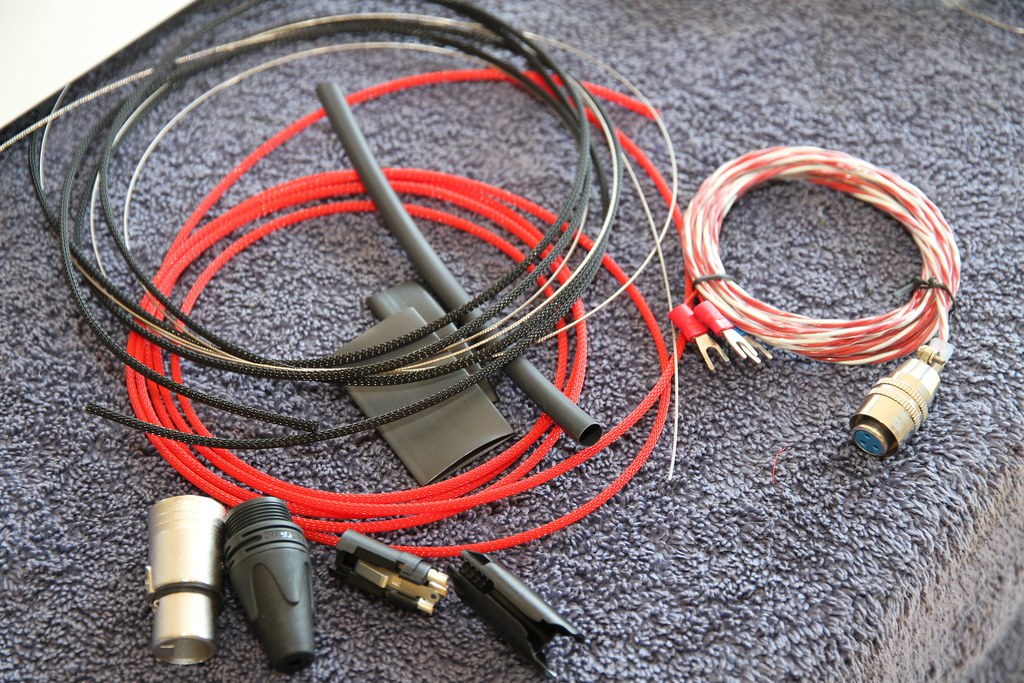
Chiller:

 Otherwise, awesome!
Nice! Pretty soon you are gonna be burning up some of your grain
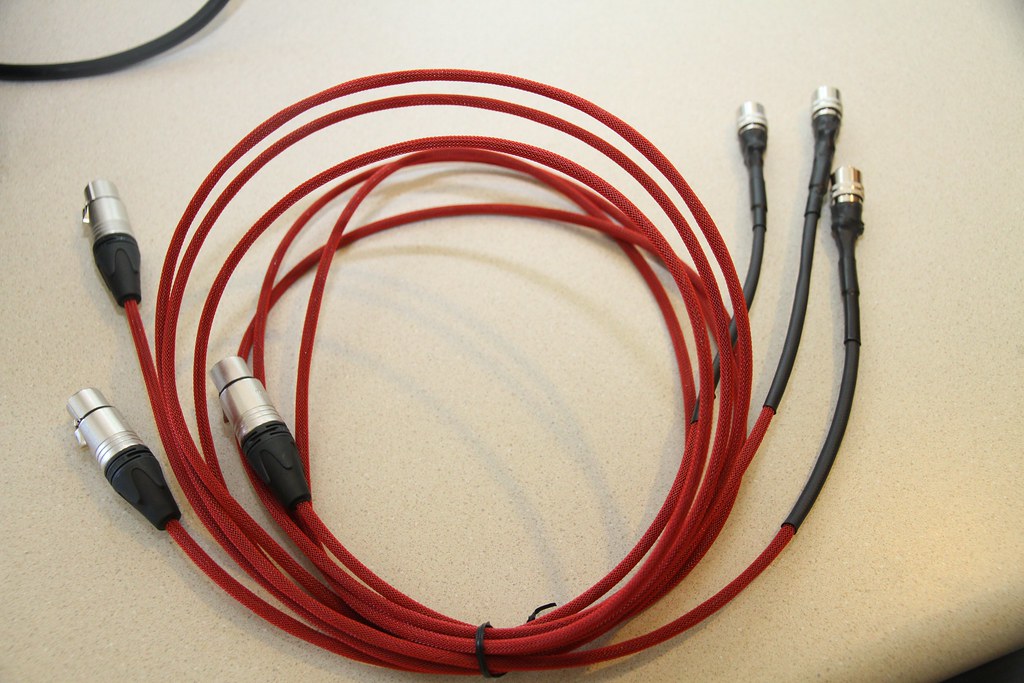
Let me know how that chiller works out for you. I reshaped my copper chiller to be wider and now I am getting 11G of boiling worts chilled to 130F in 3 minutes!! I was going to go convoluted CF chiller like the one you have (or at least it looks like one), now I am not so sure.
Wow! Just nice...except your chiller guage is upside down
I did a final test run last night from boil and it was the first time I got my chiller dialed into 70F quickly. It's a bit of game to get max flow while maintaining a consistent temp. Excellent chiller though. It's a little wobbly at the bottom and I don't quite trust the compression fittings - but I haven't had any leaks yet and nothing has fallen off or bent - so, time for beer making. :rockin:It has been far to long without brewing any beer. I have a backlog of grain as you know! I chose to invest any free time into getting the brewery online. First batch is this weekend. Keeping it easy with a Amber Ale.
Will do. I did a test run with 160F water and it chilled easily to 70F coming out. Still need to do a test run of the boiling water.


Nice! Pretty soon you are gonna be burning up some of your grain
Let me know how that chiller works out for you. I reshaped my copper chiller to be wider and now I am getting 11G of boiling worts chilled to 130F in 3 minutes!! I was going to go convoluted CF chiller like the one you have (or at least it looks like one), now I am not so sure.
Are you using the Hop Stopper that Kal recommends? If you are, then plain water won't give you issues when draining the kettle for chilling. When he says that you have to slow the output to a trickle once the stopper is exposed to air, he means it. I found out the hard way when I drained the BK and slurp siphon was lost and I left about 2.5 gallons in the BK.I did a test run with water tonight. From boiling I was able to move 12.3G down to 66 degrees in 11minutes.
Water temp is 53 degrees, so that gives me a good amount of flexibility.
Are you using the Hop Stopper that Kal recommends? If you are, then plain water won't give you issues when draining the kettle for chilling. When he says that you have to slow the output to a trickle once the stopper is exposed to air, he means it. I found out the hard way when I drained the BK and slurp siphon was lost and I left about 2.5 gallons in the BK.
Chilling with a Hop Stopper takes a bit longer - upwards of 30 minutes.
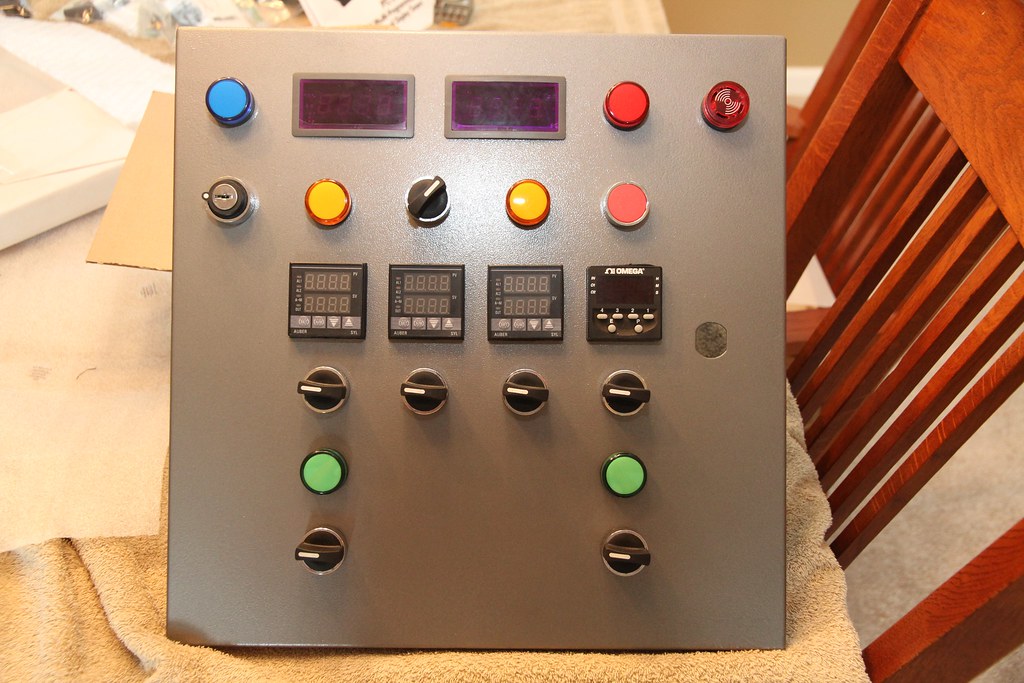

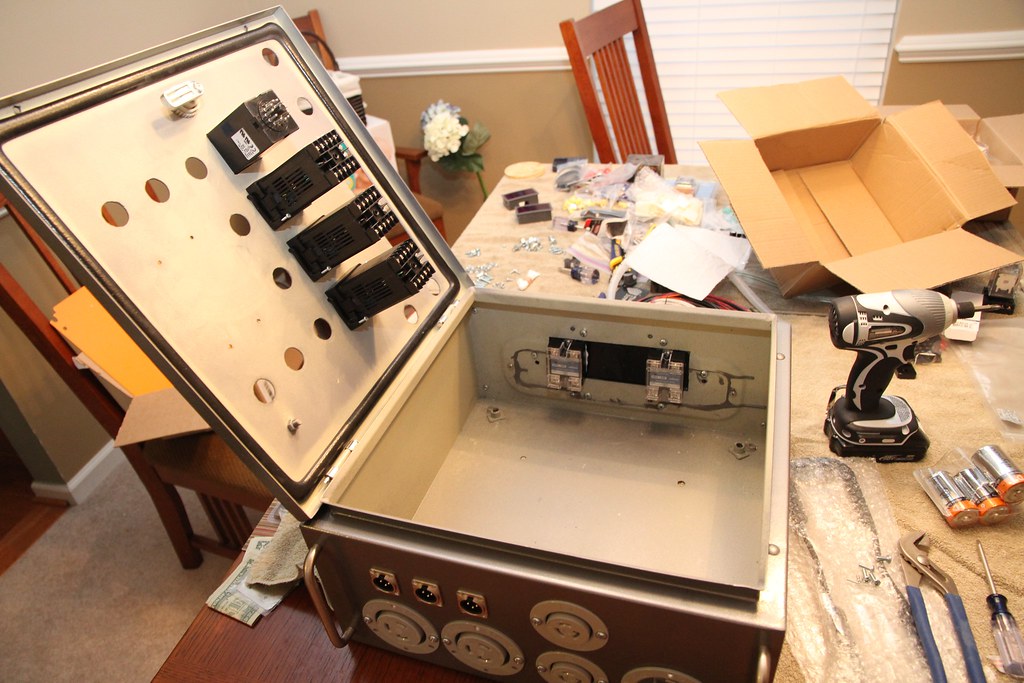
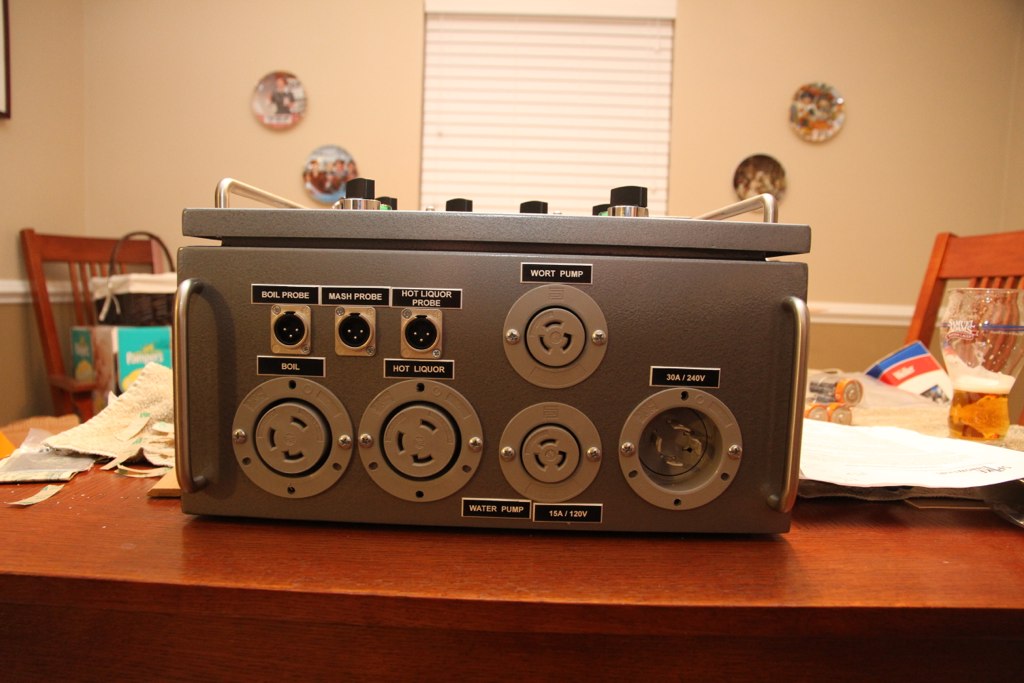
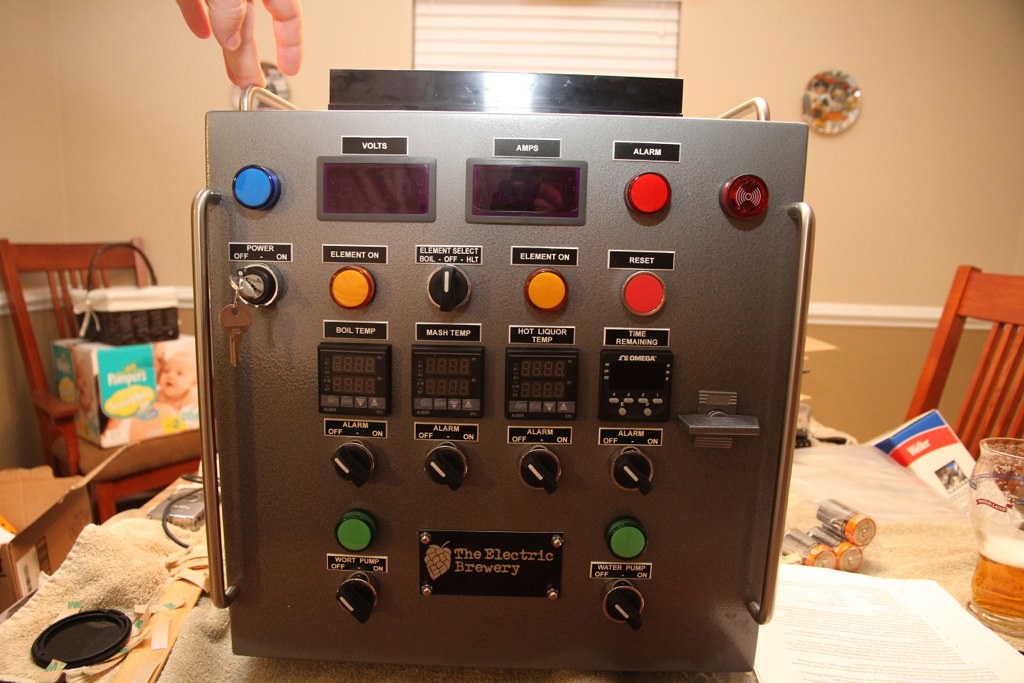
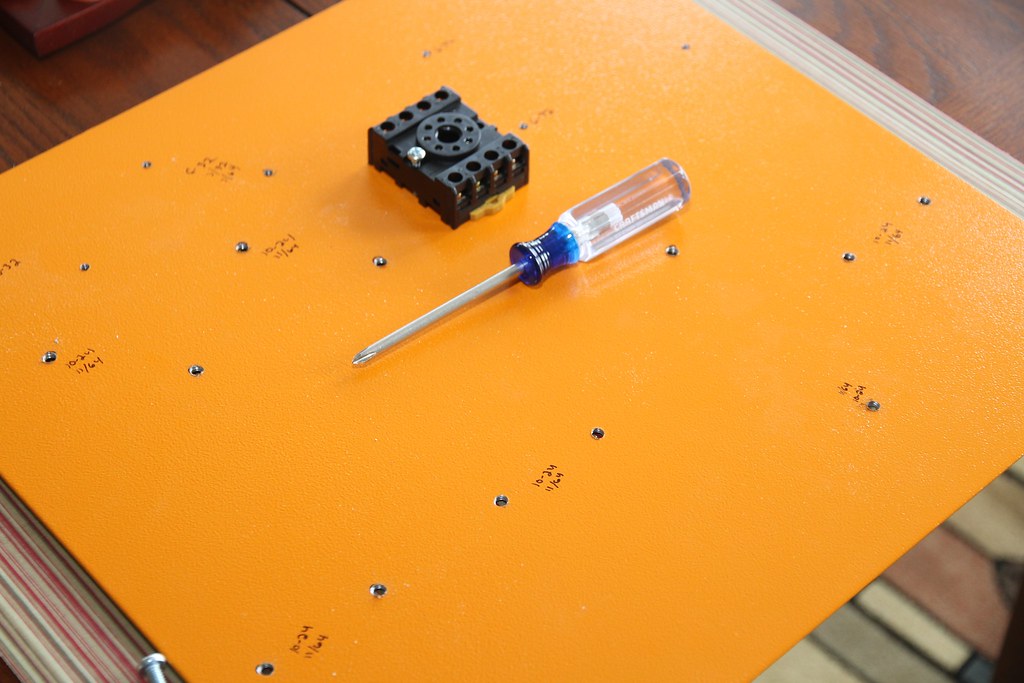
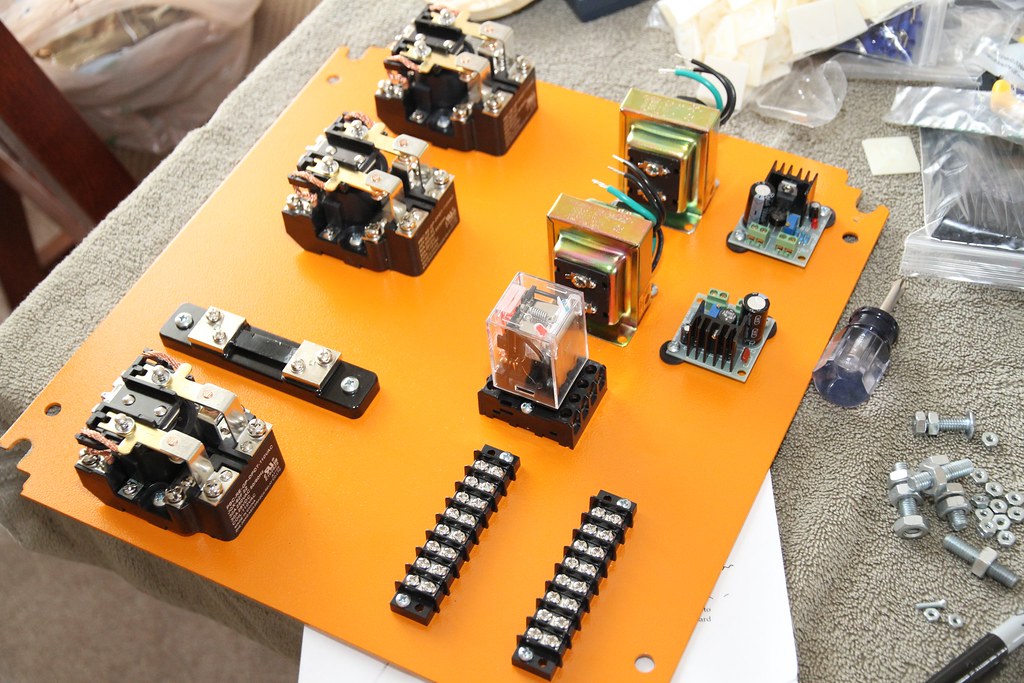
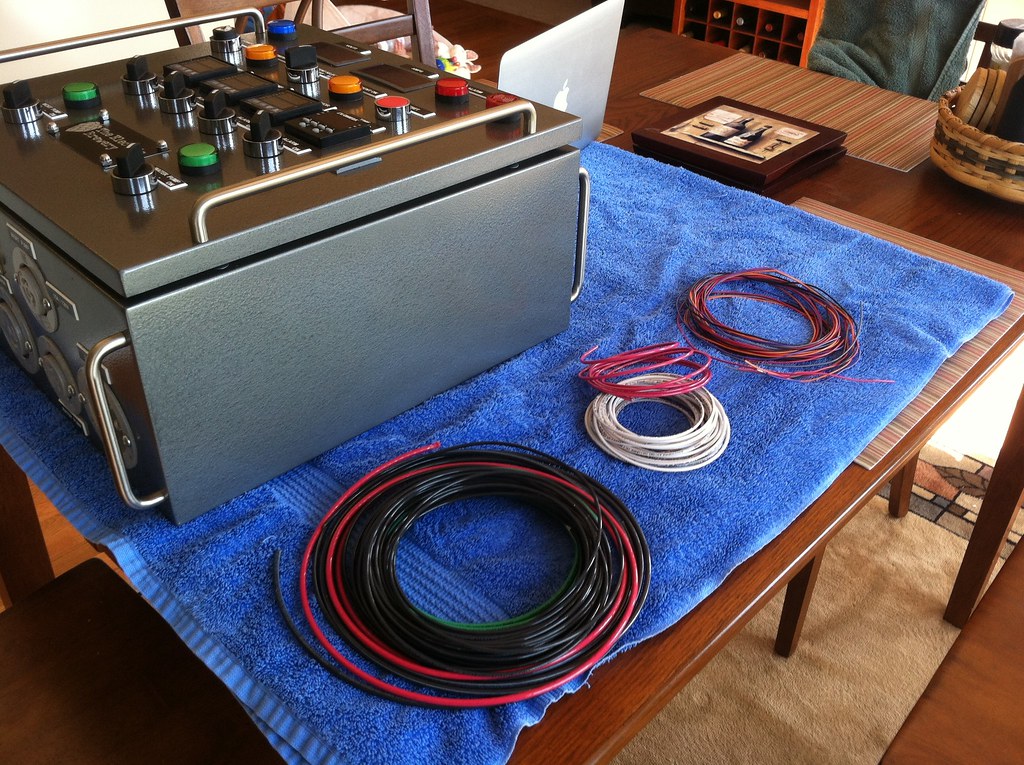
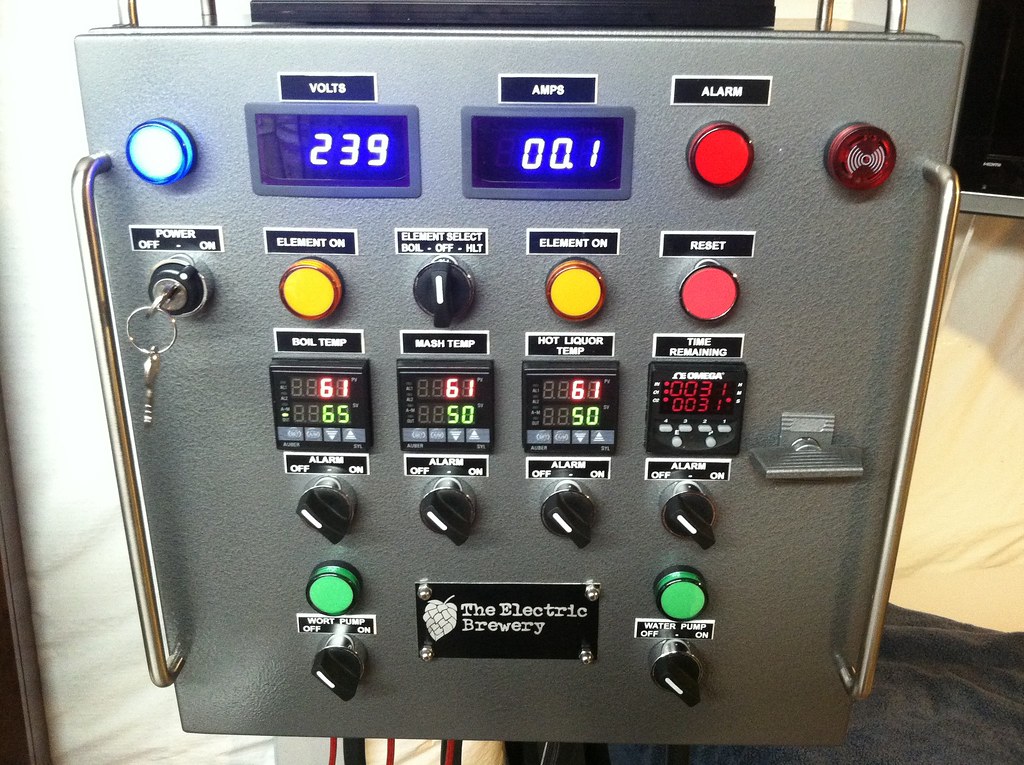
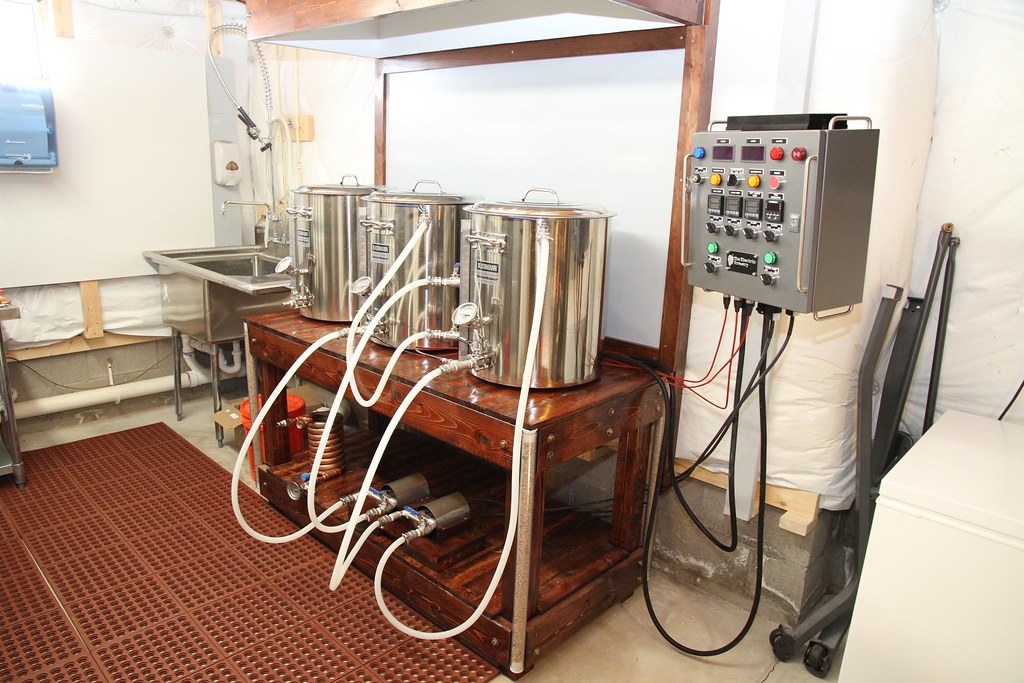
looks great man! Really nice full on Kal build
Now you can brew brew brew!
!Sam's Club for the mats. Thus far they have been a lifesaver for my feet and back!
After some more tweaking in BeerSmith I believe I actually hit an efficiency of 91.4%.
My sparging was done in 1/2 the expected time so I will slow it down more in my next batch which could increase the efficiency a little bit.
I plan to do another Kal recipe on Monday (it's helping me familirize with the new process and dial in the equipment into BeerSmith). I'm going to try his Sierra Nevada Torpedo IPA clone recipe.
It's dozens of factors. Basically careful attention to detail. Including:is the efficiency that high due to better sparging? i know the temperature control is perfect, but that's obvious
The product called 5.2 stabilizer from Five Star chemicals? (IMHO that stuff is more trouble than it's worth), or do you mean that they modified or did something else to their mash to get to 5.2 (like adding salts or various grains known to modify mash pH)?I heard pH matters but someone told me they used 5.2 and their eff dropped 2%.
What do you mean by "mashout"? I mash in a cooler then drain off followed by a sparge
What is Mashout?
Before the sweet wort is drained from the mash and the grain is rinsed (sparged) of the residual sugars, many brewers perform a mashout. Mashout is the term for raising the temperature of the mash to 170°F prior to lautering. This step stops all of the enzyme action (preserving your fermentable sugar profile) and makes the grainbed and wort more fluid. For most mashes with a ratio of 1.5-2 quarts of water per pound of grain, the mashout is not needed. The grainbed will be loose enough to flow well. For a thicker mash, or a mash composed of more than 25% of wheat or oats, a mashout may be needed to prevent a Set Mash/Stuck Sparge. This is when the grain bed plugs up and no liquid will flow through it. A mashout helps prevent this by making the sugars more fluid; like the difference between warm and cold honey. The mashout step can be done using external heat or by adding hot water according to the multi-rest infusion calculations. (See chapter 16.) A lot of homebrewers tend to skip the mashout step for most mashes with no consequences.
Funny I just rebrewed the BYO Torpedo clone last week - Have brewed it 4 or more times, it is dead on.
Love that brew
Good luck!


![Craft A Brew - Safale BE-256 Yeast - Fermentis - Belgian Ale Dry Yeast - For Belgian & Strong Ales - Ingredients for Home Brewing - Beer Making Supplies - [3 Pack]](https://m.media-amazon.com/images/I/51bcKEwQmWL._SL500_.jpg)

