• Please visit and share your knowledge at our sister communities:
  • If you have not, please join our official Homebrewing Facebook Group!

    Homebrewing Facebook Group

My attempt at a 20 gallon, future-prrof system with stout tanks

Homebrew Talk

Help Support Homebrew Talk:

This site may earn a commission from merchant affiliate links, including eBay, Amazon, and others.
So yesterday I spent some time down in my brew garage and thought I would show you some pictures of where this setup will live. Also some pics of all the projects this wonderful site has helped me complete.

I will be building a new table opposite the current table (where the surfboards are) for the new set up. I want the table to be lower to keep the pot heights optimal.

c4y9.jpg


As you can see, it’s not too bad of a setup for a 1.5ish car garage. The surfboards will be hung from the ceiling to make room. It has seating for 4+ around to old restaurant tables that my mother found for free.

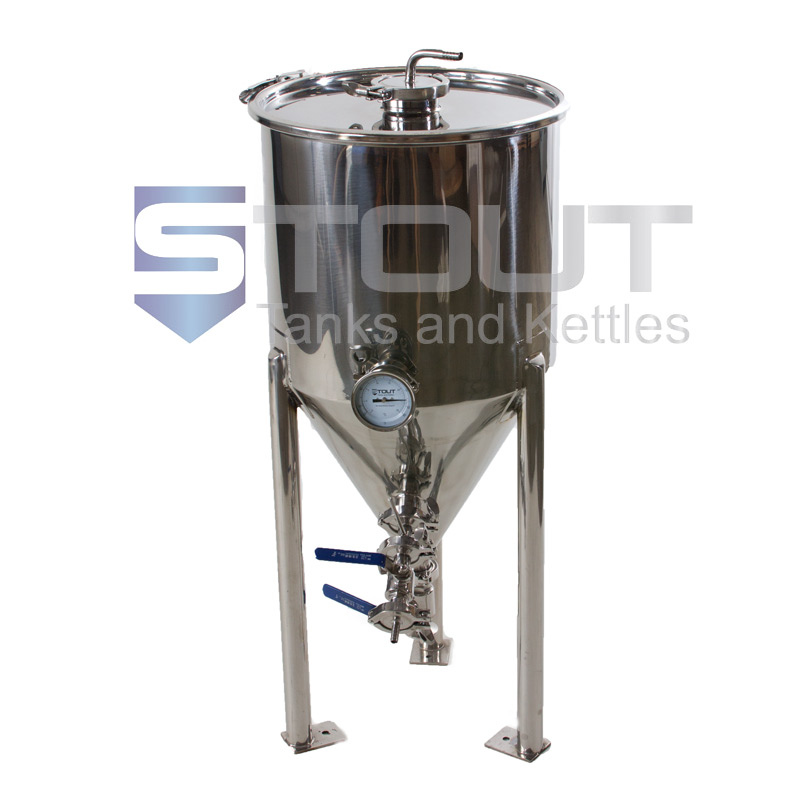
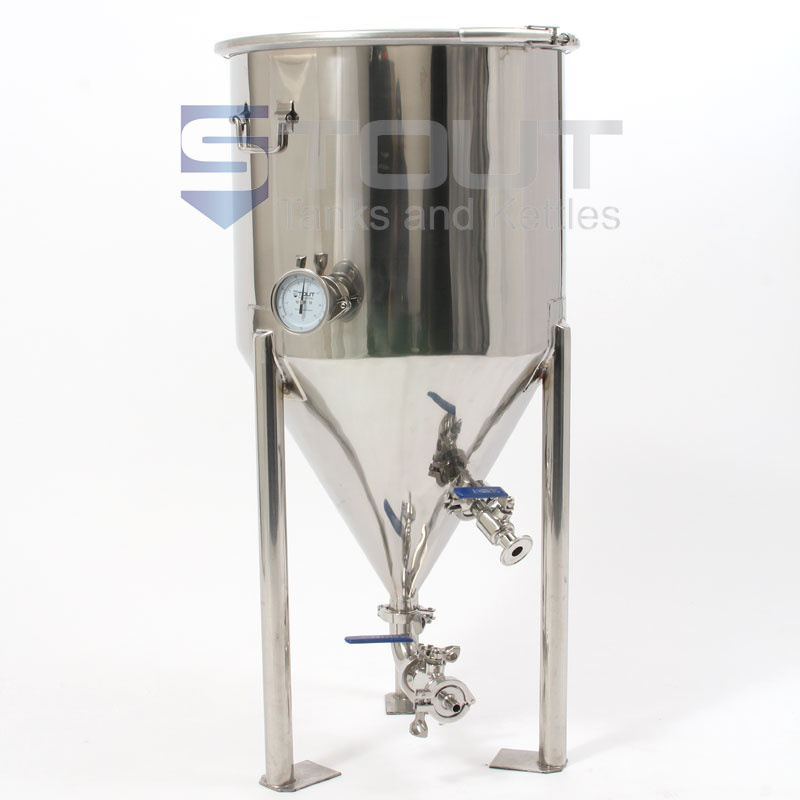
This is the main work table/bench, also scored for free. Keezer to the left, BIAB pot to the right and dual fermenters below. All in one compact package.

2vws.jpg


Finally have all four taps flowing simultaneously!

gd2a.jpg

Dual stc-1000s controlling the wine coolers

j7op.jpg


auvq.jpg


And of course the obligatory stir plate

o43a.jpg

So that is where it is living. And a big thank you to all of the posts that inspired the above!
 
Nice work! The controls on your boxes are nice and clean and well laid out. If I can make one suggestion: Add some panel tags. They're cheap (under $2/each usually) and helps given that most of us don't brew every day . Makes things a lot safer I find.

They look like this:

panel_tags_126.jpg


Available at many locations - just google "panel tags" or "electrical tags".

Kal
 
Kal, on the next revision of the panel I will most definitely have labels. I have a laser marking machine at work so I am thinking a brushed stainless panel with laser etched tags would look sharp.

On another, more annoying note, does anyone have John's email address at stout? Is it as simple as [email protected]? I am getting tired of asking their sales support the same question 3 times to get a pretty simple answer about their tri clamp sizes.
 
Yeah, the plan is one of these:

TC10TEE-SL.jpg


from brewers hardware (http://www.brewershardware.com/1-Tri-Clover-Clamp-Instrument-Tee.html)

and one of these:

PT100-Clamp.jpg


from auber (http://www.auberins.com/index.php?main_page=product_info&cPath=20_15&products_id=267)

for the HLT and BK I will put it at the outlet. The MLT I am still deciding on. THe three choices are the outlet, outlet from the Herms or the inlet back to the MLT.

that's awesome! I missed that over at brewers hardware:mug:. I almost wish I had used them..
 
Alright, I the long awaited dimensions of the inlets and outlets:

"As for a port ID, I was told they are roughly 1/8” smaller than the OD, therefore here are the OD for each of the ports on 20 gallon tanks, the ID will be about 1/8” smaller.


Outlets – 1”

Recirculation fittings – 1”

HERMS inlet – 1”

Tangential inlet – 3/4"

2” element ports – 2”"
 
Check out the ones from Still Dragon. They're cheaper and their design supports RIPP elements. I did upgrade to a better strain relief (aluminum from grainger)

http://www.stilldragon.com/element-guard-kit-and-adapters.html

I use the stilldragon element guard kit, too; but your grainer strain relief looks SOO much better. The Still dragon one has driven me crazy- if I put a decent bend into the cable the sheath pops out. Do you happen to have a link to that part on the Grainger site? (or a PN?)

Did you use 10/4 or 10/3 wire? (I bought all 10/4 wire which was a mistake as obviously the elements don't need it / can't use the 4th wire anyway and the OD of the cable makes it a huge PITA to install with the stilldragon elements.


Adam
 
A strain relief is used whenever an electrical wire is to be moved or manipulated somehow (in this case by the user) and you don't want to place any strain on the wiring connection points. It "relieves the strain".

Without it if you pulled on the cord or even just the weight of the cord would put strain on the electrical connection points. Not good.

You see them in everything from a table lamp, to your TV, to your IPOD charger.

Kal
 
Alright, hopefully will be making some more purchases soon, but still a lot of planning going on. Need some input on pump connections.

I already have one stainless chugger with camlock connections, and will be adding a second one once the pots get here. But I cant decide what to do for connections.

I can either buy four 1"/1.5" Tri Clover Compatible X 1/2" Female NPT, and have everything be tri clamp connections

or

I can buy four 1"/1.5" Tri Clover Compatible X 1/2" Male NPT and some camlock fittings and keep it camlock connections for hoses.

any thoughts?
 
I'm torn on camlock fittings still. Much easier to use that tri clamps. I kept my old fittings around in case I want to use them for hose changes. I'm getting more used to the tc though, so the motivation to go back is limited.
 
I Think I am just going to stick with the tri-clamps with female npt thread. If for another reason, it will keep it much more simple and the hoses won't have to be attached a certain way.

Currently I am planning out the Panel. It will have to power inputs of 120 V 20 A controlling four 2000 watt elements. Most of the components from my previous panel will be used. I have attached the drawing below. It is similar to Kal's but I made some changes. Let me know if you think I am missing something or have some questions.

rqwq.jpg


SW stands for switch, L stands for light.

My question for anyone that has used the control panel that he uses; what is the dimension and location of the hole for the latch on the front of the box. I want to make sure I don't interfere with it.
 
I don't really get the use of a timer permanently mounted in the panel. I'd swap another PID for the timer to monitor chiller output, herms coil output, or temp somewhere else. I use kitchen timers that I can stick anywhere I want, even take with me if I want to go do something else in another part of the house.


Also you don't need alarm switches for each controller.
 
Need? definitely not. Helpful though. I use the timer, and the alarms on the controllers. It is nice to know when the kettle is 'about' to boil, or when the strike water is ready, etc... And I use the boil PID to measure temperatures elsewhere during the mash, particularly when I was tuning in the system and tracking down temp control problems

I bought the box off ebrewsupply, so it might not be the same panel. I'll measure tonight, anyways, and give the dimensions. Based on your drawing, though, I'm sure you are fine.
 
As you can see below, my current panel has almost every switch and light that I plan on putting on the new panel.

snc2.jpg


I do agree that the time mounted on the panel is excessive. But since I already have it, I will use it. It is nice to have it all in one place. Most panels are based more off want than need.
 
Also, sold some stuff on ebay last night so now it is time to buy the enclosure. Do most people just buy it off of Amazon for $99 plus shipping? (don't worry Kal, I will for sure go through your link if this is where I end up picking it up)
 
bemerritt said:
Also, sold some stuff on ebay last night so now it is time to buy the enclosure. Do most people just buy it off of Amazon for $99 plus shipping? (don't worry Kal, I will for sure go through your link if this is where I end up picking it up)

I went with the enclosure from eBrewSupply.com. About the same price and free shipping over $50.

What's nice with the one from them is there is already a grounding post inside the enclosure.

Mine had a few small dents when it arrived. Not sure if I was an anomaly or the norm.
 
The guy selling the panels on eBay is a criminal. He was arrested for selling counterfeit breakers, and got a slap on the wrist. I don't buy from him...
 
That said, I bought my panel from him, messed up the door and he sent me another one for shipping. So maybe he's not a bad guy anymore.
 
There was a long thread about it. The guy managing his company was trying to win back the homebrewer community, explaining how this guy doesn't run the show anymore (but still owns the company, it seems). Eventually, the thread was locked as the moderators said it was turning into an advertisement by a non-sponsor. (which it was)

Lots of different opinions were stated. I was in the 'he's not getting my business' camp, but everybody makes their own choices. The panel from ebrewsupply worked out really well for me. It is probably identical, from the same manufacturer in China.

No dents in mine, it was packed obnoxiously well... I had a house full of packing peanuts after the dog ran into the box. Greyhounds aren't bright. Fast, but not bright.
 
I recall that thread, and the guy trying to save face got tiring real quick.

Thanks for the ebrewsupply recommendation. Should get it sometime next week. Then It's time to transition into the new box. I will have it wired for the 3 vessel system but will only use it for BIAB until the pots arrive. Which can't come soon enough!
 
I remember when my pots showed up. That was a good day :)

A fedex semi pulled up, and the guy used the lift gate to wheel out a pallet with my 3 vessels on it. Fast forward through 20 minutes of carboard and bubble wrap flying through the air, and then my condo experienced a severe bling upgrade.

Once they get here, I recommend you follow my carefully documented cleaning procedure:

https://www.homebrewtalk.com/f11/bonding-your-equipment-436519/
 
ok, maybe not pennies, but certainly worth the couple extra dollars to back gas it. he said he could do it for an extra charge. .

It costs me $50 for 58CF of Argon. That's the smallest tank. To fill 45 gallons this would use about 6CF of Argon or about $5 dollars. This is an exact figure, so it would probably use twice that since you need to keep the gas running. I would tape a metal cup to the back side and run backing gas to that.

On my Chinese kettles it is really interesting how they welded the fittings. They flared the metal out from the side of the tank and welded to that.
 
So lucky for me my bonus came through alarger than expected. Pair that with a loving SWMBO and all of the control panel panel parts are in transit. It also lets me get a conical earlier than expected. I have outlined my observations below in attempt to decide what to get.

Stout 14 gallon - $589 + Shipping
15g-fermenter-202-cf15tw-ra-3tclid-800-01.jpg


Pros
-10 gallon batches will probably be the norm, for now
-Has a 3" port on top for cip/other options
-Whole lid comes off for easy cleaning
-comes with tri clamp fittings
Cons
-10 gallon limit
-would need to customize to use a glycol chiller
-Pressure rated to 5psi

Stout 23 gallon - $769 + Shipping
23g-fermenter-235-cf23tw-FRZ-800-03-01.jpg


Pros
-23 gallon capacity will work for 10 gallon batches, but allows from for expansion
-Whole lid comes off for easy cleaning
-comes with tri clamp fittings
cons
-would need to customize to use a glycol chiller
-no TC port in lid for cip
-pressure rated to 5psi

Brewhemoth -$640 Free shipping
Brewhemoth%20tri-clover.png

Pros
-Large capacity
-can pressure ferment
-large TC port for cip
-can use integrated chiller for upgrade
cons
-weld quality has been called into question
-I don't really like the legs on them
-can it fit a 20 gallon batch?
-have to purchase tri clamp fittings separately


Other notes

-Pressure fermenting has no appeal to me for now. As long as I can pressure transure, i will be satisfied.
-I plan on using the conical for my house favorite IPA. Most other batches will be put in the carboys within the wine coolers.
-I feel as if i go the glycol route, it will be easier to add more conicals down the road as long as the chiller can handle it.
-If i want 20 gallons in the fermenter, i will do a double batch
 
I'm sure i have missed some points. But hopefully some of you have some opinions or experiences that will help me decide. If not, atleast this post helped me organize my thoughts. Much like the rest of this thread. Thanks!
 
Since the thread title says "future proof" you have to ask "where will I get a conical gasket if Stout goes out of business?" Probably easily made, but something I have always wondered.. Also the larger size of the brewhemoth is more future proof. Also I think there has been threads about the gaskets not sealing good on the Stout fermenters, but I could be wrong. Plus Brewhemoth is made in USA if that means anything to you.
 
I went with Brewhemoth for a couple of reasons. I received mine yesterday and have not used it yet, but I love it. I don't like the ball valves on the stout ones and the fact you can't pressure ferment. I like the idea of my beer not seeing air until it is in a glass plus using less co2 is always a plus. The legs are adjustable and pretty darn sturdy, one member on here asked and received stainless ones plus had a fourth leg as well. I also jumped in when it was 25% off. I love the fact they are made in the USA and their customer service was top notch. I would want to upgrade those ball valves on the stout to butterfly anyways. Just my two cents.
 
im about to upgrade to 3 kegg;es to 10 gallons instead of my pots and 5 gallon batches and was having reservations about what im gonna do with THAT MUCH beer.
what are you guys gonna do with 20 gallon batches or do you just not brew that often??
 
I don't brew too often. I'm In the Navy and I am the father of two year old triplets. You see the state of my garage in that picture. That will be remedied by end of the weekend.
 
The legs are adjustable and pretty darn sturdy, one member on here asked and received stainless ones plus had a fourth leg as well.
I went with 4 legs, stainless, and 1 foot longer. I polished them myself. One day I would like to get a second brewhemoth but I will probably only get 3 legs instead of the 4.

 
Back
Top