Limiting oxidation: effect of purging headspace O2 in a bottle conditioned IPA

Homebrew Talk - Beer, Wine, Mead, & Cider Brewing Discussion Forum

Help Support Homebrew Talk - Beer, Wine, Mead, & Cider Brewing Discussion Forum:

This site may earn a commission from merchant affiliate links, including eBay, Amazon, and others.
Let's go back to #350:
adding bottling yeast
... this is something I have started doing with some experimental batches. And I have CBC-1 back in the "basement home brew store" - my ritebrew order (placed Monday morning) arrived Tuesday evening (aka next day delivery) so I have some bottling to do over the next couple of days.

In combination with a couple of other ideas, the results are promising. Some of the ideas are either 'cheap insurance' or appear to 'cause no harm'. Out of respect for forum wisdom's "only change one thing at a time", I won't say more now, but may "report back" later with the results.
 
From an O2 standpoint, bottling has its drawbacks.
One of my take-aways from The New IPA is the book's focus on keeping packaged beer fresh longer (rather than on just O2).


... moving to a broader context ...

There's a simple option, available to many people: store the beer in the fridge. Yes, not every one wants to spend their hobby money on fridge - but that doesn't invalidate the technique.

The idea of pitching fresh yeast when bottle conditioning may create curiosity about yeast health and nutrition.

In The New IPA, there are observations scattered though out the book regarding minerals (beyond the ones that water chemistry software works with).

Back to storing packaged beer. It's not an all or nothing thing. If I have a brewing / packaging process that 1) keeps the beer fresh for two months at room temperature, and 2) doubles under refrigeration, I can store some of the beers for up to four months.

There is a recent topic (outside of the HomeBrewTalk) with stories about old beer stored in fridges. A couple of stories talk about normal strength, malt forward beers that remain good for years.

Point being: oxygen ingress is part of the problem; oxygen mitigation is part of the solution.
 
Last edited:
If I have a brewing / packaging process that 1) keeps the beer fresh for two months at room temperature, and 2) doubles under refrigeration, I can store some of the beers for up to four months.
I don't have refrigeration for a batch of beer. My method of keeping the beer fresh is to time my brewing so that the beer will be conditioned when the previous batch is finished, or maybe a few days earlier. Then I drink the current batch only. It's gone in a month or less. Not everyone likes this approach. You may not like drinking one batch (5 gallons in my case) and no other beer. But it works for me. A low tech solution.
 
I don't have refrigeration for a batch of beer.My method of keeping the beer fresh is to time my brewing so that the beer will be conditioned when the previous batch is finished, or maybe a few days earlier. Then I drink the current batch only. It's gone in a month or less. Not everyone likes this approach.
I like it. It's your approach, using what's available, and it works.


At the home brew level, better bottle conditioning is one of those topics where there are no direct, quick, and cheap measurements of process changes.

Innovators (e.g OP) and early adapters of bottle conditioning ideas tend to be patient (samples available 90 days after conditioning, reporting back maybe once a year, ...).

As more brewers adapt some of these techniques, I would anticipate some "epic failure" reports. Along the lines of "I tried adding X, Y, and Z and my beer still turned purple. I'm going kegging and never looking back (but I'll type my bottling story over and over and over because you must also keg)".

Remember "extract always comes turns darker than expected" from the mid-2010s? It wasn't one thing (fresh ingredients), but a number of things (avoid scorching, softer boil, correct assumptions on estimated / actual color, ...).

Reducing oxygen is a key; slowing down the staling process is key. There are known (but not yet well known) approaches for this.

After that, it's possible that yeast heath, beer style, and water quality (trace minerals that promote staling) will be factors that need to be considered to avoid accidental purple beer.
 
Doing my due diligence on this. A Kolsch I bottled four months ago is starting to fade a little. Color is still there, but the fresh hops/malt flavors are less prominent.

A cream ale I bottled three months ago is still fresh, though has taken on a spicy note that it didn’t have wary on. This to me indicates infection since I used US-05. Interesting to note since I used 8mg/l metabisulfite (both w Kolsch and cream ale <and 0.6g/l ascot if acid>).

While adding more metabisulfite may prolong freshness, I did notice some sulphuric aroma early on. Maybe adding this 12hrs before bottling would work better?
 
I immensely enjoyed reading the entire thread to catch up. I went for a walk afterward and thought to
myself, of all the thousands of beers I've bottled, I allowed them all to oxidize as they conditioned!

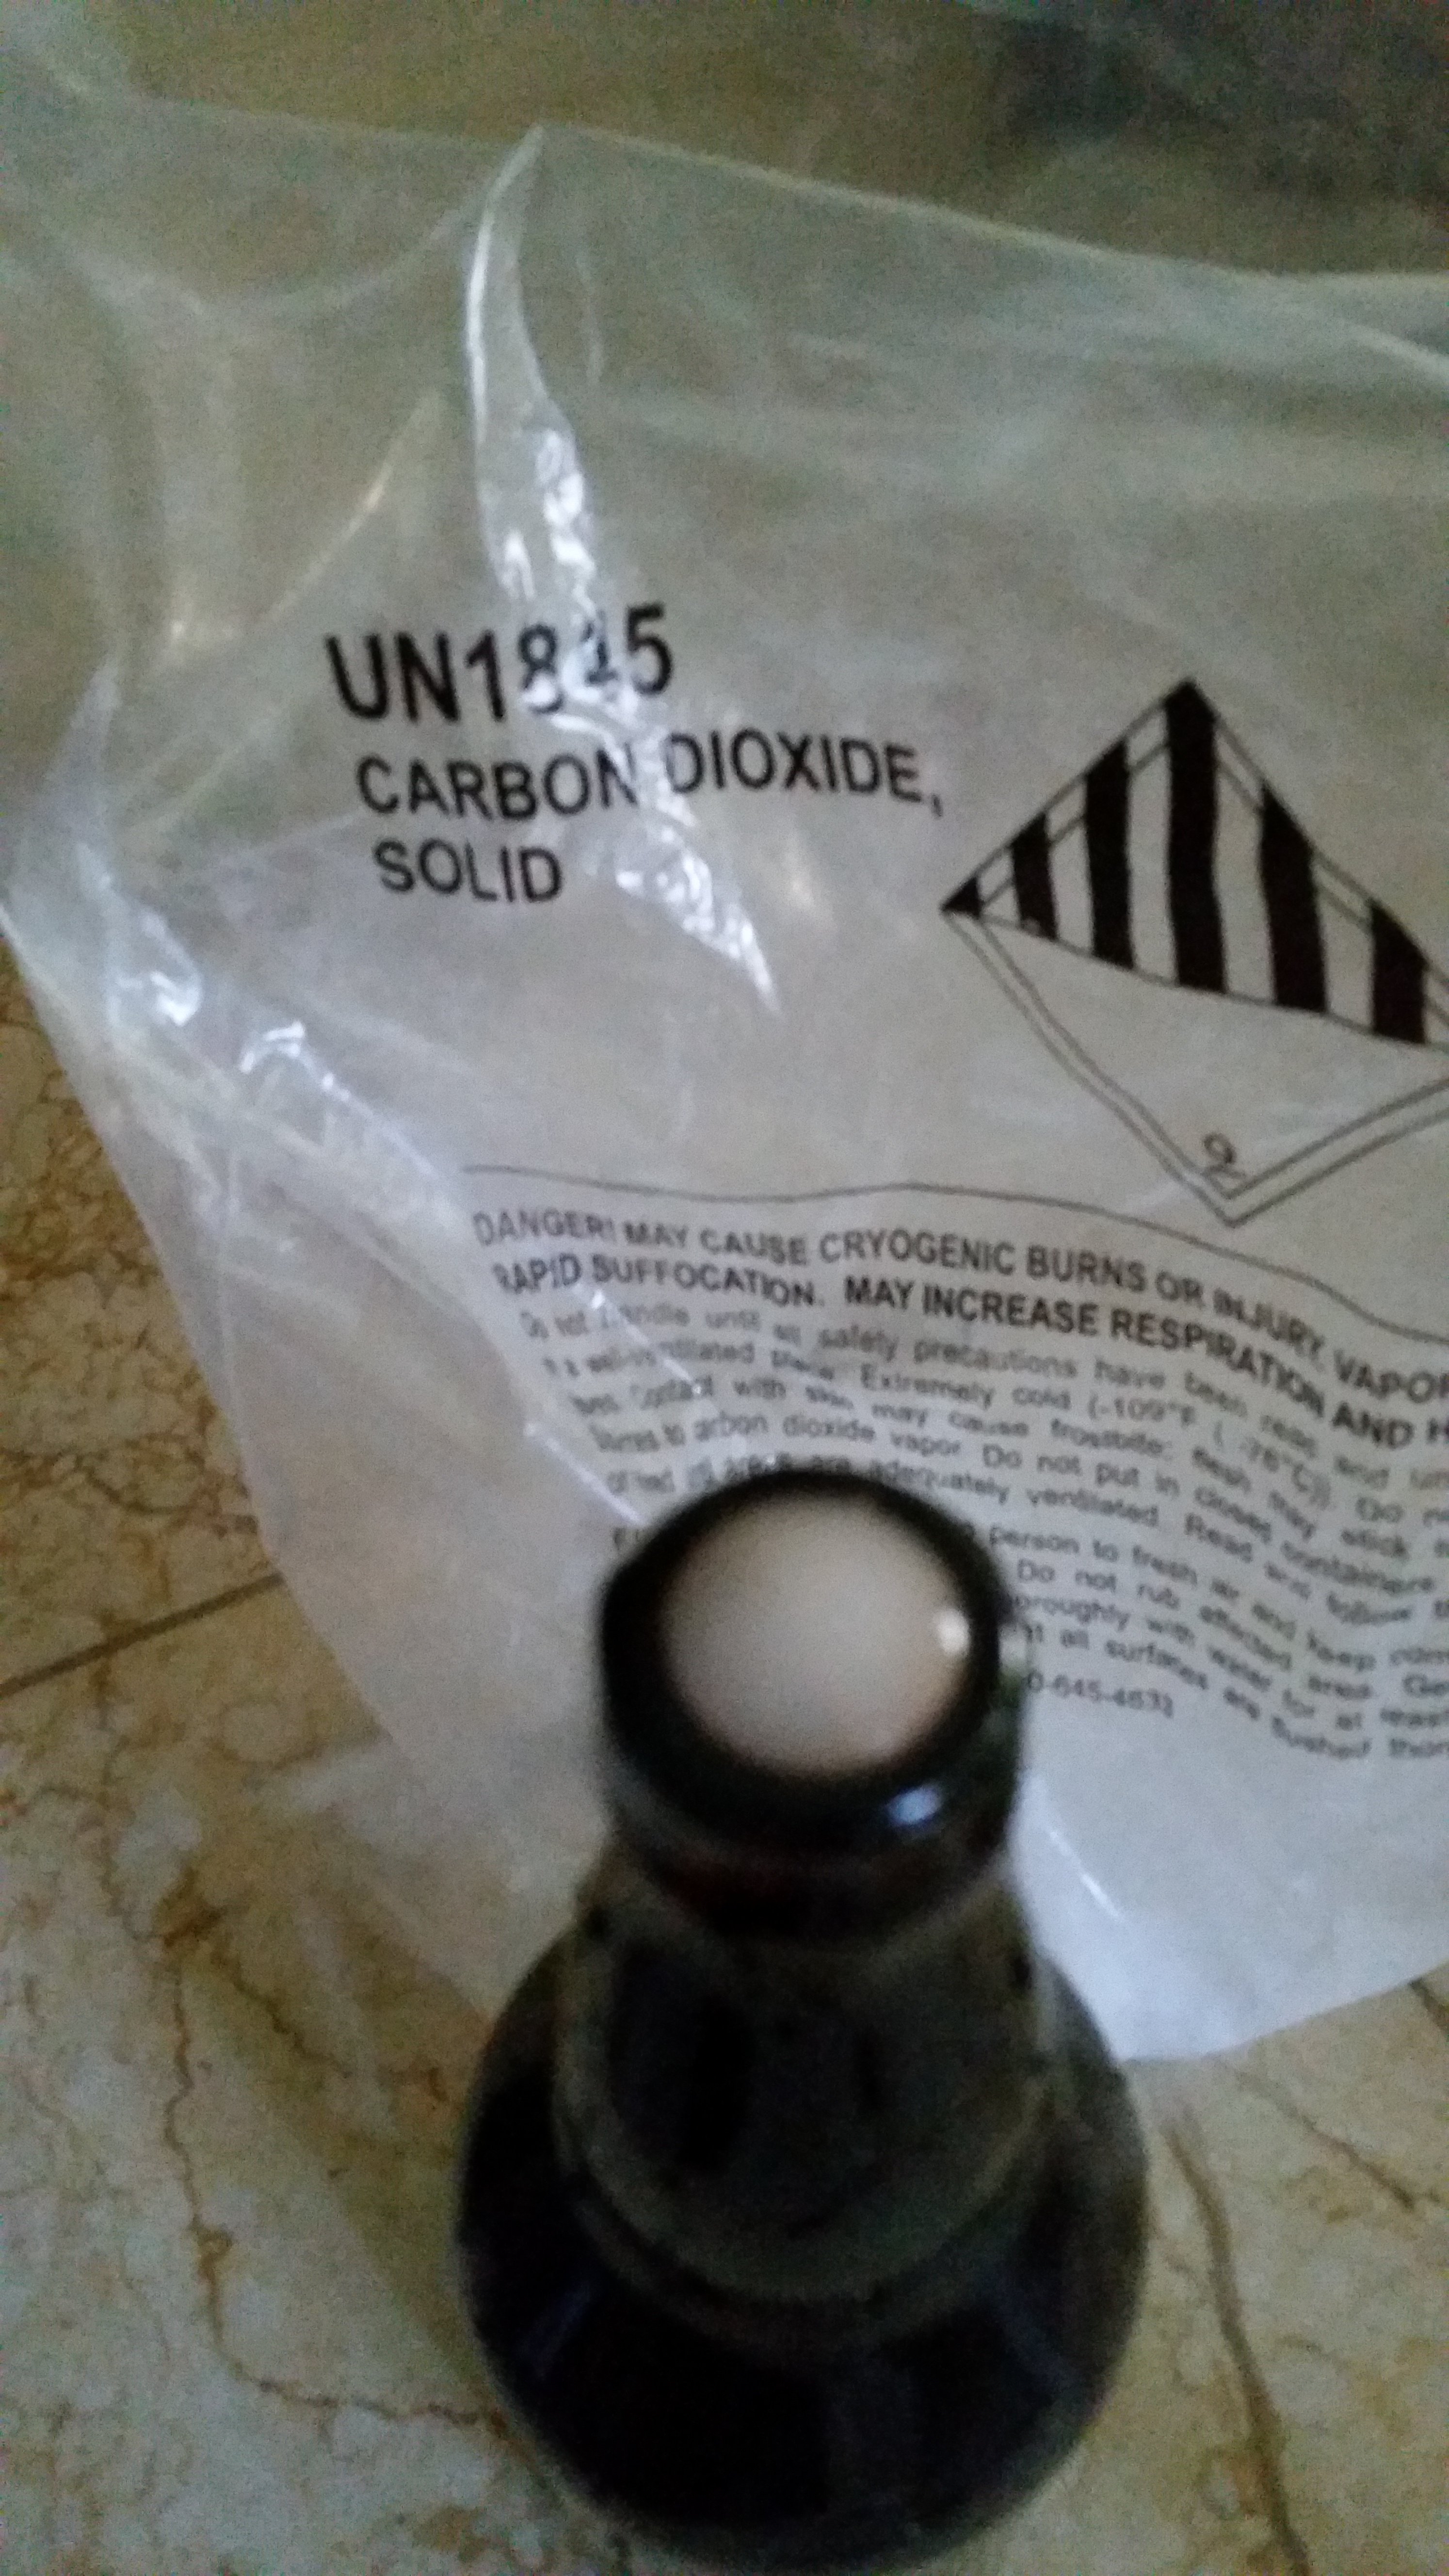
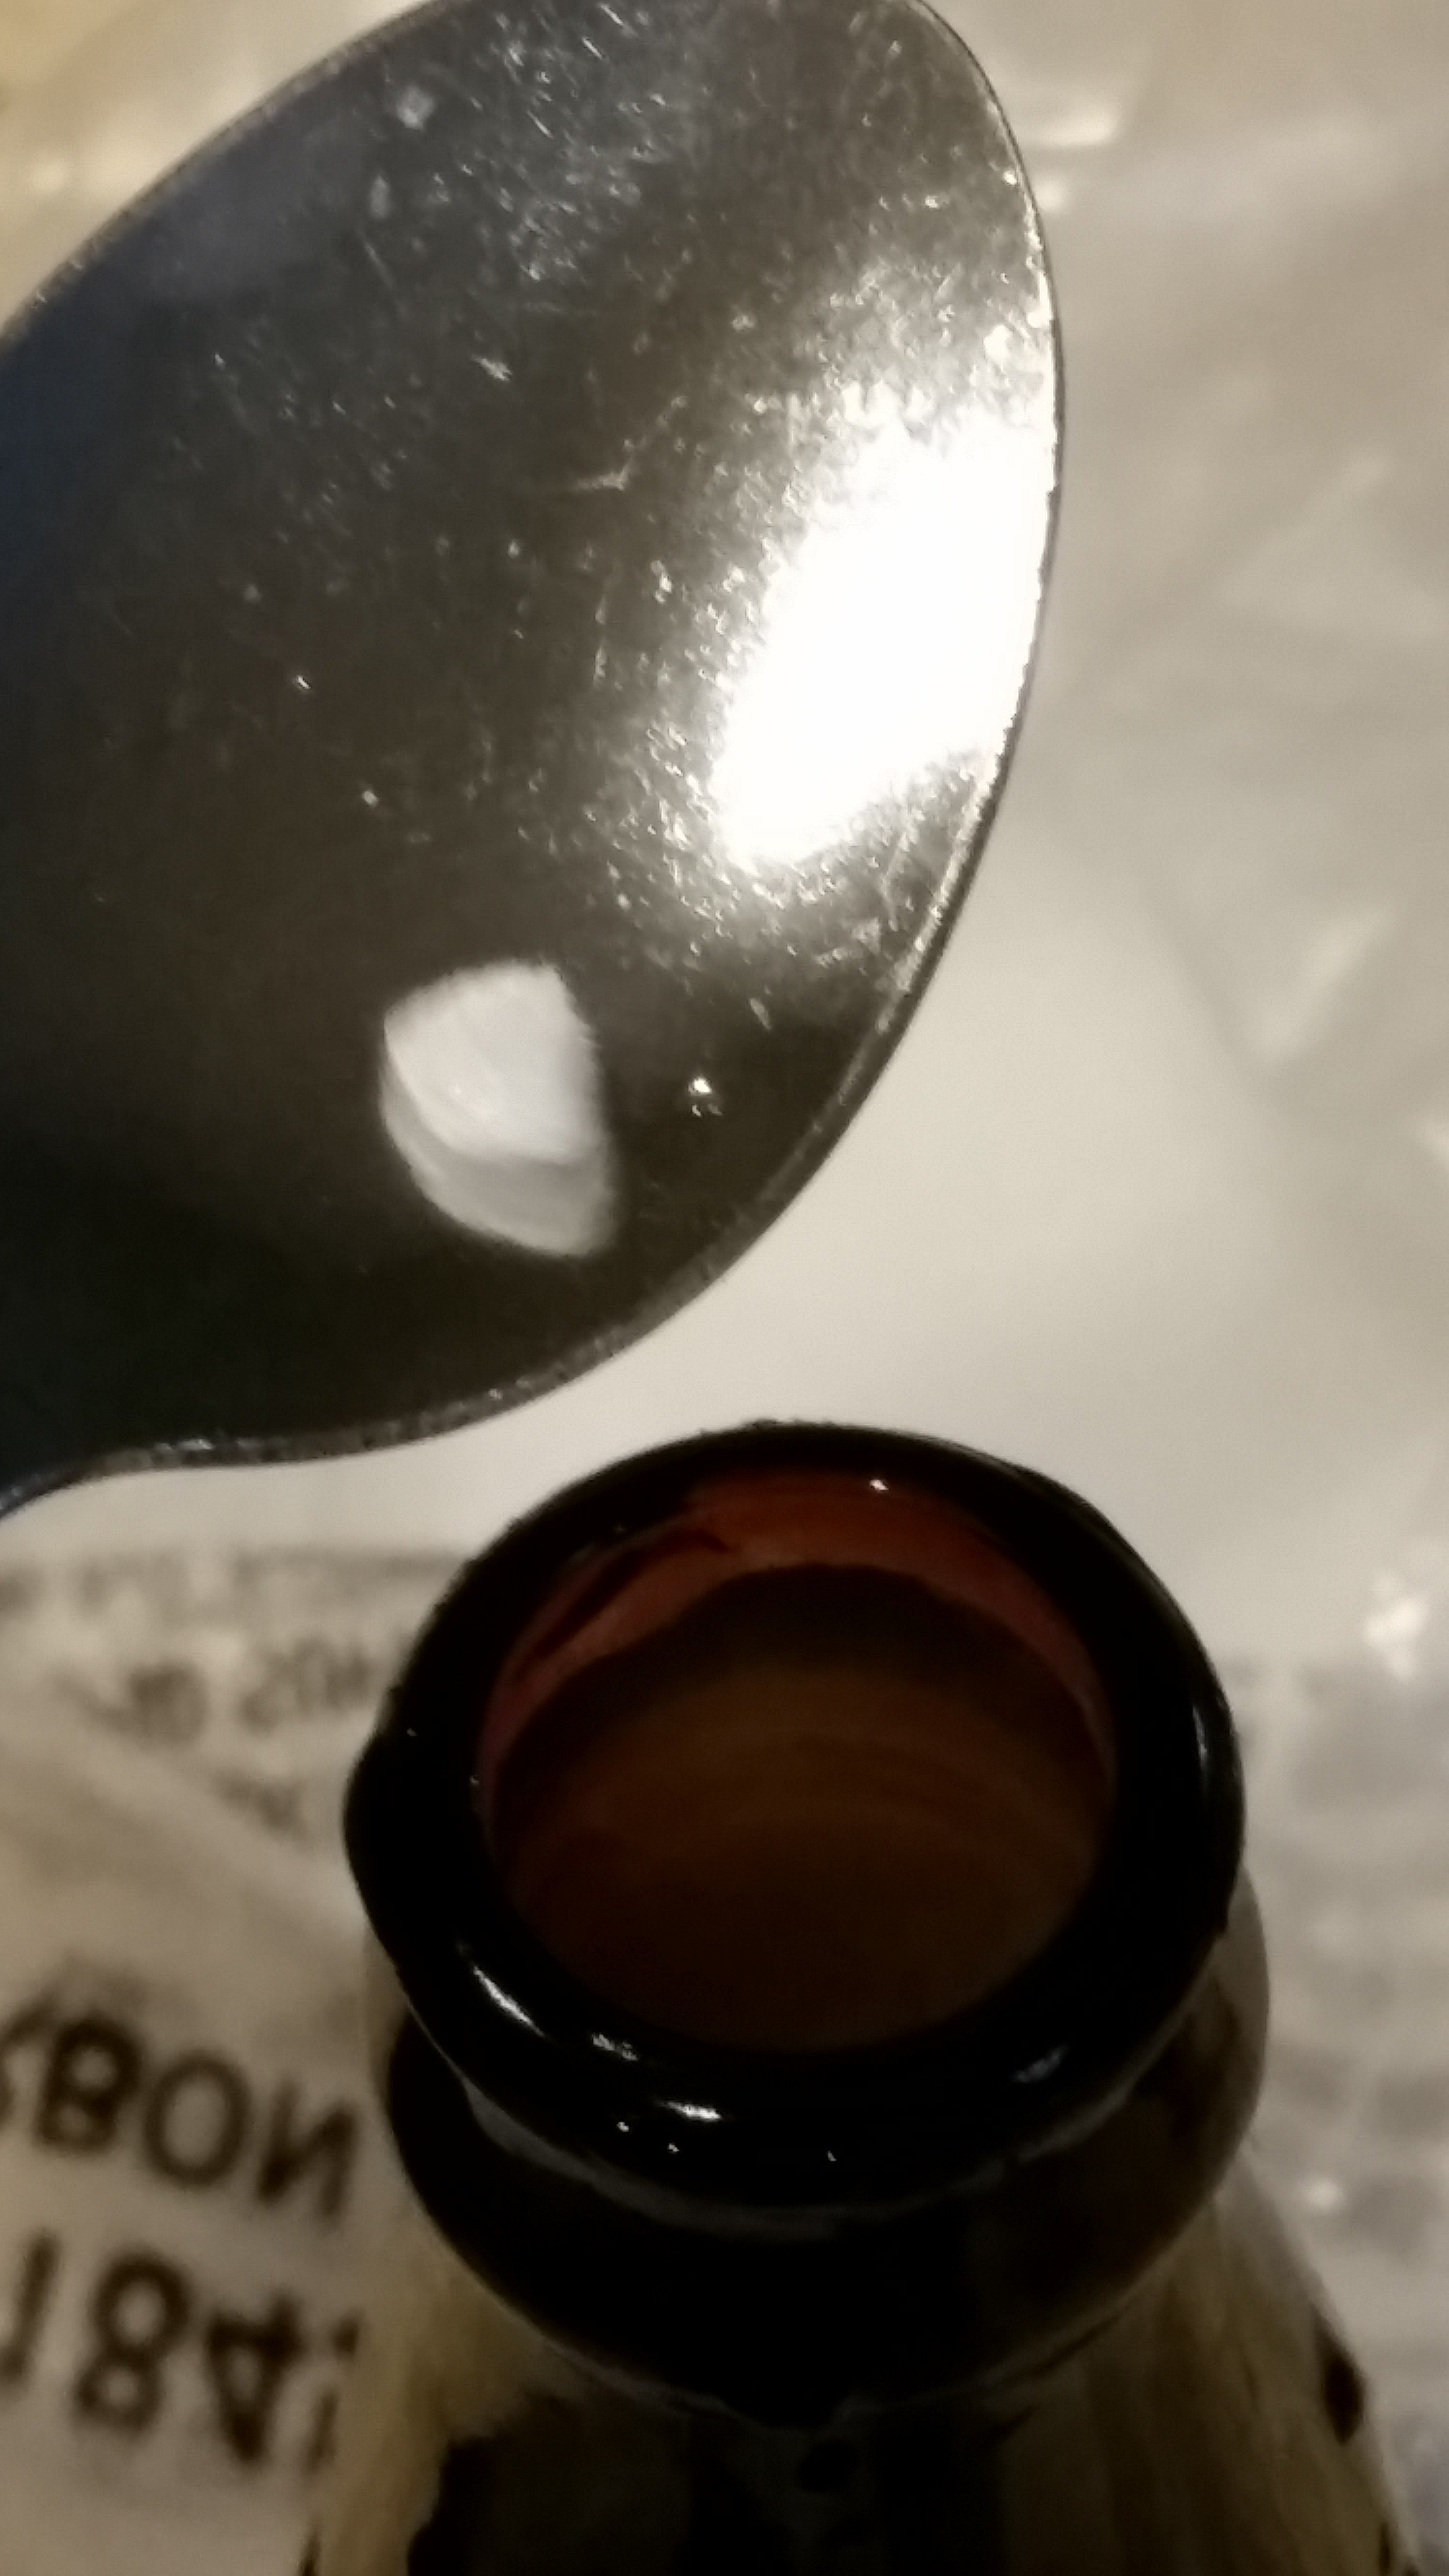
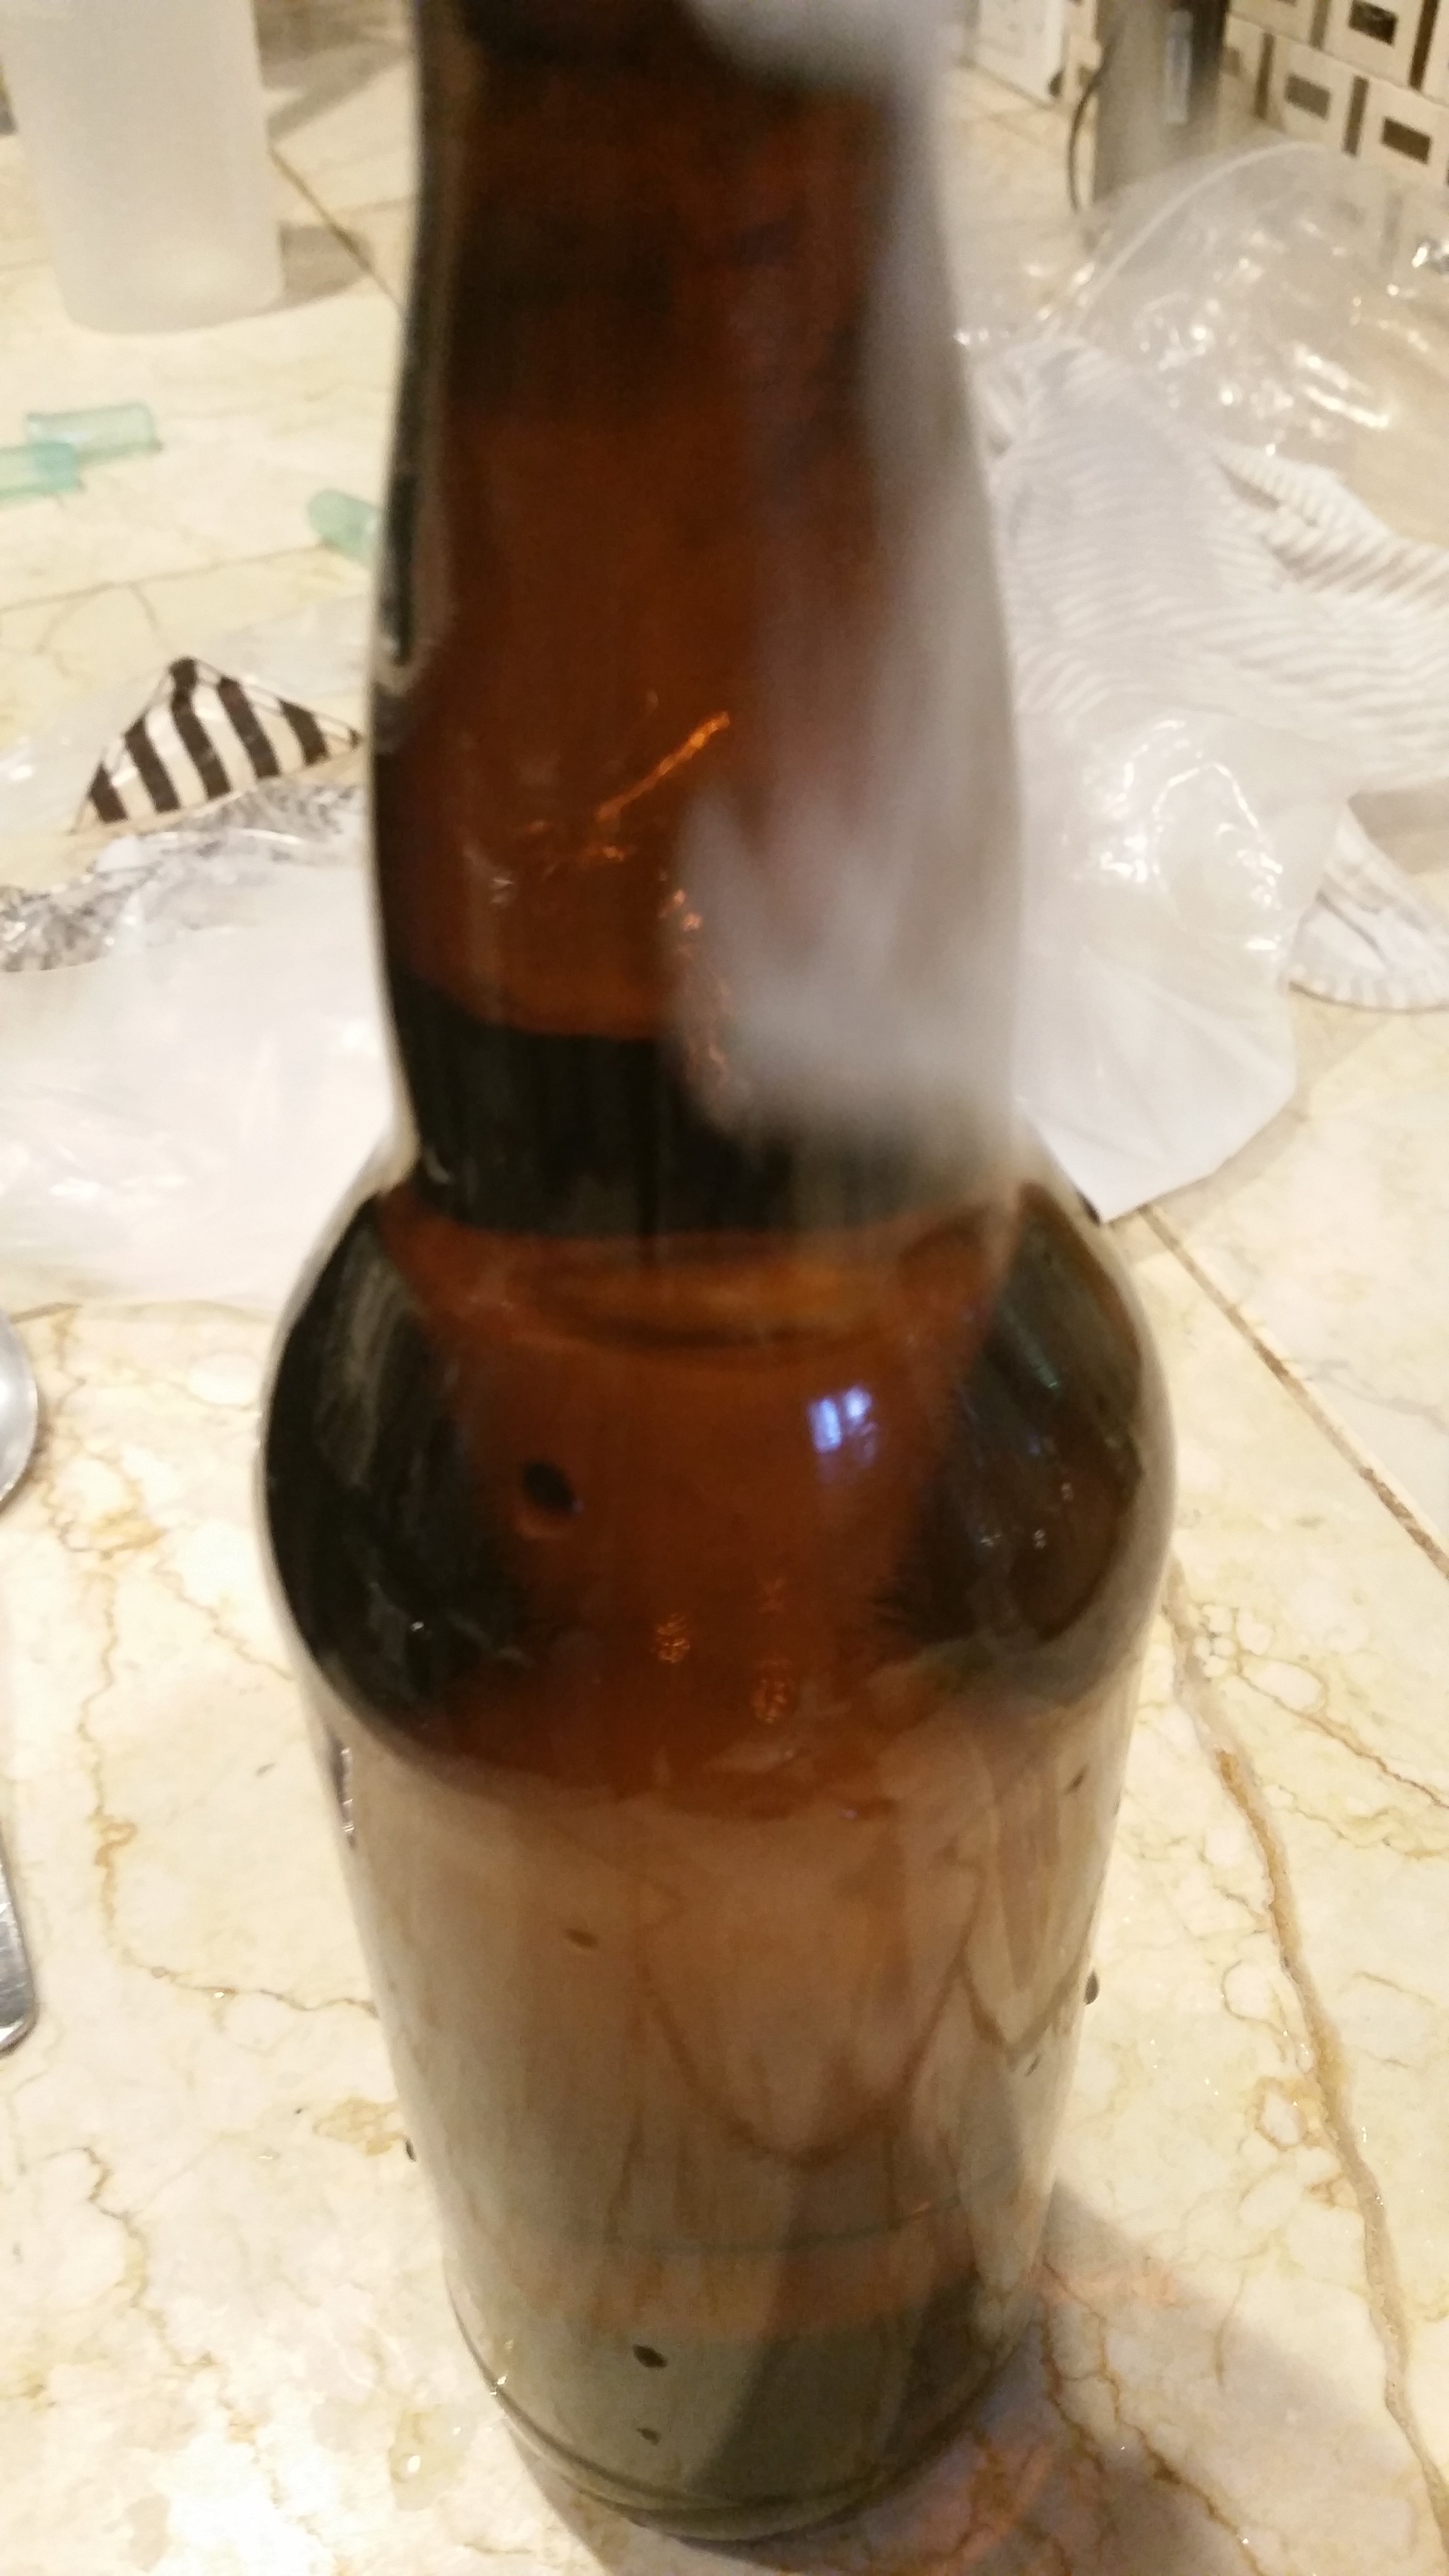
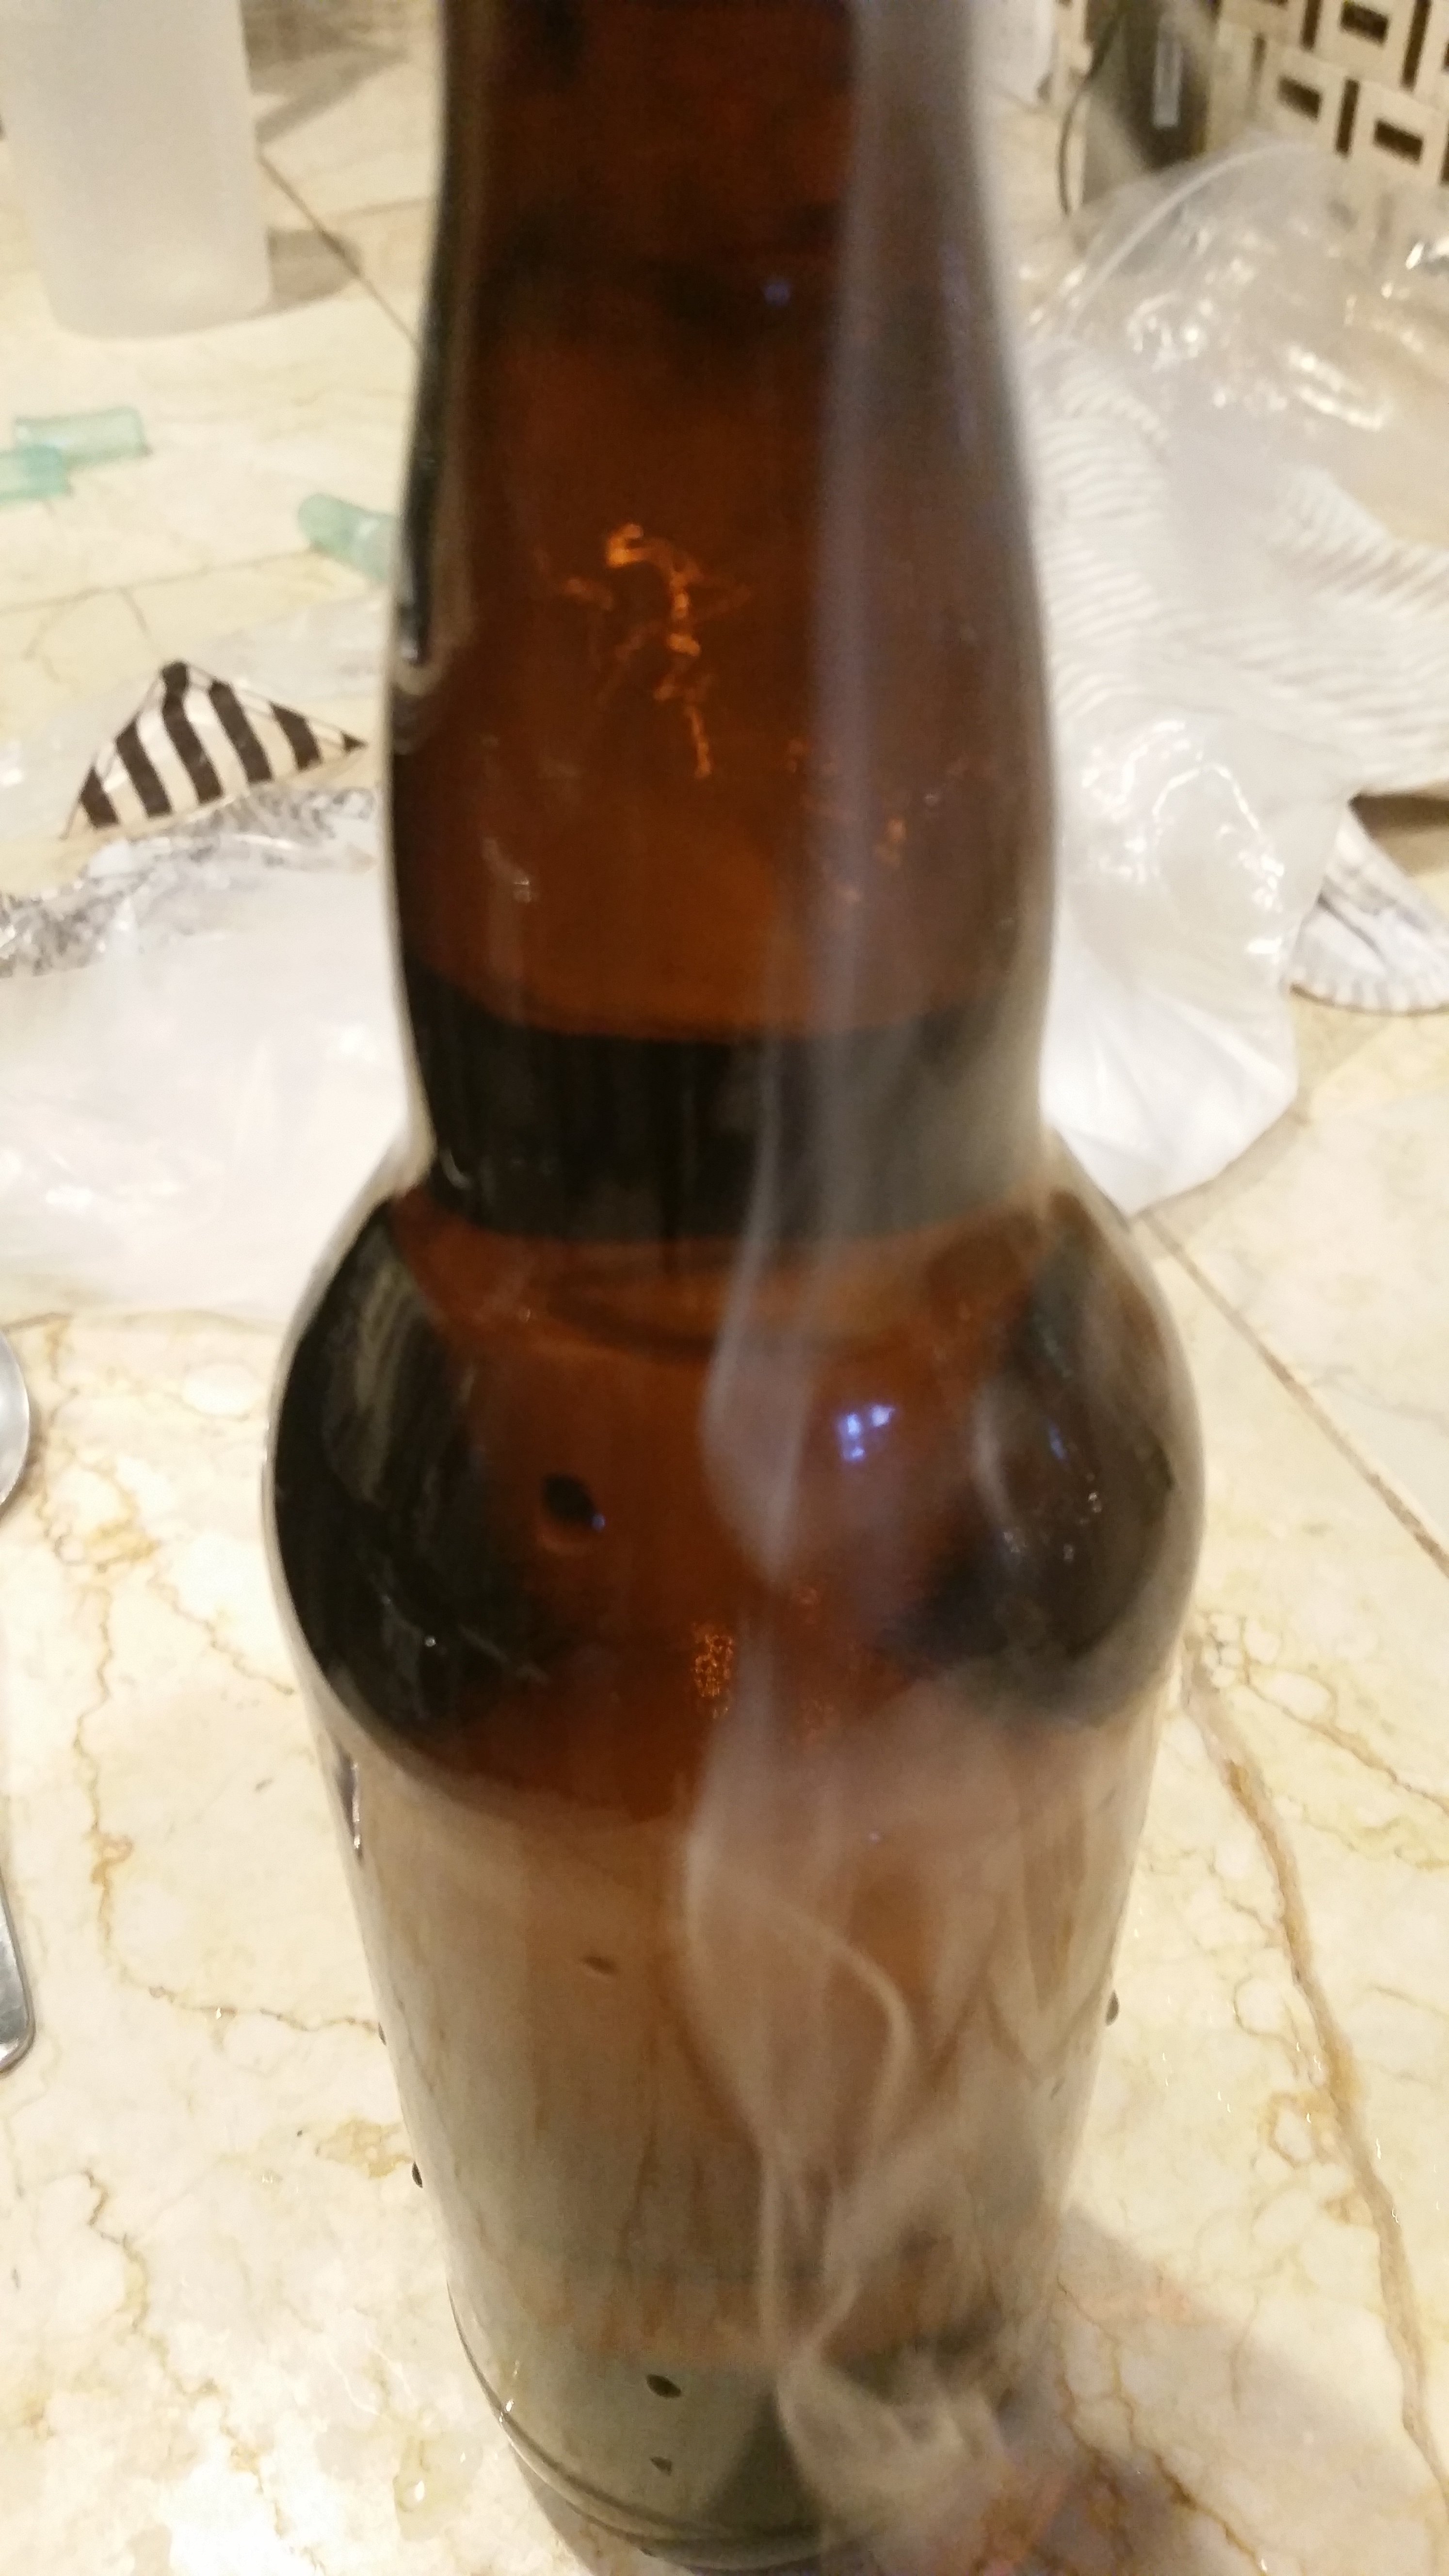
Here is my contribution. It's meant to stimulate criticism and progress. I researched that dry ice is 100% CO2. I acquired some and found that it's inexpensive. I discovered that even a small piece can drop to the bottom and instantly start subliming. Then, it was a slow event, allowing plenty of time to observe the CO2 rising out of the bottle, and even more time to place the cap on and crimp it. The dry ice nugget gets smaller and smaller, until forces bring it the surface, where it fizzles away. I believe a tiny piece will not kill off the yeast.

I haven't tested this to completion with a batch of beer yet. Anyone, please try it out.


20230602_150854.jpg


20230602_151045.jpg


20230602_151116.jpg


20230602_151157.jpg
 
Last edited:
I've always wondered about whether you could use dry ice to bottle carbonate a beer in 24h.

Most of us don't have the ability to buy or store it. I'm keen to hear how you get on
 
I've always wondered about whether you could use dry ice to bottle carbonate a beer in 24h.

Most of us don't have the ability to buy or store it. I'm keen to hear how you get on

That would be sweet but unfortunately it can't be done. I just tested it. The pressure builds so much and so quickly in the airspace that it squeezed right out of the cap. It was hissing out until I released the cap a bit. Not enough time for all the "partial pressure" to push into the liquid before it escapes out. I would only add a tiny piece to purge the oxygen at bottling.

In my area there is a grocery store called Safeway. You can buy it there. I think you can buy it at places like BevMo (big alcohol store), and maybe some party supply stores. Safeway sells it in bulk for $3.19/lb. 1 lb is a LOT for this mode.

https://www.safeway.com/shop/search-results.html?q=dry+ice
I'm going to use this method next time I bottle, which will be my aged-on-oak beer. I really don't see any reason to weight it. It's easy. Just chip off a nugget like the one in the photo, and wait for your moment to seal the deal.

I used to mess around with this stuff (thank you Halloween) and learned that you can carbonate a glass of dead beer, or water for example, in a matter of minutes. Just drop in a chunk of the stuff and watch the action. You don't even need to pressurize it. The dry ice turning to gas in the liquid is enough to make it work.

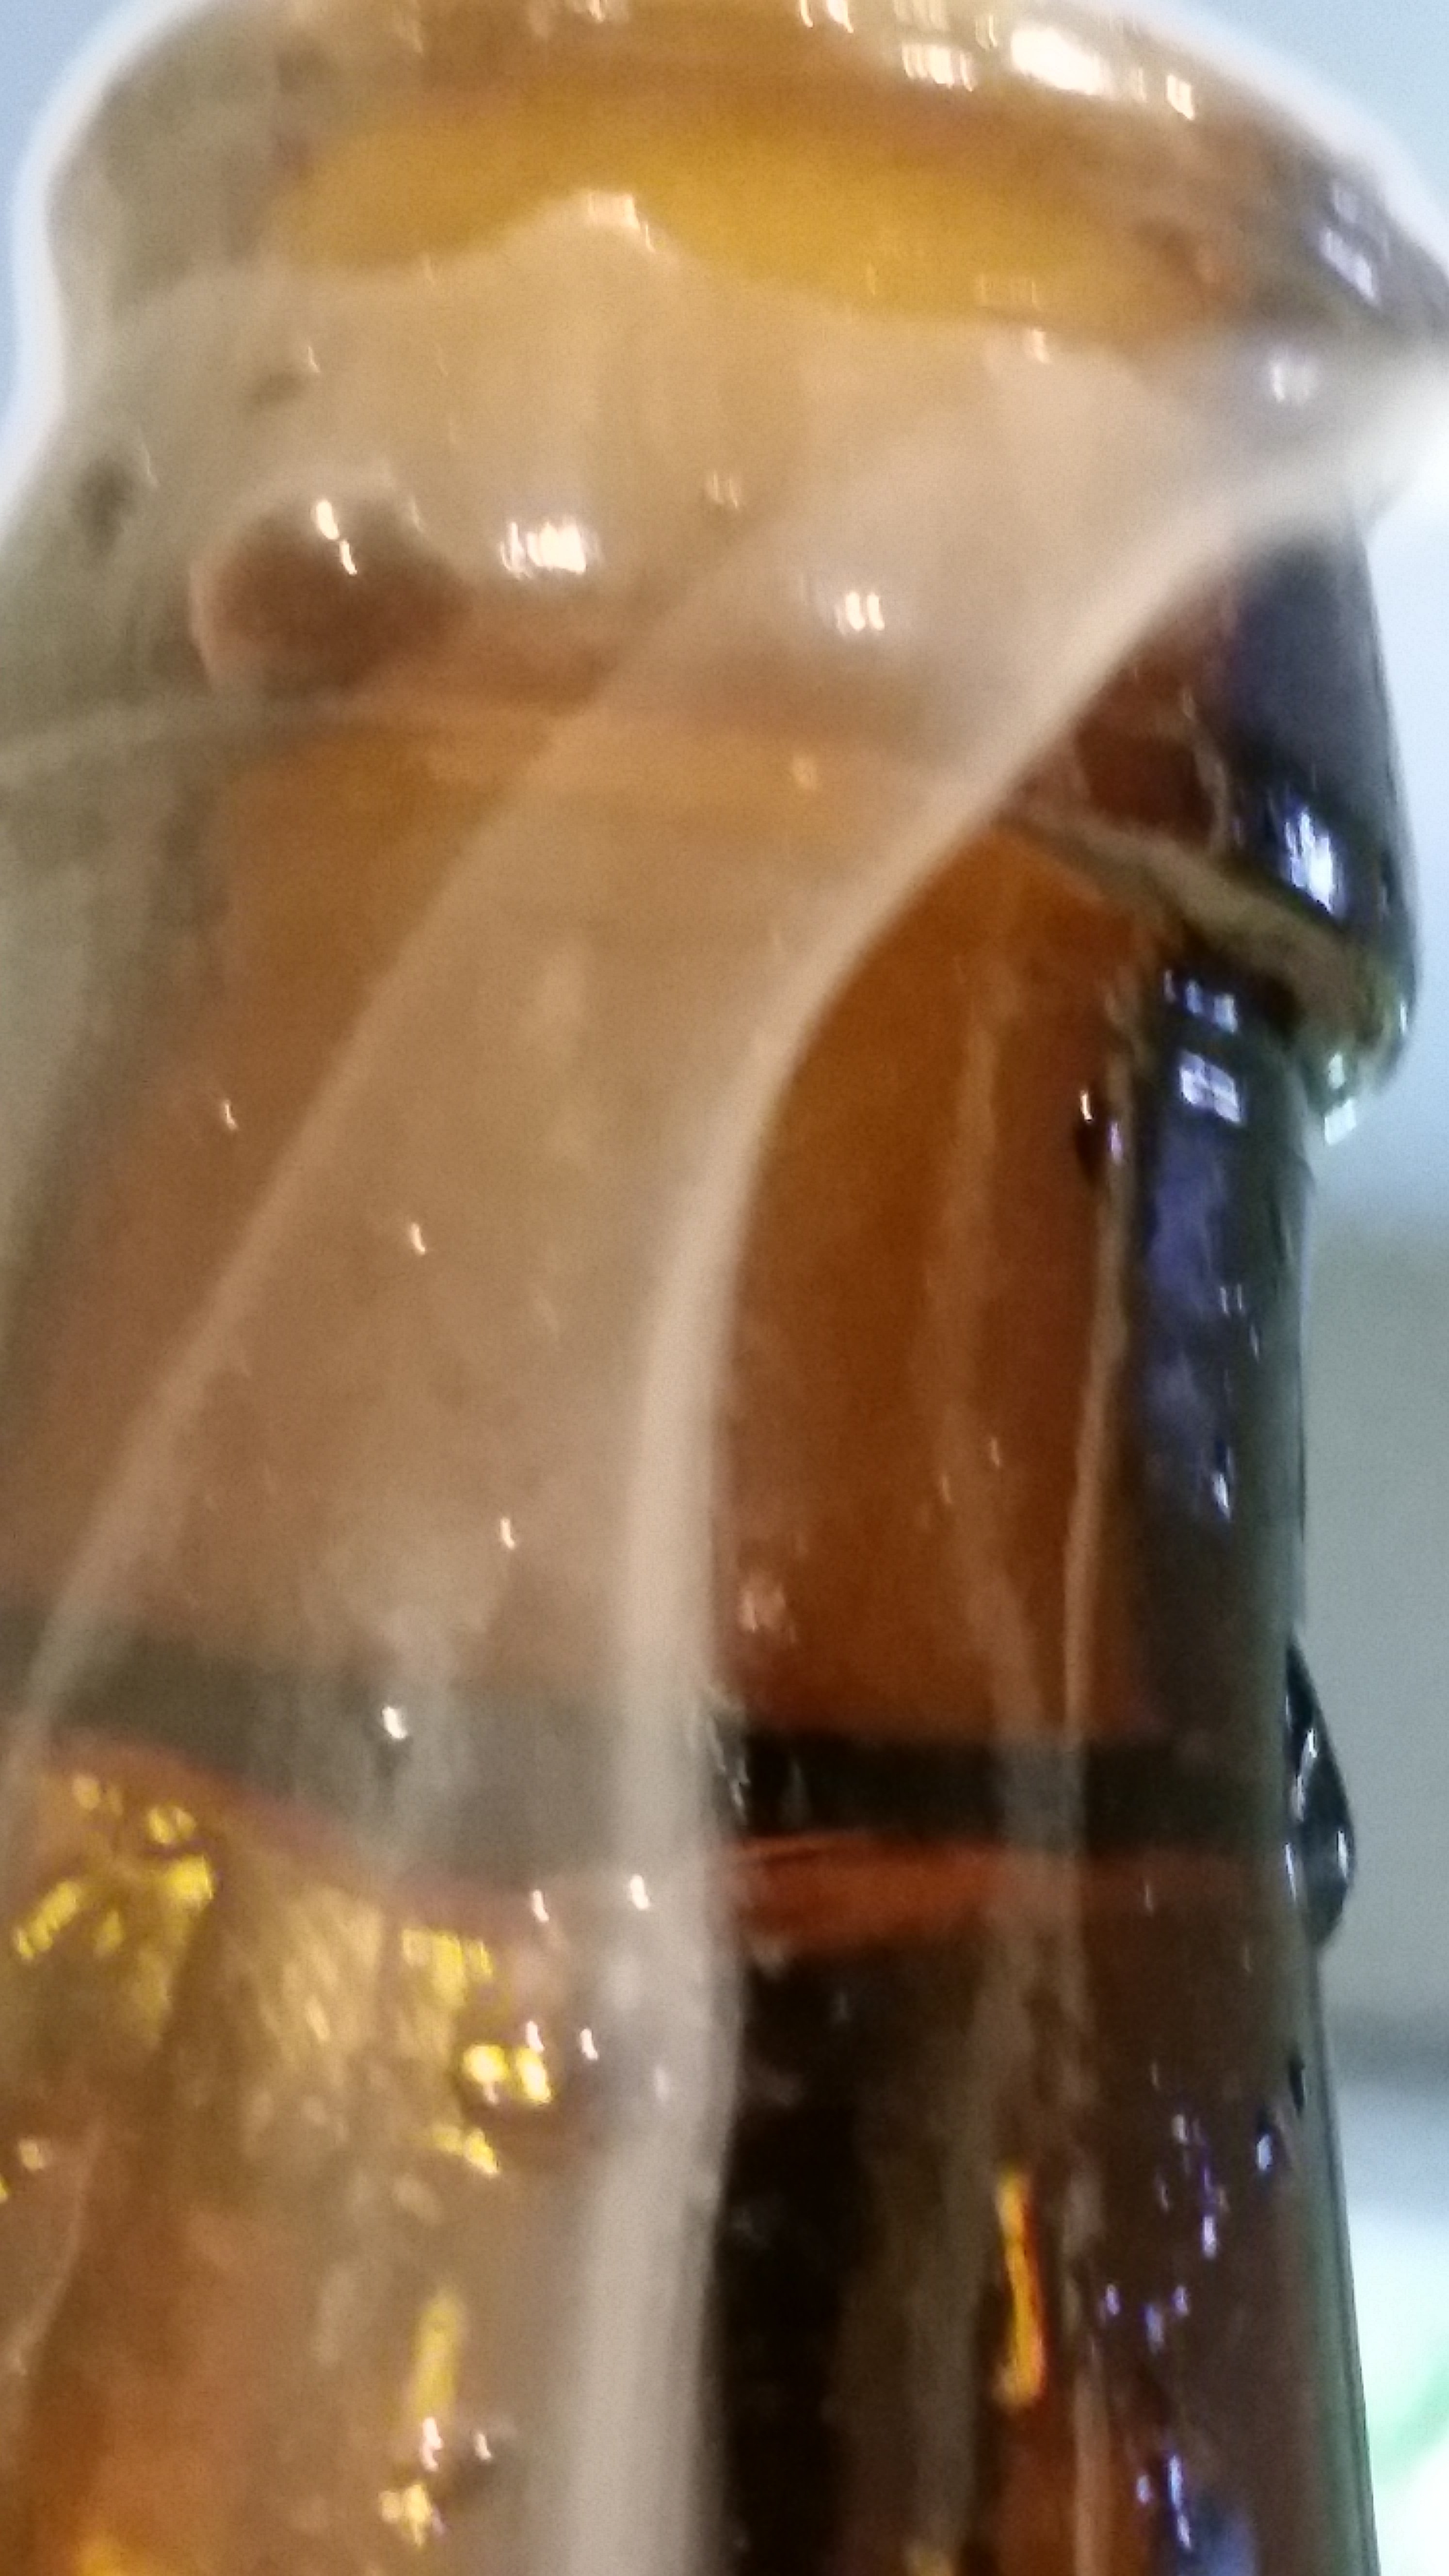
Let me see if I can get a better picture of a piece at the bottom of a bottle turning into bubbles of CO2 gas.

Okay, quite a bit harder to photograph rising bubbles than I thought. Those weird air shapes in the water are the bubbles rising up.

20230602_161739.jpg


20230602_155914.jpg


20230602_155915.jpg


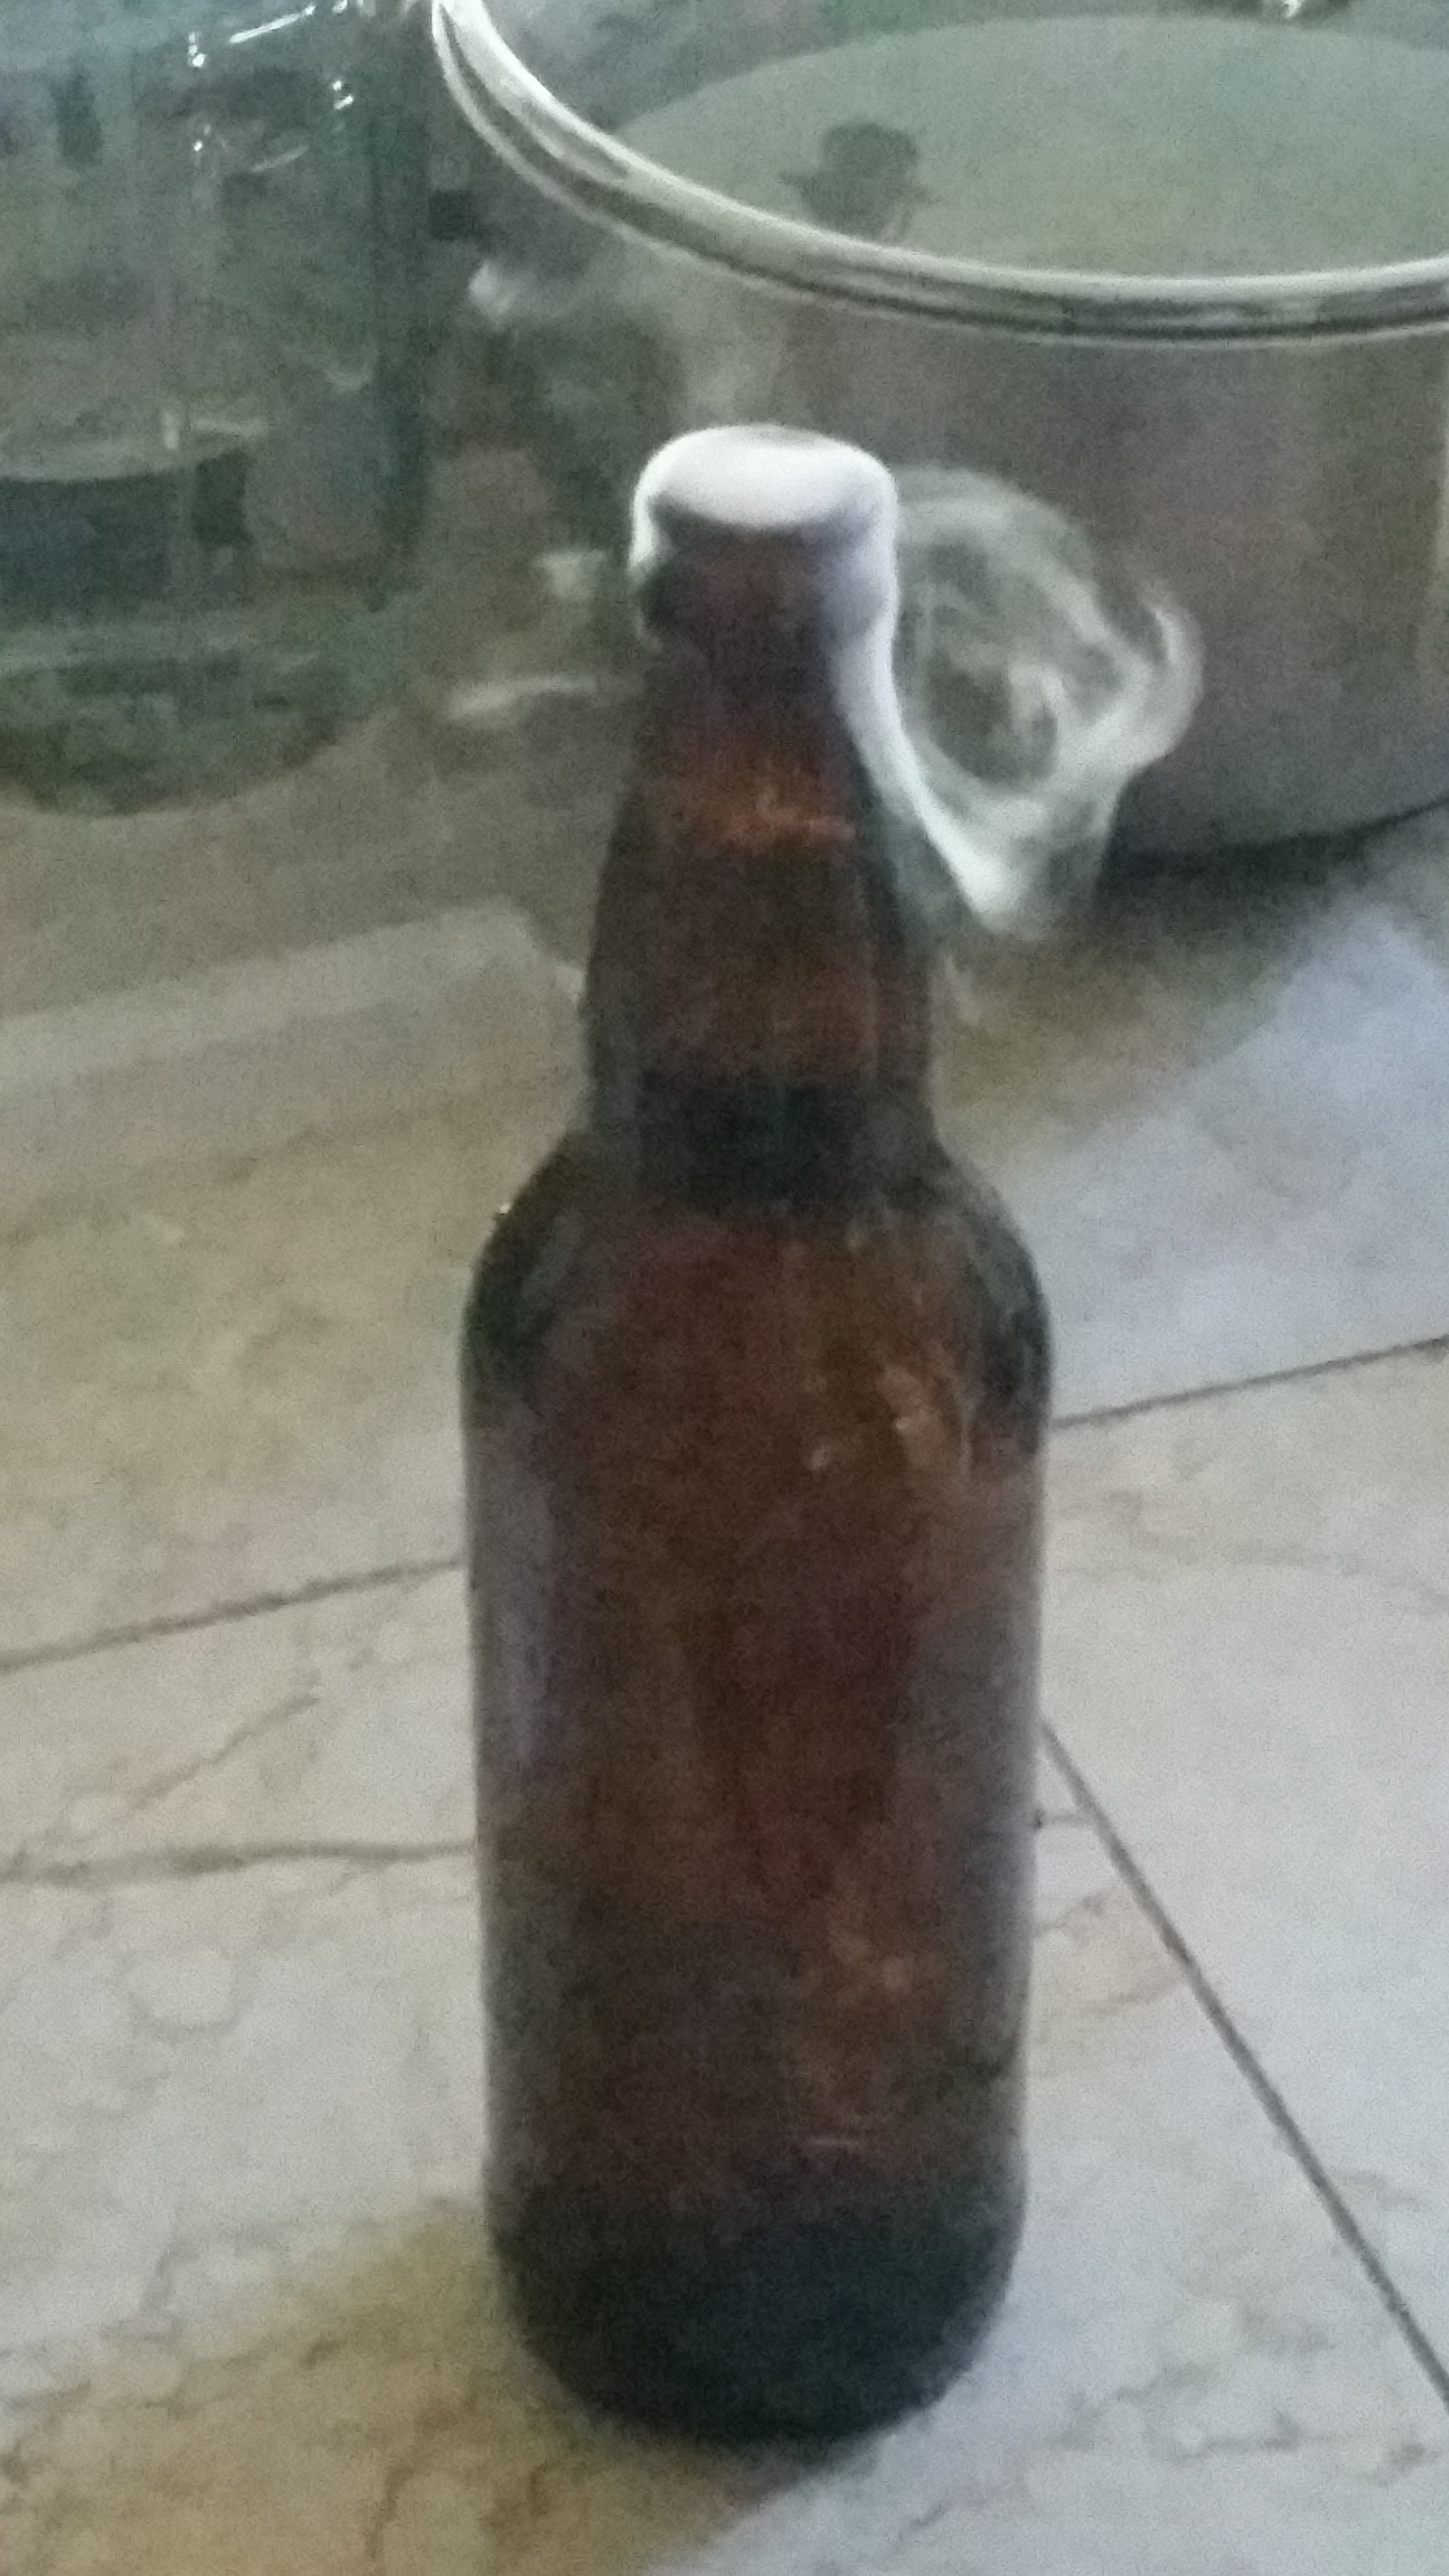
And here is a bonus shot. The CO2 gas continues to rise out of the bottle even though the cap is sitting gently on the top, ready for you to crimp down. That means there's no reason to rush, and you can watch the action happen with your own eyes. A bigger piece can be added for more vigorous O2 purging. For example, the cap may tip up and down rapidly as the CO2 pushes out.

20230602_160035.jpg
 
Last edited:
It was a slow event, allowing plenty of time to observe the CO2 rising out of the bottle, and even more time to place the cap and and crimp it.
CO2 is invisible. What you are seeing is condensed water vapor (ie. fog.)

Also, trying to carbonate with CO2 would be tricky. Too little and you are under-carbed. Too much and you are over-carbed, or even have glass grenades.

A 12 oz bottle of beer needs about 1.15 - 1.16 g of CO2 to carbonate to 2.5 volumes. Since the dry ice is sublimating constantly, you need to figure out how much is lost while weighing, bottle filling, and capping. Even if the rate of sublimation is constant, you need to weigh-fill-cap in exactly the same amount of time for every bottle to get a consistent carb level. If the rate of of sublimation isn't constant, then all bets are off.

Brew on :mug:

To be clear, I am suggesting purging O2 at bottling using this method, per the discussion topic. I believe it's impossible to bottle carbonate using dry ice and a standard cap. That's too much CO2 gas to fit in the headspace.
 
To be clear, I am suggesting purging O2 at bottling using this method, per the discussion topic. I believe it's impossible to bottle carbonate using dry ice and a standard cap. That's too much CO2 gas to fit in the headspace.
OK, I did some quick calculations on what it takes to get an adequate CO2 purge using dry ice (solid CO2) in the bottom of the bottle. To keep O2 from diffusing back into the bottle while the dry ice is sublimating in the bottom of the bottle, you need a minimum linear gas velocity of 50 ft/min out of the neck opening of the bottle. This works out to a required minium sublimation rate of 141 mg/sec. To adequately purge the bottle volume (13 fl oz or 0.384 L) of O2 prior to filling you will need about 3.8 L of CO2, or 7.5 g of CO2, and purging the bottle at 141 mg/sec will take about 53 seconds. If it takes 30 seconds to fill a bottle, that will require another 4.25 g of CO2. So, purging and filling is going to require about 11.75 g of CO2.

So, the procedure would look something like this:
  1. Drop a 15 g chunk of dry ice into the bottle
  2. Wait 50 - 55 seconds for the sublimating CO2 to purge the bottle
  3. Fill the bottle with beer
  4. Place cap on top of bottle
  5. Wait for CO2 in bottom of bottle to completely sublimate
  6. Crimp cap
If the above takes more than 106 seconds, then your CO2 sublimation rate is not high enough to keep O2 out of the bottle - you lose. If the dry ice is gone before this time, then your sublimation rate is higher than the minimum required, and you need to reduce the time you wait in step 2 so that you still have dry ice in the bottle when the fill is complete.

It will take about 780 g (1.7 lb) of dry ice to bottle 5 gal (about 52 12 oz bottles.)

You might be able to get by with less dry ice, but have more residual O2 in the bottle, so much experimentation will be needed to determine what will actually work for you.

Brew on :mug:

Now that's something to consider! What about purging the O2 after the bottle has been filled to within 1/4 - 1/2 inch of the top, as noted in this thread? Purging O2 after the bottle has been filled is a viable, high quality option if data holds. Does mathematics support the dry ice trick in this case? :mug:
 
To keep O2 from diffusing back into the bottle while the dry ice is sublimating in the bottom of the bottle, you need a minimum linear gas velocity of 50 ft/min out of the neck opening of the bottle
If you require this flow rate to prevent O2 diffusing back into the bottle, this implies to me that O2 can diffuse through other gasses at 50ft/min, which is roughly 1ft/s which seems a crazily high speed. (I may have some physics wrong here).
 
If you require this flow rate to prevent O2 diffusing back into the bottle, this implies to me that O2 can diffuse through other gasses at 50ft/min, which is roughly 1ft/s which seems a crazily high speed. (I may have some physics wrong here).
To figure out the actual flow rate of O2 into the bottle, you would have to know the concentration gradient of O2/CO2 at the bottle opening, as flow rate is proportional to the concentration gradient (Fick's Law.) I don't know how to get at the concentration gradient at the mouth of the bottle, so I went a different way.

Safety specs for fume hoods isolating toxic materials require a design linear face velocity of 100 ft/min thru the opening of the hood. I am assuming that there is at least a 2X safety margin included in this design spec, so 50 ft/min seems like a reasonable target.

Brew on :mug:
 
Now the full story, for those who might be interested in the details (warning, it is a long post!):

On a quest to improve the quality of my hoppy beers, I recently became aware that post-fermentation oxidation is a real issue in these styles. If not managed properly, this seems to be one of the key factors contributing to rapid hop fade and staling in hop forward beers. Of course, I also read that switching to kegging is by far the best way to control this issue, since it allows closed transfers, easy purging with CO2, and so on. However, I’m not able to make the move to kegging just yet (although I’d love to, of course). So for the time being, I’ll have to make it work with my poor-man bottling setup. I believe I had been taking the necessary basic steps to reduce oxidation prior to and during bottling, such as avoiding unnecessary openings of the fermenter, transferring with minimal splashing, and filling with a bottling wand. Yet from what I’ve read, these simple measures may not be enough for a really hoppy beer. So for this latest IPA batch, not having any CO2 at hand, I bought a can of wine-preserving gas (brand name “Private Preserve”) to do some experimenting with purging bottles. It is a mixture of N2, Argon and CO2 ant it should do the same job as pure CO2. By the way, the beer was a “regular” AIPA of the west-coastish type, not a NEIPA.

The experiment consisted of three variants:

- Complete-purge: I purged both the empty bottle prior to filling, as well as the headspace after filling.

- Headspace-purge: I only purged the headspace after filling.

- No-purge: I didn’t purge anything, as I would usually do in all my previous batches.

I did 4 replicates for each variant (= 4 x 12 oz. flip-top bottles for each variant). I filled these 12 bottles approximately in the middle of the filling process. I did mix up the variants during filling, to avoid potential biases due to the time of filling and the specific part of the batch being filled at that moment. Afterwards I let them condition at 73-75 F for approx. one week, and then stored them in a basement at approx. 60-63 F.

I started doing the first side-by-side compares between variants about 5 weeks after bottling. The beer was hitting its prime at that point, and differences between purged vs. non-purged variants were already fairly noticeable. I did the last comparison approximately 3.5 months post bottling, and here is a picture of this last comparison (all three variants):

P1010266_NEW_zps5qwxi9ua.jpg.html


You can see how the “No-purge” variant is evidently darker. The differences in aroma/taste are not as dramatic as the colour would suggest, but they are noticeable. I found the overall hop character to be somehow duller in “No-purge” as compared to the two purged variants. Actually, I wouldn’t call “No-purge” a bad hoppy beer, by any means (for my taste at least). Yet in such a direct comparison, the two purged variants win, and there is no doubt about that. The “No-purge” version has also developed a slightly sweeter, maltier taste and some kind of weird spicy note in the aftertaste which I am not able to classify (maybe somehow medicinal or metallic?...but it is quite subtle). Anyway, in summary, I found that the two purged variants to come across as fresher, brighter, and also noticeably drier and crisper.

Now the second, and at least for me most interesting result: there is NO noticeable difference between the two purged variants, neither in color nor in aroma/taste. This means that purging the bottle prior to filling did not bring any additional benefit. By the way, these observations were consistent over all four replicates and the different sampling time points.

I conclude that, for my own bottle-conditioning process, purging the headspace after filling is enough to reduce oxidation of hop compounds in a significant way, and that an additional purge of the bottle prior to filling is an unnecessary waste of time and money. The air remaining in the bottle headspace is the real culprit here. By the same logic, I think I’ll not bother purging the bottling bucket before transferring the beer onto it, and purging the headspace of the fermenter and of the bottling bucket during and after the transfer.

So how can we explain these results? We are talking about bottle-conditioned beer. Probably, the active yeast does indeed take care of most of the O2 being introduced during transferring and bottling (provided O2-pickup stays within a reasonably low range). However, the O2 in the headspace sits there, trapped in the bottle over a long period, and it will gradually diffuse into the beer. It will continue diffusing also when the yeast is no longer active, causing significant oxidation to hop aroma compounds. Of course, this theory is not my own invention: I read it multiple times on forums. Yet I couldn’t find a consensus. Some people seem to argue that O2 pickup during transfers is the main culprit, and headspace-O2 is a secondary concern. Others even claim that yeast will consume the headspace O2 near completely during bottle conditioning, which is a myth as far as this small experiment can tell (as well as a couple other very similar experiments/experiences I came across on the web).

Now why do pro-brewers and more than one kegging homebrewer bother to purge ALL vessels during transfers, ALL kegs, bottles, headspaces and even tubing? I guess that is because they are packaging finished beer in most cases. Finished in the sense that it has completed fermentation and it won’t go through a secondary fermentation based on priming sugar. The beer was probably cold-crashed too, so not only there is less yeast in there, but above all, the yeast is not active. I can well believe that in such scenarios, oxidation happening during transfers is a real issue. I guess it is much less of an issue for the bottle-conditioning folks.

In conclusion, is it even worth to bother purging the bottle headspaces? I found evident differences in colour, but the differences in aroma and taste were more subtle. I guess I’ll continue doing this but just for my really hoppy beers. It might be worth it if you want to be anal or if you are sending the beers to a comp! ;-)

I’m eager to hear your thoughts on this subject J

I'm replying to the first post, from August 2018, where headspace purging with Private Preserve was introduced. When I first discovered this conversation, I got some Private Preserve and tried it with one low- and one zero-hopped batch of home brewed beer, a porter and a raspberry co-sour, respectively. In bottling each batch, I skipped the purging on every seventh beer so that I would have a few beers to compare purging to a control, i.e., non-purged example.

With the porter and co-sour, I didn't note any difference in the way the beer looked when comparing its purged versus non-purged versions. Toward the end of the porter batch, I did perceive the purged example was better, a little crisper or less muddled tasting than the control. I didn't record how long this was after bottling, but it was at least eight weeks, probably longer.

For the raspberry co-sour, I don't recall noticing any difference between the taste of the purged and non-purged examples. I'll probably try the experiment again as I have a batch of that one in-process now.

---------------

Later in this rather lengthy conversation, @Taket_al_Tauro /others introduced the use of ascorbic acid at a rate of 0.6 grams per gallon (without any Metabisulfite addition), and also minimizing headspace. I find minimizing headspace with a bottling wand too difficult for me, but wanted to try ascorbic acid.

Finally I have brewed a batch of a pale hoppy beer which I have made several times before. I added 0.4 grams ascorbic acid per gallon of beer - to the priming solution after it had cooled some - maybe when it was at about 120°F. When it was cooled further, I added the solution to the bottling bucket as the beer was siphoning in, stirred, and then bottled. Every seventh bottle was just as described. The others were also headspace-purged with Private Preserve. The can of Private Preserve was nearing empty, so I sprayed for about one second in each bottle.

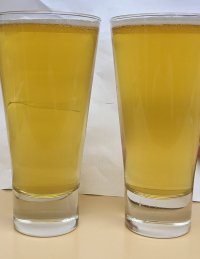
Four weeks after bottling, I couldn't tell any difference in either the look or taste of the purged versus the ascorbic-acid-only beers. I've attached a photo for side-by-side comparison. The lighting and background make comparison tricky, but they looked the same to me at the time. The one on the left had ascorbic acid only; the one on the right also was purged with Private Preserve at bottling.

copy.jpg

One final note, earlier batches of this pale ale showed serious oxidation effects as soon as a couple of weeks after bottling, both in color and taste.
 
Last edited:
I'm replying to the first post, from August 2018, where headspace purging with Private Preserve was introduced. When I first discovered this conversation, I got some Private Preserve and tried it with one low- and one zero-hopped batch of home brewed beer, a porter and a raspberry co-sour, respectively. In bottling each batch, I skipped the purging on every seventh beer so that I would have a few beers to compare purging to a control, i.e., non-purged example.

With the porter and co-sour, I didn't note any difference in the way the beer looked when comparing its purged versus non-purged versions. Toward the end of the porter batch, I did perceive the purged example was better, a little crisper or less muddled tasting than the control. I didn't record how long this was after bottling, but it was at least eight weeks, probably longer.

For the raspberry co-sour, I don't recall noticing any difference between the taste of the purged and non-purged examples. I'll probably try the experiment again as I have a batch of that one in-process now.

---------------

Later in this rather lengthy conversation, @Taket_al_Tauro /others introduced the use of ascorbic acid at a rate of 0.6 grams per gallon (without any Metabisulfite addition), and also minimizing headspace. I find minimizing headspace with a bottling wand too difficult for me, but wanted to try ascorbic acid.

Finally I have brewed a batch of a pale hoppy beer which I have made several times before. I added 0.4 grams ascorbic acid per gallon of beer - to the priming solution after it had cooled some - maybe when it was at about 120°F. When it was cooled further, I added the the solution to the bottling bucket as the beer was siphoning in, stirred, and then bottled. Every seventh bottle was just as described. The others were also headspace-purged with Private Preserve. The can of Private Preserve was nearing empty, so I sprayed for about one second in each bottle.

Four weeks after bottling, I couldn't tell any difference in either the look or taste of the purged versus the ascorbic-acid-only beers. I've attached a photo for side-by-side comparison. The lighting and background make comparison tricky, but they looked the same to me at the time. The one on the left had ascorbic acid only; the one on the right also was purged with Private Preserve at bottling.

View attachment 822485

One final note, earlier batches of this pale ale showed serious oxidation effects as soon as a couple of weeks after bottling, both in color and taste.
Minimizing headspace is by default the most effective way of keeping oxygen out of bottle conditioned beer. With a bottling stick it's actually fairly easy, I'm doing it all the time.

Once filled, tilt the bottle slightly and push with the end of the bottle stick against the inside of the bottle neck to release a small amount of beer in a controlled way.

If you want, you can remove the spring from the bottling stick, that makes it even easier.
 
Last edited:
Minimizing headspace is by default the most effective way of keeping oxygen out of bottle conditioned beer. With a bottling stock it's actually fairly easy, I'm doing it all the time.

Once filled, tilt the bottle slightly and push with the end of the bottle stick against the inside of the bottle neck to release a small amount of beer in a controlled way.

If you want, you can remove the spring from the bottling stick, that makes it even easier.
That's also my method. It helps to attach the bottling wand to the spigot with a few inches of plastic tubing. Then I can tilt the wand at an angle to top up the bottle.

I leave about 1/2" headspace. Works great.
 
I also add 10ppm Na Meta and ascorbic in the bottling bucket.

My beers seem to have more shelf life. Maybe it's confirmation bias, but I get a good couple months without noticeable effect. Of course, I usually finish off a batch by then. :)

Another thing that helps me is once the bottles are fully conditioned I put them all in the fridge to slow any further oxidation. Helps to have a dedicated beer fridge.
This has been my go too as well (though I would need to check my notes on the [Na Meta] and [ascorbic]. While I haven’t tried it in hop forward beers yet, my Kolsch had what I would describe as a noticeable, springy/fresh malt character for about 4 months before it started fading.
 
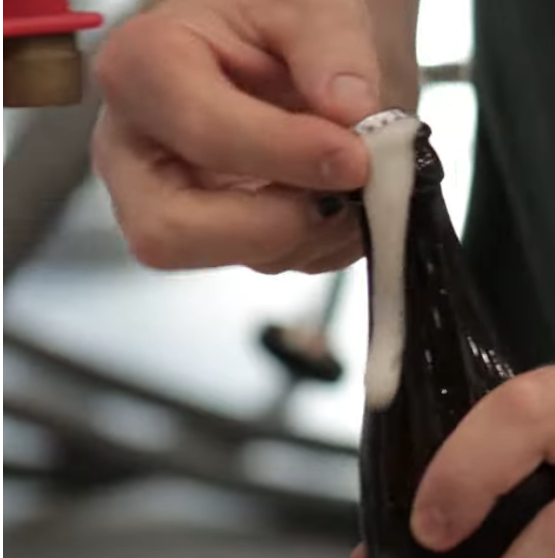
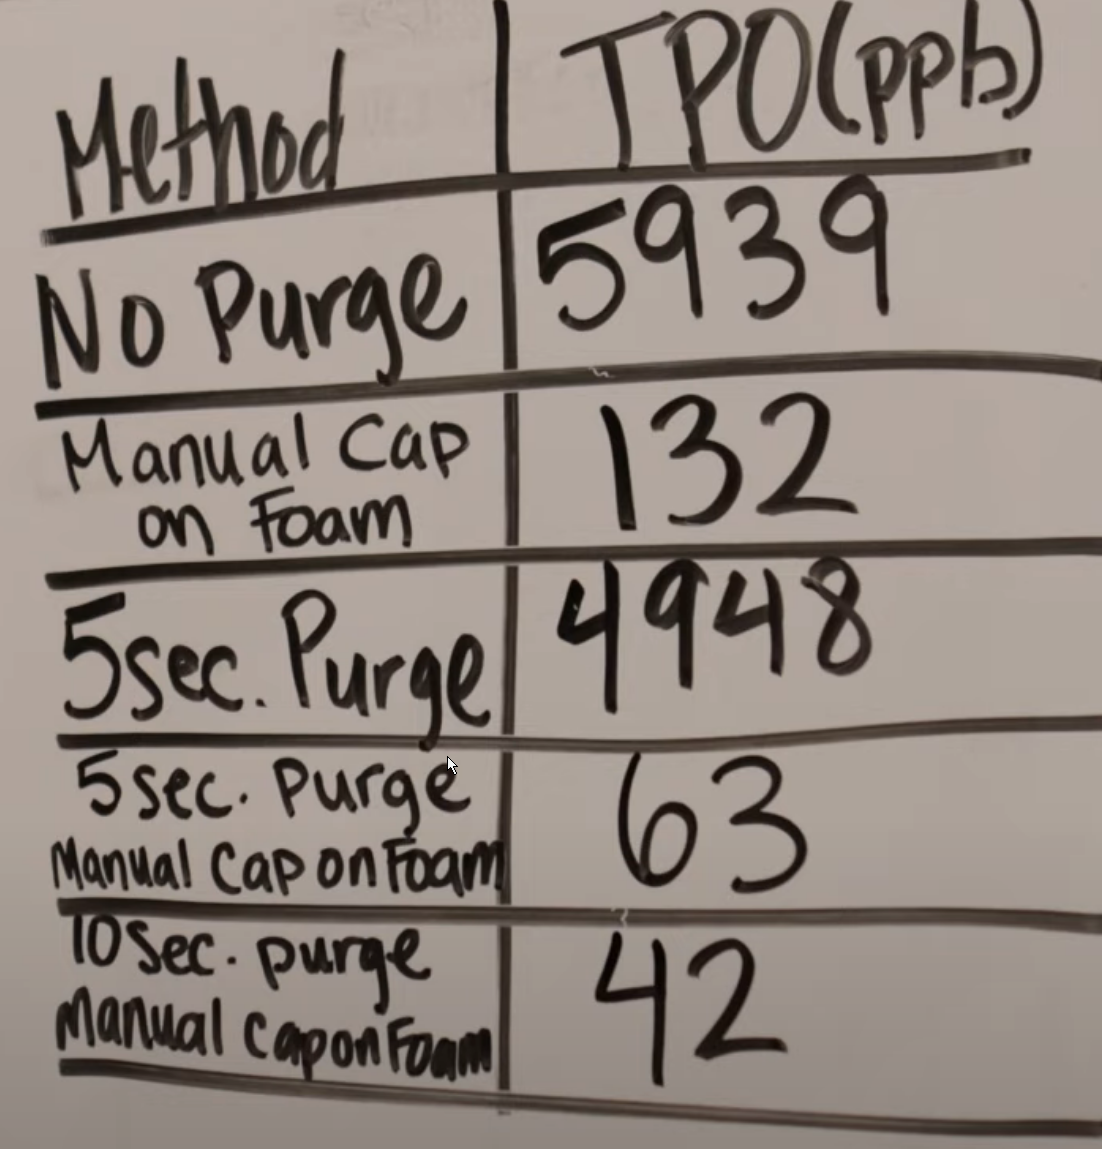
Russian River's Vinnie Cilurzo recently shared a video in which he shows how simply swirling the bottle immediately after filling causes it to foam over enough for him to cap on foam. He shows this as part of an amazing segment where he uses a variety of purging and capping regimens, measuring the dissolved oxygen results each time with their super expensive lab equipment (spoiler: capping on foam is 98% of the game).

Here's a screenshot of him capping on foam:

HJE84Nil9W.png


Here is a screenshot of their results:
1684950622714.png


Here's a link to the video. The swirl can be seen at 1:13:30 and the whole experiment starts at 1:10:55:

I encourage you to watch the whole experiment and the rest of the video. I posted about it here: Great Dissolved Oxygen demonstration
 
They're counter-pressure bottling carbonated beer, right? I don't think you're going to get much foam to cap on just by swirling beer from the FV when you're bottle conditioning.
There would be an amount of dissolved CO2 already in the beer from fermentation, less than one volume, but enough to foam if agitated in the bottles a little.
 
There would be an amount of dissolved CO2 already in the beer from fermentation, less than one volume, but enough to foam if agitated in the bottles a little.

If I do the top-off like I mentioned above, it's enough CO2 to foam from the bottling wand. Leave 1/2" and cap.

So if I'm following along correctly, your process for packaging is:
1) bottle conditioning (not counter-pressure packaging into bottles)
2) minimize head space
3) and with the limited head space, "cap on foam" is practical.
 
So if I'm following along correctly, your process for packaging is:
1) bottle conditioning (not counter-pressure packaging into bottles)
2) minimize head space
3) and with the limited head space, "cap on foam" is practical.
Correct. Also, NaMeta & AA mixed in the bottling bucket.

For 3), there's enough turbulence of the beer coming out of the wand to make some foam. I will admit the amount of foam diminishes as the level in the bottling bucket gets lower--less hydraulic pressure. But there's some foam to displace some of the air in that half inch of headspace. Not as good as you'd get from counter pressure filling, but it helps some.
 
there's enough turbulence of the beer coming out of the wand to make some foam. I will admit the amount of foam diminishes as the level in the bottling bucket gets lower--less hydraulic pressure. But there's some foam to displace some of the air in that half inch of headspace. Not as good as you'd get from counter pressure filling, but it helps some.
This exactly describes what I have bottling directly from the fermenter.
 
Correct. Also, NaMeta & AA mixed in the bottling bucket.

For 3), there's enough turbulence of the beer coming out of the wand to make some foam. I will admit the amount of foam diminishes as the level in the bottling bucket gets lower--less hydraulic pressure. But there's some foam to displace some of the air in that half inch of headspace. Not as good as you'd get from counter pressure filling, but it helps some.
When I bottle (infrequently, usually only for competition entries) I fill with a counter pressure bottler from my serving keg. The serving keg has been sanitized, treated with ascorbic + NaMeta solution, then CO2 purged either from bottled CO2 or from blowoff from an active fermentation.

The serving keg gets filled via closed transfer from a unitank after spunding and conditioning and/or lagering for about a month. I’m just now finishing a keg of Vienna lager that was packaged almost a year ago. Sadly the hops are fading, but there’s absolutely no sign of oxidation.

When I bottle and cap on foam, the beers stay ‘fresh’ for at least 4 months ‘on the shelf’ (room temperature), longer if refrigerated (6+ months).
 
Apology (if advance if necessary) for asking for clarifications on bottle conditioning vs counter-pressure re-packaging (from a keg to bottles).

When I bottle and cap on foam, the beers stay ‘fresh’ for at least 4 months ‘on the shelf’ (room temperature), longer if refrigerated (6+ months).
If I'm following along, you were bottling from a keg (and not bottle conditioning).
 
Minimizing headspace is by default the most effective way of keeping oxygen out of bottle conditioned beer. With a bottling stick it's actually fairly easy, I'm doing it all the time.

Once filled, tilt the bottle slightly and push with the end of the bottle stick against the inside of the bottle neck to release a small amount of beer in a controlled way.

If you want, you can remove the spring from the bottling stick, that makes it even easier.
I suspect how "easy" this is depends a bit on your bottling wand tip. I have one with a spring and it is very difficult to activate the release to get more beer out. It is also rather tricky to control the level with this method. Leaving a little bit of headspace (about 5 cm) helps against potential bottle breakage, and makes it easier to pour from the bottle without making a mess. I have another bottling wand that I usually don't use because it does not have a spring and tends to constantly drip, but this one makes it much easier to high fill bottles. The slow flow makes it easier to control the amount of headspace as well.

Another option for reducing the headspace is to inject a solution of sugar (and anti-oxidants if using them) into the bottle after filling. Adding 5 to 10 ml of solution will at least reduce the headspace by that amount.

I do agree with the statement "Minimizing headspace is by default the most effective way of keeping oxygen out of bottle conditioned beer". It is the one step that can have the biggest impact without requiring using a CO2 tank to purge or the addition of anti-oxidants.
 
Another option for reducing the headspace is to inject a solution of sugar (and anti-oxidants if using them) into the bottle after filling. Adding 5 to 10 ml of solution will at least reduce the headspace by that amount.
For my last high ABV beer, I mixed up priming sugar, water, beer and rehydrated CBC-1 and added about 30 mL to each 750 mL bottle after filling. FWIW, these were corked not capped.

I think it worked out pretty well for a first attempt, but it could still use some fine tuning to get the remaining head space just right. Of course you have to mix the components in the right order to make sure that you don't shock the yeast, which obviously isn't an issue if you aren't adding yeast (for a lower ABV beer that hasn't been bulk aged for a long time).
 
I suspect how "easy" this is depends a bit on your bottling wand tip. I have one with a spring and it is very difficult to activate the release to get more beer out. It is also rather tricky to control the level with this method. Leaving a little bit of headspace (about 5 cm) helps against potential bottle breakage, and makes it easier to pour from the bottle without making a mess. I have another bottling wand that I usually don't use because it does not have a spring and tends to constantly drip, but this one makes it much easier to high fill bottles. The slow flow makes it easier to control the amount of headspace as well.

Another option for reducing the headspace is to inject a solution of sugar (and anti-oxidants if using them) into the bottle after filling. Adding 5 to 10 ml of solution will at least reduce the headspace by that amount.

I do agree with the statement "Minimizing headspace is by default the most effective way of keeping oxygen out of bottle conditioned beer". It is the one step that can have the biggest impact without requiring using a CO2 tank to purge or the addition of anti-oxidants.
Yep, that's why I removed the spring from my wand. I lose about 50ml in drips but gain about 30 bottles of consistent hop flavour and aroma :).
 
I agree with others that the discussion in this thread is life changing ... that is, if your life revolves around filling bottles. All jokes aside, I now use ascorbic acid at bottling, and I pour boiled water over it and priming sugar so it's not exposed to too much heat. I use a rate of 0.6 g/gal. I also fill the bottles to about 1/3" from the top. I cannot get my beer to foam, so I haven't been able to cap on foam. I am also experimenting with brewtan-b. It's plant product.

I tasted my first bottled beer with the ascorbic acid. It's only been bottled 6 days so I can't make conclusions except that the ascorbic acid did not seem to interfere with the taste at all. The beer did taste very fresh so I hope it stays that way.
 
I am also experimenting with brewtan-b. It's plant product.
Is BrewTan-B good at packaging time? I ask mostly because I picked up a pack of Cellar Science "Oxblox 3D" (Dissolved Oxygen Reducer). I believe it is the "trifecta" of Metabisulfite, Ascorbic Acid and a Brewtan-B-like product ("gallotannins"). I have not used it yet. I planned to try using it pre-mash (though I do not do other LoDO brewing methods). I was not sure if this would be a good product to try at packaging time.
https://www.morebeer.com/products/cellarscience-oxblox-3d-dissolved-oxygen-reducer.html
I tasted my first bottled beer with the ascorbic acid. It's only been bottled 6 days so I can't make conclusions except that the ascorbic acid did not seem to interfere with the taste at all. The beer did taste very fresh so I hope it stays that way.
I have played around a bit with using Ascorbic Acid and Potassium Metabisulfite at bottling. Both times were in non-hoppy beers (a Saison and a Belgian Single-ish beer). In those beers I could not tell a difference vs bottles that were not treated. That at least give me some confidence that I will not ruin a beer by adding anti-oxidants. I have been wanting to cycle back to this with bottling a Hazy IPA.
 
Back
Top