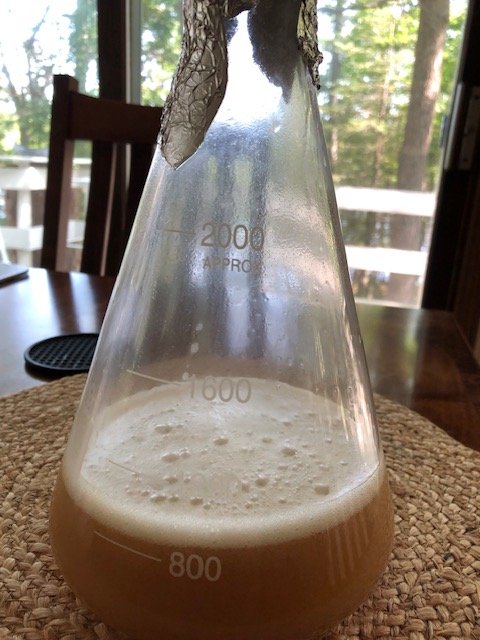
That looks decent for a swirled starter. The thin white layer is the best, most pure yeast; the darker layer underneath is a mixture of that same pure yeast as well as dead cells and trub. At this point, all of it is useful.
After crashing a little longer and decanting, I'd make another starter with the leftover slurry. Then you'll have enough for a good solid 5 gallon Lager pitch and save some (20-30%) out for the next starter.
If you brew often enough look into a stir plate. You could even build one, and while at it, build 2, or a twin setup.
BTW, I just cooked up another batch of 4 gallons concentrated (1.092) starter wort. I'm freezing most of it in 48 oz tubs. At time of use they get diluted 1.5x for 1.037 starter wort. Reboiled for all security.
")


![Craft A Brew - Safale S-04 Dry Yeast - Fermentis - English Ale Dry Yeast - For English and American Ales and Hard Apple Ciders - Ingredients for Home Brewing - Beer Making Supplies - [1 Pack]](https://m.media-amazon.com/images/I/41fVGNh6JfL._SL500_.jpg)