Even if you didn't want to make it completely assembled, a "kit" that had the parts all included and suggested assembly directions would make me bite, then if it isn't wired right and I burn my house down it would be on me i am assuming. Alternately a suggested addon list with items that are also available separately from your site that I could add in for the same shipment, and said directions would work for me. I just hate going through 5 different vendors, hoping that when I can't find the right piece that my guess at a like part will still work, and I usually give up, especially on electrical things. This is the main reason I never made a brutus 10 (no interest in trying to make the control panel and nobody sells reasonable priced models) and haven't done electric brewing yet (getting the parts for the element are too dicey for me).


![Craft A Brew - Safale BE-256 Yeast - Fermentis - Belgian Ale Dry Yeast - For Belgian & Strong Ales - Ingredients for Home Brewing - Beer Making Supplies - [3 Pack]](https://m.media-amazon.com/images/I/51bcKEwQmWL._SL500_.jpg)


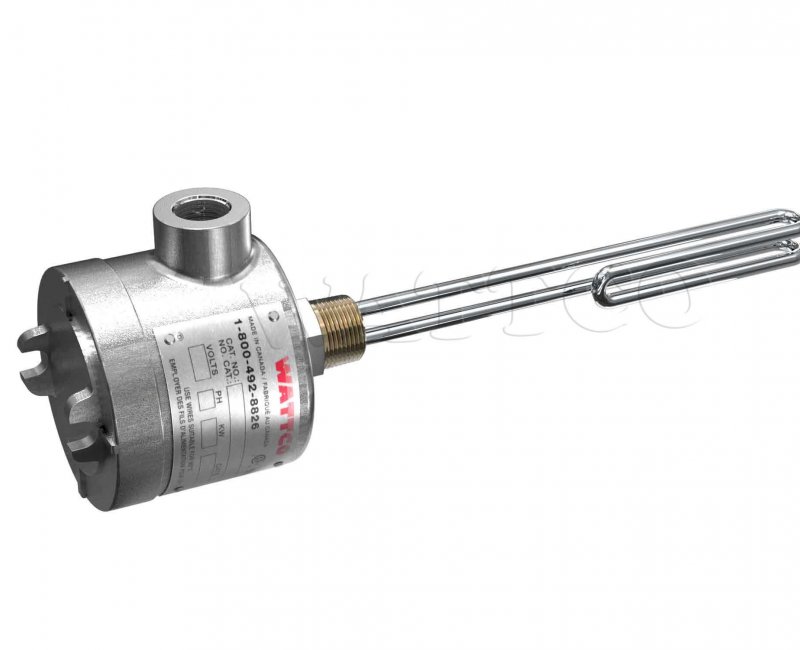
") These are of course commercial/industrial products. It sure would be nice if Camco or some other manufacturer would make something like this more affordable but I'm sure the electric brewer market is not large enough to make it worthwile.
These are of course commercial/industrial products. It sure would be nice if Camco or some other manufacturer would make something like this more affordable but I'm sure the electric brewer market is not large enough to make it worthwile.