
MikeMMM
Active Member
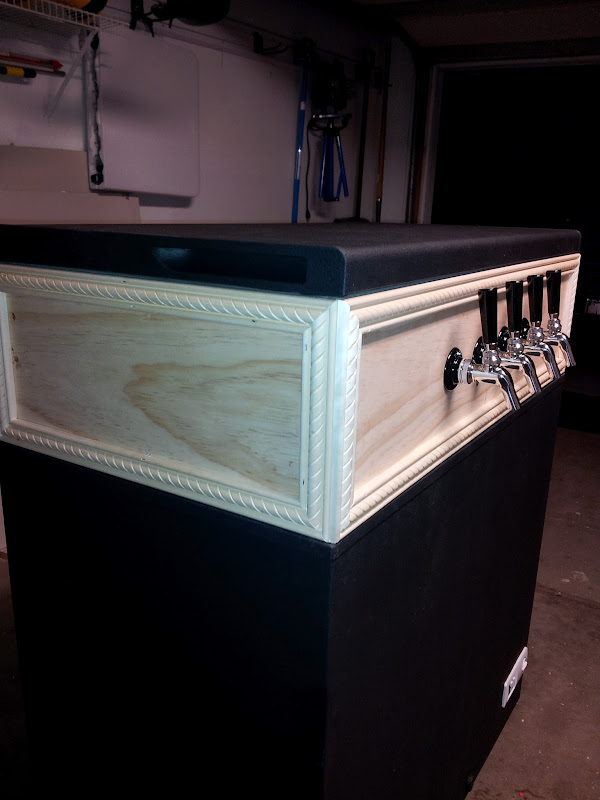
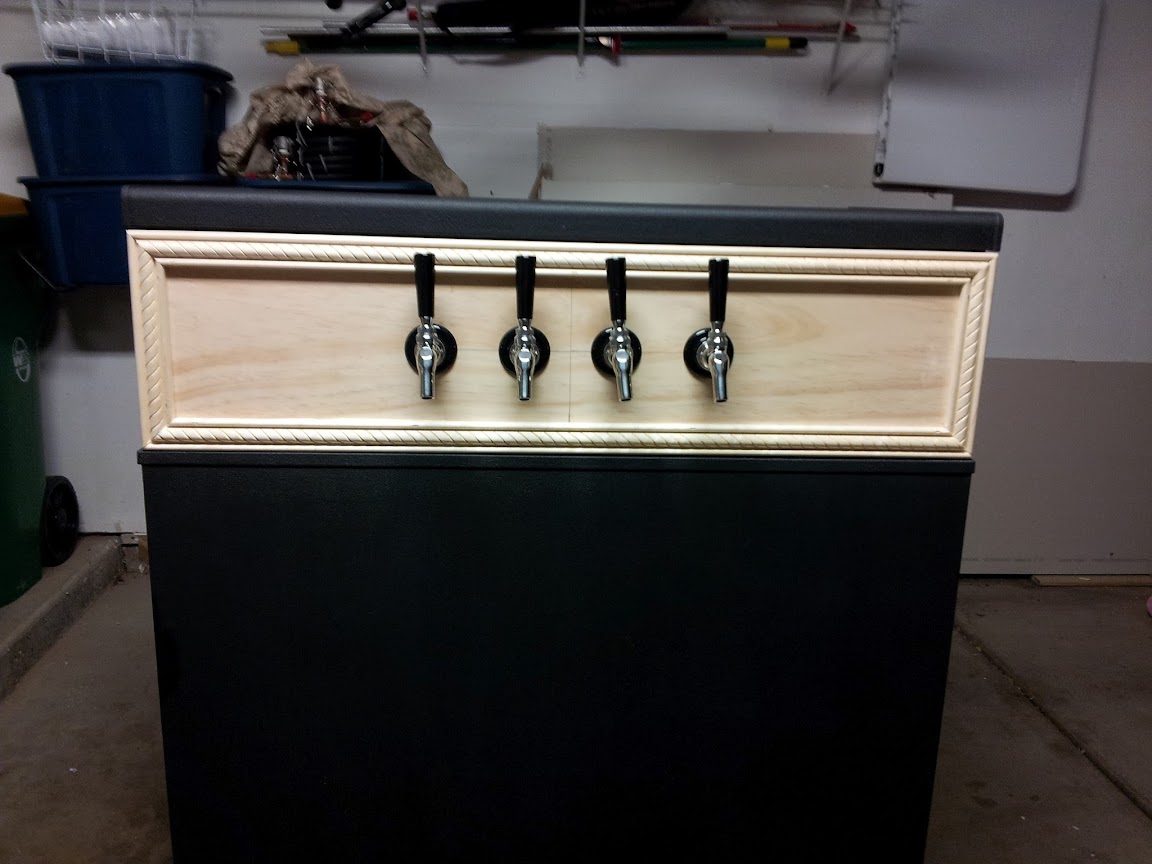
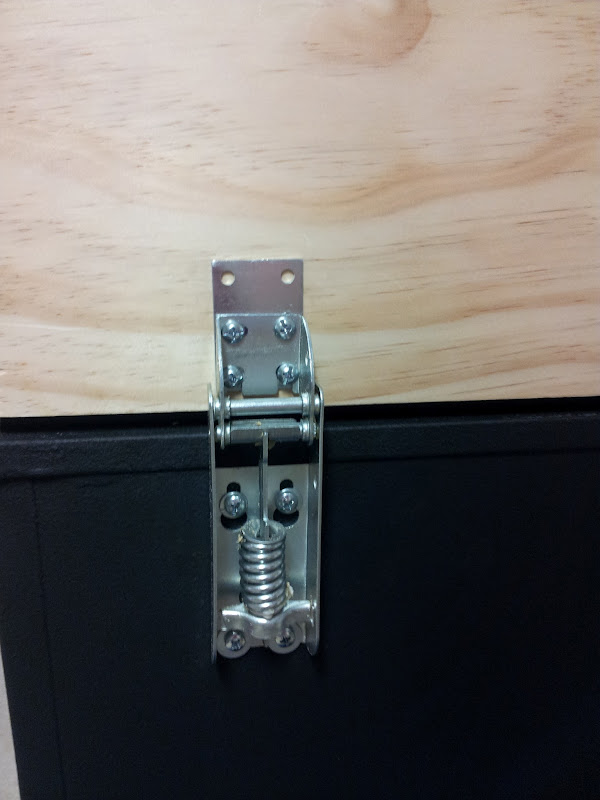
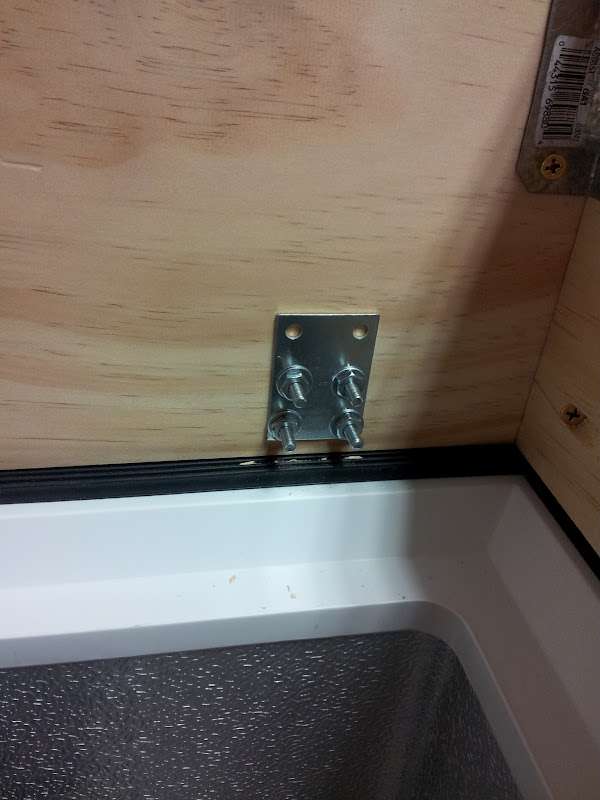
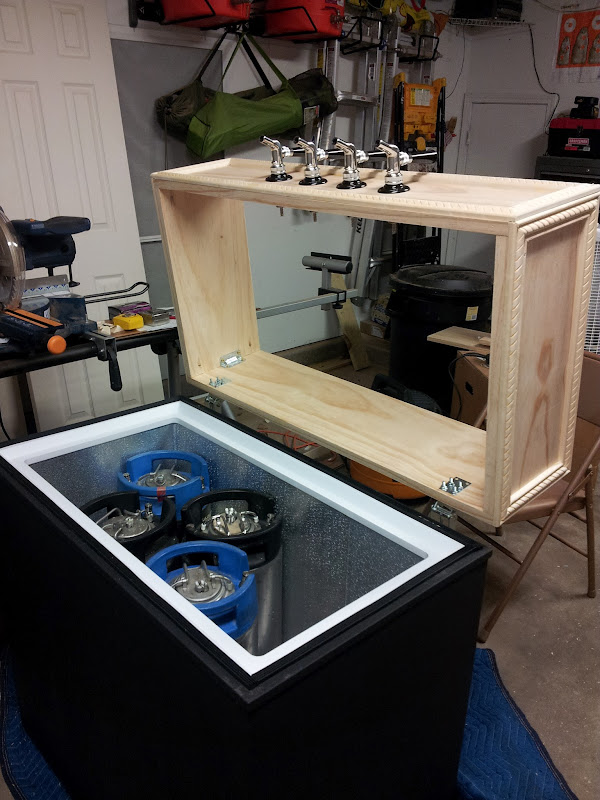
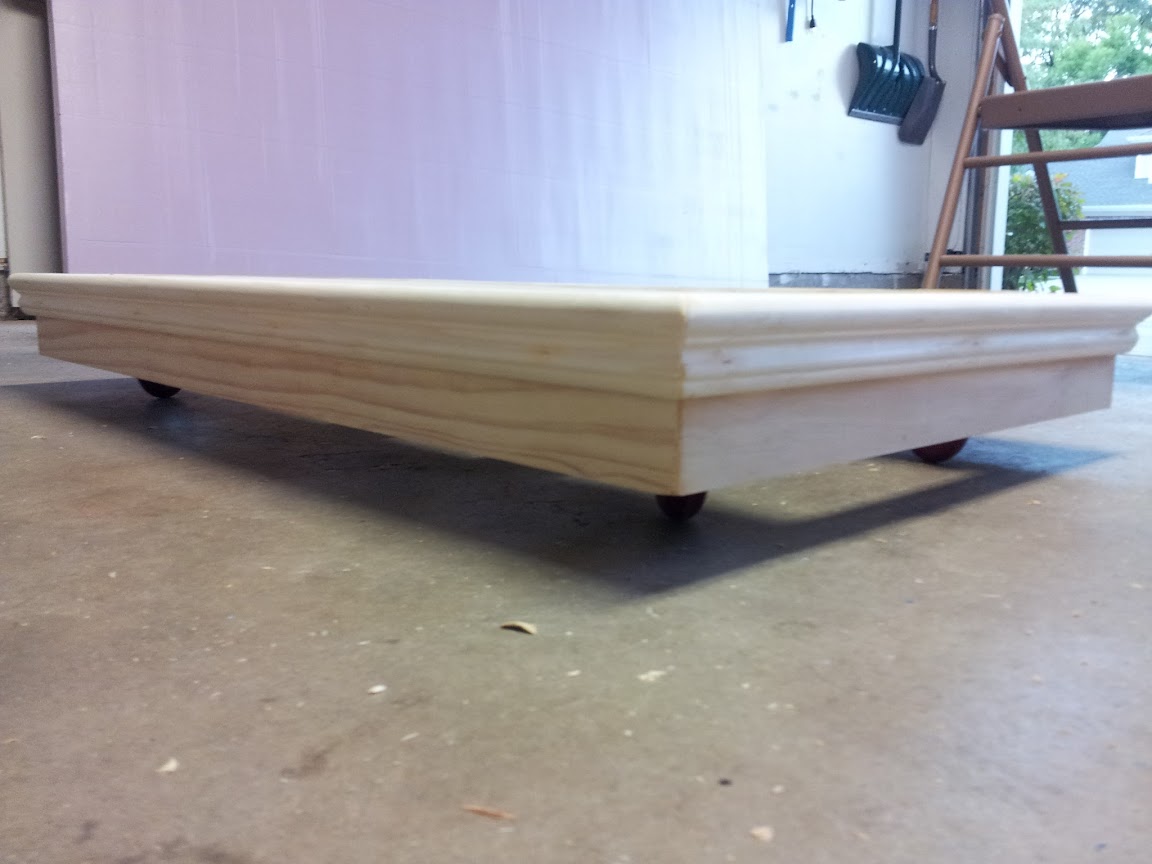
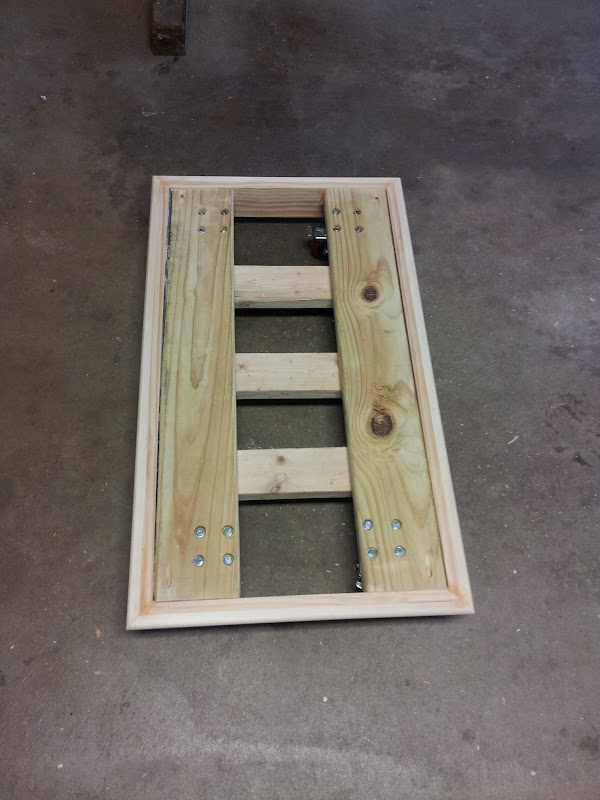
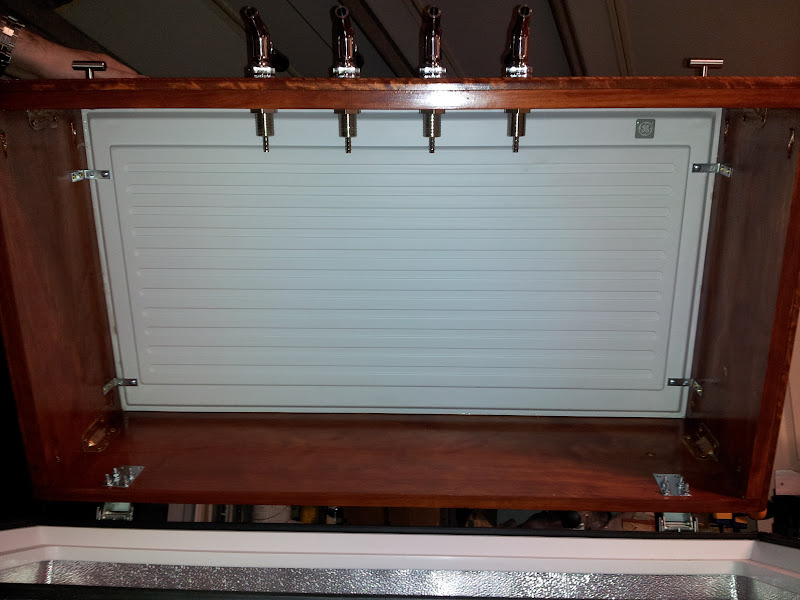
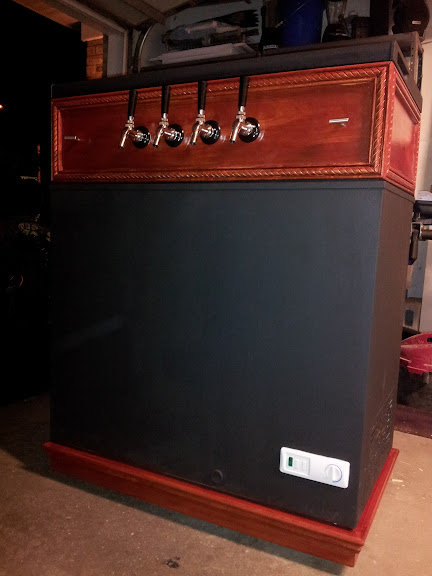
nickmv said:He described at the beginning of the thread that it got wobbly. Assuming the mitre cuts were made properly, that leaves support brackets/braces to do the rest of the job. He showed wooden triangle braces that he fab'd for it. I mitre'd mine and I got 8 metal triangle braces (see here). Put 2 in the top and bottom of each corner. It's extremely strong, and my collar is the least of any of my keezer concerns, because of it.
Thanks. I have seen metal corner supports on other threads and also thought I would go that route. Great to see it can be done with success. I haven't seen any like yours or others I like at Home Depot. maybe I'll go online for them. Sorry I missed the wobbly part when retreading the thread.


![Craft A Brew - Safale BE-256 Yeast - Fermentis - Belgian Ale Dry Yeast - For Belgian & Strong Ales - Ingredients for Home Brewing - Beer Making Supplies - [3 Pack]](https://m.media-amazon.com/images/I/51bcKEwQmWL._SL500_.jpg)


