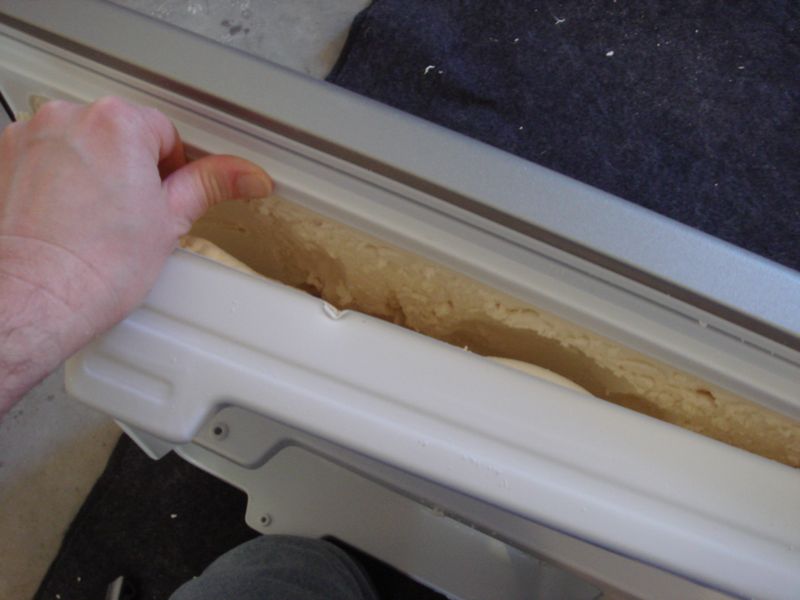
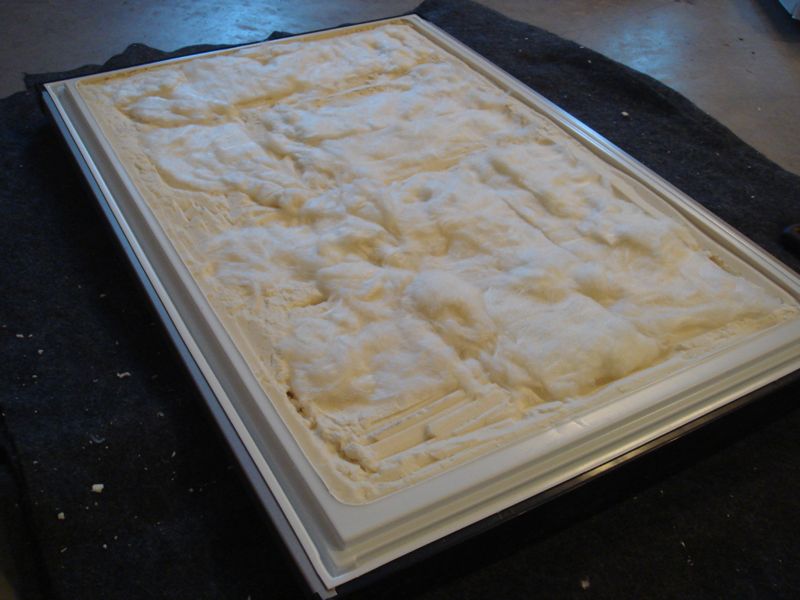
I think davebach made a good choice where he made his cut, as is provides good gasket stability. I was more aggressive in my cutting and had to fight to seal the gasket later on. On the flipside, I probably gained an extra 1/2 inch inside the fridge, which is possibly useful given how tight a space it is in there for two cornys. I'd get your light sorted out and then stick your two cornys in there and measure how much room you have to the edge. From there, you can calculate how much room you'll have with the door molding cut plus your new board on top of it. Should be fine.
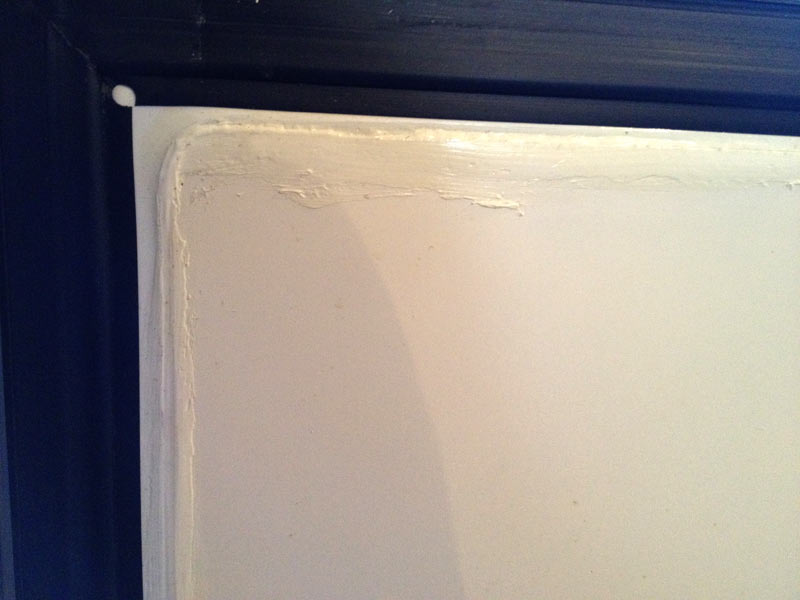
To secure the board (I used melamine, davebach used lucite, I'd guess both materials are 1/8"-1/4" thick), I just filled my gaps with Great Stuff and then clamped the melamine onto it, put some heavy items on top and let it dry overnight. I then used some silicone caulk around the edges of the board to seal it up.

.jpg")
.jpg")


![Craft A Brew - Safale BE-256 Yeast - Fermentis - Belgian Ale Dry Yeast - For Belgian & Strong Ales - Ingredients for Home Brewing - Beer Making Supplies - [3 Pack]](https://m.media-amazon.com/images/I/51bcKEwQmWL._SL500_.jpg)