cheesecake
Well-Known Member
Do 2 cornies fit in it like the original model. and the price went back to reular this morning so i thought the sale was over with

I just bought it at noon today for $145 plus tax. Two corney kegs fit as long as you move the thermostat out of the way. I'll post pictures later tonight.
The door needs to be modified a little bit but it works fine. Hooked my Auber PID up to it a few minutes ago after I put the dual tap tower on. Going to tackle the door tomorrow and I'll post pictures.


Picked mine up today. anyone have any pictures of the top ripped off this one and if the coils go the same as the previous model
Good thing I ordered the ball locks. I assumed you could unscrew all the plastic molded shelves. Not so! I will leave them as they seem to fit with ball locks?
do you think 2 pinlocks would fit if you remove the plastic on the door? that should give them a bit more space?


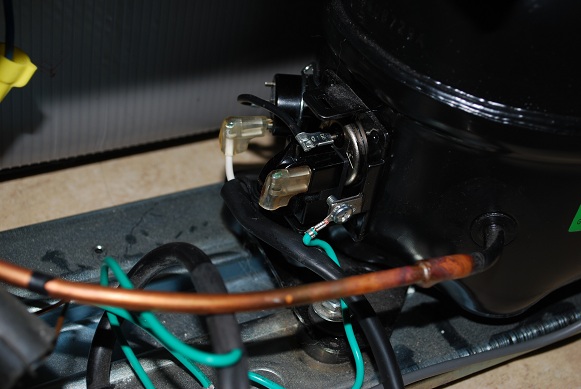
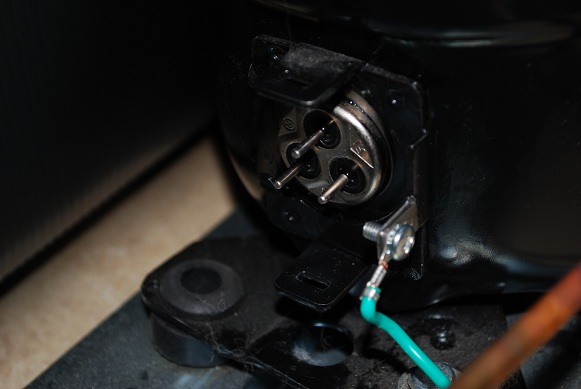
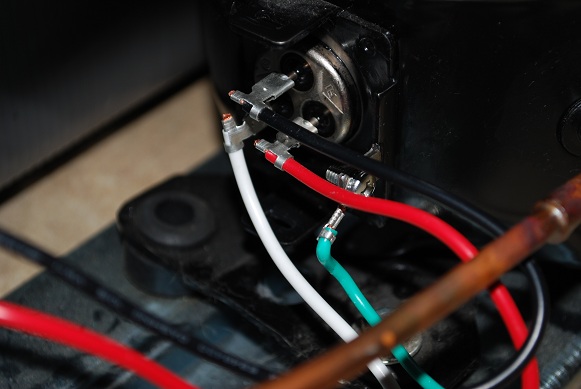
Can you tell me how you wired this up. I have another controller and would love to do the same thing.
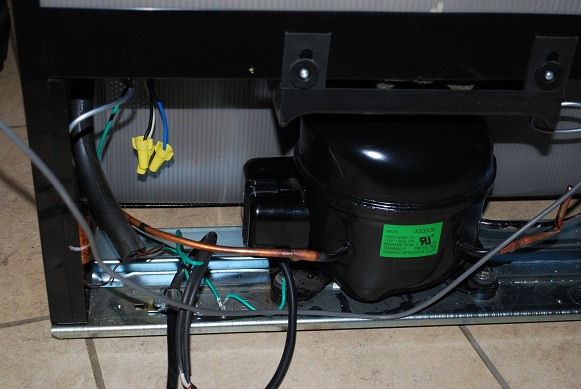
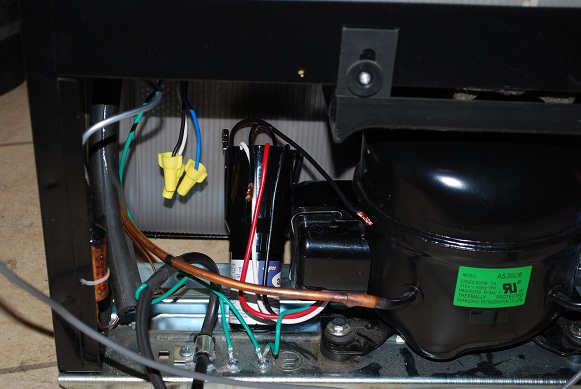
So, my Fridgidaire model FRC455GB took a dump sometime last night. Went to pour a pint this fine afternoon and the temp was 61F in the fridge.
Knowing something about refrigeration systems I started poking around. Traced the problem back to the PTC Thermister motor start. A device that controls voltage to the start winding. I've been looking on the internet all afternoon and found 1 supplier. In China, Minimum order - 10,000 units. All I need is 9,999 other people who need the same device.
My search continues. I'll probably convert to a more traditional "solid state" start.
My point. Whoever owns one of these fridges runs the risk of being, "dead in the water", over a 5 cent disk.


![Craft A Brew - Safale BE-256 Yeast - Fermentis - Belgian Ale Dry Yeast - For Belgian & Strong Ales - Ingredients for Home Brewing - Beer Making Supplies - [3 Pack]](https://m.media-amazon.com/images/I/51bcKEwQmWL._SL500_.jpg)


