DABrewmaster
Member
- Joined
- Dec 6, 2014
- Messages
- 6
- Reaction score
- 0
This is my very first homebrew! When I went to my LHBS the guy suggested to start with a kit so I can get used to the very basic of homebrewing before starting to try mix with malt extract and hops. I wanted a red beer and his suggestion was the Coopers English Bitter.
I created a journal at the beginning of my brew to note all the things I did and I saw during the whole brewing process. I plan to do this for all my brews, so they can be documented and can help me or anybody else in the future!
I took some picture of the process, here is the album link :
http://imgur.com/a/AbIsq#0
Brewing Day December 6, 2014
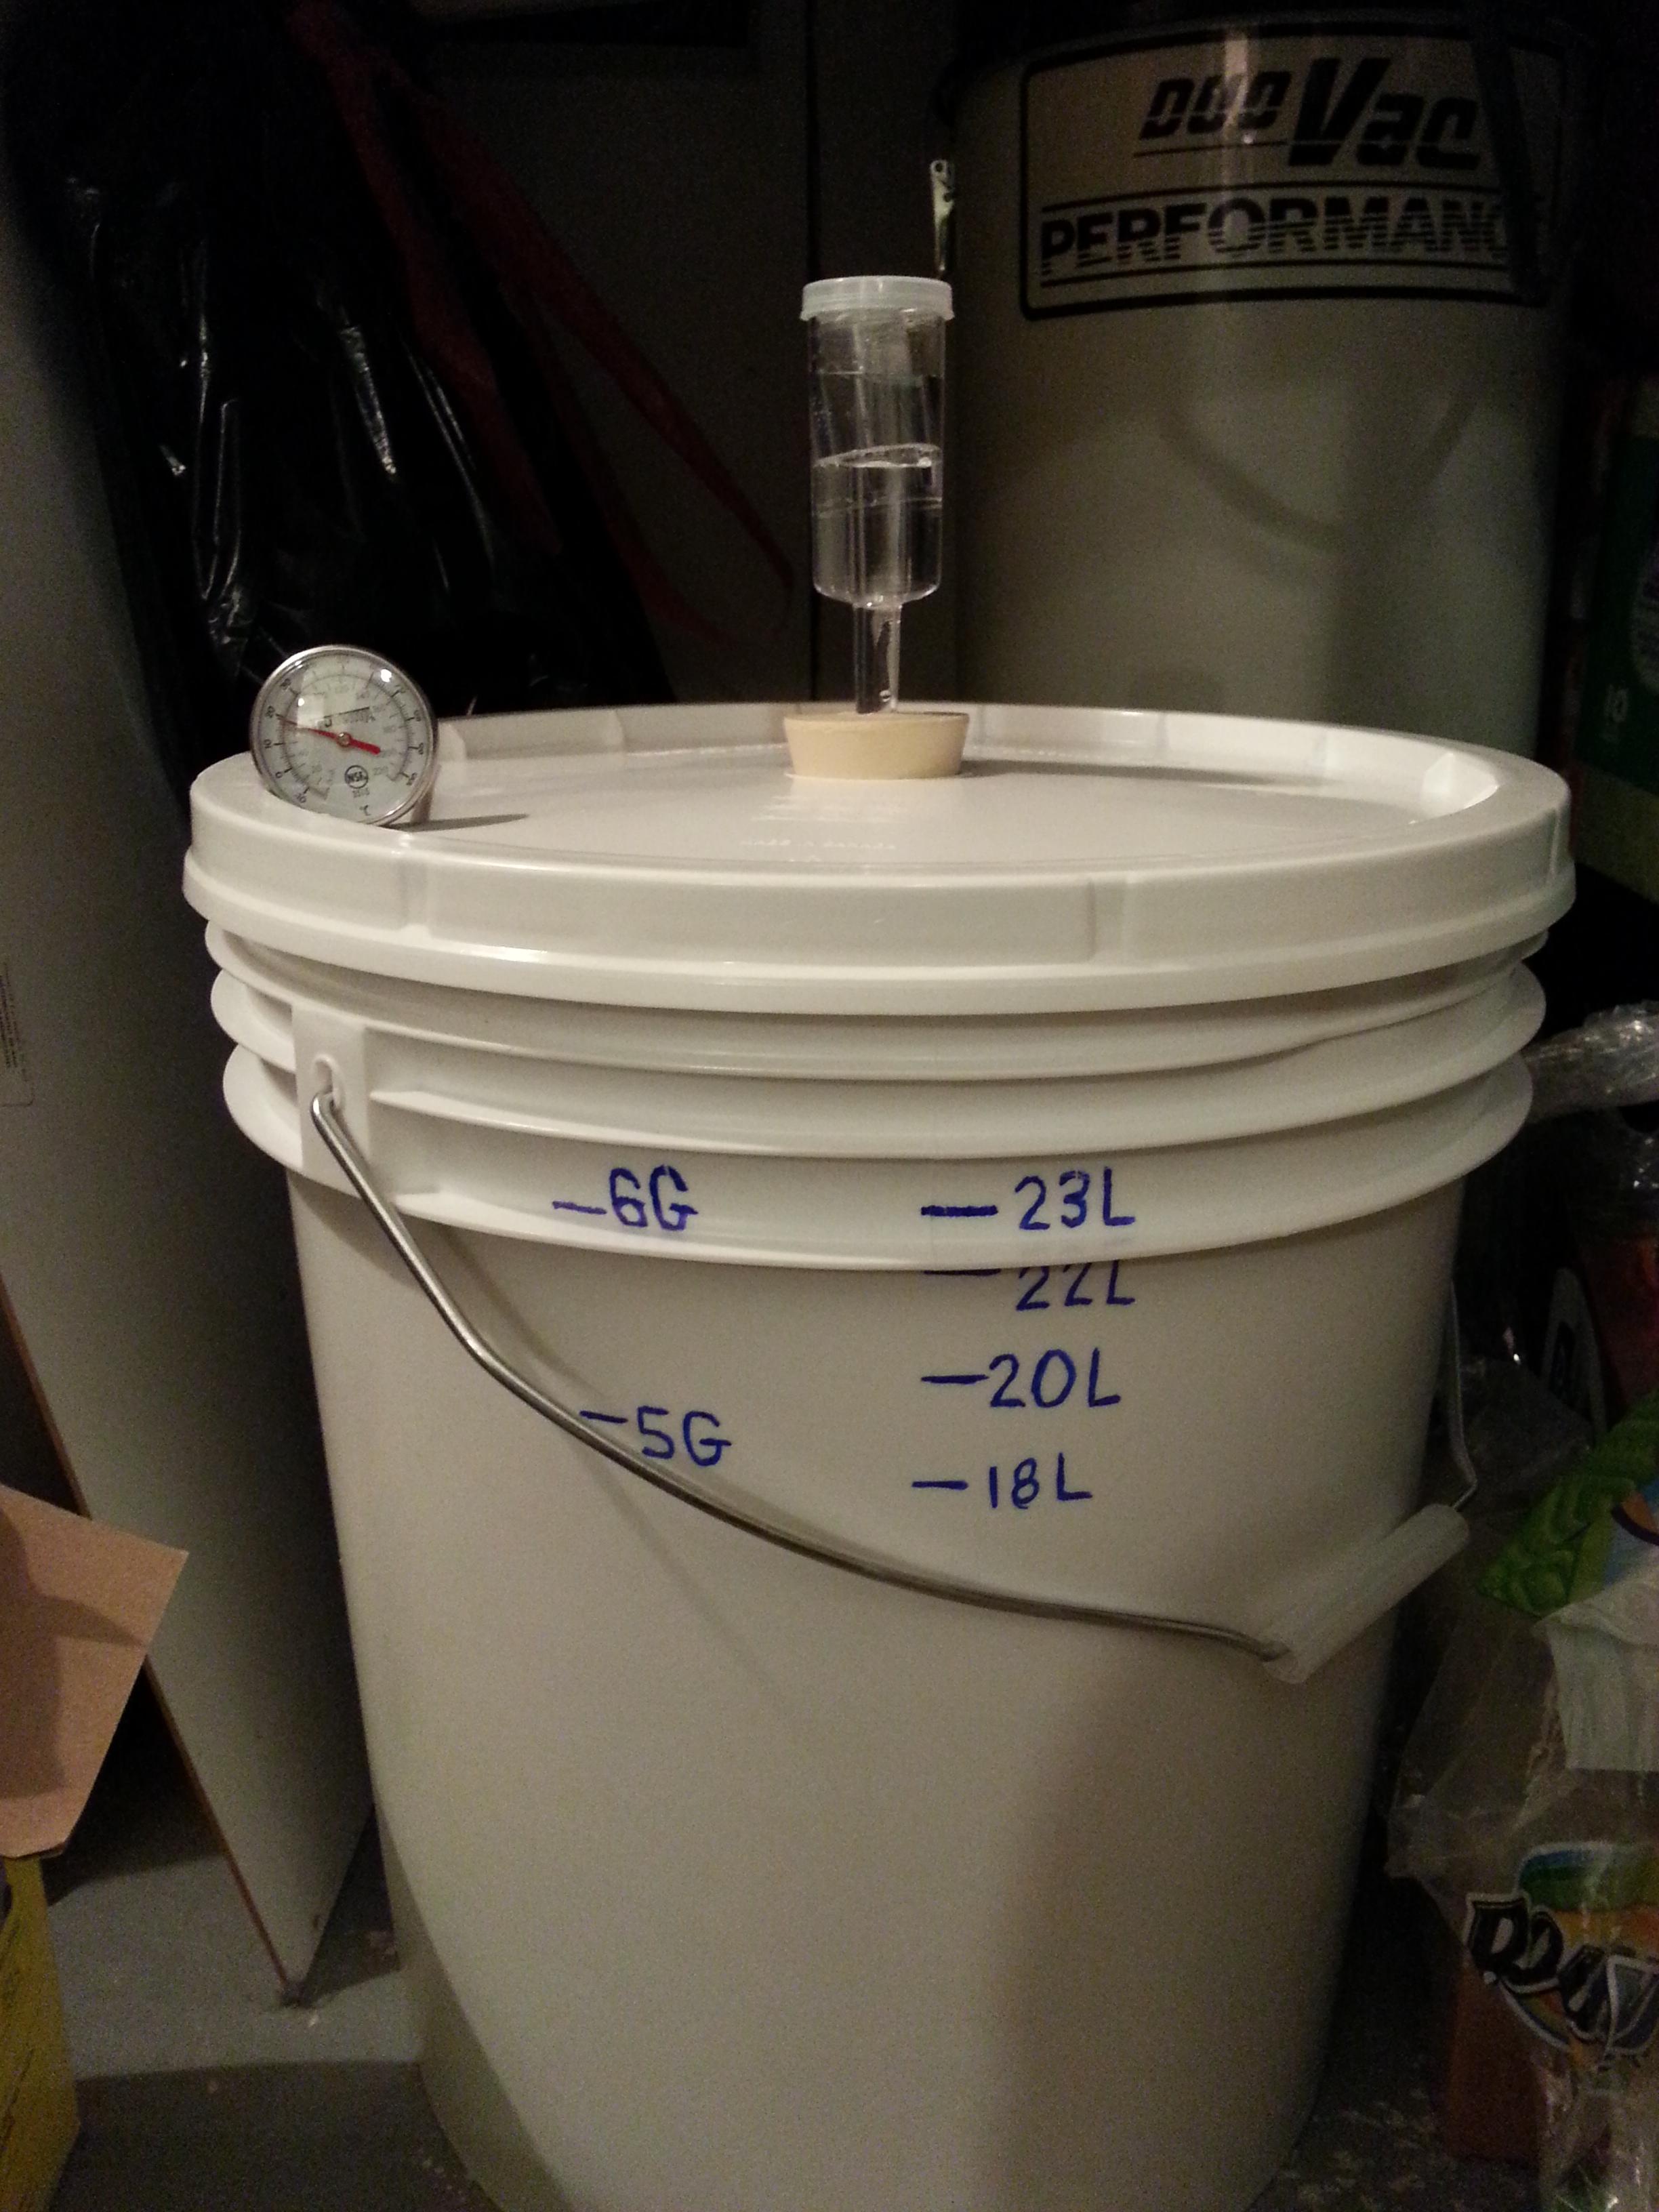
After sanitizing everything that came in my brew kit, I submerged the unopened can in hot water to warm the malt syrup. While doing this, I boiled 2 liters of water and then transfer it to the fermentation bucket (that I had to graduate myself that was a long PITA). Then, I threw 1 kg (2.2 lbs) of white table sugar into the bucket. I know that I couldve used a different sugar to have a better beer, but it was Saturday night, the stores were closed and I really wanted to start that night! We shall see what it will give for the final taste, but many posts I saw said its not that big of a deal, that the final beer will have less body.
Right after pitching the white sugar, I opened the Coopers can and transferred it in the bucket. It has a very viscous look when I was pouring it, smelled a bit like molasses. I stirred for a minute the initial mix, which was very consistent and needed some strength to properly swirl the mixing spoon.
Then, I poured about 18 liters of cold water from tap. The first liters I used the empty Coopers can since it had some syrup still stuck on the inside. Then mix again with a spoon and take an initial temperature measure: it was at 27°C which is the upper limit Coopers mentions before pitching the yeast. I pour 3 liters more to have a total of 23L in my bucket, which is a tad more than 6 gallons. Before pitching the yeast, I took my Original Gravity: 1.036 at 27°C. I found it a little low but I read later on the web that this is a normal gravity for an English bitter, so I shouldnt expect more than a 4.5% ABV beer.
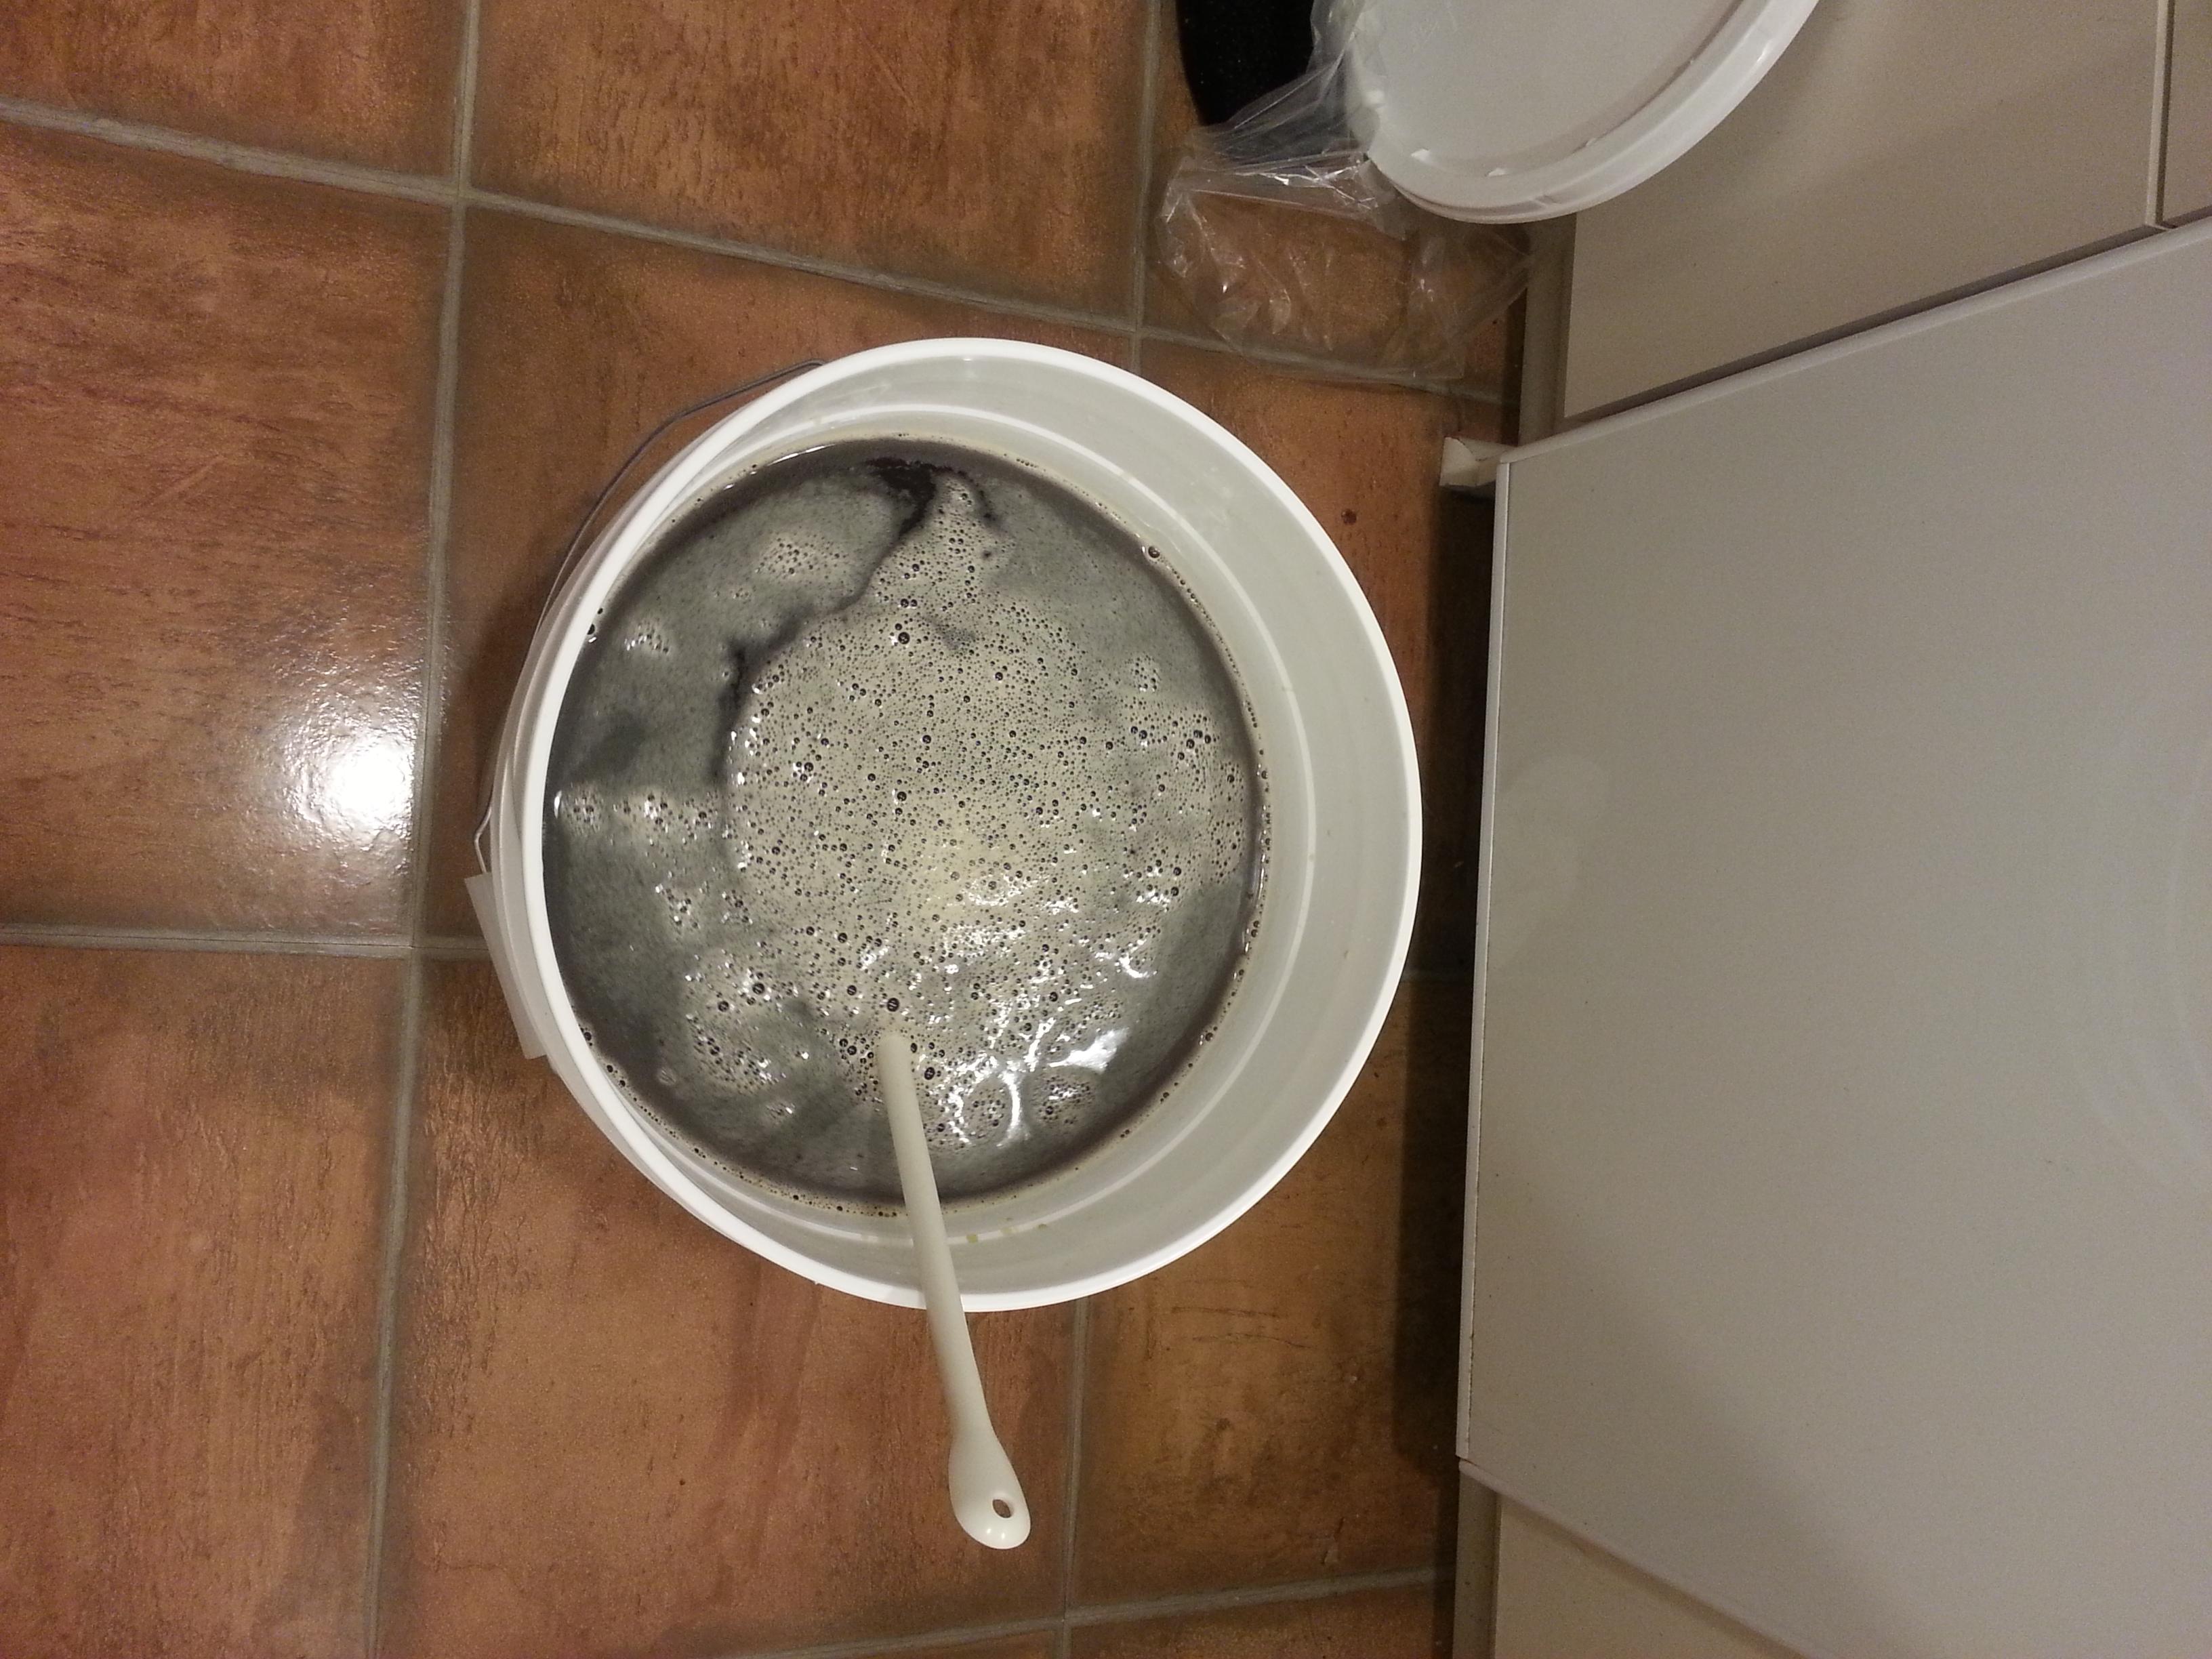
Finally, I pitched the Coopers Ale yeast included in the mix evenly on the surface. Then, I locked the lid firmly on the bucket, put some water in the airlock and plug it in the hole. I stored my bucket neat my water heater (which is in a closet under my stairs), where it is at a constant 20°C.
Week 1 December 6 to 12, 2014
I didnt expect to see that much bubbles in the airlock! Fortunately there was no krauken that entered in the airlock and jamming it. I made nightmares on the first night, that the bucket would leak and that I would have 23L of wort all over the floor, the wooden side of the stairs and the plywood of my floor None of this happened! The only thing that was worrying me the first days was that the lid was a bit convex due to the internal pressure in the bucket. But the seal was ok, and there was multiple bubbles in the airlock about every 5-10 seconds for the first 3 days. Then it slowed down to each 30 second on day 4-5.
Week 2 December 13 to 19, 2014
Not an exciting week so far There are practically no more bubbles in the airlock (I dont have the patience to look at it for 2 minutes straight), which mean the yeast have finish the dirty job! I decided, after further reading about fermentation time of Coopers beer, to let it sit for 3 weeks total, in order to properly achieve fermentation and have less sediments in suspension and augmenting the possibility to have a better tasting beer. The kit says that it can be bottled after a week, but I rather wait than being sorry. Ill try to apply the 1-2-3 rule (1 week fermenting- 2 weeks clearing- 3 weeks bottle conditioning). I havent took a gravity measure yet for that week, as I dont want to open the lid and liberate the gas and expose the beer to air
yet! Maybe during week 3 I will do so.
Week 3 December 20 to 26, 2014
Its time to take the first gravity measure, even though it has already reached its final state. On December 24 I took a chicken marinade syringe to take the fermented beer from the top of the fermenter lid hole. I measured a value of 1.006 at 21°C. This gives me a value of about 4.2% ABV, which looks to be in the range of a British bitter. I will wait 3 more days before bottling, but Im pretty happy that the fermentation went well. I also drank the sample just to give a quick taste and if there was any off flavor. It was of course flat, but it did taste like beer without any cringing face.
Bottling Day December 27, 2014
This is it! After 3 weeks of fermentation its time to bottle 23L of beer. I have 22 oz bottles (around 660 ml) so I sanitized 36 bottles, along with siphon, spoon, bottling wand and caps. For priming sugar, I used an online calculator for the kind of beer I brewed. According to http://www.northernbrewer.com/priming-sugar-calculator/, the English bitter has a level of CO2 of 1.5, so I took about 55g of table sugar along with 2 cups of water, then I boiled both for 10 minutes and then I let it rest for 30 minutes.
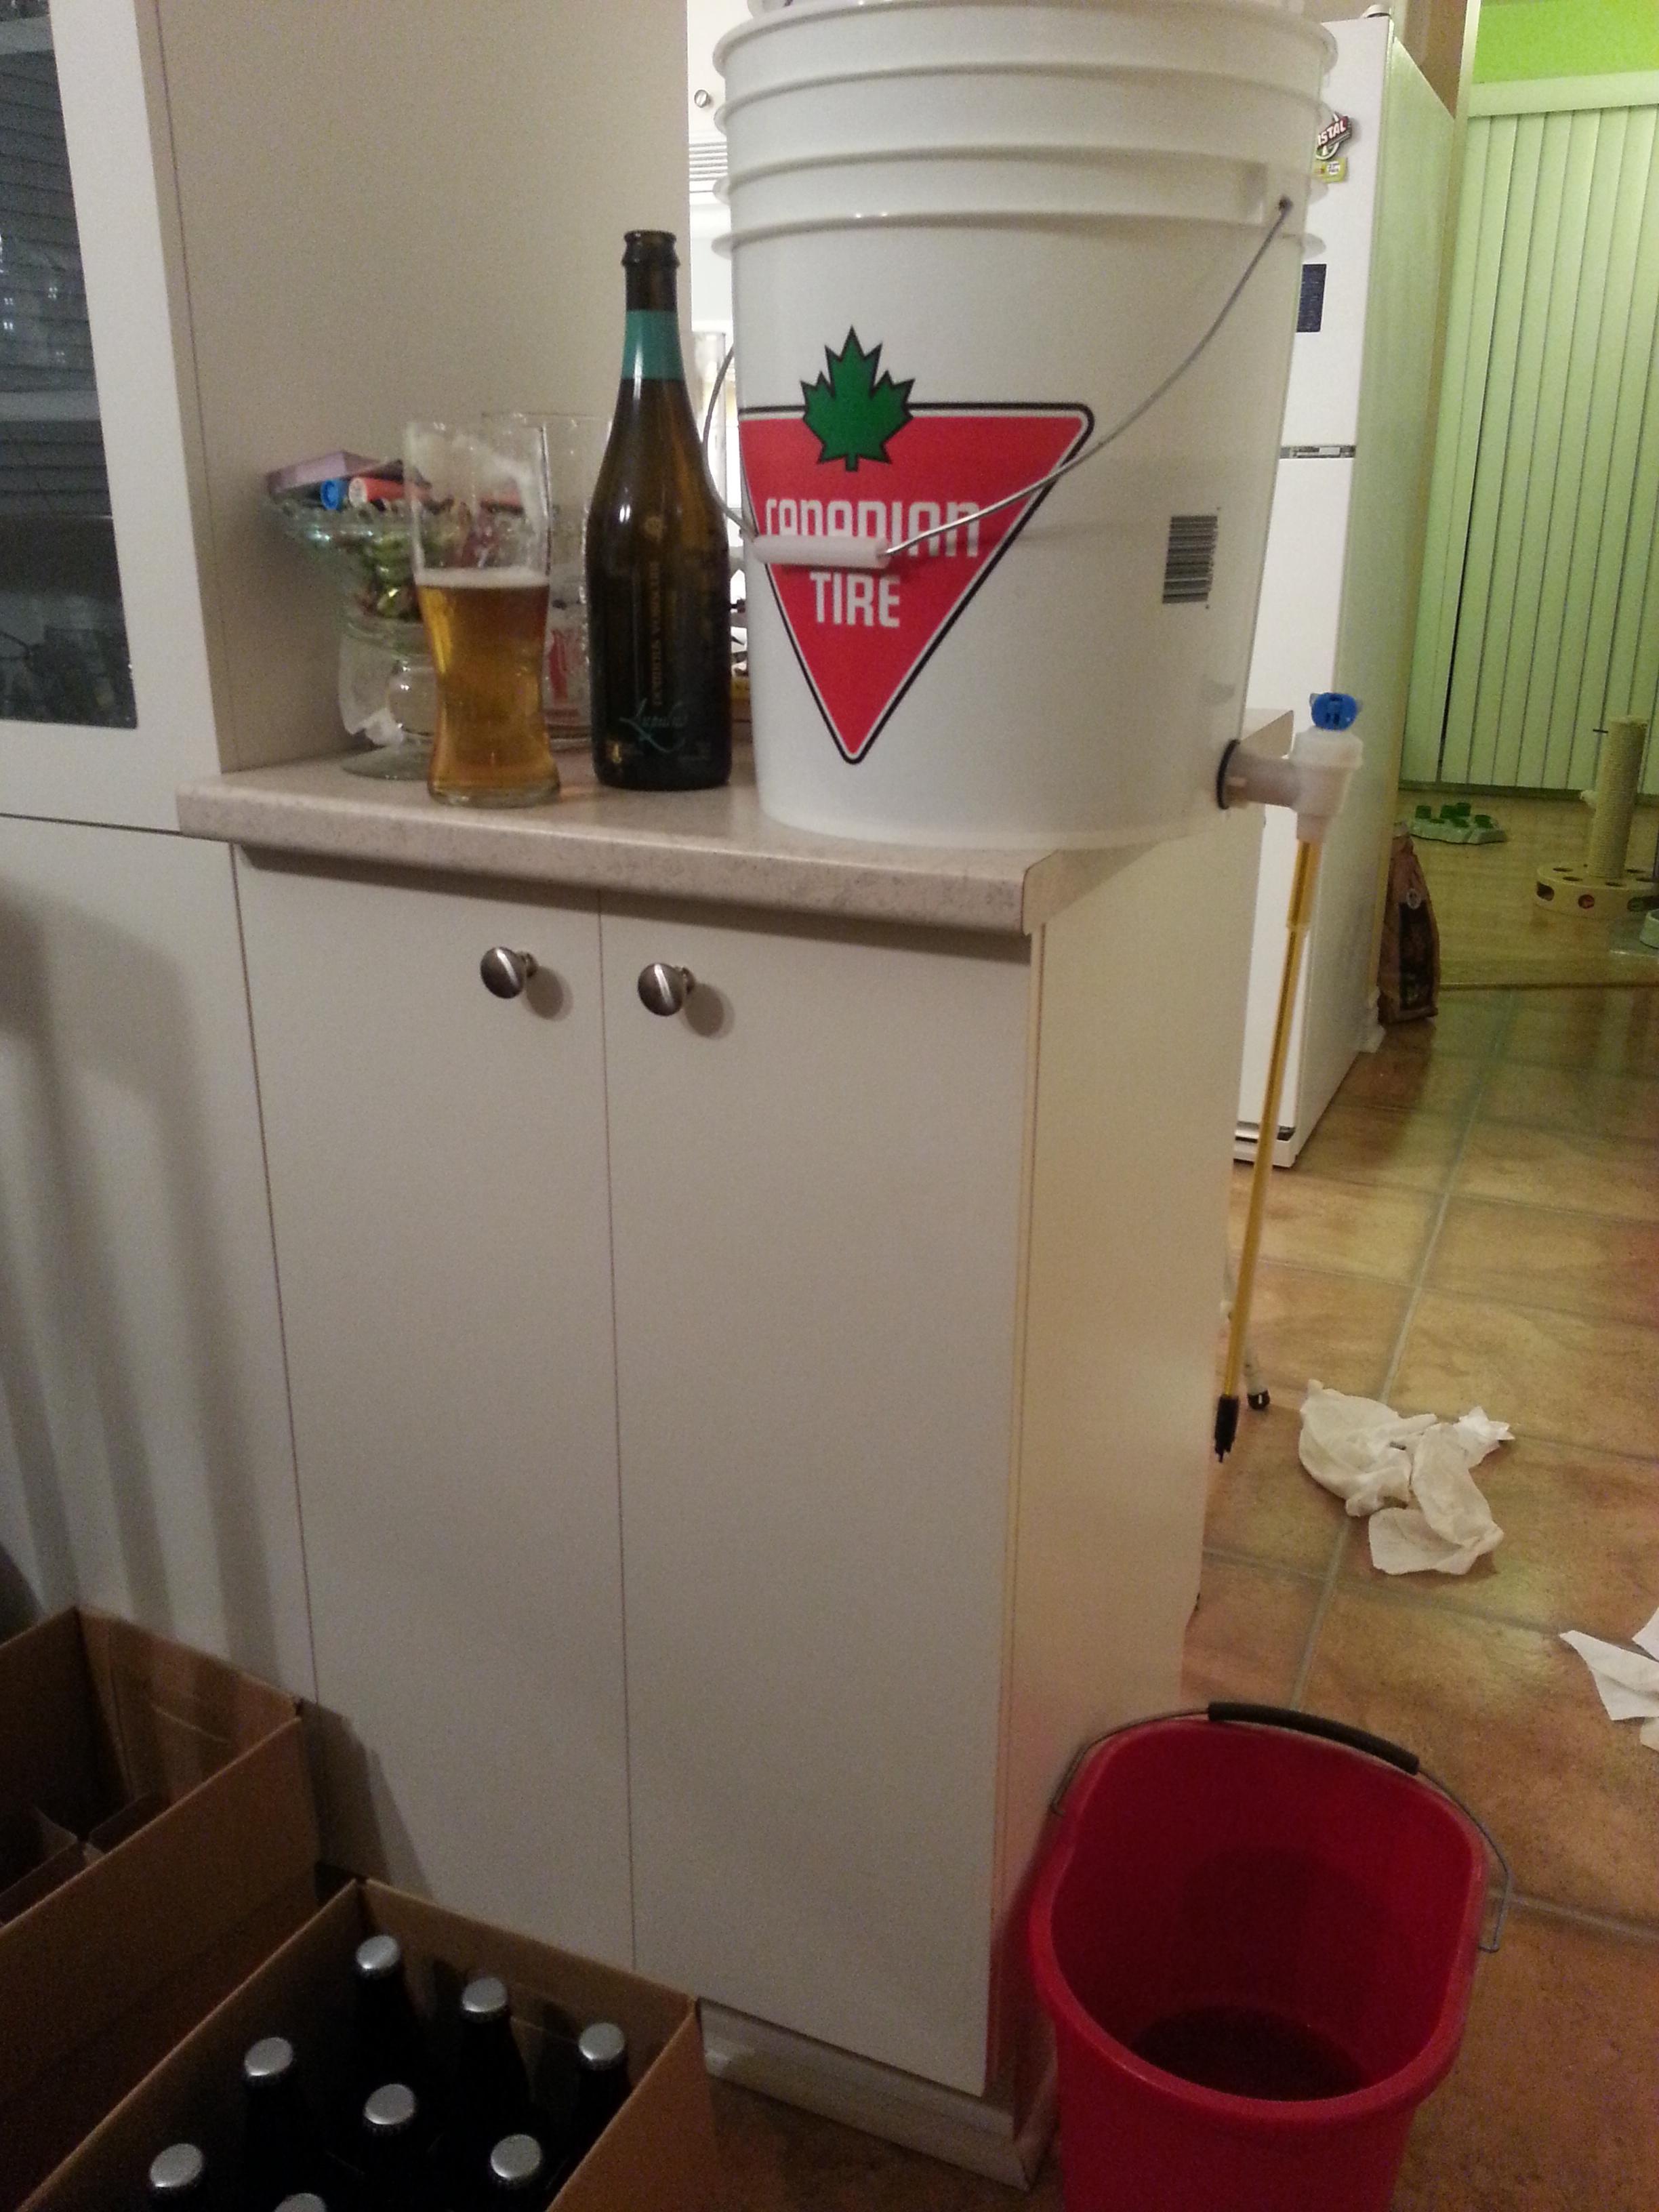
I put the priming sugar at the bottom of my bottling bucket and then siphoned the content of my primary fermenter, then I slowly stirred it to mix with the sugar. The transferring of the beer in the bottles went well, I used all 36 bottles of beer and no leftover or half-filled bottle! The beer are now conditioning at 19°C at the same place than my fermenter, near the water heater.
First taste January 17, 2015
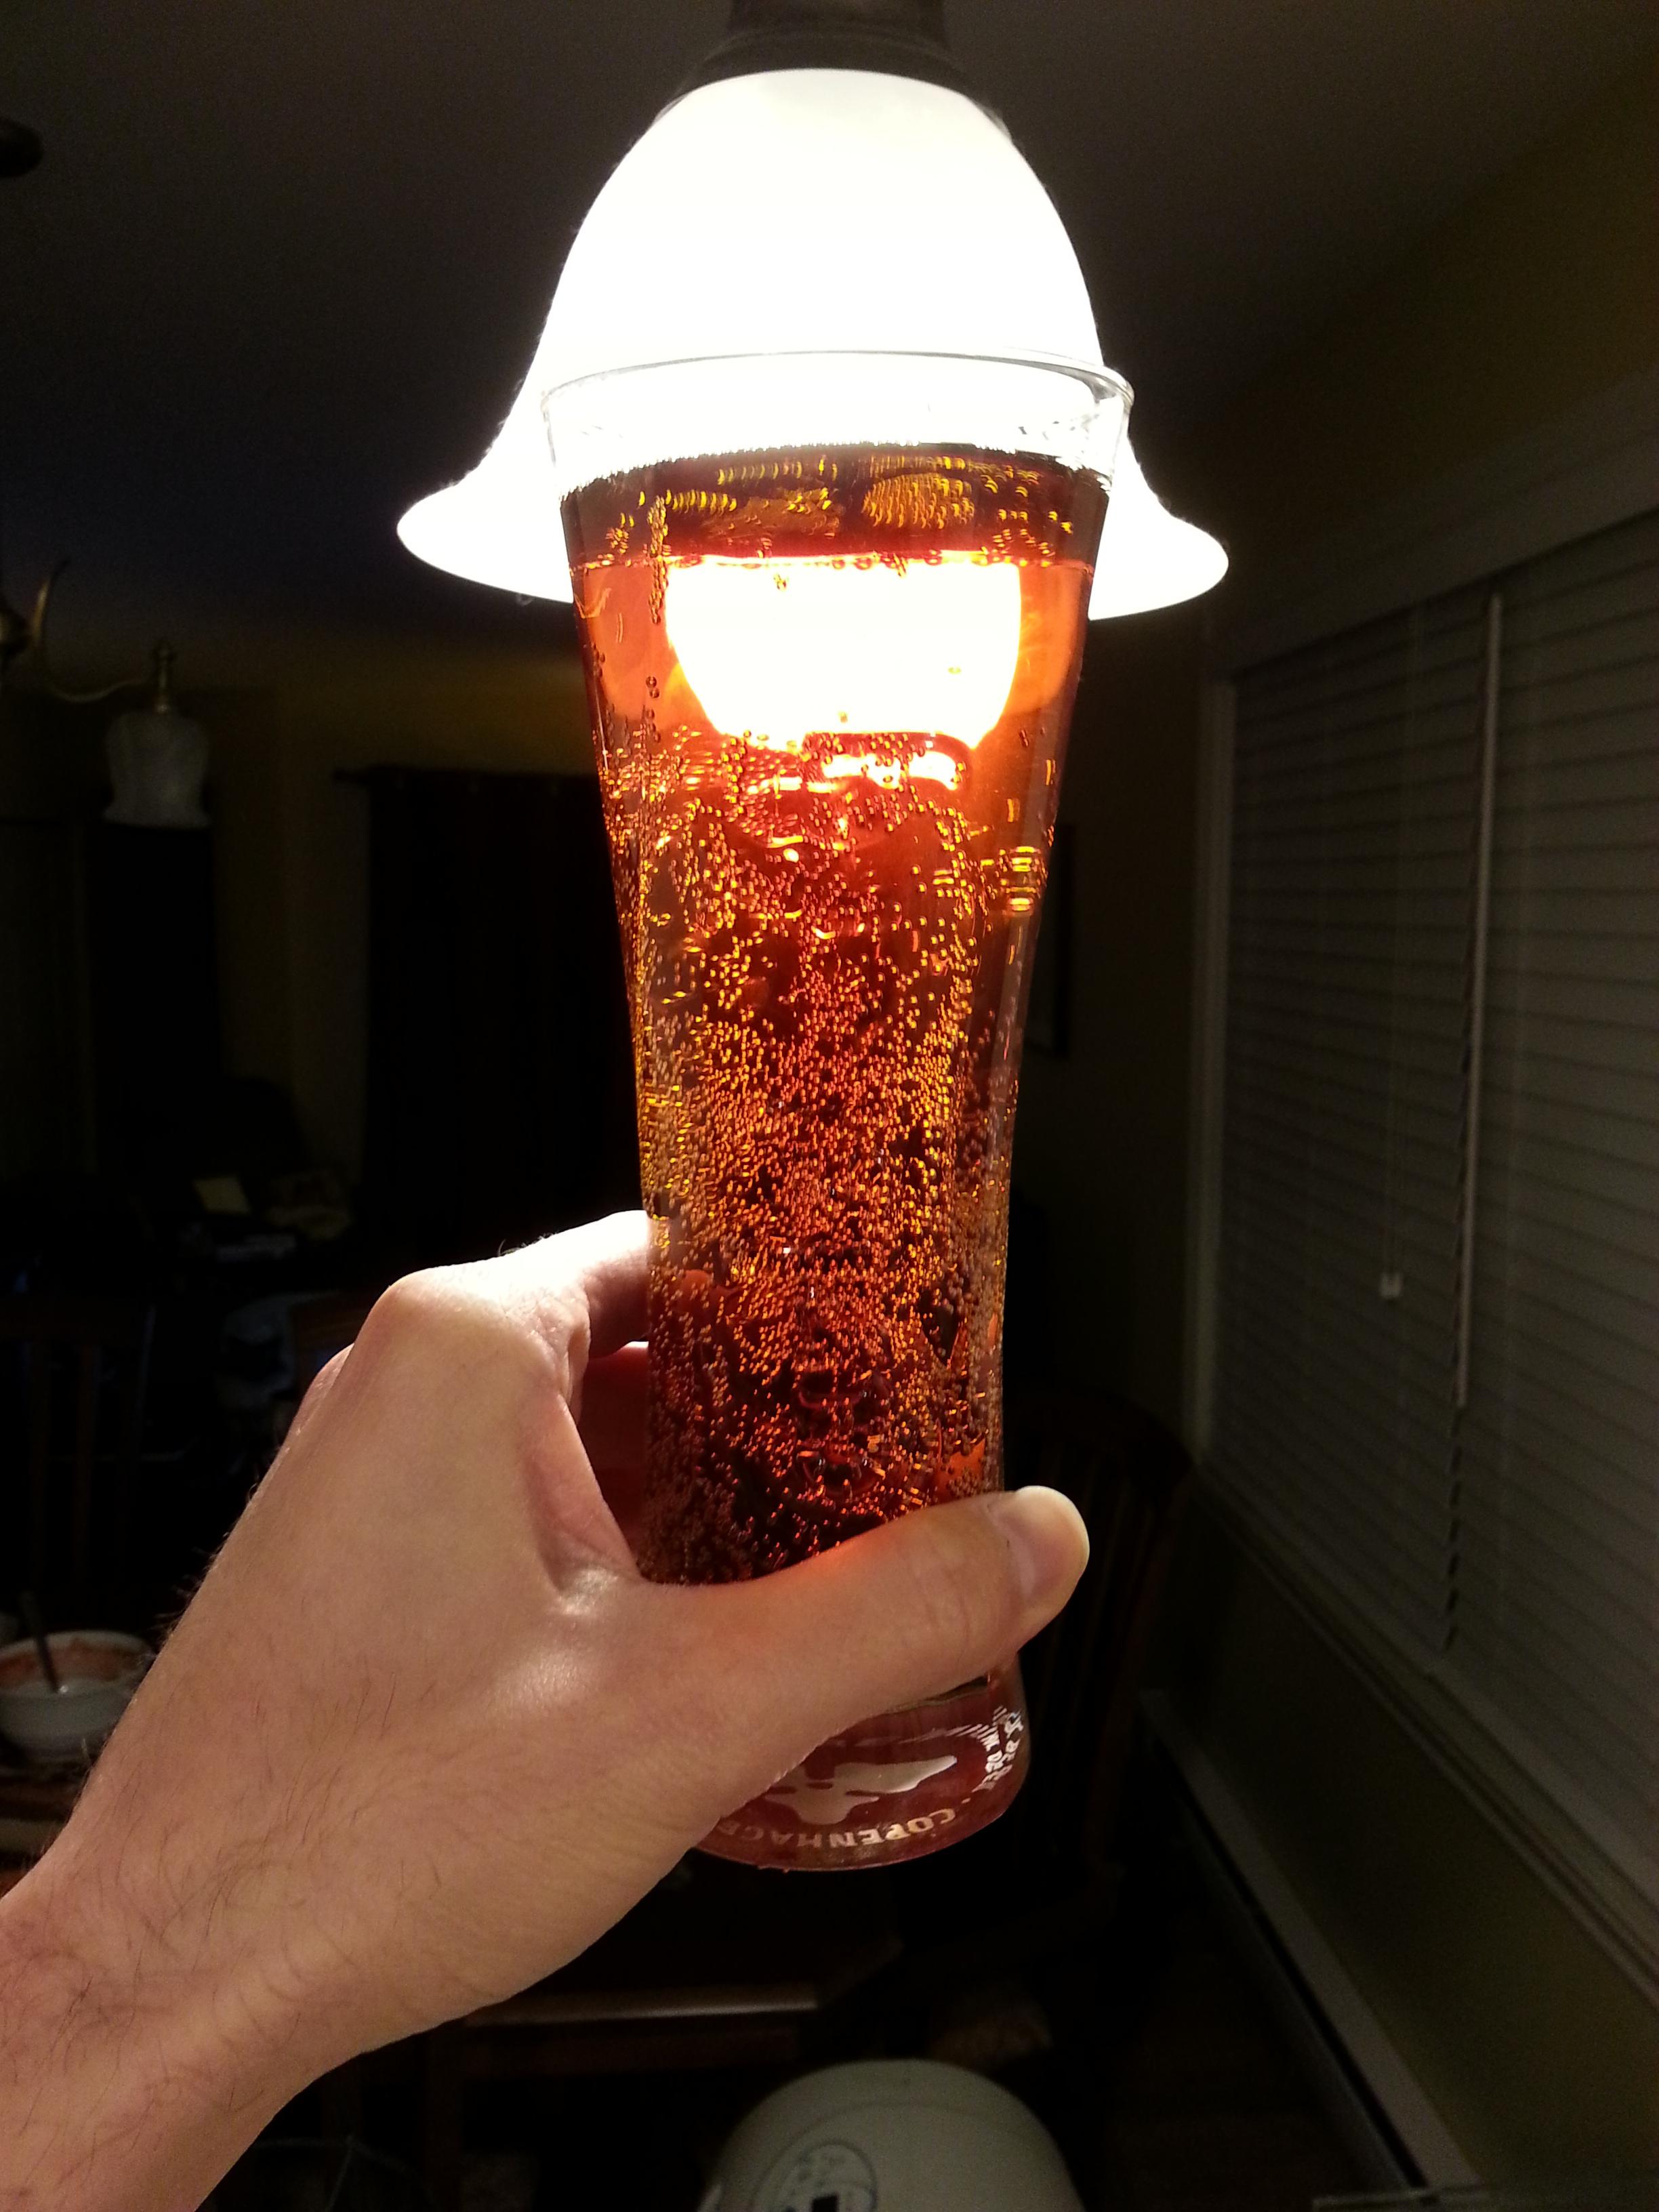
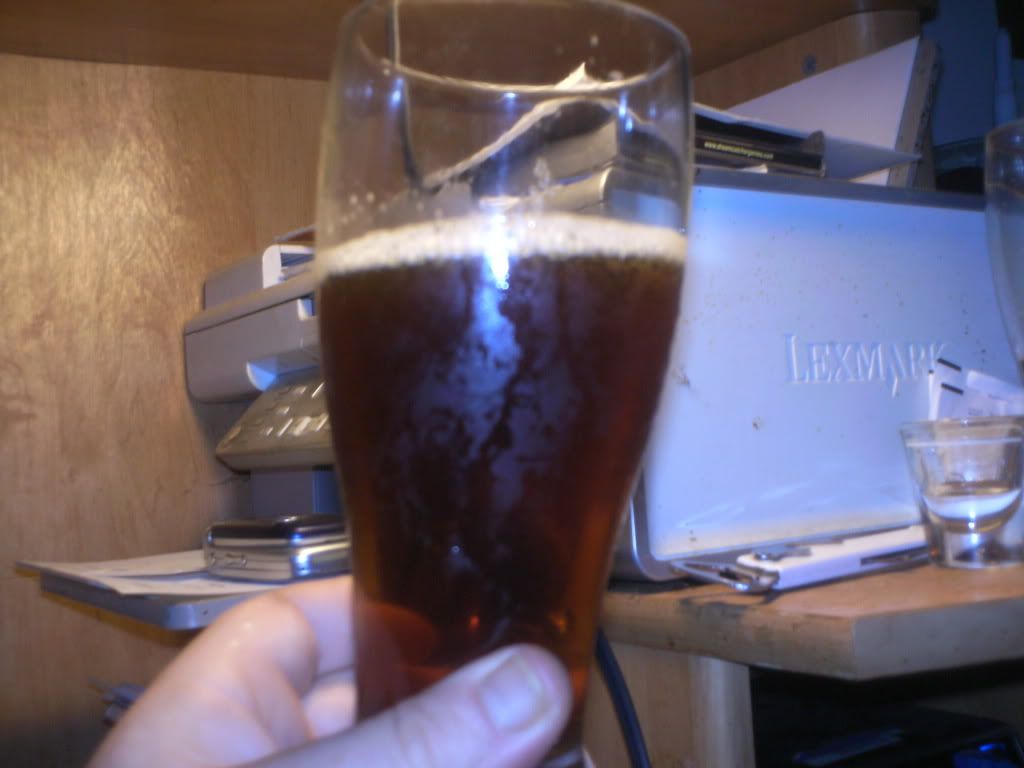
After three long weeks, it was time to take my very first taste of my first ever batch! I was with two friends who were stunned that you can brew beer without sophisticated equipment or space. I was so relieved when I heard the pshhhh while opening the cap! My biggest fear was that it would be flat but that wasnt the case. It was very bubbly on the sides of the glass but the copper color with some red shades makes it really beautiful. However, the collar was pretty inexistent. Taste-wise, it was not as bad as though too. It wasnt like a Kilkenny or a cream ale, but there was a good, light malty taste and some bitterness. The body was quite thin though, most likely because I used table sugar instead of DME.
In conclusion, that first was very fun to do and I learned a lot through all the process. I wanted to start easy with an extract kit to learn the basics and cant wait to start my second brew in a couple weeks. I wil do a German OKetoberfest kit, from Brewers Best https://bellsbeer.com/store/products/Brewer%27s-Best%C2%AE-Ingredient-Kit-%252d-German-Oktoberfest.html that I received as a Christmas gift from my lovely girlfriend
Cheers!
I created a journal at the beginning of my brew to note all the things I did and I saw during the whole brewing process. I plan to do this for all my brews, so they can be documented and can help me or anybody else in the future!
I took some picture of the process, here is the album link :
http://imgur.com/a/AbIsq#0
Brewing Day December 6, 2014
After sanitizing everything that came in my brew kit, I submerged the unopened can in hot water to warm the malt syrup. While doing this, I boiled 2 liters of water and then transfer it to the fermentation bucket (that I had to graduate myself
Right after pitching the white sugar, I opened the Coopers can and transferred it in the bucket. It has a very viscous look when I was pouring it, smelled a bit like molasses. I stirred for a minute the initial mix, which was very consistent and needed some strength to properly swirl the mixing spoon.
Then, I poured about 18 liters of cold water from tap. The first liters I used the empty Coopers can since it had some syrup still stuck on the inside. Then mix again with a spoon and take an initial temperature measure: it was at 27°C which is the upper limit Coopers mentions before pitching the yeast. I pour 3 liters more to have a total of 23L in my bucket, which is a tad more than 6 gallons. Before pitching the yeast, I took my Original Gravity: 1.036 at 27°C. I found it a little low but I read later on the web that this is a normal gravity for an English bitter, so I shouldnt expect more than a 4.5% ABV beer.

Finally, I pitched the Coopers Ale yeast included in the mix evenly on the surface. Then, I locked the lid firmly on the bucket, put some water in the airlock and plug it in the hole. I stored my bucket neat my water heater (which is in a closet under my stairs), where it is at a constant 20°C.
Week 1 December 6 to 12, 2014
I didnt expect to see that much bubbles in the airlock! Fortunately there was no krauken that entered in the airlock and jamming it. I made nightmares on the first night, that the bucket would leak and that I would have 23L of wort all over the floor, the wooden side of the stairs and the plywood of my floor

Week 2 December 13 to 19, 2014
Not an exciting week so far
Week 3 December 20 to 26, 2014
Its time to take the first gravity measure, even though it has already reached its final state. On December 24 I took a chicken marinade syringe to take the fermented beer from the top of the fermenter lid hole. I measured a value of 1.006 at 21°C. This gives me a value of about 4.2% ABV, which looks to be in the range of a British bitter. I will wait 3 more days before bottling, but Im pretty happy that the fermentation went well. I also drank the sample just to give a quick taste and if there was any off flavor. It was of course flat, but it did taste like beer without any cringing face.
Bottling Day December 27, 2014
This is it! After 3 weeks of fermentation its time to bottle 23L of beer. I have 22 oz bottles (around 660 ml) so I sanitized 36 bottles, along with siphon, spoon, bottling wand and caps. For priming sugar, I used an online calculator for the kind of beer I brewed. According to http://www.northernbrewer.com/priming-sugar-calculator/, the English bitter has a level of CO2 of 1.5, so I took about 55g of table sugar along with 2 cups of water, then I boiled both for 10 minutes and then I let it rest for 30 minutes.

I put the priming sugar at the bottom of my bottling bucket and then siphoned the content of my primary fermenter, then I slowly stirred it to mix with the sugar. The transferring of the beer in the bottles went well, I used all 36 bottles of beer and no leftover or half-filled bottle! The beer are now conditioning at 19°C at the same place than my fermenter, near the water heater.
First taste January 17, 2015
After three long weeks, it was time to take my very first taste of my first ever batch! I was with two friends who were stunned that you can brew beer without sophisticated equipment or space. I was so relieved when I heard the pshhhh while opening the cap! My biggest fear was that it would be flat but that wasnt the case. It was very bubbly on the sides of the glass but the copper color with some red shades makes it really beautiful. However, the collar was pretty inexistent. Taste-wise, it was not as bad as though too. It wasnt like a Kilkenny or a cream ale, but there was a good, light malty taste and some bitterness. The body was quite thin though, most likely because I used table sugar instead of DME.
In conclusion, that first was very fun to do and I learned a lot through all the process. I wanted to start easy with an extract kit to learn the basics and cant wait to start my second brew in a couple weeks. I wil do a German OKetoberfest kit, from Brewers Best https://bellsbeer.com/store/products/Brewer%27s-Best%C2%AE-Ingredient-Kit-%252d-German-Oktoberfest.html that I received as a Christmas gift from my lovely girlfriend
Cheers!




![Craft A Brew - Safale S-04 Dry Yeast - Fermentis - English Ale Dry Yeast - For English and American Ales and Hard Apple Ciders - Ingredients for Home Brewing - Beer Making Supplies - [1 Pack]](https://m.media-amazon.com/images/I/41fVGNh6JfL._SL500_.jpg)


