
BadNewsBrewery
Well-Known Member
I had posted my old brewery setup a few years back, nothing spectacular. Then I got engaged, bought a killer house, and finally had a basement of my own. The previous owner was also involved in the design and he was in to photography, so there was a room in the basement that was supposed to be his dark room. It never happened so I had a room with some crappy cabinets, a stub-out for a sink, and not much else. Just outside that room was a nice corner of the basement with another sink stub out. I was in luck.

So I spent some time mulling it over and designing in my head and stealing ideas from those that came before me. I wanted to keep my 3 kettle setup for the brewery, add a sink, and build a large functional bar.
This is the design I worked up (never mind Rosie).


The first step was the tile on the floors and back wall. I decided it was super important that it be done correctly, and I wasn't quite sure how I was going to do the transition between the carpet and the tile, so I started my DIY by hiring it out. Who cares about the Y part, right? So they did the floors and I apparently took zero photos. But I did realize that the curve in the bar was going to be a pain in the ass, especially with live edge wood. Plus coming down the stairs, I'd have to walk all the way to the far side of the bar and then back to the taps, just to pour a beer.
My pops & I bought a big ol' chunk of Shedua wood and built a 2x4 frame that I bolted into the concrete with 7 huge concrete anchors (there's no engineering like over engineering) and mounted the wood to the wall, column, and my new 2x4 knee-wall. I put concrete board on the front and then started putting some rock-tile on the front. I took lots of photos of this, and then my phone s#!% the bed so... sorry.

Here you can see the tile, the knee-wall with concrete board and tile starting to go up, the 10'x2' Shedua tree-chunk with a few coats of epoxy (Super Glaze is the best). The under-counter fridge I'm going to use is to the right and in the background is the custom hood from FastKitchenHoods (thanks Kal for the tip).

Here's a close up of the beautiful wood with the epoxy coat.

Got the tile on the front done and found some awesome chairs with built-in chair rails (adjustable height). Had my first beer at the bar, it was a success. Also installed some RGB LEDs under the bar for some classy subtle lighting. I also took the old panel door out and replaced it with a custom glass door from Home Depot - it's just resting in the opening here.

I started working on the back bar, the electrical for the lights above the bar and beside the TV, and the wiring for the TV. At this point I was ready to move into the brewery.


Luckily the previous owner loved his power so I had two 200A panels not far away that I could pull all the necessary circuits for.


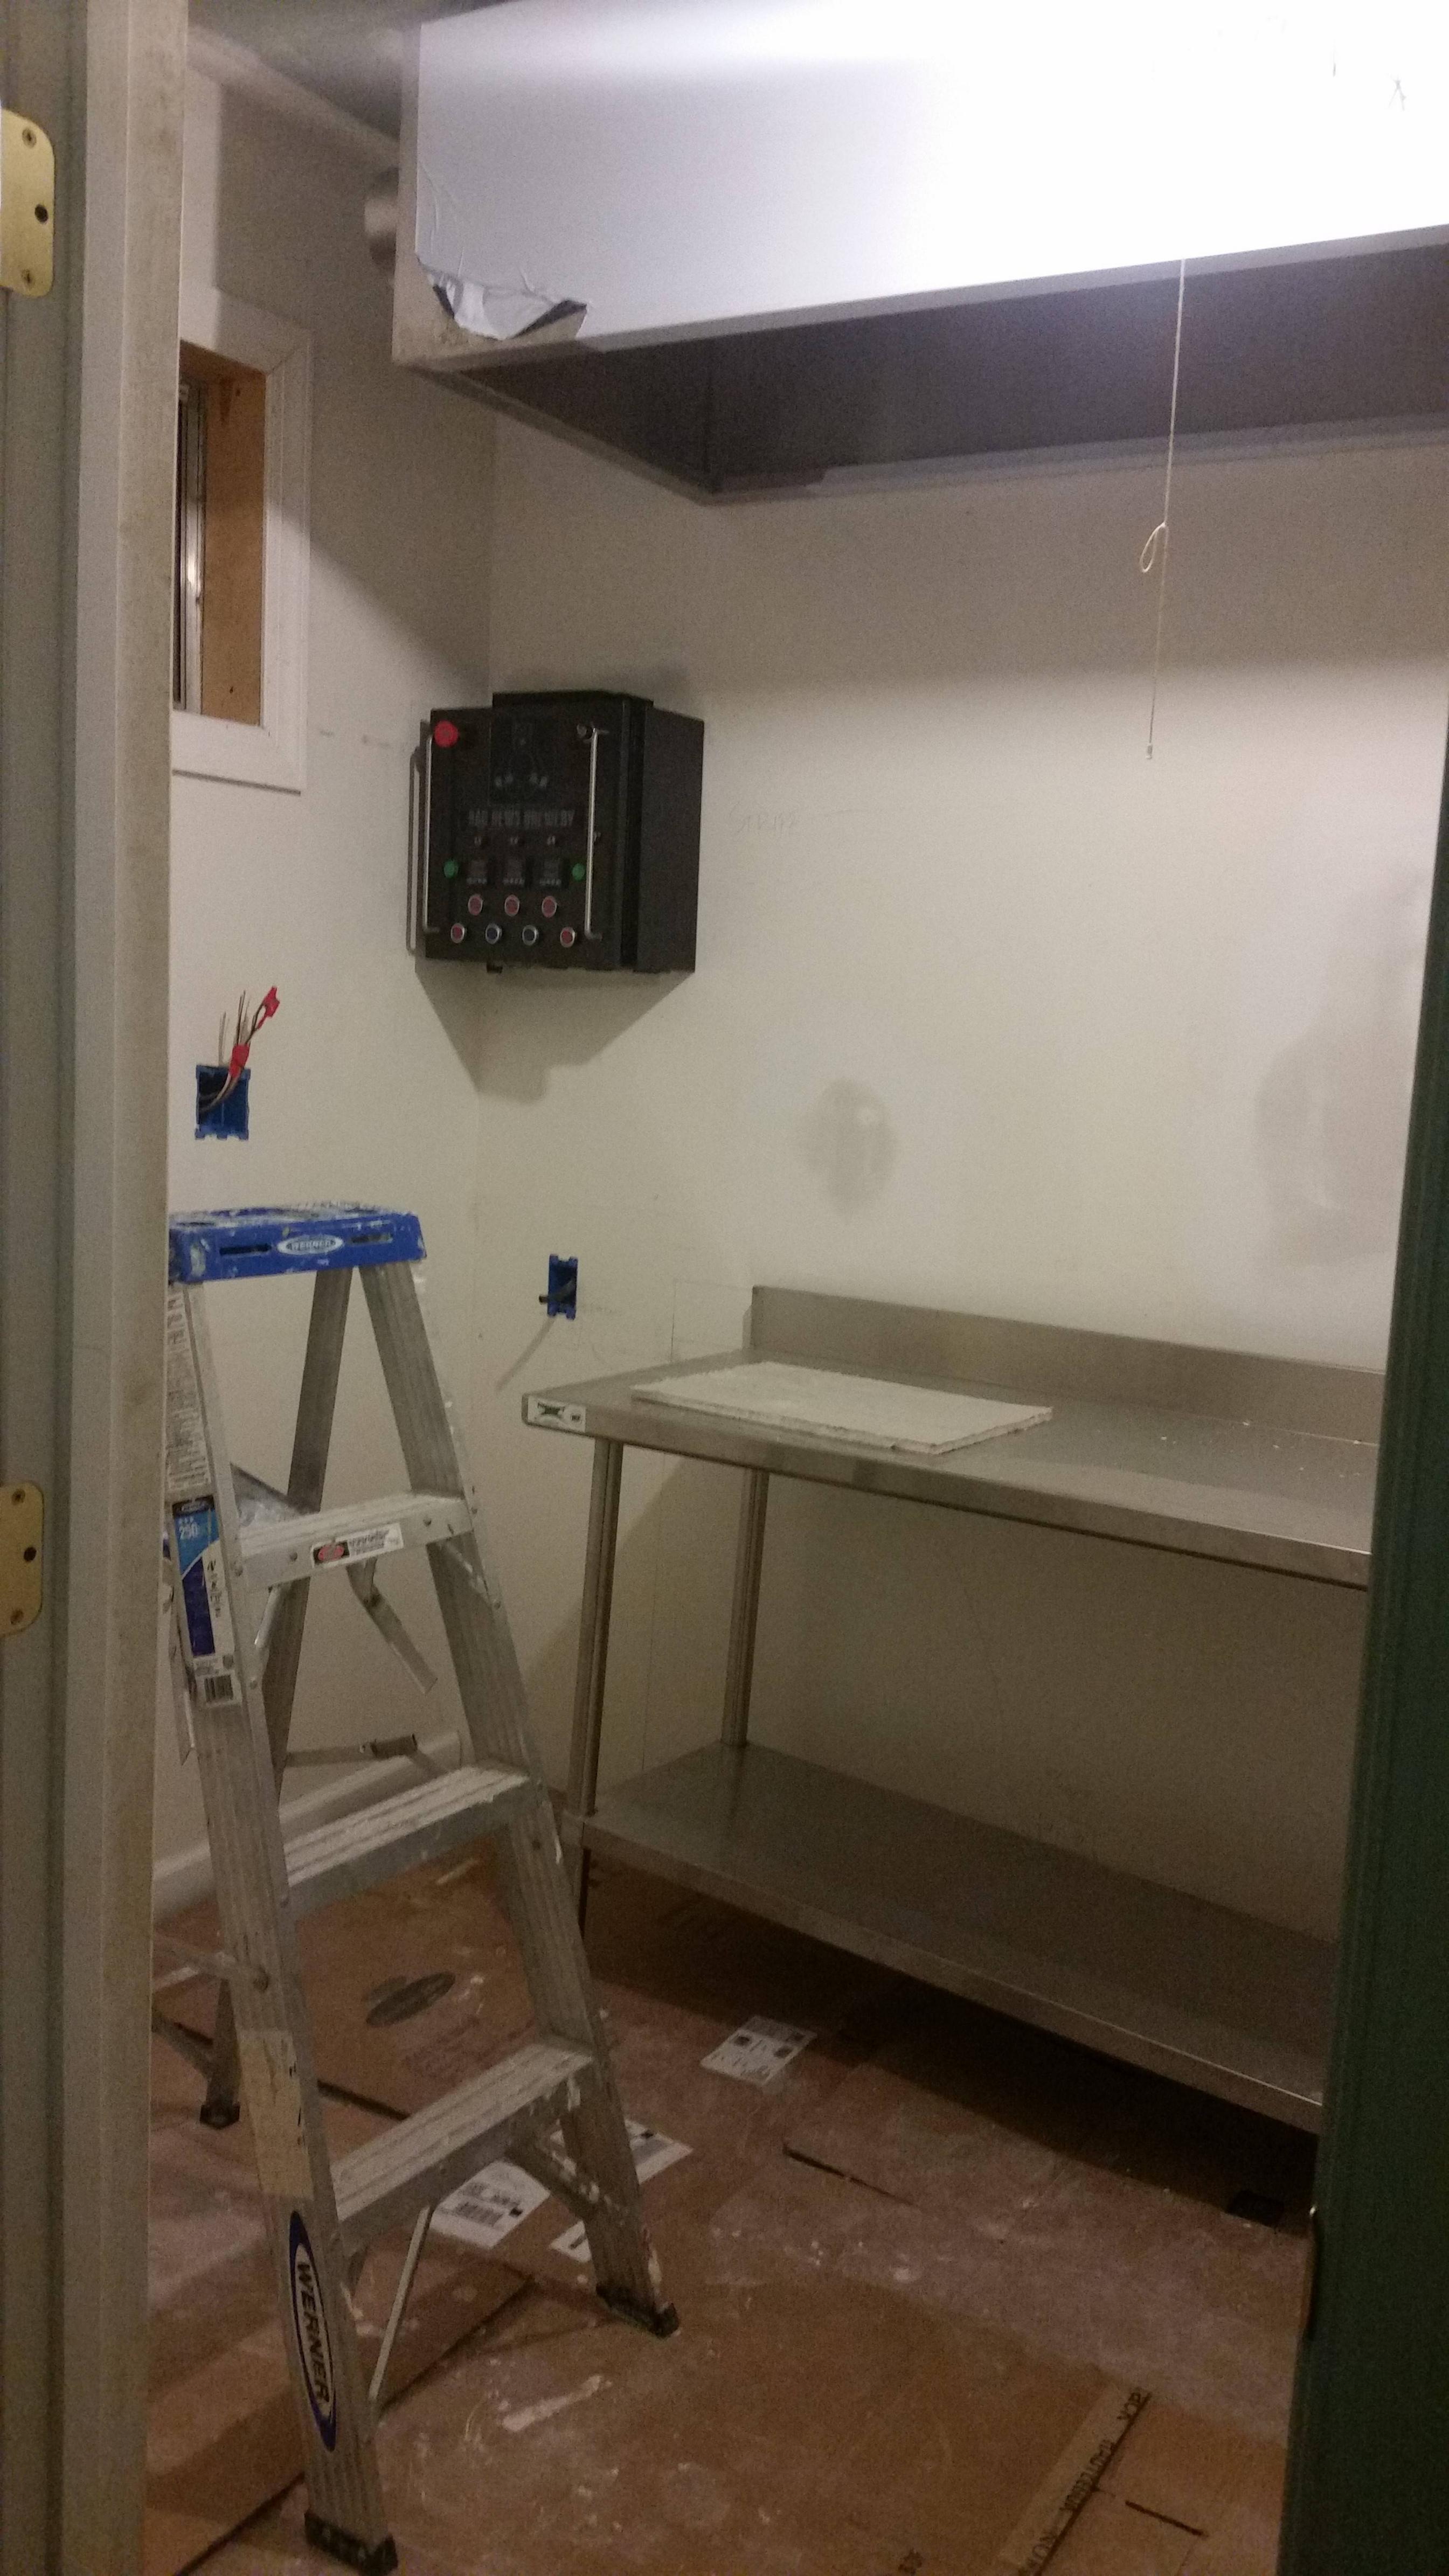
With the electrical done and the plumbing sealed, time to throw up the drywall and get the exhaust hood and control panel mounted.


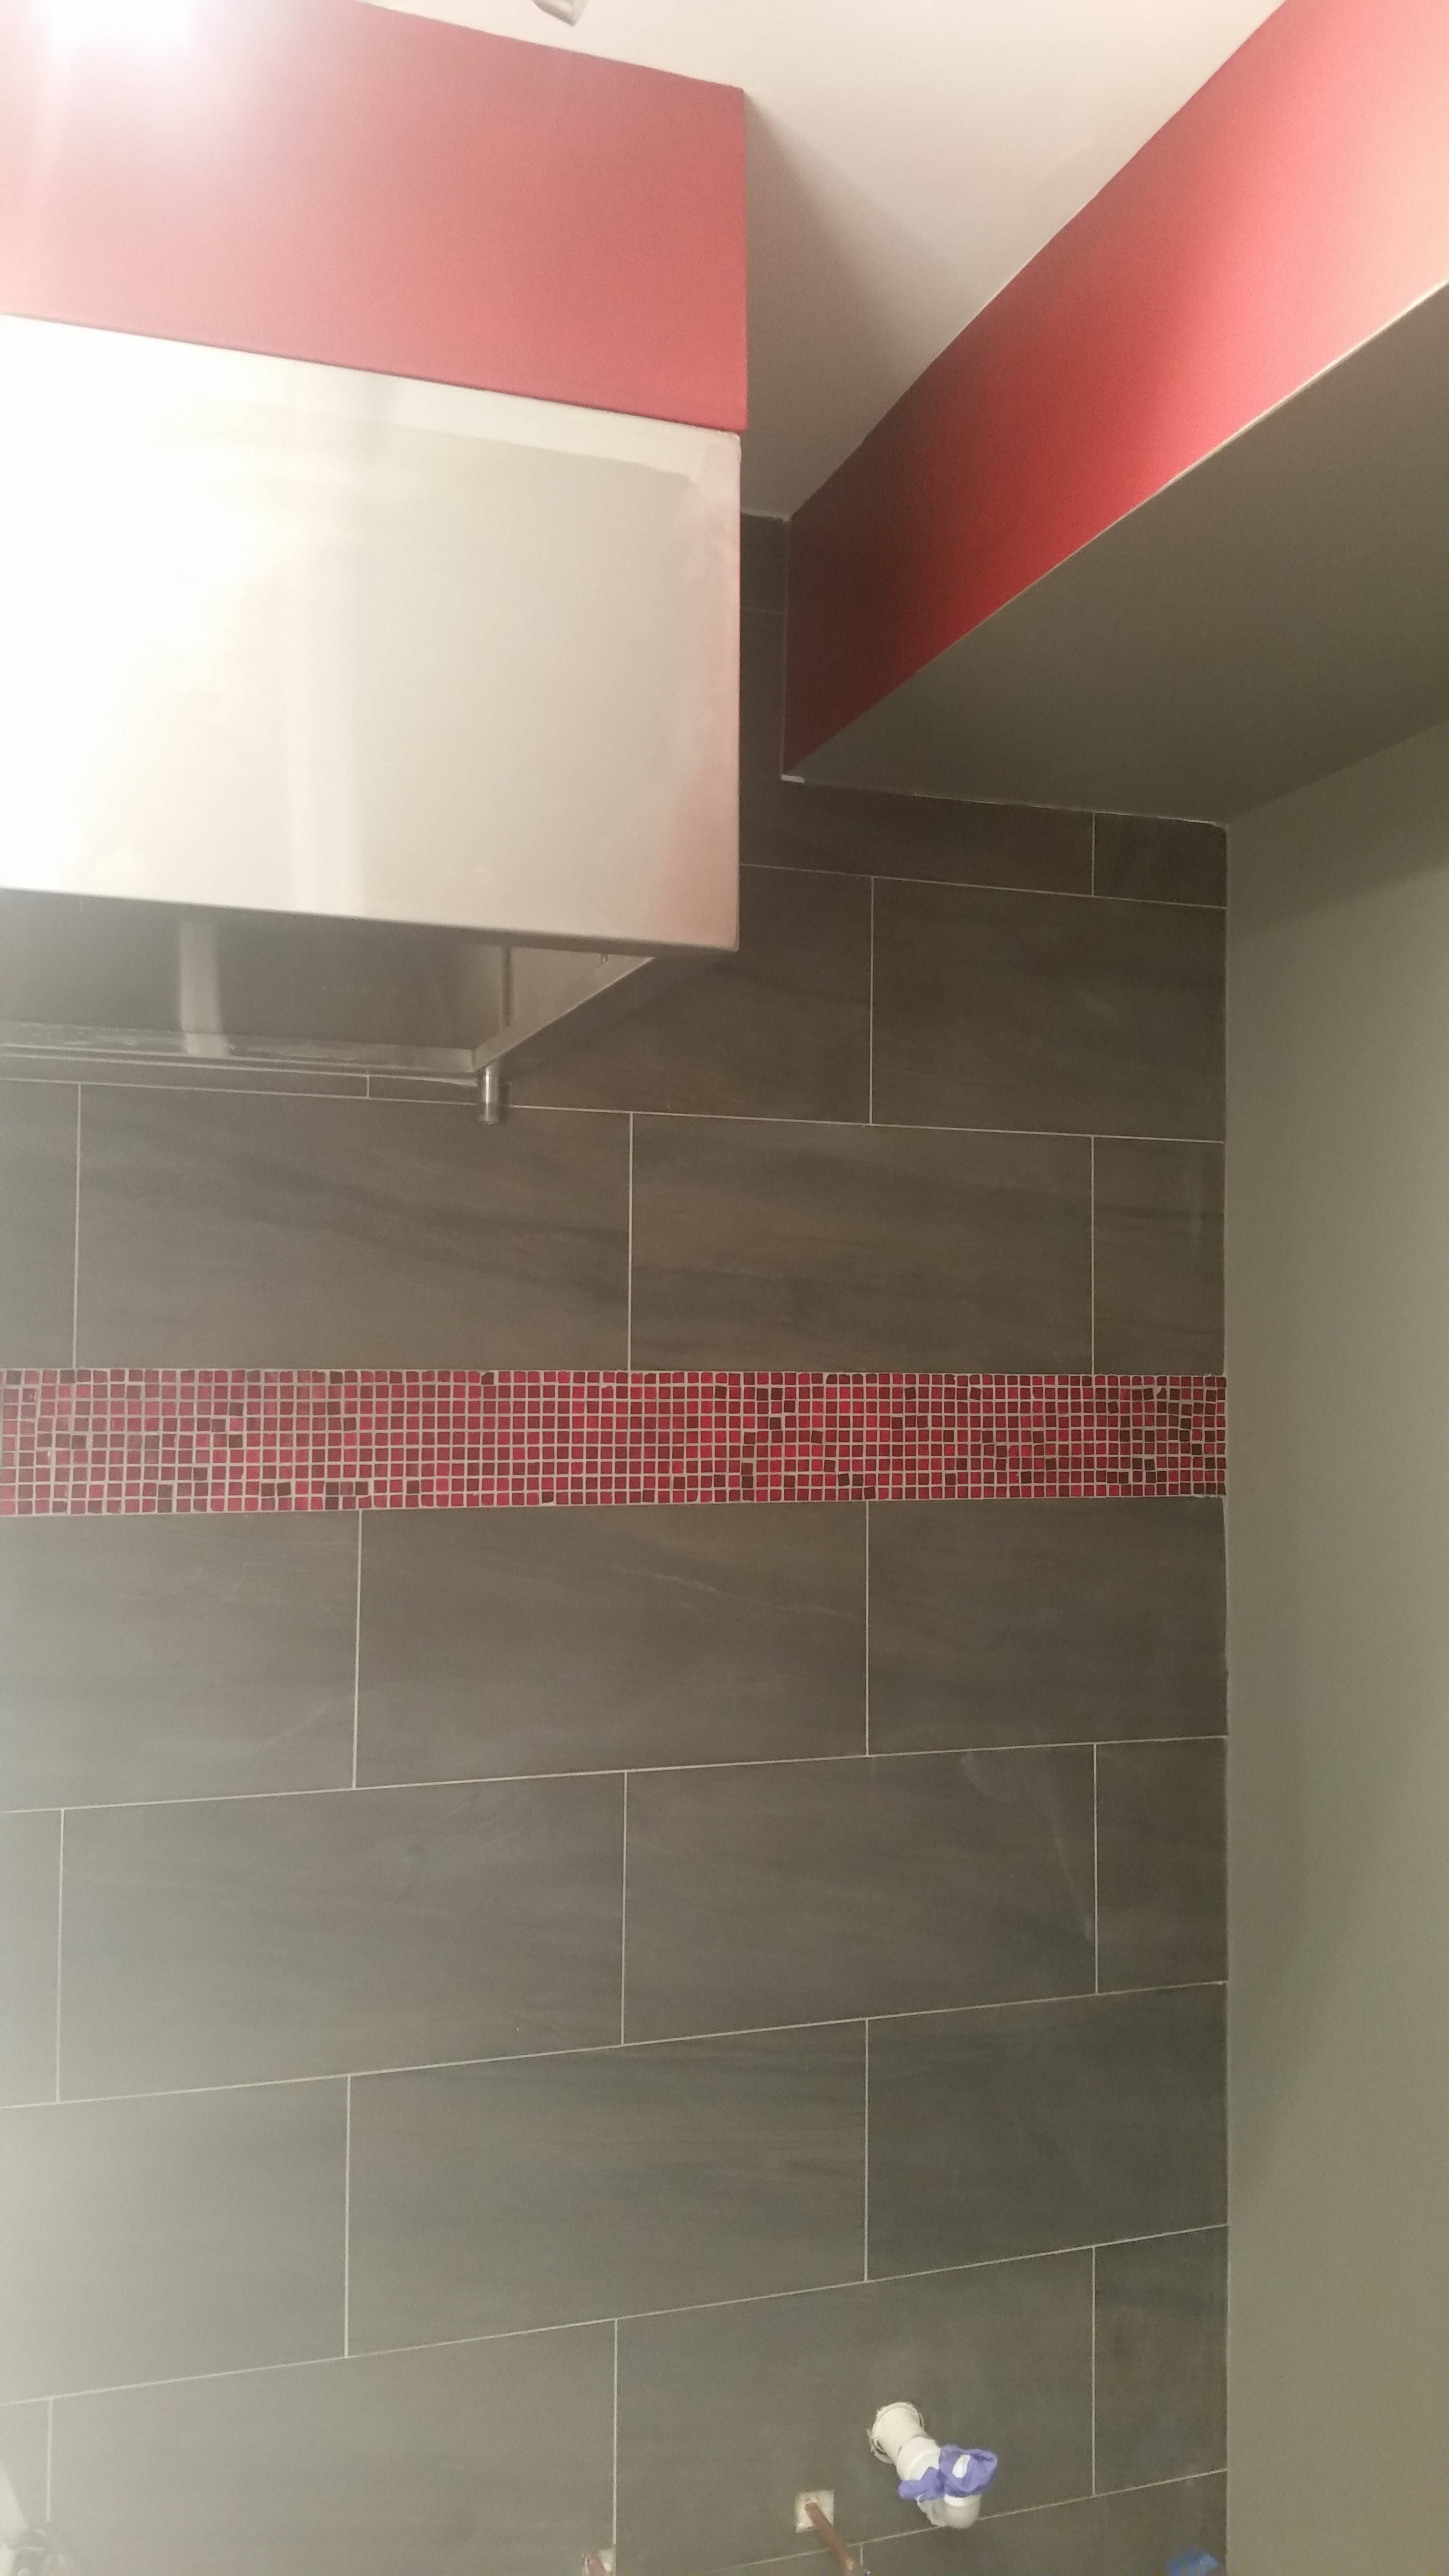
Then my contractor came back to finish doing the tile. I added in a red accent band of mosaic tile. I came down one afternoon to find them installing each 1" x 1" tile, piece by piece, by hand. I showed them how the adhesive backing worked and they were pissed at the foreman that showed them the wrong way to do it. I got a good laugh, though I also got a bunch of crooked tiles. Oh well. We also lowered the exhaust hood some so it'd line up with the window so I could run the exhaust more easily.


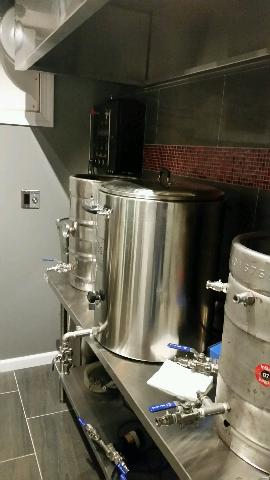
Put in a 6' stainless table and a 3' stainless sink and a heavy duty shelf from Home Depot and I was ready to rock and roll.


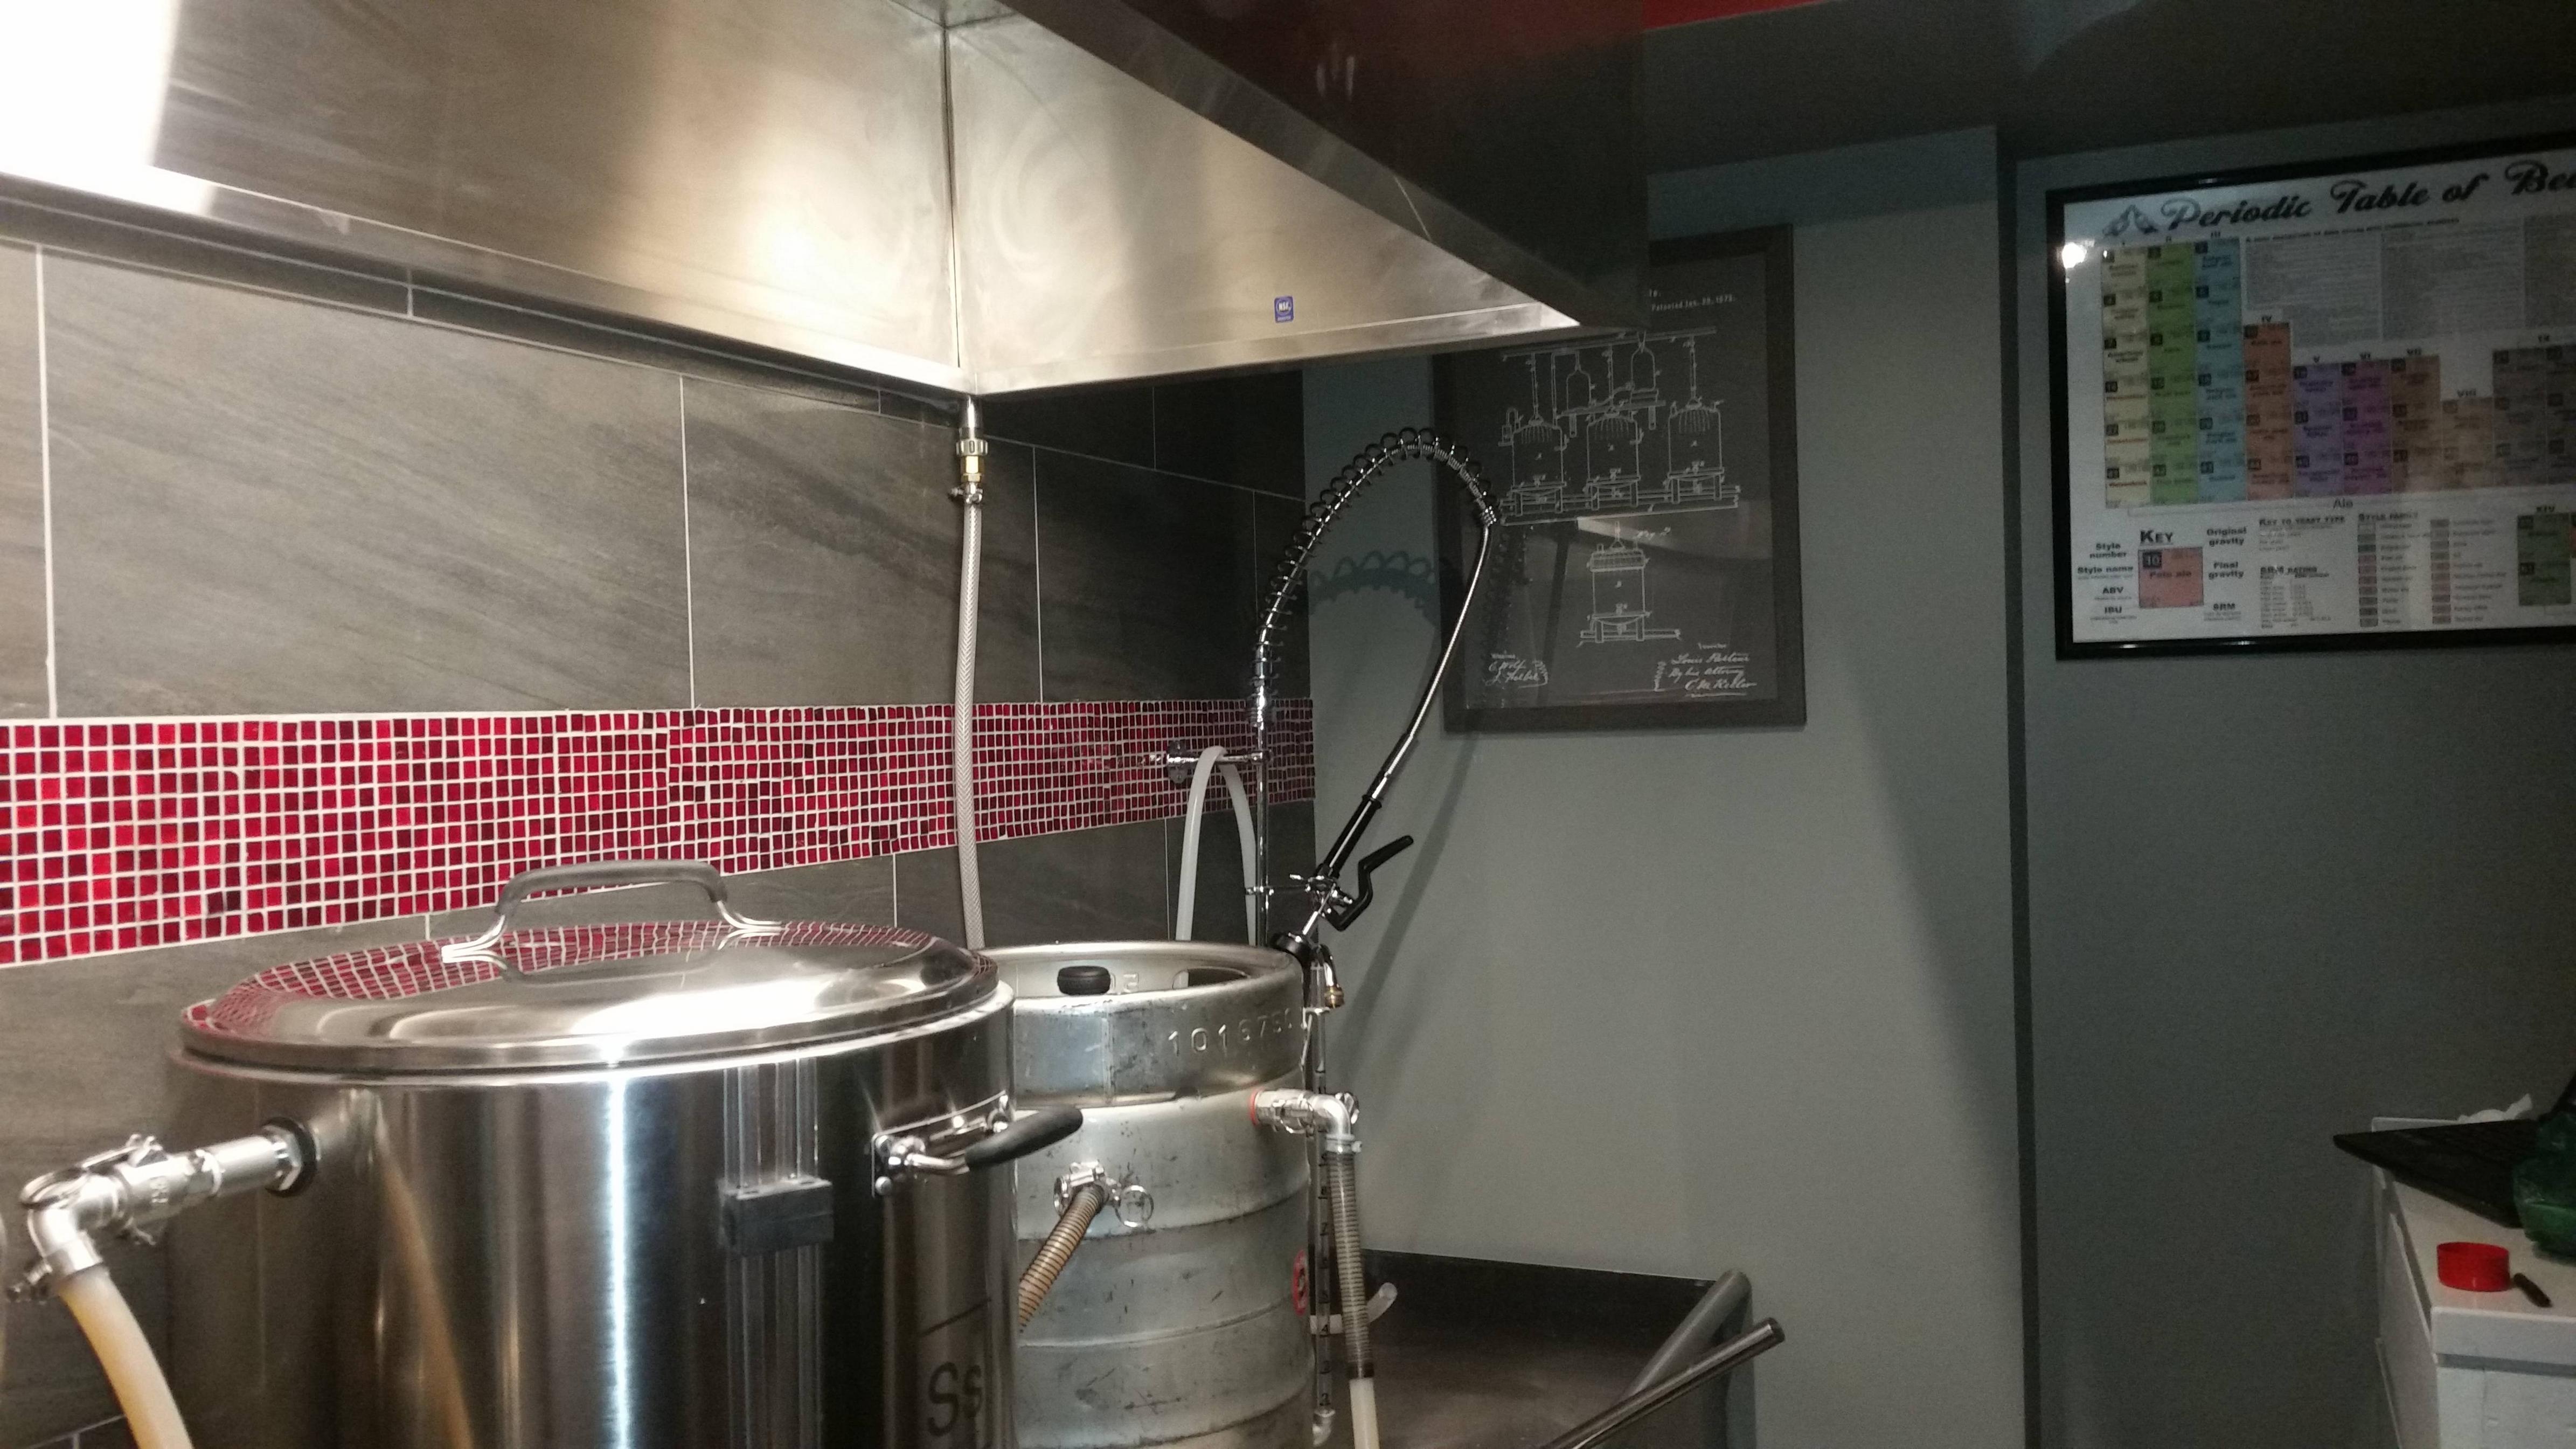
The brewery is done. I needed to make beer for the wedding that was coming up in about 2 months so I made 10gal of a hefewizen recipe I've developed over the years, though I threw in rose hips because that sounded wedding like. I also made 5gal of a brand new recipe for a double IPA (Hoppily Ever After) - a risky move for a wedding beer. Turned out great. While it was fermenting, I turned my attention back to the bar.
I decided I wanted active cooling for the tap tower so I built a little loop of copper pipe and ran it in the tower. I put a 2 gallon or so metal bucket in the keezer with a pond pump. The pump runs the water through the loop and back into the bucket.
No, it's not a glycol system. No, it doesn't chill it down super awesome great. Yes, the pump creates heat and makes the keezer run a bit more. I fully insulated the lines from the keezer to the tap and the tap tower itself, and you know what - it works. The tower stays cool, the first beer is always perfect and not warm or foamy, and I haven't noticed any loss of performance in the keezer.
And she's done. We had the wedding in the back yard but the bridal party hung out at the bar for quite a bit, as did most of the guests by the end of the night. It was a ton of work (6 months in the end), cost more than it should have, and I learned a lot. But now I have the best bar and brewery I could ask for!
It's always happy hour so come on by! Thanks for checking out my build. If there are any specific questions on how I did something, I'm happy to chime in.
-Kevin
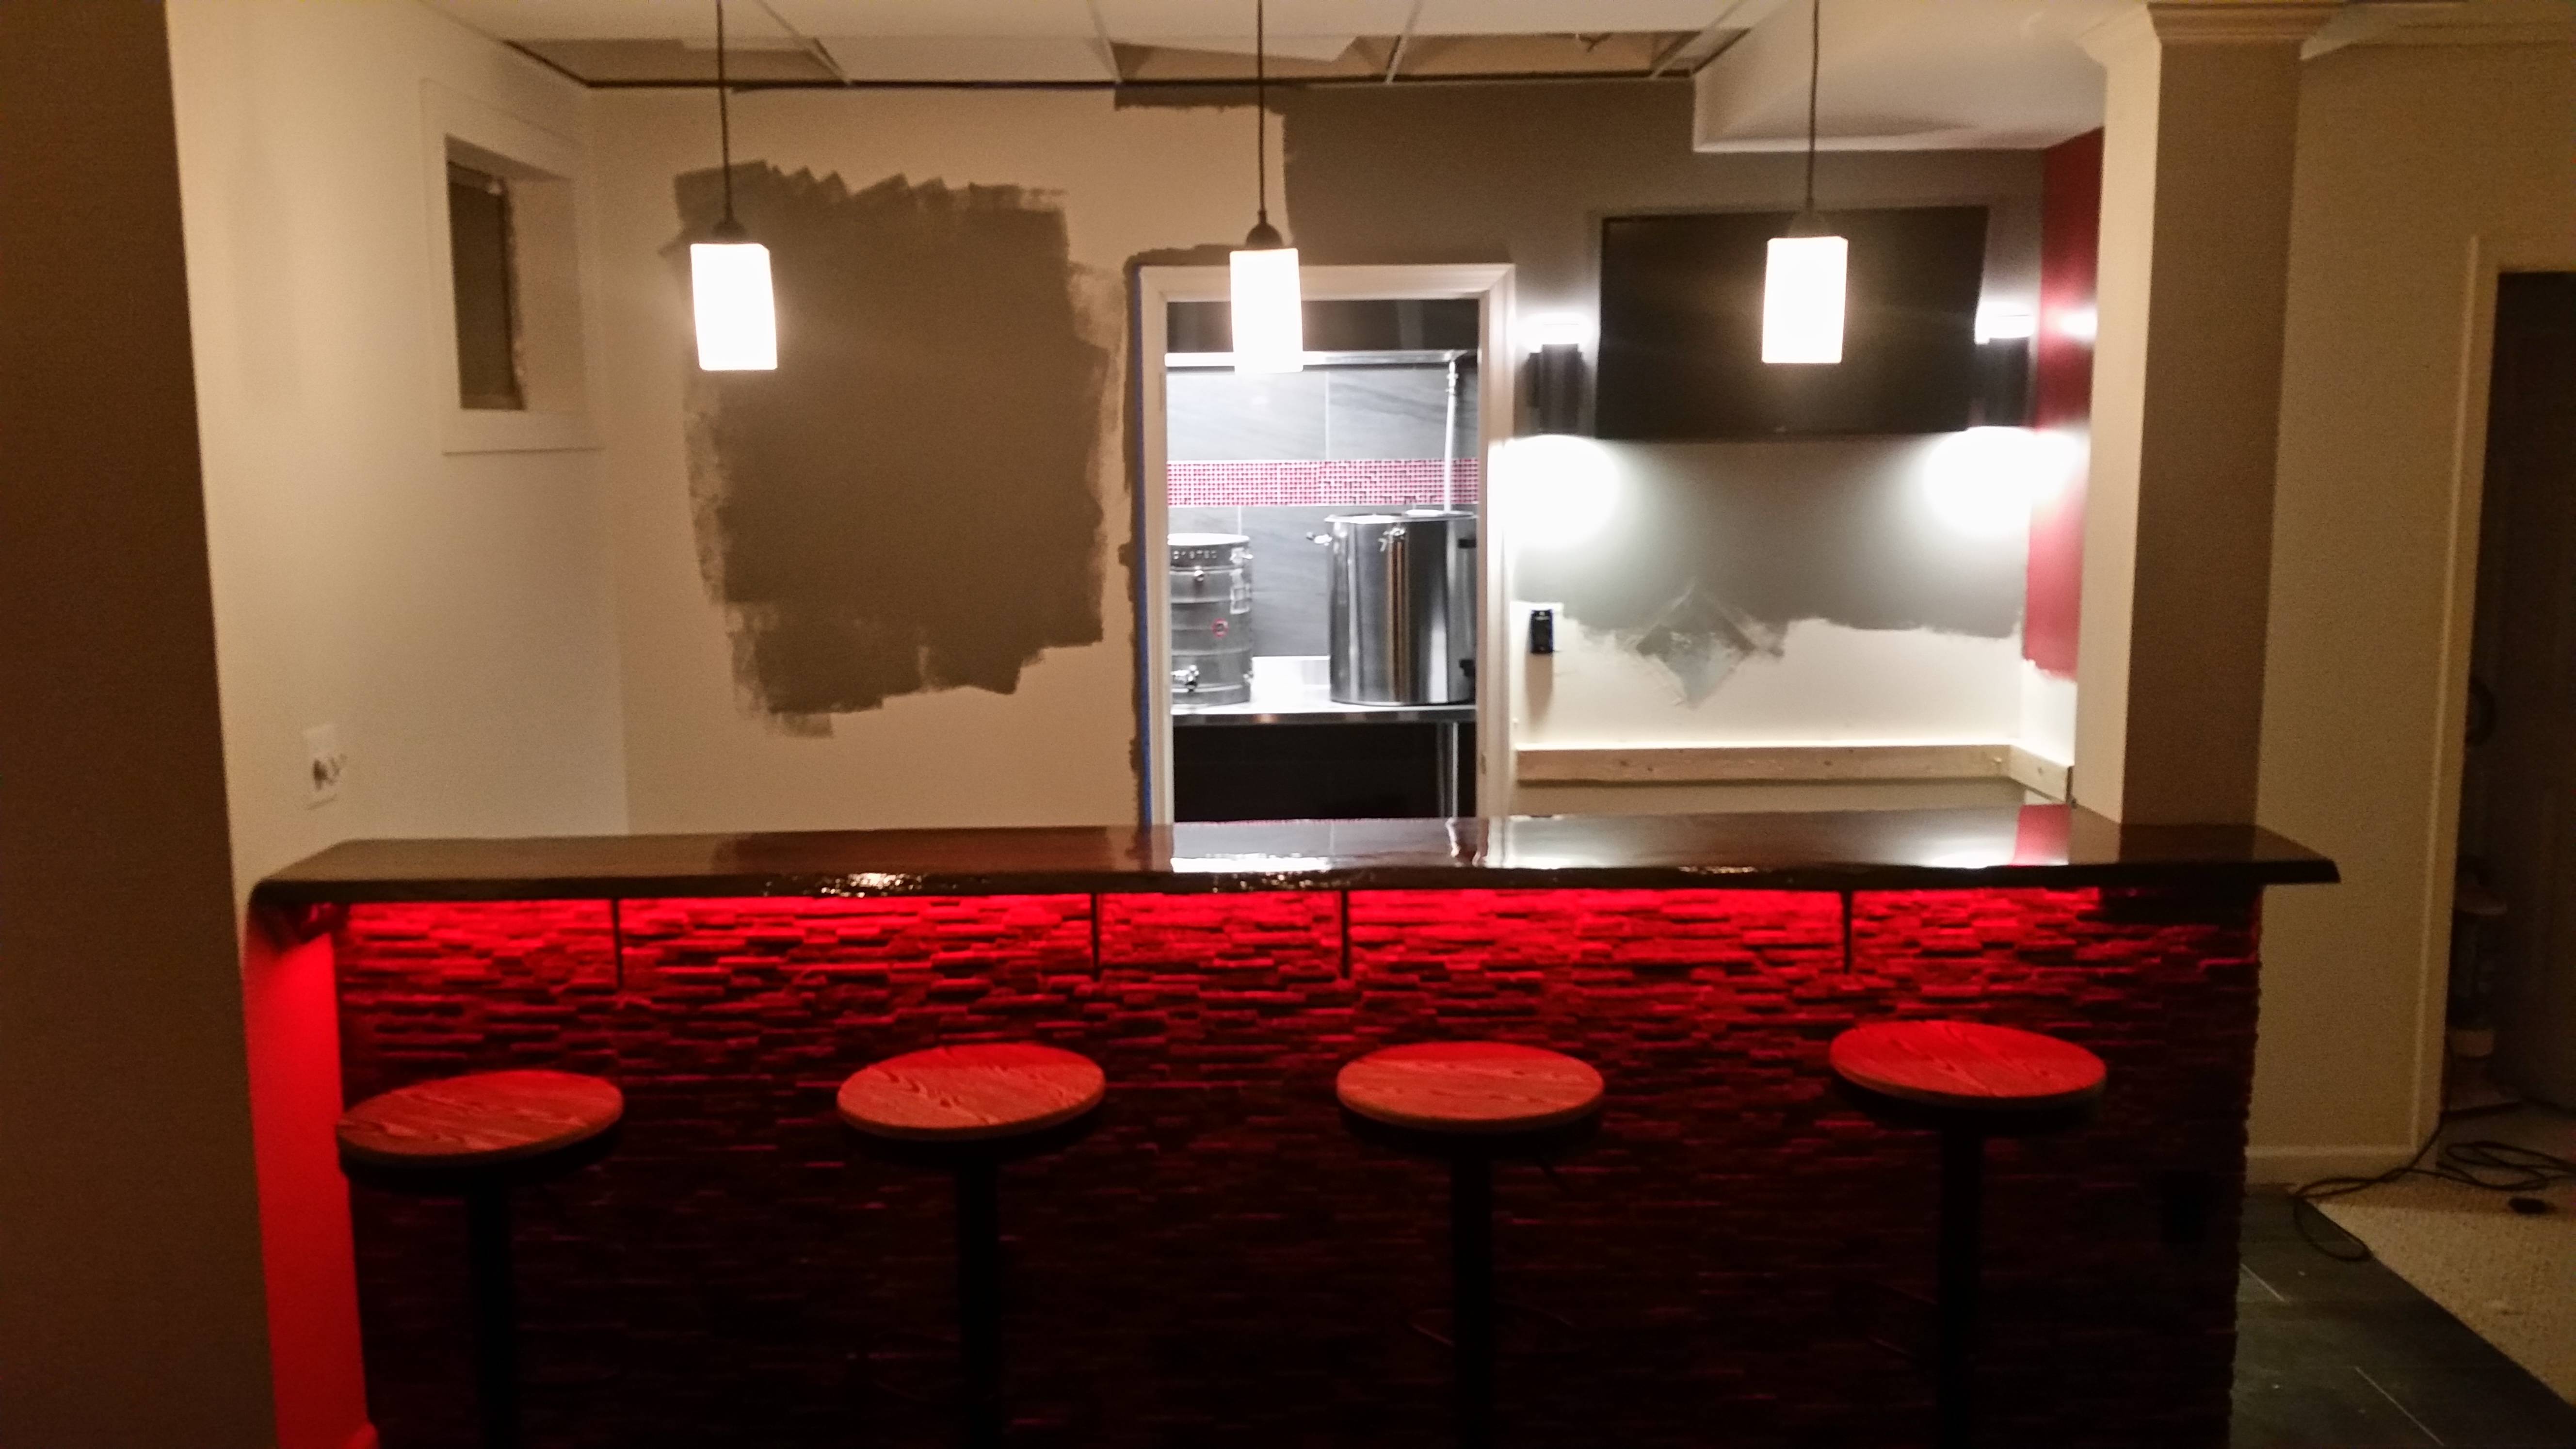
The darkroom / brewery is through the door on the left and the sink stub out for the bar can be seen just behind the leftmost column
So I spent some time mulling it over and designing in my head and stealing ideas from those that came before me. I wanted to keep my 3 kettle setup for the brewery, add a sink, and build a large functional bar.
This is the design I worked up (never mind Rosie).
The first step was the tile on the floors and back wall. I decided it was super important that it be done correctly, and I wasn't quite sure how I was going to do the transition between the carpet and the tile, so I started my DIY by hiring it out. Who cares about the Y part, right? So they did the floors and I apparently took zero photos. But I did realize that the curve in the bar was going to be a pain in the ass, especially with live edge wood. Plus coming down the stairs, I'd have to walk all the way to the far side of the bar and then back to the taps, just to pour a beer.
My pops & I bought a big ol' chunk of Shedua wood and built a 2x4 frame that I bolted into the concrete with 7 huge concrete anchors (there's no engineering like over engineering) and mounted the wood to the wall, column, and my new 2x4 knee-wall. I put concrete board on the front and then started putting some rock-tile on the front. I took lots of photos of this, and then my phone s#!% the bed so... sorry.
Here you can see the tile, the knee-wall with concrete board and tile starting to go up, the 10'x2' Shedua tree-chunk with a few coats of epoxy (Super Glaze is the best). The under-counter fridge I'm going to use is to the right and in the background is the custom hood from FastKitchenHoods (thanks Kal for the tip).
Here's a close up of the beautiful wood with the epoxy coat.
Got the tile on the front done and found some awesome chairs with built-in chair rails (adjustable height). Had my first beer at the bar, it was a success. Also installed some RGB LEDs under the bar for some classy subtle lighting. I also took the old panel door out and replaced it with a custom glass door from Home Depot - it's just resting in the opening here.
I started working on the back bar, the electrical for the lights above the bar and beside the TV, and the wiring for the TV. At this point I was ready to move into the brewery.
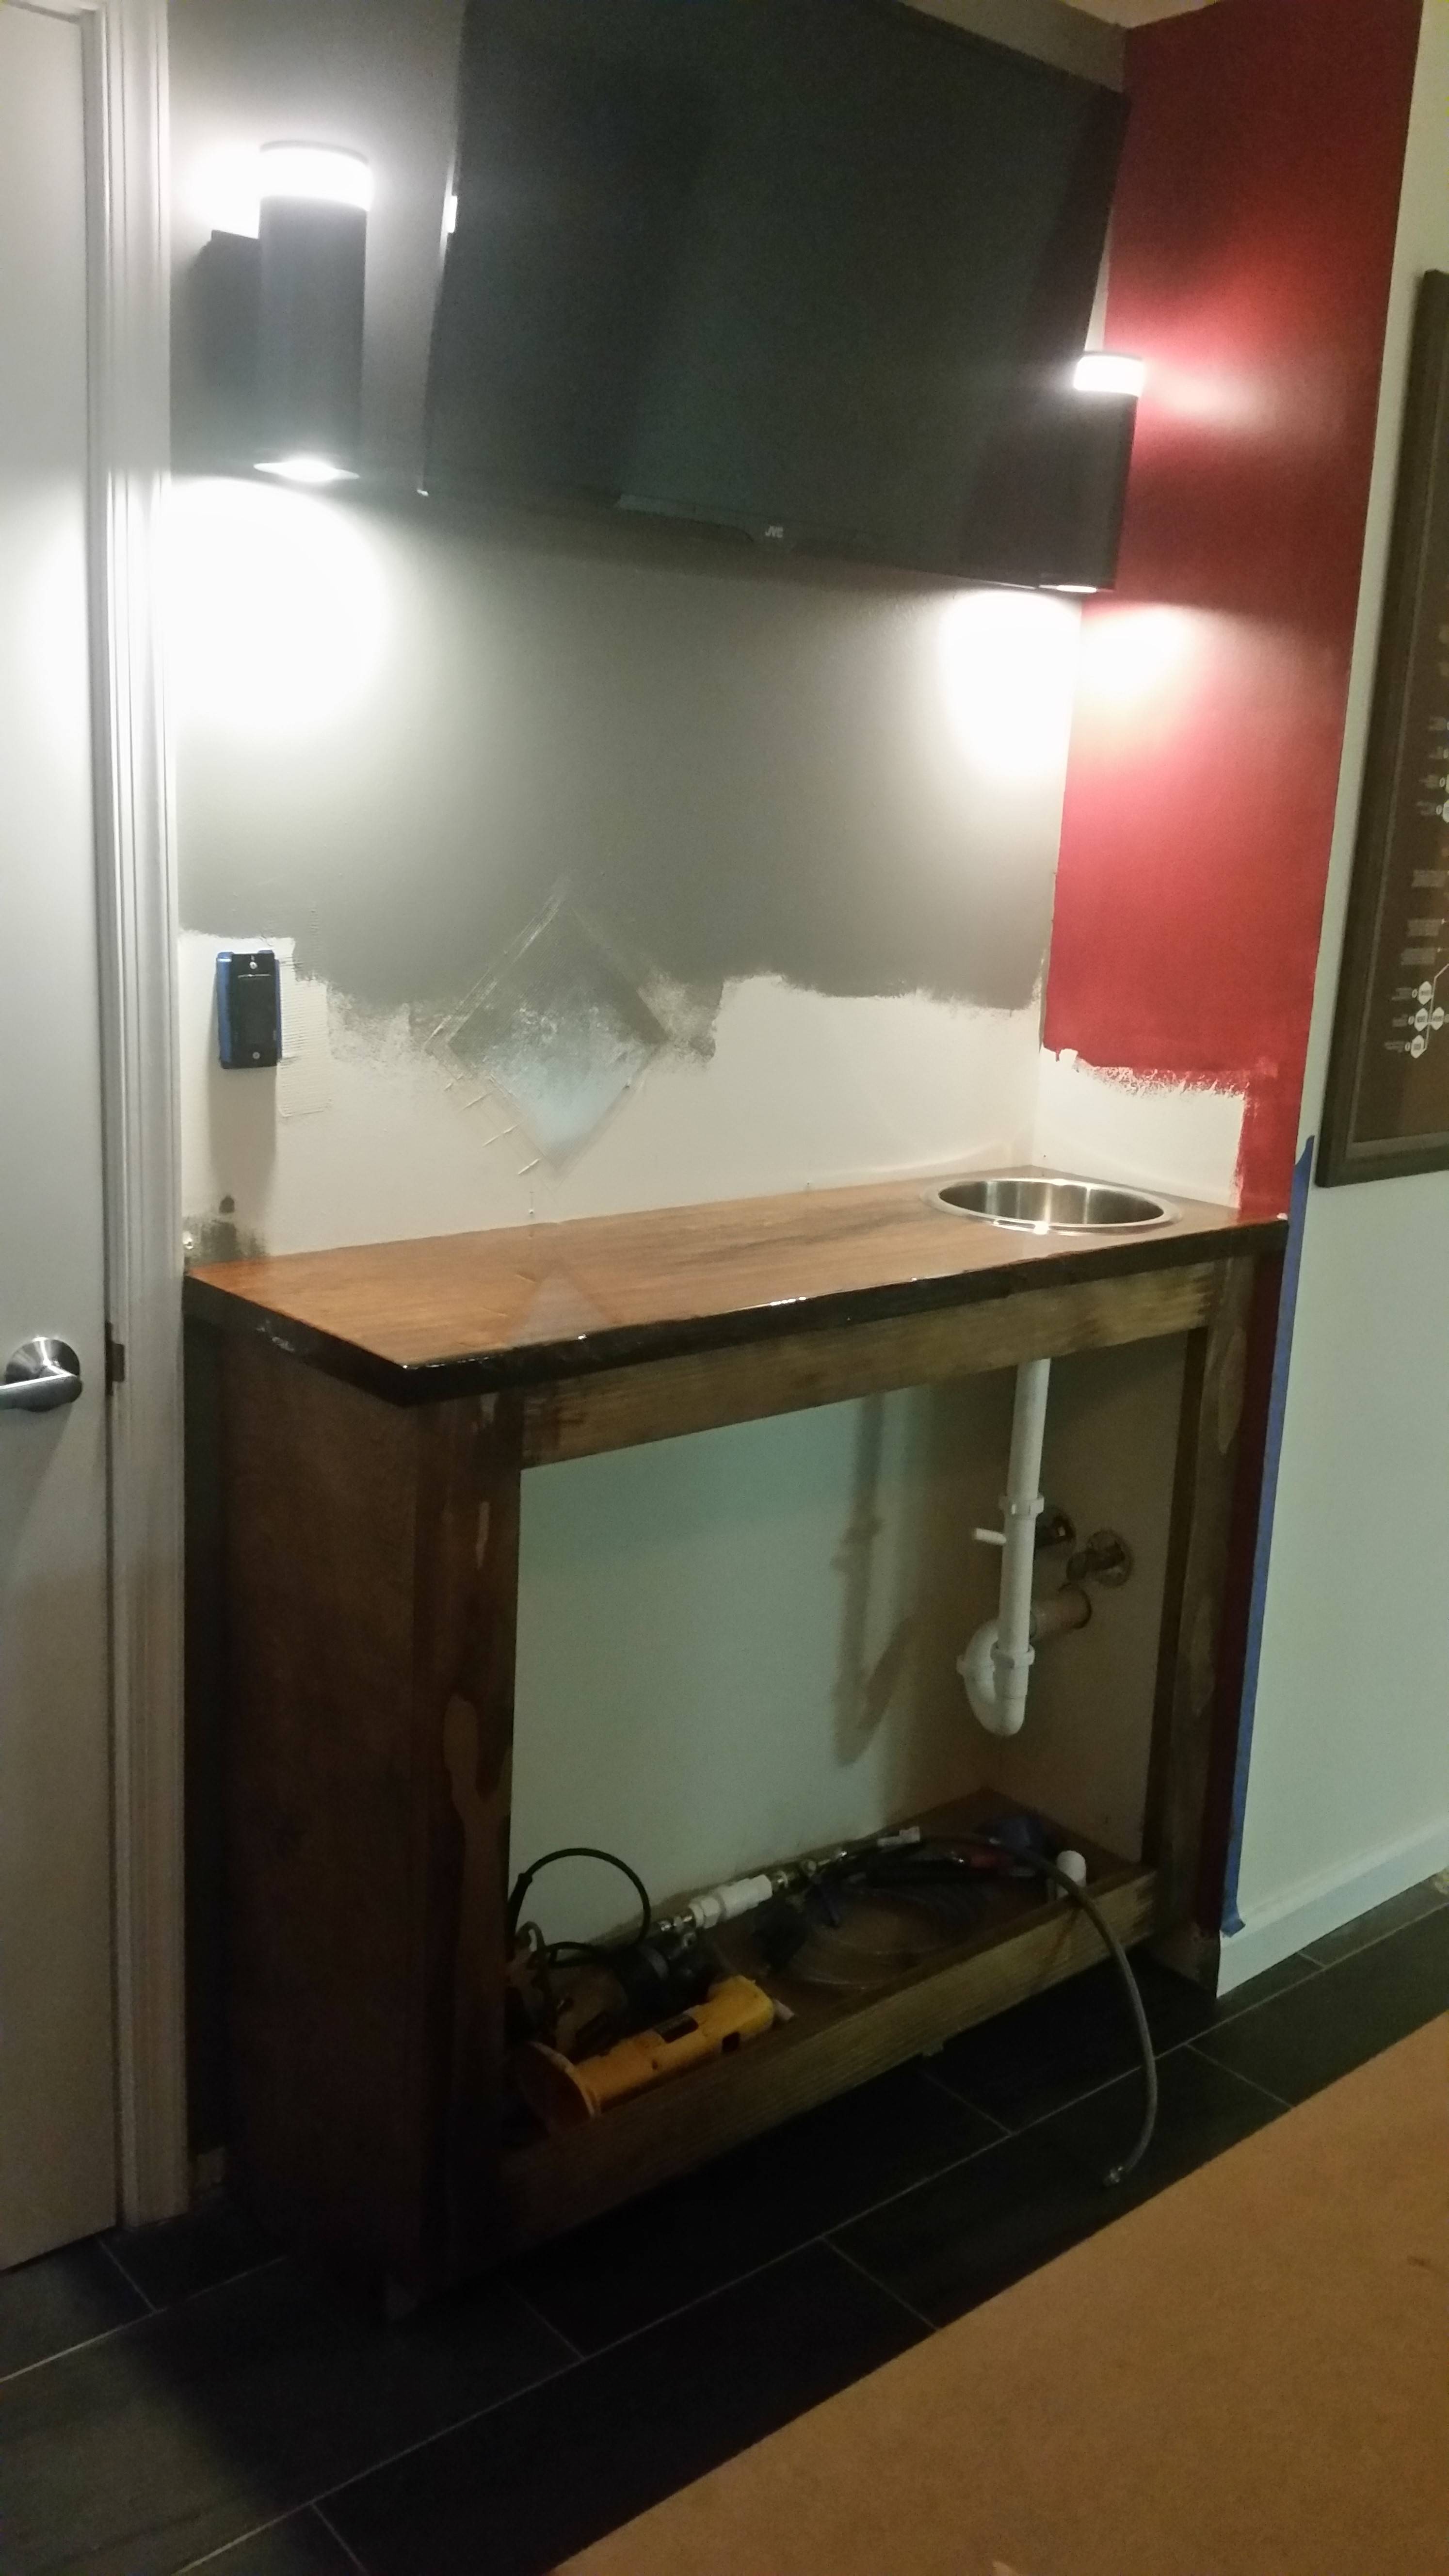
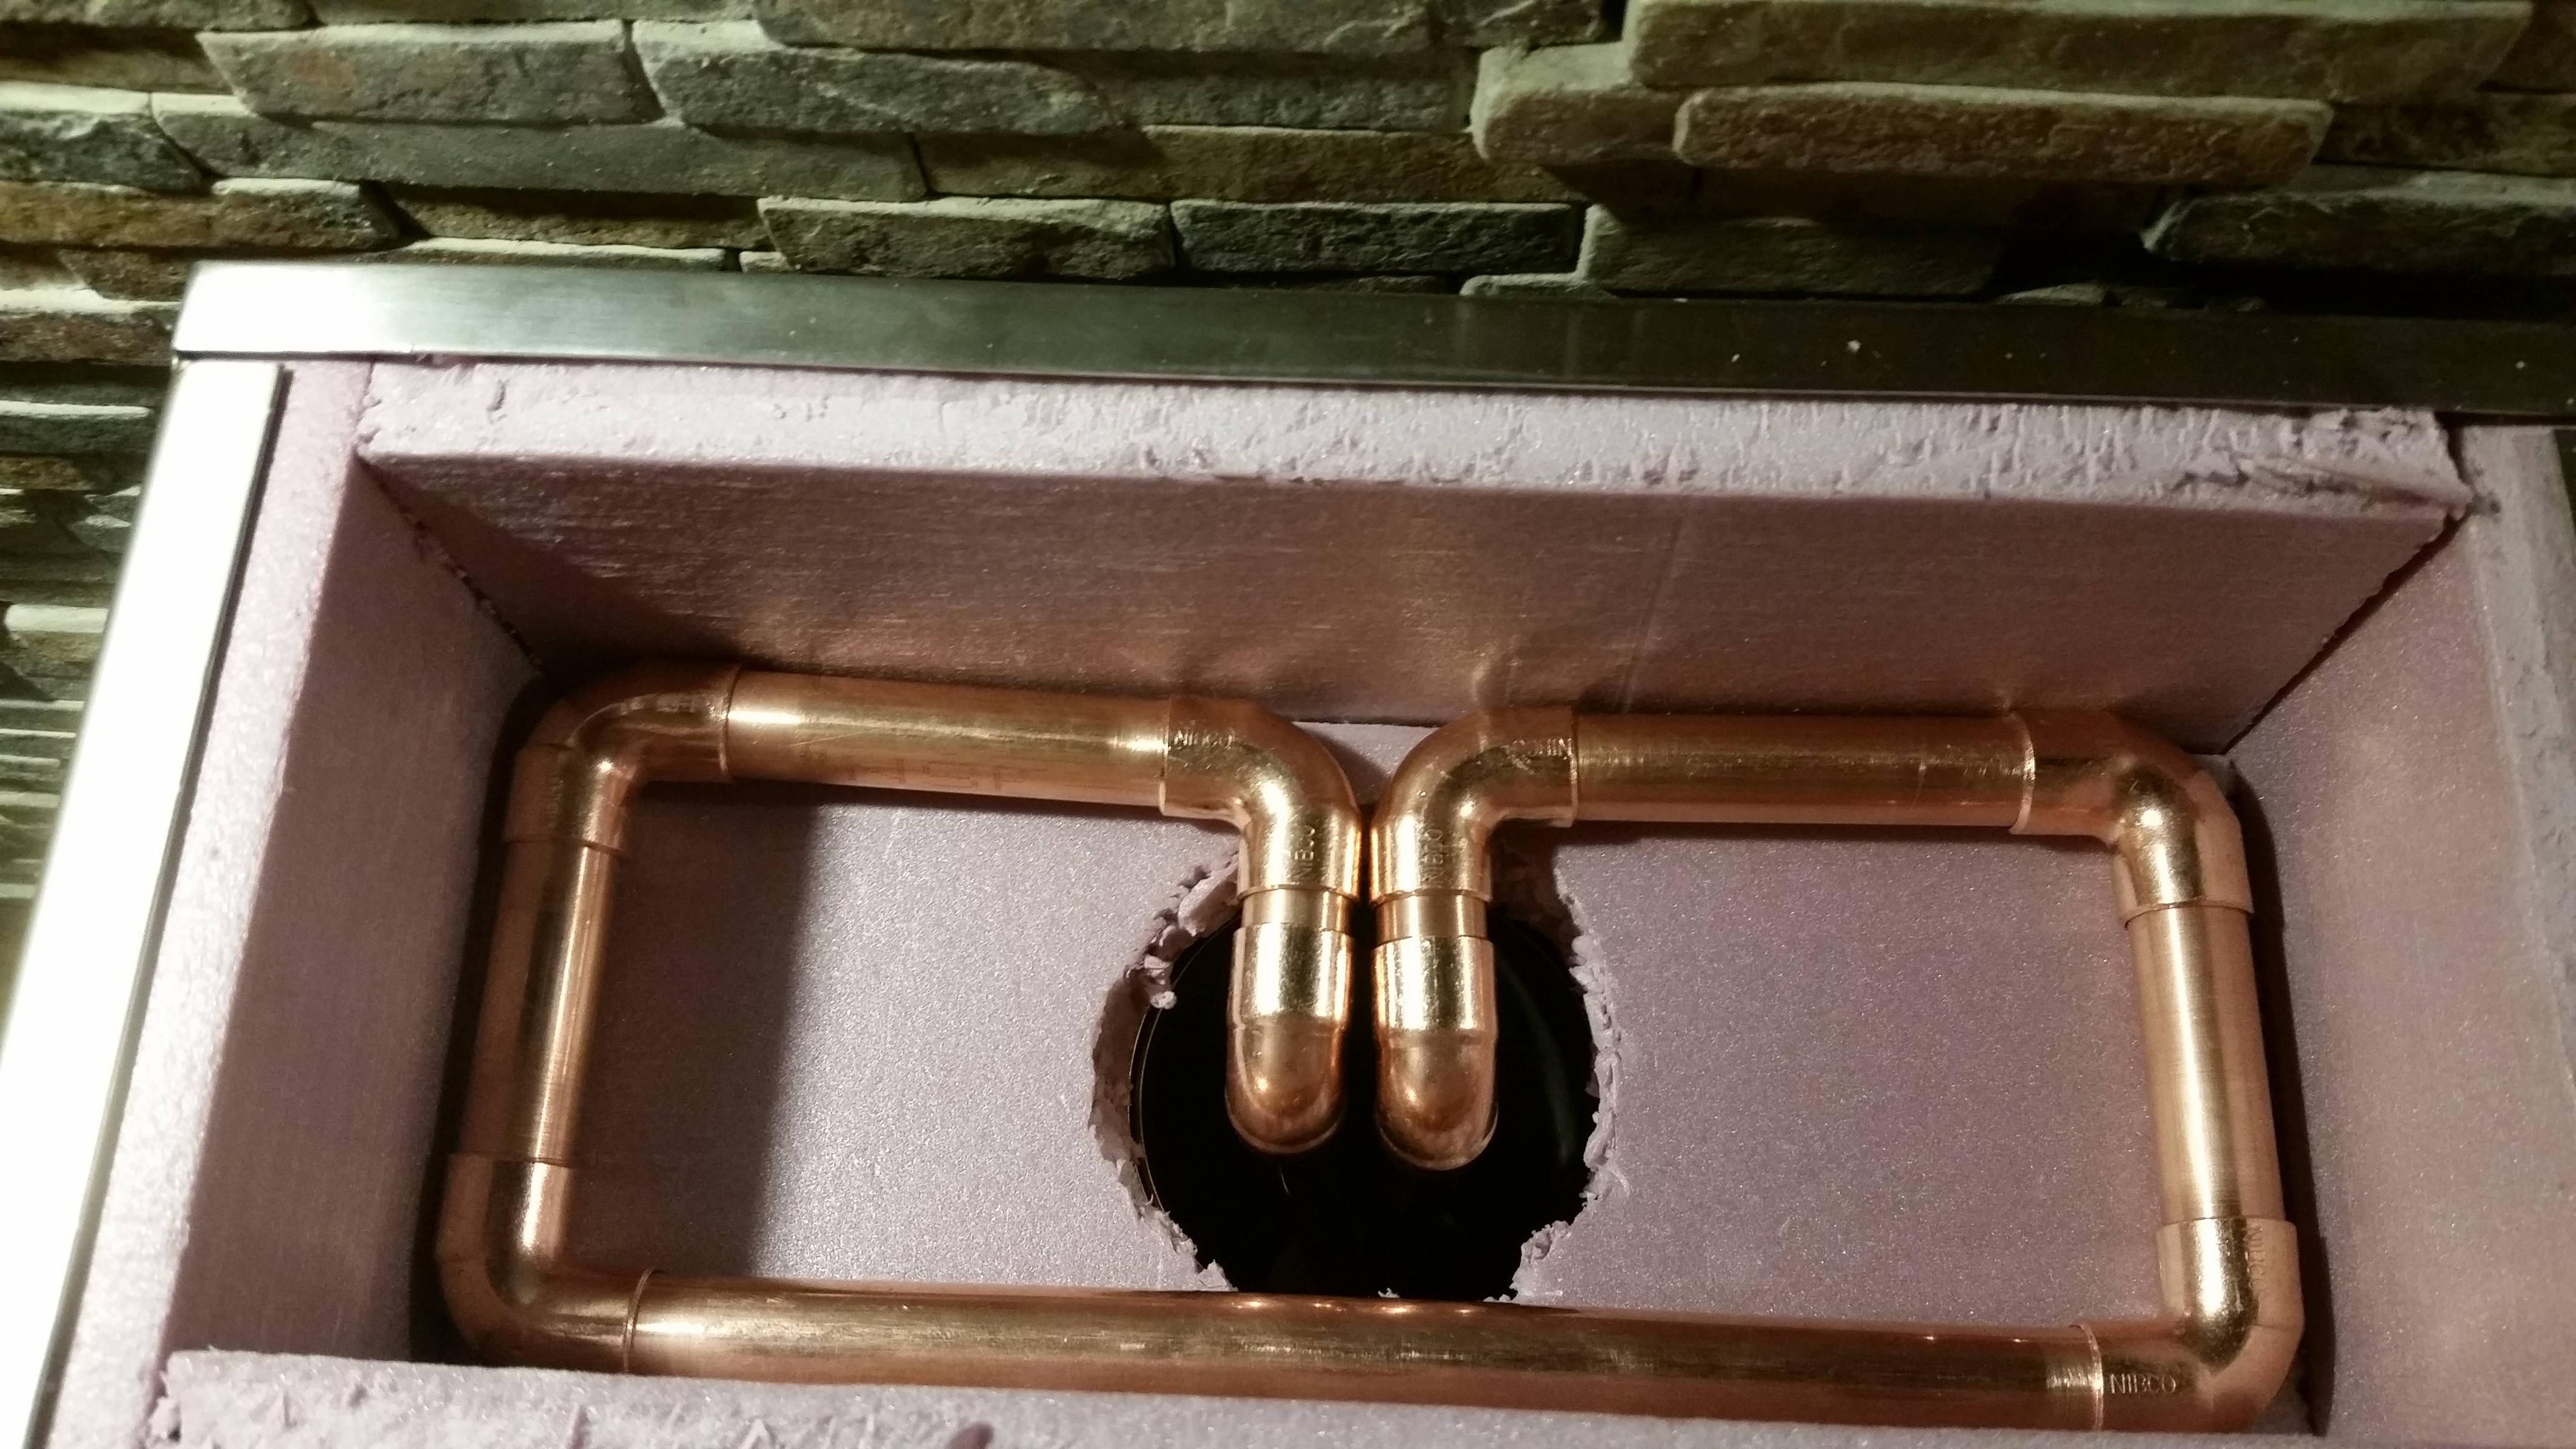
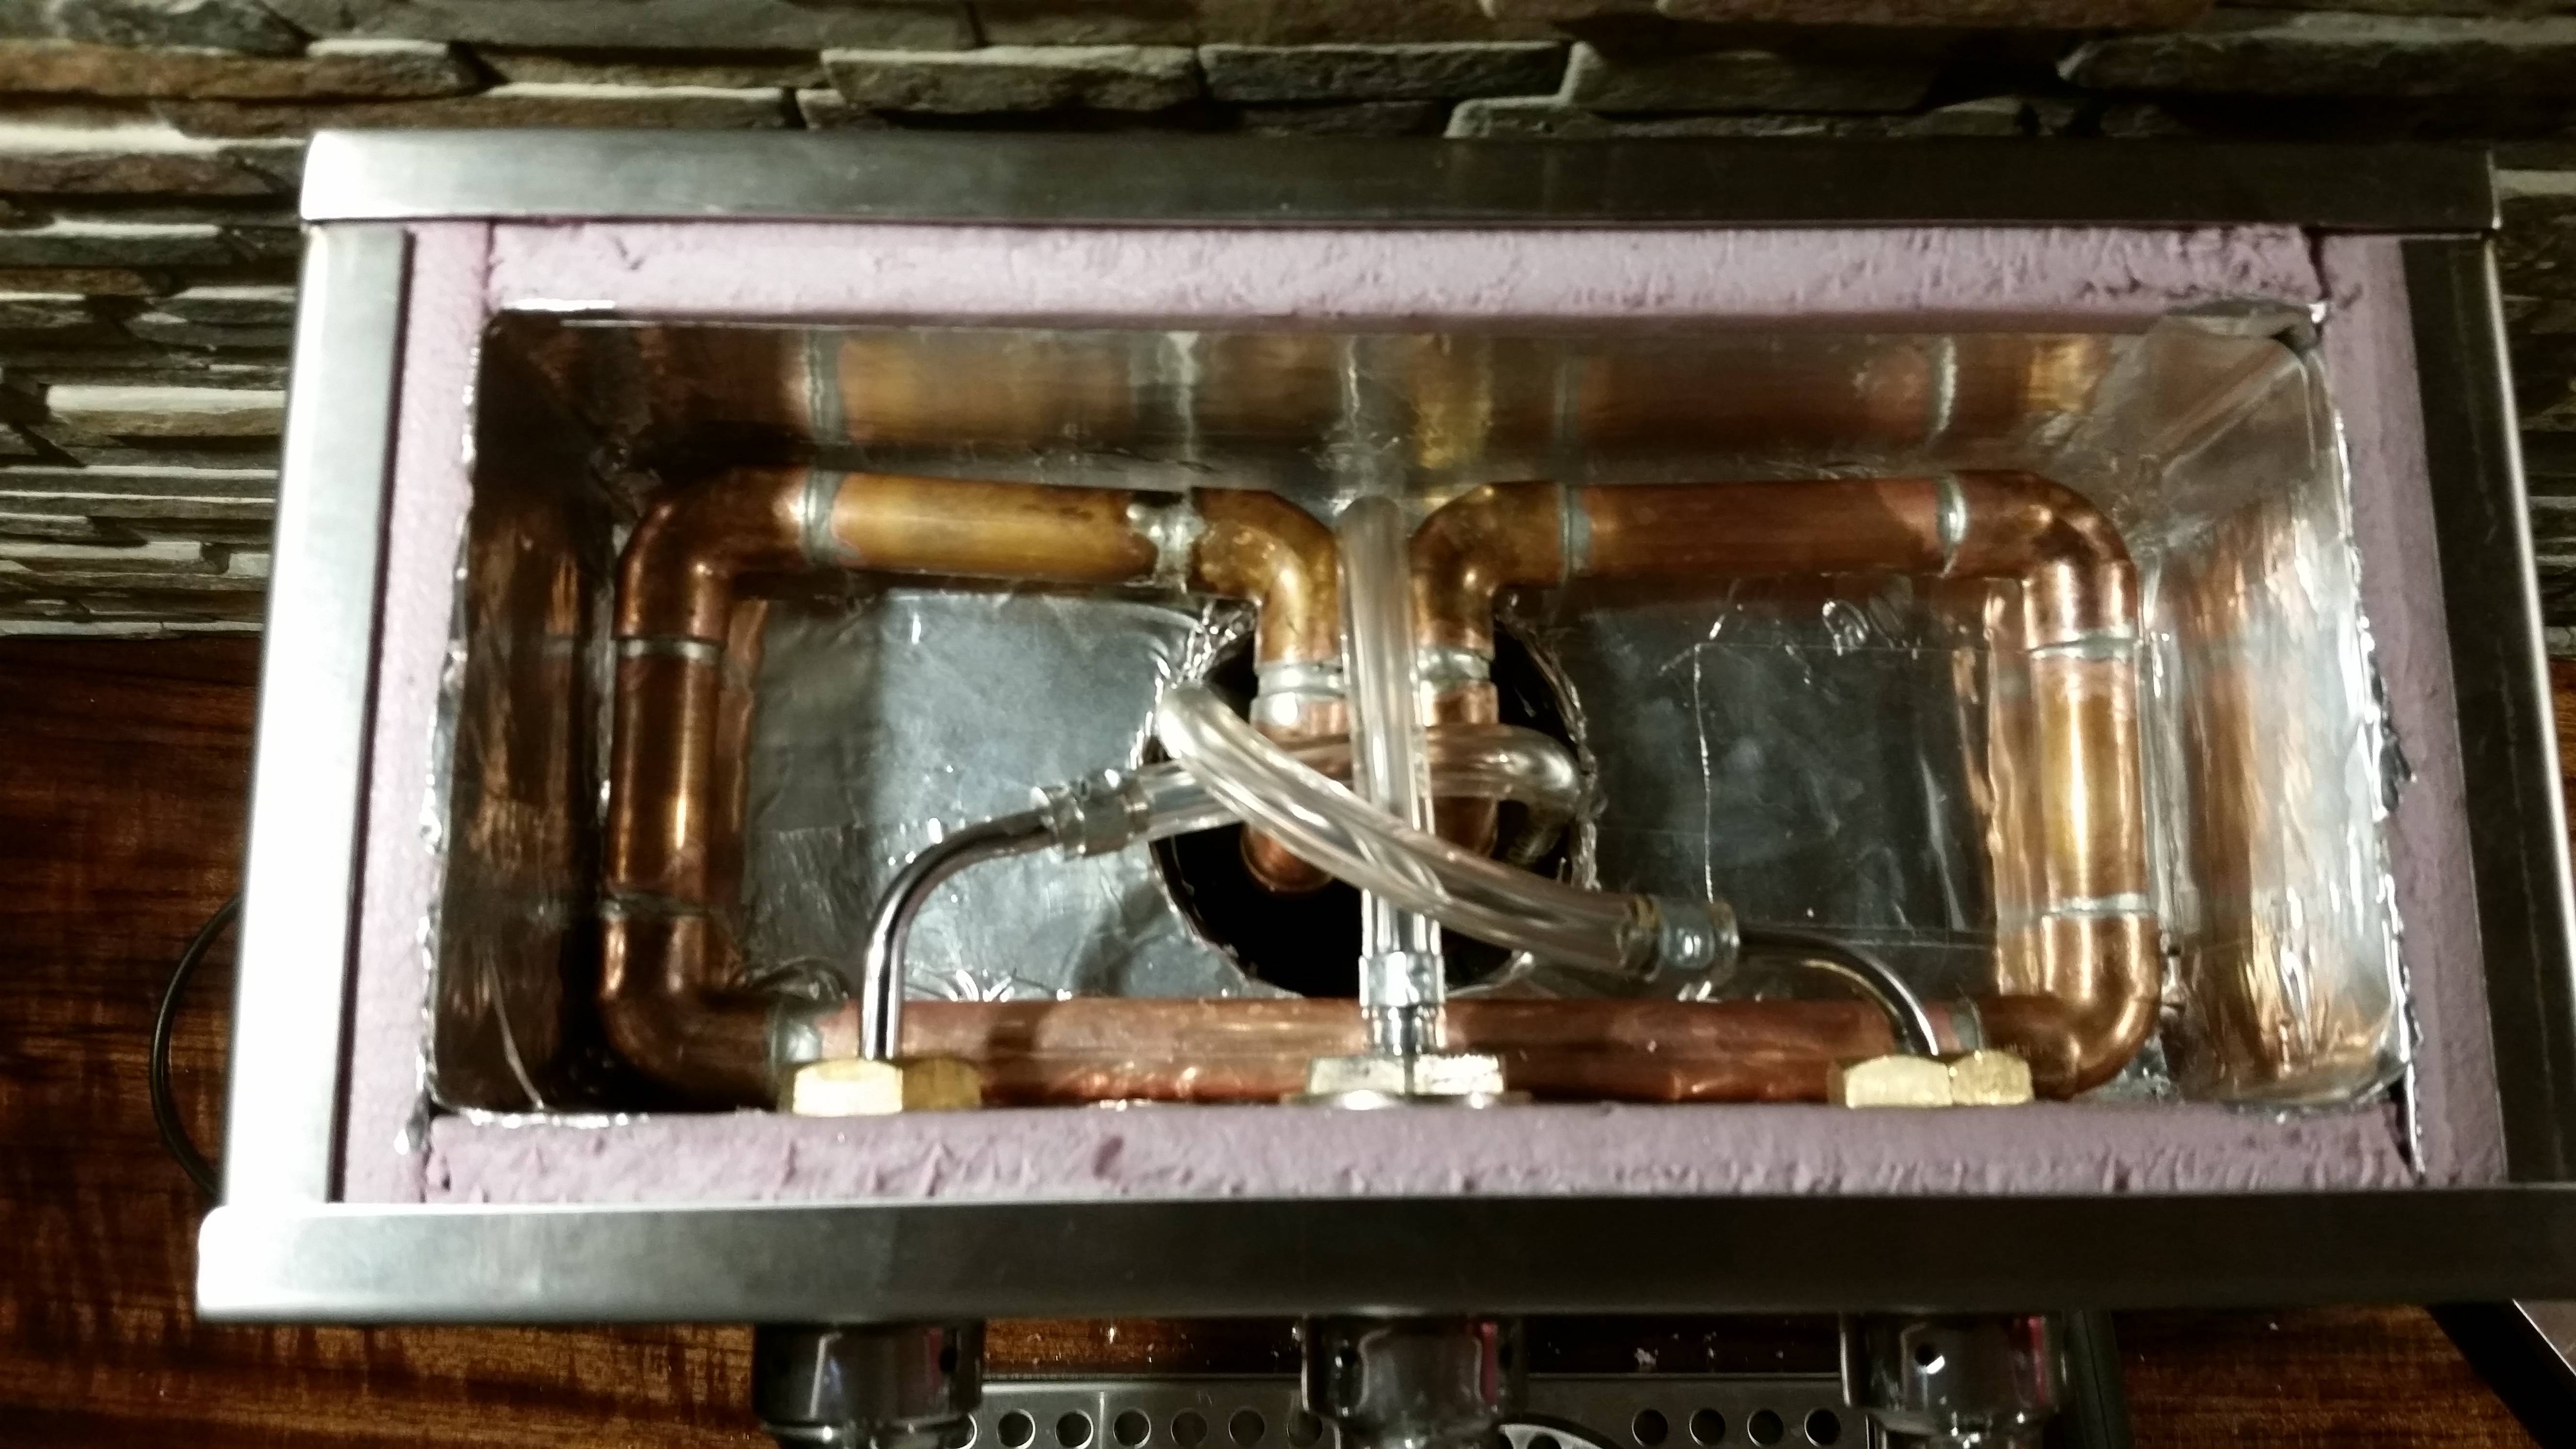
Had to redo the plumbing to get it to fit under the sink.
Chasing the drain line into the corner was less fun than expected.
Chasing the drain line into the corner was less fun than expected.
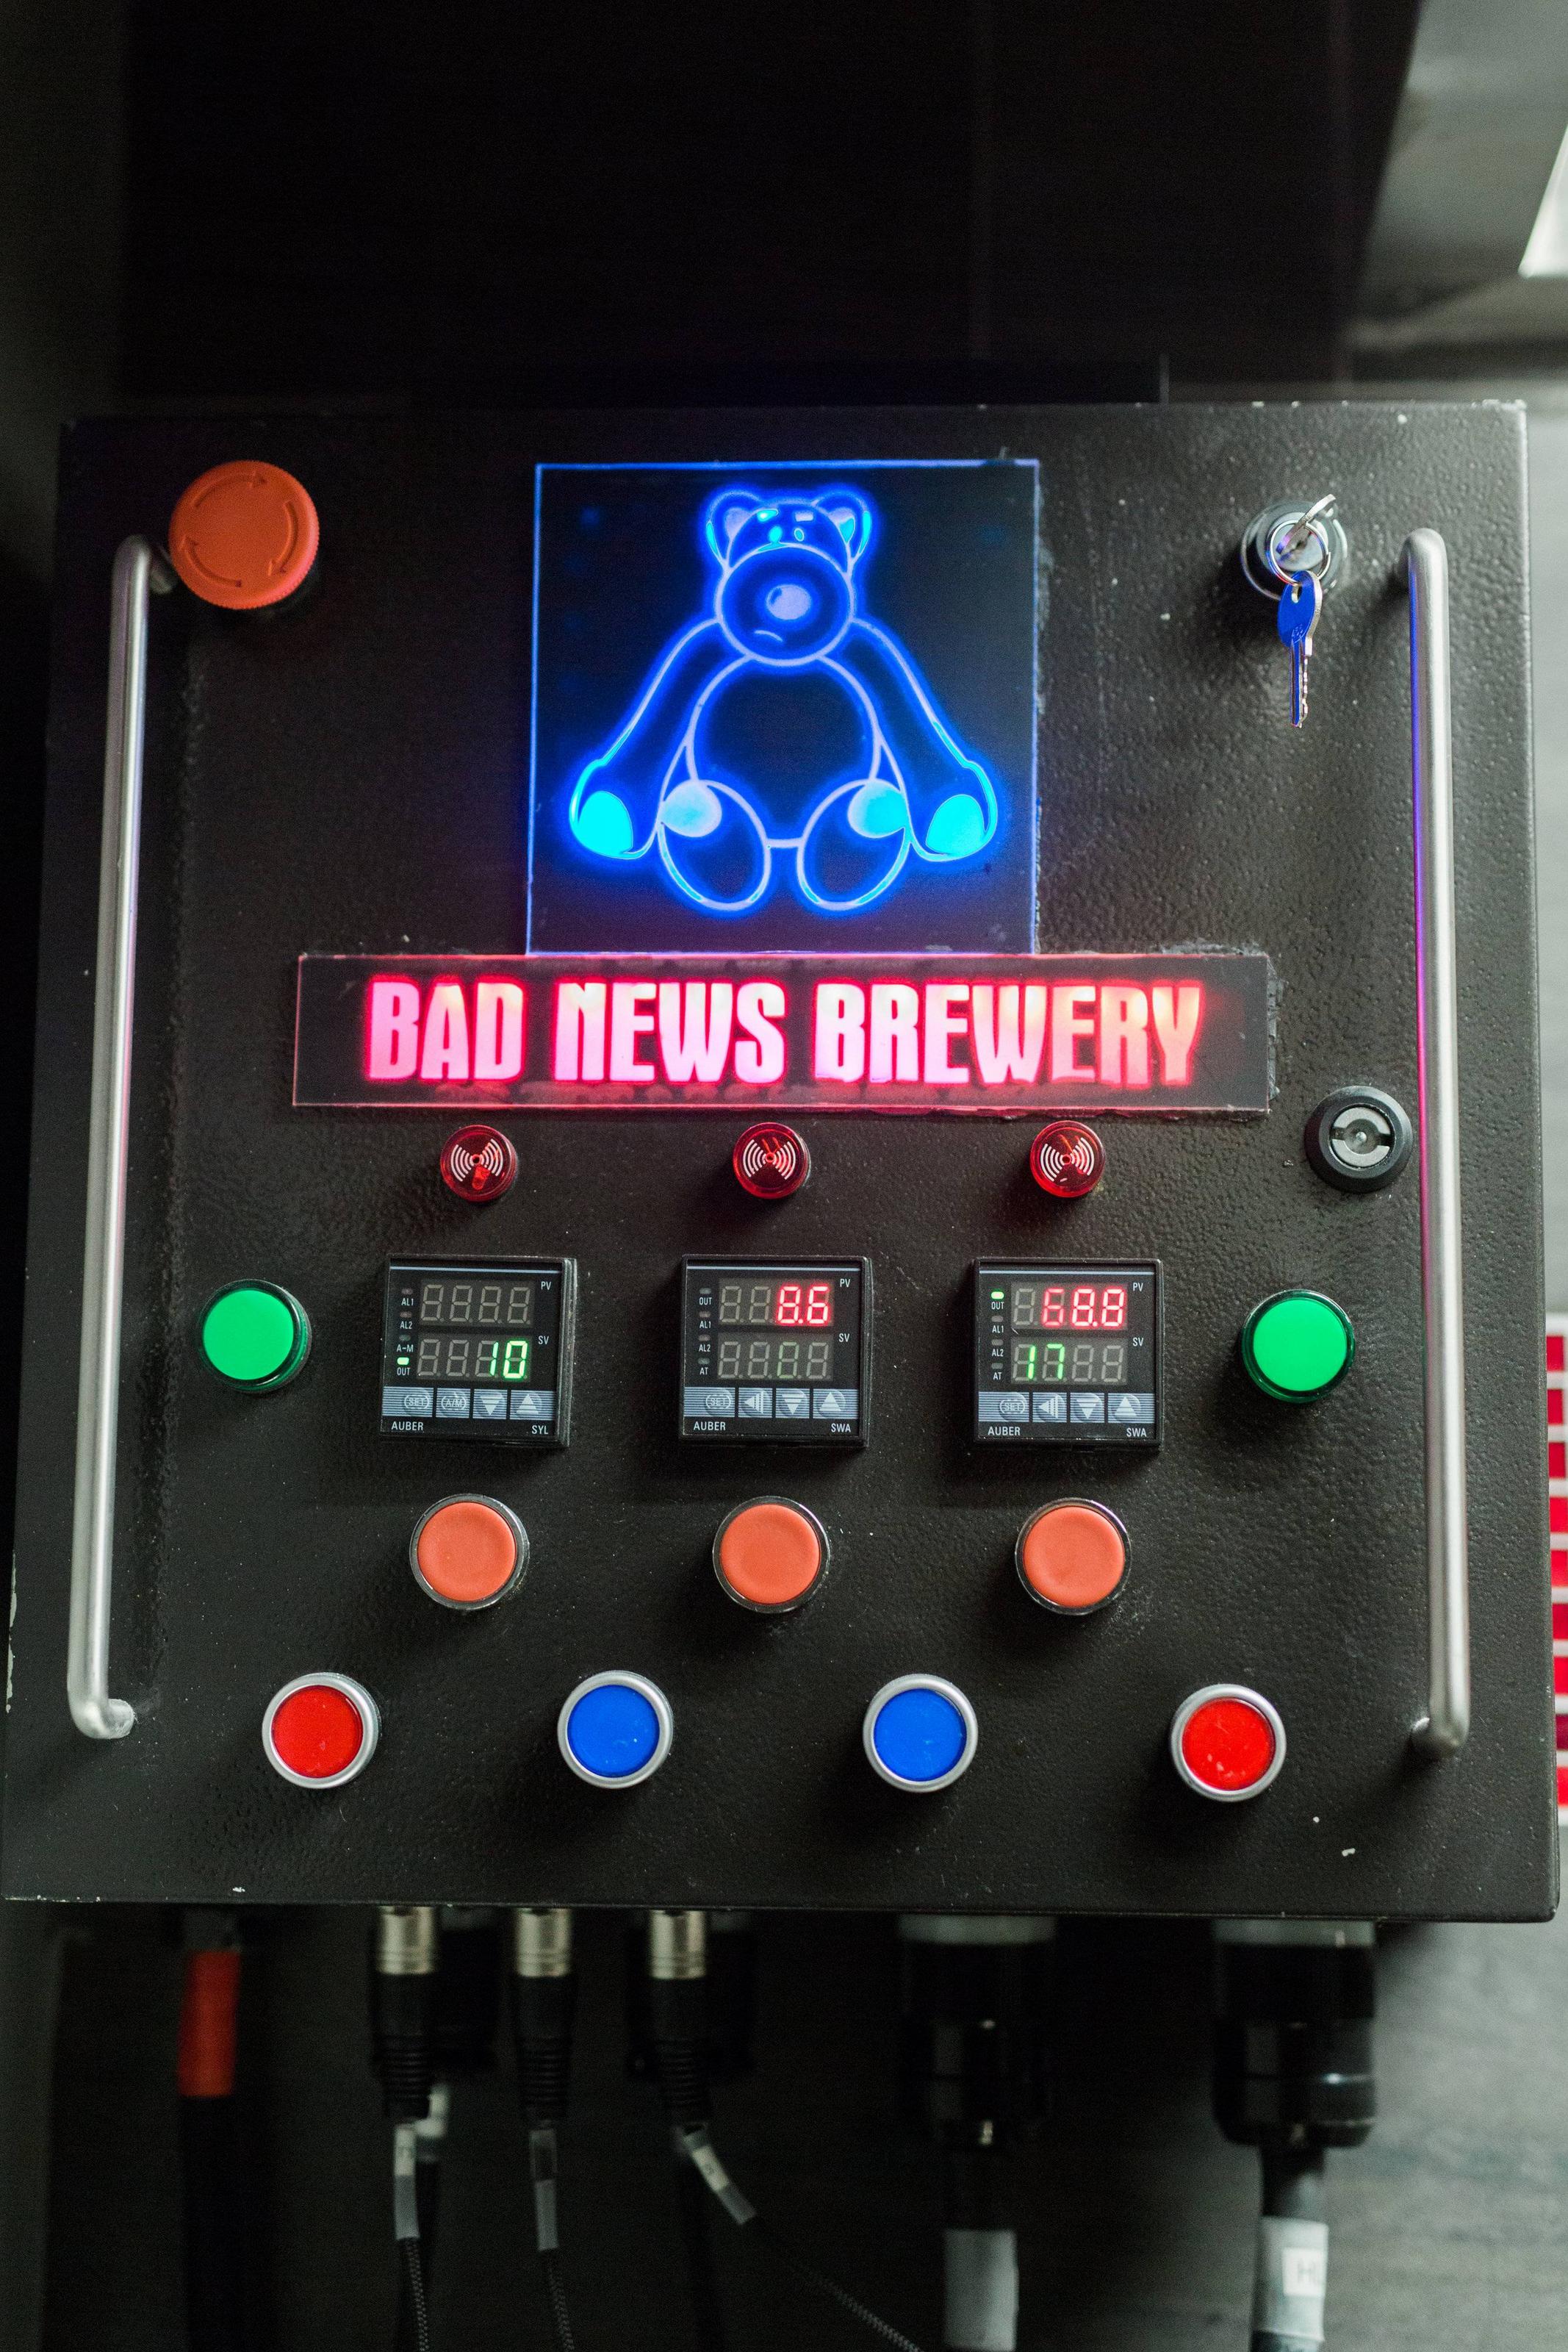
The wood board is going to be the backing for the control panel
Luckily the previous owner loved his power so I had two 200A panels not far away that I could pull all the necessary circuits for.
Built a sofit around the duct-work, simple 2x4 throw together as it wasn't supporting any weight.
With the electrical done and the plumbing sealed, time to throw up the drywall and get the exhaust hood and control panel mounted.
Then my contractor came back to finish doing the tile. I added in a red accent band of mosaic tile. I came down one afternoon to find them installing each 1" x 1" tile, piece by piece, by hand. I showed them how the adhesive backing worked and they were pissed at the foreman that showed them the wrong way to do it. I got a good laugh, though I also got a bunch of crooked tiles. Oh well. We also lowered the exhaust hood some so it'd line up with the window so I could run the exhaust more easily.
I've started painting walls and checking out the accent paint.
Paint up
Put in a 6' stainless table and a 3' stainless sink and a heavy duty shelf from Home Depot and I was ready to rock and roll.
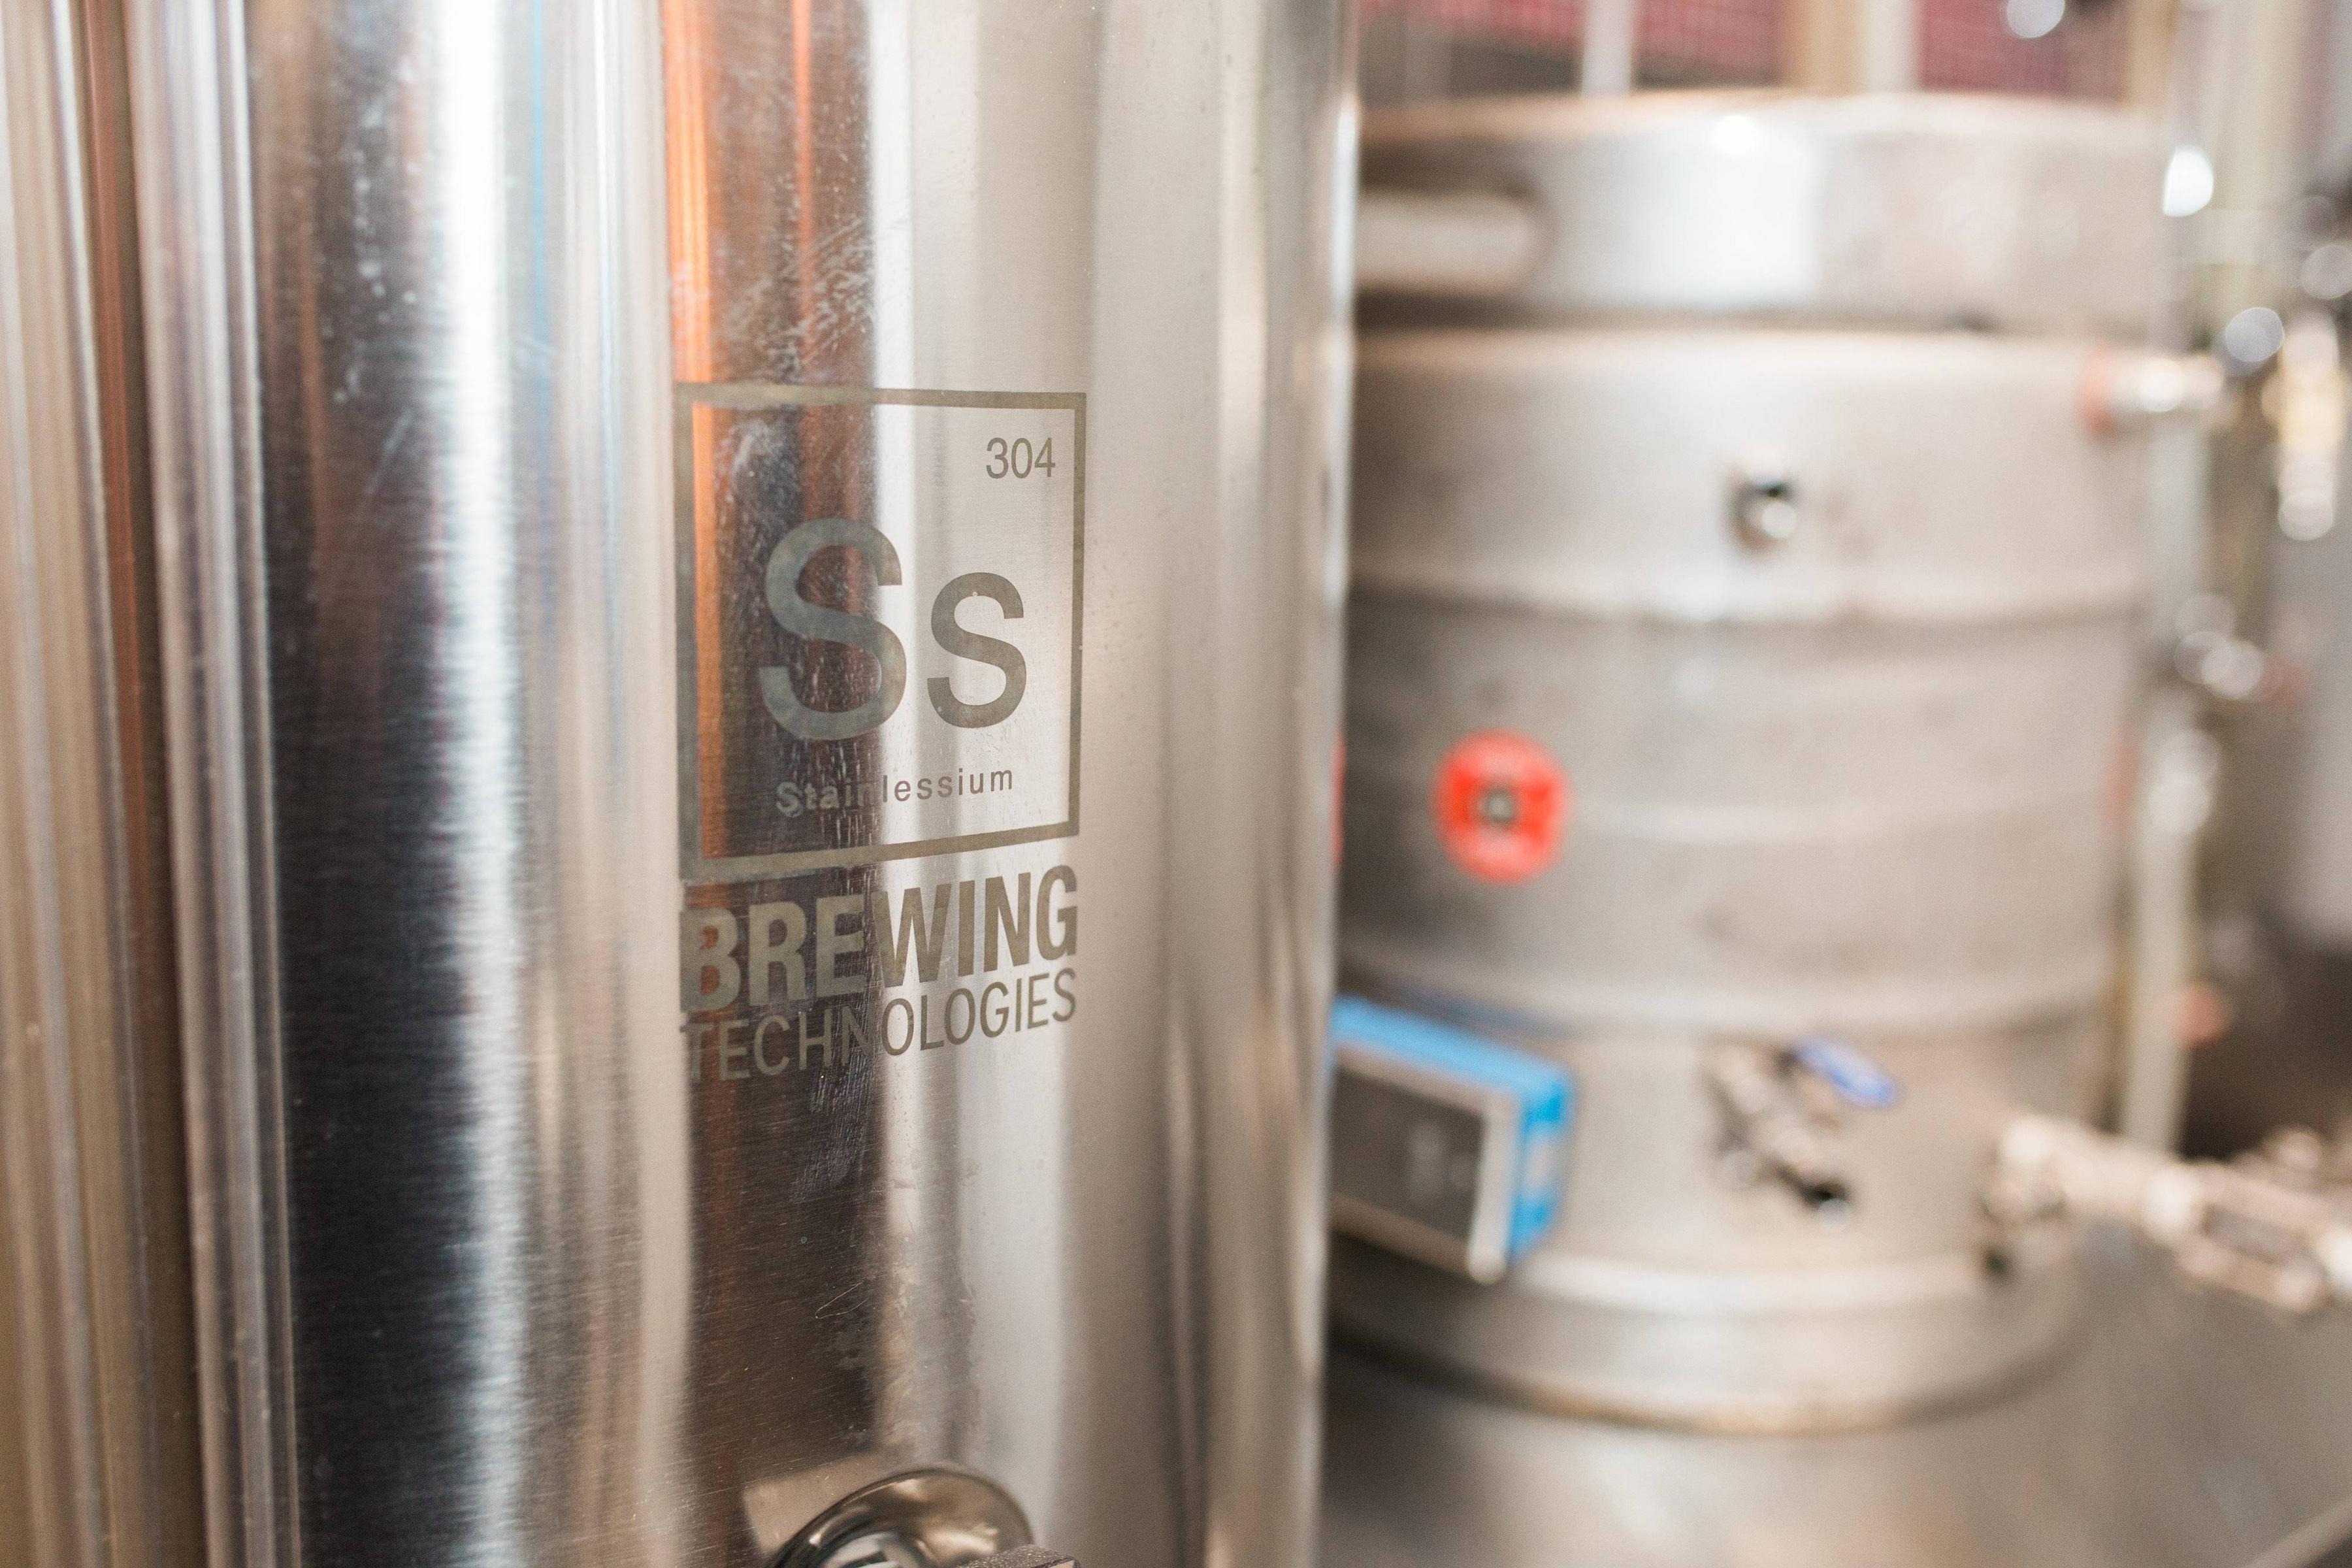
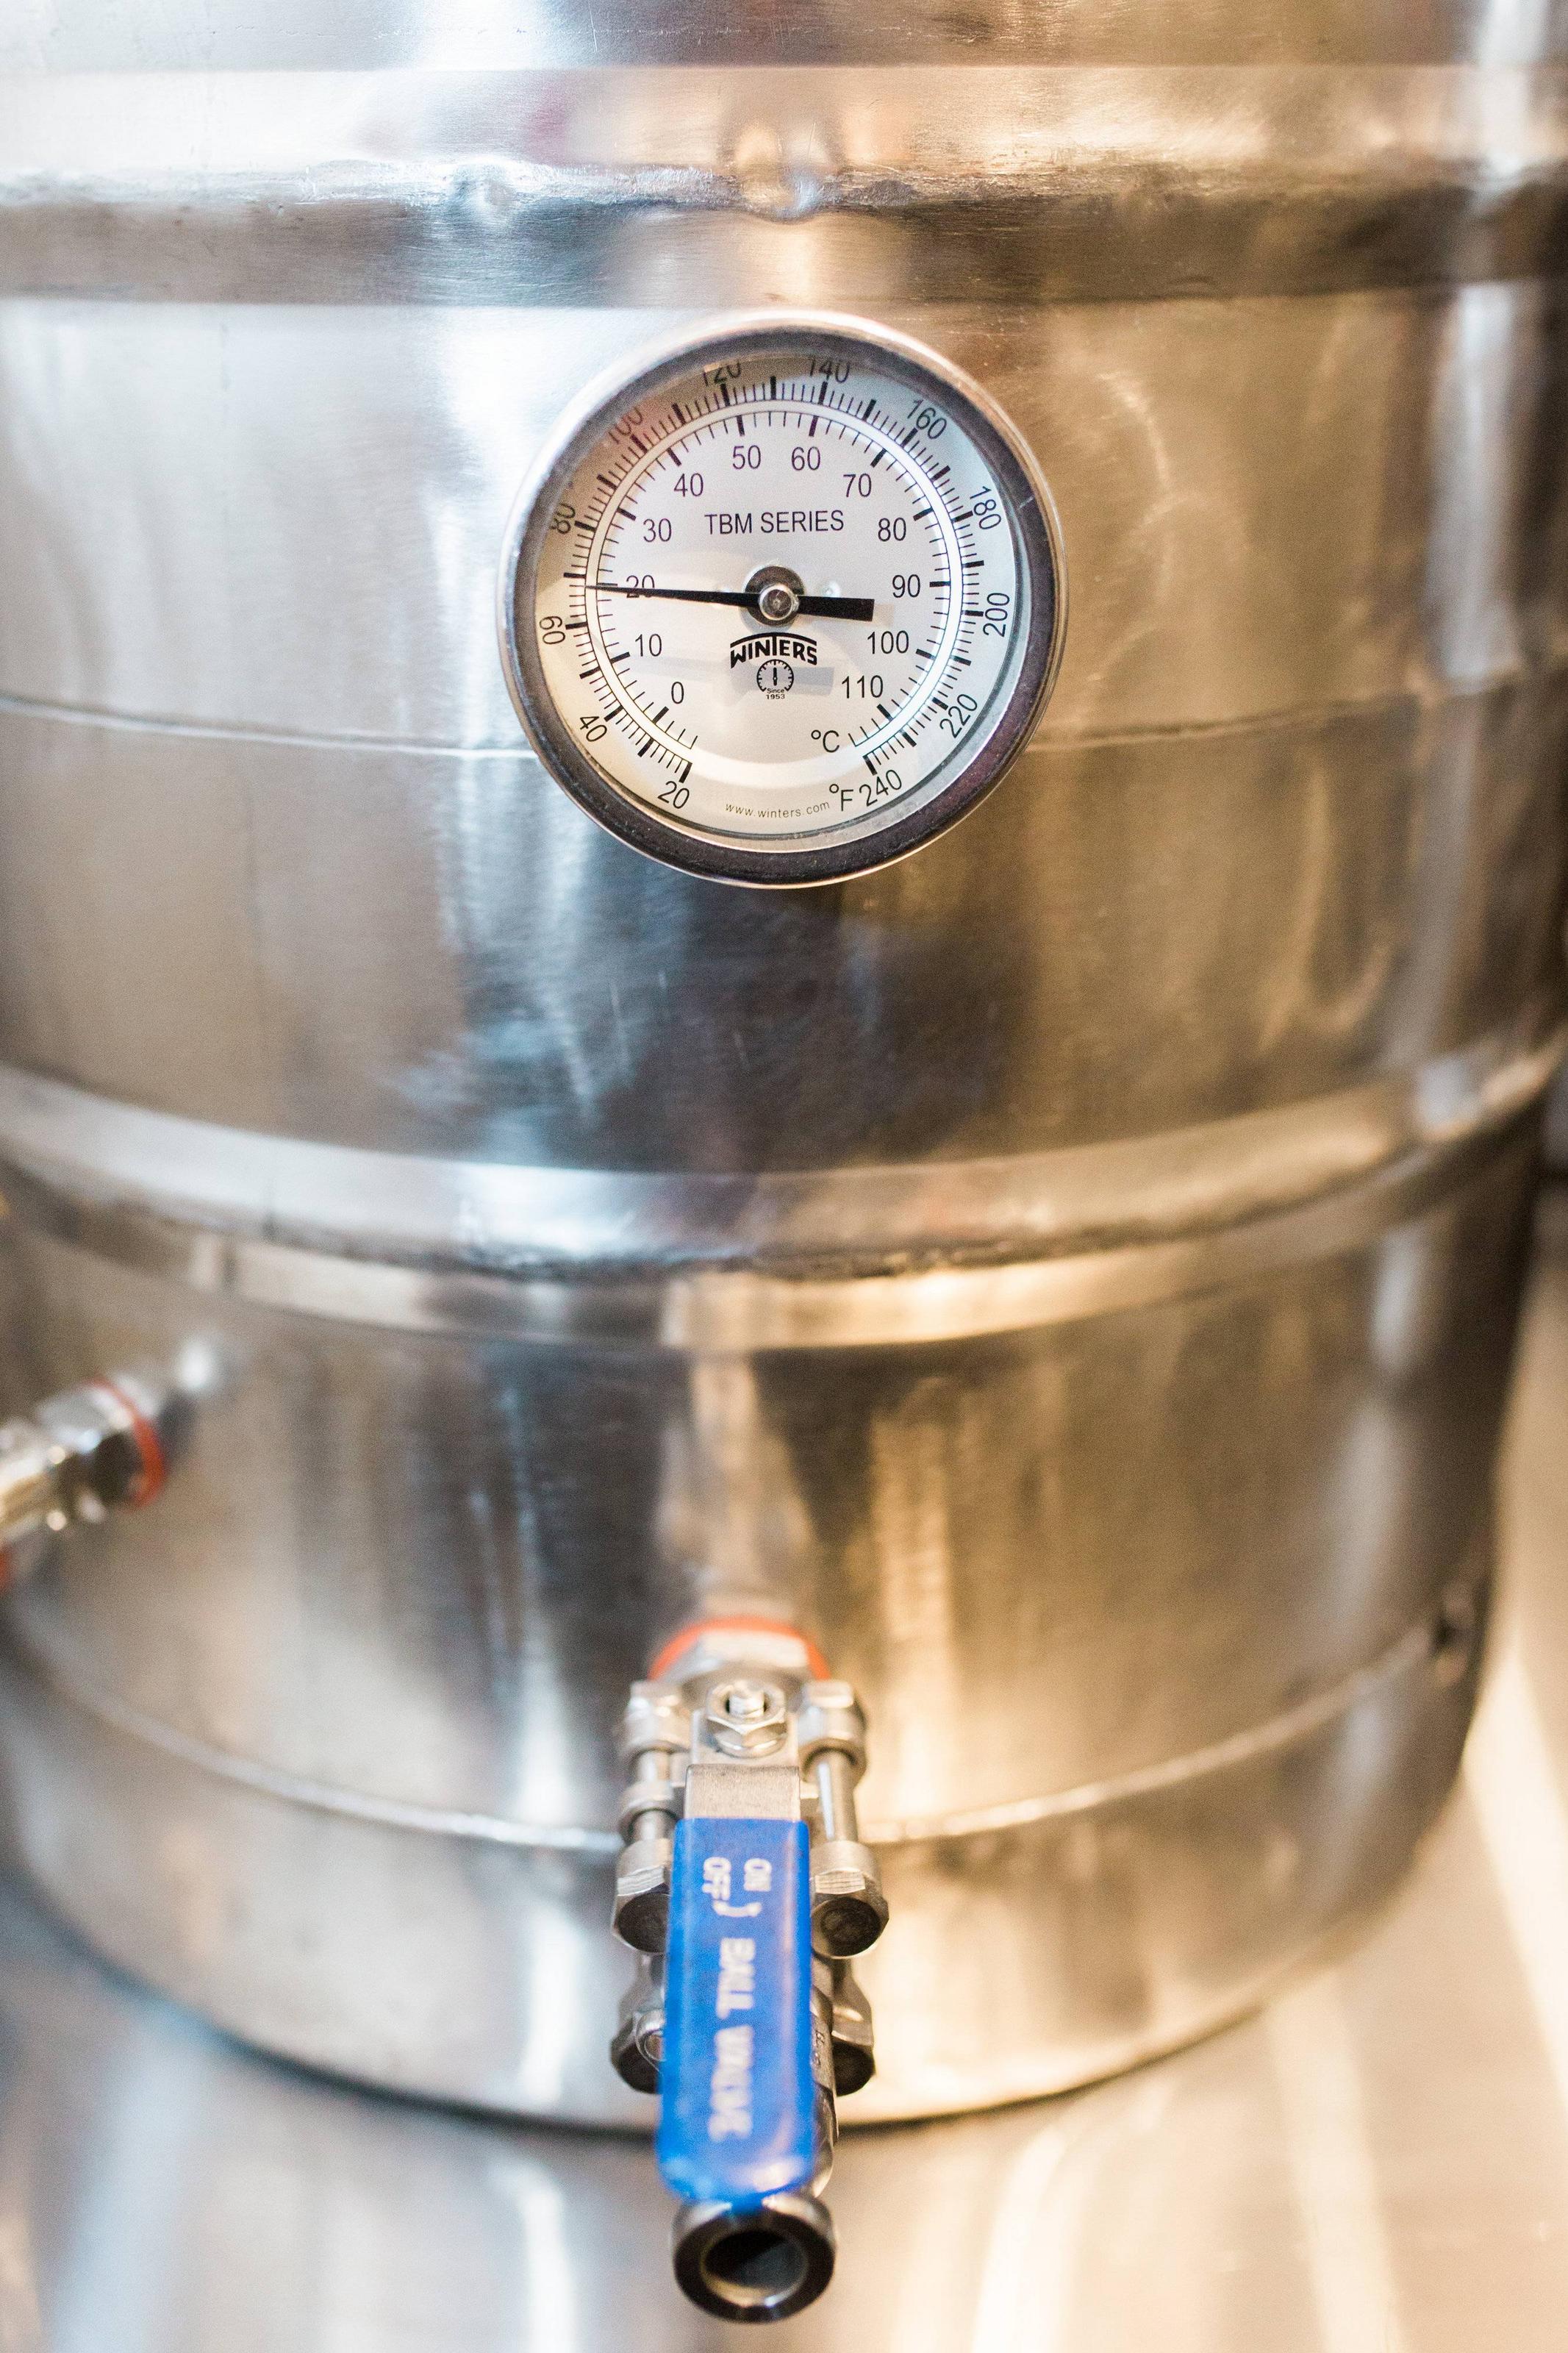
BK-MT-HERMS - the insulated MT from SSBrew was a gift a year ago and never got to use it due to the move.
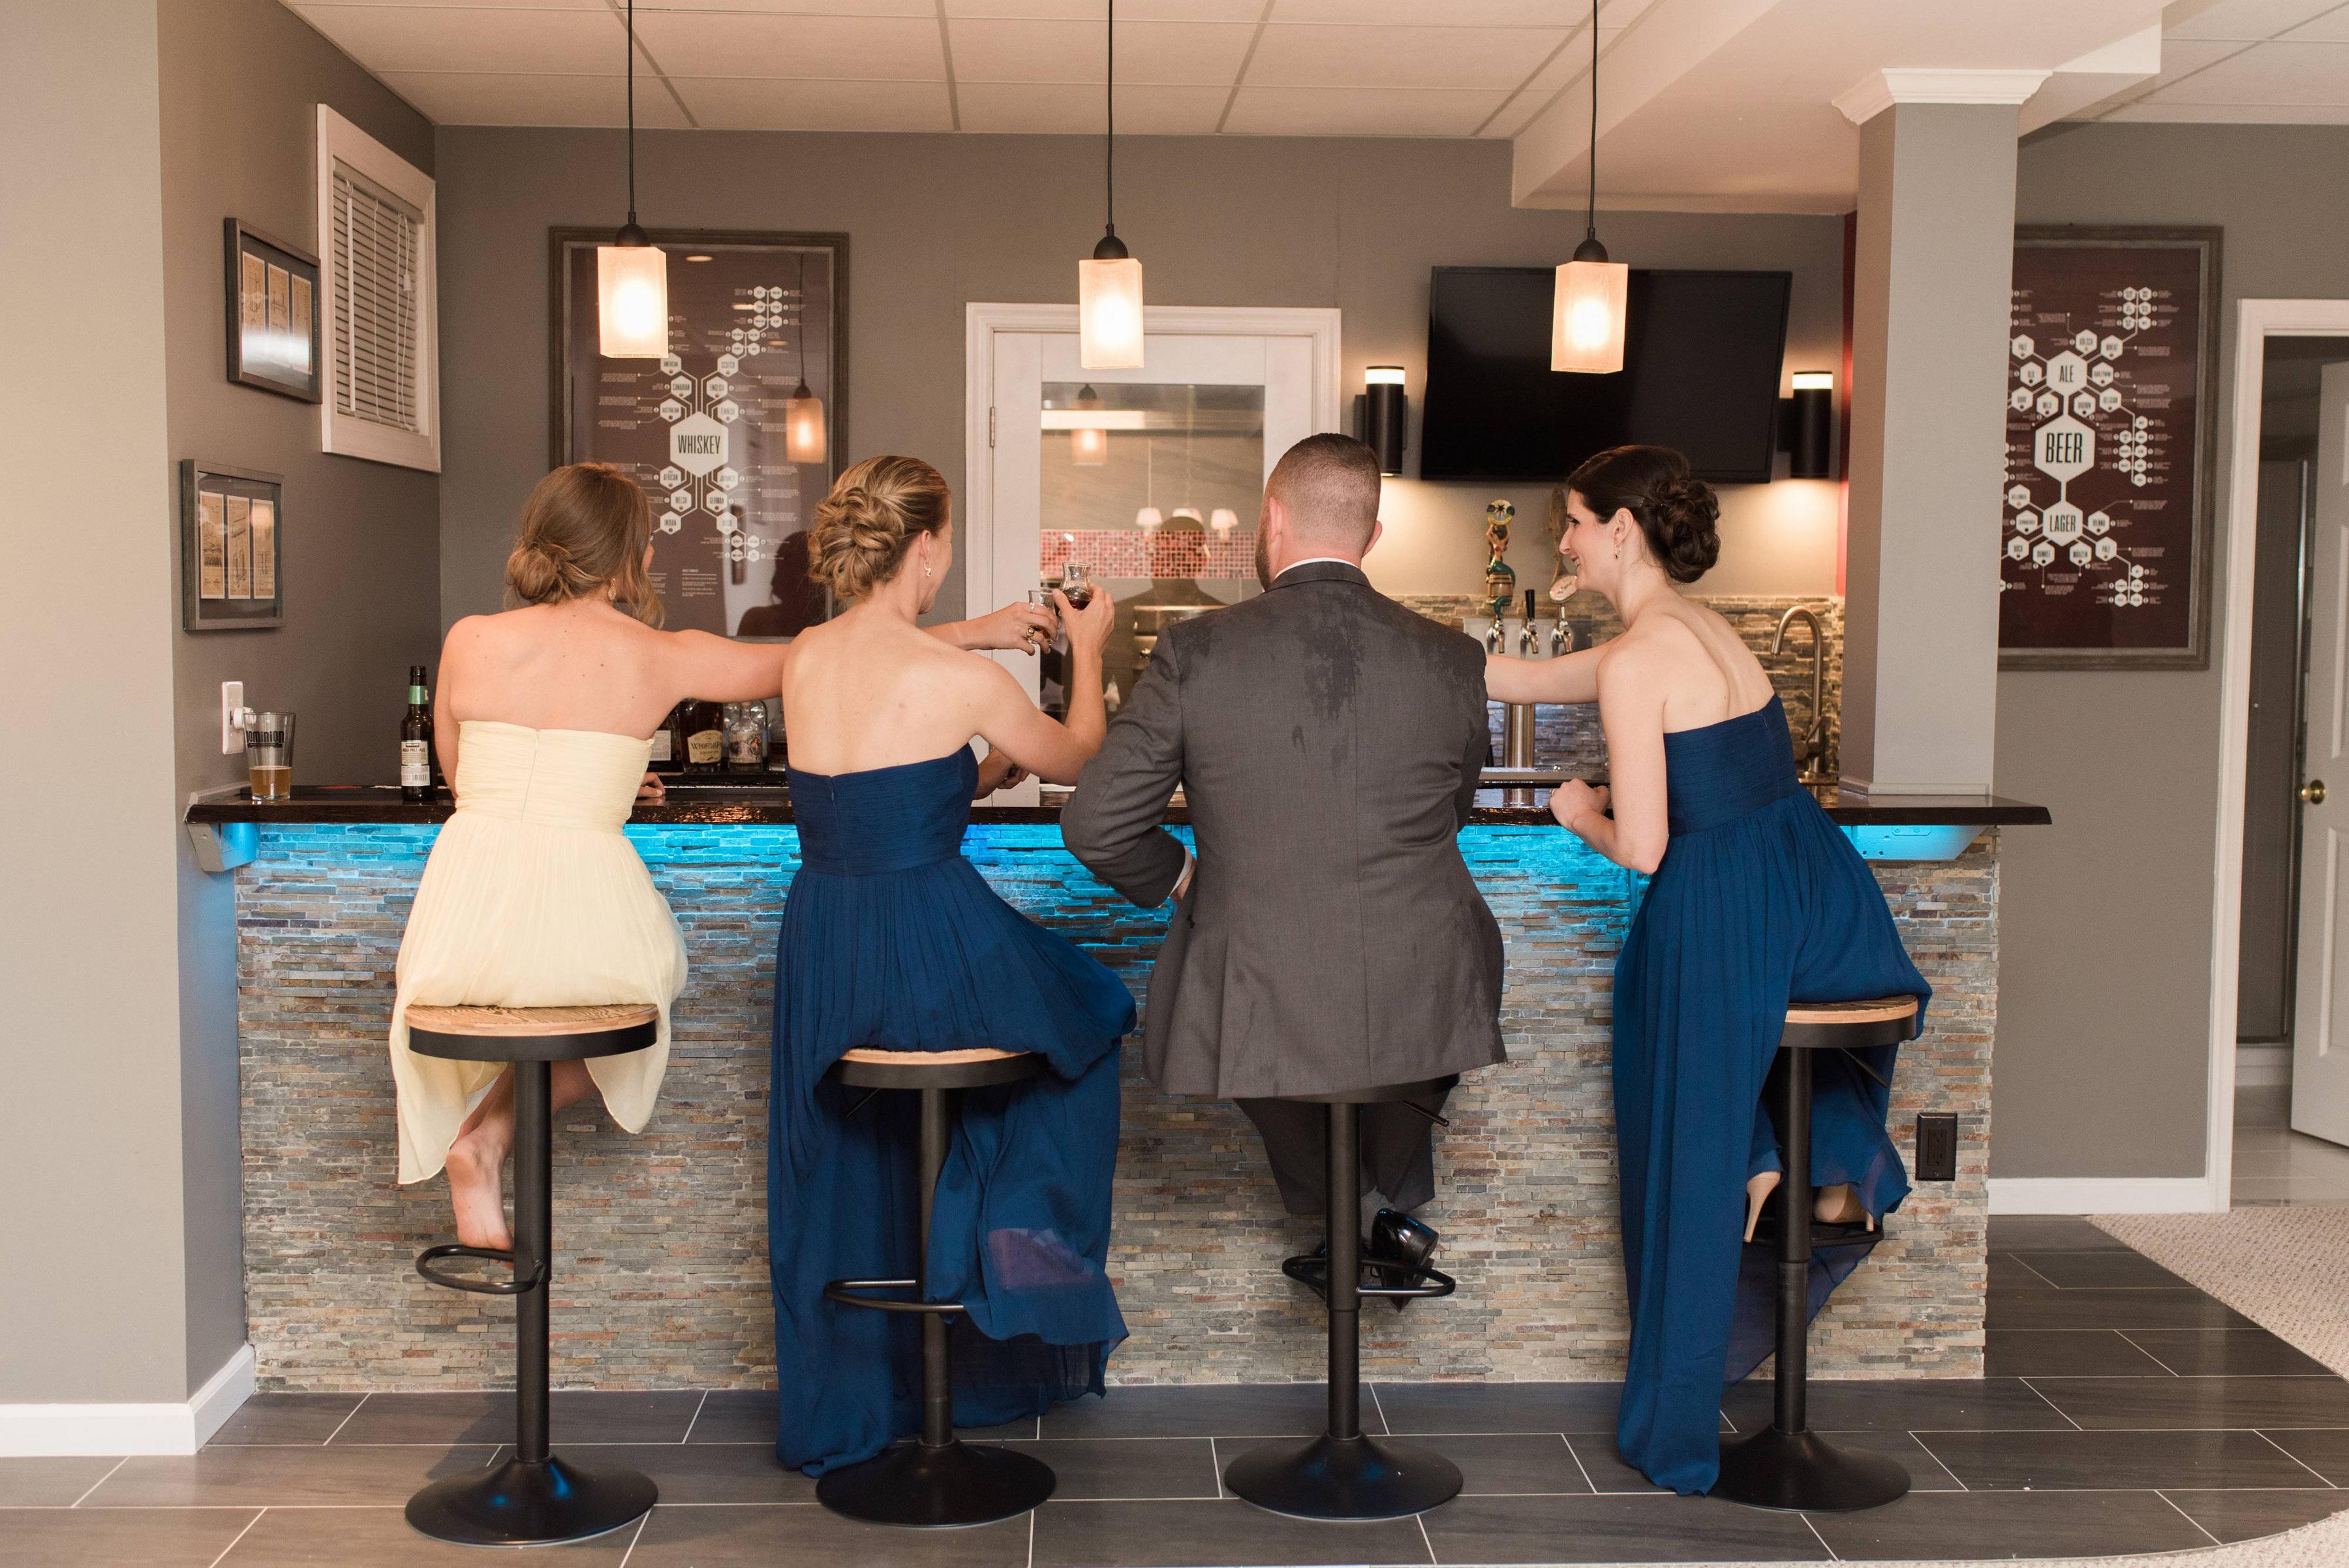
Glamour shots from our wedding photographer
The brewery is done. I needed to make beer for the wedding that was coming up in about 2 months so I made 10gal of a hefewizen recipe I've developed over the years, though I threw in rose hips because that sounded wedding like. I also made 5gal of a brand new recipe for a double IPA (Hoppily Ever After) - a risky move for a wedding beer. Turned out great. While it was fermenting, I turned my attention back to the bar.
I had finished the lighting, got the TV installed (it's tied into the same HDMI feed as the projector / theater area around the corner),
and started the back-bar with the sink.
and started the back-bar with the sink.
Another piece of Shedua and some curly maple for the cabinet.
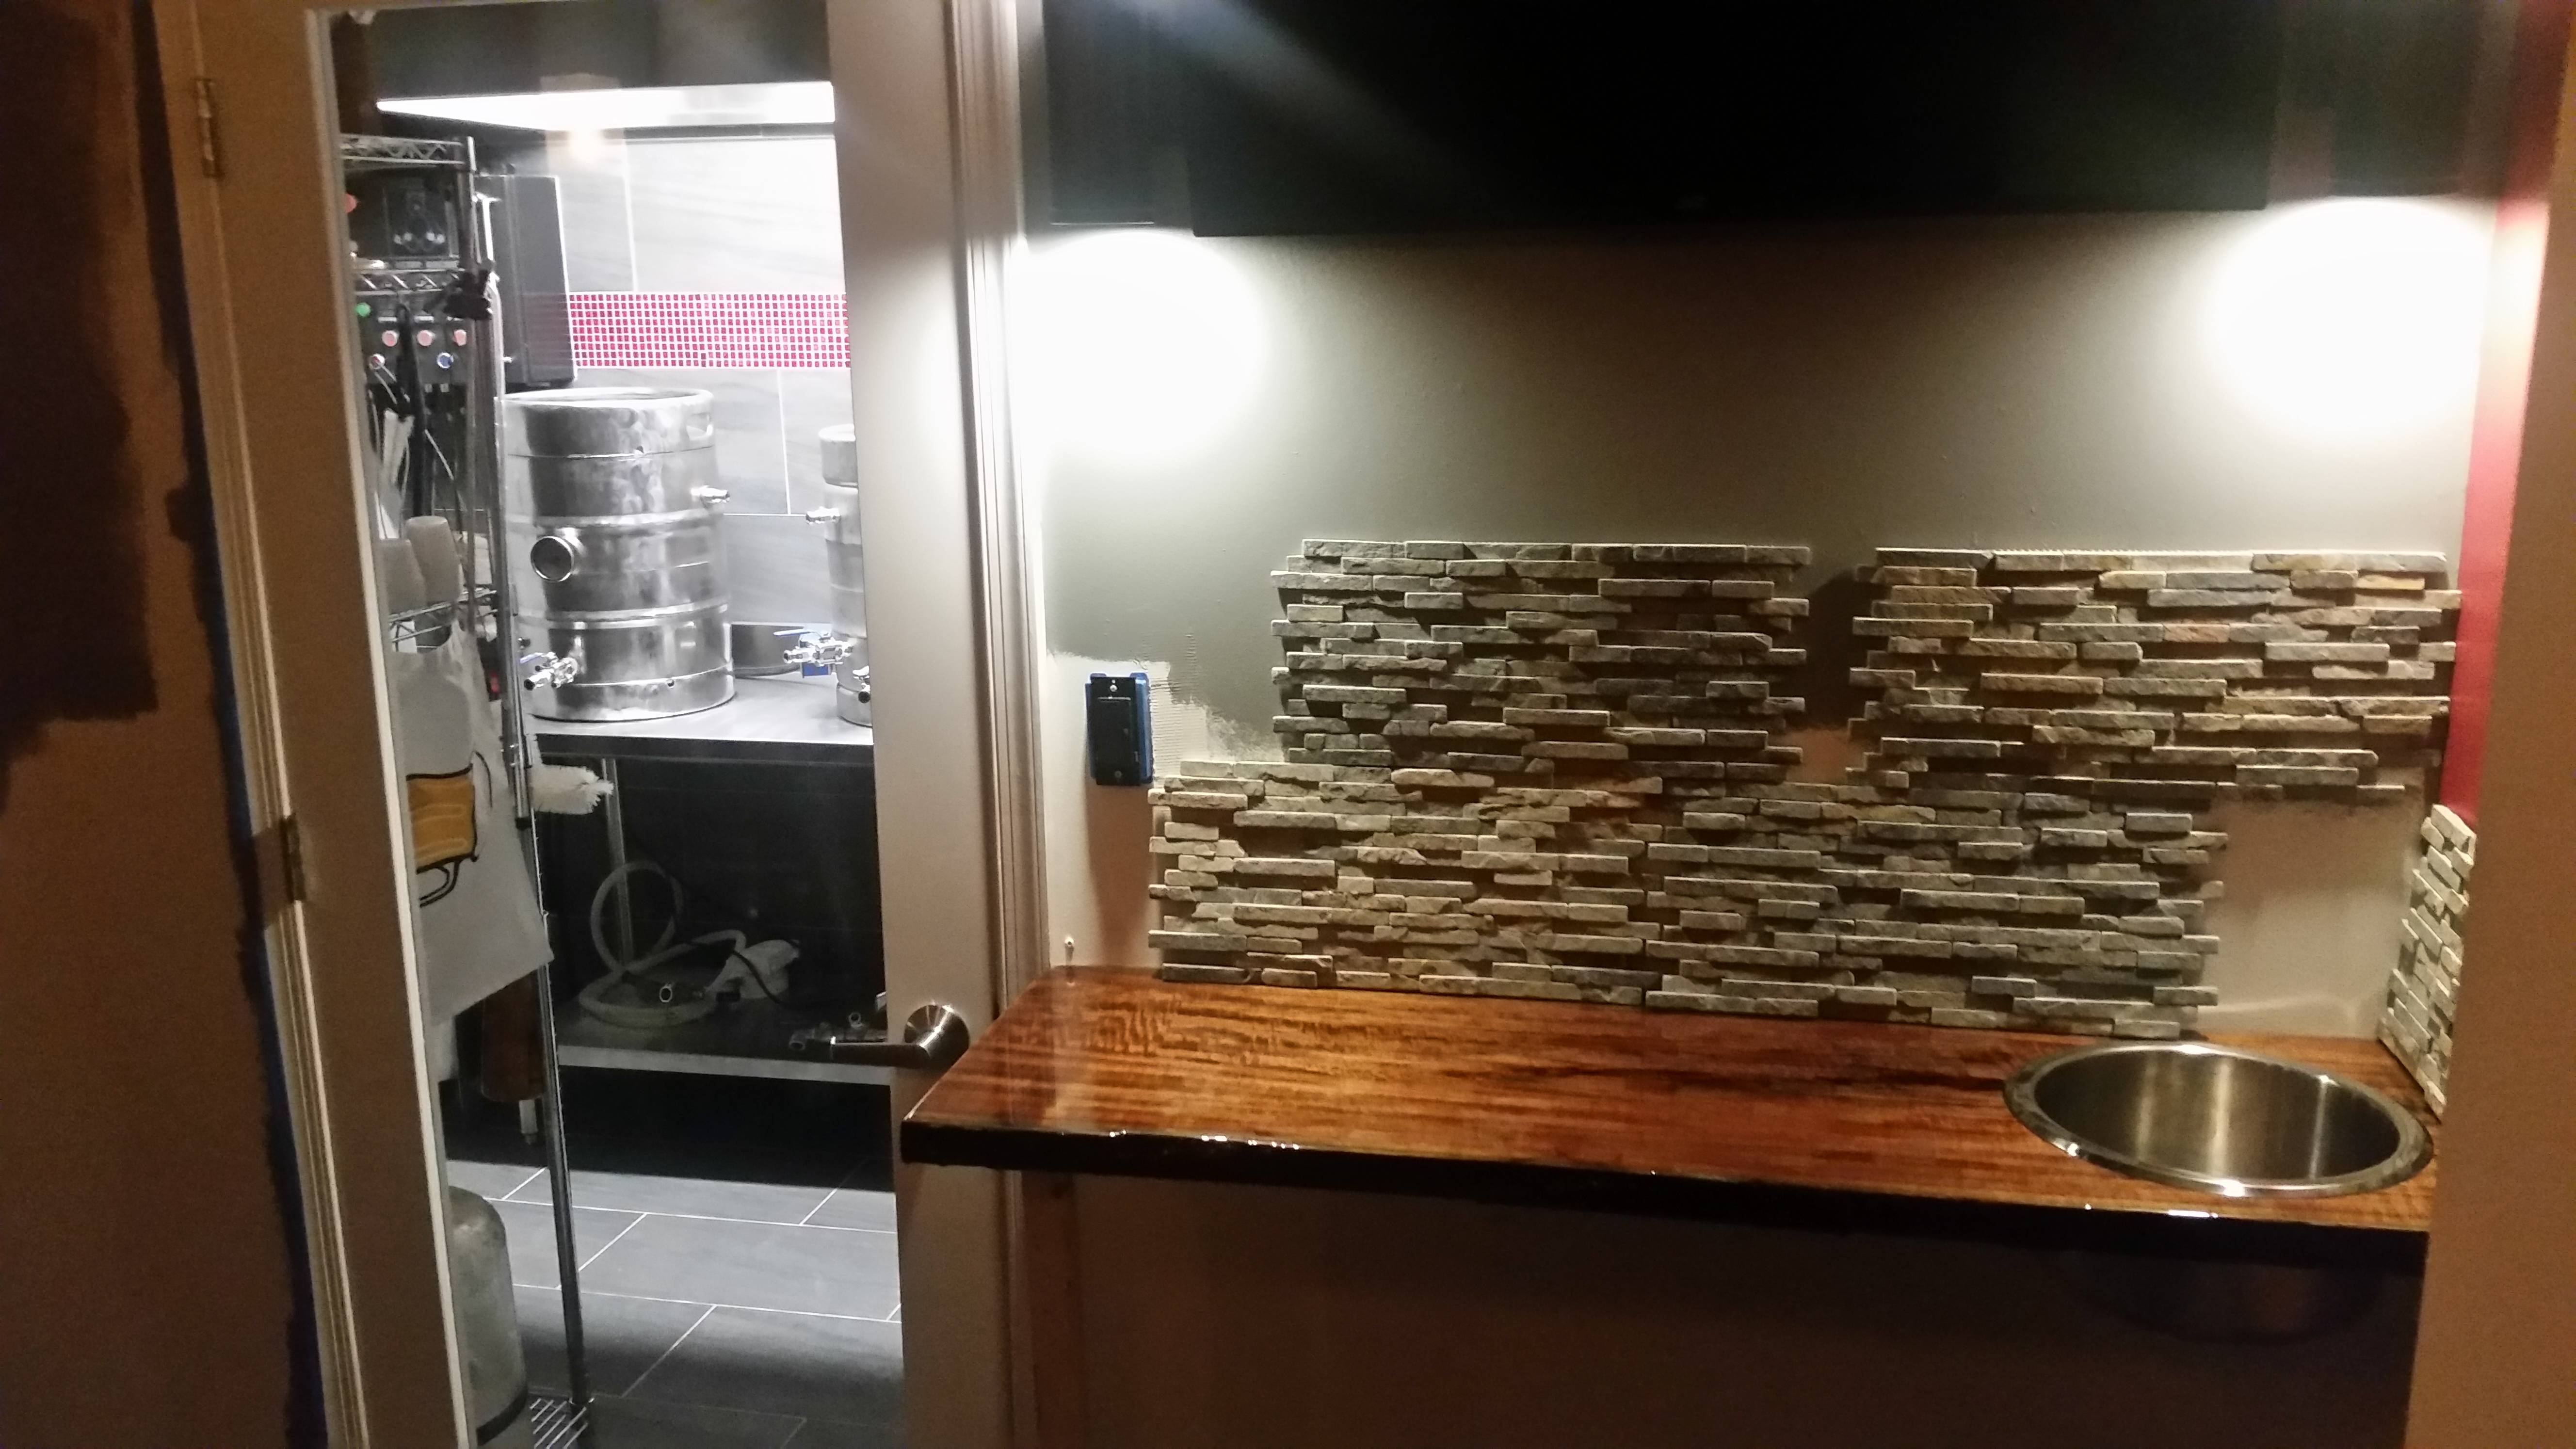
Testing out the back splash to see how it'd look.
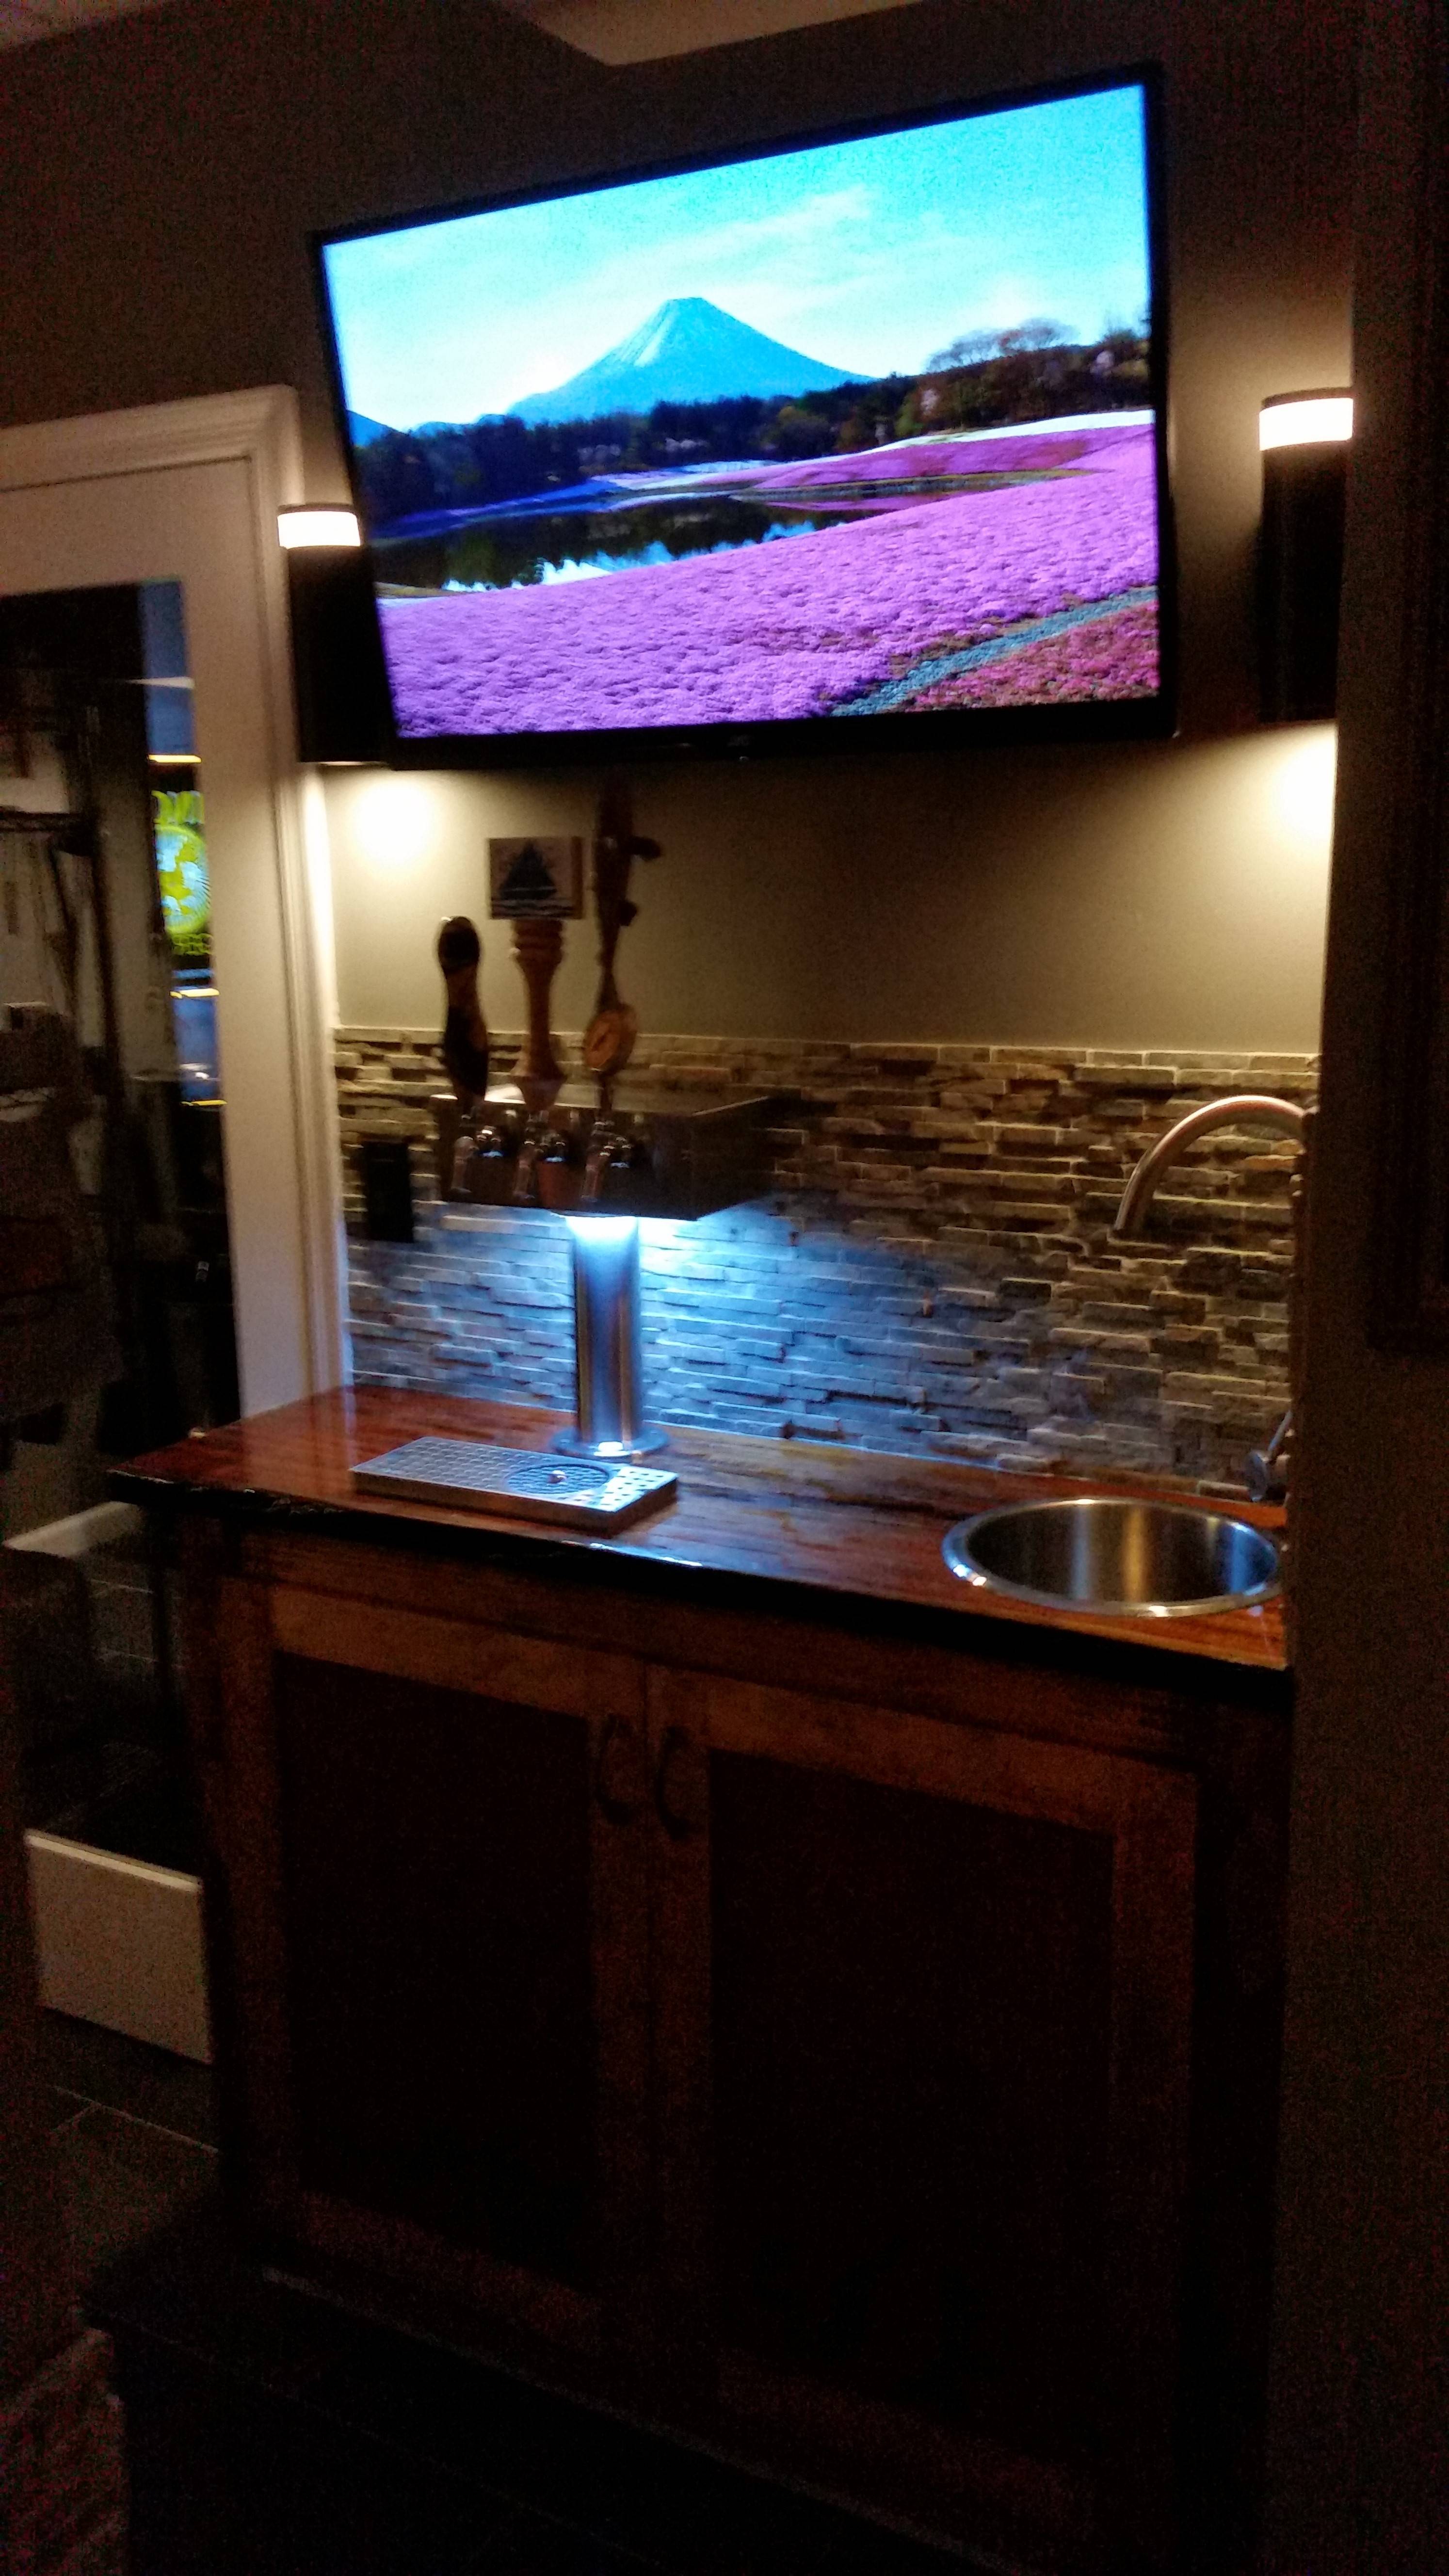
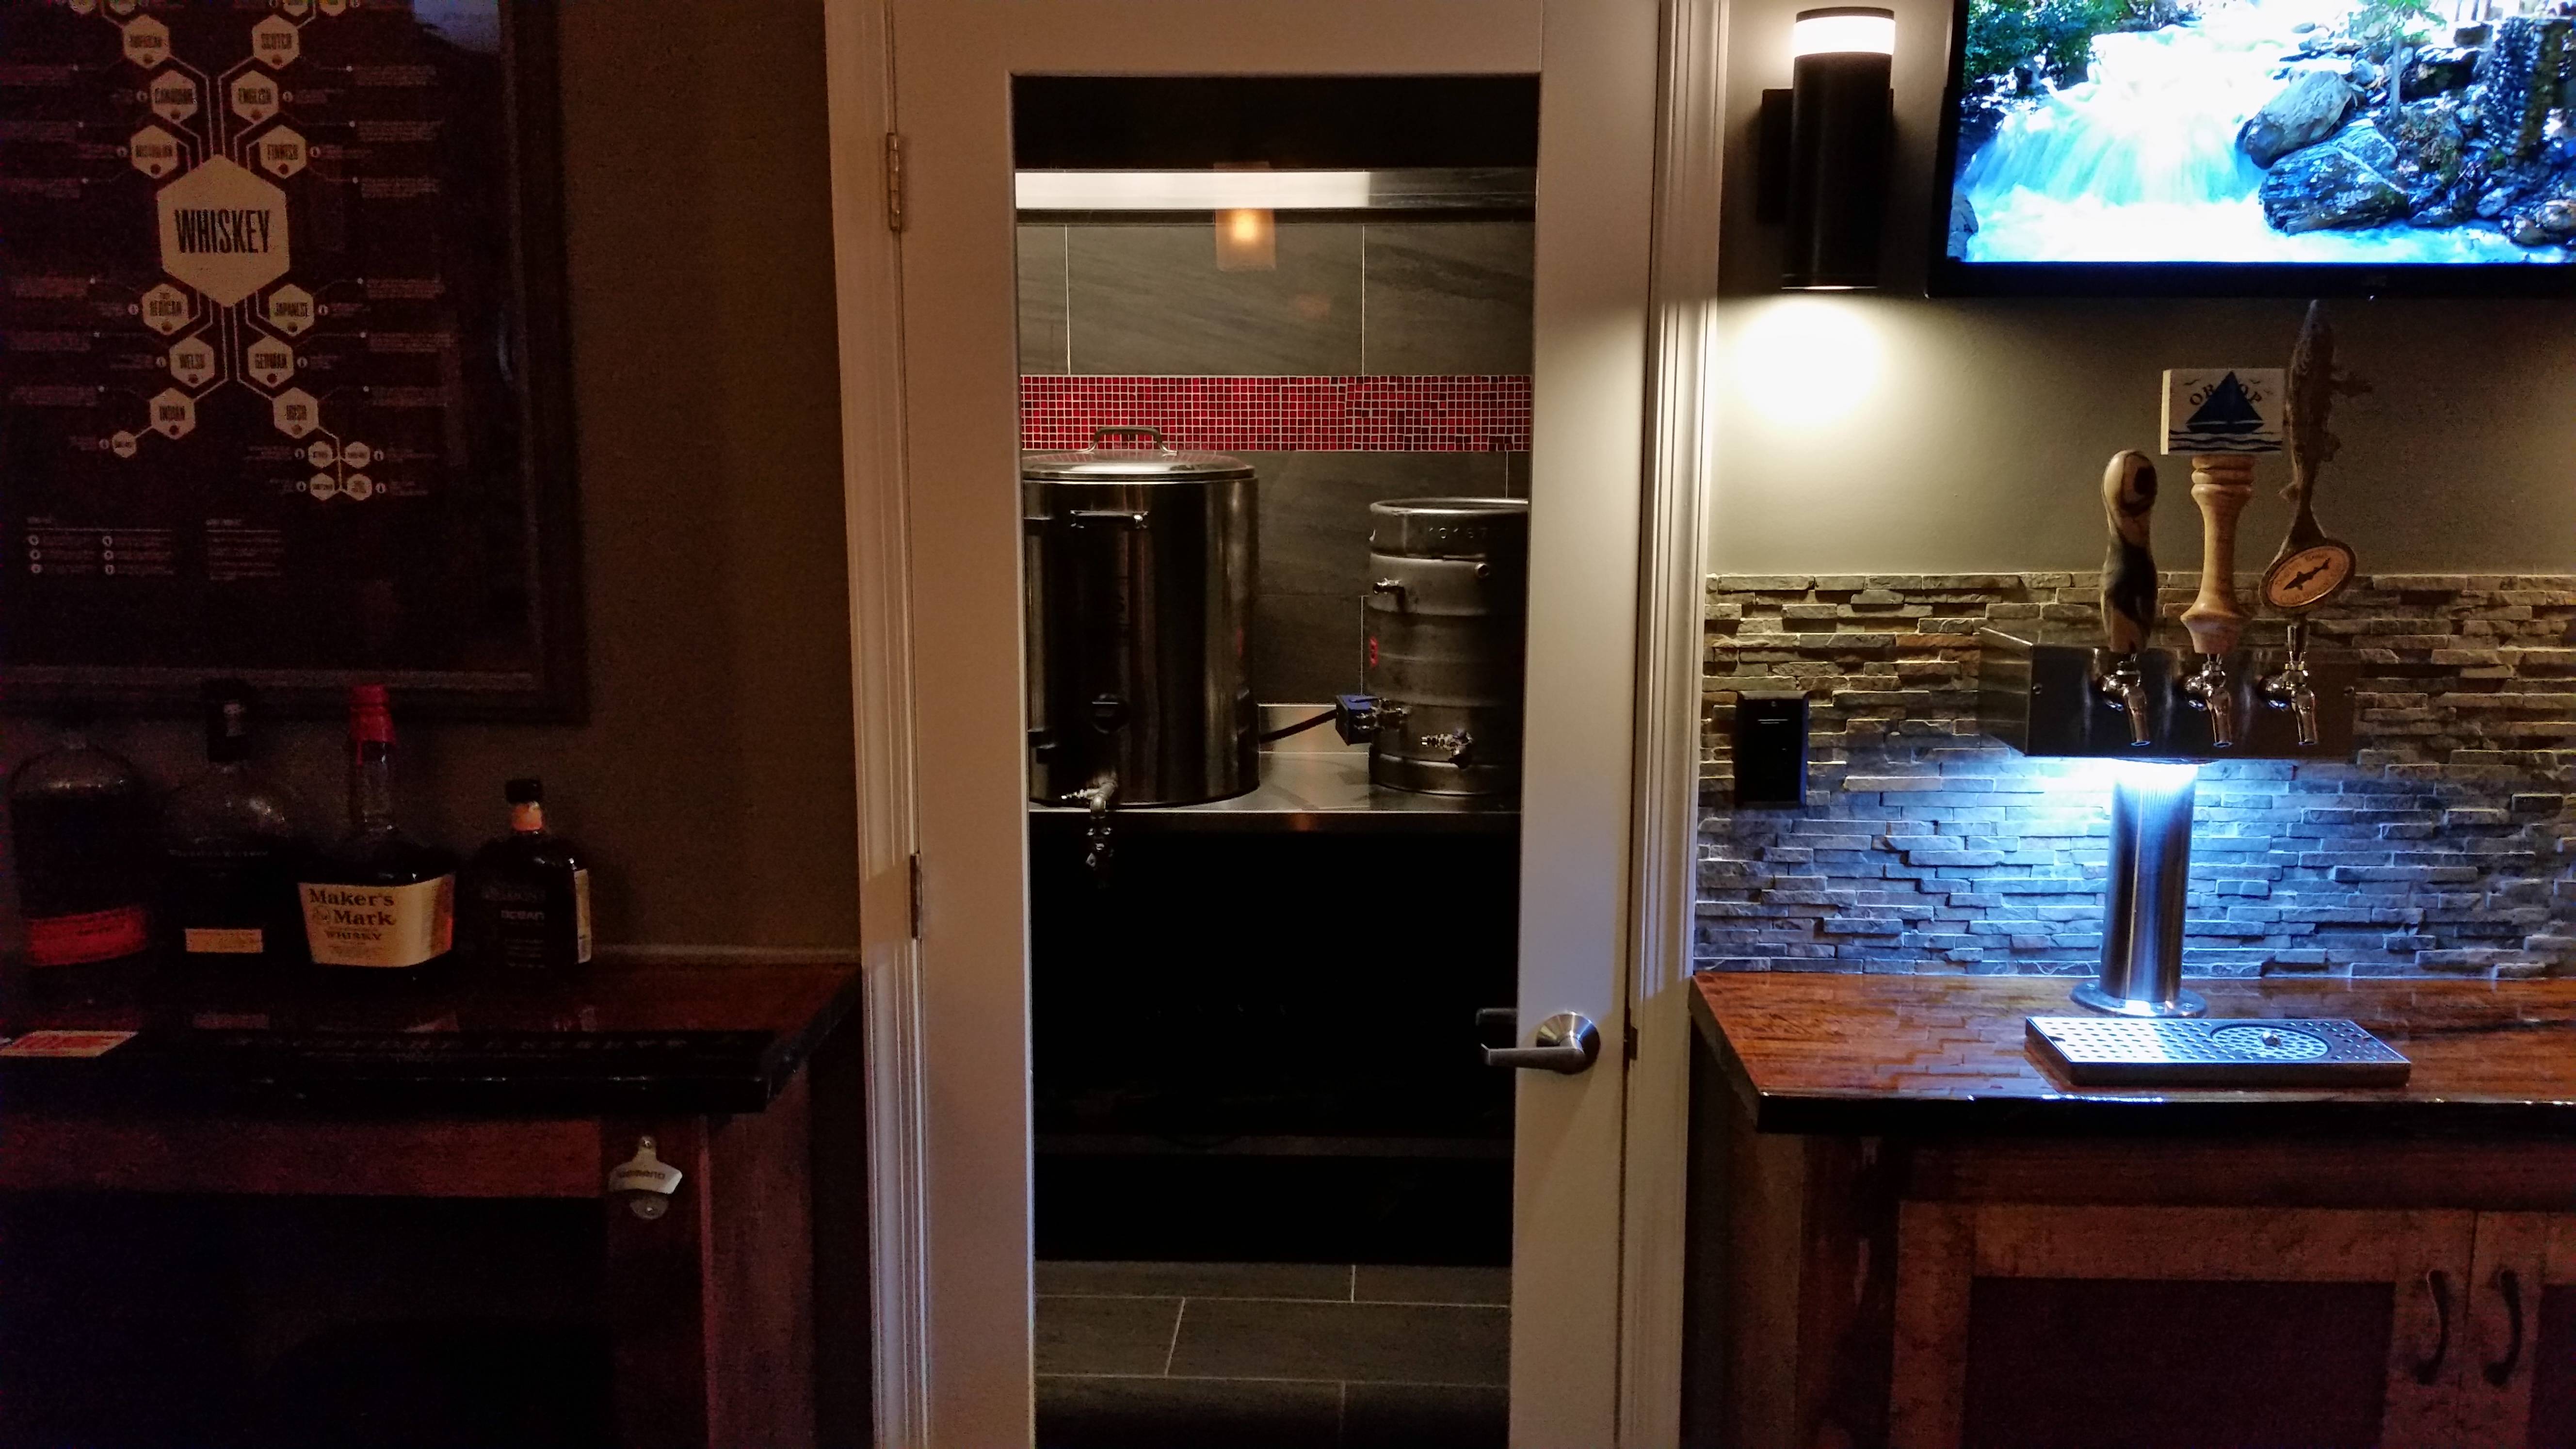
Tap tower installed with the rinser drain. Built the cabinet doors and hung them. The LEDs under the tap tower are hooked up to a hidden motion sensor so they kick on when you come downstairs, beckoning you to have a beer (or helping you see where you're going if your hands are too full to turn on a light in the dark)
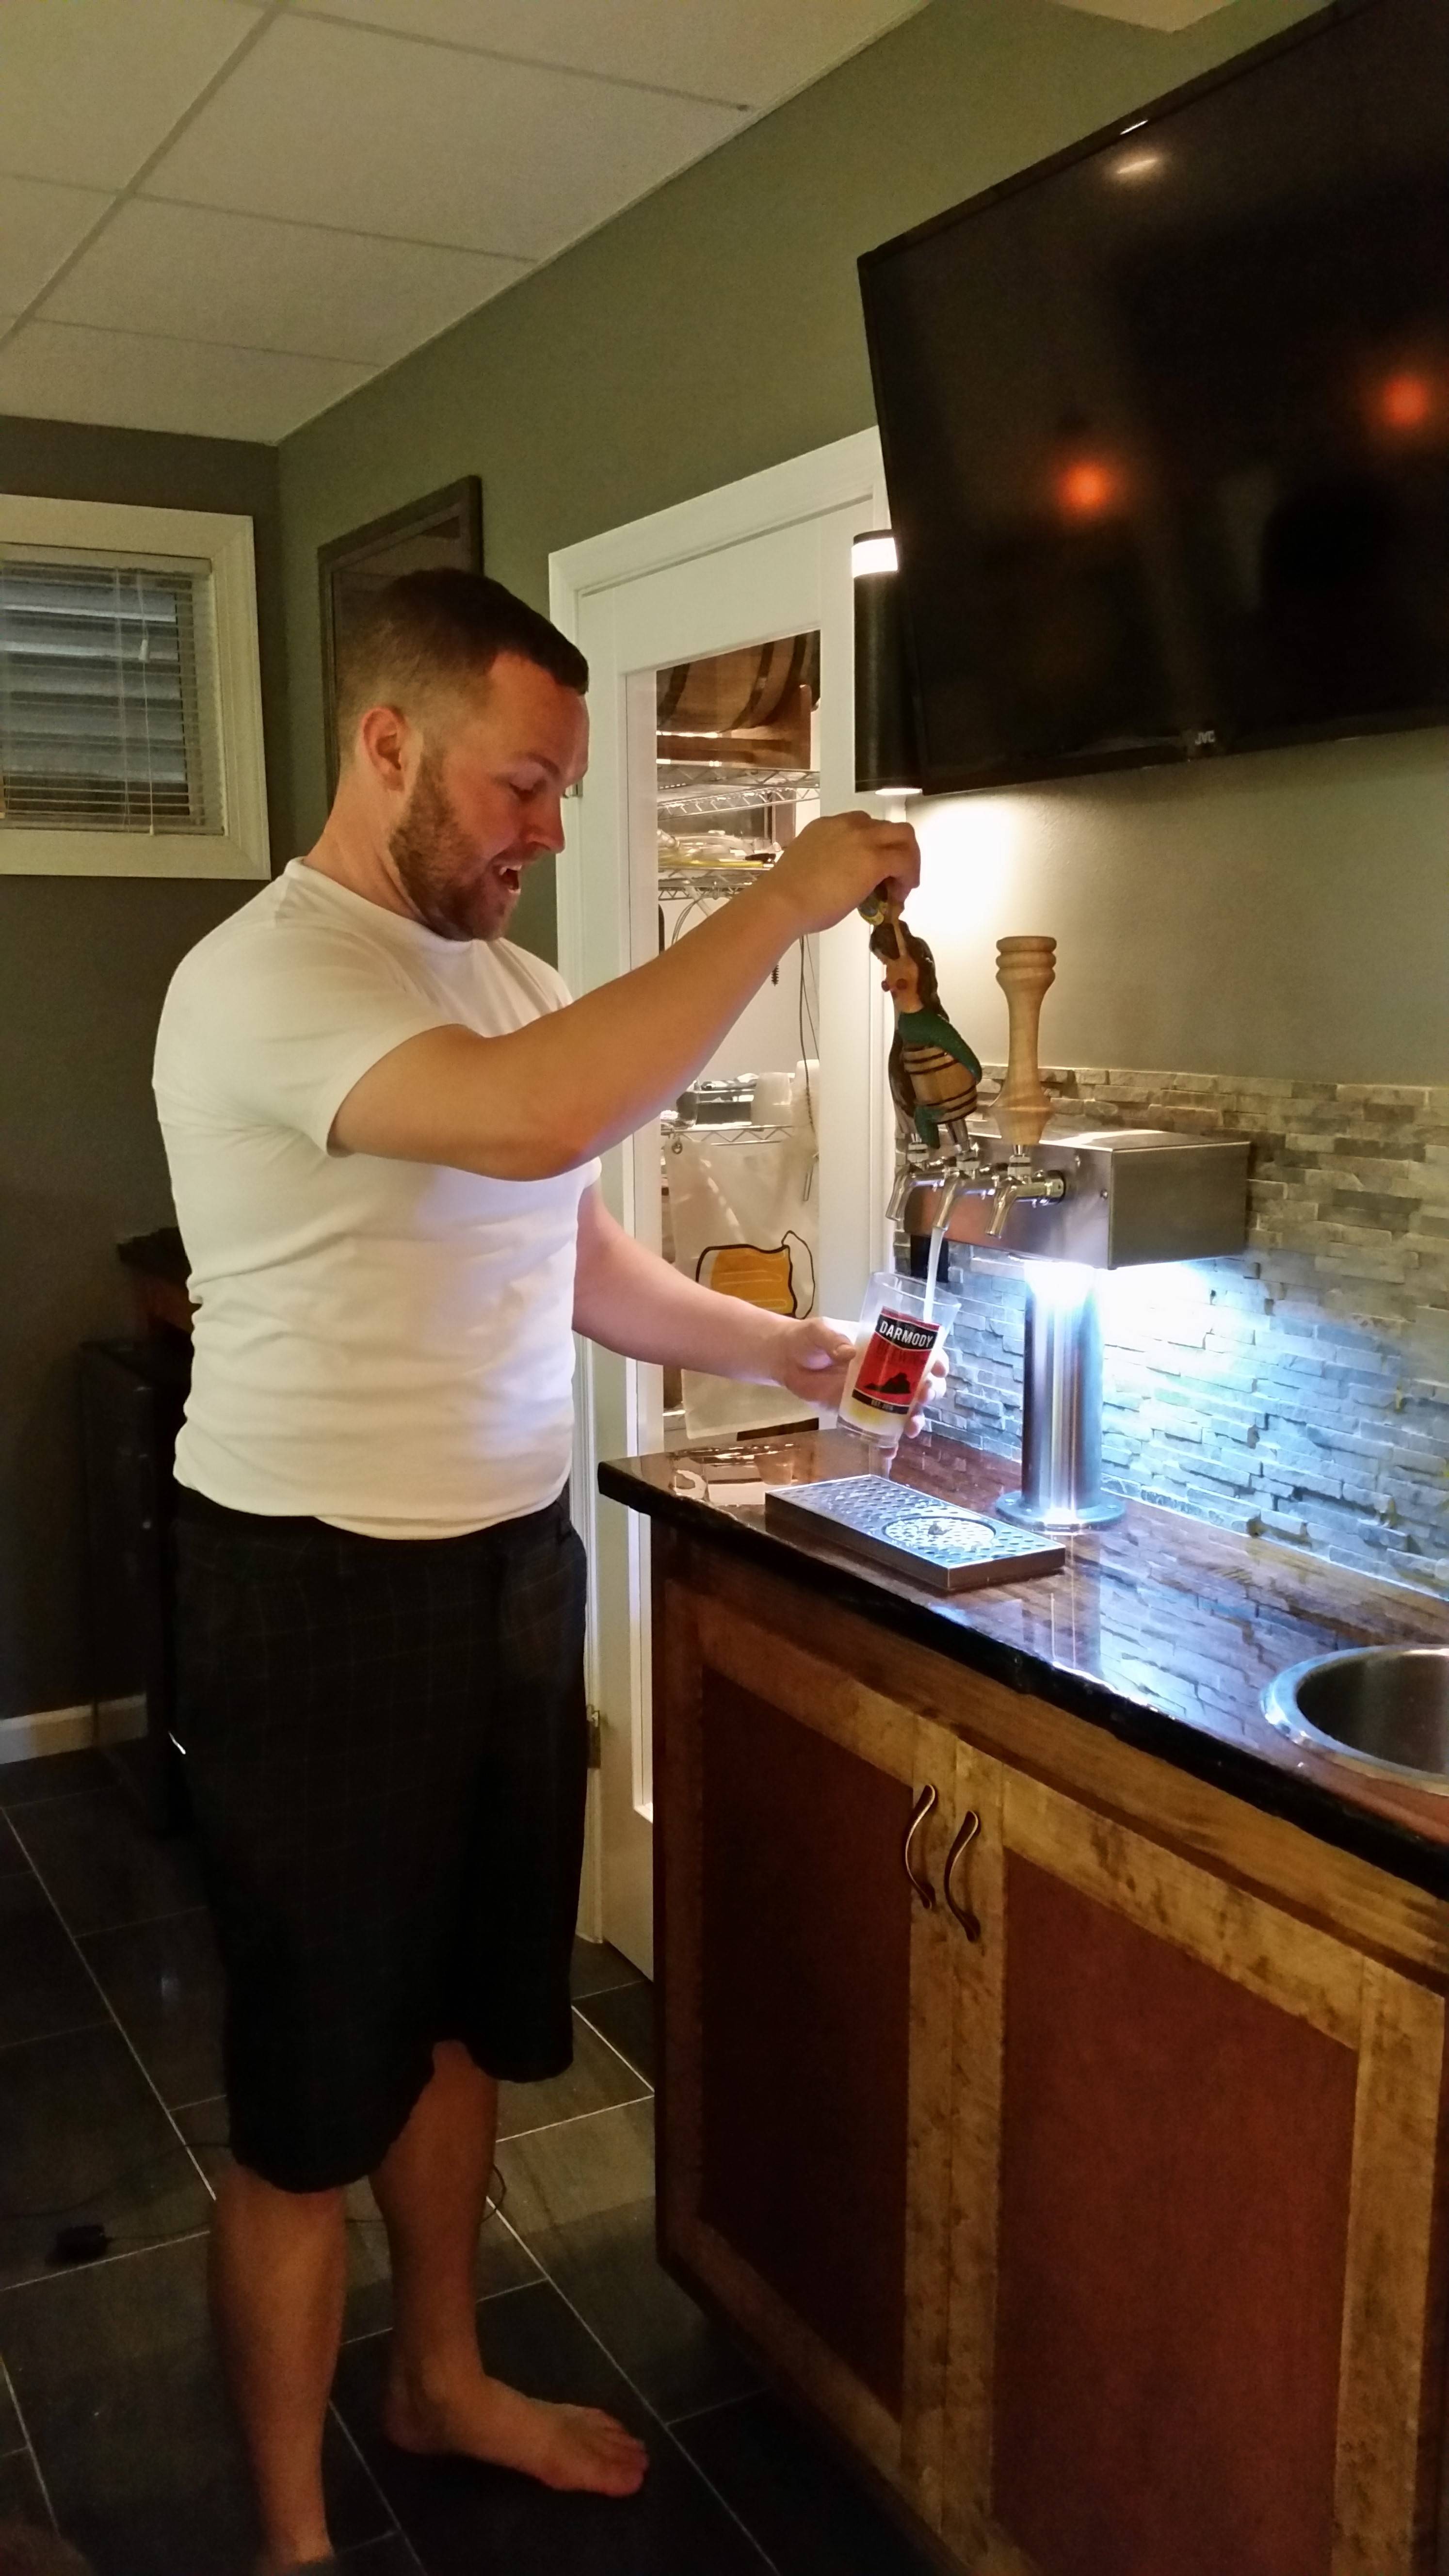
Hooked up the tap lines to a keezer on the other side of the wall and she works! First pour of the new beer on the new setup, it was glorious!
I decided I wanted active cooling for the tap tower so I built a little loop of copper pipe and ran it in the tower. I put a 2 gallon or so metal bucket in the keezer with a pond pump. The pump runs the water through the loop and back into the bucket.
No, it's not a glycol system. No, it doesn't chill it down super awesome great. Yes, the pump creates heat and makes the keezer run a bit more. I fully insulated the lines from the keezer to the tap and the tap tower itself, and you know what - it works. The tower stays cool, the first beer is always perfect and not warm or foamy, and I haven't noticed any loss of performance in the keezer.
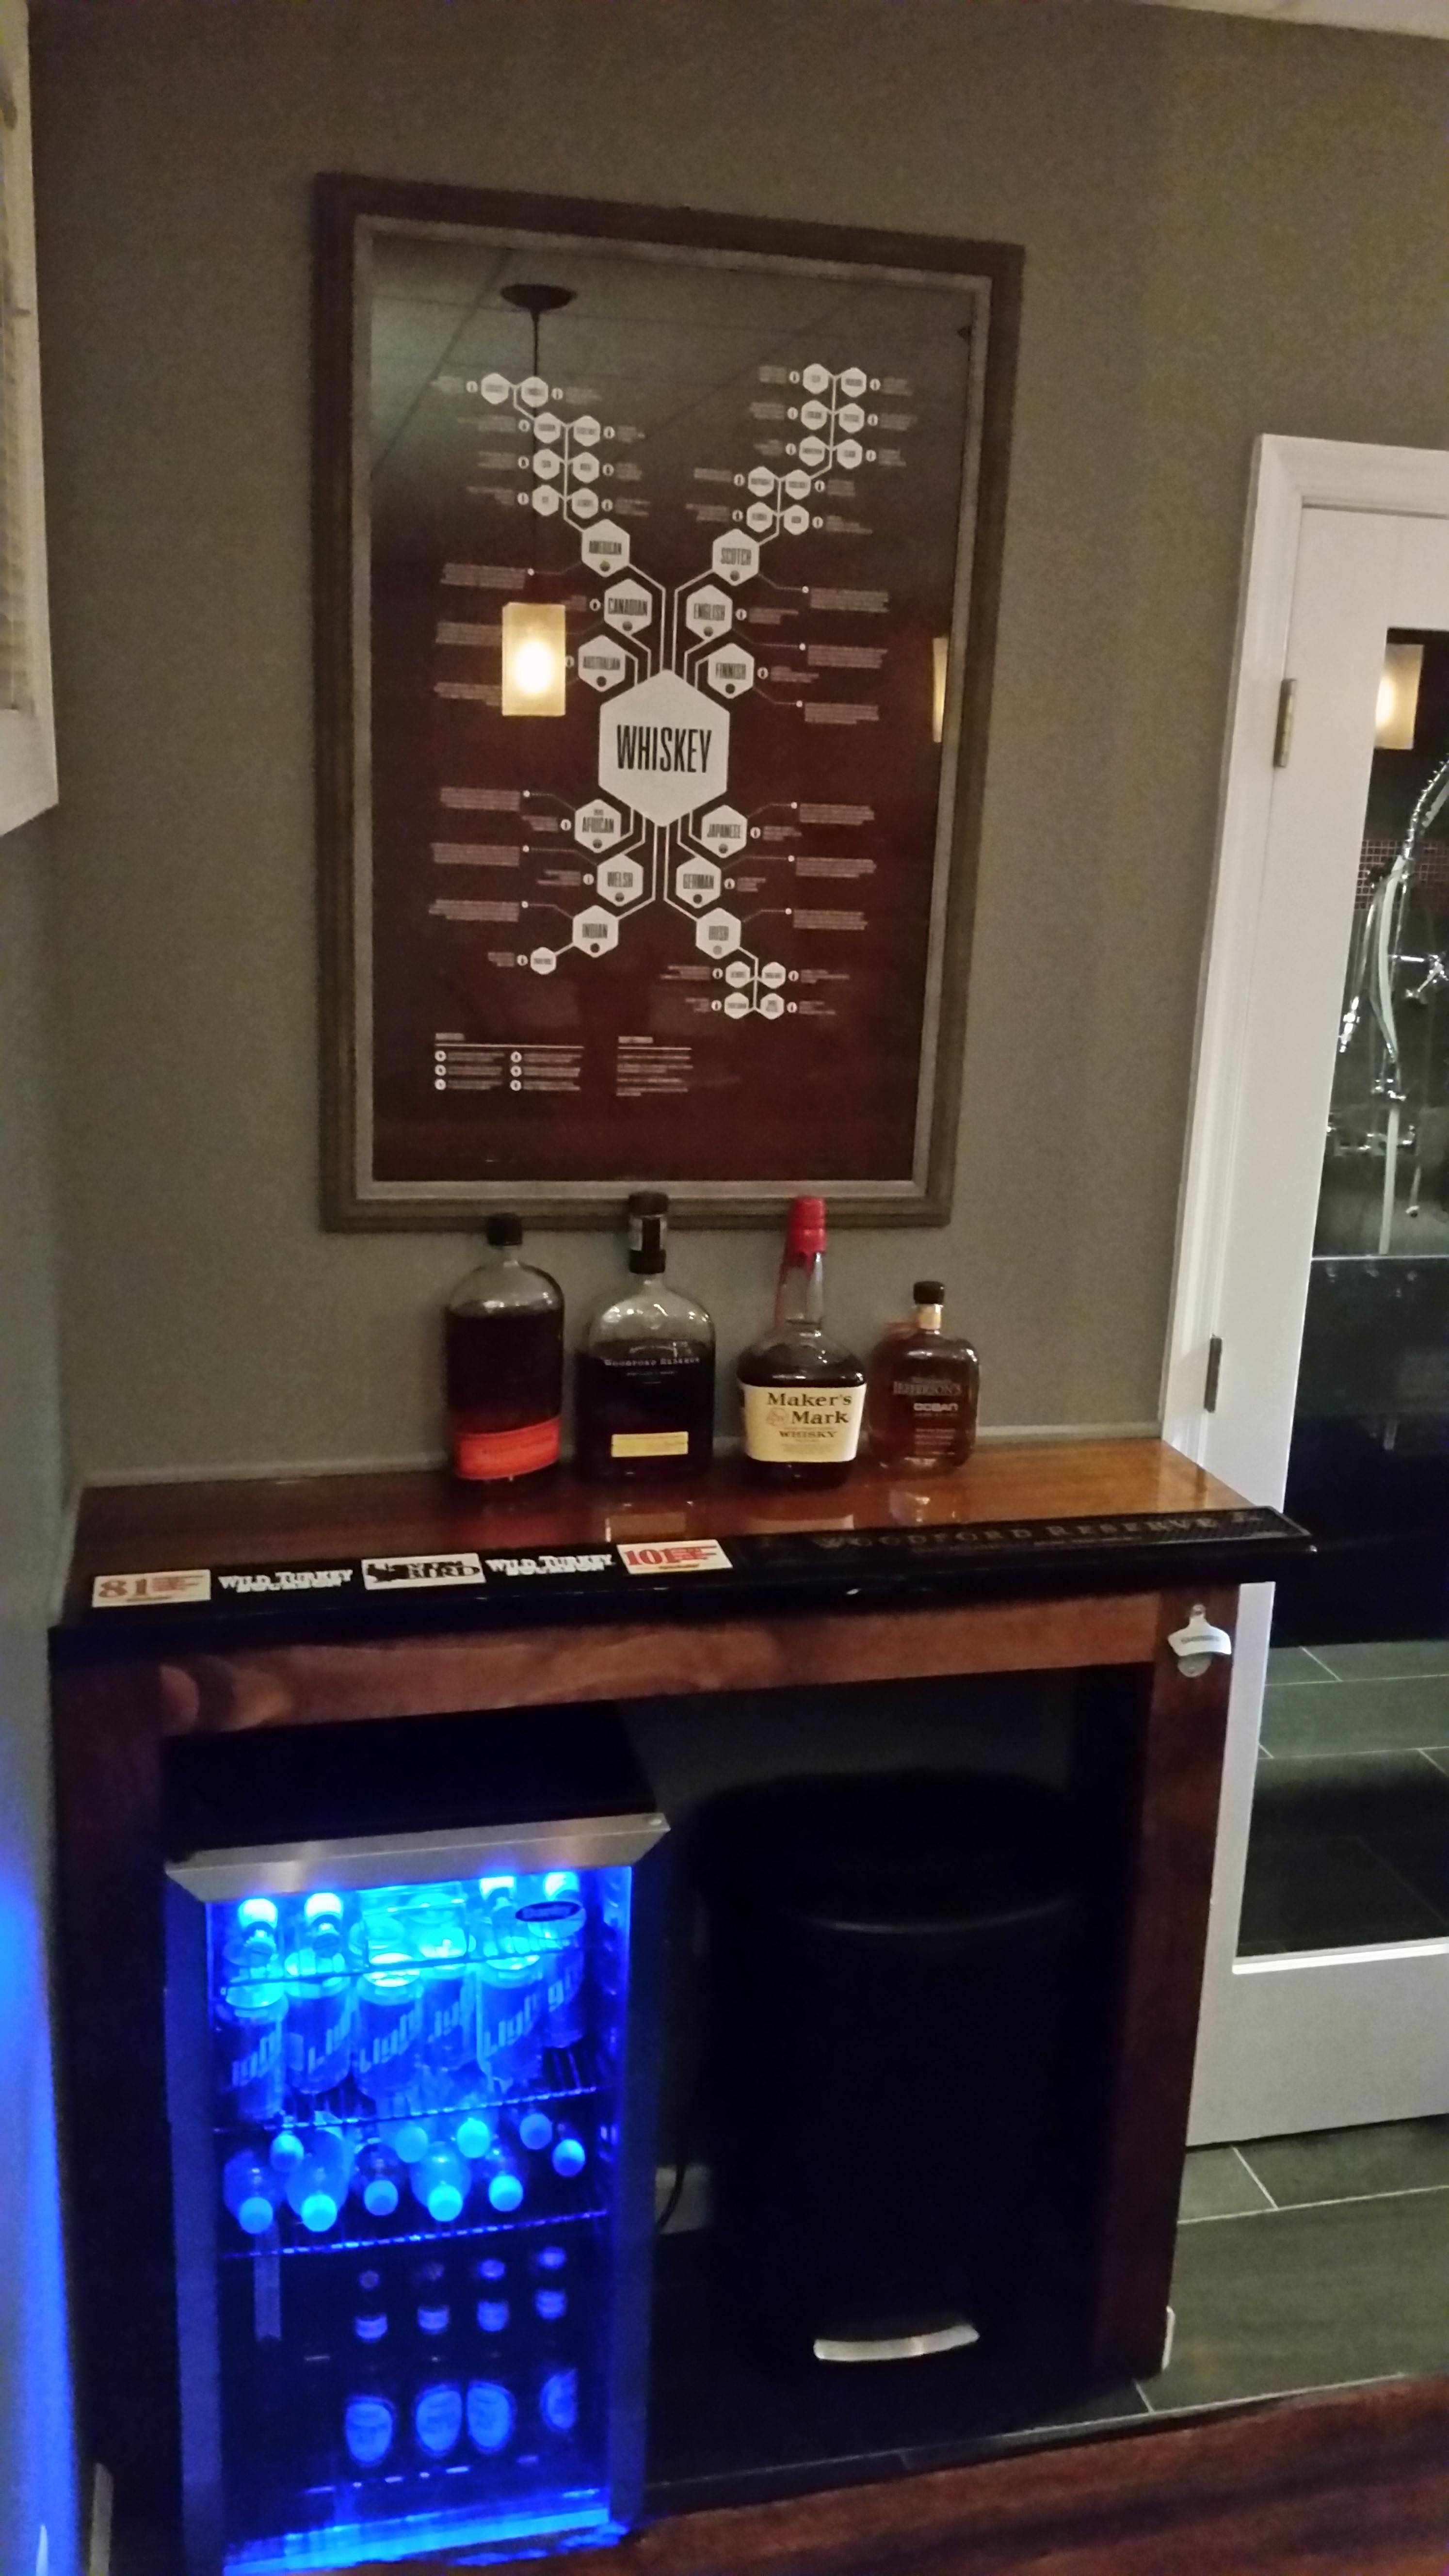
Finished the other side of the back bar and threw in the fridge and a trash can.
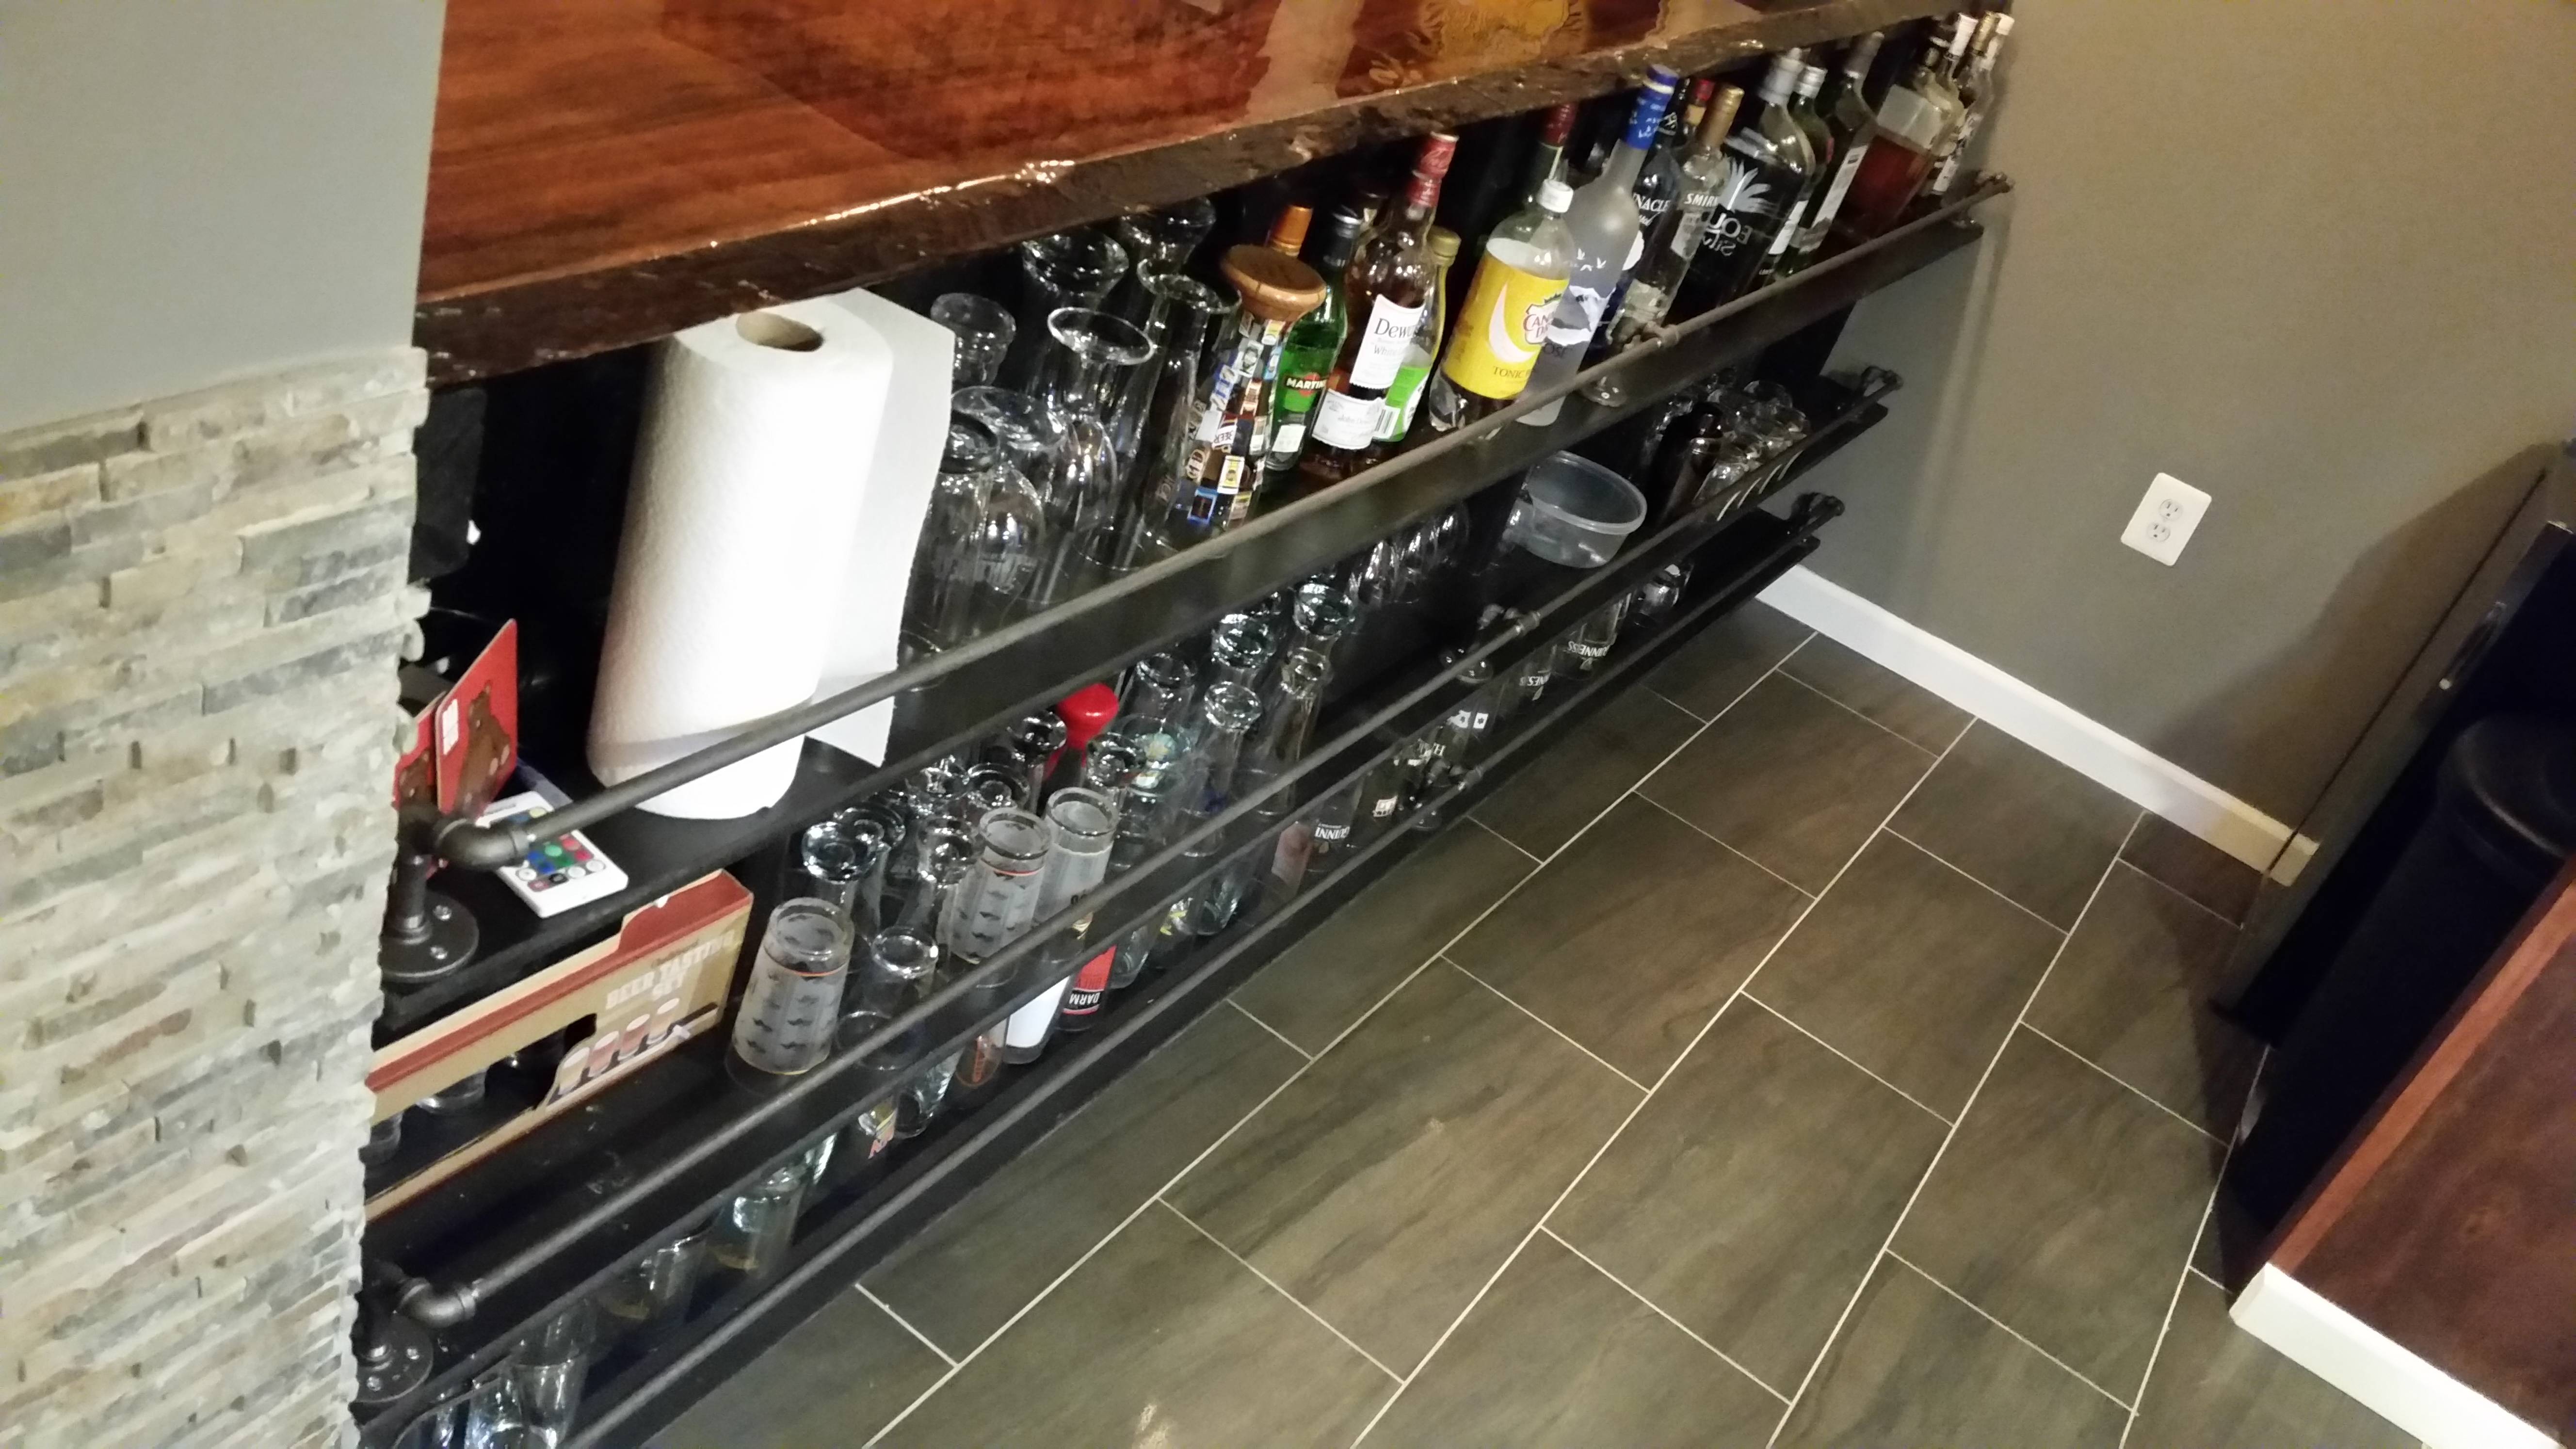
Some shelving behind the bar with a little rail to keep the dogs from knocking off bottles or glassware
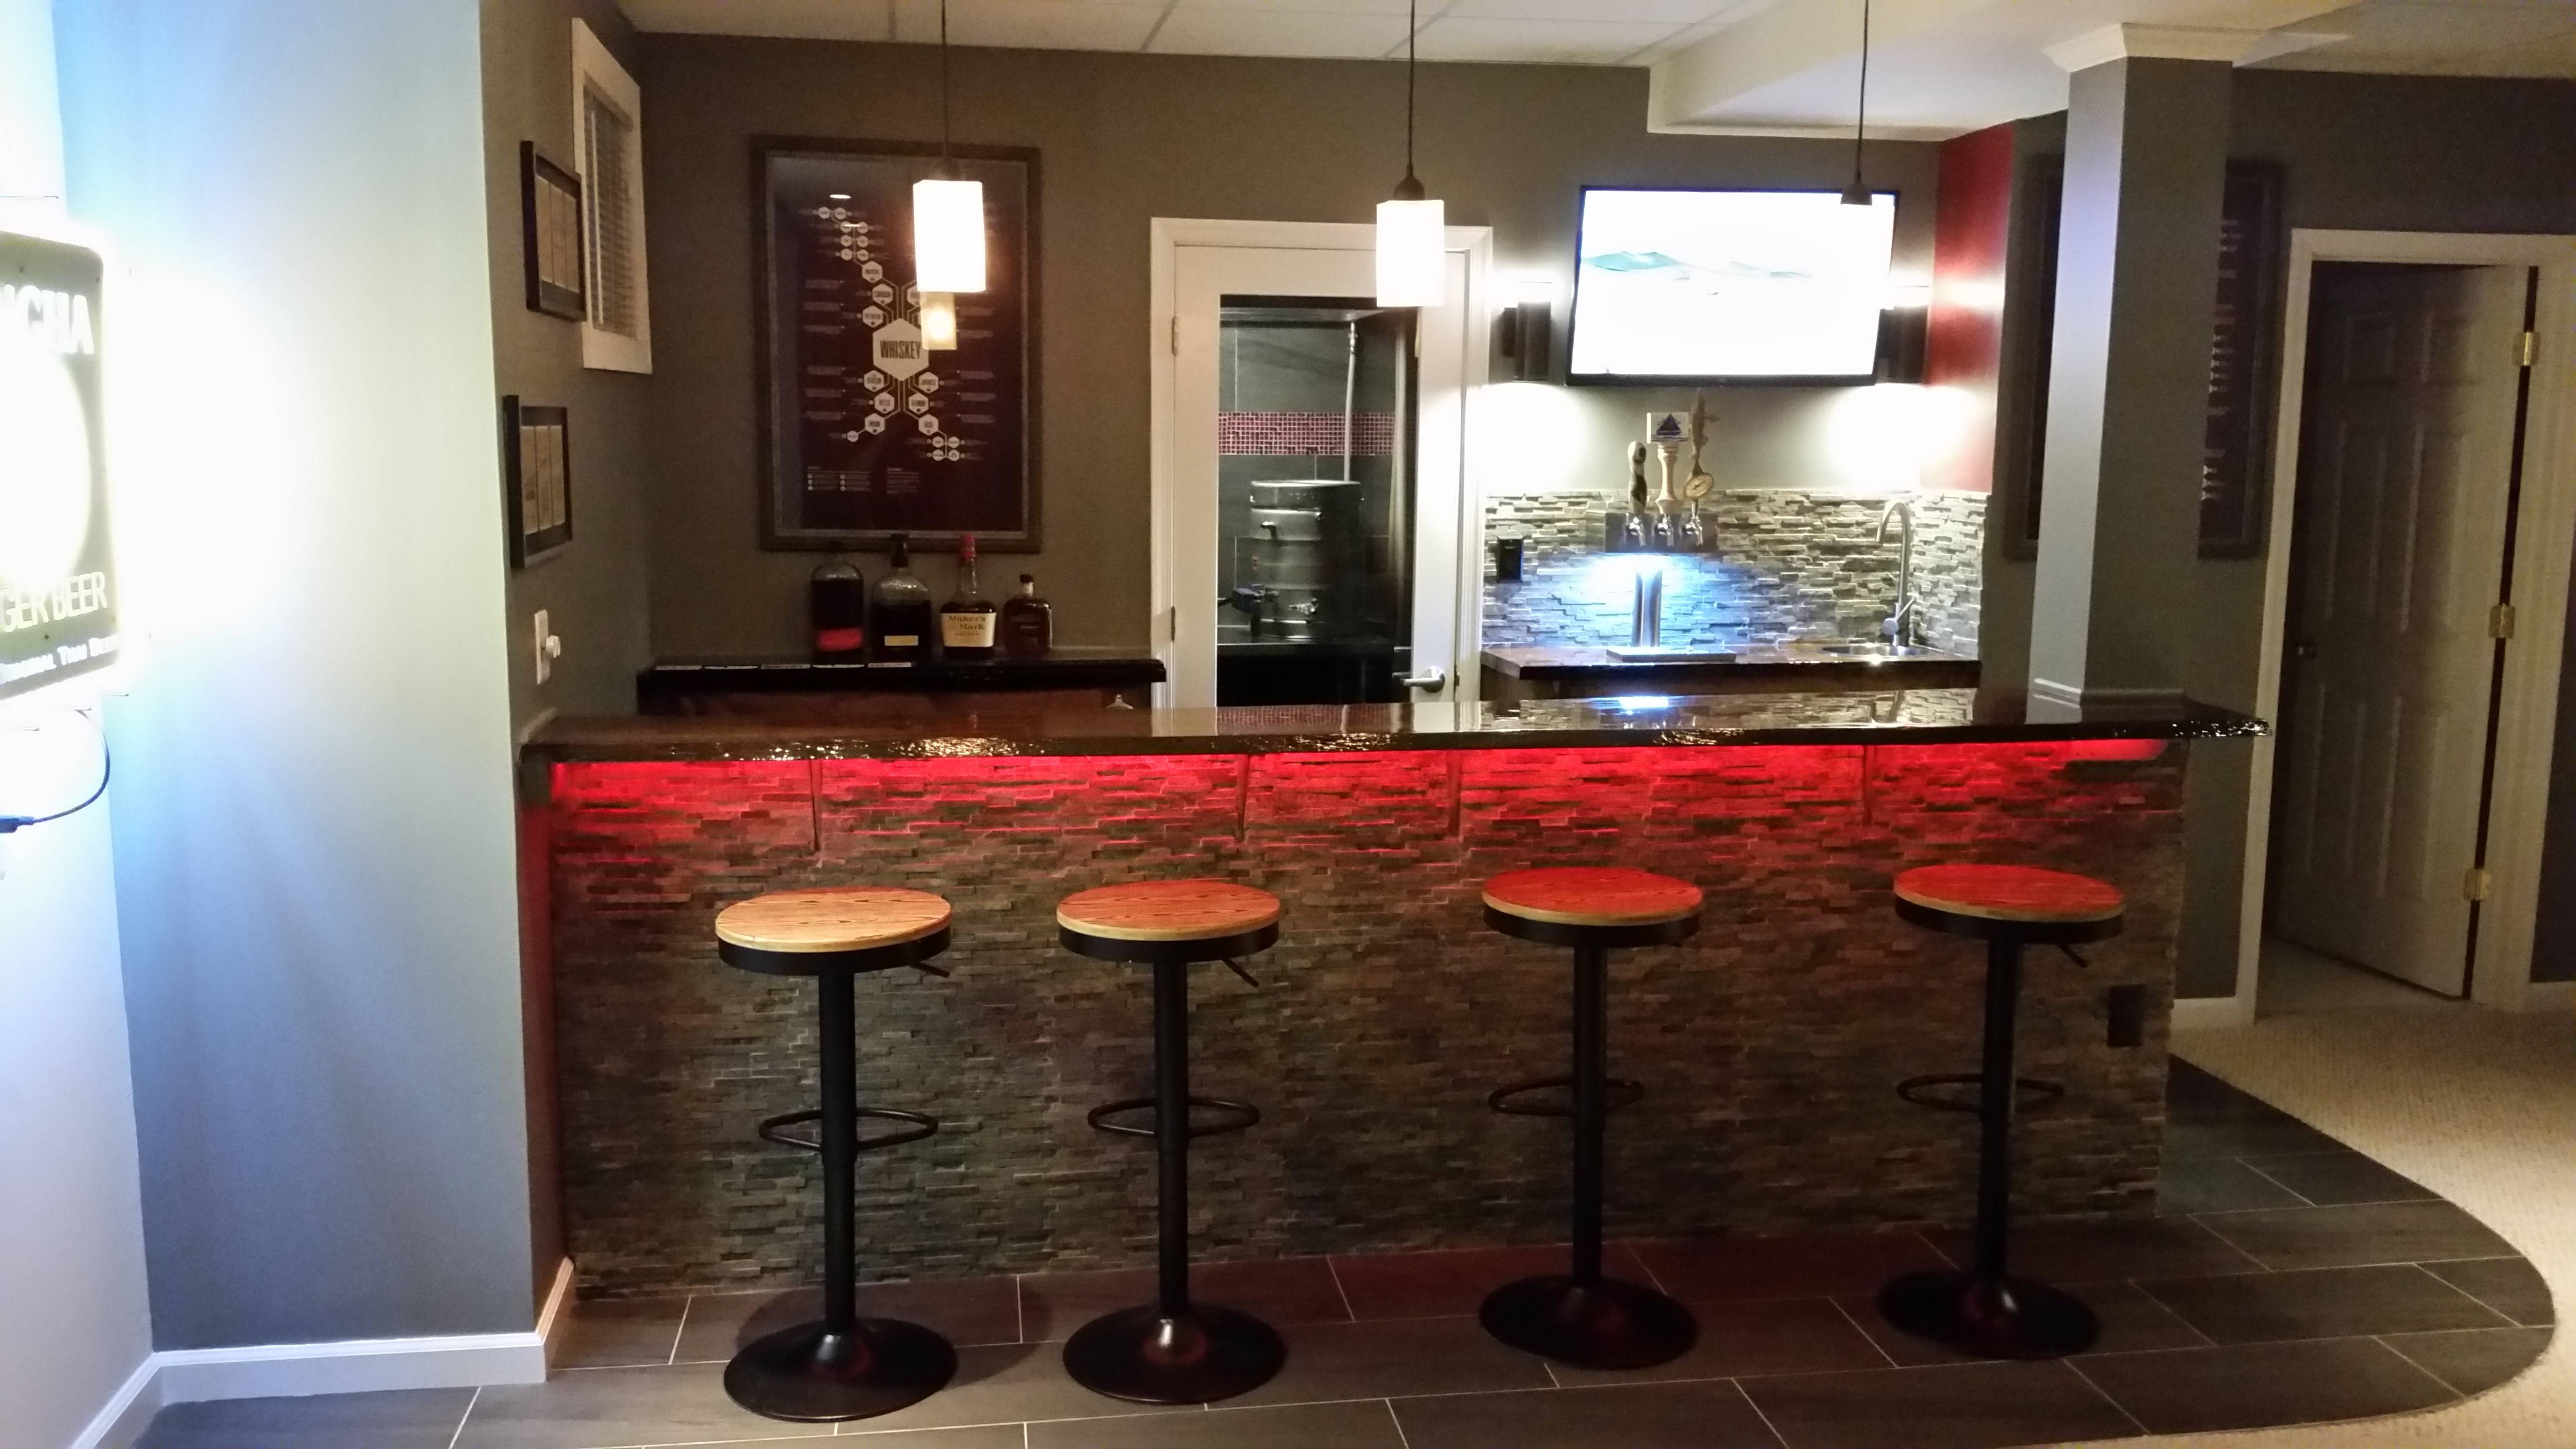
And she's done. We had the wedding in the back yard but the bridal party hung out at the bar for quite a bit, as did most of the guests by the end of the night. It was a ton of work (6 months in the end), cost more than it should have, and I learned a lot. But now I have the best bar and brewery I could ask for!
It's always happy hour so come on by! Thanks for checking out my build.
If there are any specific questions on how I did something, I'm happy to chime in.-Kevin
Last edited:


![Craft A Brew - Safale S-04 Dry Yeast - Fermentis - English Ale Dry Yeast - For English and American Ales and Hard Apple Ciders - Ingredients for Home Brewing - Beer Making Supplies - [1 Pack]](https://m.media-amazon.com/images/I/41fVGNh6JfL._SL500_.jpg)


