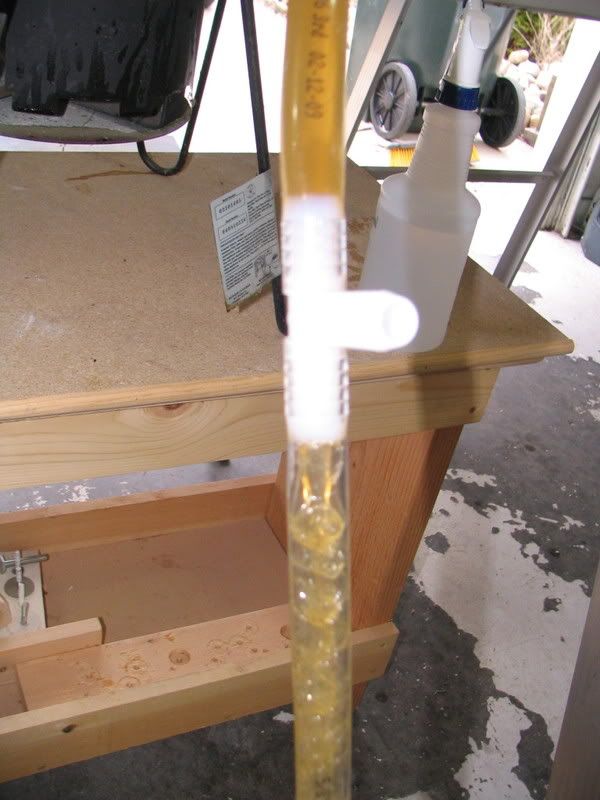
If you want to get fancy take that hour glass I posted above and cut off the tubing at the ends 2" to 3" beyond at the normal diameter area. Inside these tubing ends press in a 1" long piece of brass tubing that will have a press fit at both ends, (hardware or hobby section has thin wall model brass tubing). This to prevent the tubing from getting compressed to a smaller diameter at the next step. Add a tight fitting piece of tubing 1" long over the main hour glass piece at each end.
Over the full length of the whole hour glass part plus over the 1" pieces added to the ends of the hour glass add a piece of tubing that fits tightly around the 1" long end sleeves, later there will be clamps added but not yet. At the hour glass center section there should be a space between the reduced hour glass tubing and the outside tubing covering the whole hour glass over the full length. Take a thin head brass screw like a 10-32 thread (0.1960" OD) then solder on a small brass washer allowing for a larger head diameter, (this to prevent pulling the brass headed screw thru the vinyl tubing hole). This screw with a 3/8" long thread with the center drilled with a 0.030" hole thru the center. Cut or burn a small hole for this brass screw to pass from the inside of the outside tube with the thread sticking out. Off this outside thread add a brass fitting with a 10-32 thread at one end with a brass washer plus drilled thru the center with a 0.030" diameter hole. On the other end a nipple to the diameter to your liking then add the end clamps. Use a regulator with low pressure O2 off a bottle with the pressure set less than what you your pump pressure will be to prevent O2 from backing up stream against the pump. This way you will inject 100% O2 into the wort vs sucking 20.95% oxygen, 78.08% nitrogen, .038% carbon dioxide plus other rare earth gases and crap. Which gas would you like your little yeasties to feed off? Call me cheap or a DIY person. I'm off my podium now unless you can afford a sight glass with a O2 injection system for your wort or go back to basics with a stainless steel stone, tubing and O2 from a welding bottle.


![Craft A Brew - Safale S-04 Dry Yeast - Fermentis - English Ale Dry Yeast - For English and American Ales and Hard Apple Ciders - Ingredients for Home Brewing - Beer Making Supplies - [1 Pack]](https://m.media-amazon.com/images/I/41fVGNh6JfL._SL500_.jpg)