
stageseven
Well-Known Member
I started this project a little over 3 years ago, but it took a back seat right after tearing everything apart. A couple months ago I finally started putting the shambles of my basement back together, and am very nearly done so I feel better about sharing with you all. Enjoy!
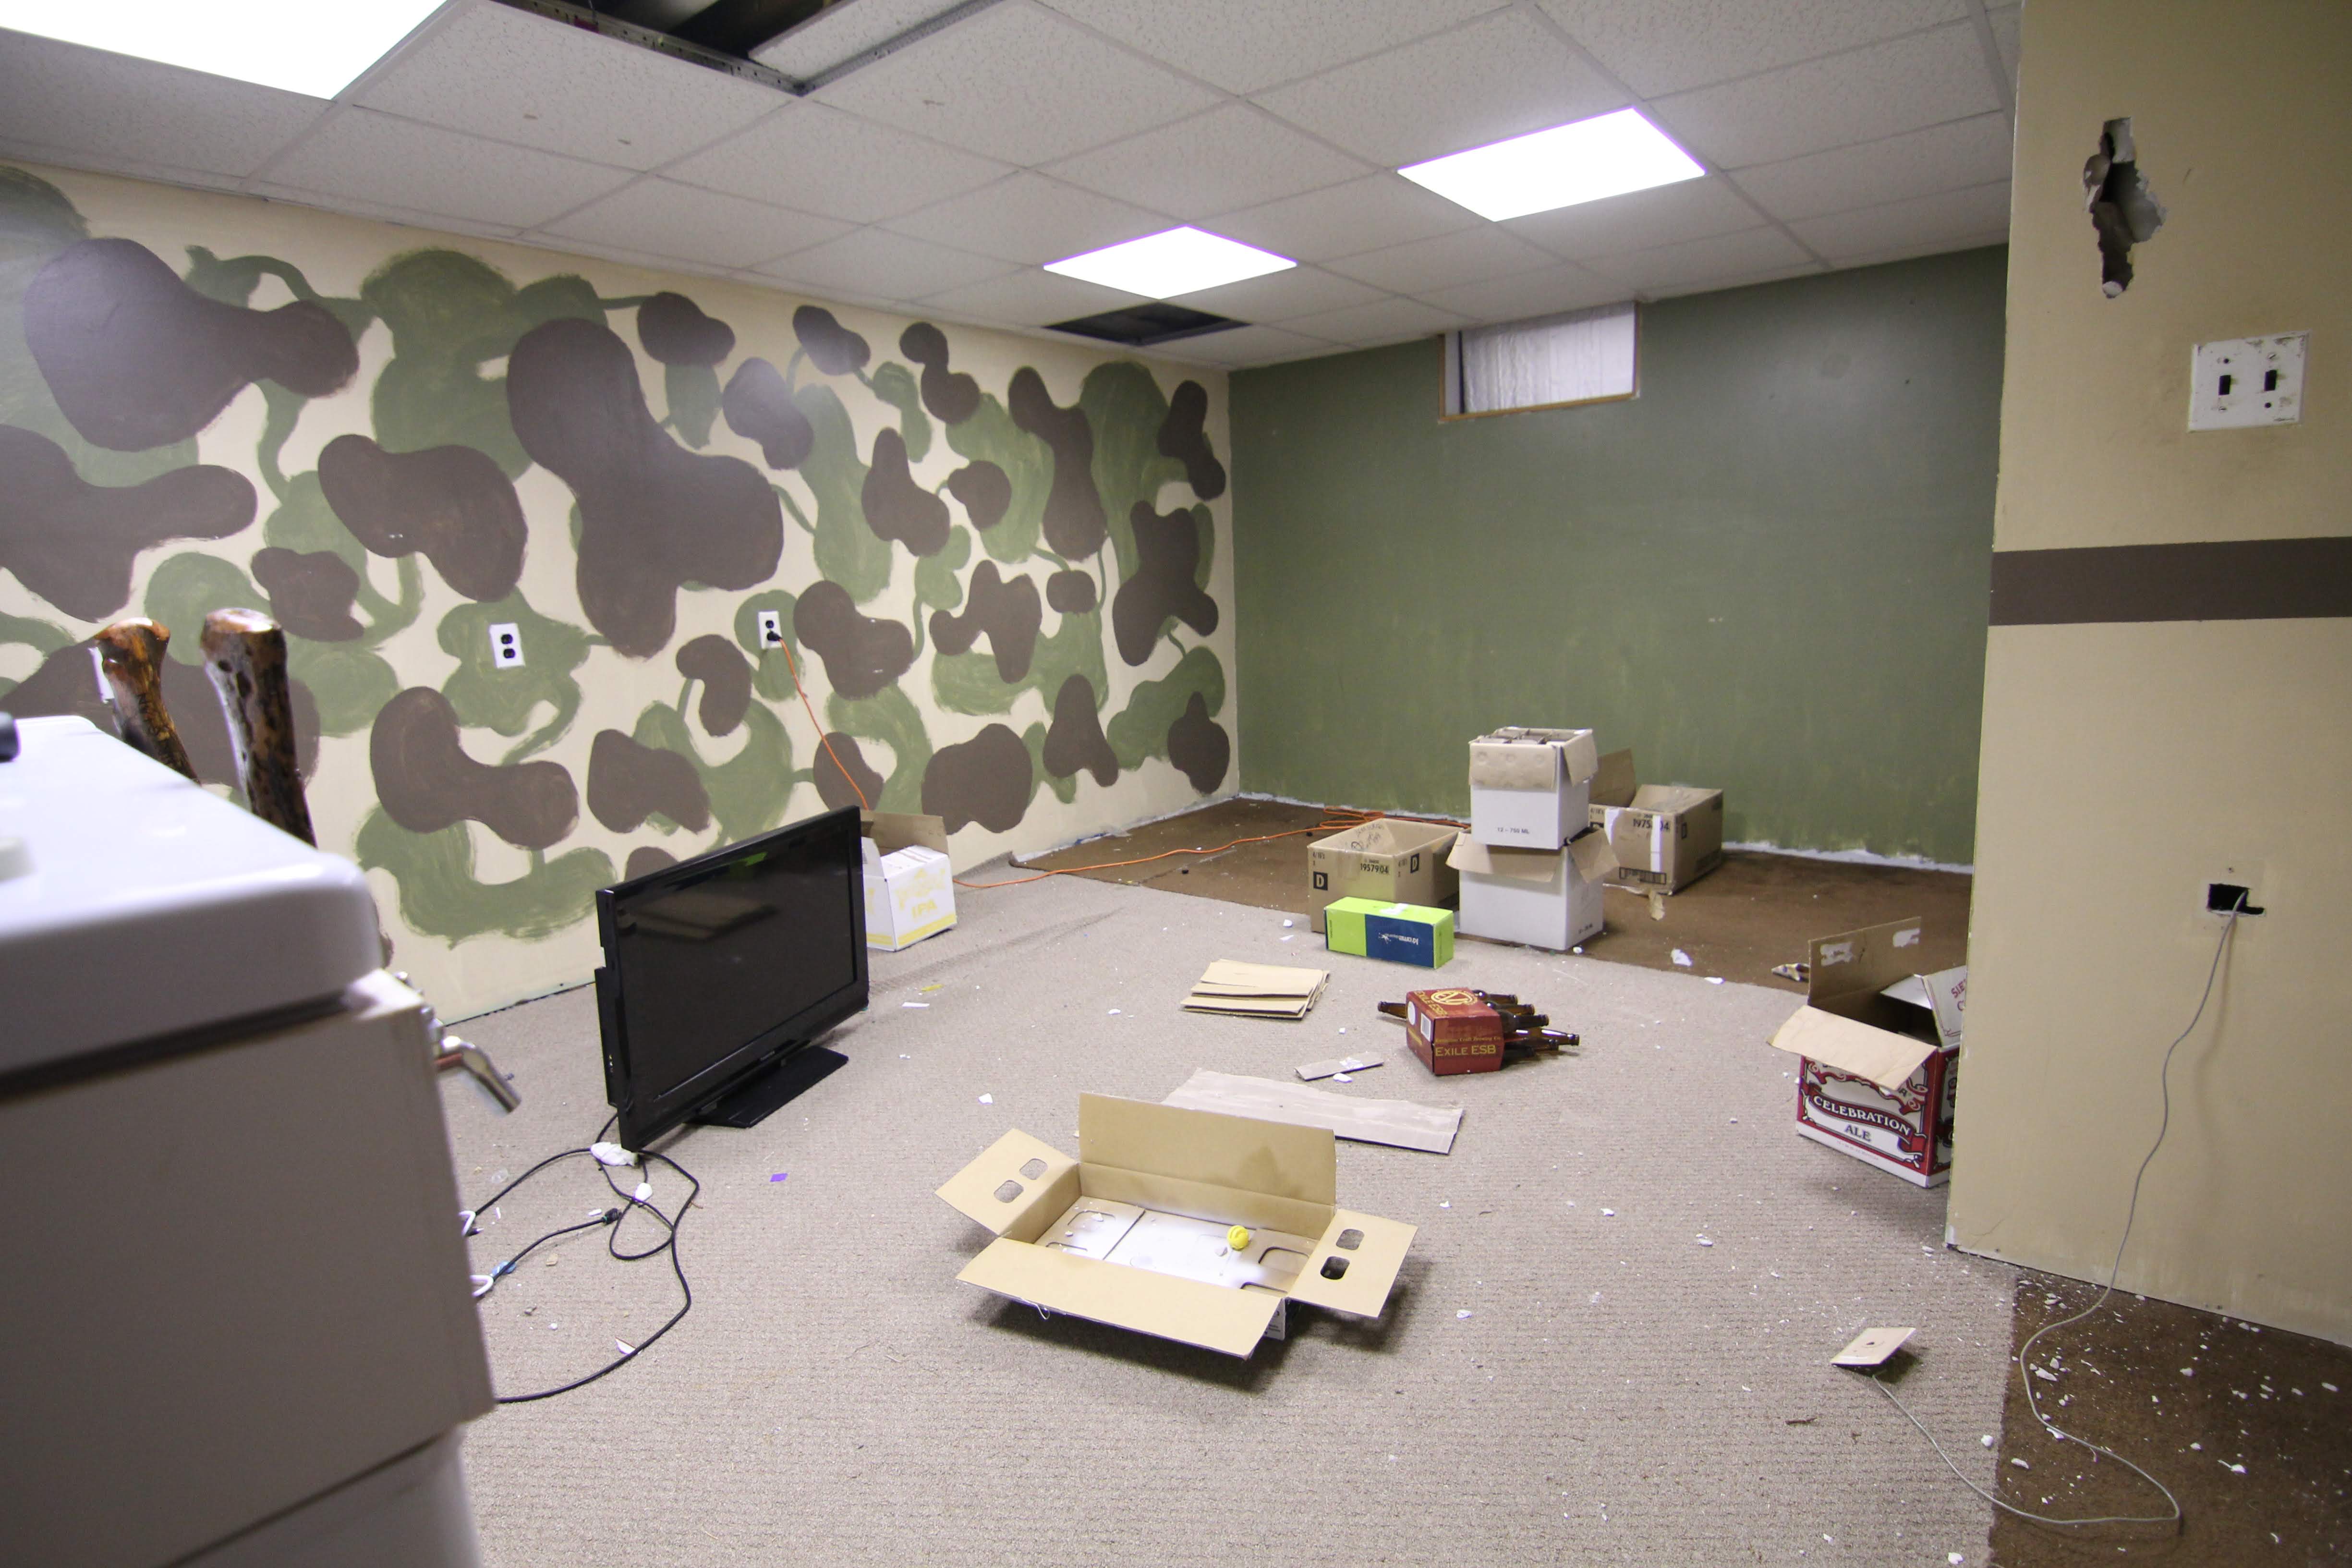
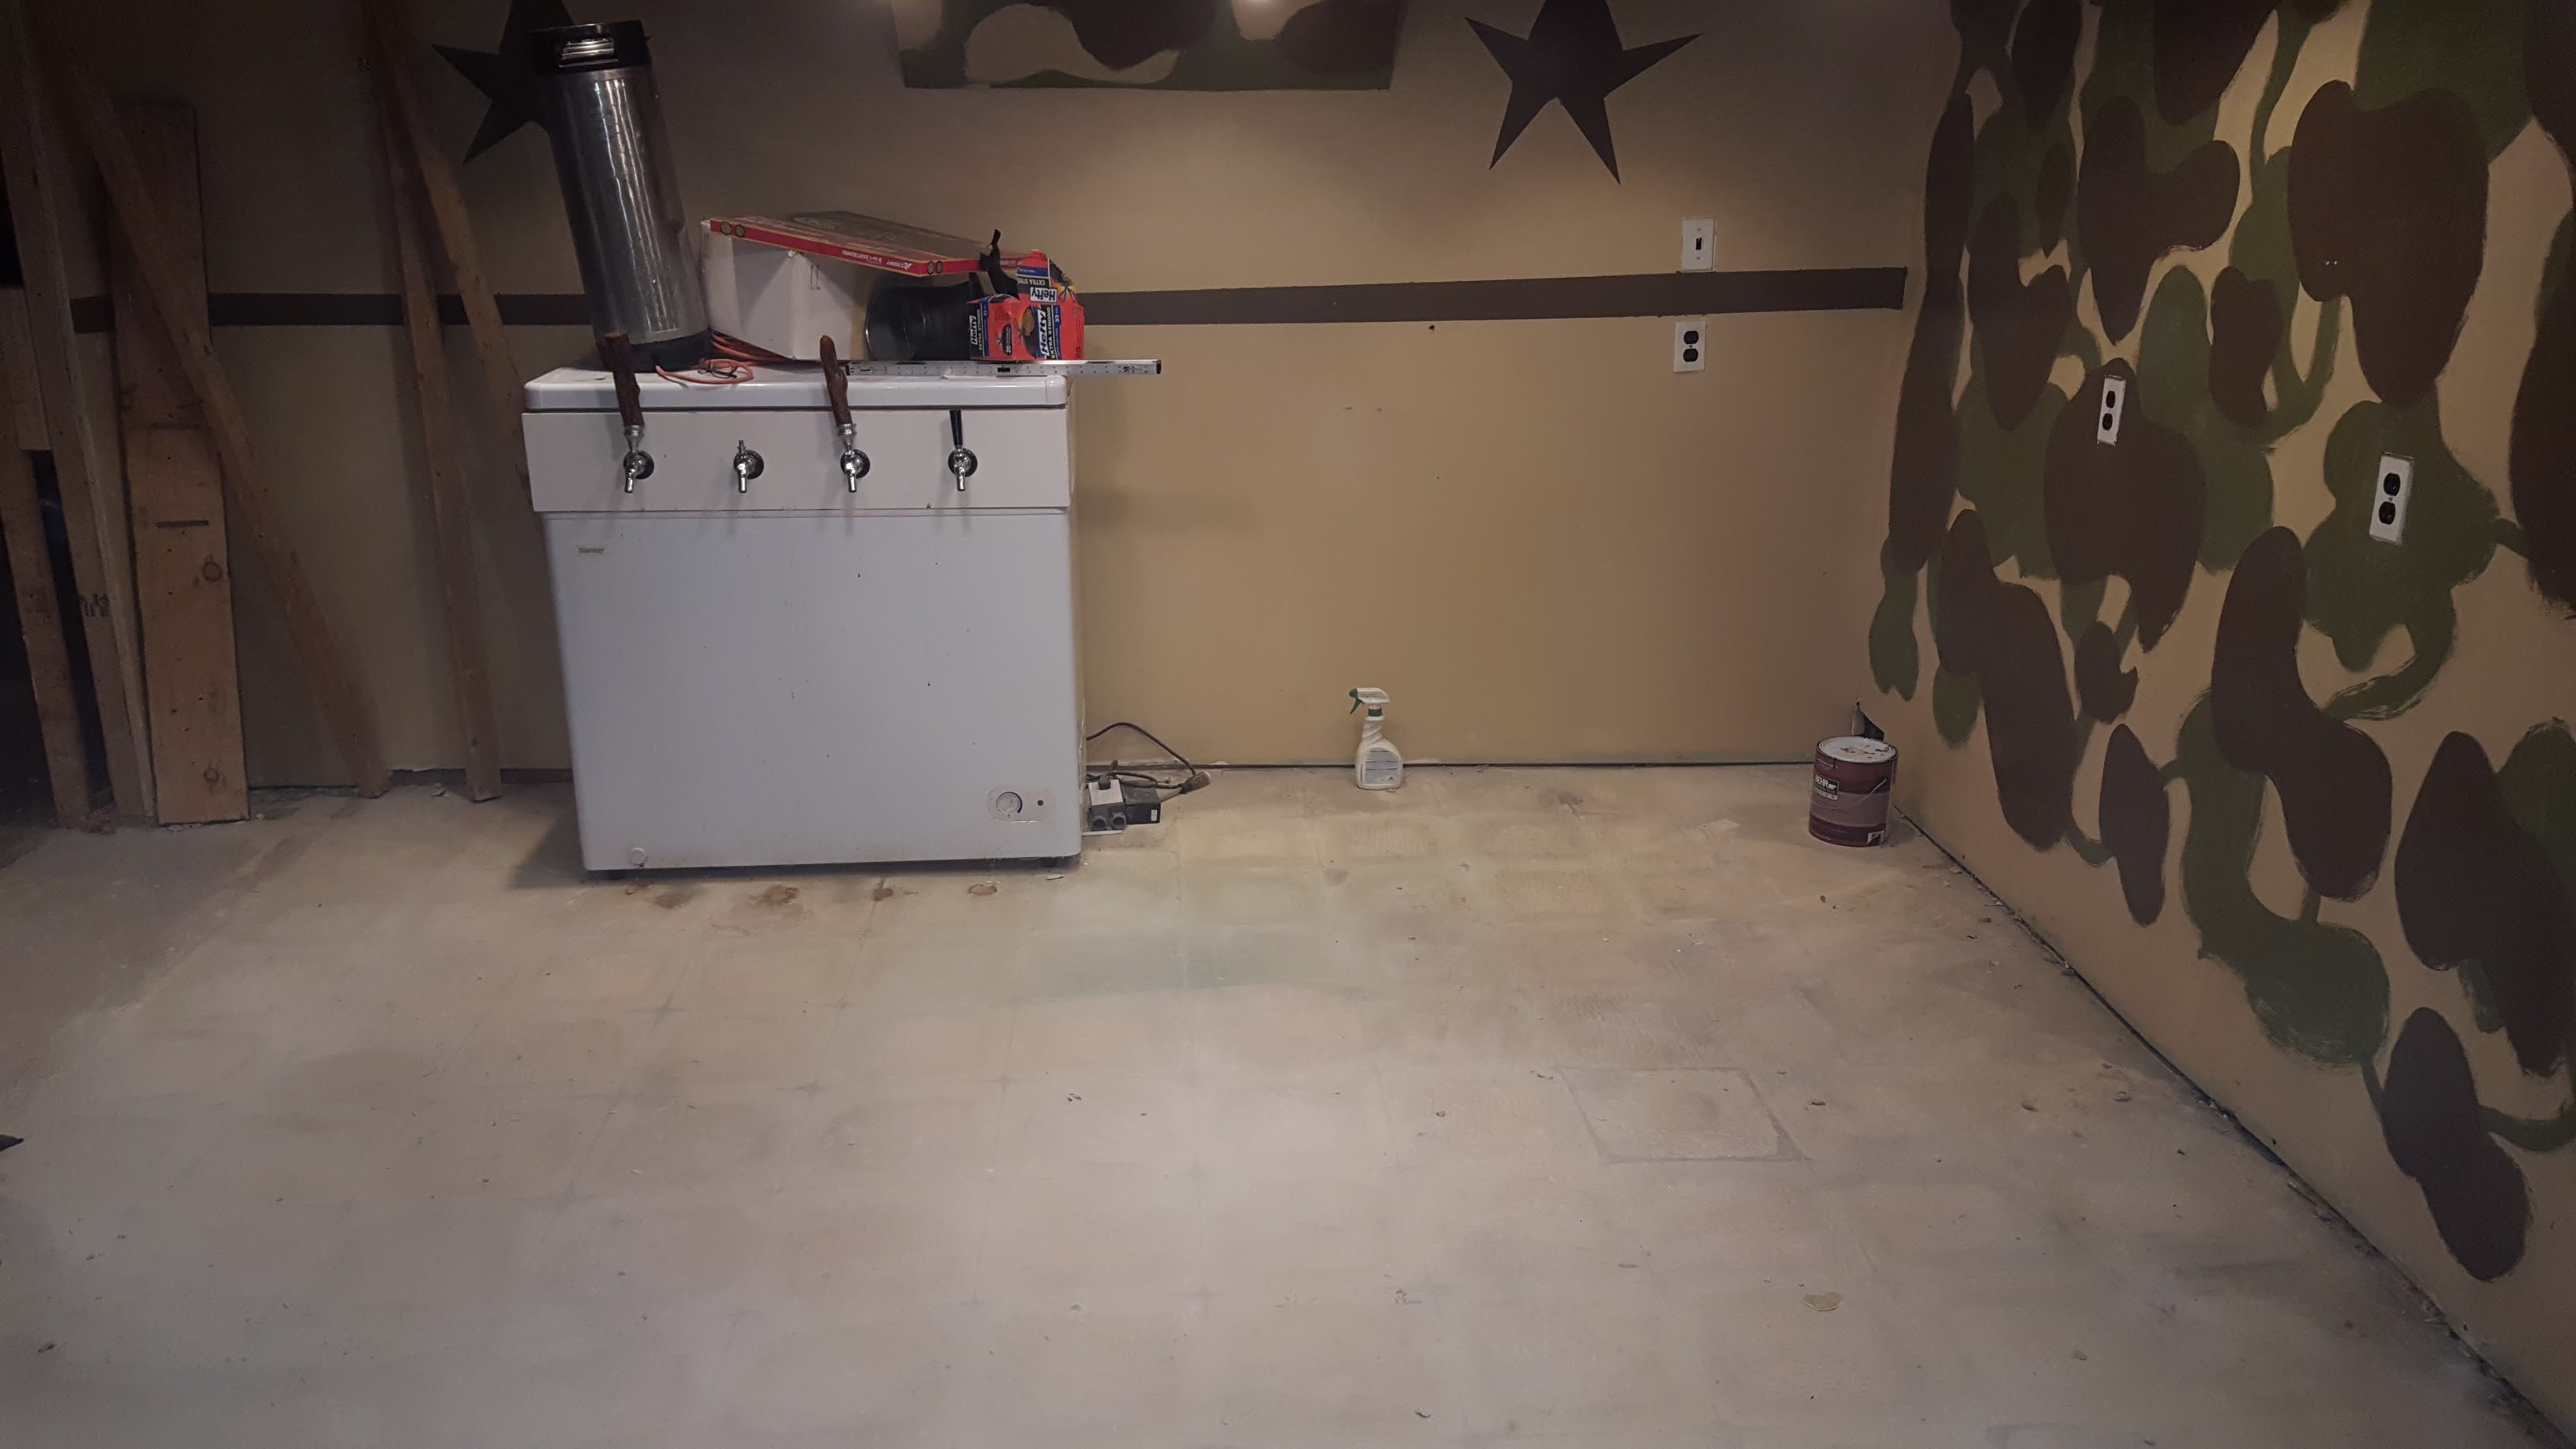
Before, IDK what the previous owners were thinking with this paint job.
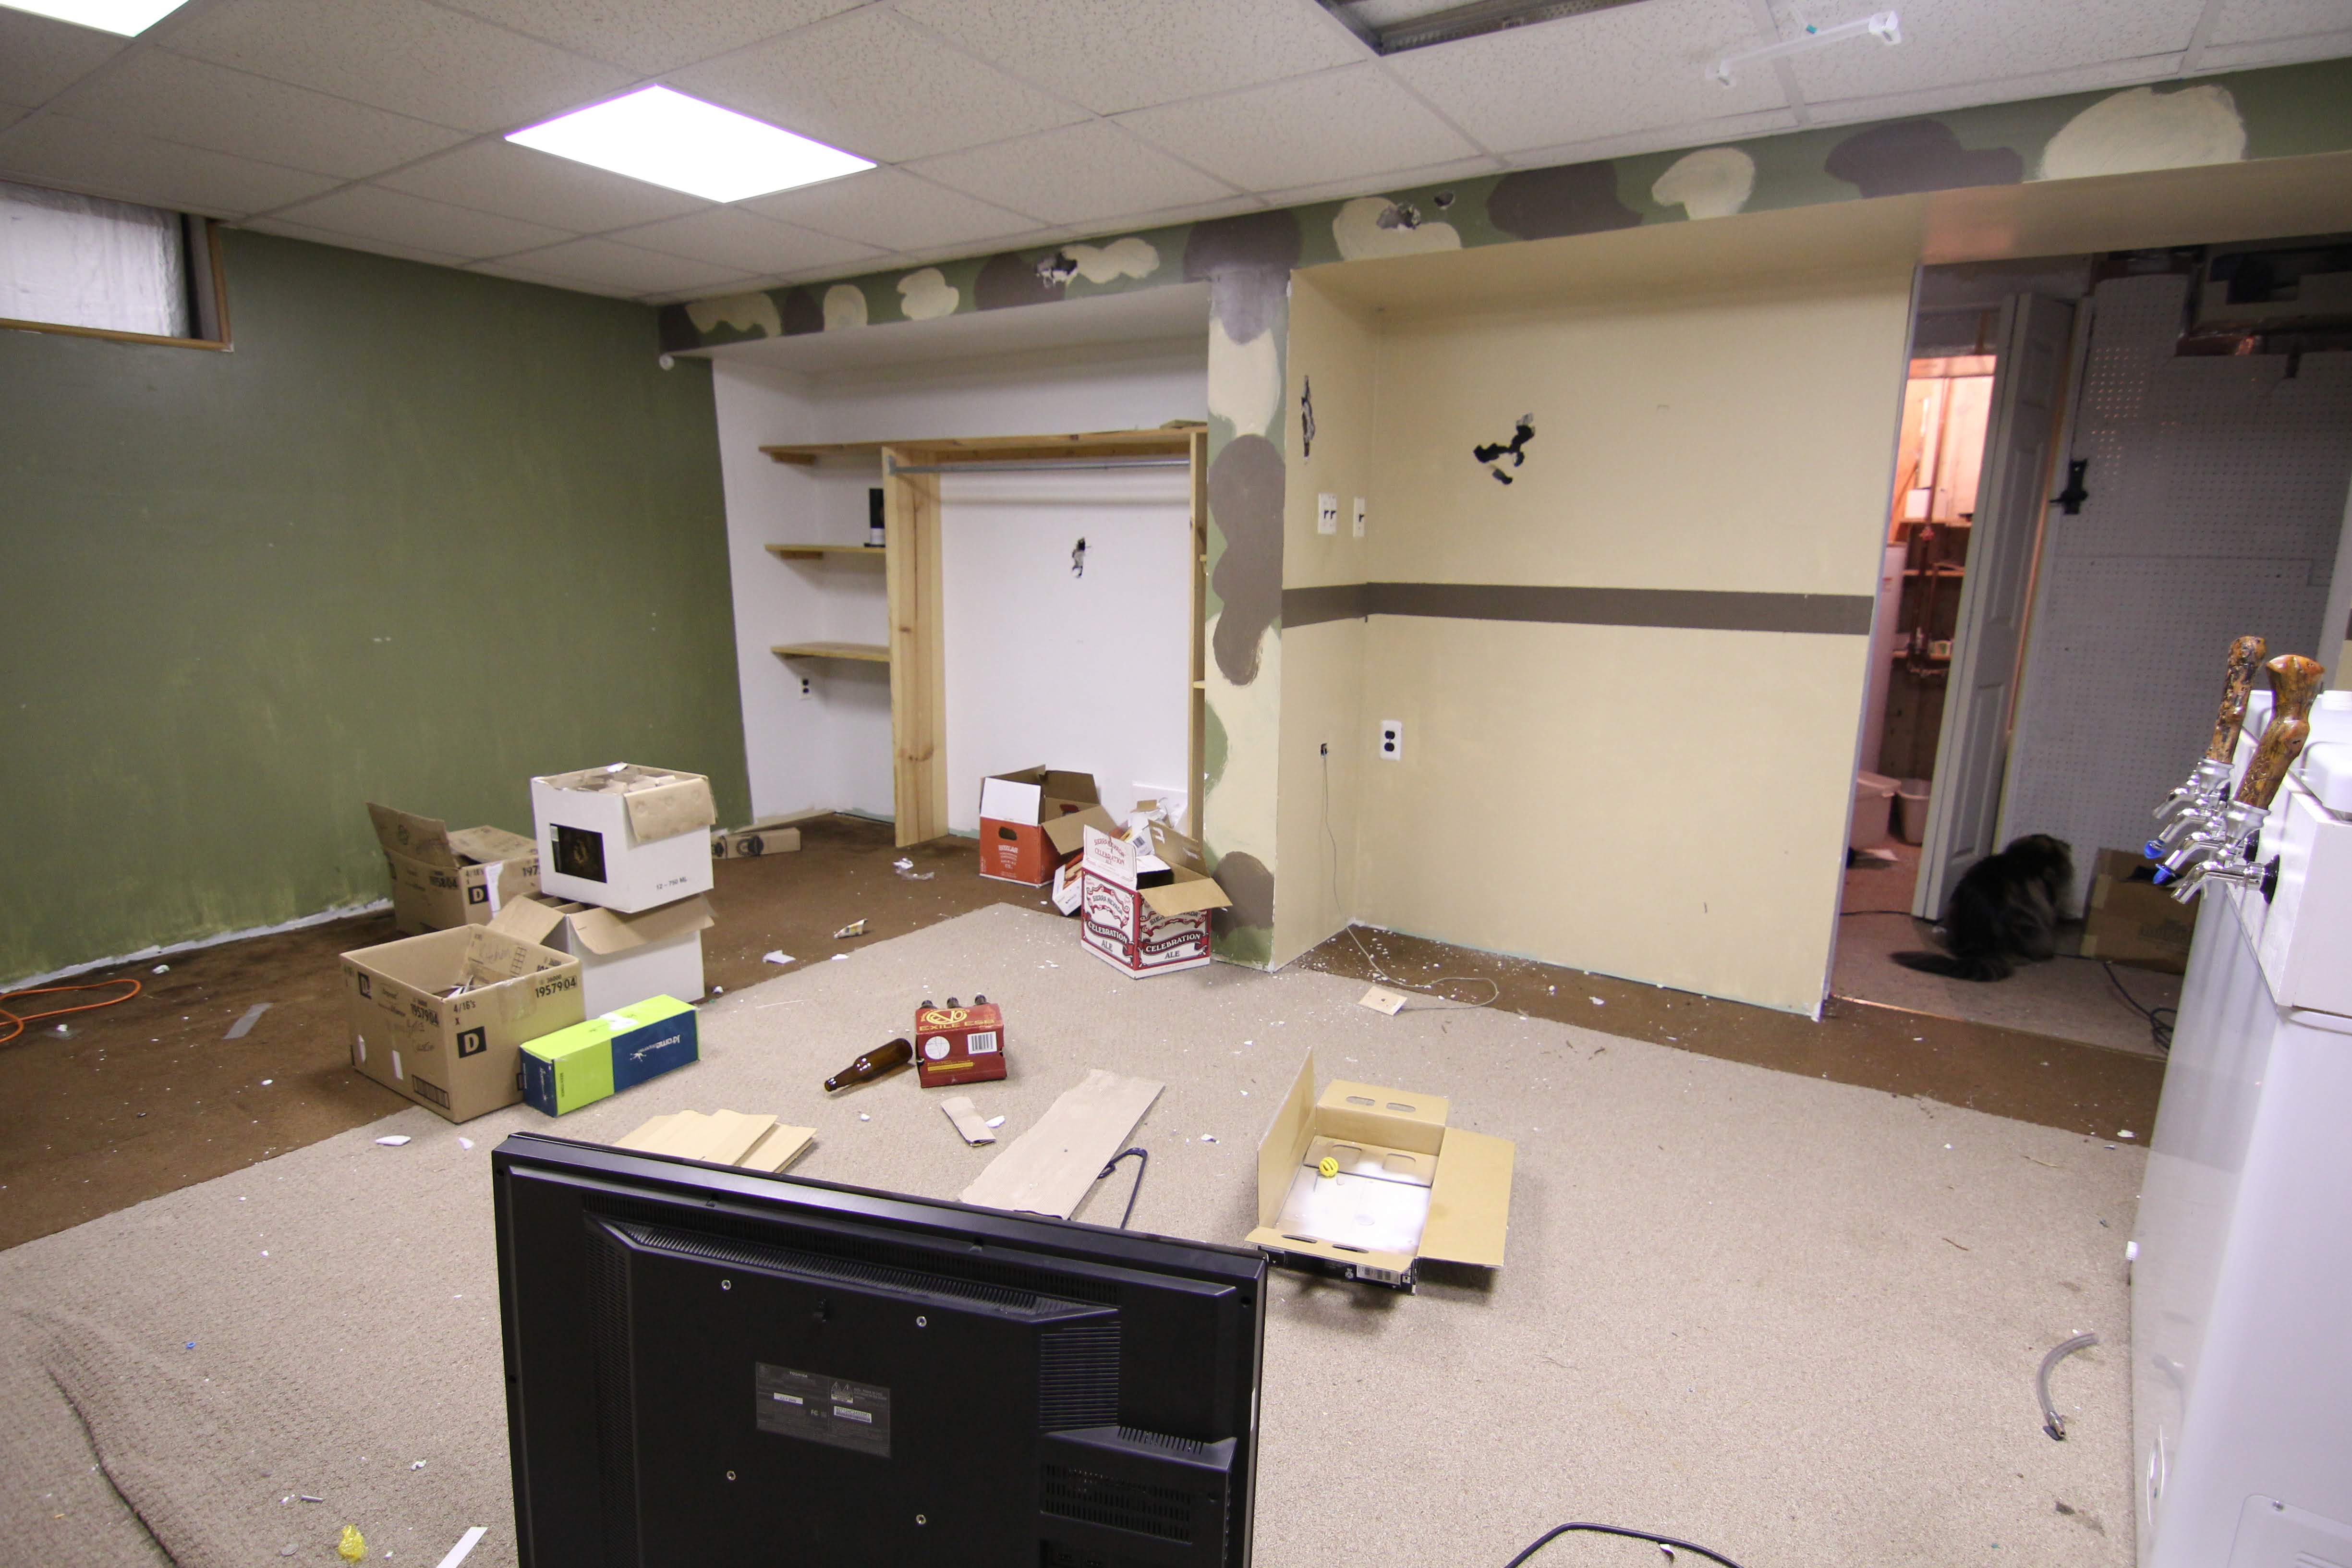
More before
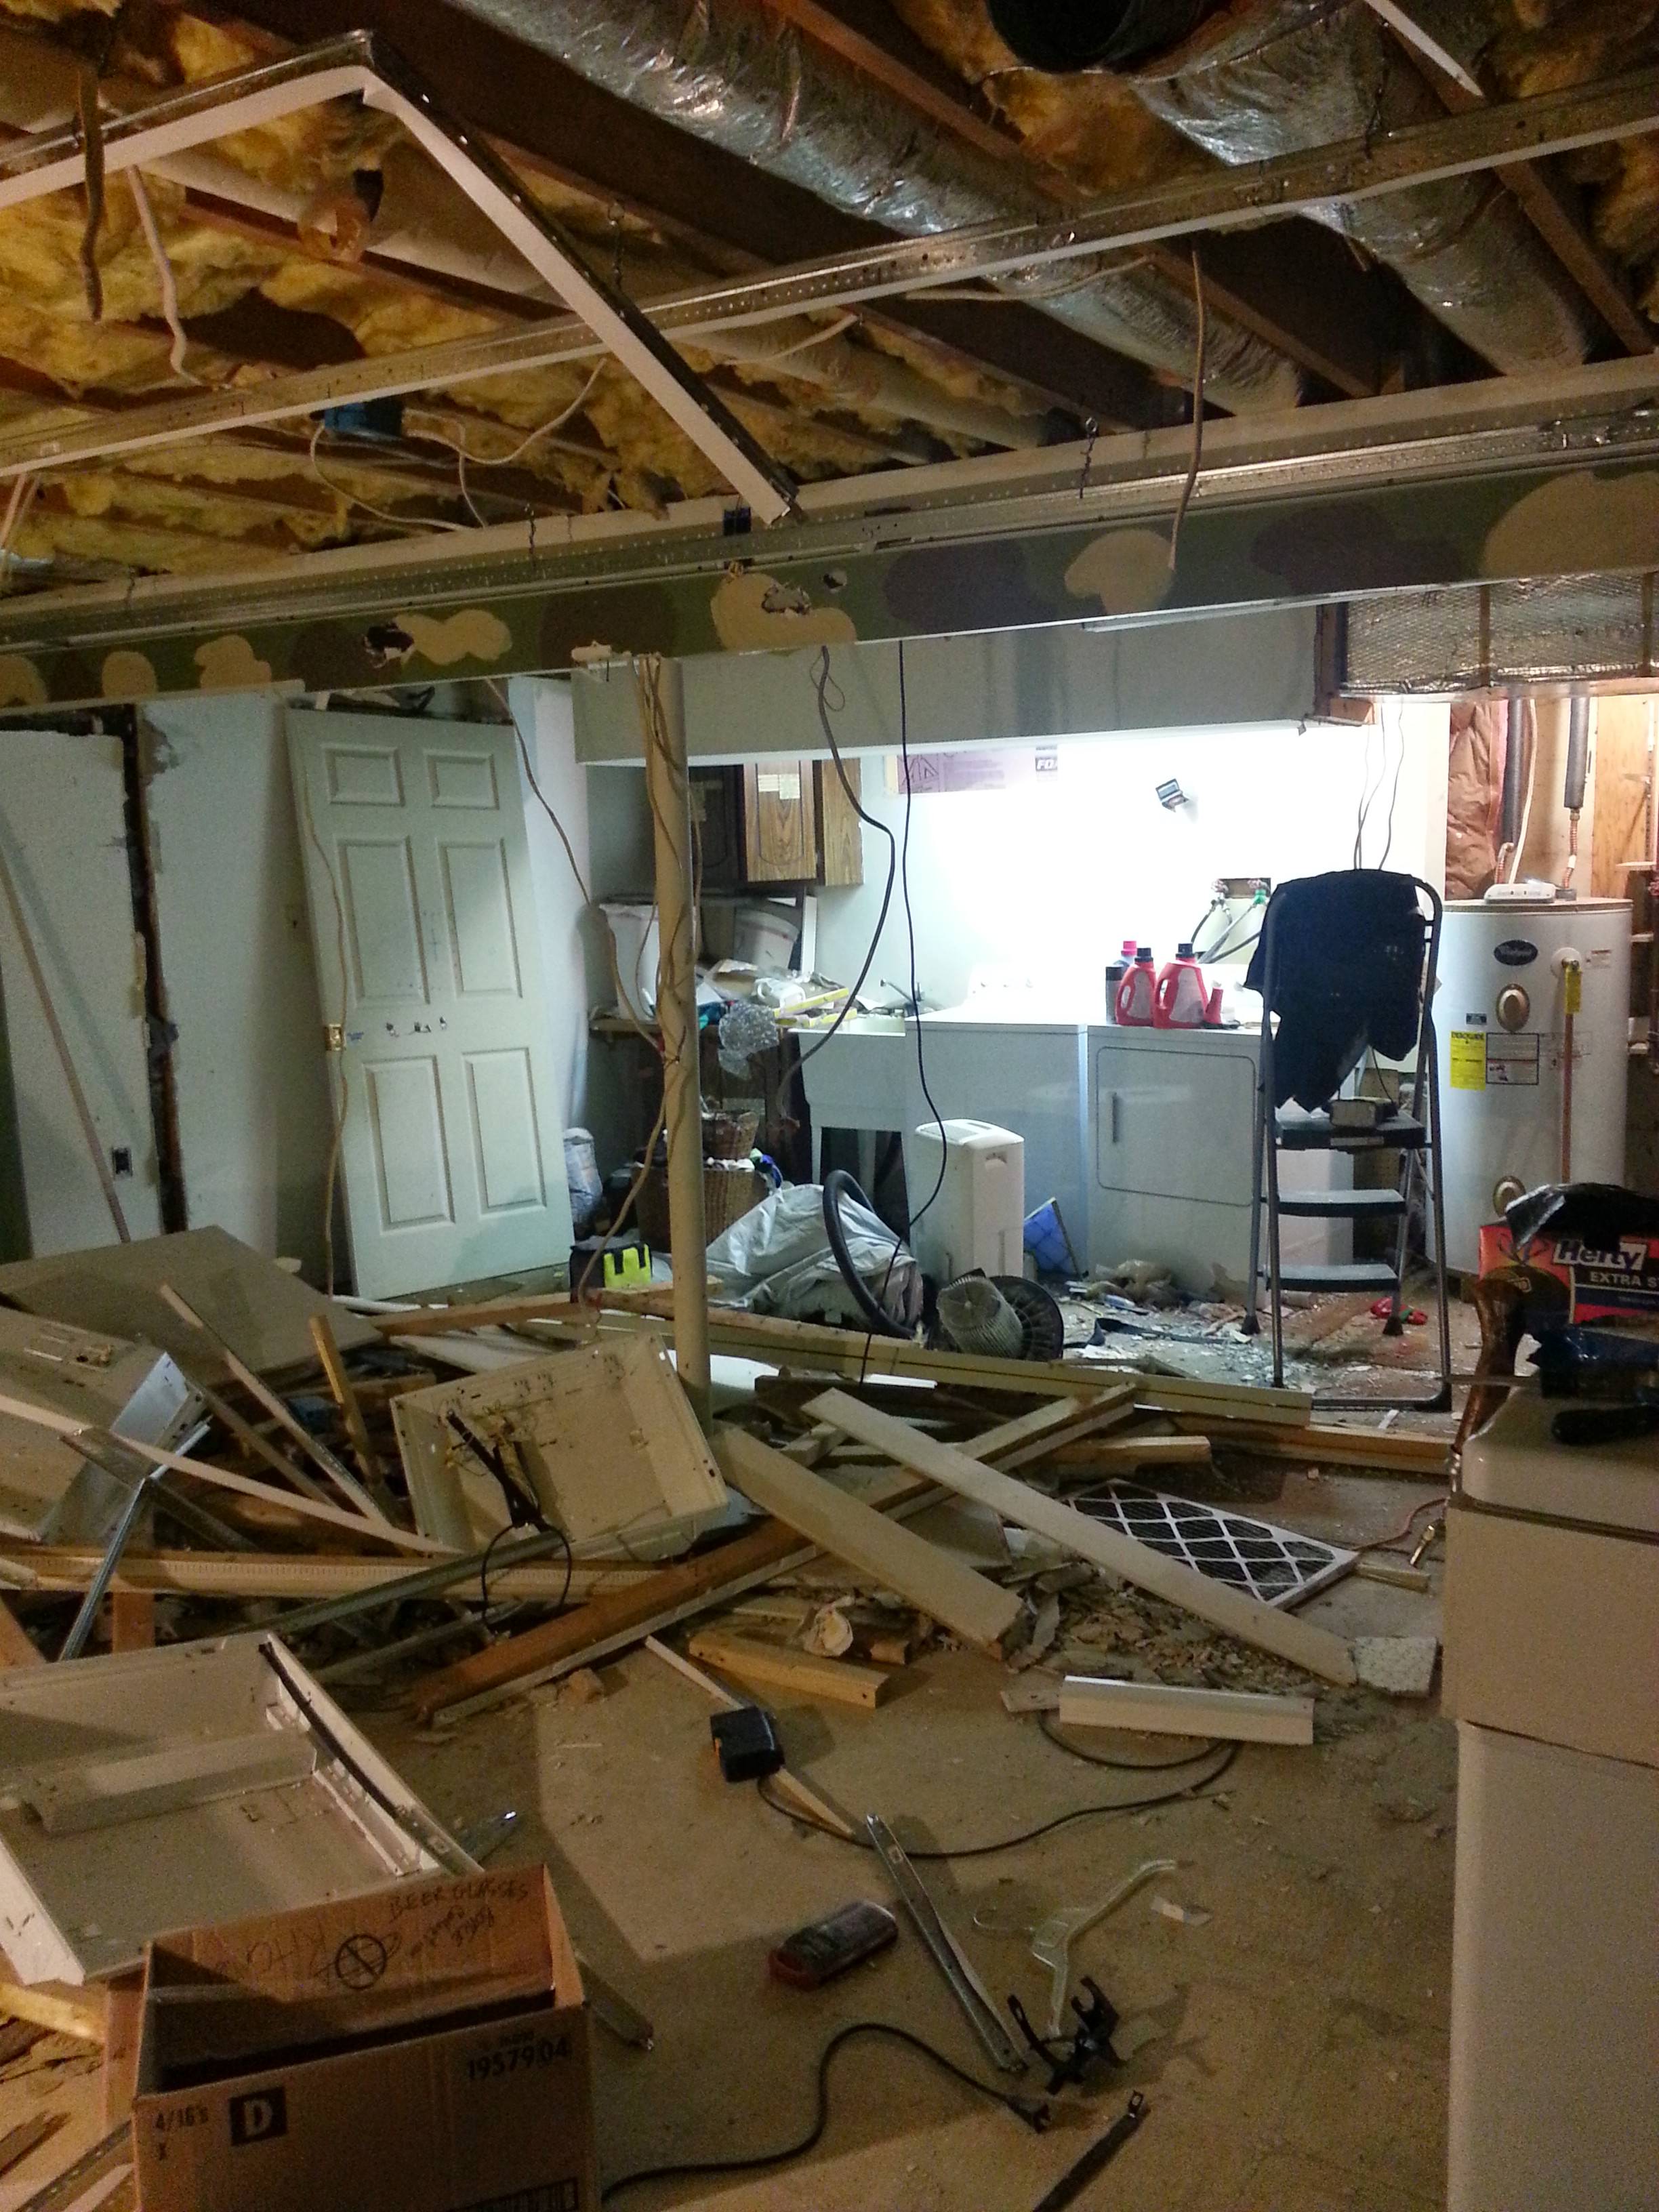
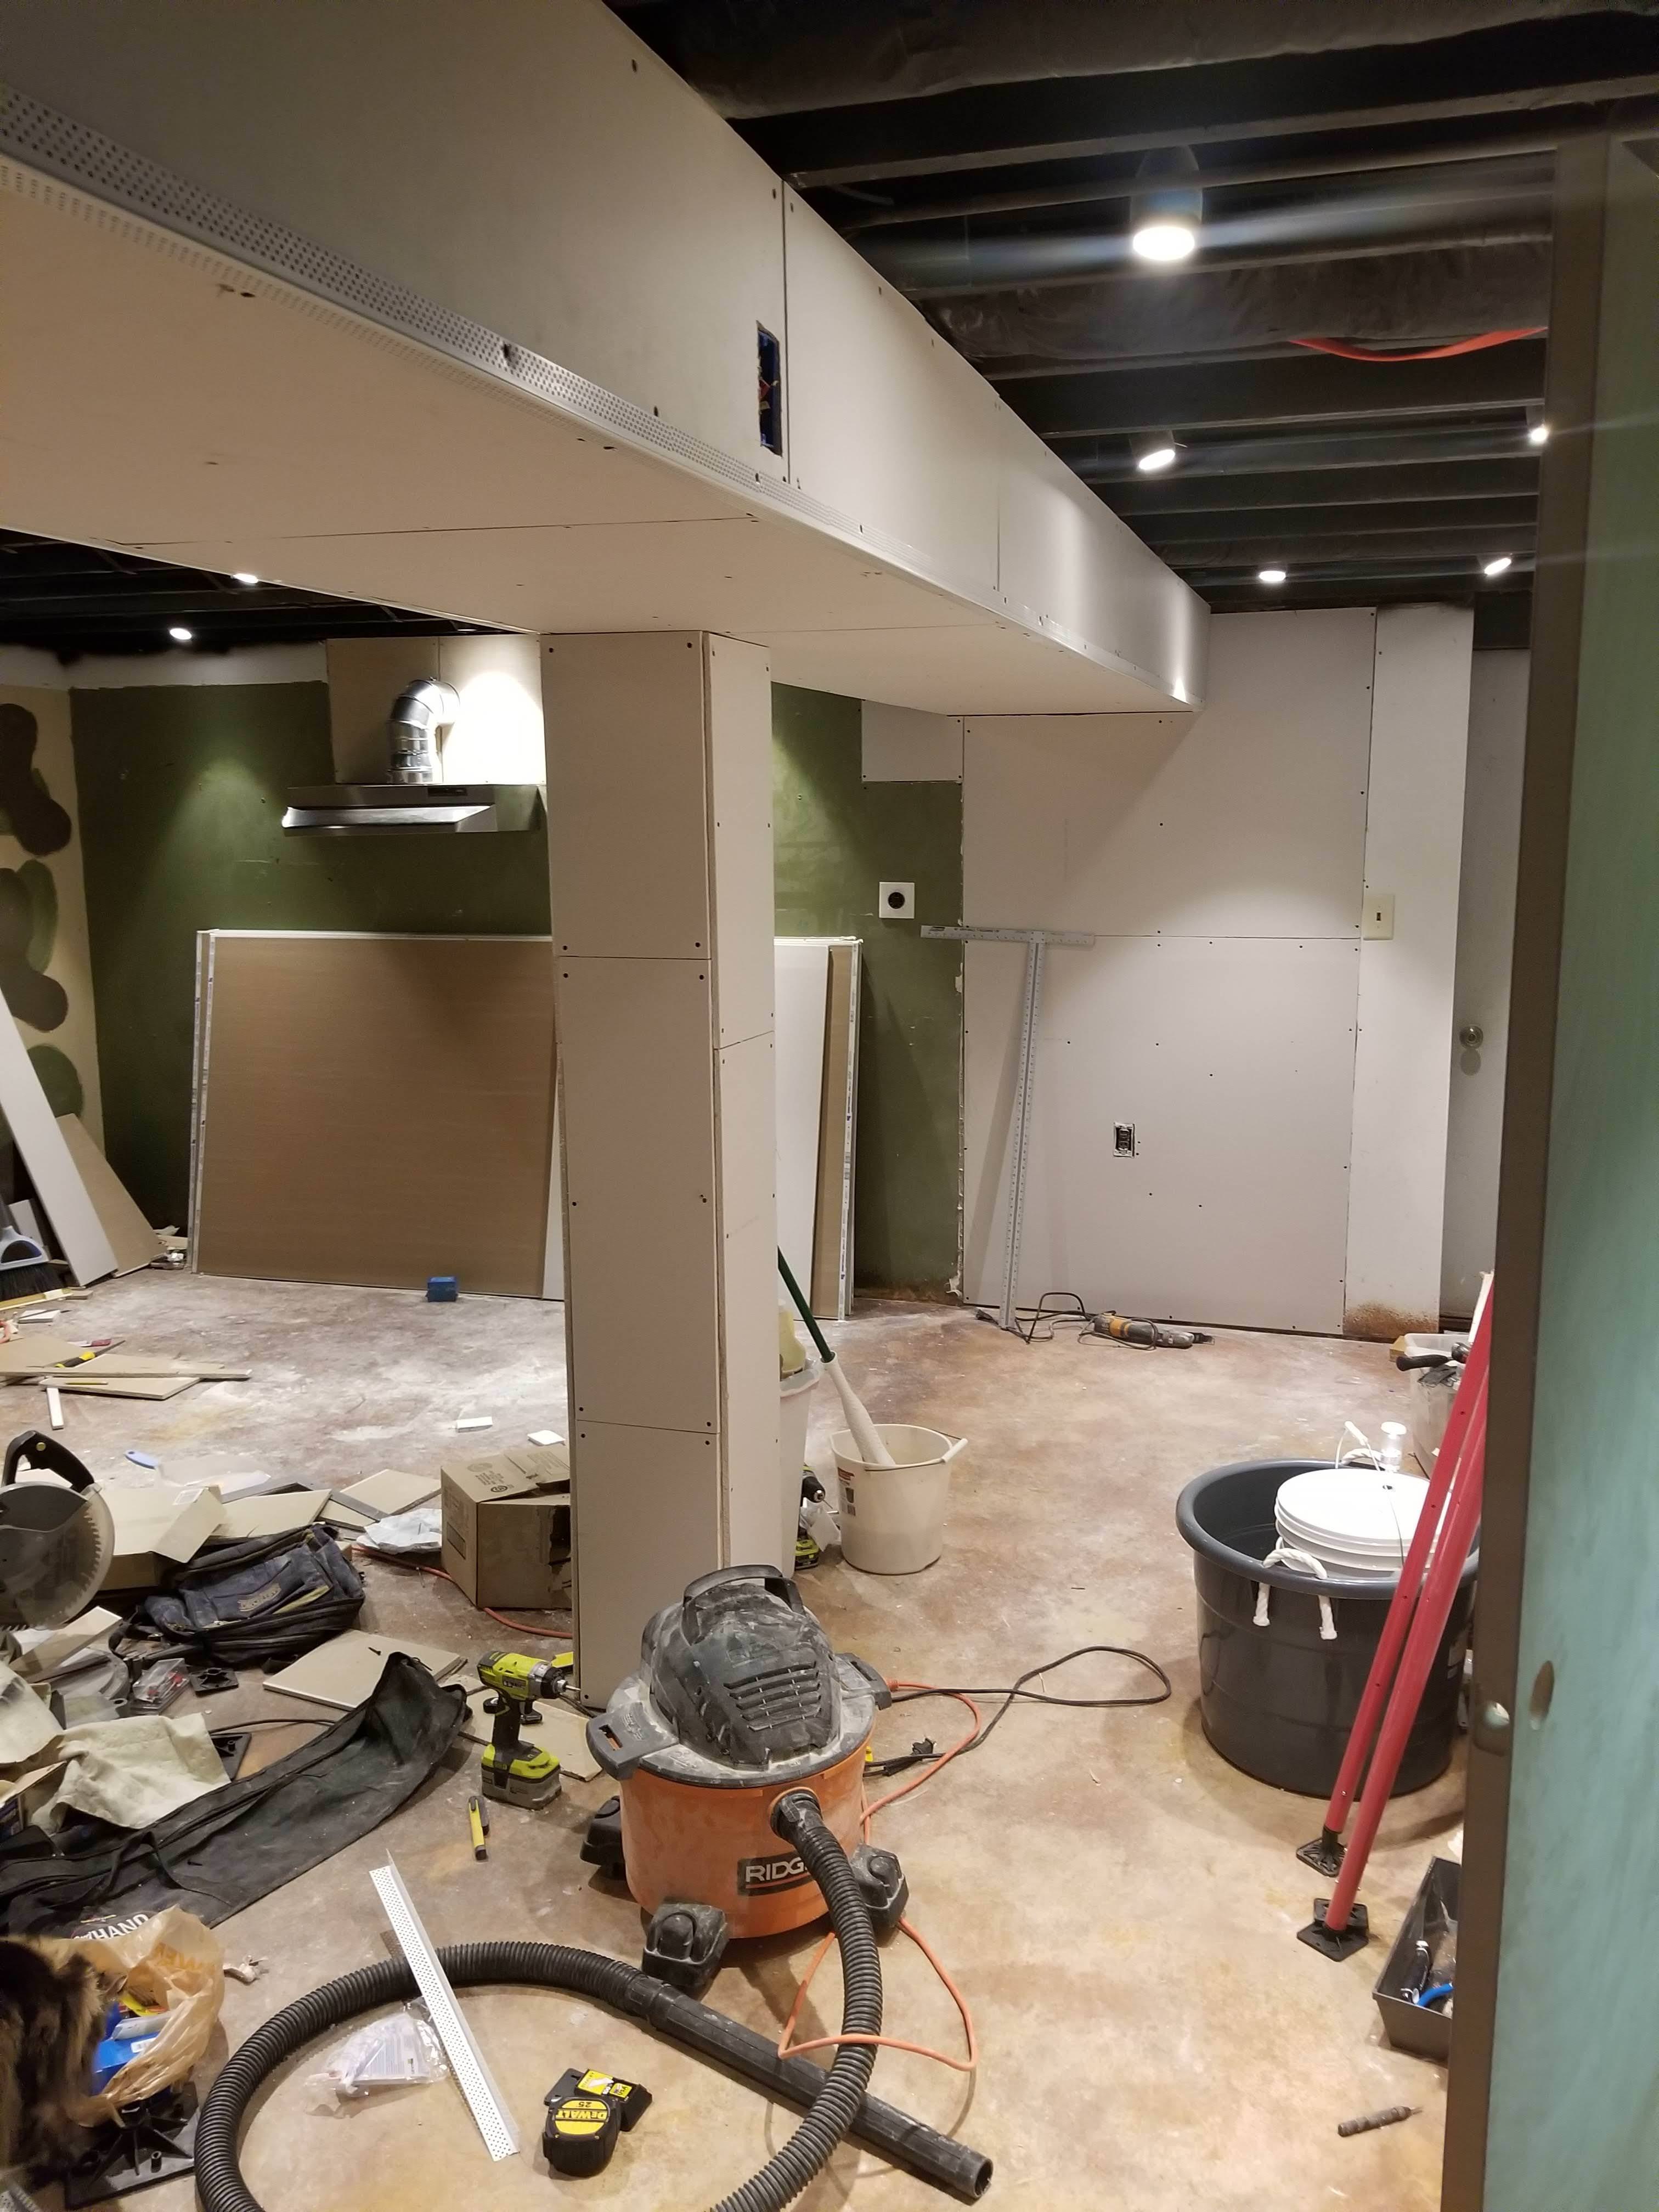
Tearing it all out
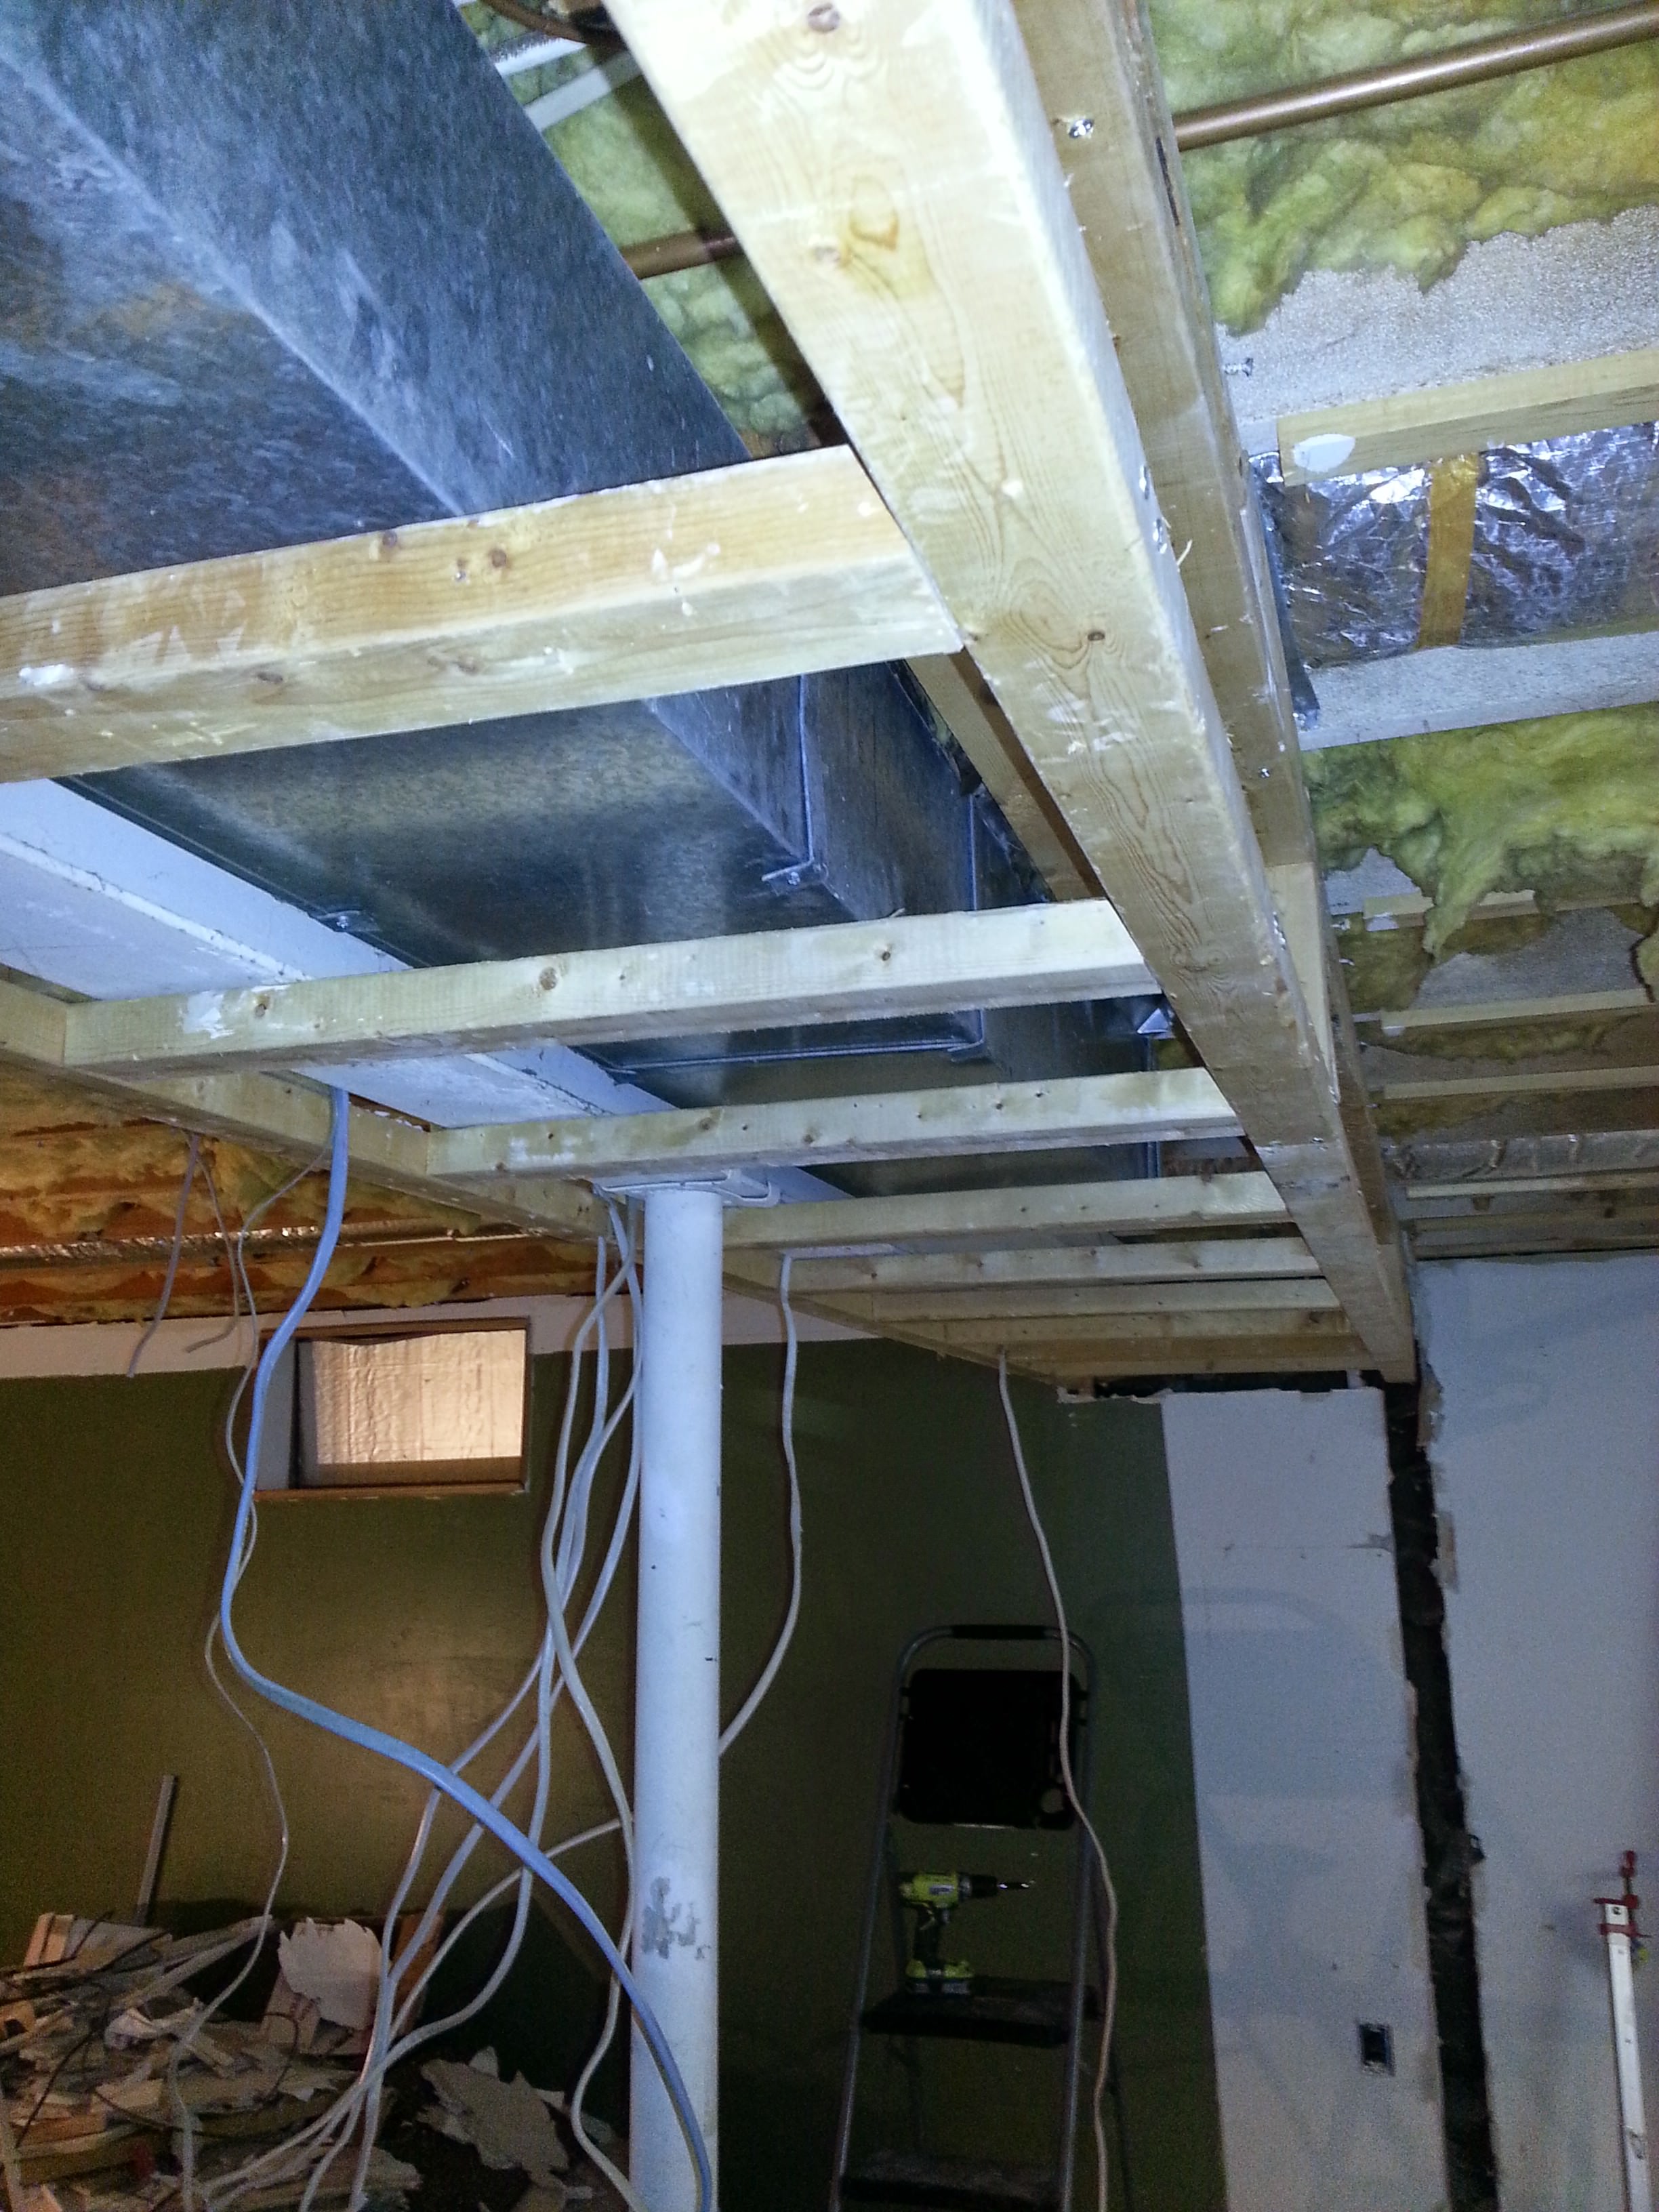
Started framing, this is where I got stuck for years
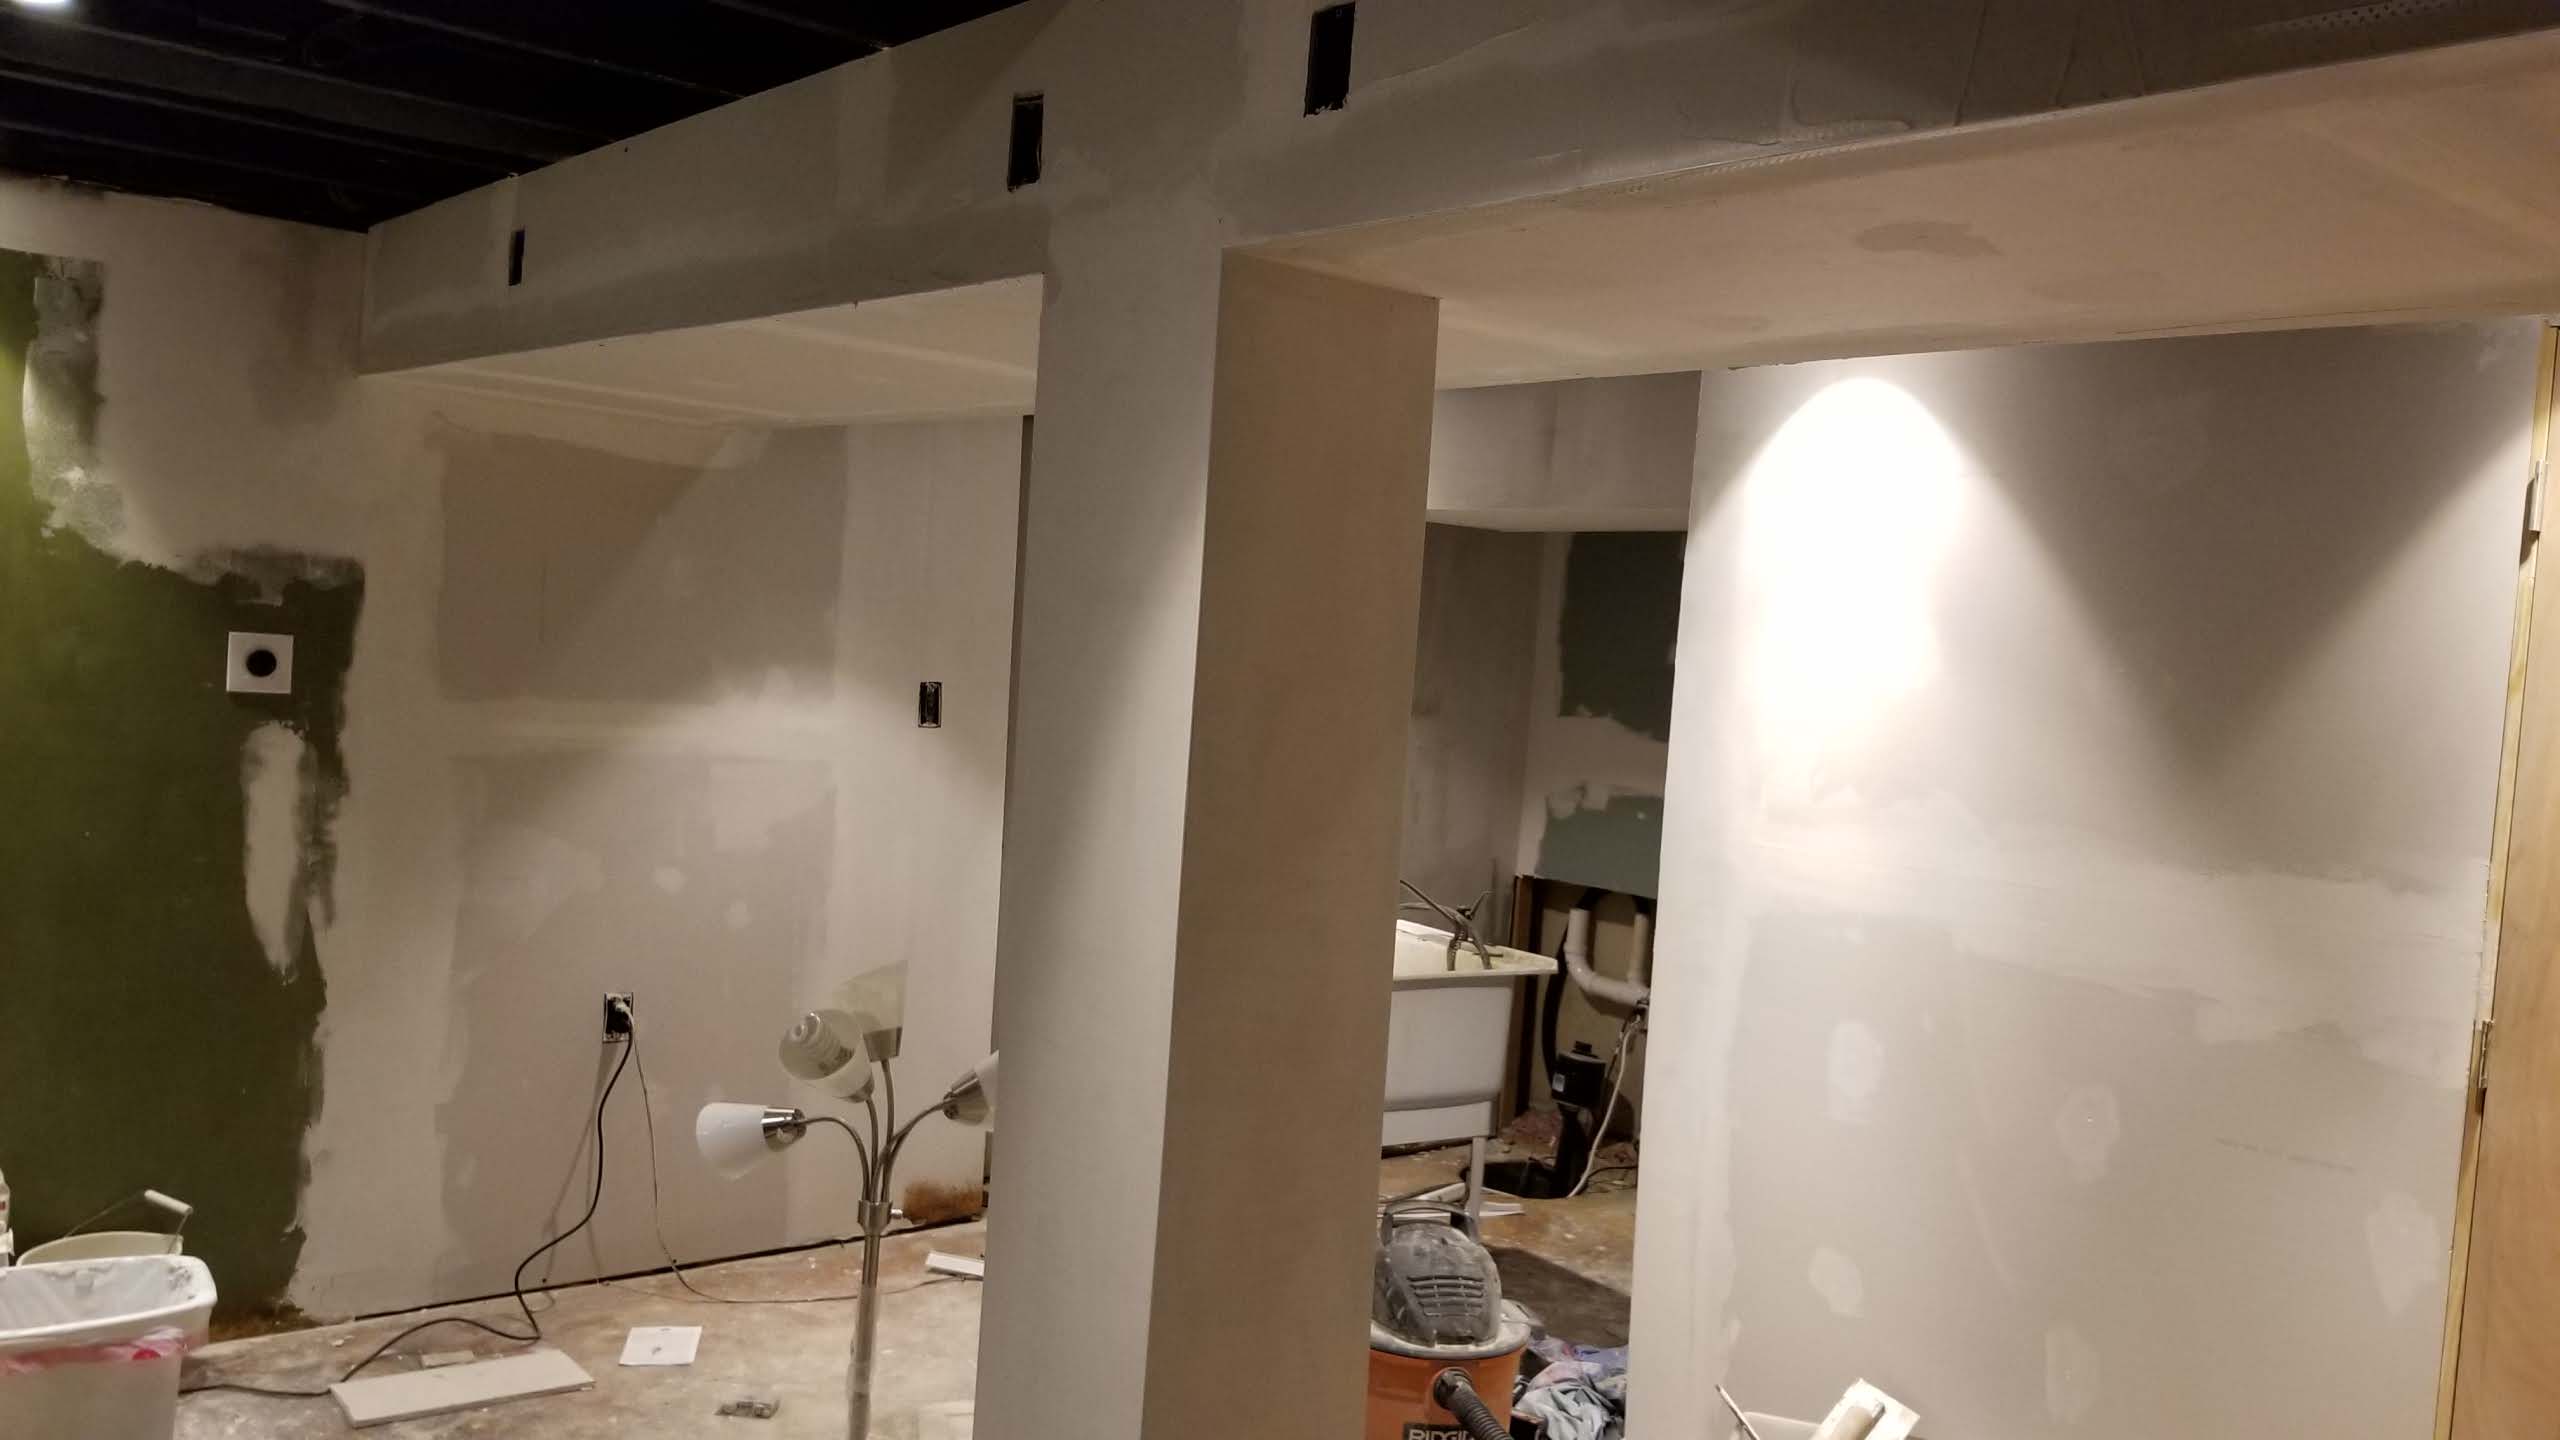
Ready to start again, at least it's cleaner
Drywall going up
Spackling done and ready to paint
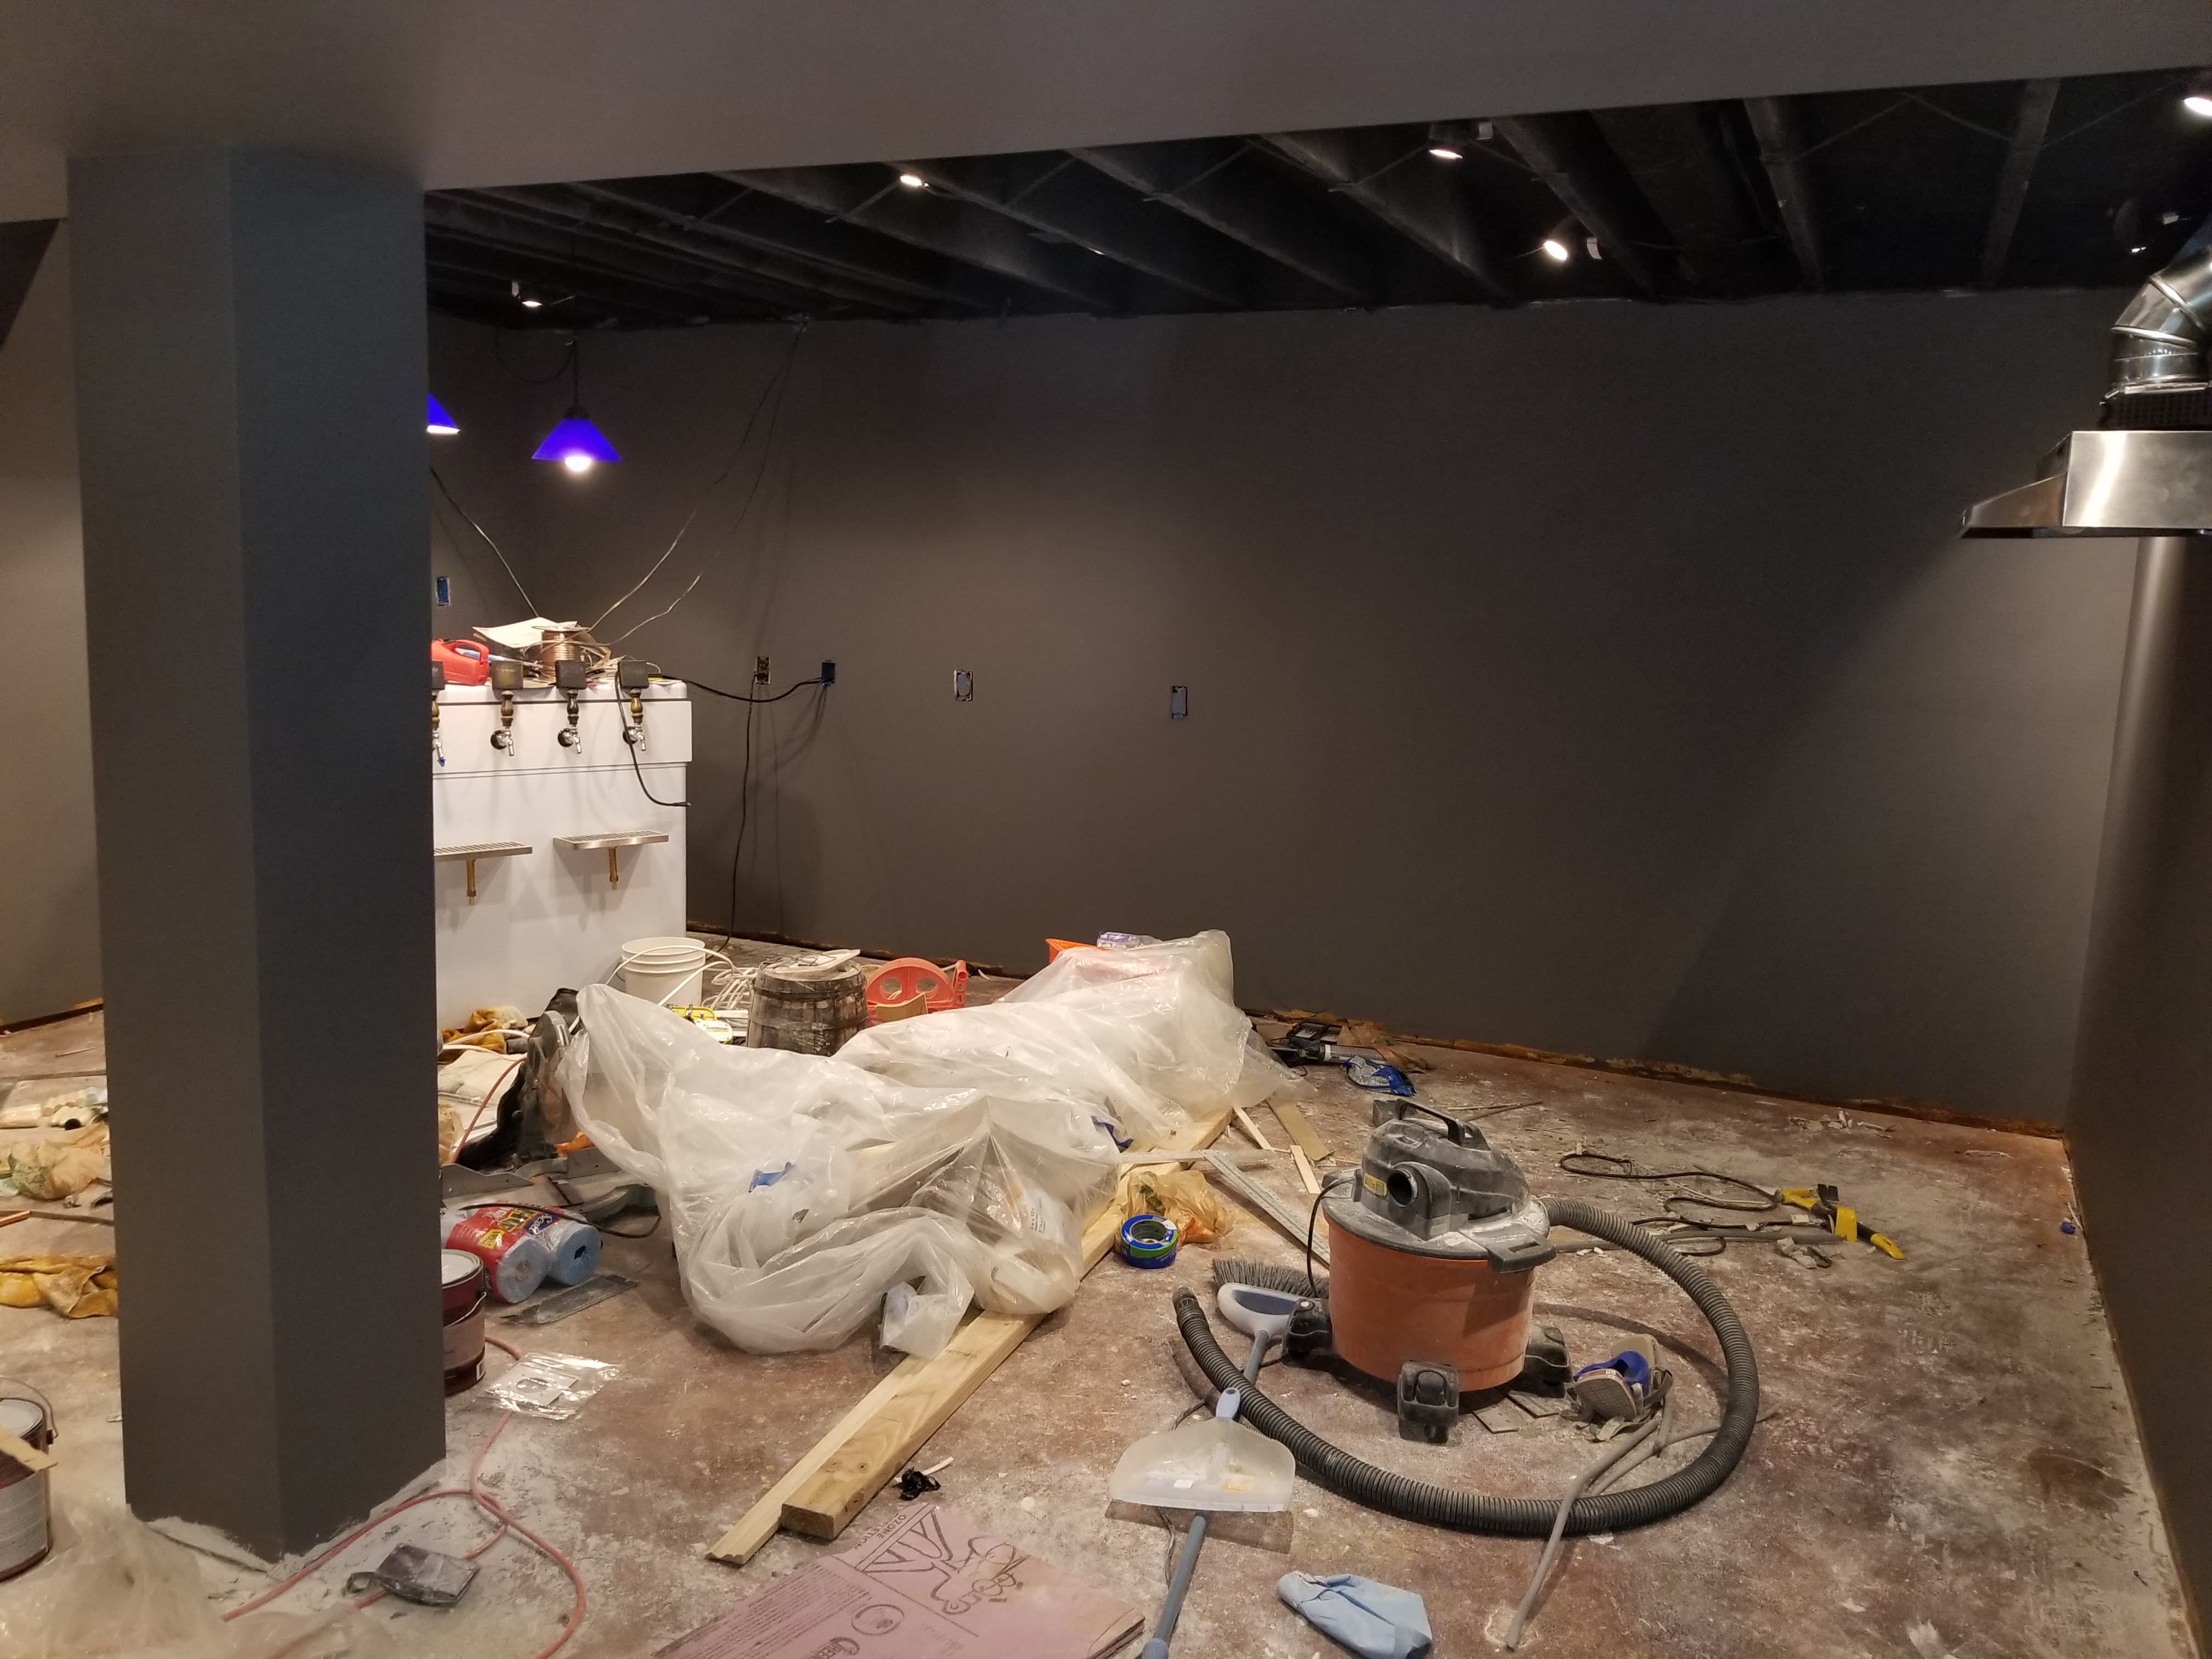
Base coat done, bye bye camo
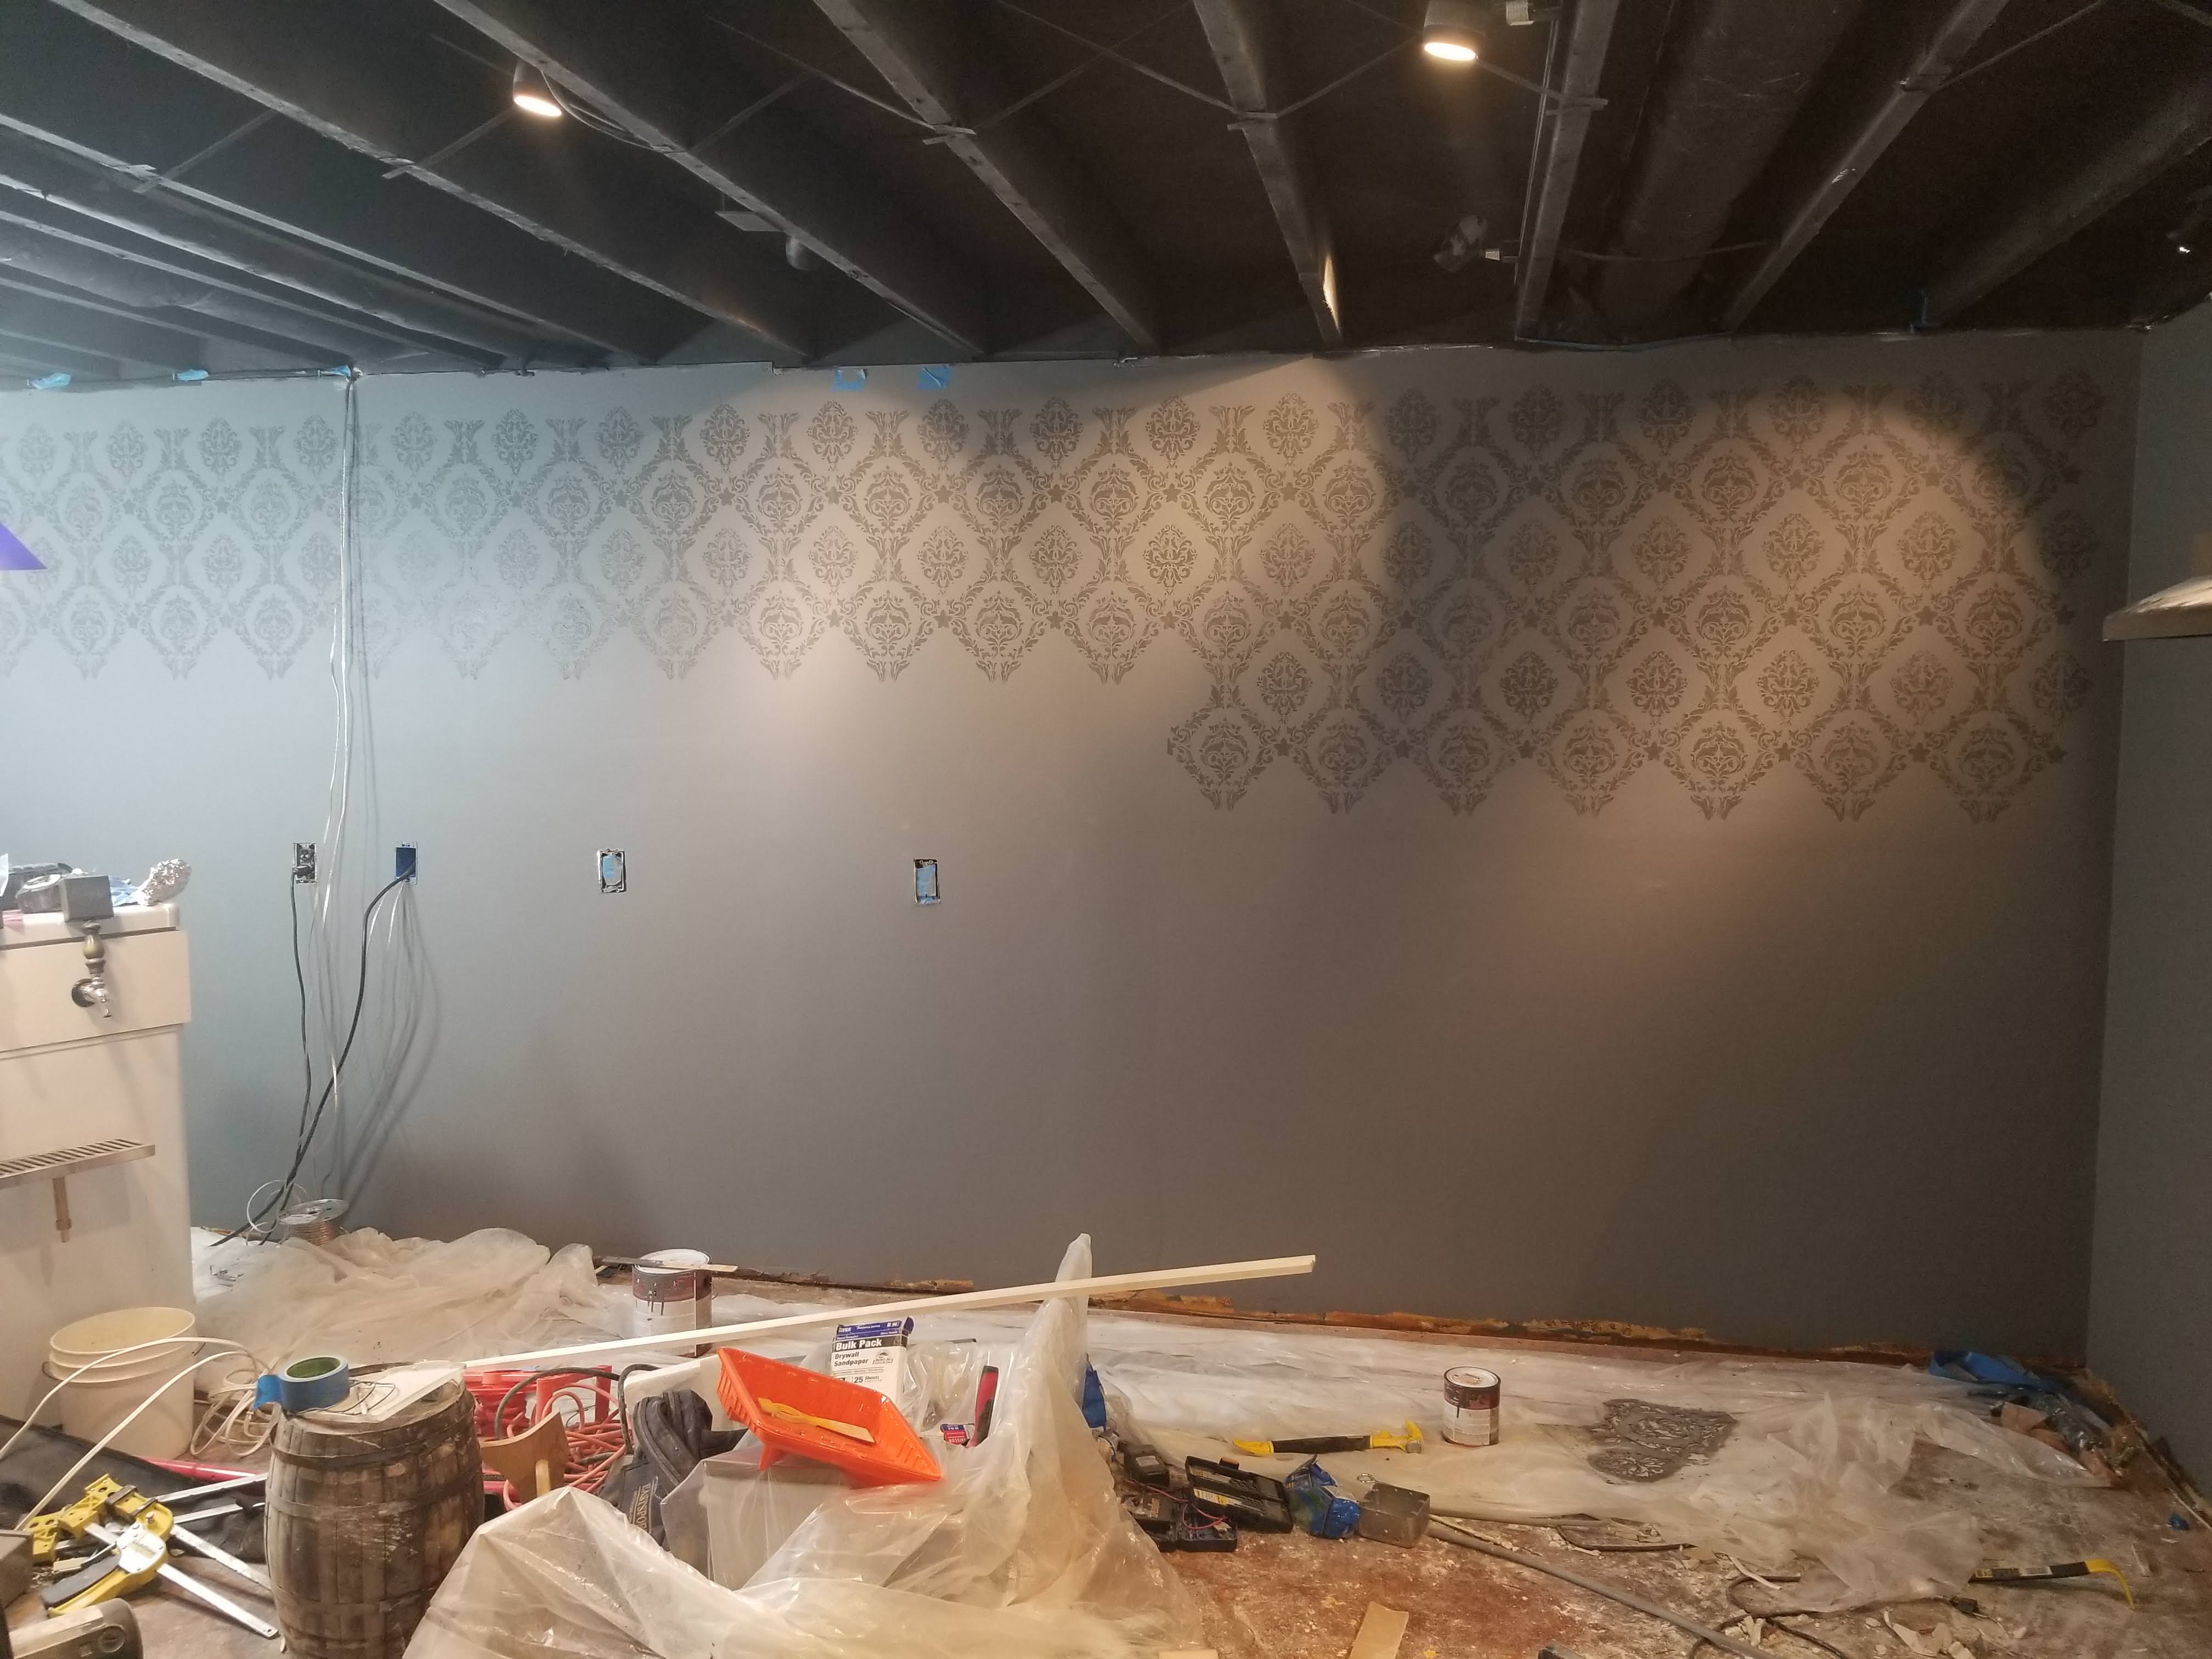
Lots of stenciling going into this wall
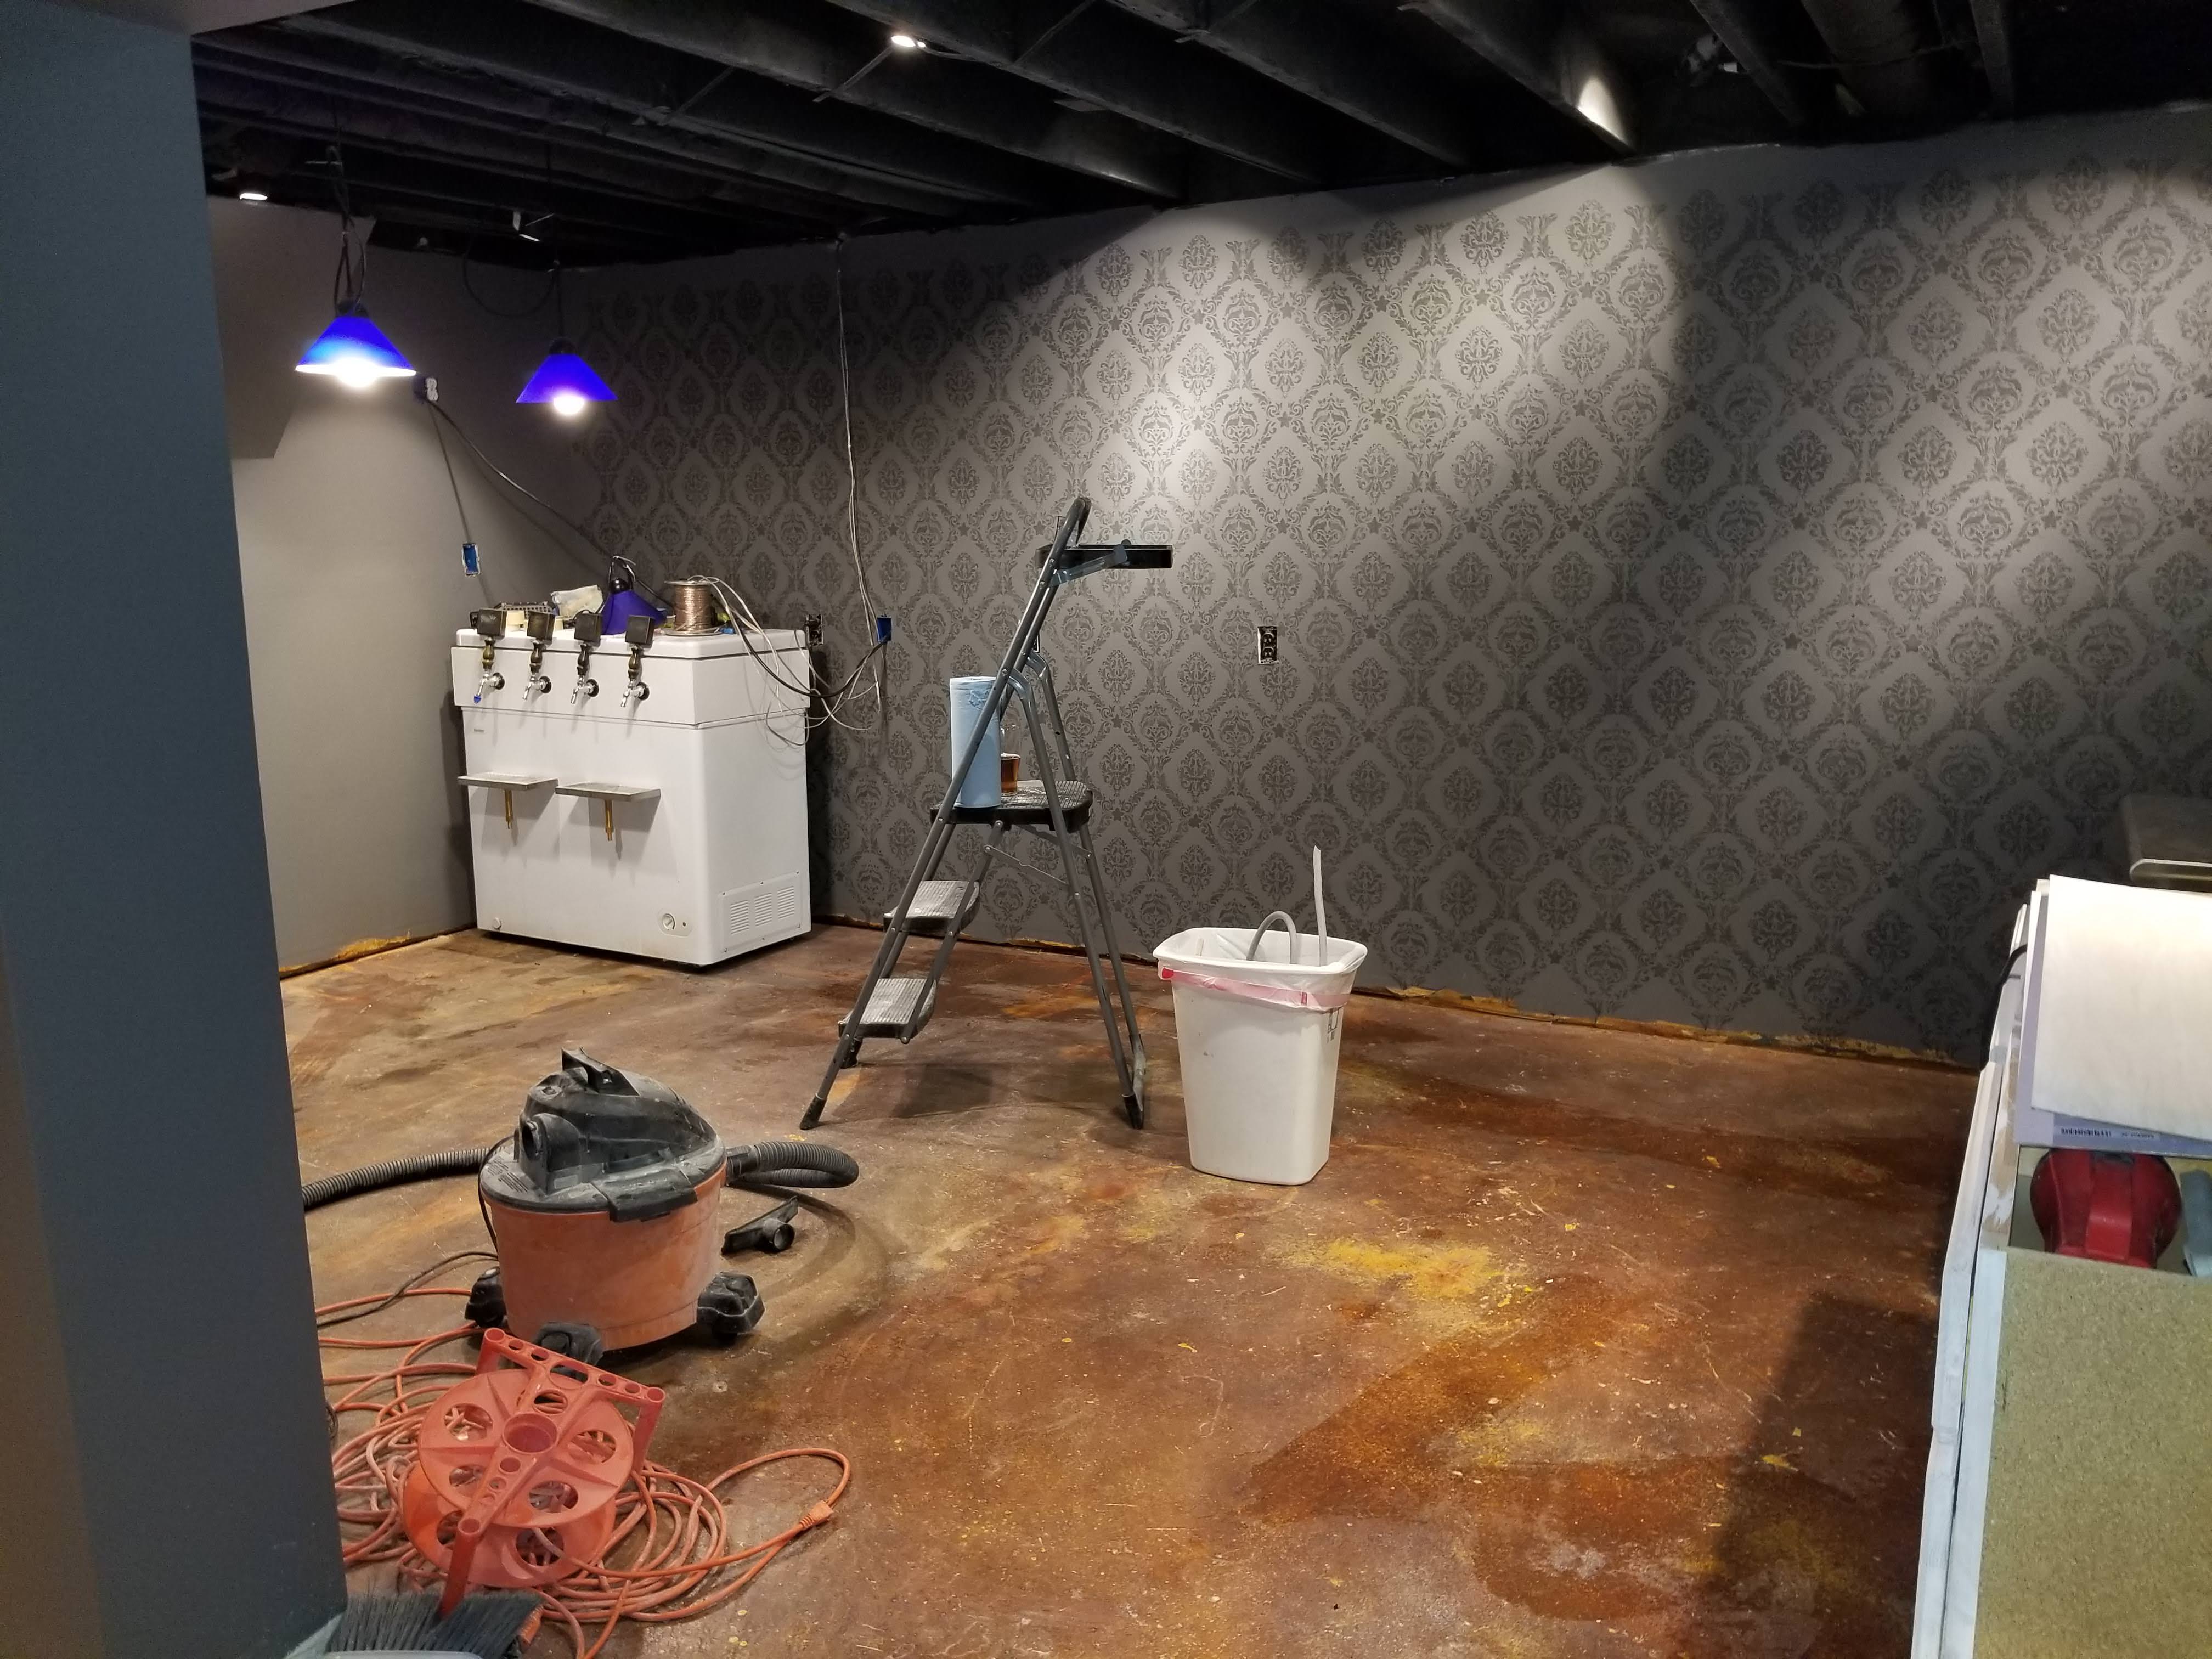
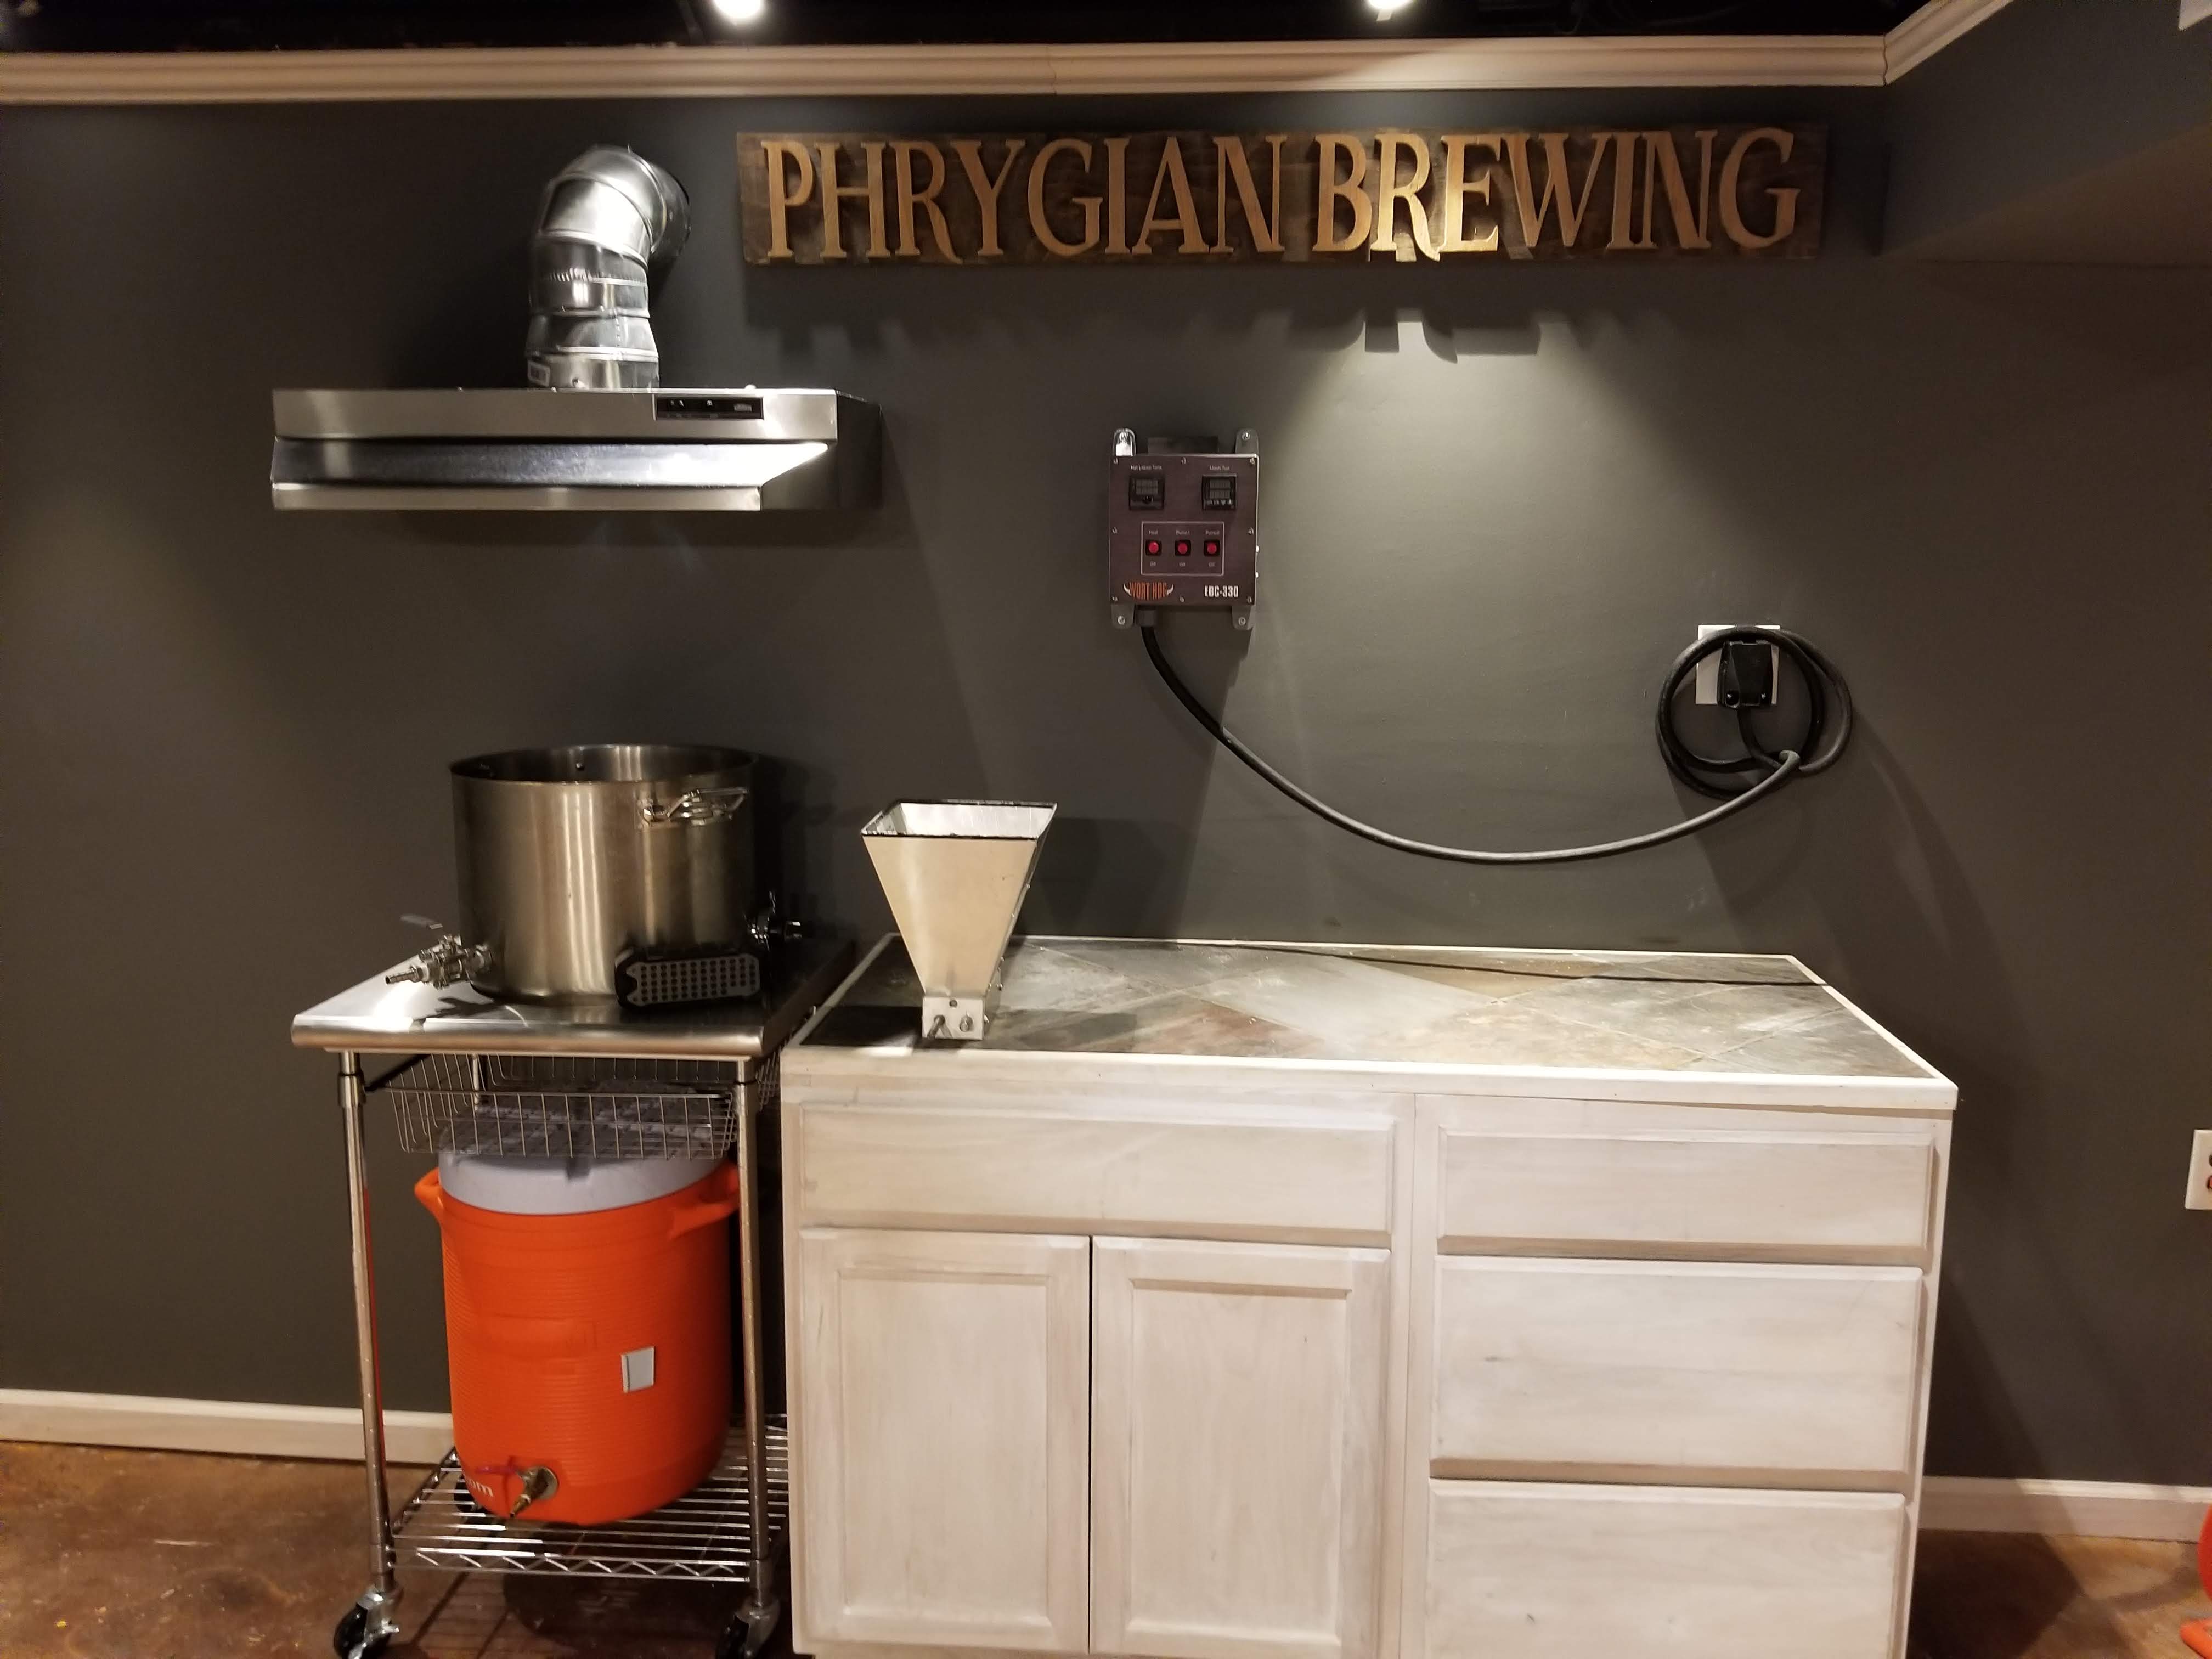
Painting done
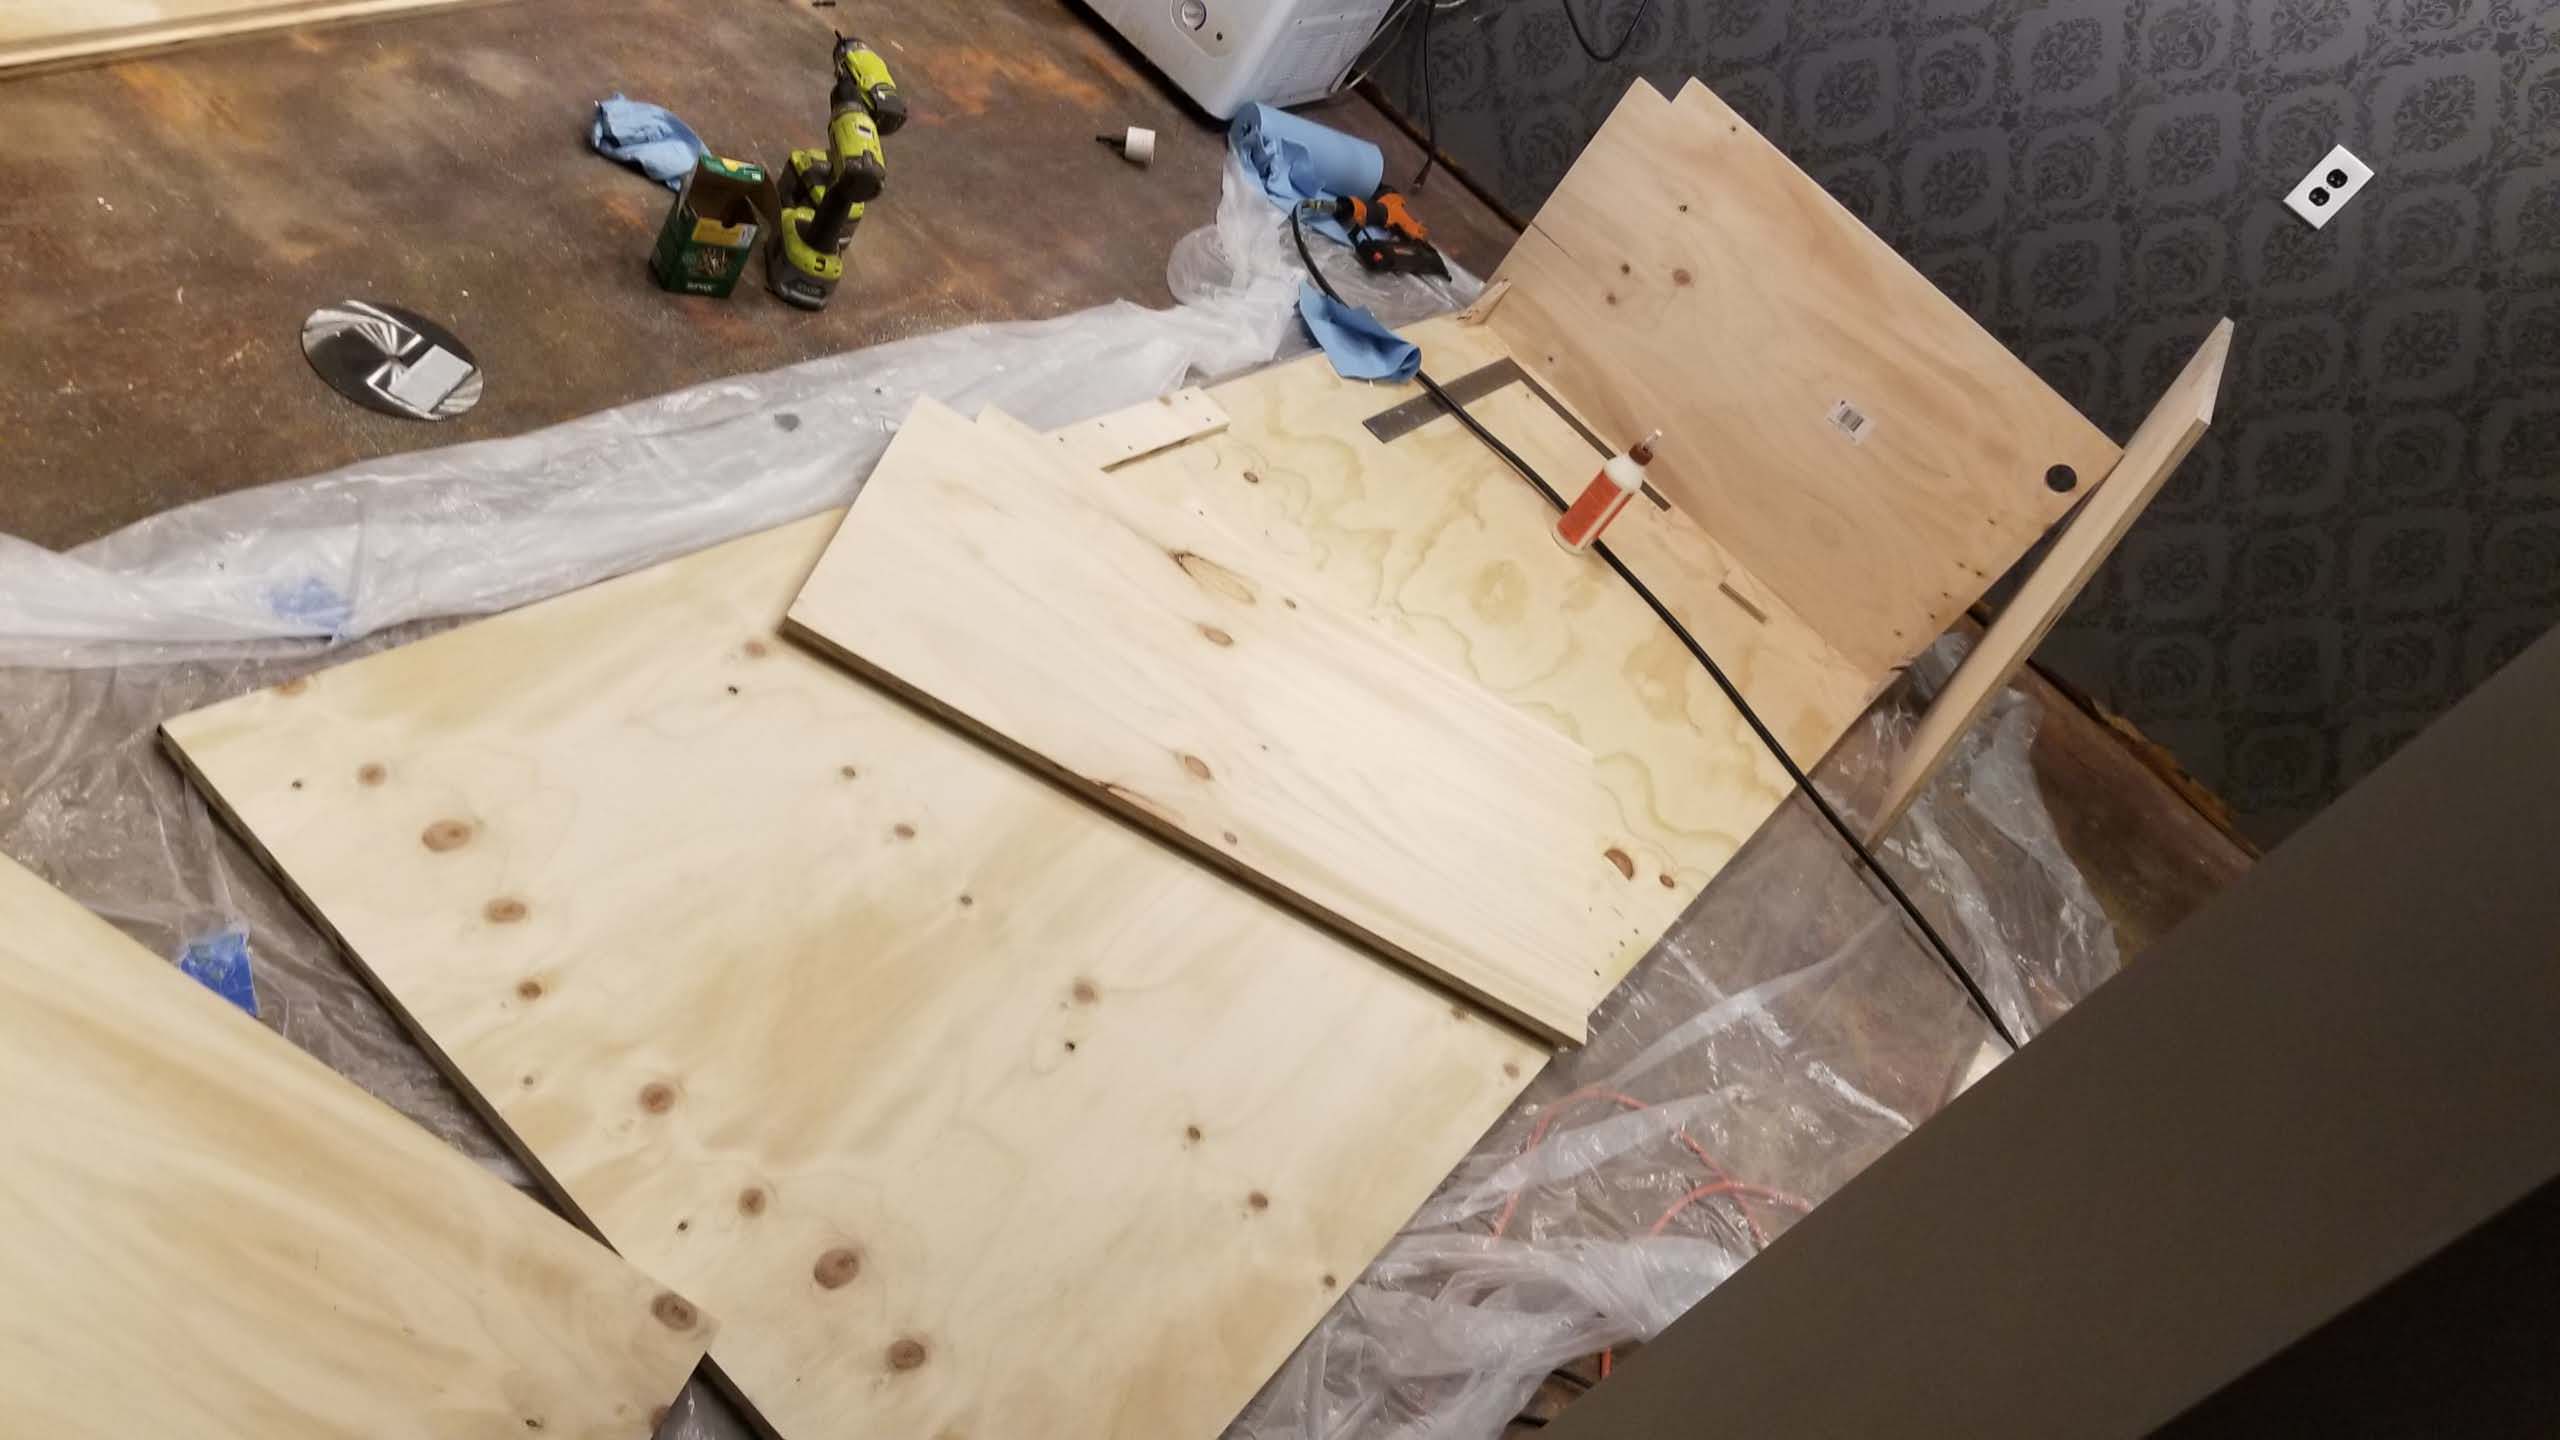
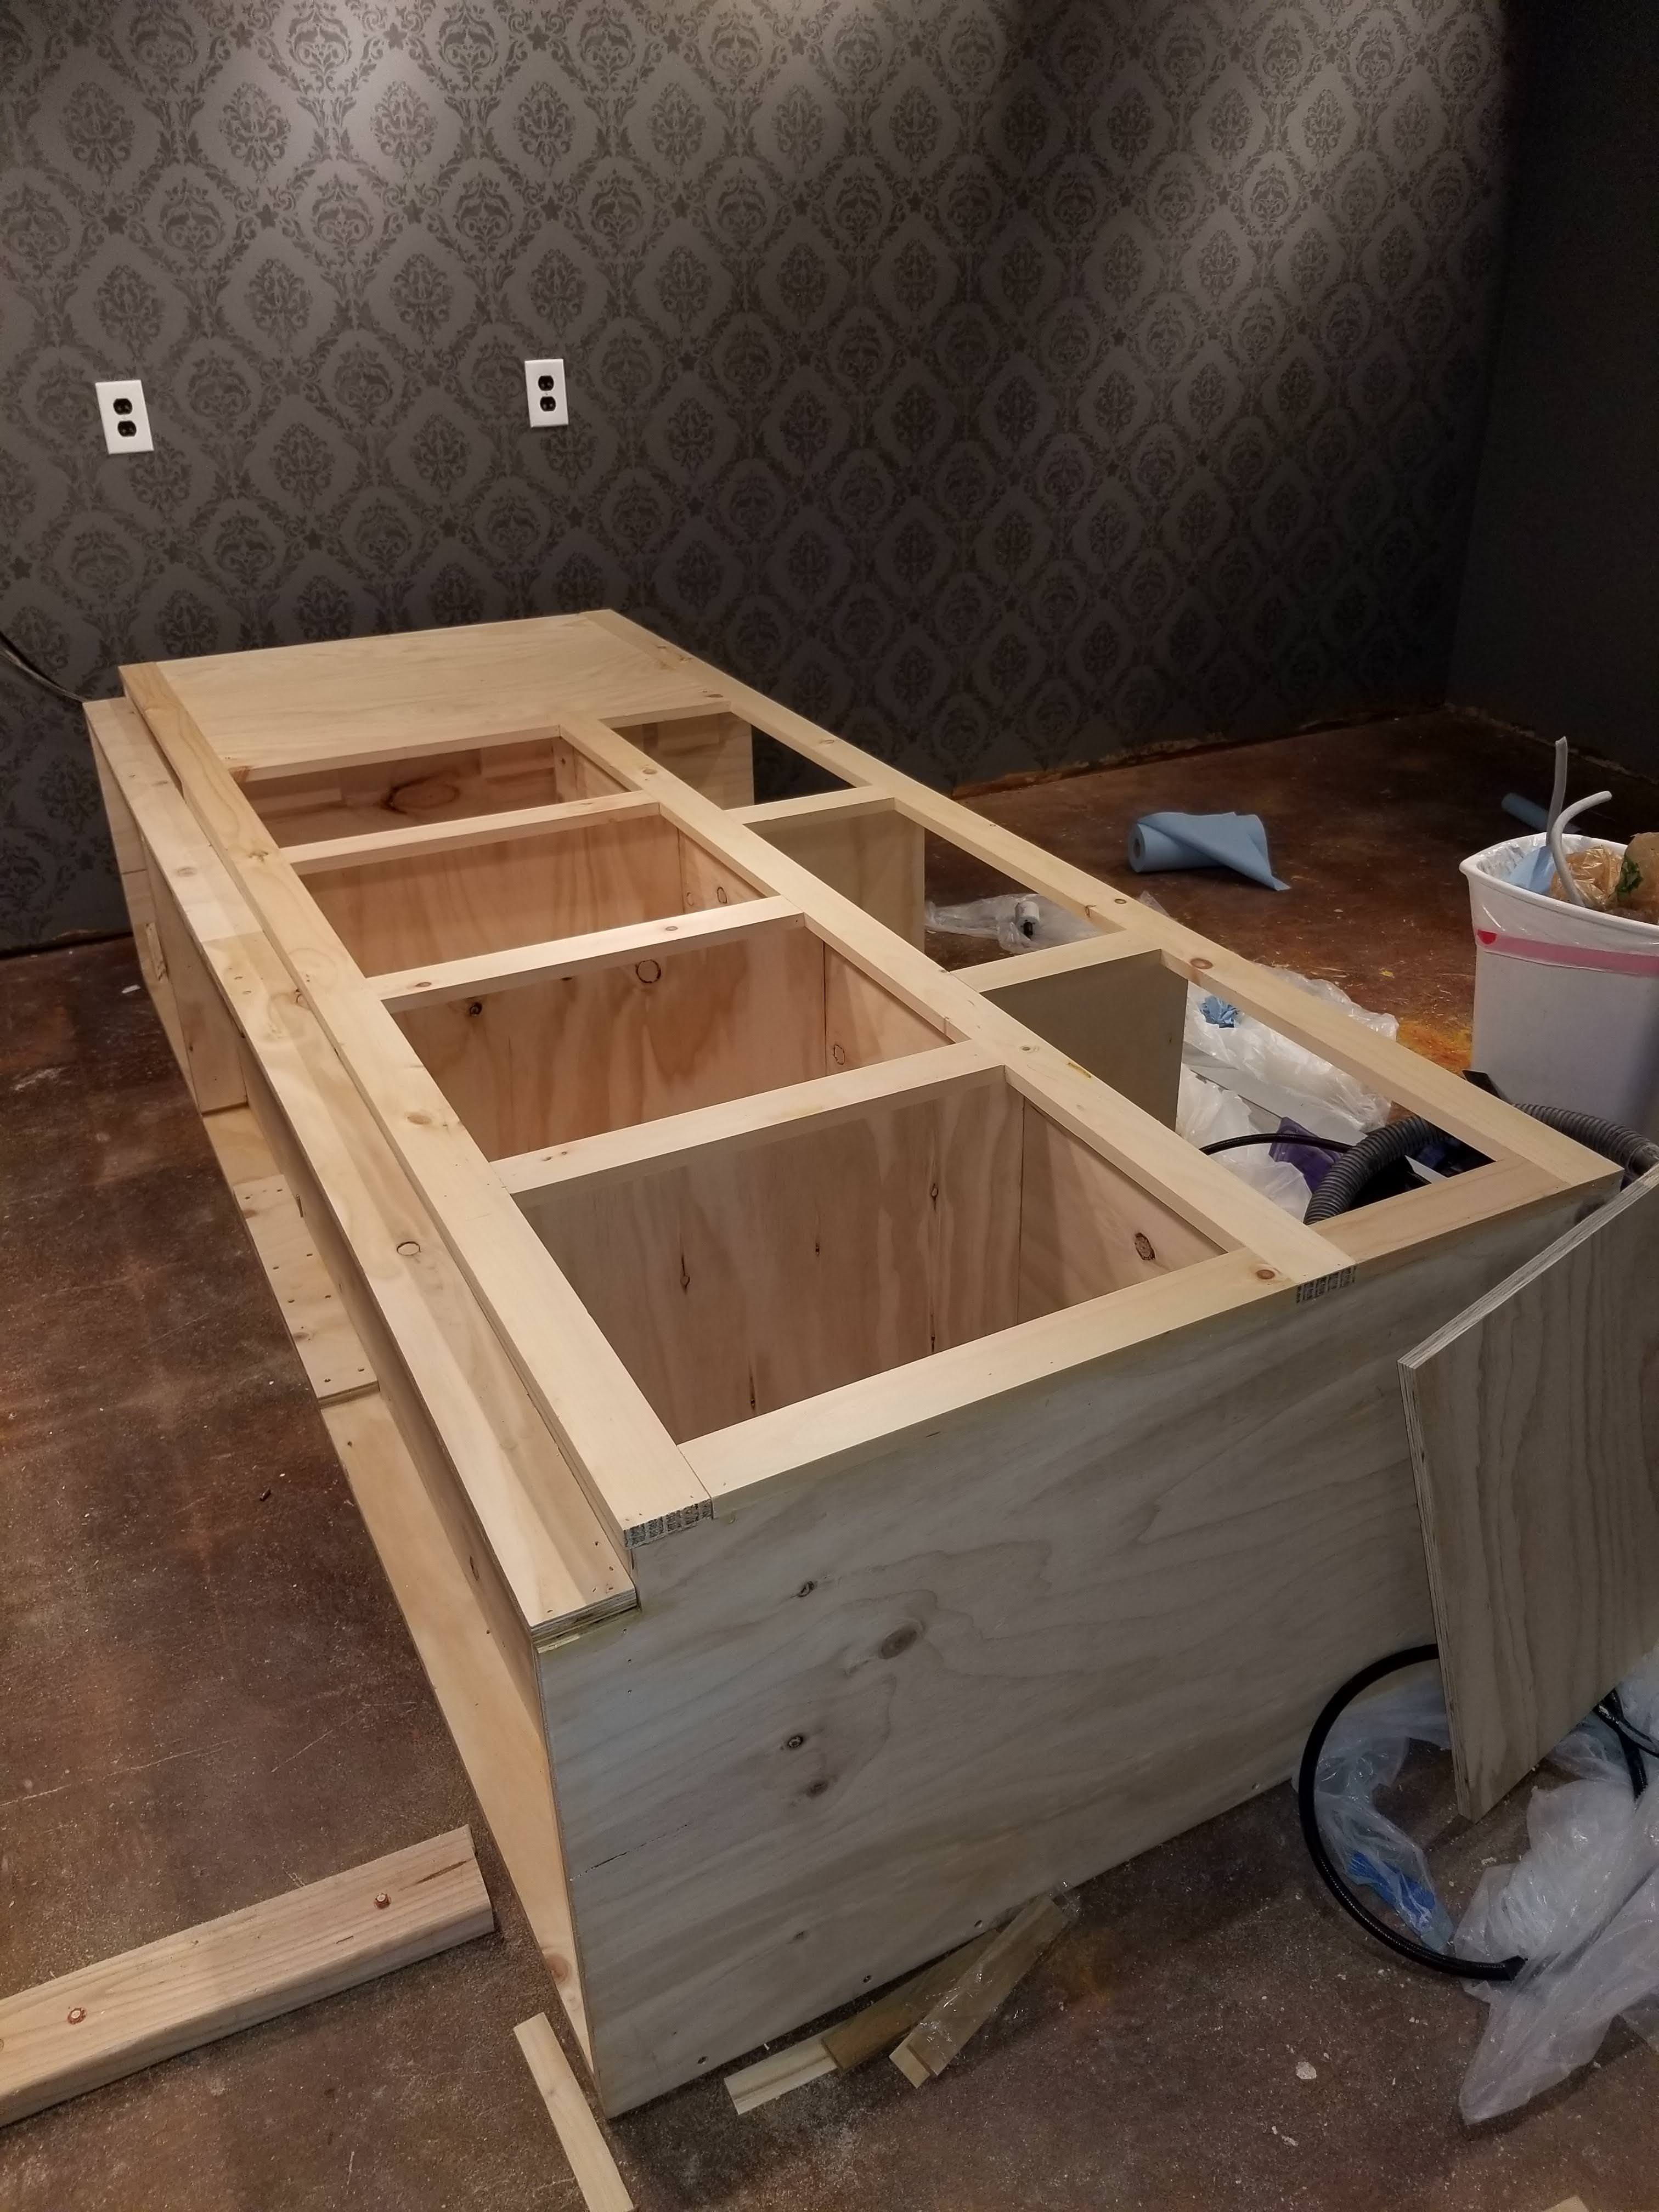
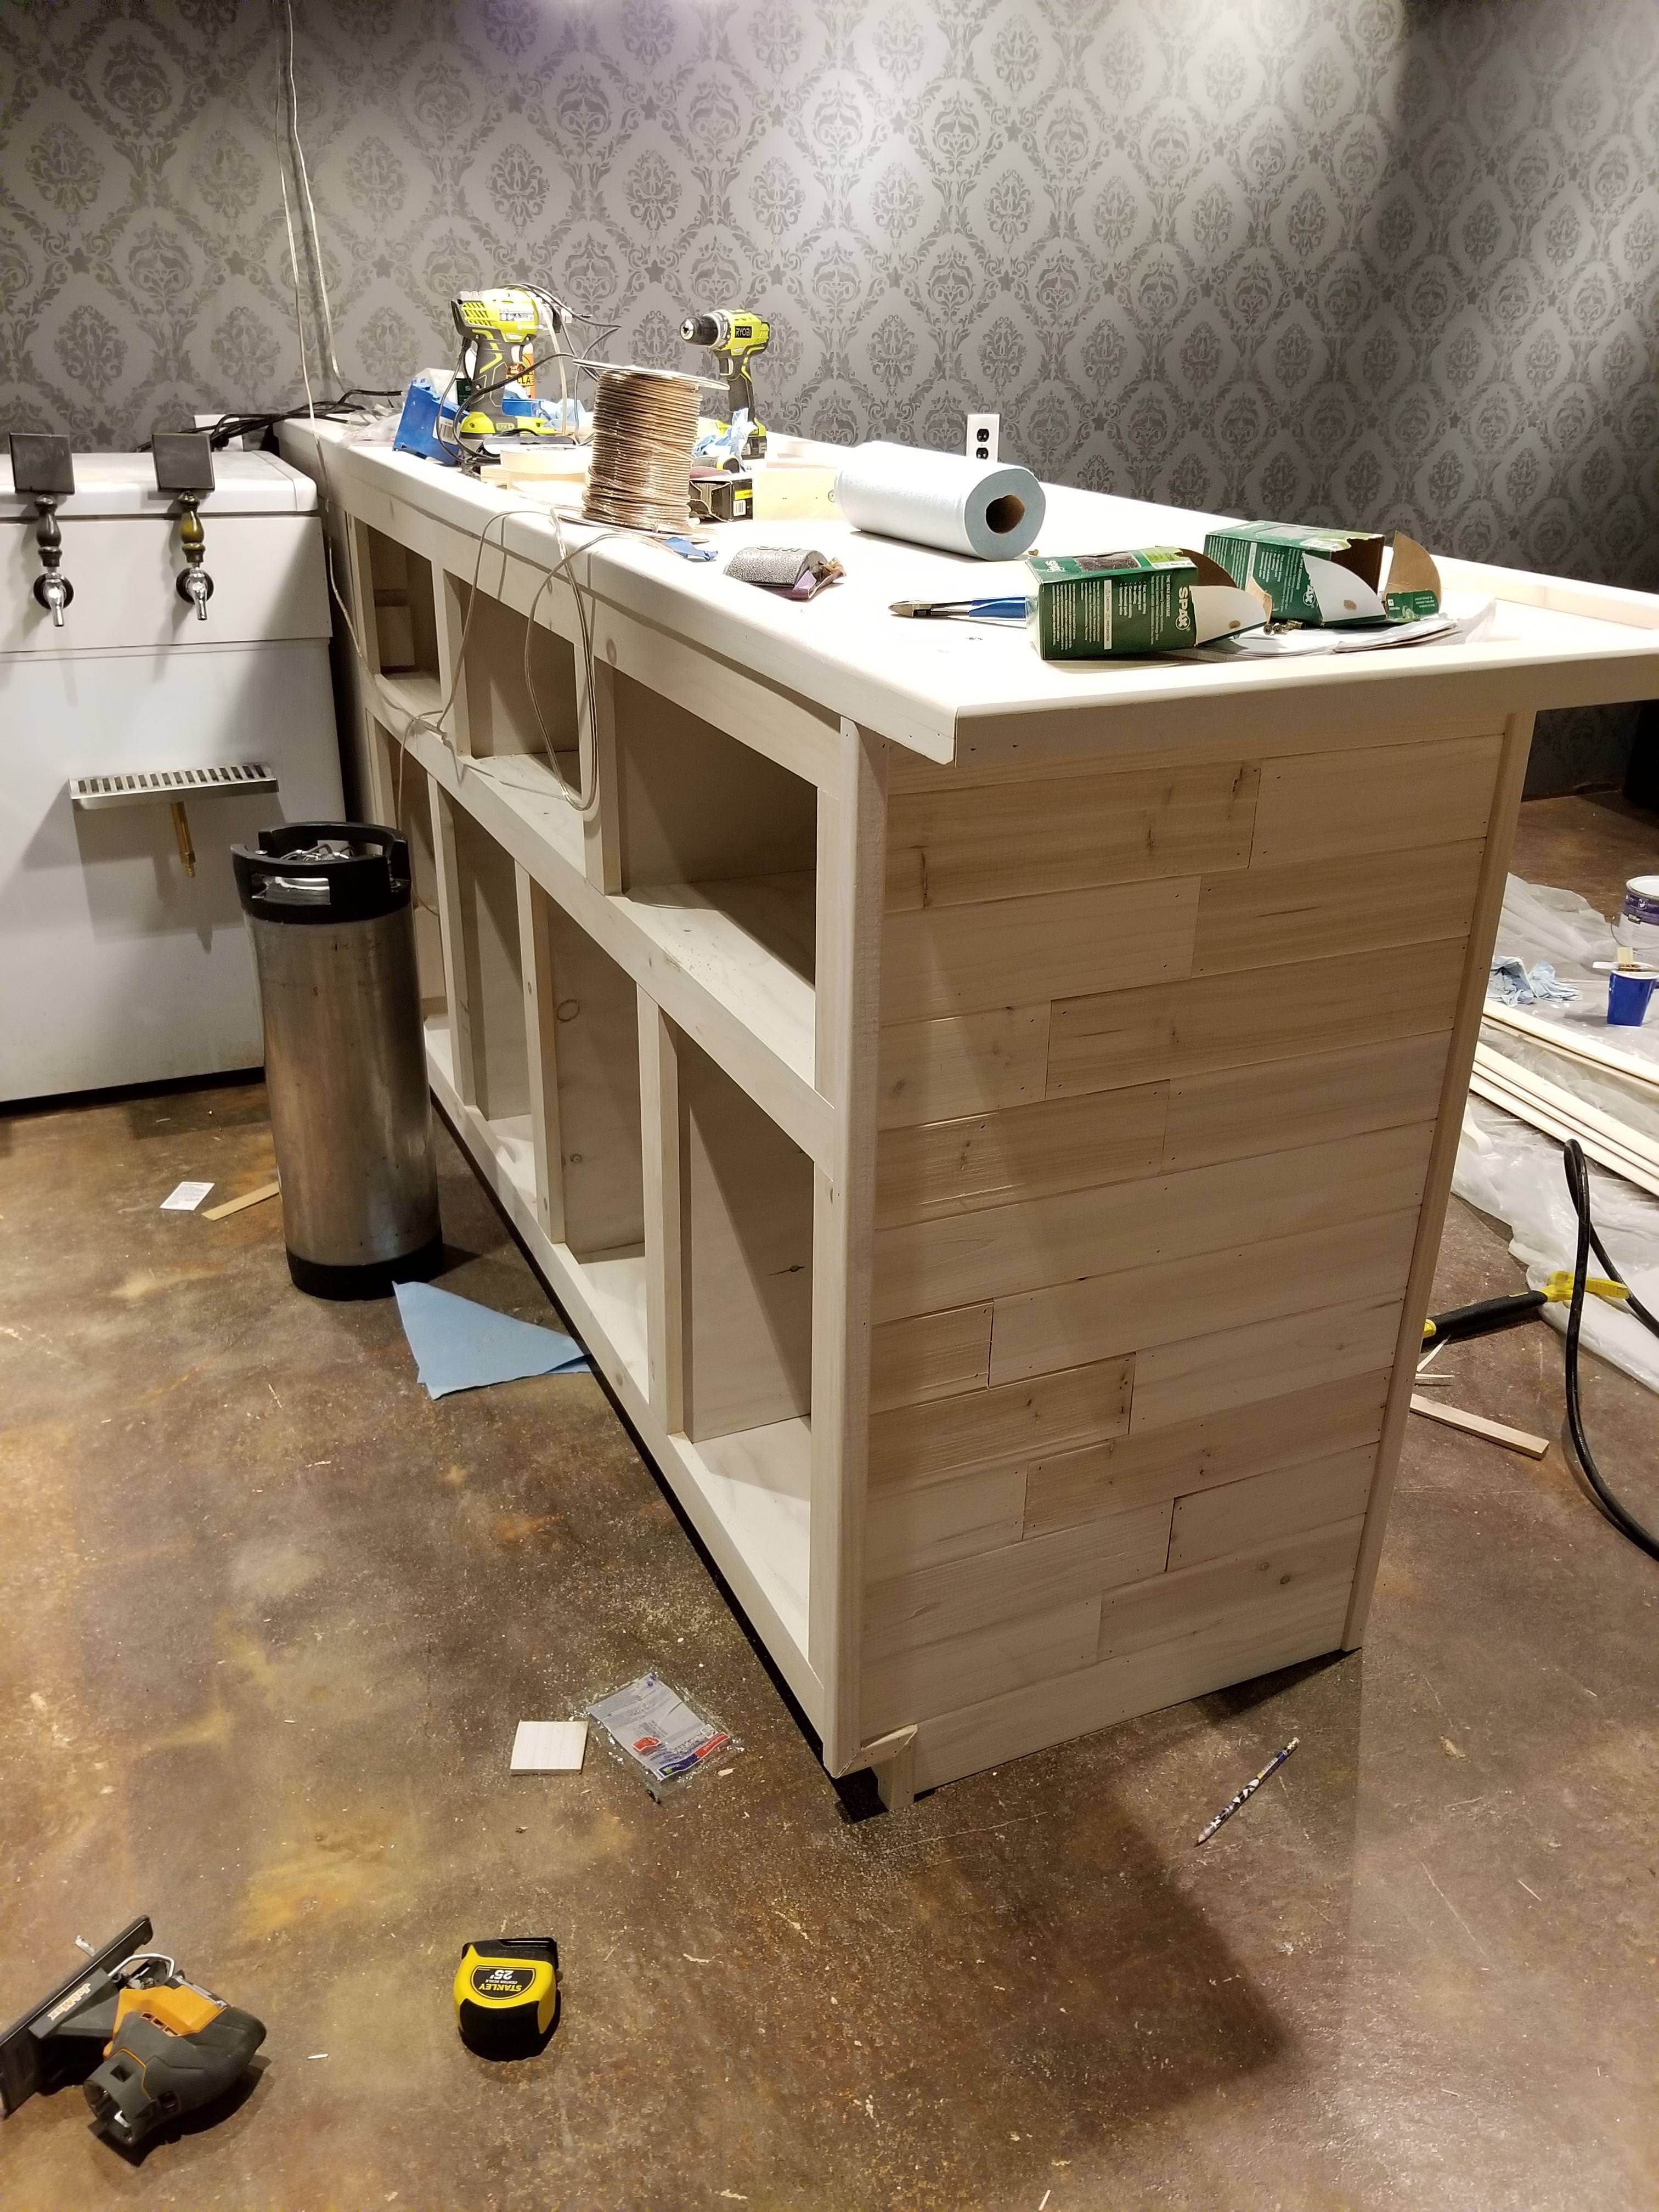
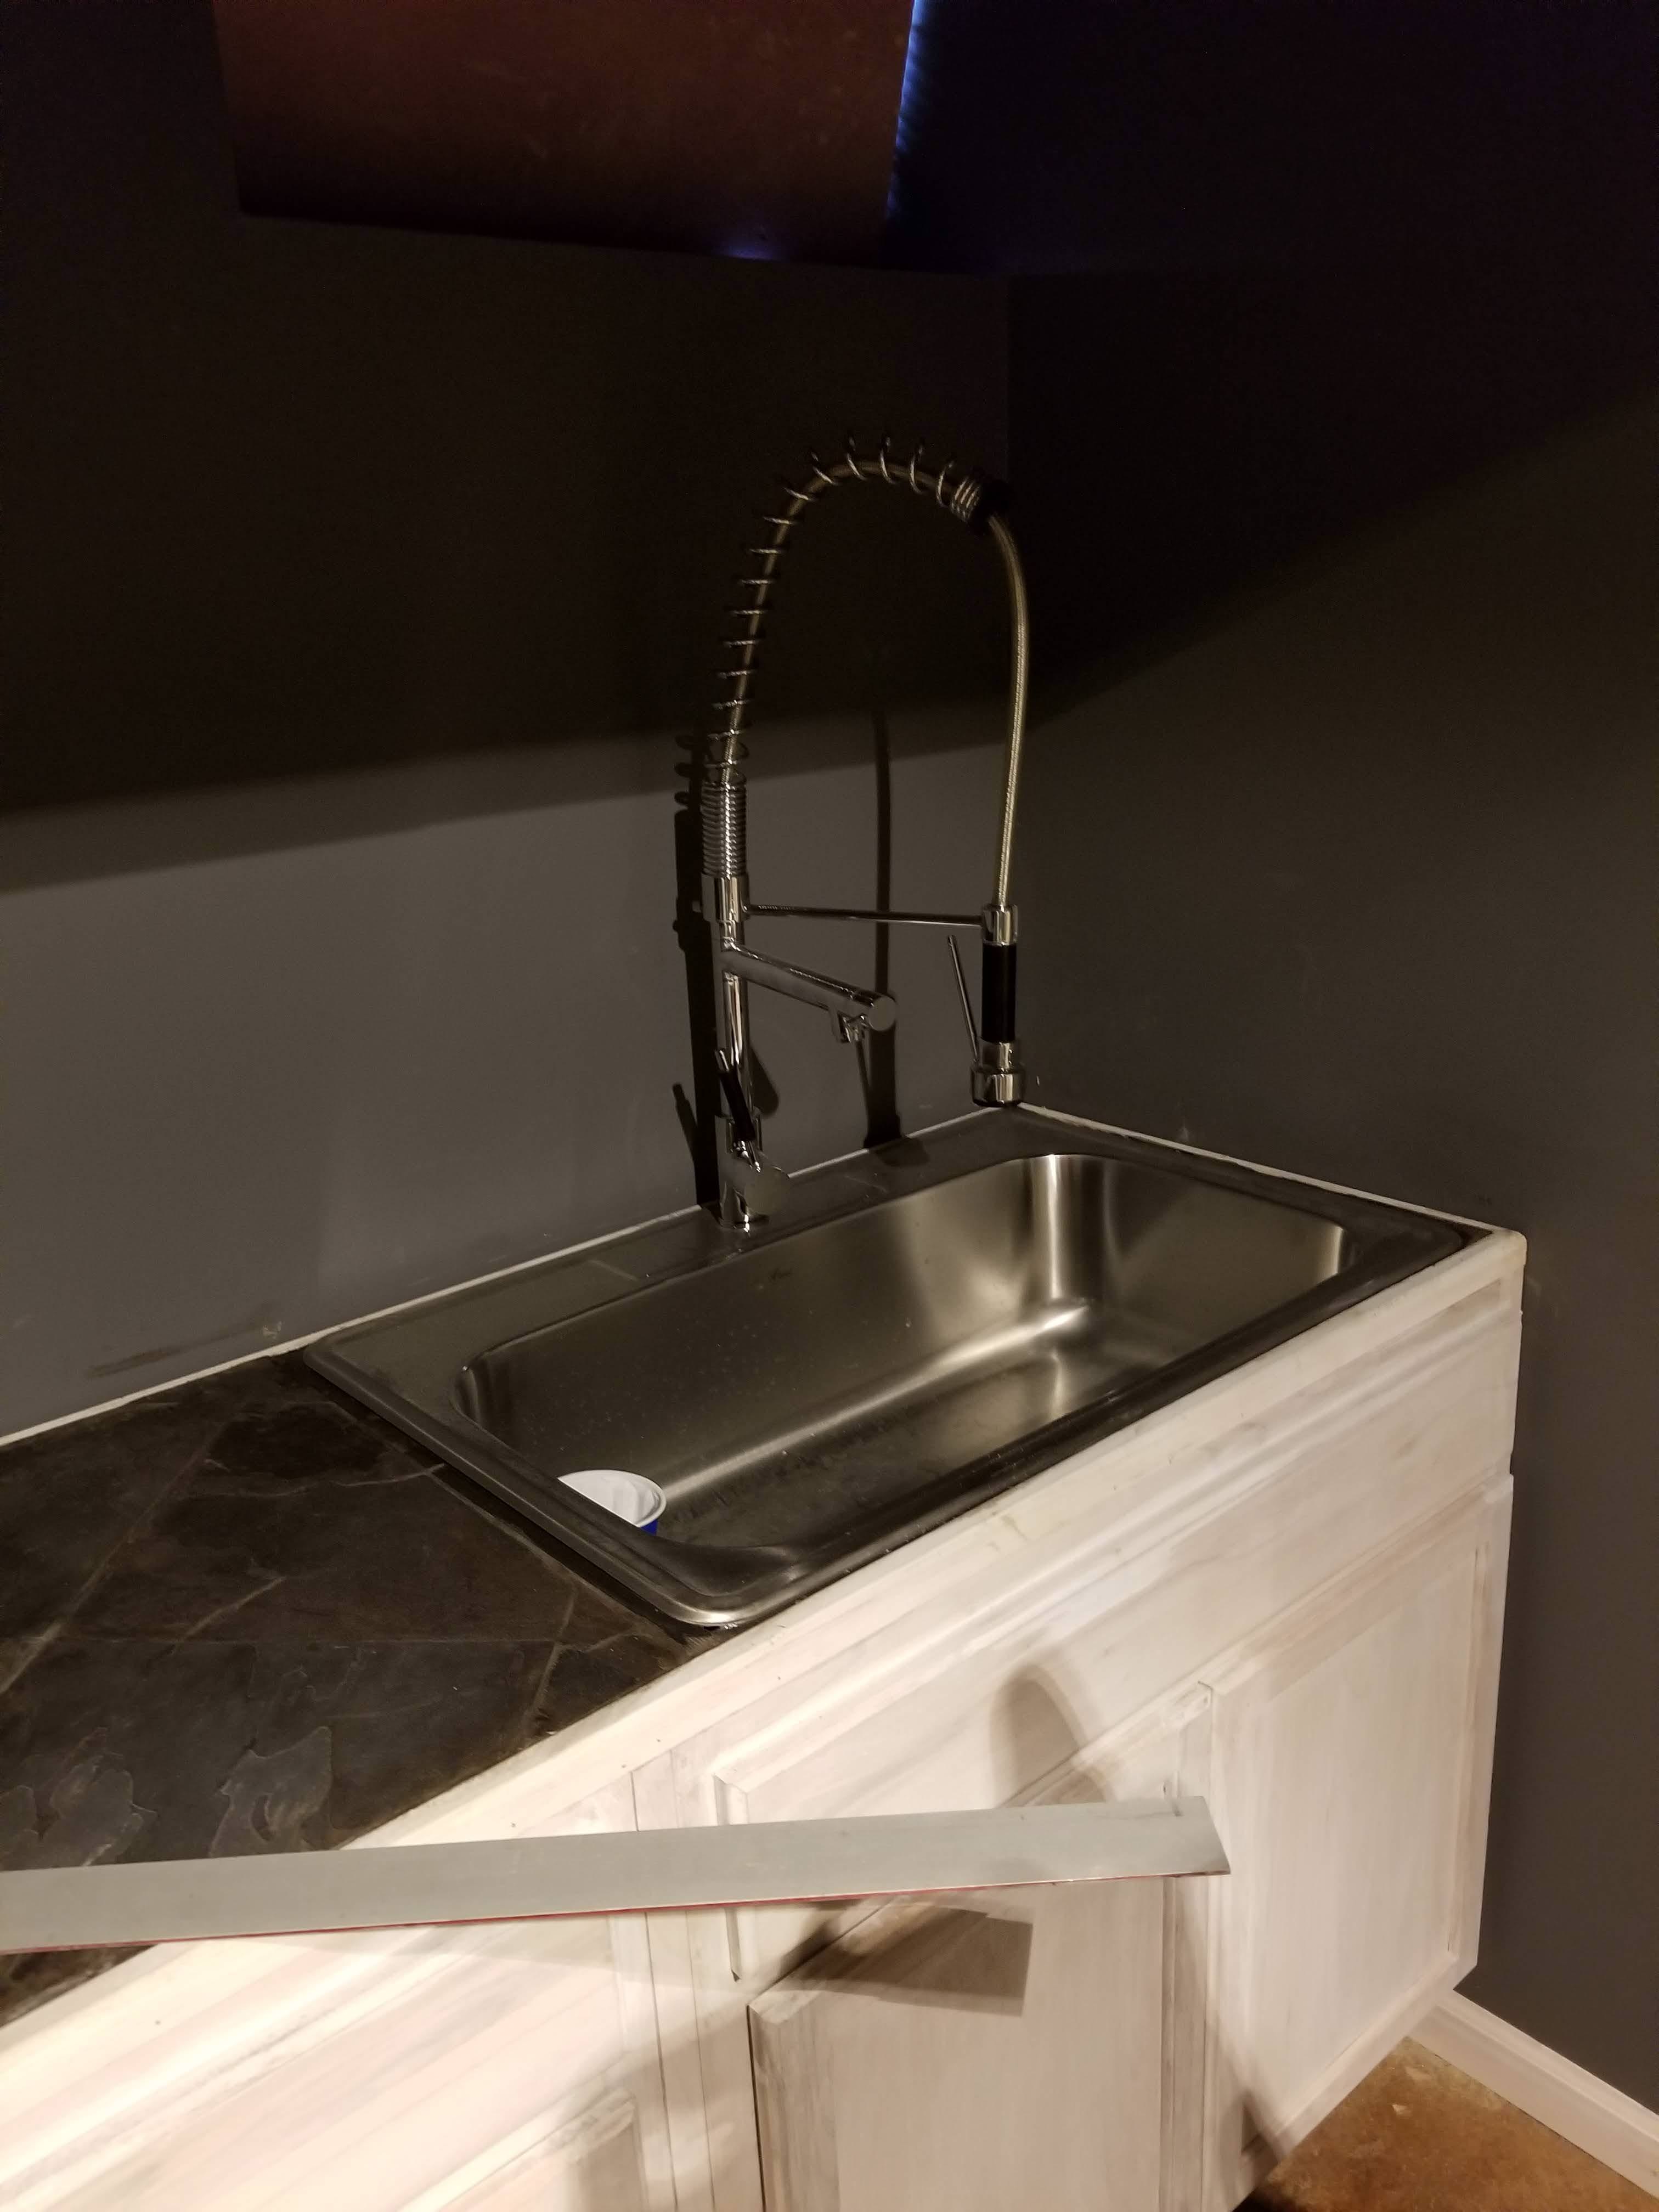
Starting on the bar
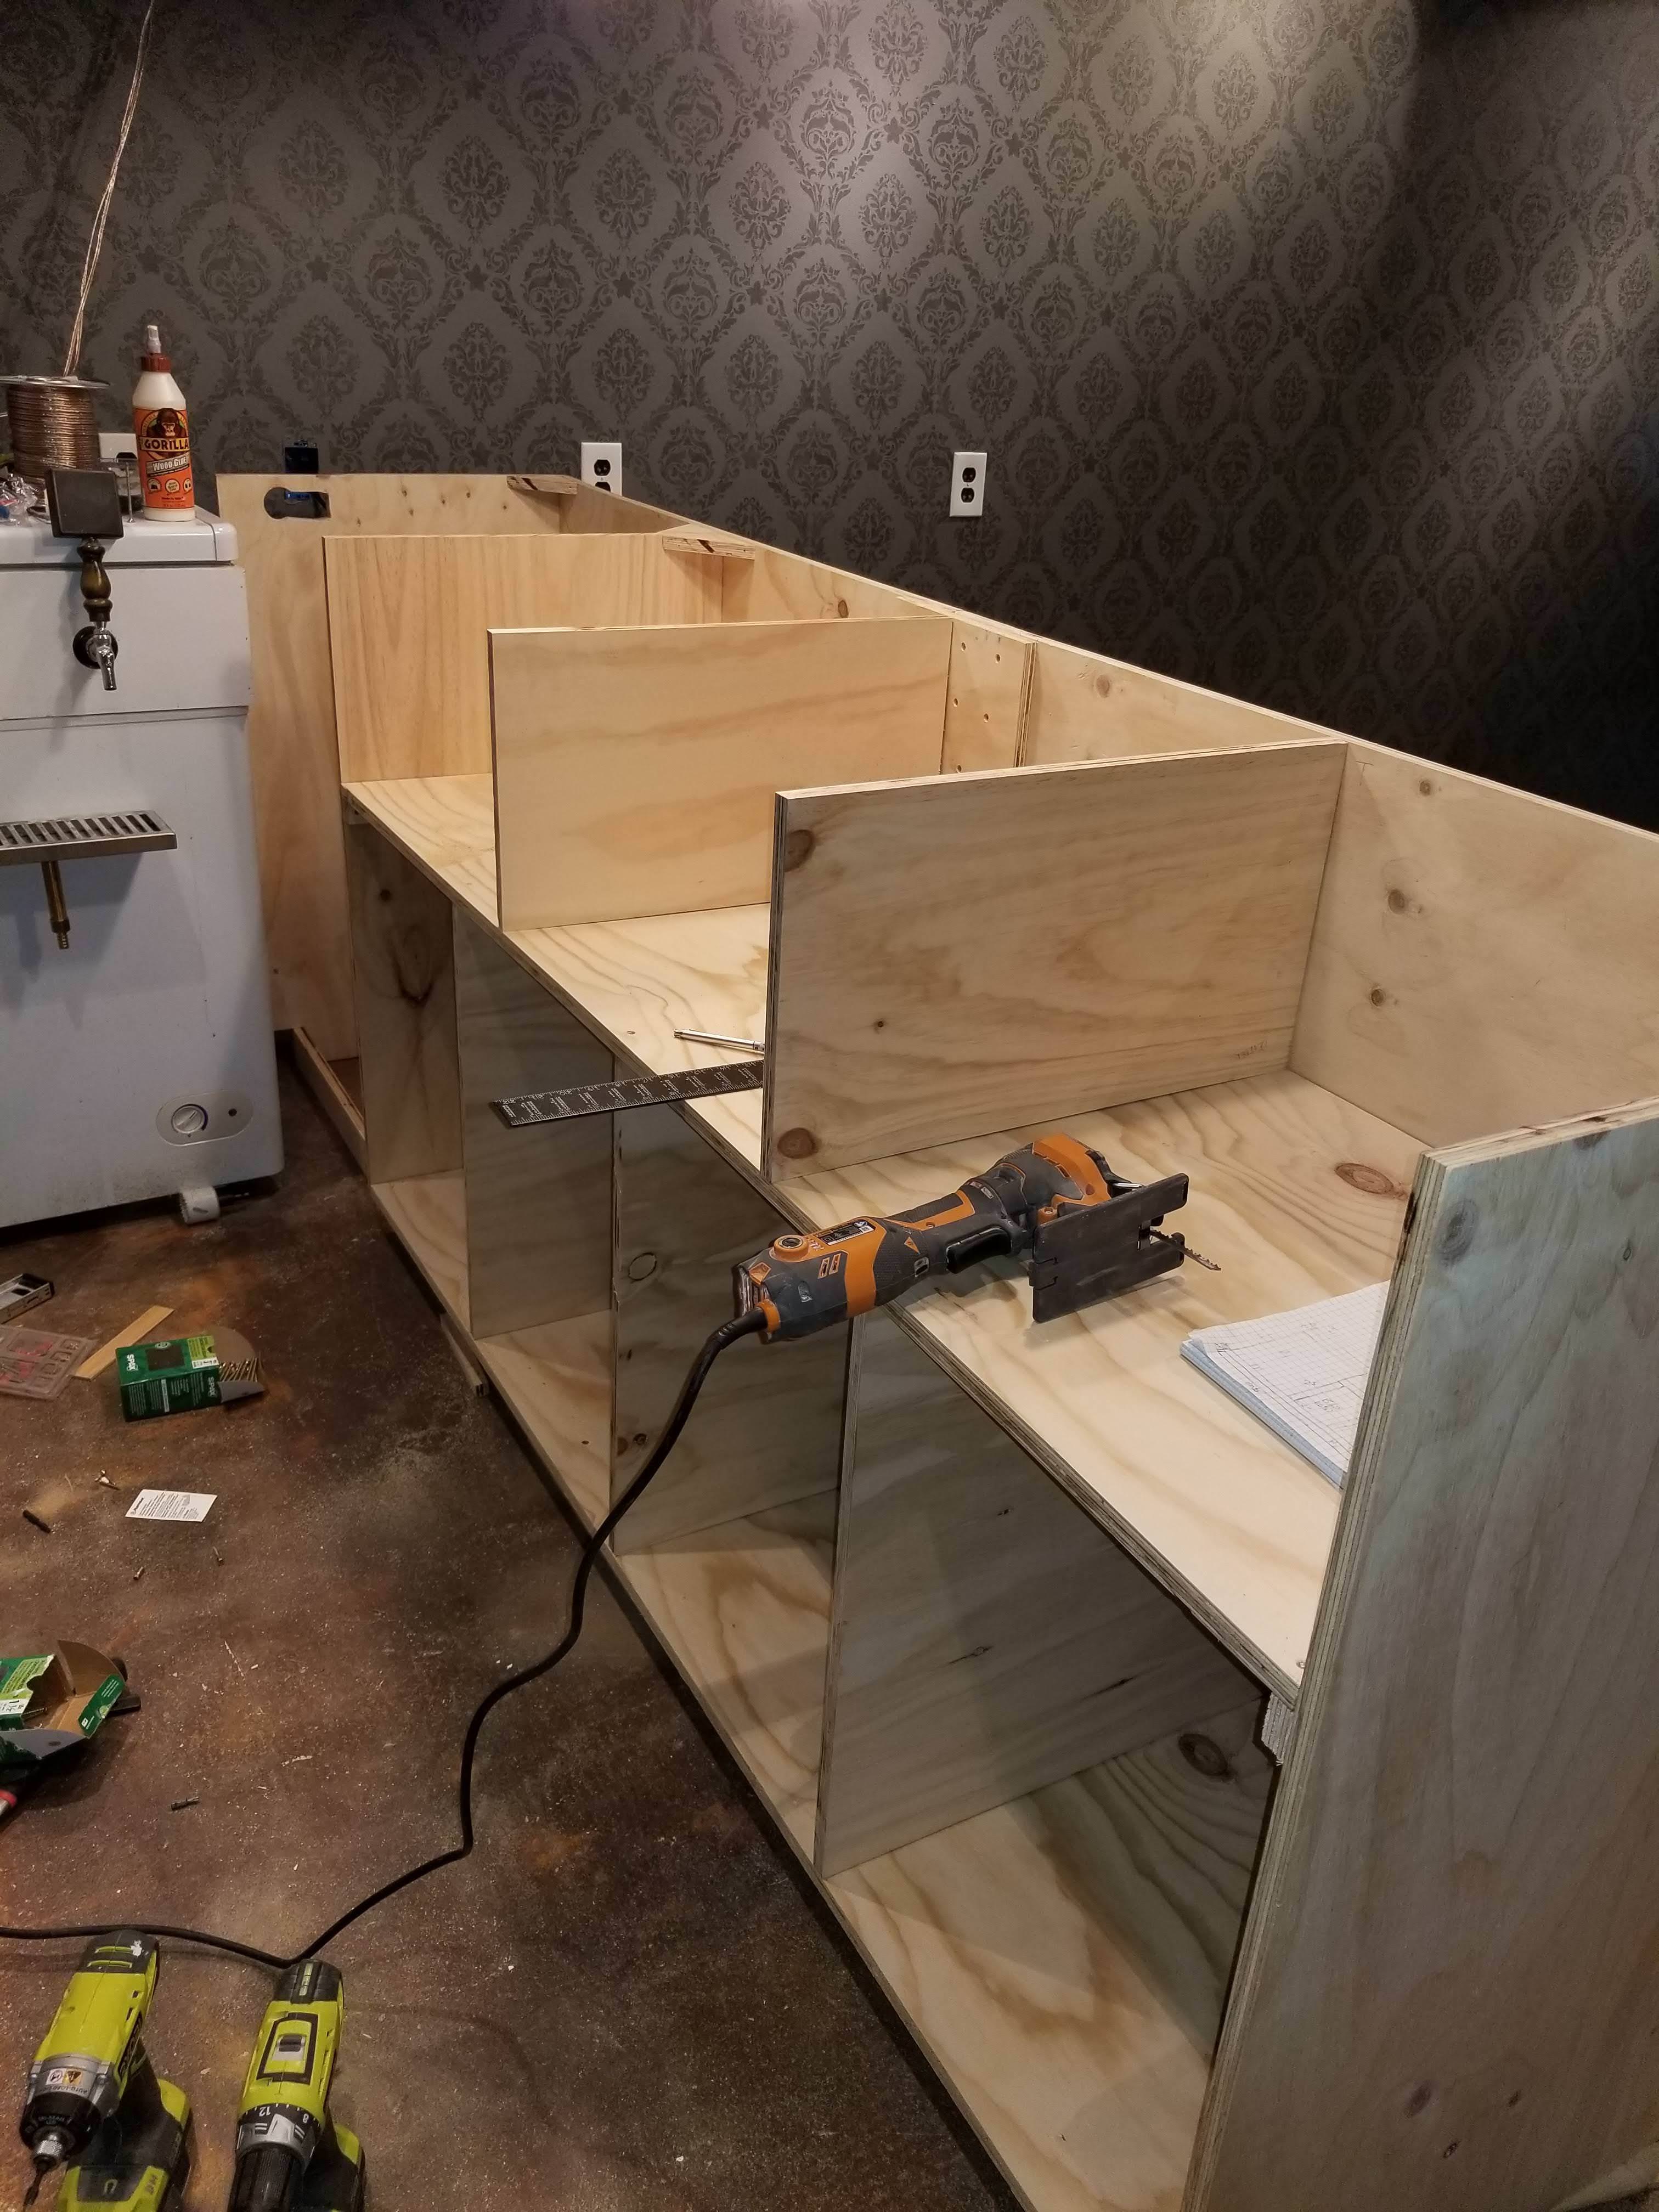
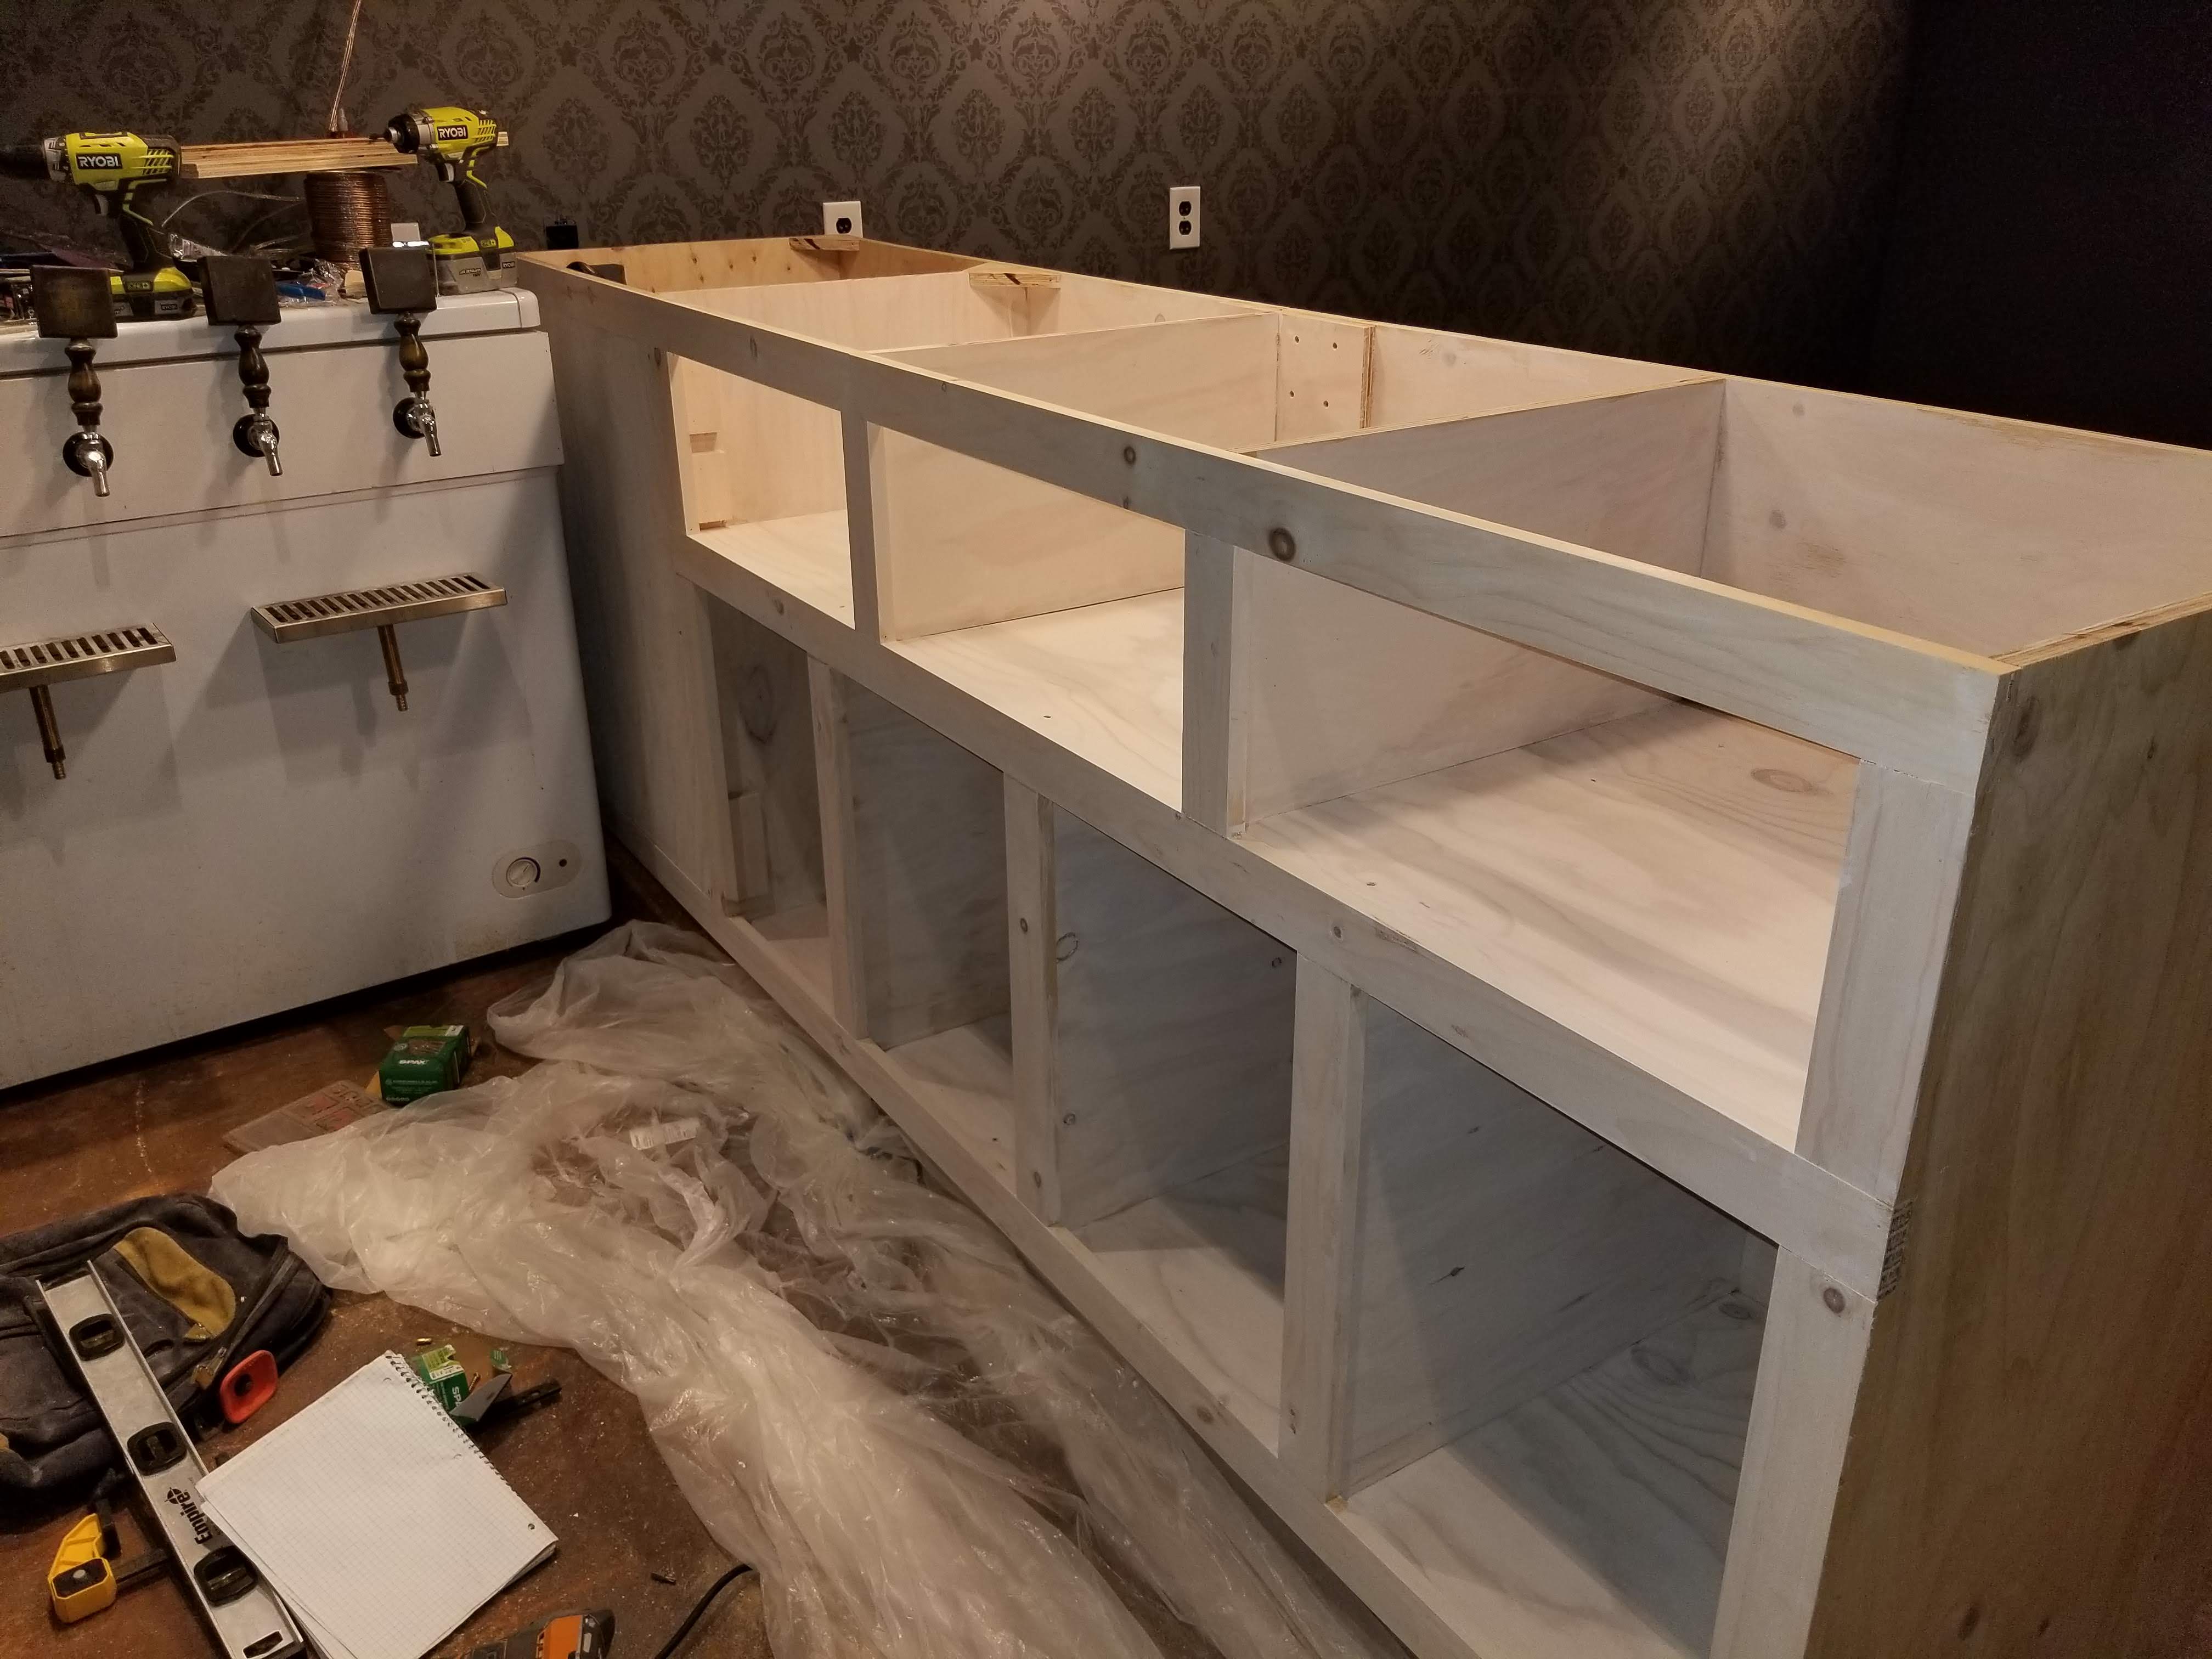
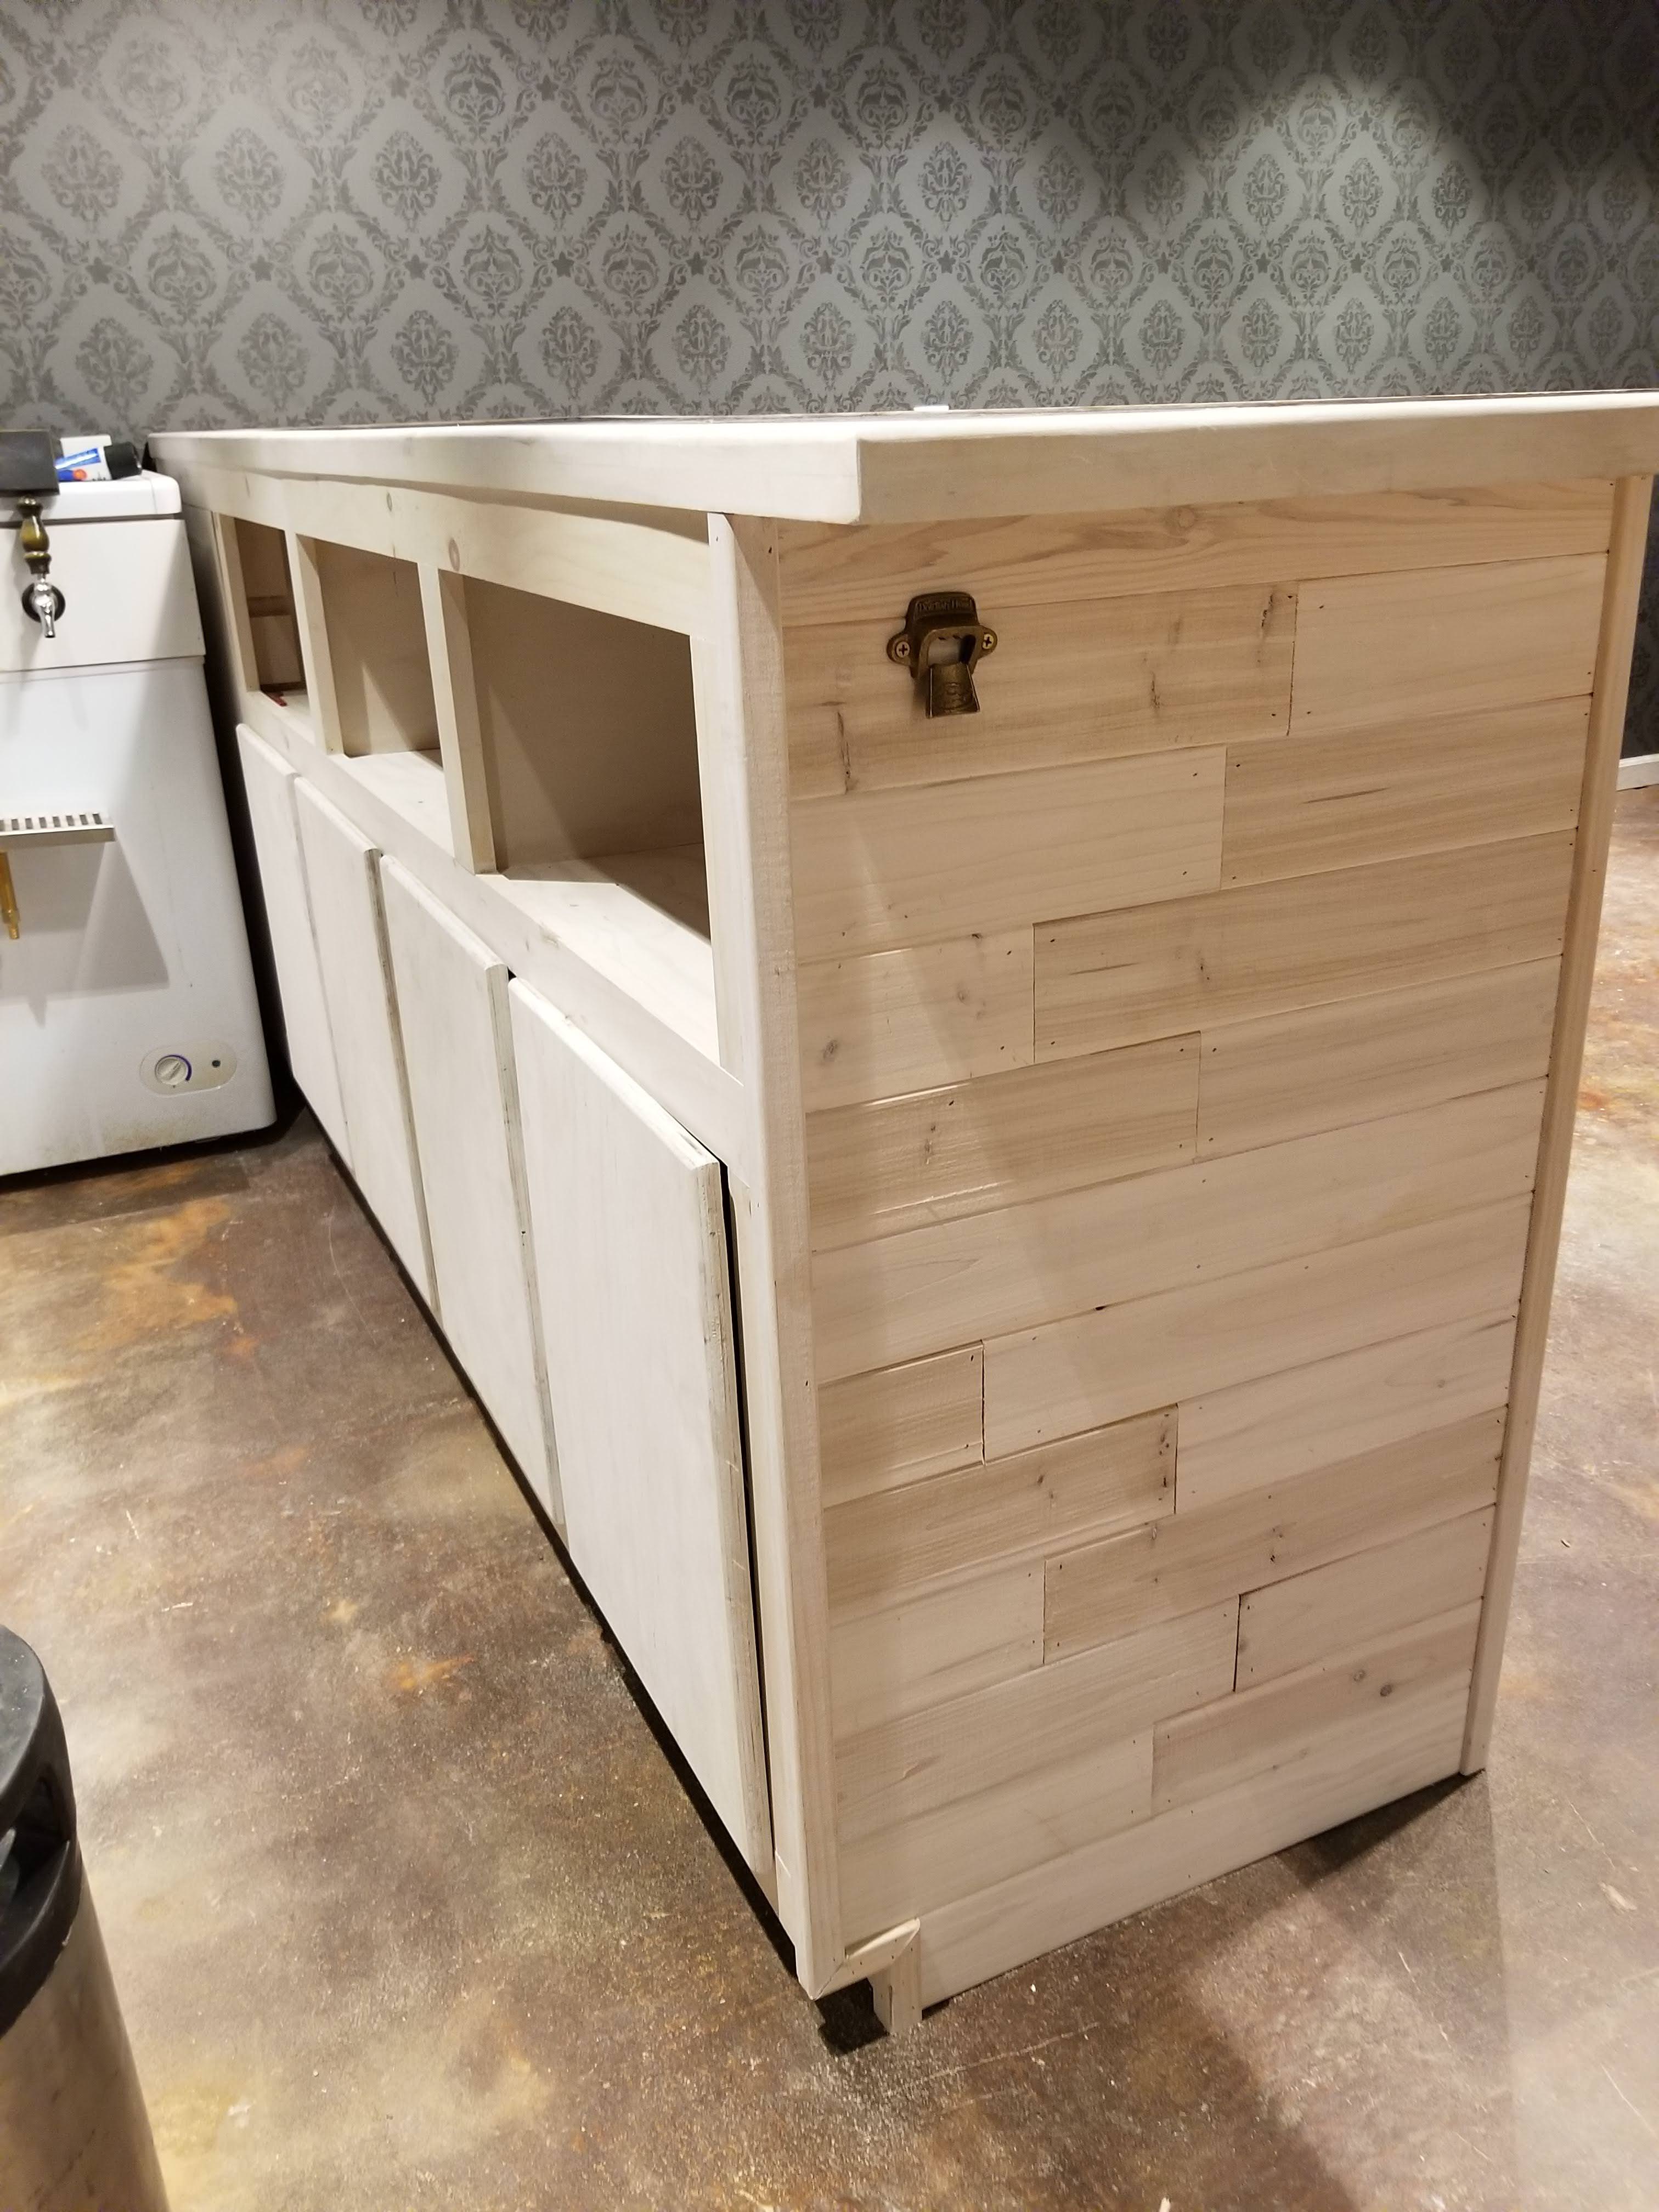
Sides and shelves in
Put some wood facing on to make it look more like cabinets
Whitewashed everything
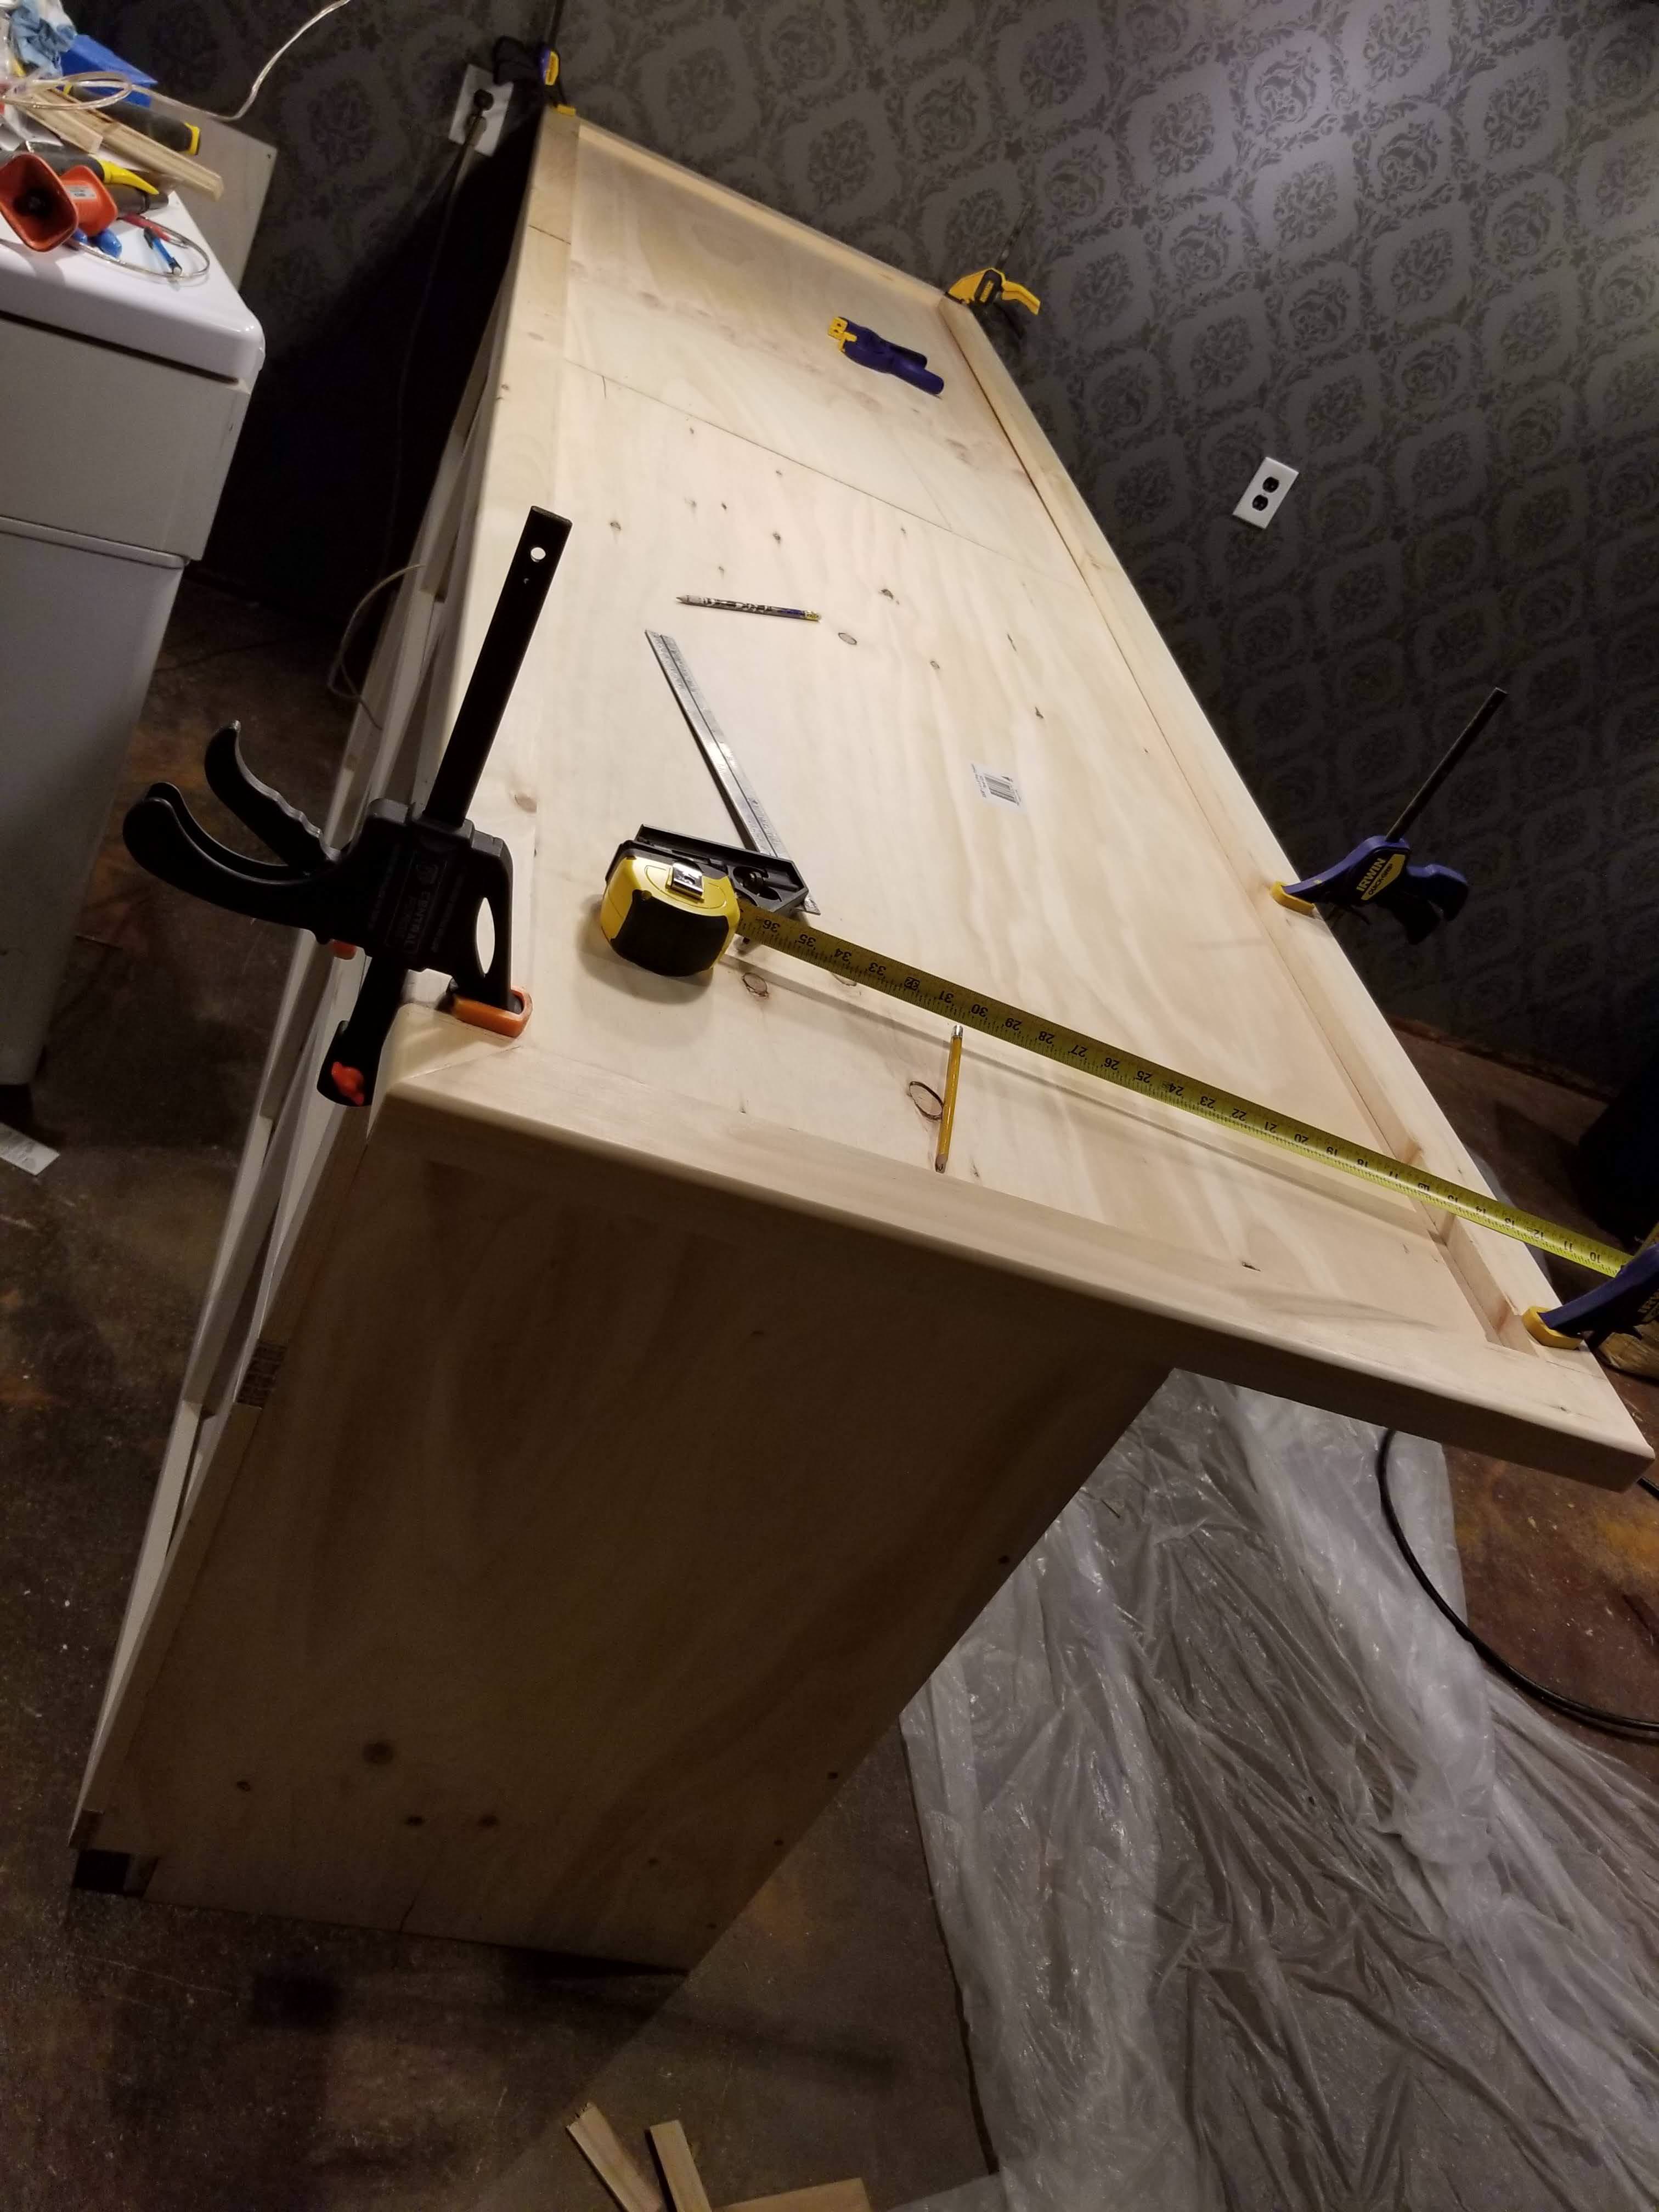
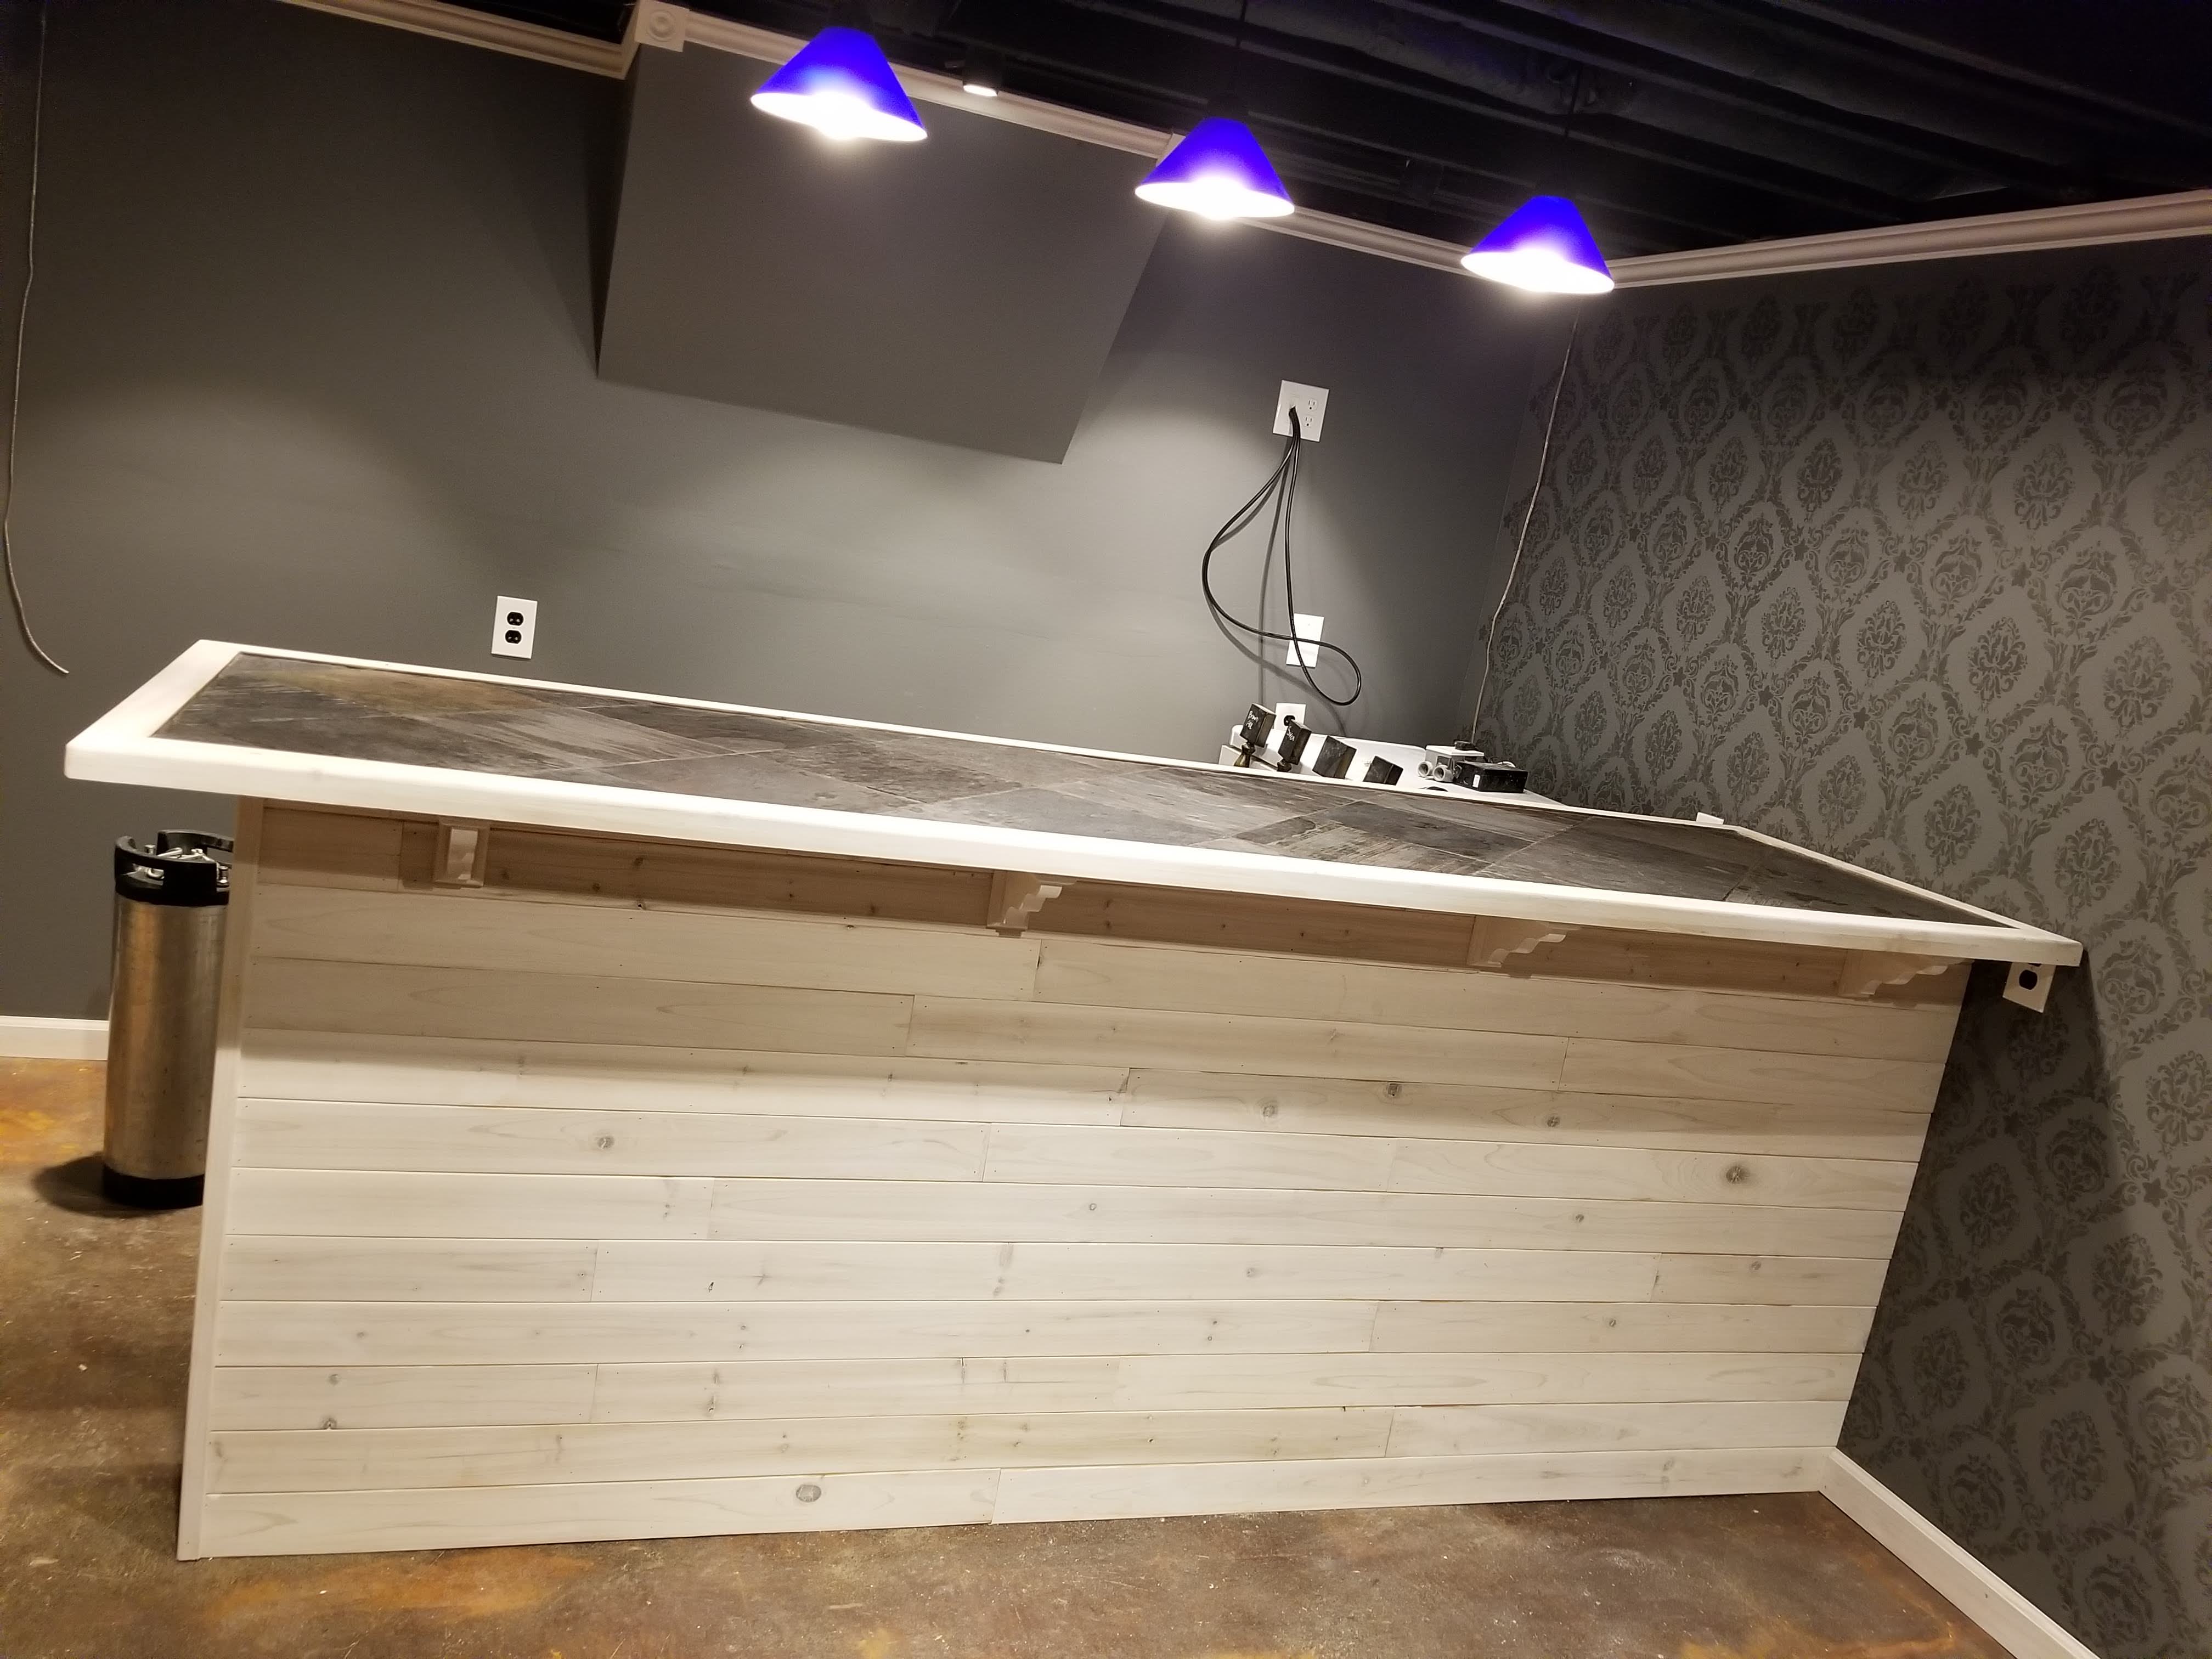
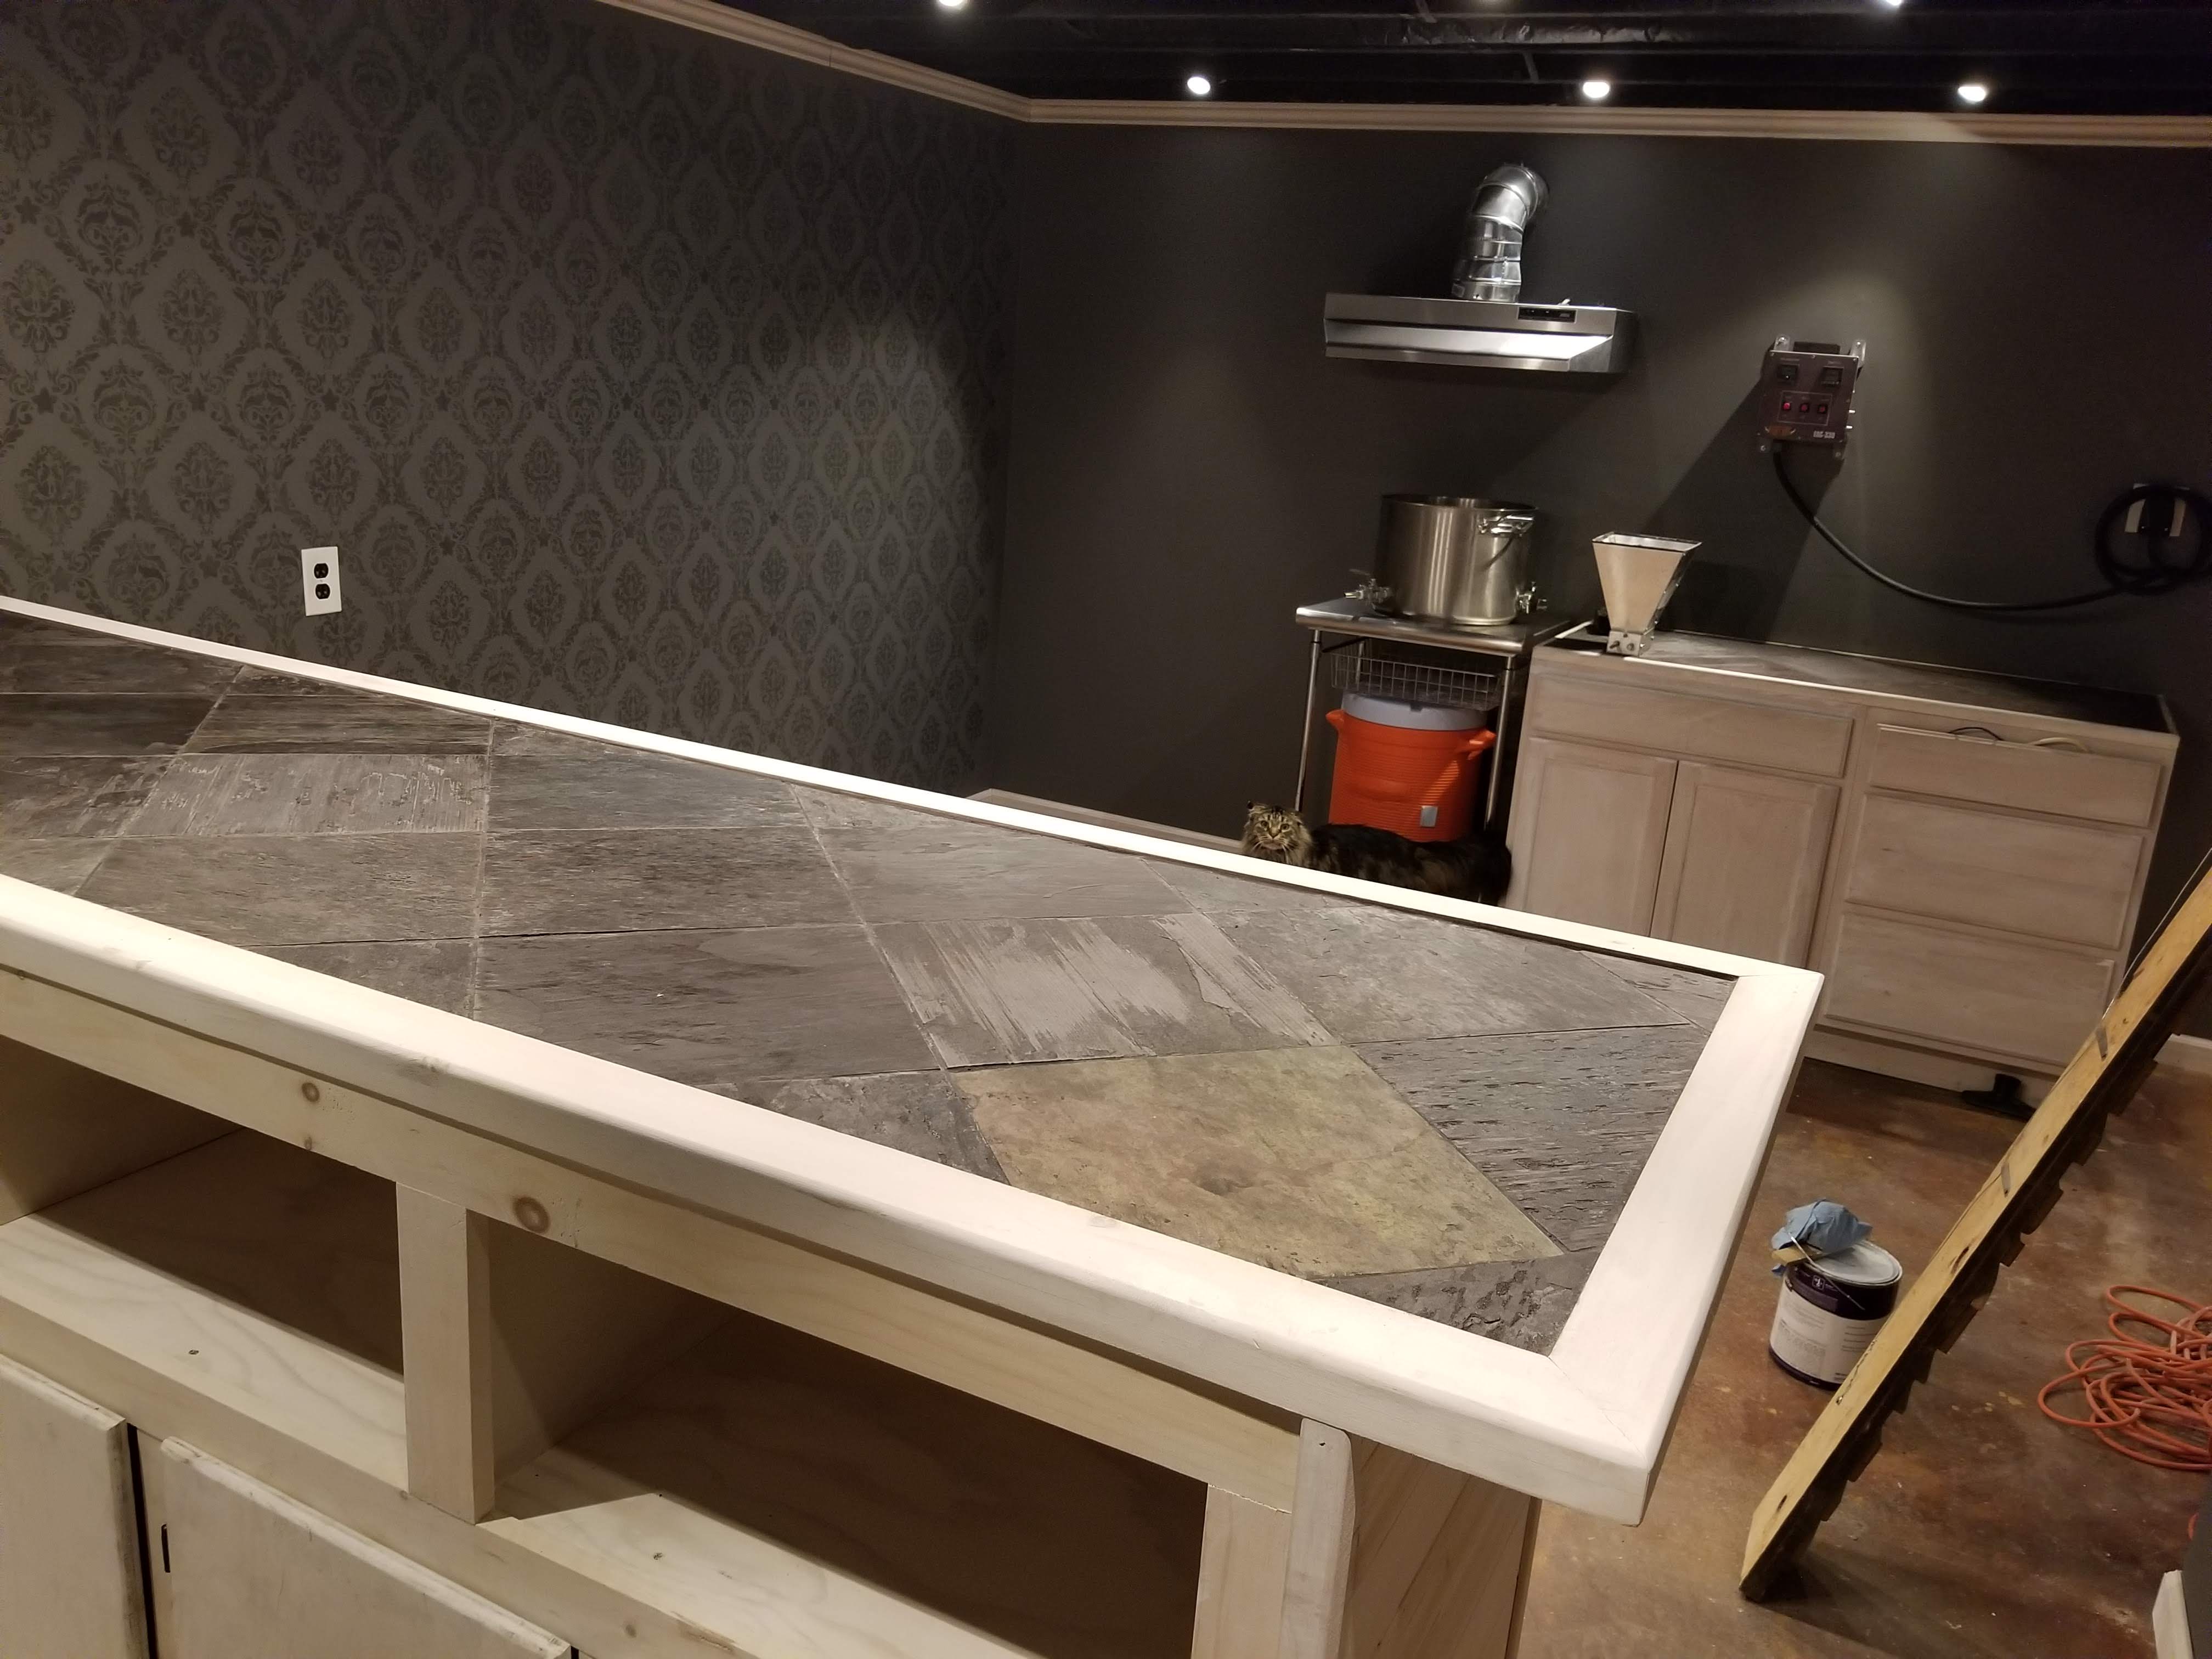
Top going on, whole thing is 9' long by 32" wide
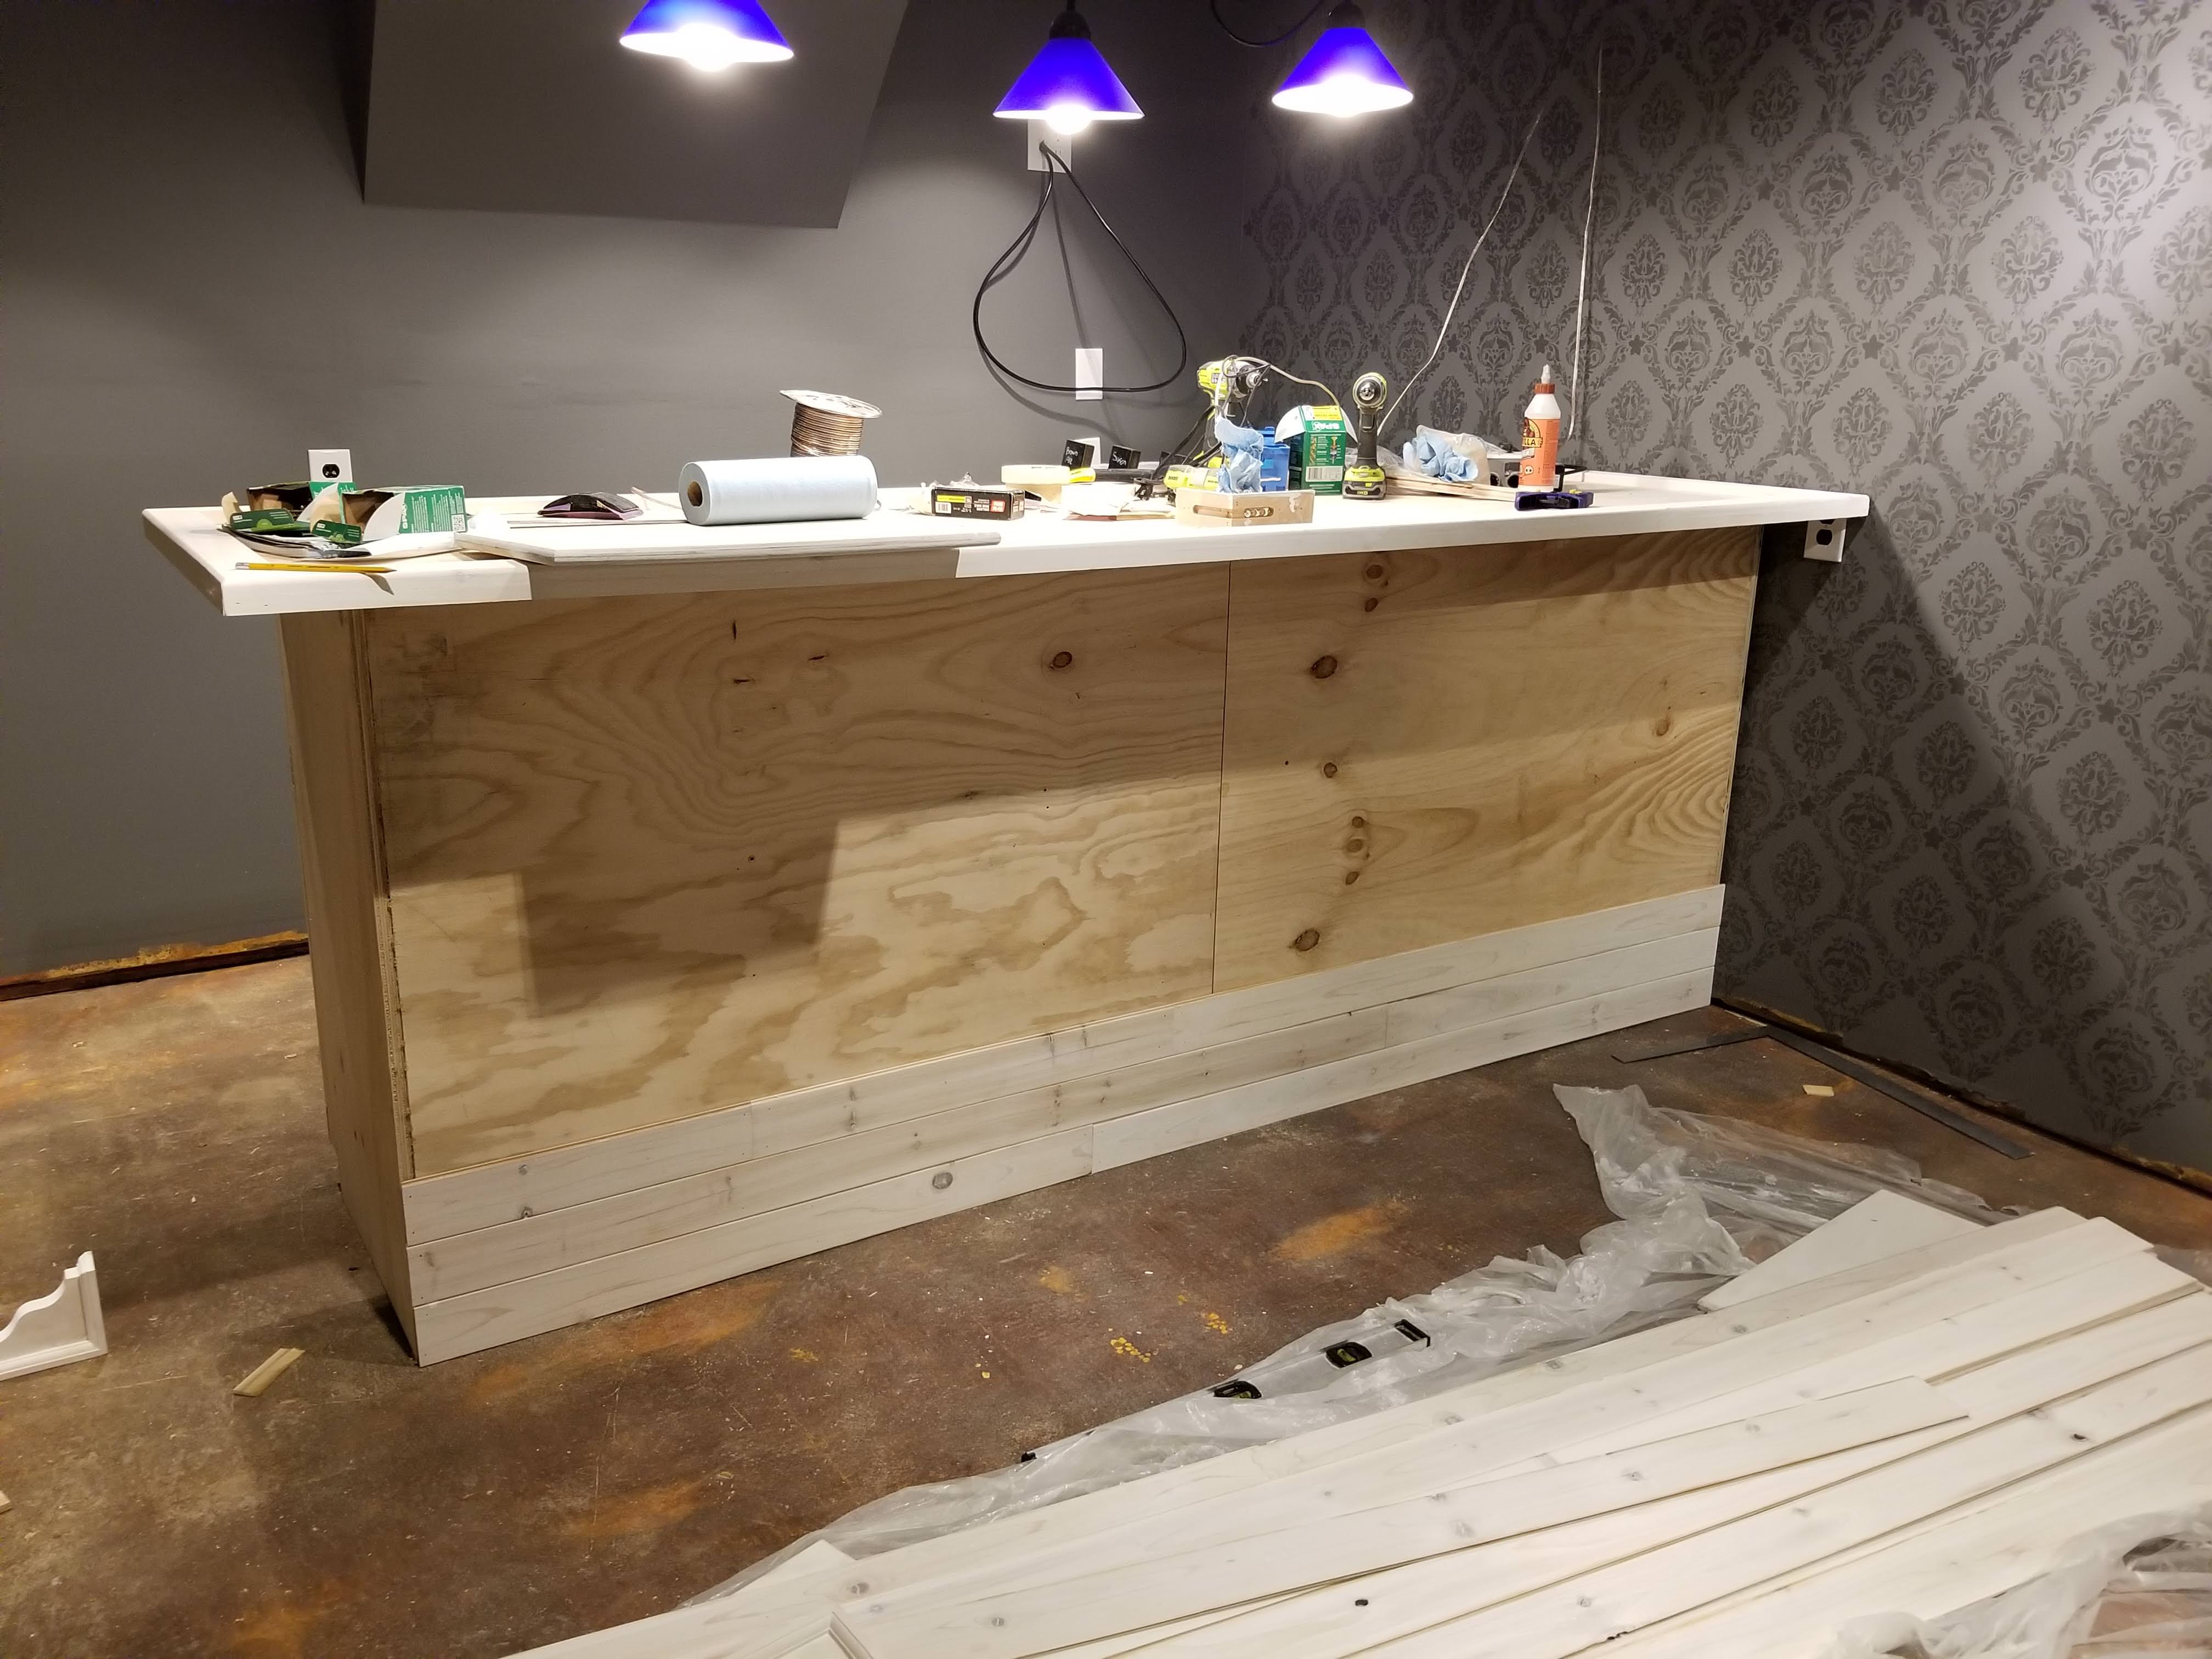
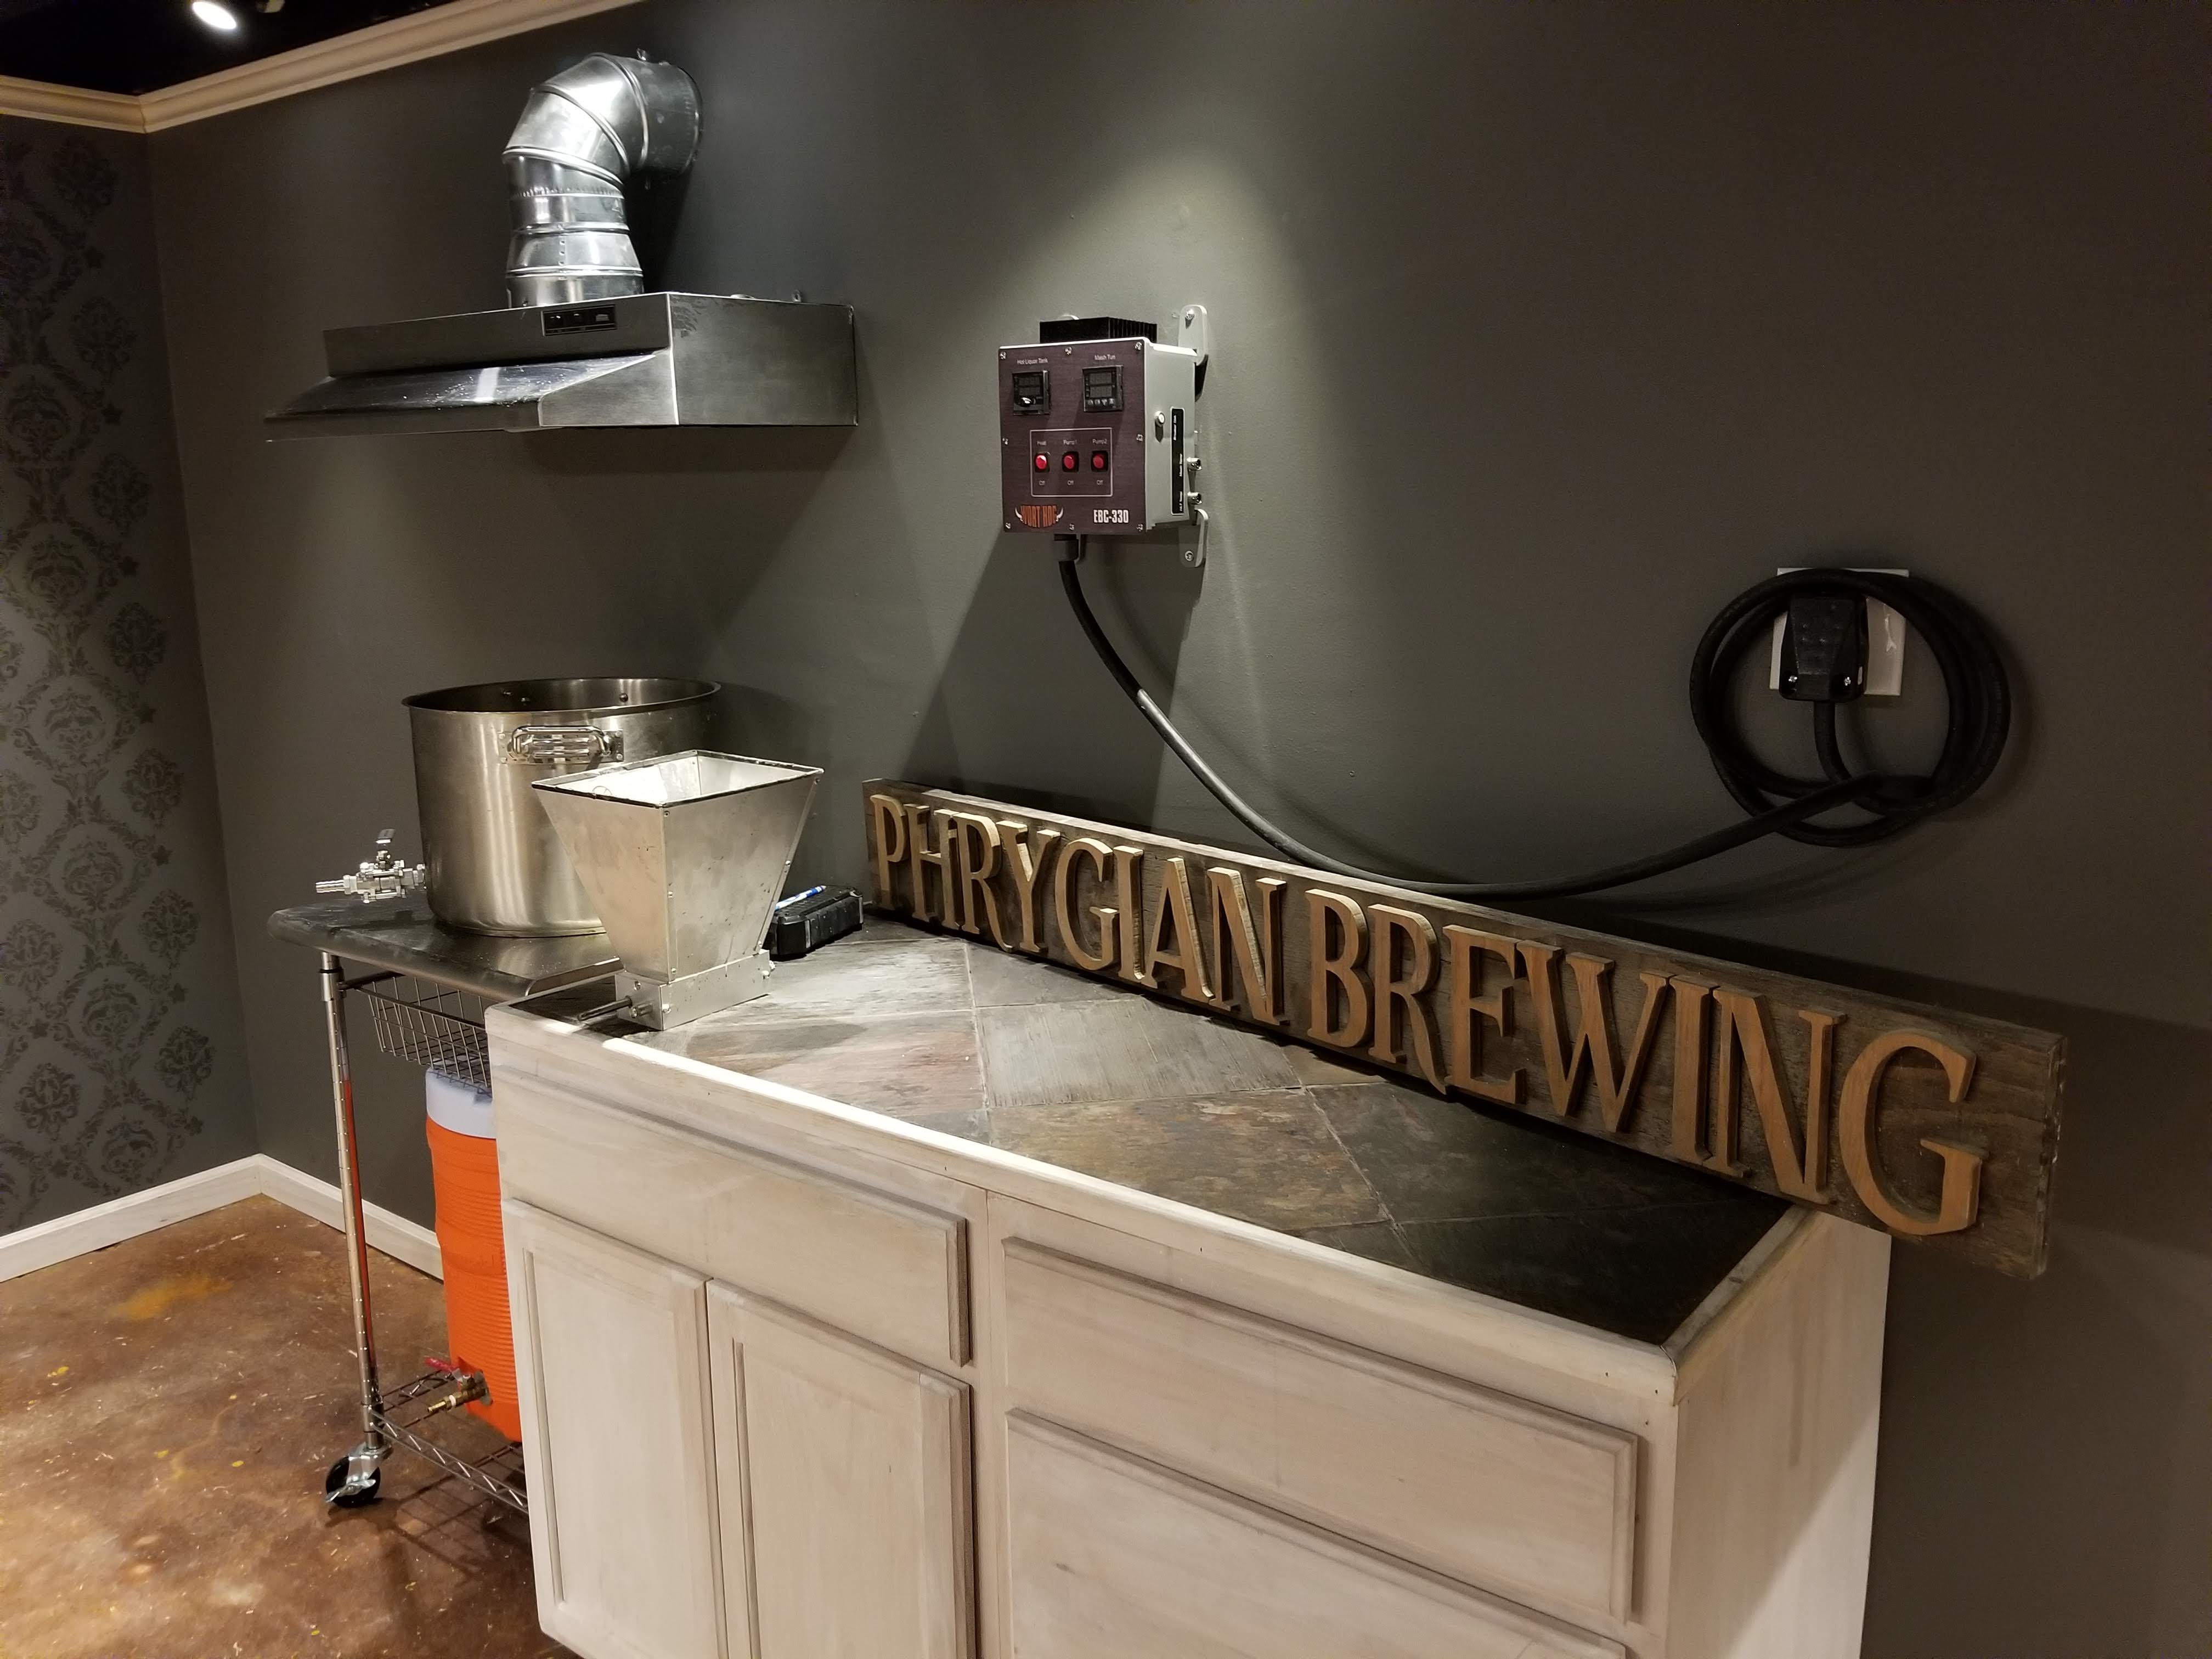
Some cedar tongue and groove boards to make it look nice
Some trim around the outside to cover the edges
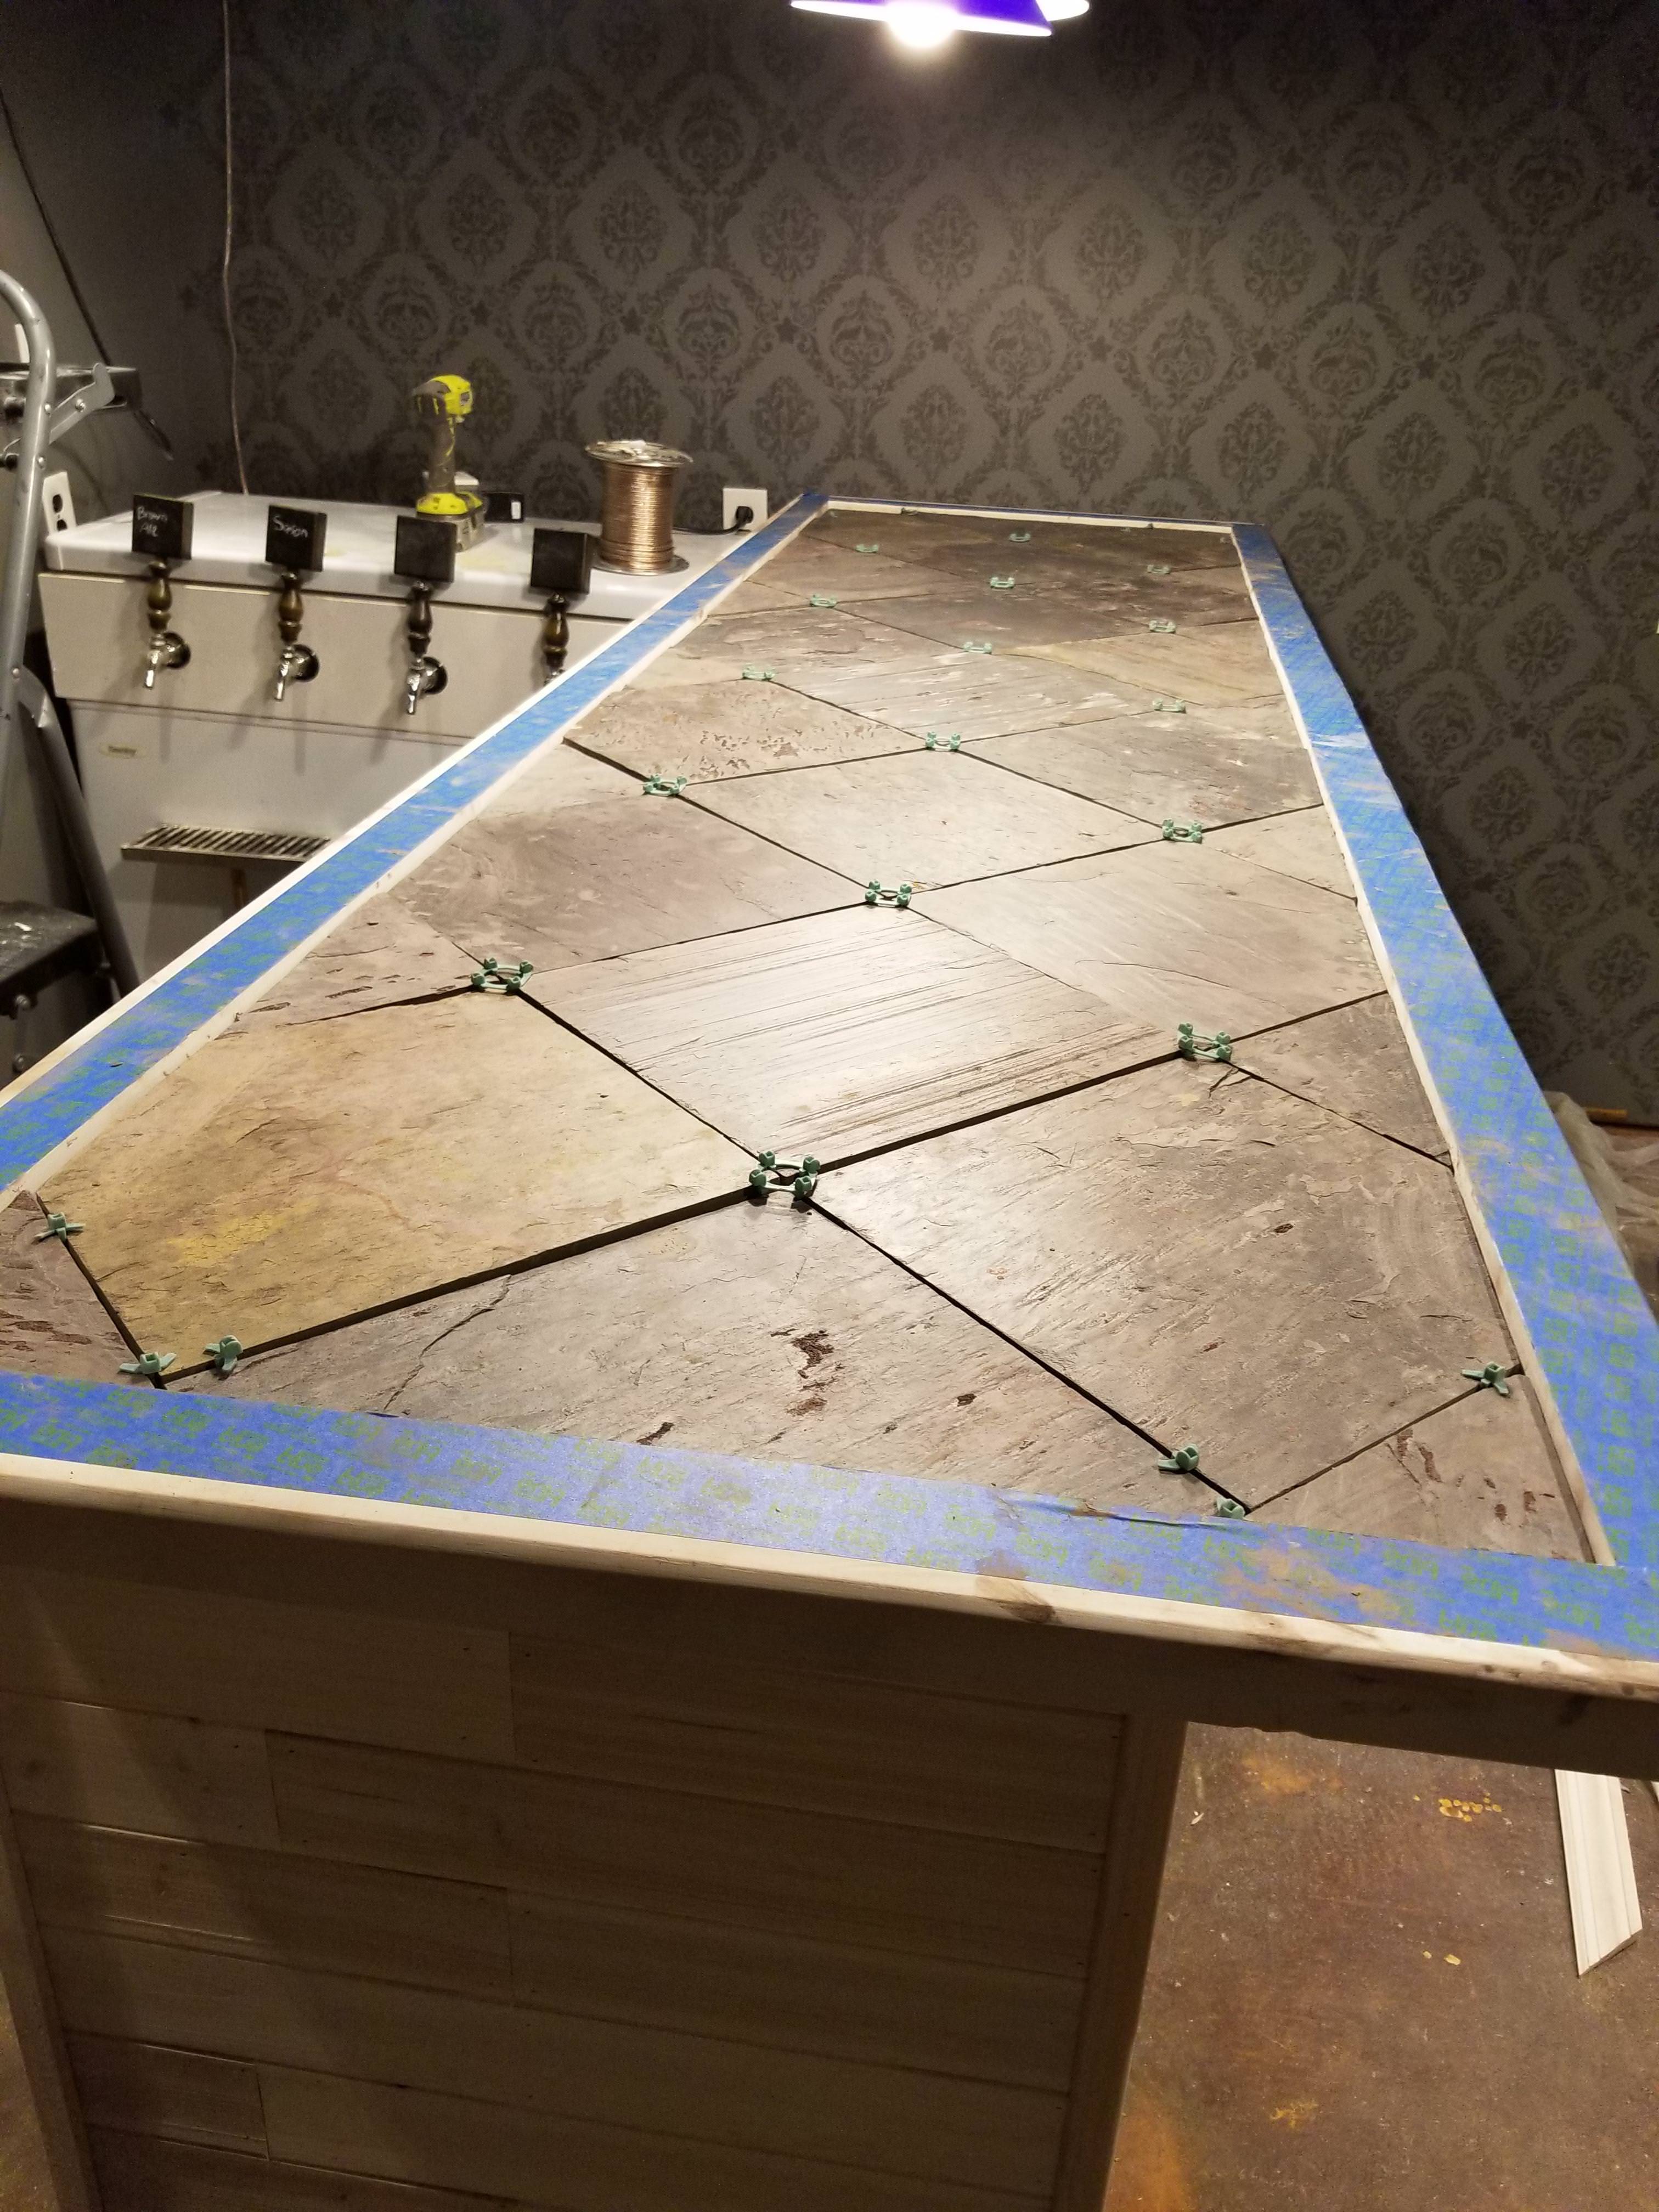
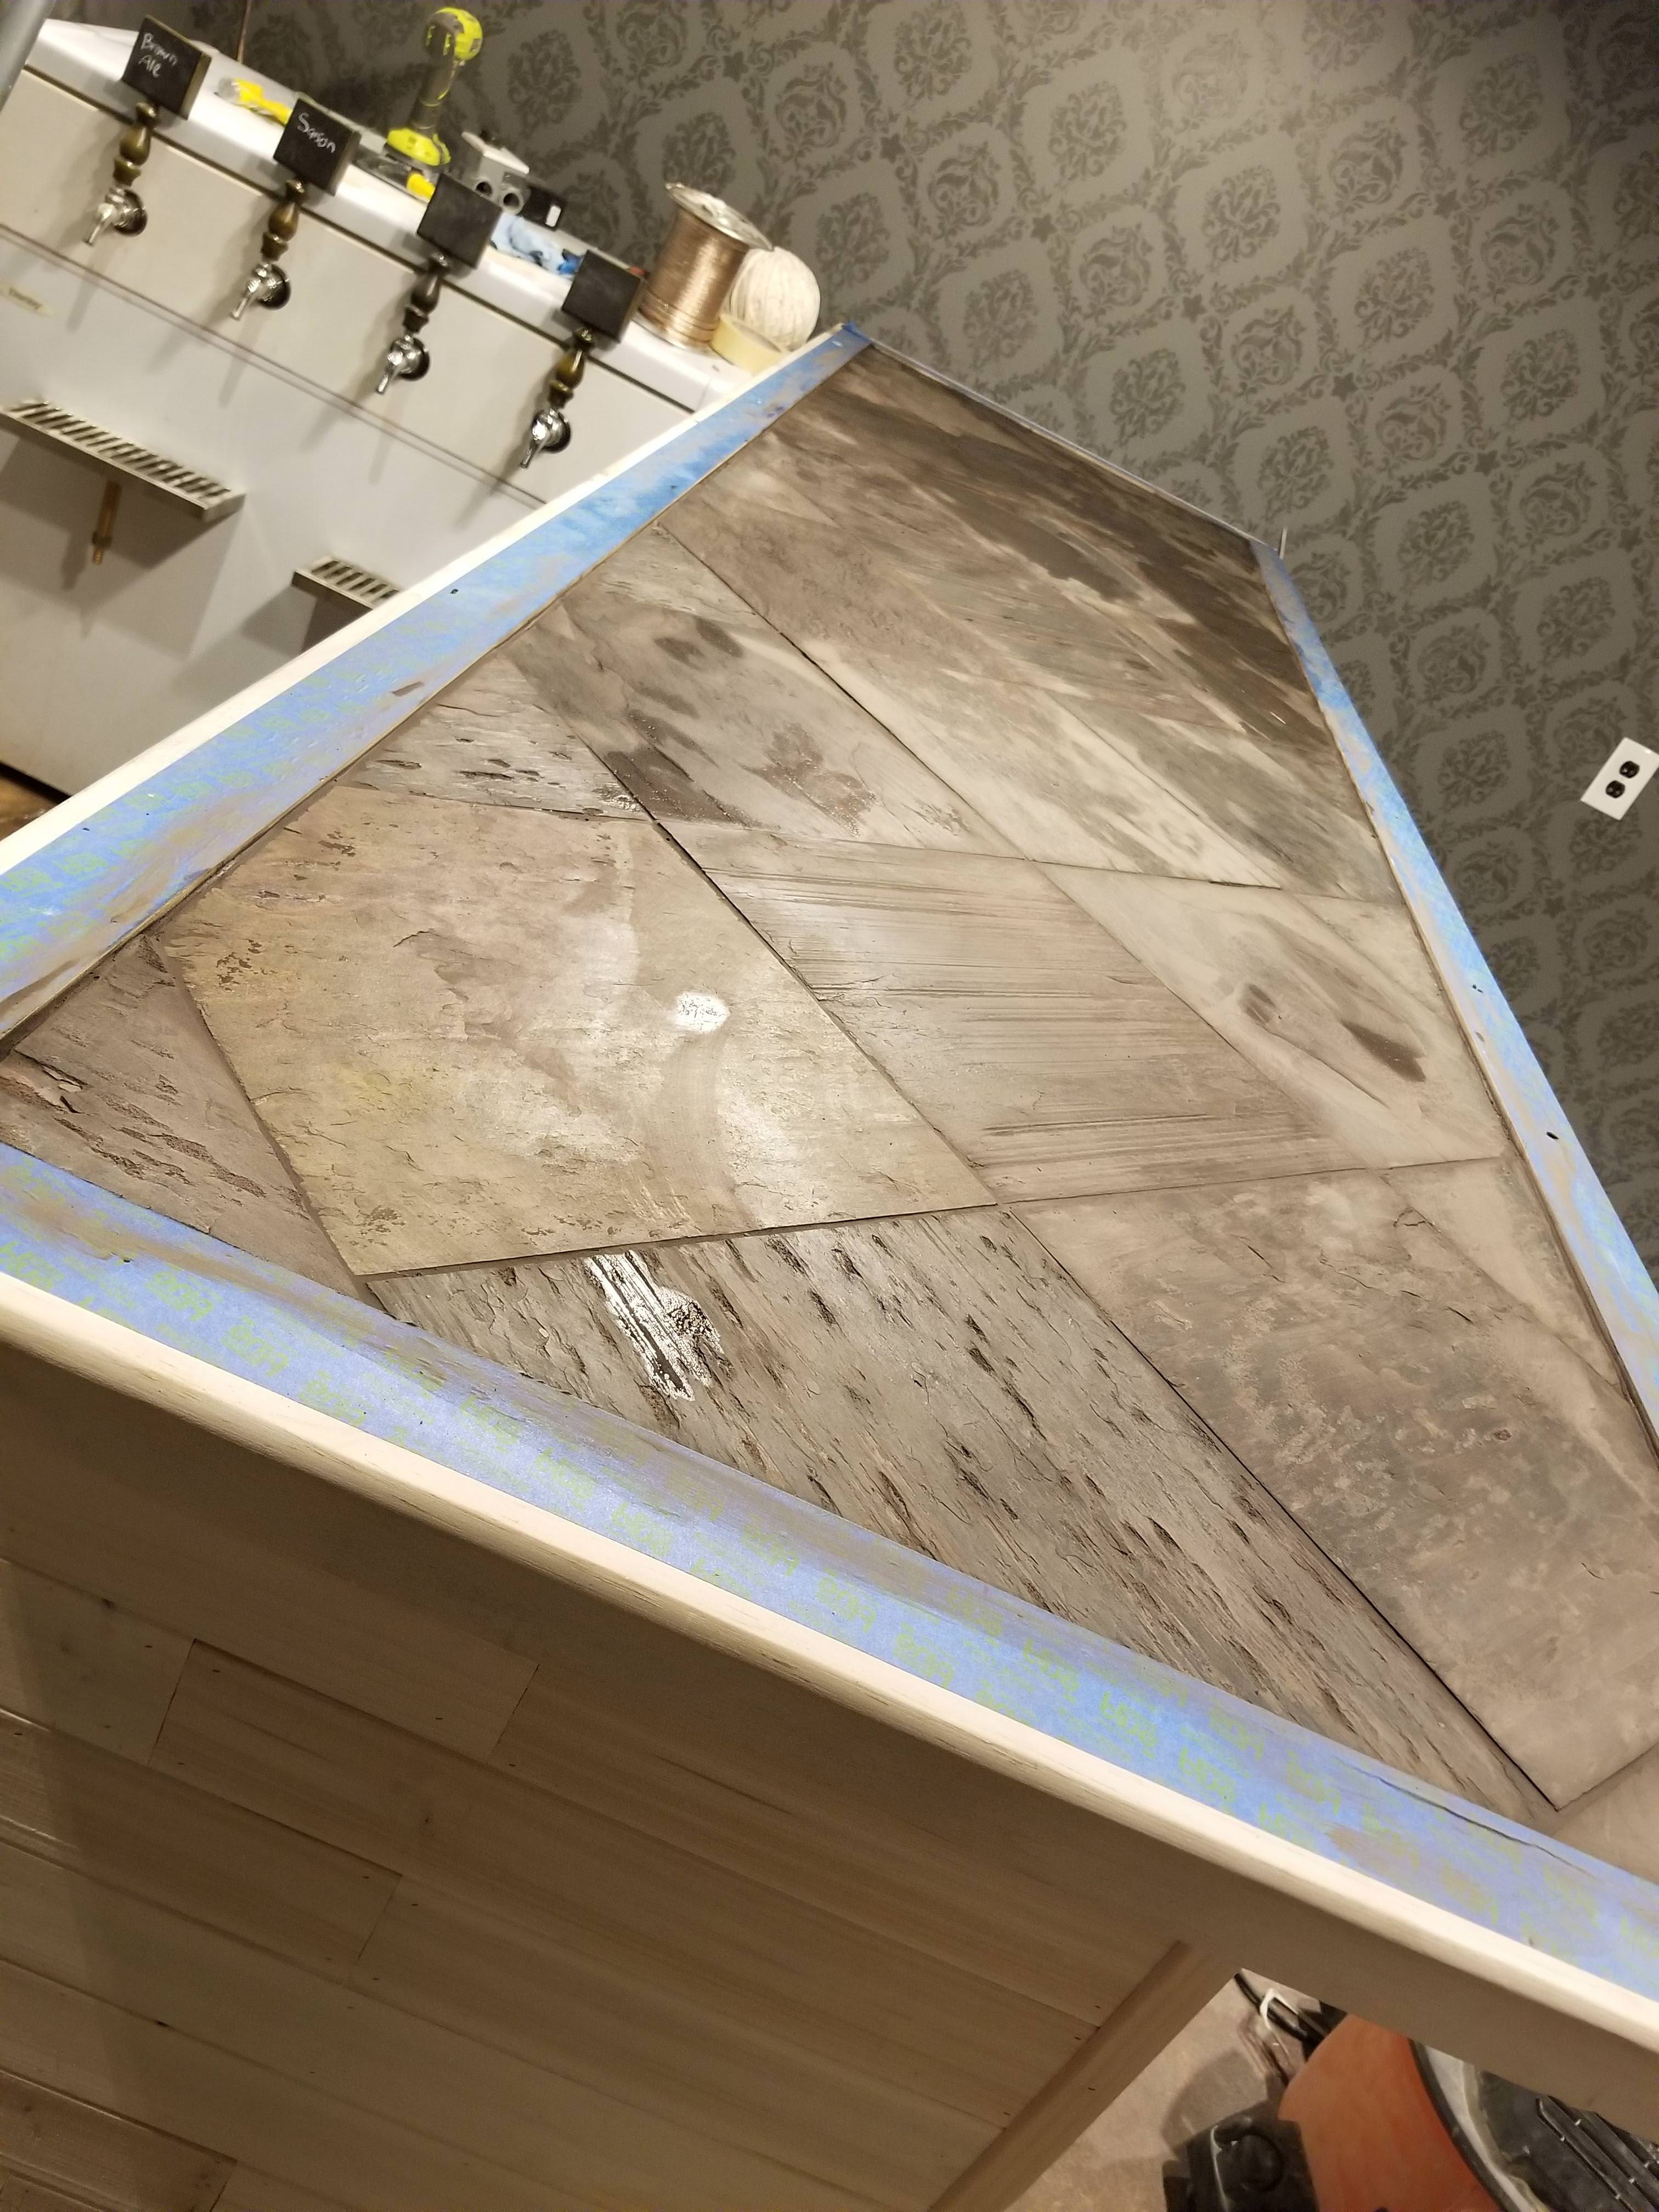
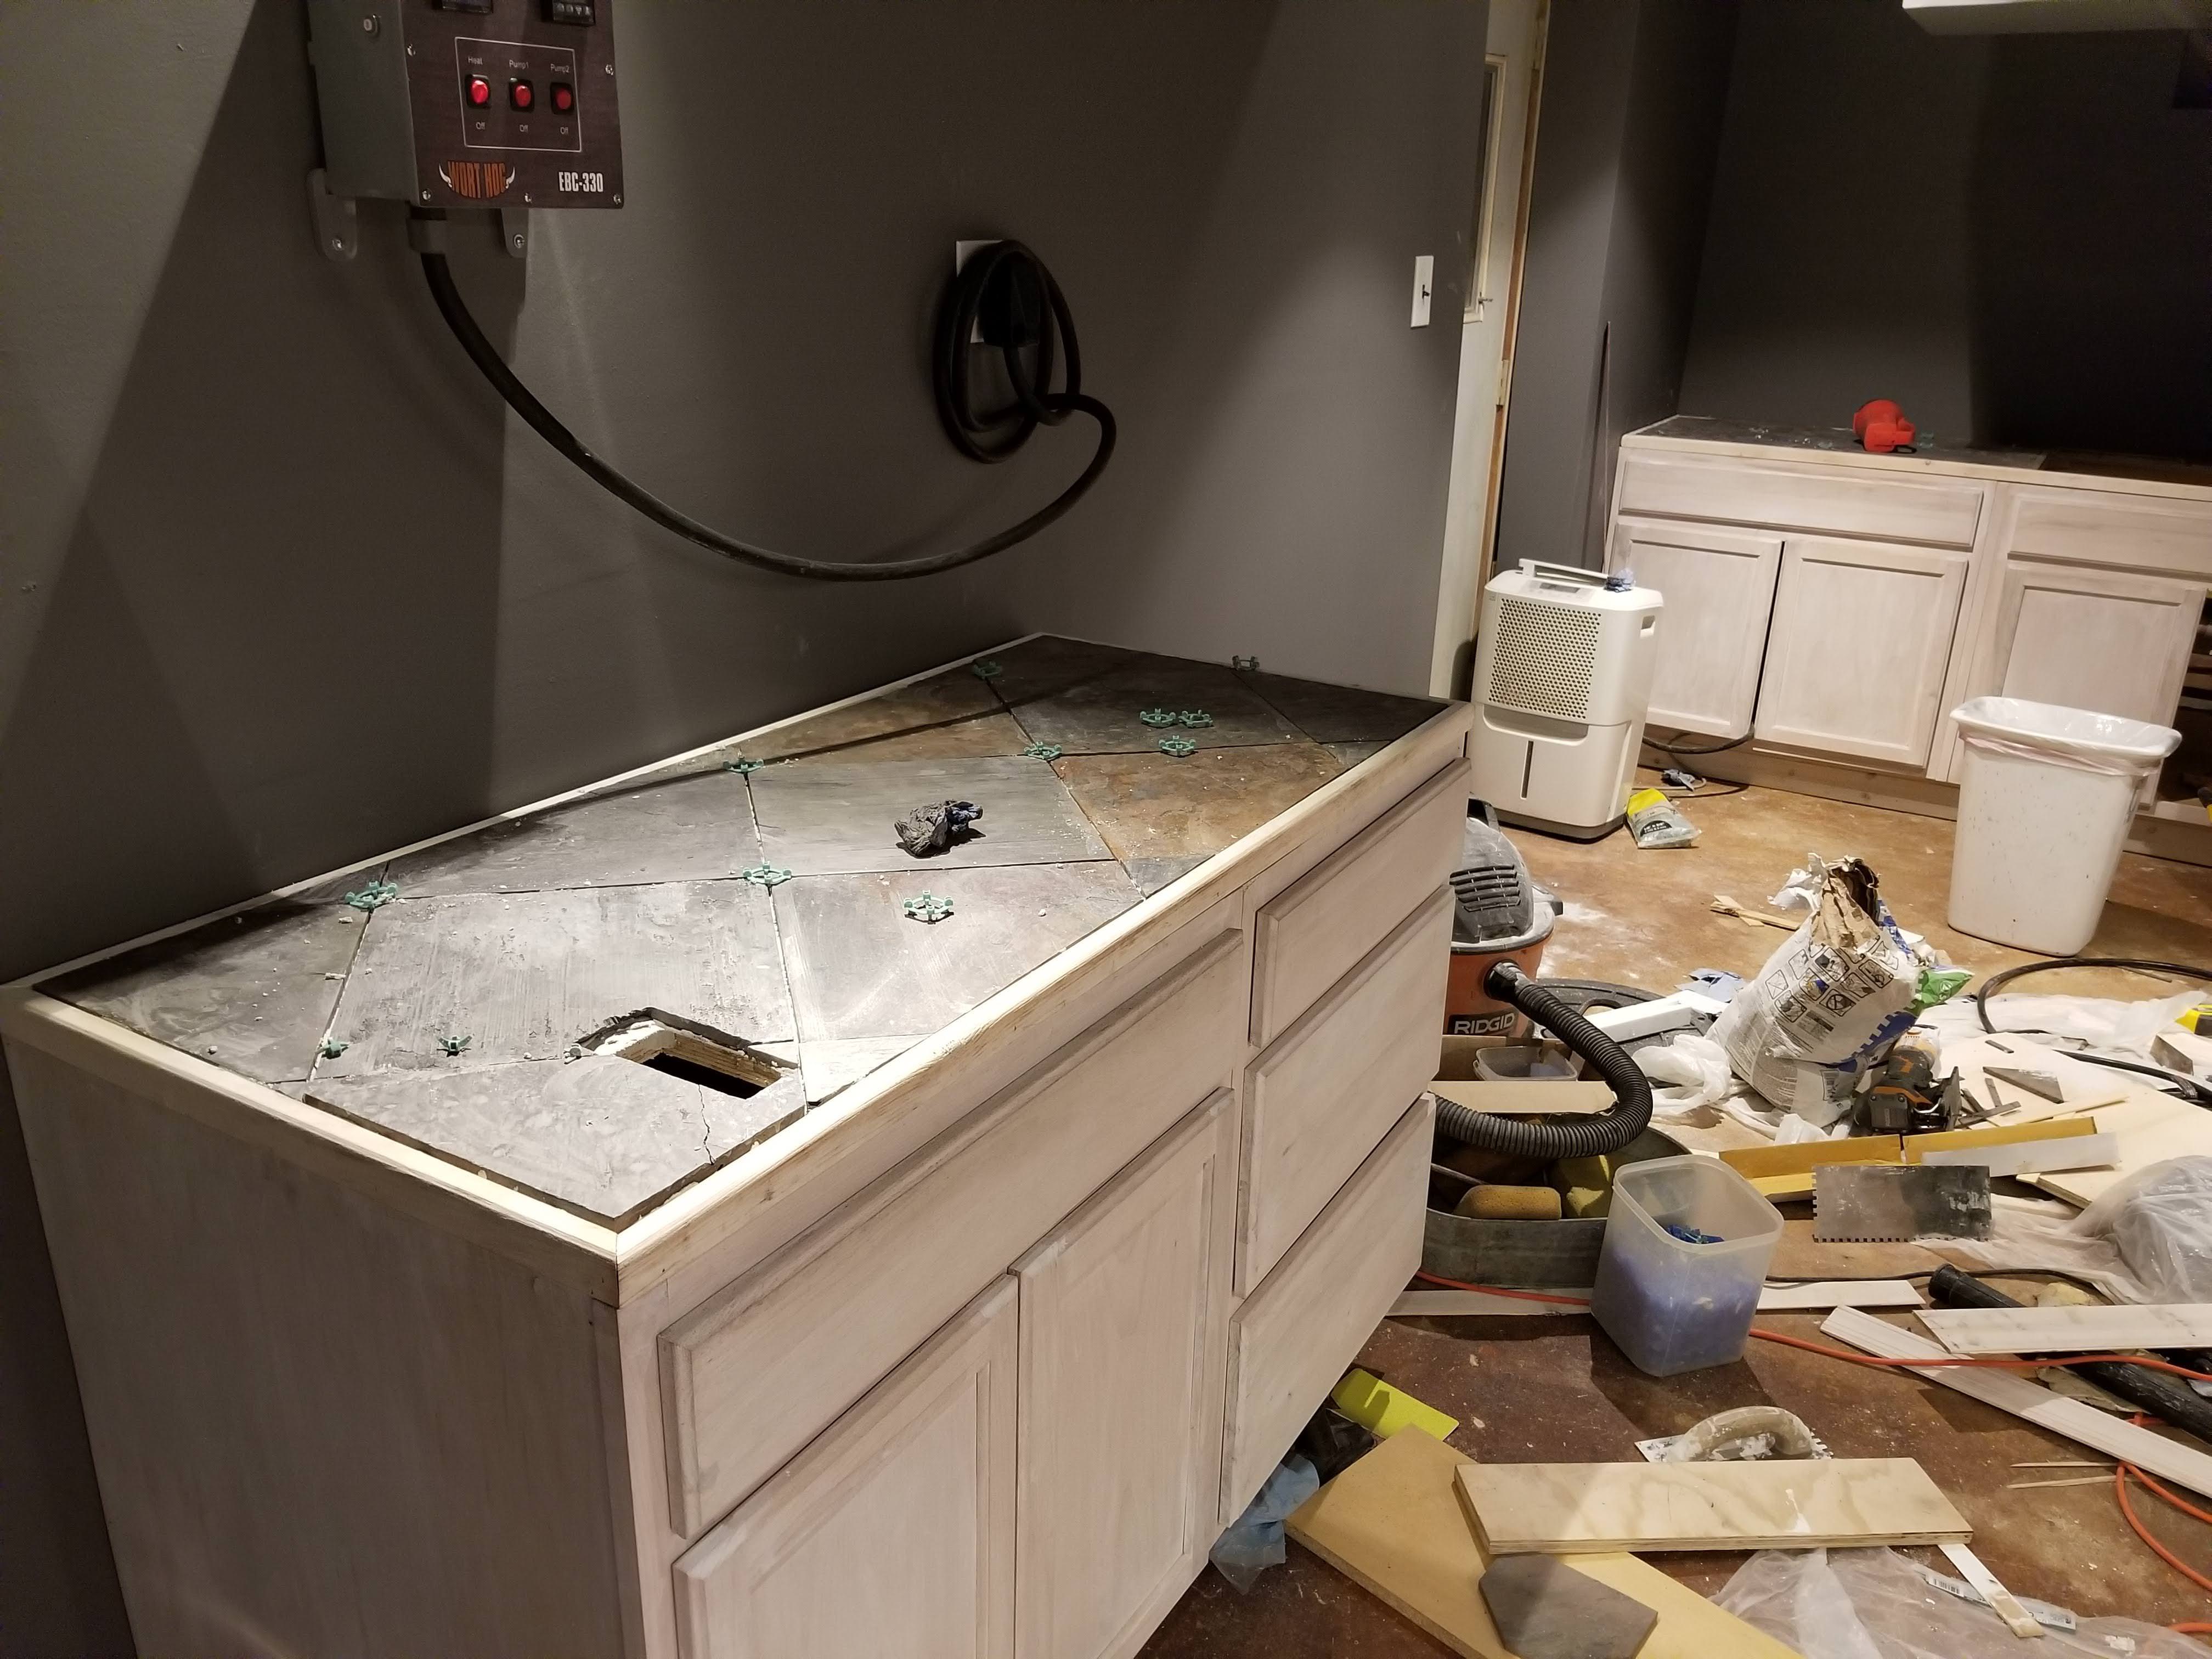
Cut tile for the top
Hit a limit, more to come...
Before, IDK what the previous owners were thinking with this paint job.
More before
Tearing it all out
Started framing, this is where I got stuck for years
Ready to start again, at least it's cleaner
Drywall going up
Spackling done and ready to paint
Base coat done, bye bye camo
Lots of stenciling going into this wall
Painting done
Starting on the bar
Sides and shelves in
Put some wood facing on to make it look more like cabinets
Whitewashed everything
Top going on, whole thing is 9' long by 32" wide
Some cedar tongue and groove boards to make it look nice
Some trim around the outside to cover the edges
Cut tile for the top
Hit a limit, more to come...


![Craft A Brew - Safale S-04 Dry Yeast - Fermentis - English Ale Dry Yeast - For English and American Ales and Hard Apple Ciders - Ingredients for Home Brewing - Beer Making Supplies - [1 Pack]](https://m.media-amazon.com/images/I/41fVGNh6JfL._SL500_.jpg)


")

