ANVIL FOUNDRY ALL-GRAIN BREWING SYSTEM

Homebrew Talk - Beer, Wine, Mead, & Cider Brewing Discussion Forum

Help Support Homebrew Talk - Beer, Wine, Mead, & Cider Brewing Discussion Forum:

This site may earn a commission from merchant affiliate links, including eBay, Amazon, and others.
I'm using the brewhouse efficiency with the target as ending kettle volume in Brewer's Friend. Given you're getting 65% with a .028" gap, It sounds like I'm going to want to lower my efficiency a bit if I use the default .039" gap. I don't think I have the proper measurement tools to adjust the gap.
keep in mind that BH efficiency accounts for all losses in the system leading to the fermenter - one reason why mine is set at 65% is that I leave 0.75gallon behind when going into the fermenter with a lot of hops left behind. With that - I would pay attention more to your mash/lauter efficiency you get with your setup. It will likely help you more to decide whether to tighten the gap, loosen it, etc on future brews. Good luck with your first brew and Im sure you will be fine.
 
keep in mind that BH efficiency accounts for all losses in the system leading to the fermenter - one reason why mine is set at 65% is that I leave 0.75gallon behind when going into the fermenter with a lot of hops left behind. With that - I would pay attention more to your mash/lauter efficiency you get with your setup. It will likely help you more to decide whether to tighten the gap, loosen it, etc on future brews. Good luck with your first brew and I'm sure you will be fine.

I just took a look at Brewer's Friend. I made a mistake, I'm actually using ending kettle for my efficiency. So I guess 65% is a good start and I'll adjust up or down depending on how my first batch goes. I'm not one of those guys who cares about "chasing efficiency". I just want to know my efficiency so I can hit the proper OG.
 
I haven't used it yet in a brew - just cool water. I have a RipTide pump so the arm worked great. My previous system (15 gallon Boilermaker) I made a clone of the hydra tri-coiled chiller. It cooled WAY better if i hand stirred while chilling. That got old so I added a whirlpool arm to the kettle and was able to spend my time doing something else. Hoping the Spin-Cycle will have similar results in enhancing cooling.
My goodness, I think we have had the same experience. Prior to getting the spin cycle, I was simply moving the chiller up and down vertically which helped a ton, but got a little old for me. Ive used it twice now in wort and works well but I do think its a little slower to chill (qualitatively) than physically moving it but still very good. Also didn't help that last brew it was over 100 heat index and my ground temps were in the mid 80s
 
I ran into issues and need the groups advice...

I had some initial temperature control issues in my first brew on Saturday. It seemed to sort itself out and I was able to complete the brew day.
I started another brew Sunday and was able to get the wort to mash at 152 degrees. After the mash, it would never get to boil. It would show 212 on the screen, but the temp just held or went down. Nothing I tried worked.

Now I have 7 gallons of wort sitting at around 100 degrees and never boiled. Anything I can do to save this? If I am able to fix the foundry today, can I start a boil of wort that is 24 hrs old? I would hate to toss it.

I plan to call Anvil today and hope for some fixes. I’ll keep everyone posted.
Zeno, I played with mine yesterday. I noticed that I had to turn on the power with the switch at the bottom and then press the power button on the controller until it flashed and then put it to 100% then put the temp to 212 and when I hit the button again it said boil and it started to heat to a boil. It took almost an hour to go from 155 to boil at 120v, but it got there.
 
Has there been any hint or rumor of an Anvil Foundry electric brewing kettle system in the 65-70 Liter (17-18 gallon) range?
 
And it was such a measly boil compared to propane. Can't wait to upgrade to 240v.
"Measly boil" is exactly what you are looking for - the bare minimum to create convection movement - but 240V is the main reason I am interested in the Foundry as well. I've been brewing on my stove top for 9 years now and it takes me about an hour to get to mash temp then another hour to get to boil, so I can relate to the frustration of waiting.
https://www.homebrewtalk.com/threads/boiling-vigorous-or-just-a-simmer.253921/post-8326392
 
My first Foundry brew day (this past Saturday) was such a CF that I actually felt kind of relieved having time to wait for the water to get up to boil with 120. Gave me time to get better organized, clean, dig a hole in the side garden, dump the grains, cover up said hole, prep a future hole, prep Speidel, crank out some push/pull ups, clean..

A lot of this was just to keep me from getting more PO’d that my new Riptide decided to not work when I went to start recirculating. (Which I’ve since figured out, rookie mistake. Really threw me off for the rest of the day though)
 
"Measly boil" is exactly what you are looking for - the bare minimum to create convection movement - but 240V is the main reason I am interested in the Foundry as well. I've been brewing on my stove top for 9 years now and it takes me about an hour to get to mash temp then another hour to get to boil, so I can relate to the frustration of waiting.
https://www.homebrewtalk.com/threads/boiling-vigorous-or-just-a-simmer.253921/post-8326392
Interesting info. I got my propane BIAB setup pretty dialed in for evaporation rate but I might have to tone it down a bit. But yeah, lots of waiting around with the Foundry on 120v. It was nice to be able to program it to come to mash temp so I came out to it ready to go, but I did a side by side brew day with the propane setup. Despite mashing in on the Foundry first, I was able to heat water, mash, and bring it to a boil 15 minutes before the Foundry was boiling. So I think upgrading to 240v will really help.
 
It is definitely coming from the camlock fitting. I removed it and put the standard nipple back on and was able to utilize it without incident.
I used a short piece of hose and attached one end to the nipple on the foundry ball lock and the other to the nipple on the camlock. Not the most attractive or polished look, but works.
 
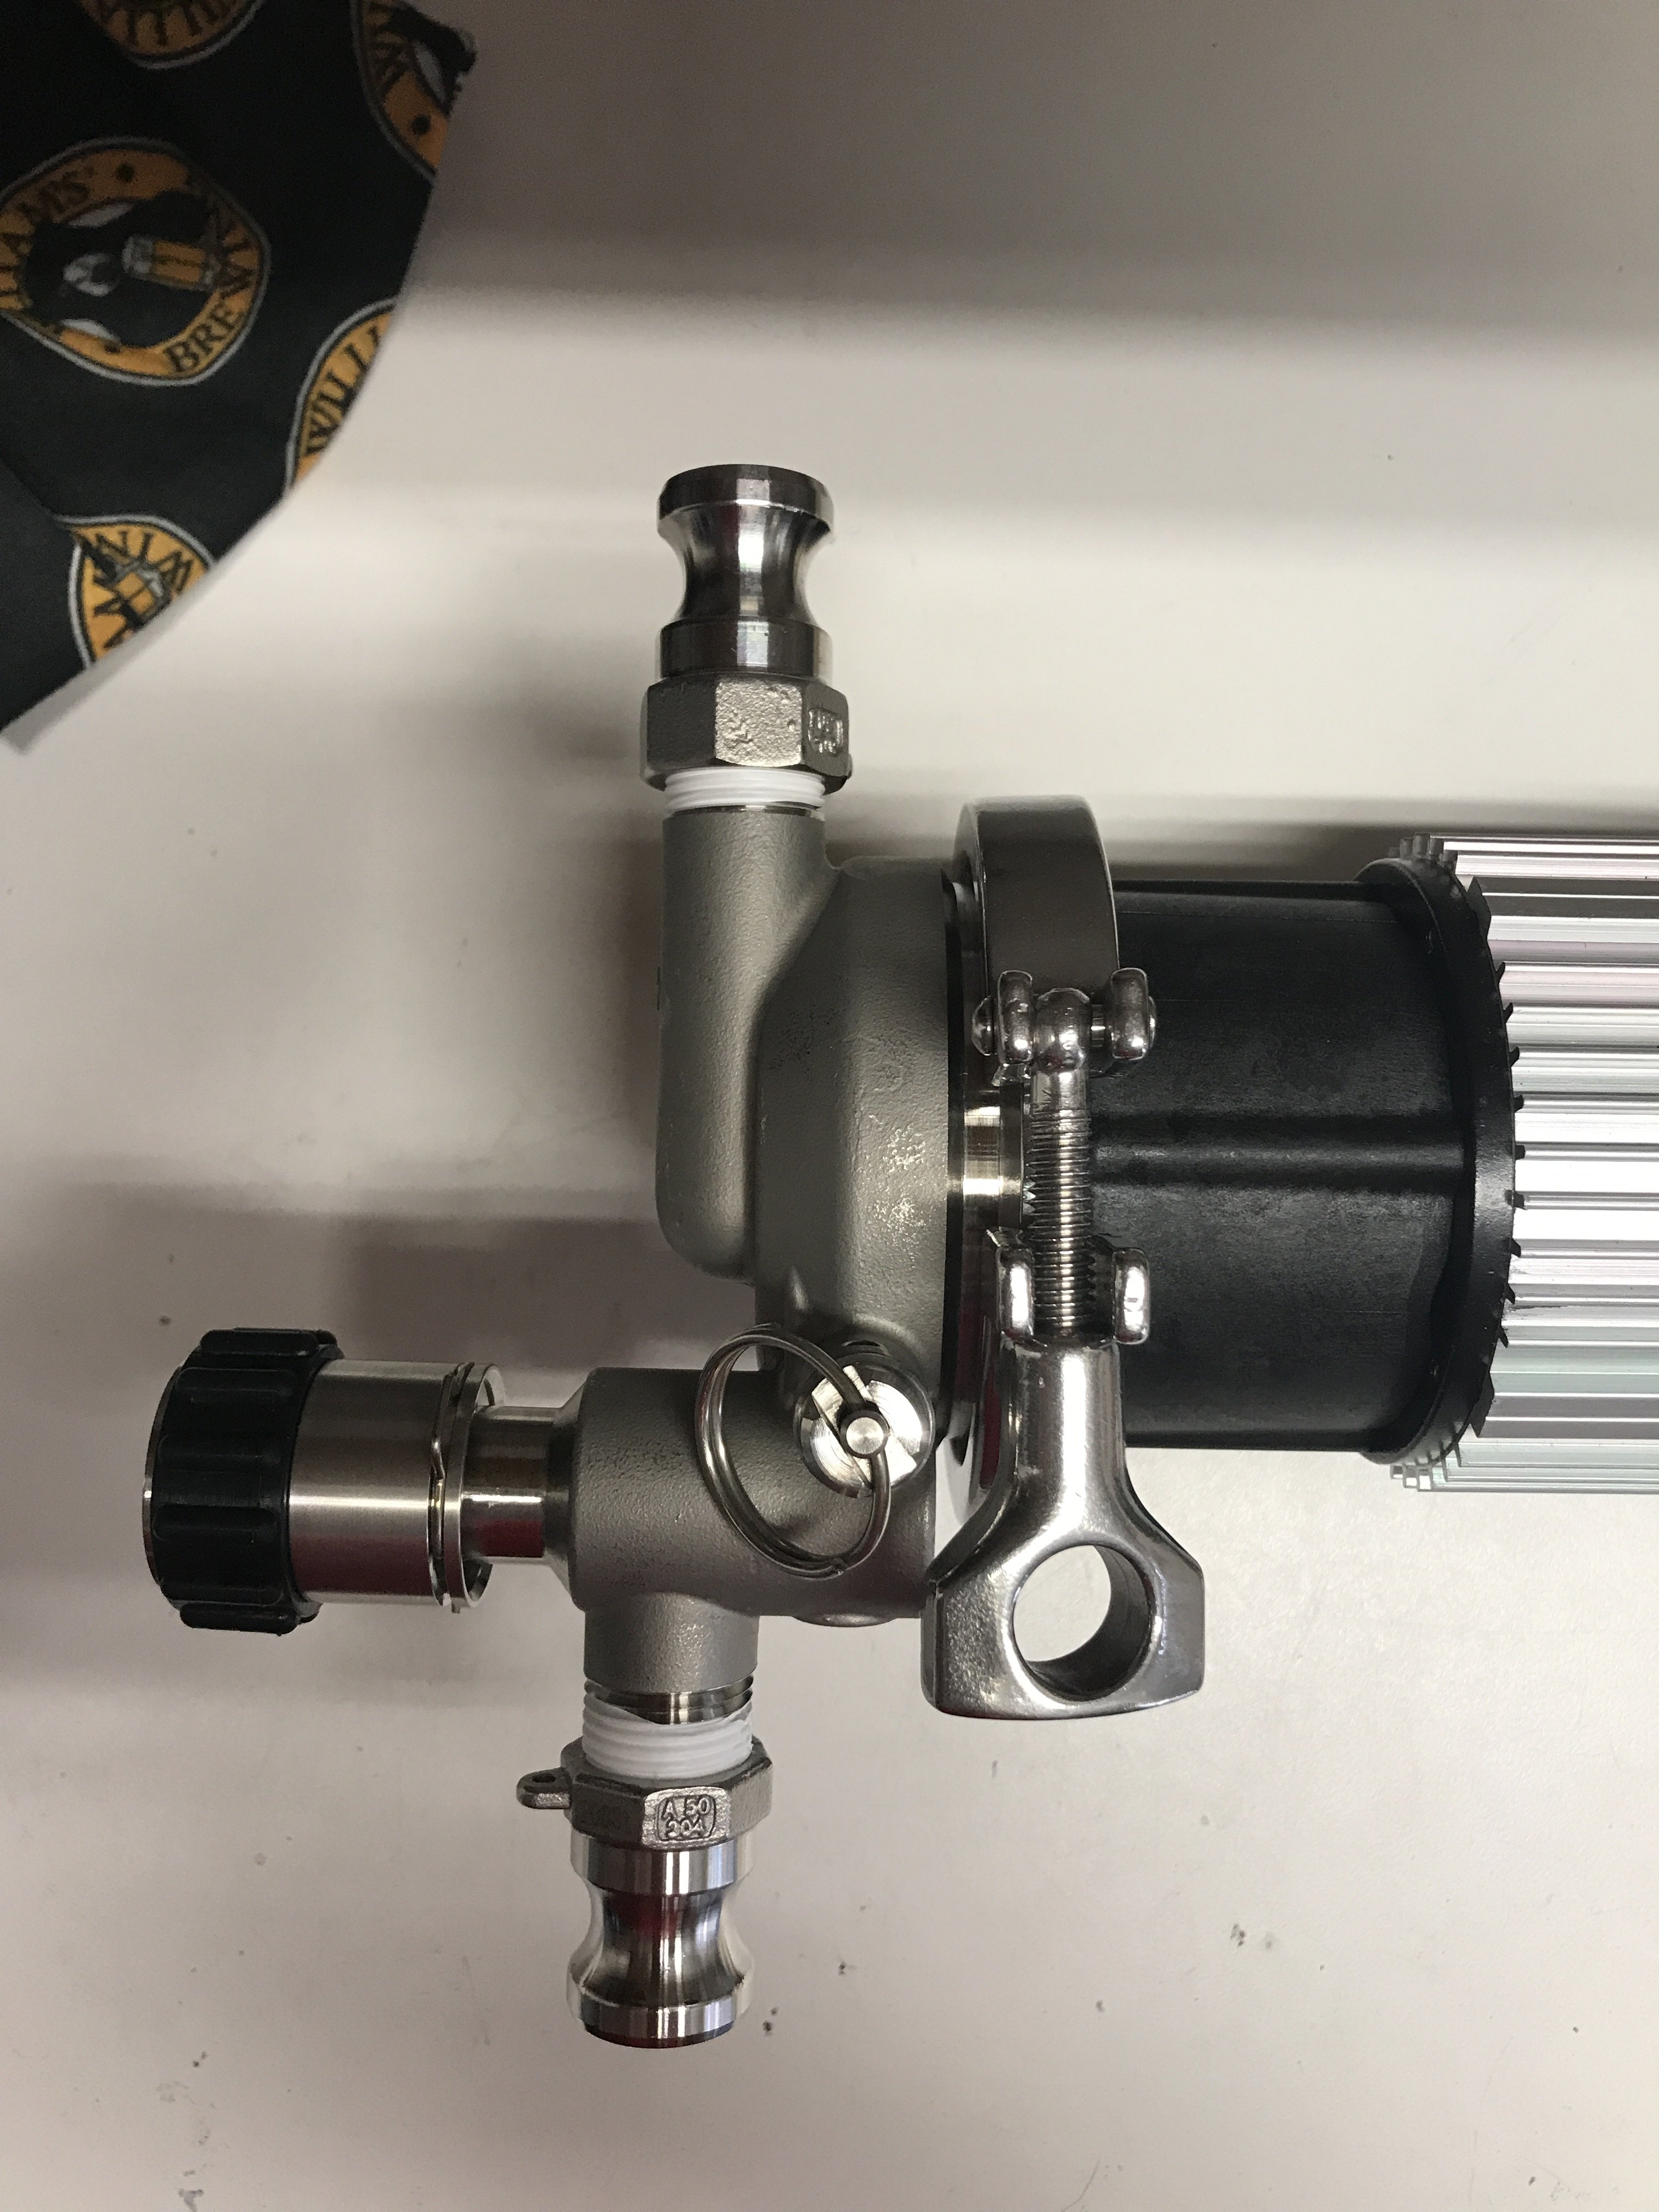
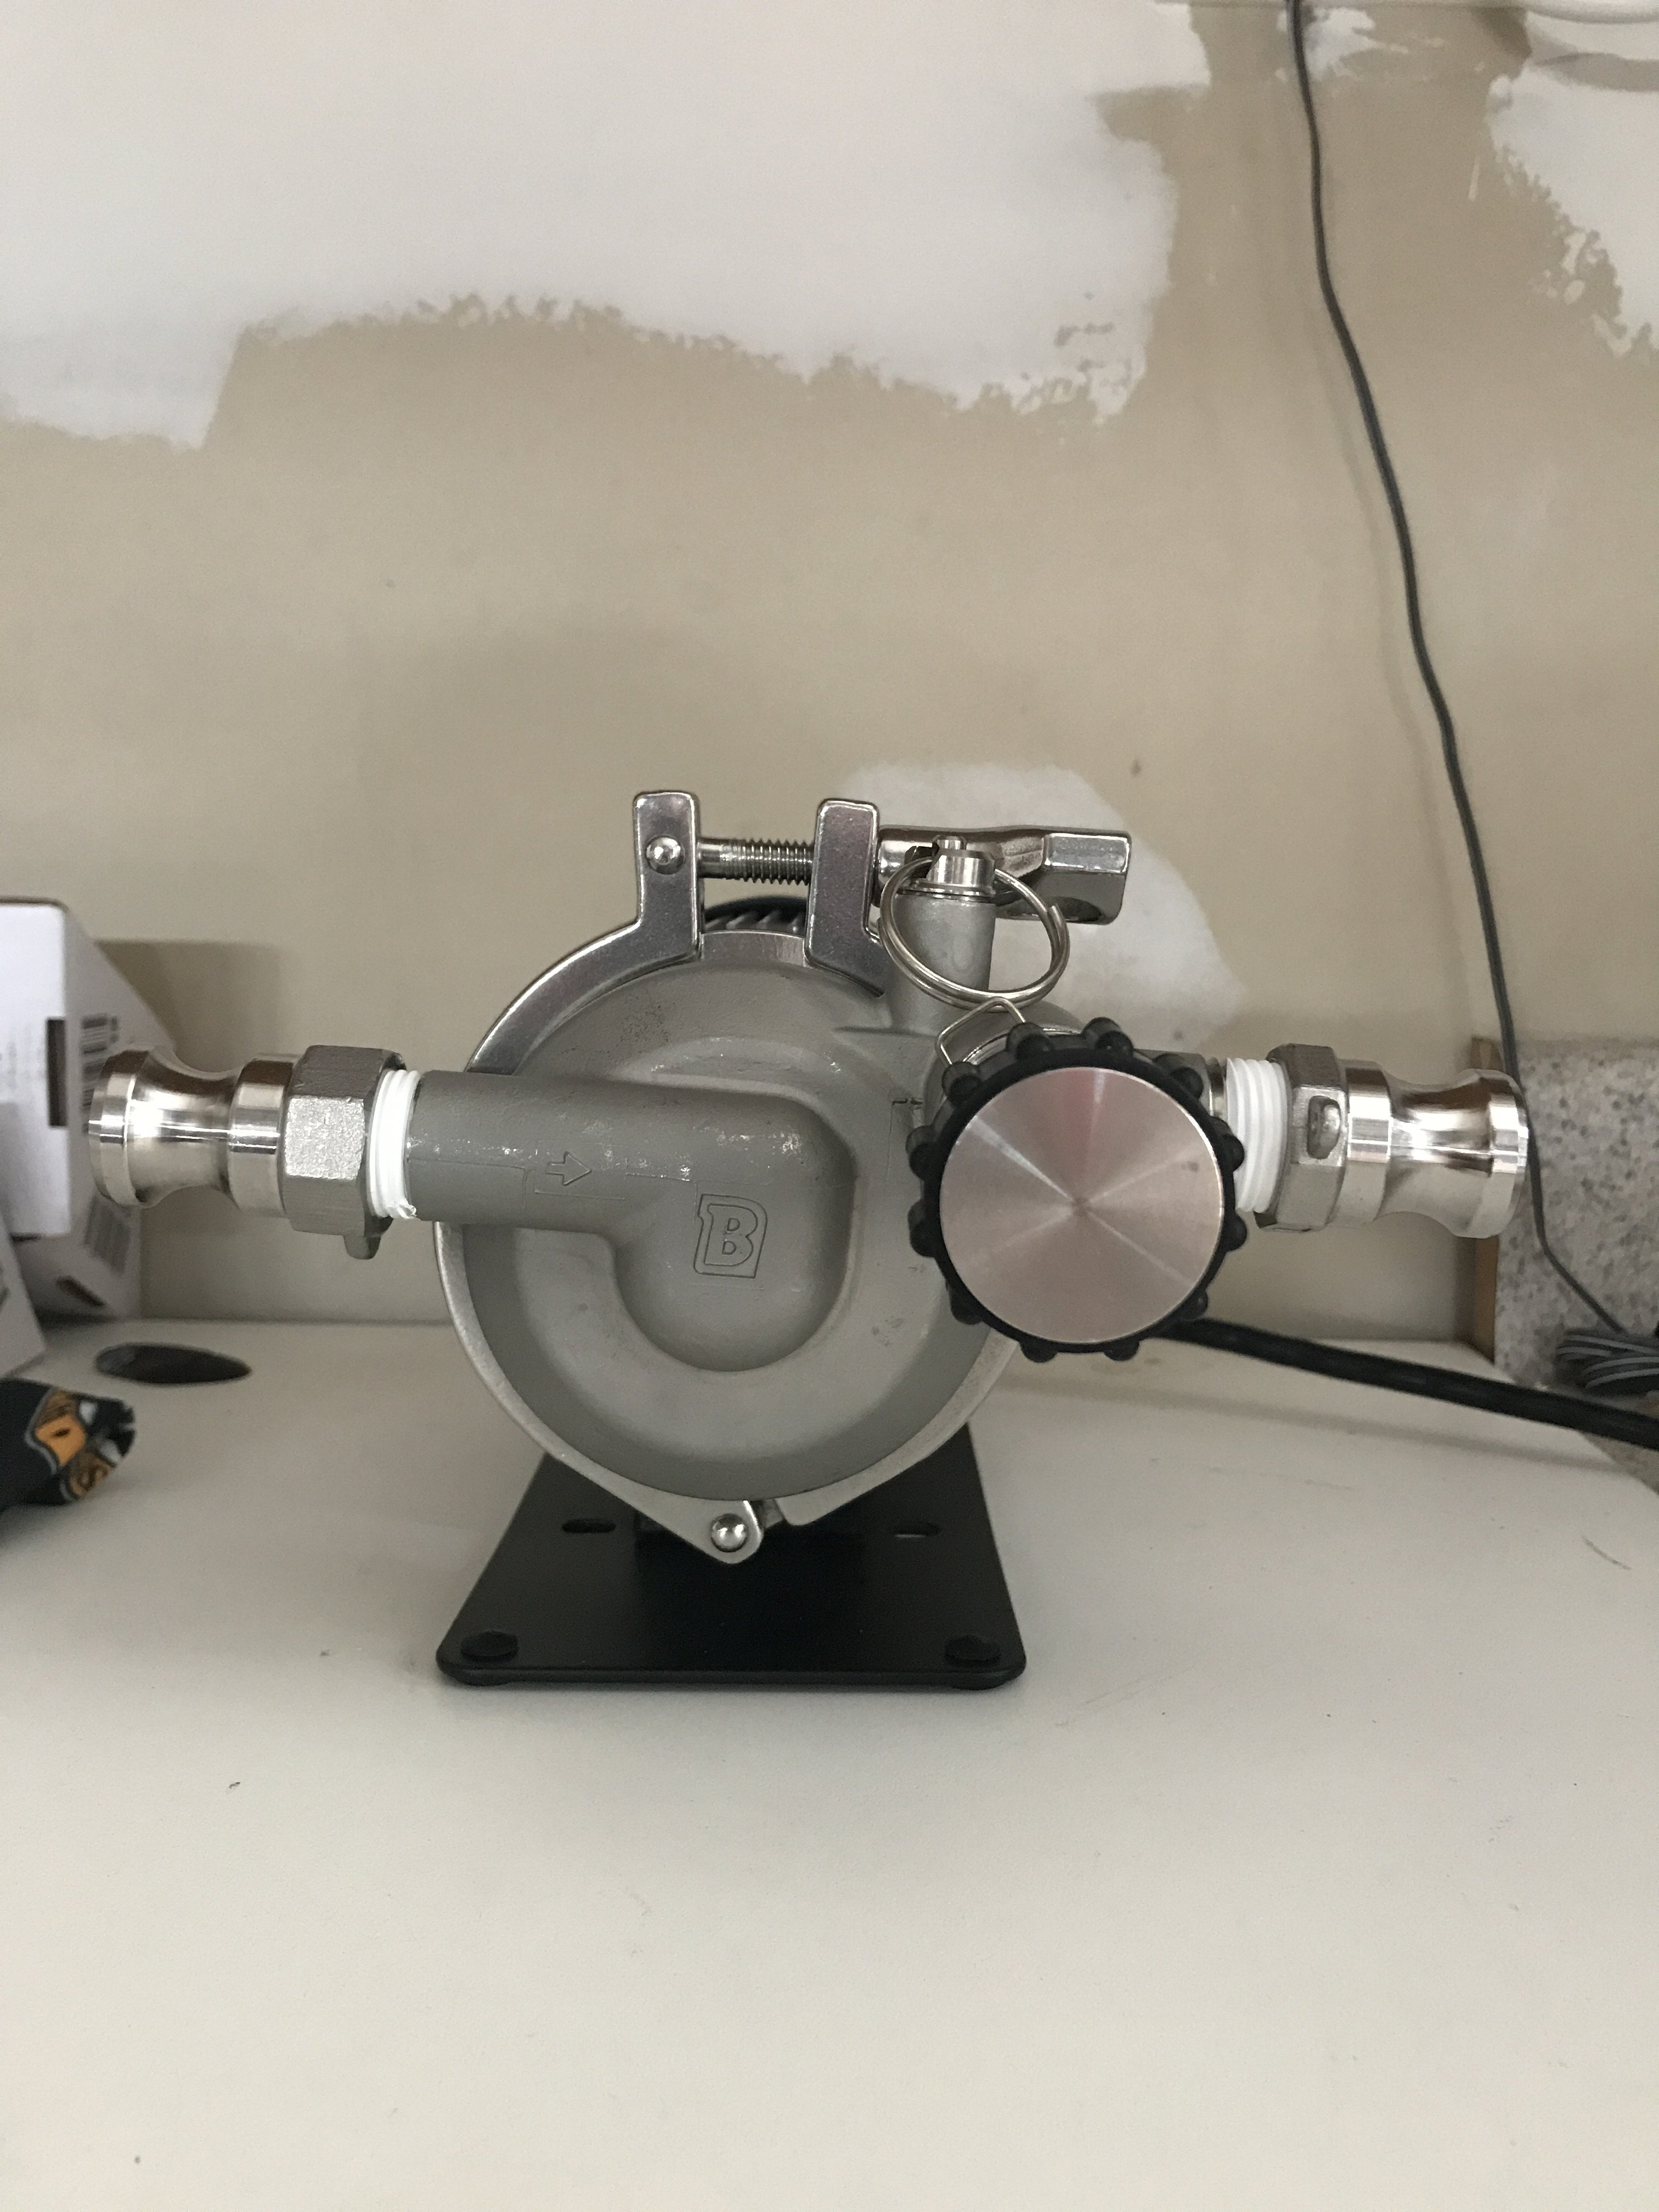
I added a female NPT camlock fitting to the Foundry valve with 2 layers of Teflon, then 3 layers..maybe 4? Water would seep up and leak up and over the camlock fitting. Thoughts?

The Foundry valve is not an NPT thread. I used at least 5 turns of teflon tape and experience no leaks (so far).
 
My first Foundry brew day (this past Saturday) was such a CF that I actually felt kind of relieved having time to wait for the water to get up to boil with 120. Gave me time to get better organized, clean, dig a hole in the side garden, dump the grains, cover up said hole, prep a future hole, prep Speidel, crank out some push/pull ups, clean..

A lot of this was just to keep me from getting more PO’d that my new Riptide decided to not work when I went to start recirculating. (Which I’ve since figured out, rookie mistake. Really threw me off for the rest of the day though)

You need to brew again - soon!
 
The Foundry valve is not an NPT thread. I used at least 5 turns of teflon tape and experience no leaks (so far).

I did see your reference to it not being a NPT thread in a previous post, but wasn't certain how much teflon tape...was enough?

What is...peculiar is the size of the cam lock connection in question. Notice the size of the threading nut on the top/left (inlet) female cam lock vs. the bottom/right. This also relates to the amount of thread each respective piece is able to grab. The Foundry spigot was seated so deep into that cam lock it was comical to look at.

I took the other smaller one and placed it on the Foundry. So I have the cam lock currently connected to the Foundry, with 5 turns of teflon and I'm golden. Tested it last night.

IMG_3196.jpeg
IMG_3197.jpeg


You need to brew again - soon!
Yeah..you're not kidding. I've got a 7G Fermonster supposedly coming in tomorrow via Fedex. Assuming that it fits in my FC w/the Speidel that is currently in there, I'll be brewing this weekend. Something that measures 11.25" fits in there with a touch of wiggle room, so I'm kinda hoping that .05" extra that the Fermonster is within the limits of what I've got available!
 
Last edited:
Does anyone make an overflow pipe adapter kit for the Anvil Foundry 10.5 gal.?
Not sure if you’d need this at all to be honest. I haven’t done it. If you got a stuck mash, which I haven’t, and the wort came up through the recirculation ring AND rose to above the mash pipe, the wort would simply overflow between the malt-pipe and kettle anyways. Is this why you posed this question for this type of circumstance?
 
Not sure if you’d need this at all to be honest. I haven’t done it. If you got a stuck mash, which I haven’t, and the wort came up through the recirculation ring AND rose to above the mash pipe, the wort would simply overflow between the malt-pipe and kettle anyways. Is this why you posed this question for this type of circumstance?

No, it's so you can set up a more robust circulation and not ever fear running dry and overheating/scorching the element(s) down below at the same time. Or at least that's what I think they are for. Don't quote me though, as I'm no expert as to electric brewing, despite getting my start in the late 80's.
 
Last edited:
Brewing up an Oktoberfest this evening. Is anyone else a night owl brewer?

View attachment 690966
No I, too busy with the kiddos in afternoon/evenings. I like adding the water and all preps night before and firing it up to mash in at about 7:30am myself. You using the tailgate of your truck to lift that malt pipe since the foundry it set so high? I’m referring to the tacoma of course and not the push car lol
 
Last edited:
No I, too busy with the kiddos in afternoon/evenings. I like adding the water and all preps night before and firing it up to mash in at about 7:30am myself. You using the tailgate of your truck to lift that malt pipe since the foundry it set so high? I’m referring to the tacoma of course and not the push car lol

I have a 15 month old that likes to go to bed early and get up early so I will tend to brew when I get the chance lol.

It’s funny you mention it being too tall. I was not even thinking when I left it on the table for the mash. I did a very stupid thing and set it on the ground before trying to pull the malt pipe. Hard lesson learned there.
Been there done that with the kiddos. Nowadays mine are in early teens so mornings are more free for me lol.

as long as you didn’t rip the handles off the kettle or throw out your back, you are good to go! Lol.
 
Quick question. I have never had a pump before... when using an ic is it not a good idea to recirculate instead of stirring?
It seems like it should be almost as good as stirring without standing there.
 
Quick question. I have never had a pump before... when using an ic is it not a good idea to recirculate instead of stirring?
It seems like it should be almost as good as stirring without standing there.
Before I had the whirlpool arm I didn't recirculate and simply moved the chiller up and down for agitation/stirring. It worked but pretty hands on experience. Now I use the pump to recirculate but the pump pumps the wort back into the whirlpool arm which discharges below the wort surface (no splashing) to make the whirlpool. Is this what you had in mind?
 
Something like that. I’m don’t have a whirlpool arm, but it should not be hard to make something.
 
Before I had the whirlpool arm I didn't recirculate and simply moved the chiller up and down for agitation/stirring. It worked but pretty hands on experience. Now I use the pump to recirculate but the pump pumps the wort back into the whirlpool arm which discharges below the wort surface (no splashing) to make the whirlpool. Is this what you had in mind?
Want to post a picture of your arm?
 
Want to post a picture of your arm?
sorry not the best pics. I got the 18" arm from brew hardware.com. I actually position it directly above the ball valve when in use. Works great! well worth the $20.00. No need for attachments on the top end as I just swap the hose off of the recirculation SS attachment and put it on the whirlpool arm.
 

Attachments

  • IMG_7216.jpg
    IMG_7216.jpg
    70.2 KB · Views: 198
  • IMG_7217.jpg
    IMG_7217.jpg
    58.6 KB · Views: 200
  • IMG_7219.jpg
    IMG_7219.jpg
    57.7 KB · Views: 192
I ordered one of these today (from BrewHardware.com) to whirlpool my 6.5 Gallon Foundry:

SPINCYCLE OVERBOARD, NO-DRILL KETTLE WHIRLPOOL RETURN

I also intend to replace the immersion chiller with one that actually makes more contact with the wort. The supplied chiller is only a bit more than half-way immersed!

Edit: This apparently is the same whirlpool arm that Noob_Brewer has!
 
I had been using the spin cycle on my old kettle for a long time so going to the overboard when I decided to go with the foundry was a no brainer.
I’ve done 3 mashes and 2 full brews and am super pleased with switching.
Considering a couple mods to make it work better with my process. Has anyone swapped out the diptube? And is there a tri-clover bulkhead that would fit the lid?
Don't know about the tri-clover bulkhead for the lid, but curious what you do or don't like about the dip tube? The dip tube works fine for me, but Im still trying to find a way to reduce trub going into the fermenter. Waiting for the trub to settle after chilling doesn't work that well really with beers that generate a lot of trub. Just brewed an "oat cream IPA" today which has ~50% of the grain bill being malted oats, flaked oats, and white wheat. This was the second time I brewed this recipe and the amount of trub that is produced in the boil is immense. Ive tried the mesh bag going into the fermenter but that was messy and a PITA for me. Ideally, I think something like the trop stop dam (by exchillerator) would be great but the dimensions are too big so won't fit well in the foundry.
 
Imho, trub is a major downside of all in one/BIAB brewing. Ideally, you would want all of that "stuff" that was boiled to have been left behind in the mash. I know the prevailing arguments are it doesn't matter, but I believe it does. That is why I lauter from the mash recirc to a separate pot, clean out the Foundry and pump the clear wort back in for the boil. All one needs is an $18 pump from amazon and any type of pot with a spigot.

With regards to the spigot, I have struggled with clear wort to the fermenter as well. The Foundry is a pretty small diameter boil kettle, so there is not a lot of room for sediment & hops to go away. So I use a hop basket throughout the boil then run the chilled wort into a settling bucket. Let it sit covered while I clean up, then gravity transfer super clear wort to my fermenter. Once again, I am aware of the conventional wisdom that trub doesn't matter etc..., but that is how I do it.
 
Don't know about the tri-clover bulkhead for the lid, but curious what you do or don't like about the dip tube? The dip tube works fine for me, but Im still trying to find a way to reduce trub going into the fermenter. Waiting for the trub to settle after chilling doesn't work that well really with beers that generate a lot of trub. Just brewed an "oat cream IPA" today which has ~50% of the grain bill being malted oats, flaked oats, and white wheat. This was the second time I brewed this recipe and the amount of trub that is produced in the boil is immense. Ive tried the mesh bag going into the fermenter but that was messy and a PITA for me. Ideally, I think something like the trop stop dam (by exchillerator) would be great but the dimensions are too big so won't fit well in the foundry.
Flow rate out of the spigot seems very slow compared to my old kettle. I would also like clearer wort out. I have this TRUB GUARD from @Bobby_M I had to pinch the clip and flip it upside down to work. But it fits! Transferring to a second vessel twice seems more troublesome than I see benefit to. I do want to try a steel mesh spider to help with hop clean up. Suggestions?
 
Imho, trub is a major downside of all in one/BIAB brewing. Ideally, you would want all of that "stuff" that was boiled to have been left behind in the mash. I know the prevailing arguments are it doesn't matter, but I believe it does. That is why I lauter from the mash recirc to a separate pot, clean out the Foundry and pump the clear wort back in for the boil. All one needs is an $18 pump from amazon and any type of pot with a spigot.

With regards to the spigot, I have struggled with clear wort to the fermenter as well. The Foundry is a pretty small diameter boil kettle, so there is not a lot of room for sediment & hops to go away. So I use a hop basket throughout the boil then run the chilled wort into a settling bucket. Let it sit covered while I clean up, then gravity transfer super clear wort to my fermenter. Once again, I am aware of the conventional wisdom that trub doesn't matter etc..., but that is how I do it.

I would like a shinny conical but economics pointed me toward the FastFerment about 3-years ago. These go for $80 on Amazon right now. I bought the Mason jar accessory and similar to Bassman2003 once cooled I transfer wort into the conical then let it sit couple hours. Then I dump the jar of trub, oxygenate, and pitch yeast.
 
Flow rate out of the spigot seems very slow compared to my old kettle. I would also like clearer wort out. I have this TRUB GUARD from @Bobby_M I had to pinch the clip and flip it upside down to work. But it fits! Transferring to a second vessel twice seems more troublesome than I see benefit to. I do want to try a steel mesh spider to help with hop clean up. Suggestions?
I saw this trub guard but wasn't sure how well it would work and actually seemed too big to fit under the malt-pipe anyways. How has it worked? Have you tried it on grain bills that seem to produce more trub than other grain bills?
 
I saw this trub guard but wasn't sure how well it would work and actually seemed too big to fit under the malt-pipe anyways. How has it worked? Have you tried it on grain bills that seem to produce more trub than other grain bills?
I’m only 3 mashes in with the new foundry. First one the guard didn’t stay in place. Second I adjusted the clip and it worked but my IC moved it when I placed it in to chill. 3rd attempt was a kettle sour but the gasket on the lid slipped while I was clamping it down so that wort went down the drain. I think it will work but hop cleanup was a pain. I saw a tip about shop vac so may try that if I don’t get a hop spider before I brew next.
 
I would like a shinny conical but economics pointed me toward the FastFerment about 3-years ago. These go for $80 on Amazon right now. I bought the Mason jar accessory and similar to Bassman2003 once cooled I transfer wort into the conical then let it sit couple hours. Then I dump the jar of trub, oxygenate, and pitch yeast.
Cool. Yes, what I do is really a poor man's conical. I could let the wort settle in the kettle but I find the multi-stage approach yield much clearer wort. As mbg has probably seen, the amount of fine particles that get left behind is pretty eye opening.
 
I use mainly better bottle carboys and occasionally a ssbrewbucket I would like really clean wort going in to help with my yeast harvesting. But also want to minimize my brew day length.
 
sorry not the best pics. I got the 18" arm from brew hardware.com. I actually position it directly above the ball valve when in use. Works great! well worth the $20.00. No need for attachments on the top end as I just swap the hose off of the recirculation SS attachment and put it on the whirlpool arm.

Bummer! Just tried to order one and there was only one in stock and by time I entered all my information when checking out, it was gone.
 
Back
Top