
clickondan
Well-Known Member
- Joined
- Feb 5, 2014
- Messages
- 91
- Reaction score
- 15
Hi there. Today I realized that, over time, Ive developed some handy tips, techniques etc. for brewing (handy to me anyway) and wanted to document them for myself. Then I figured I might as well toss everything out here in case anything here is helpful for anyone else.
Im certainly no expert, but I'm learning something new every day I brew. In fact the ongoing discovery is one of the things I enjoy most about brewing. So on that note, if you see anything here that I shouldnt be doing, or could be doing better, definitely let me know. Even better, add your own tips and techniques to the list!
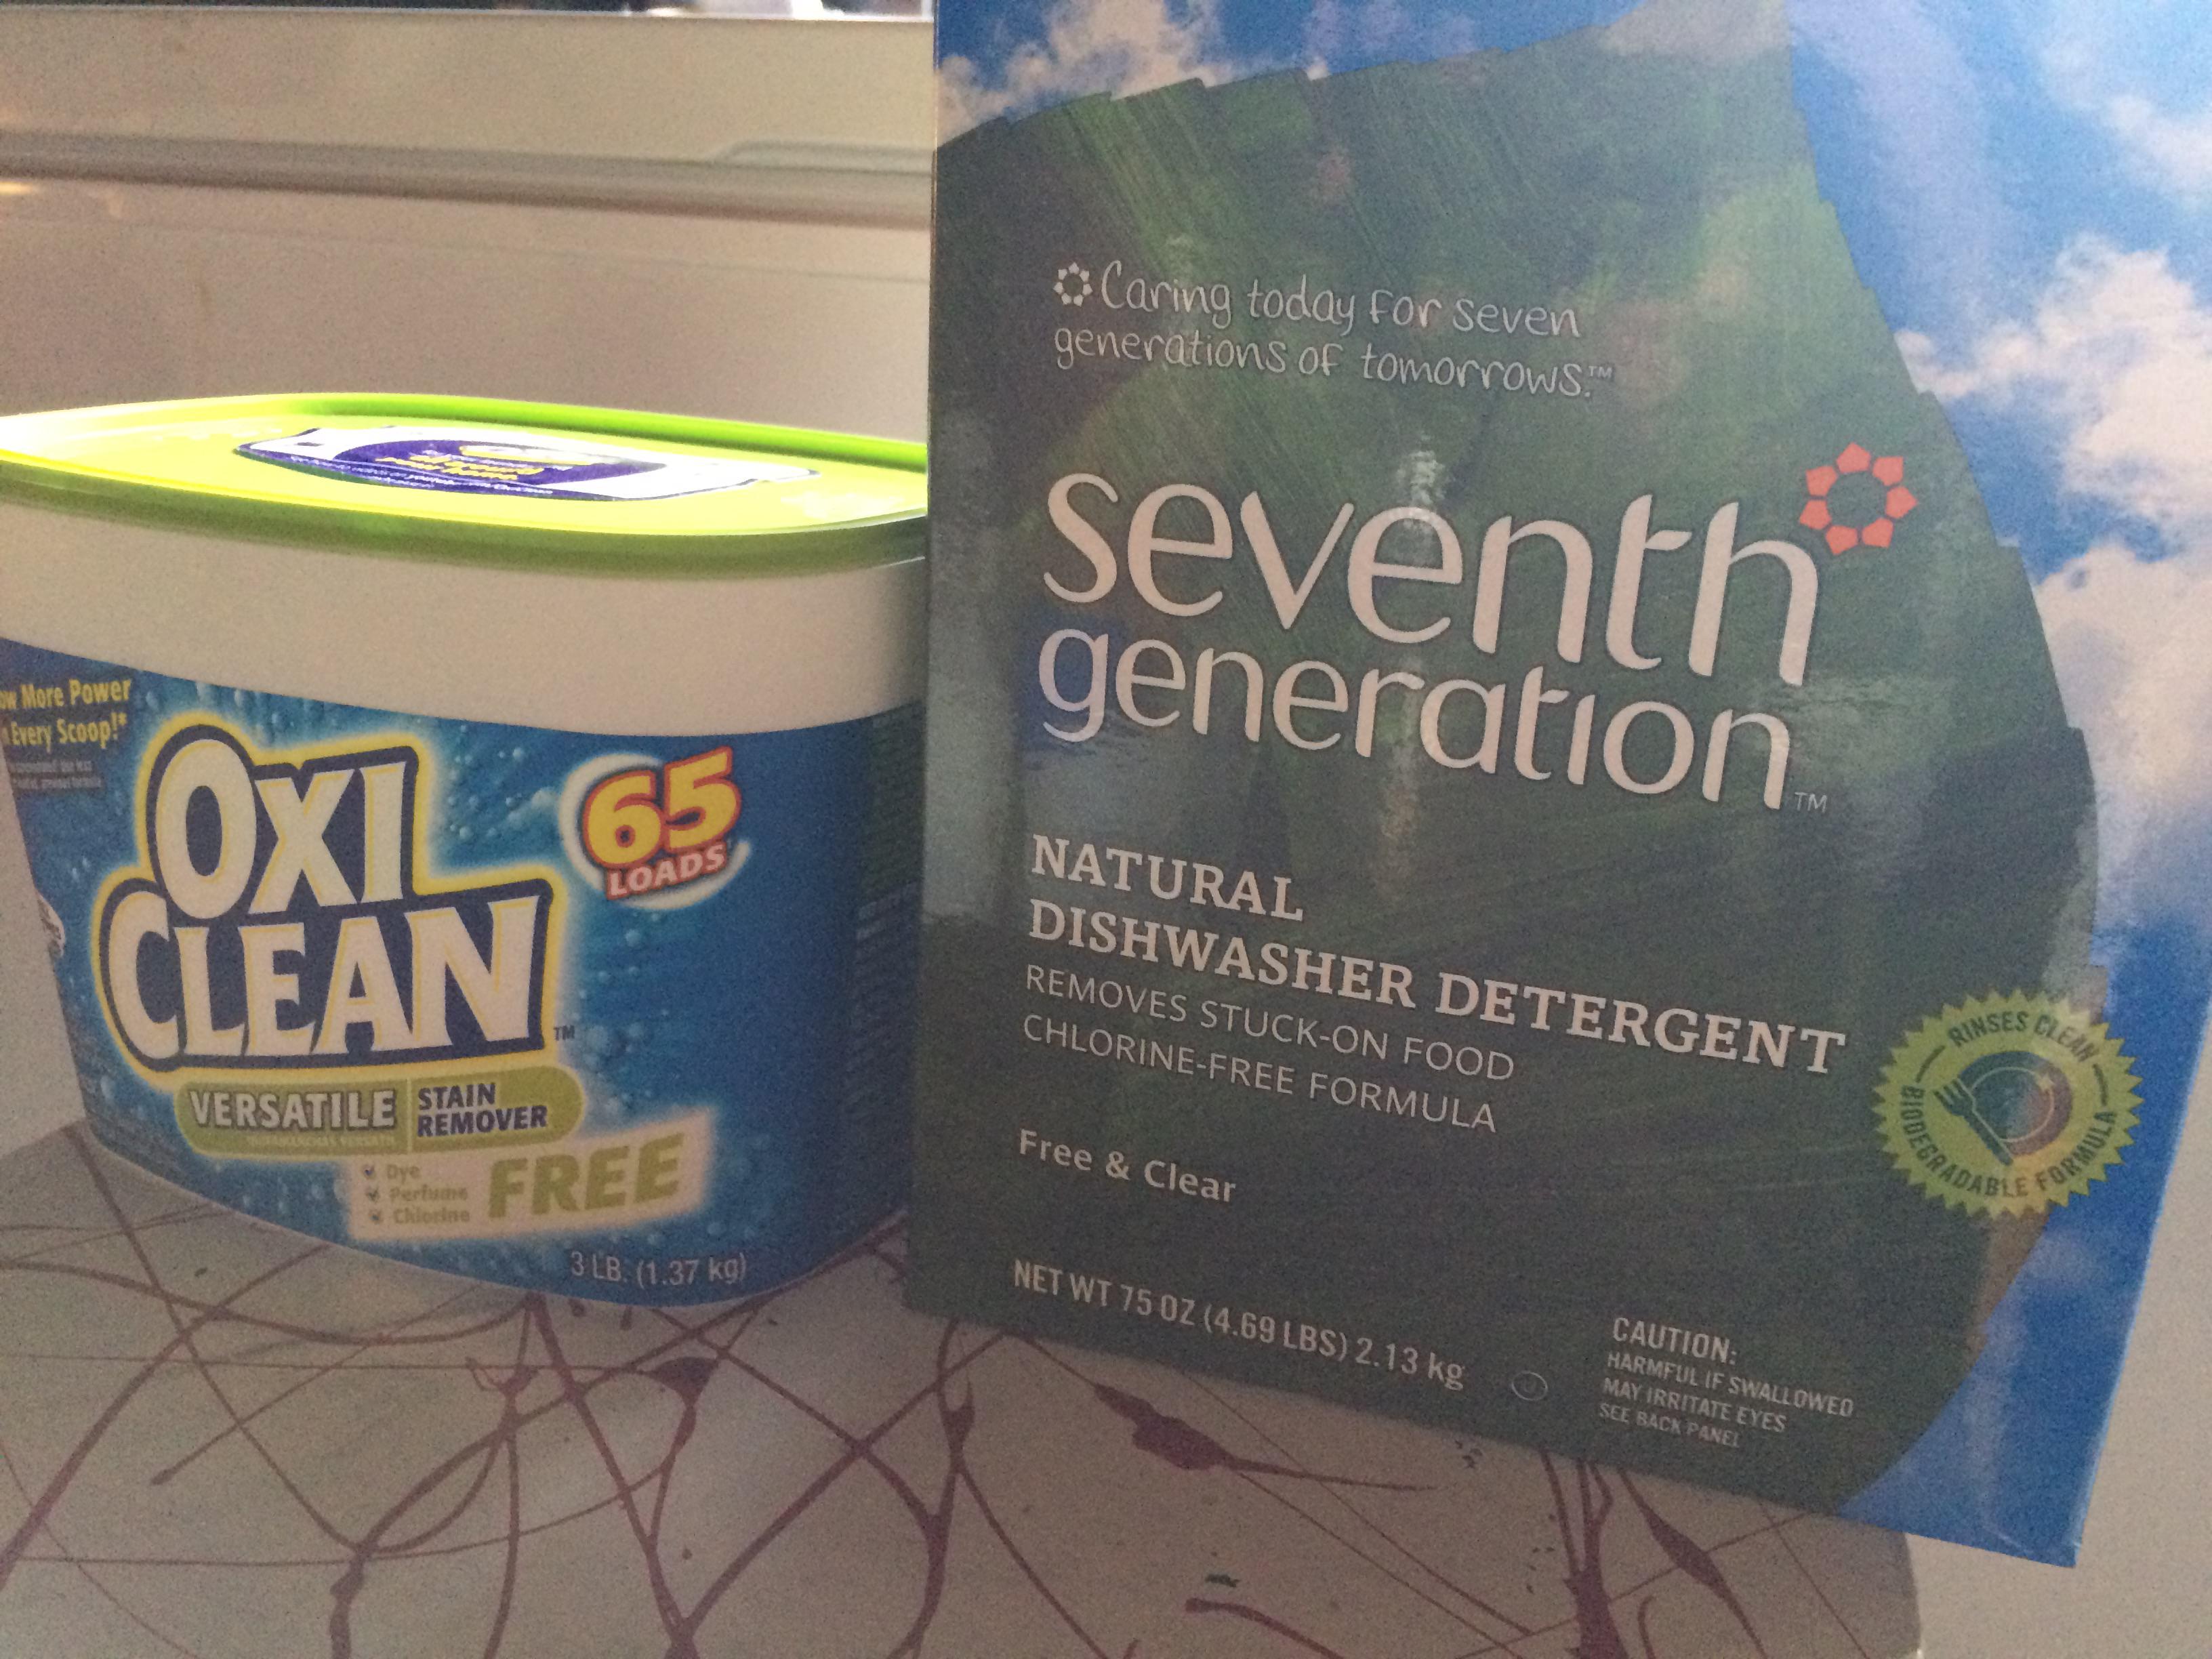
Homemade PBW -
I did a lot of research on this to verify that the chemical makeup is safe, effective, easy and contains the same types of agents as PBW and acts in a similar way. In the interest of brevity I wont lay it out, here but instead just tell you that I thoroughly mix these two items: Seventh Generation Natural Dishwasher Detergent 75oz and Oxyclean Free 3lb. I keep some of it in the original Oxyclean container and the remainder in other airtight containers, and I use the same amount/volumes that Id use PBW. Make sure you get no-scent Oxyclean. It's a lot cheaper than PBW and works just as well if not better.
Use refractometer for FG readings -
I know this is generally frowned upon, but Ive found that diligence provides consistency and accuracy. I use the BF calculator here http://www.brewersfriend.com/refractometer-calculator/. I use the calibrate refractometer tool in Beersmith2 or another similar tool every few months to maintain calibration. I regularly measure an FG refract reading against a hydrometer reading to make sure that they match, and they always do to the thousandth. No its not much more work to just use a hydrometer for FG, but I just like using the refract better and knowing that it's correct.
Sanitized straw for refract readings from carboy -
When I want to pull a few drops for a measurement, I simply sanitize my hand and a drinking straw, dip it in the carboy, put my finger over the top end and pull the sample out.
Keep distilled water jugs around for blow off -
When I brew light styles, I build from distilled water, and I save a few empty gallon jugs with the caps on. I fill them up half way with sanitizer and use them for blowoff.
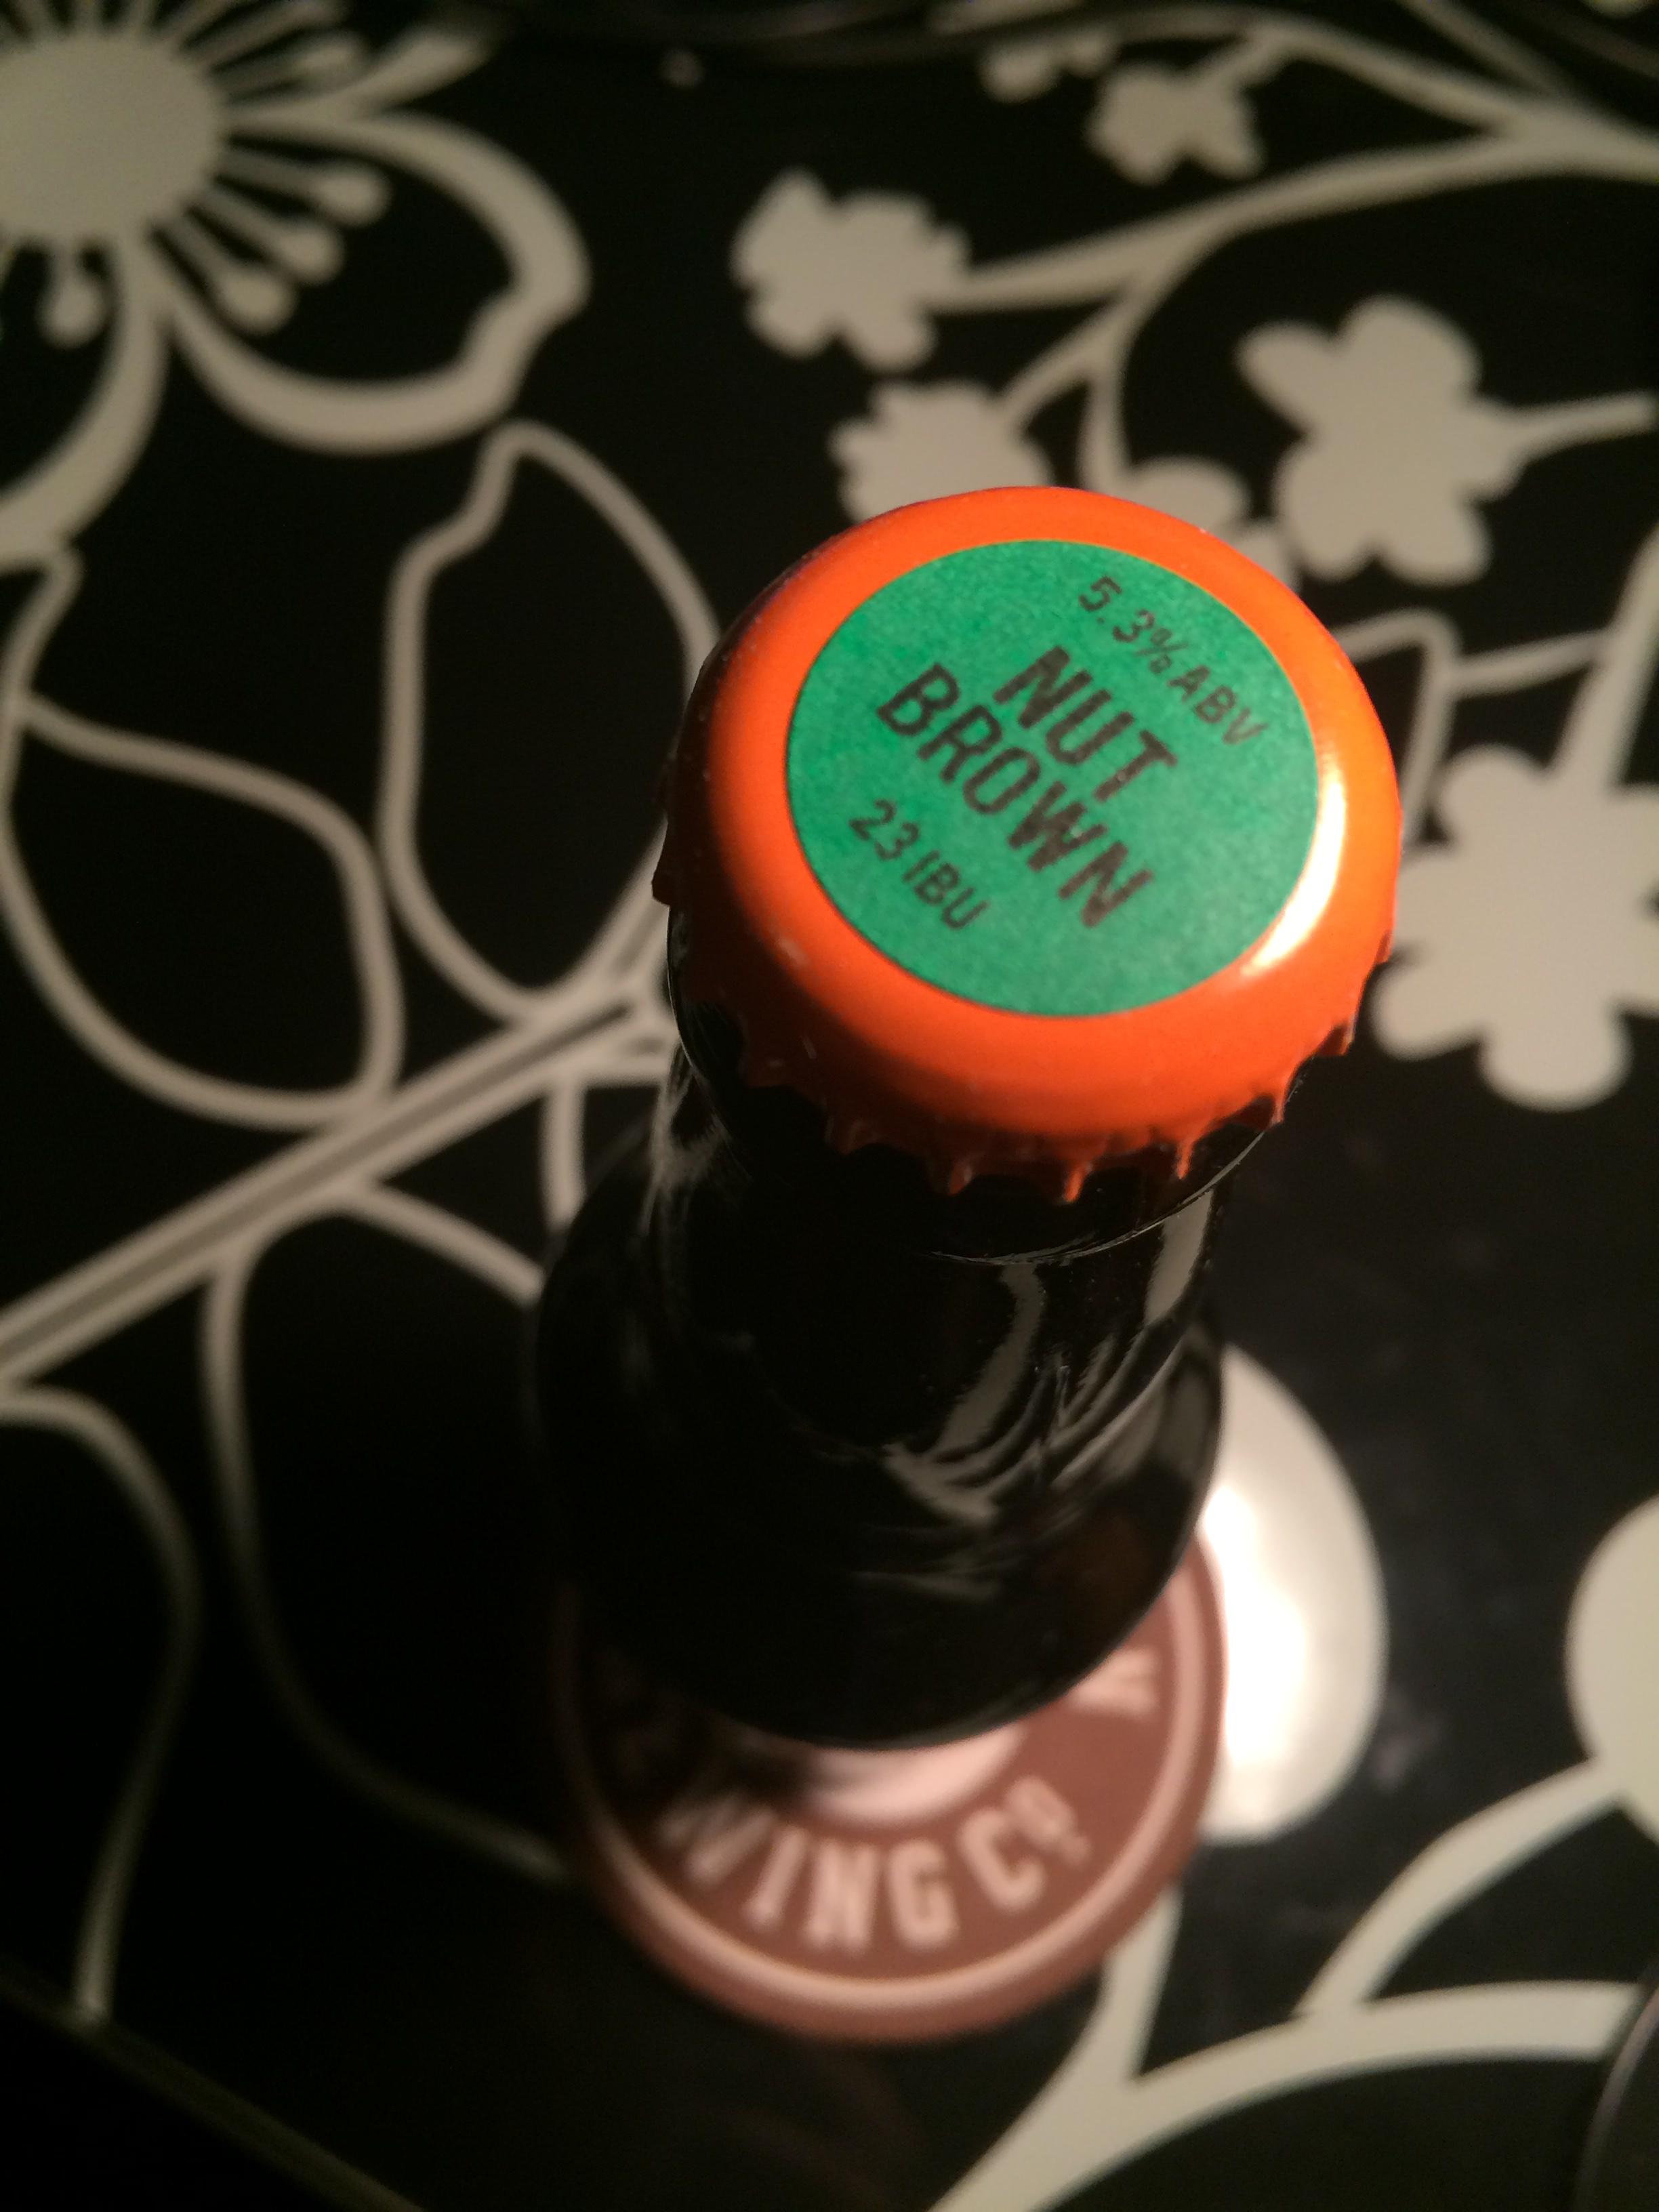
Bottle cap stickers -
I usually use Avery 5472 labels on bottle caps. Very cheap, various colors, they stay on well. You can Google a template file and just go from there.
Get boxes from Total Wine -
I usually bottle, and I usually have many different sizes of bottles going at any given time and not enough of the right boxes for storage. One day I walked into Total Wine and realized they have a whole aisle full of empty boxes for various bottle sizes. Endless supply really.
Brewers Friend water profile calculator -
I know my tap water profile. I saved that starting water profile, along with a profile for distilled, and one for 50/50 tap/DI mix. Every single brew I make uses one of those water sources, and I use this calculator to build my water for every beer I make. Works great, whether you use their default settings or build your own calcs. You can recall them later to use again, compare/contrast, etc. I link to them directly from my Beersmith notes.
Use larger racking cane for transfers -
One day I bought a larger gauge racking cane to see if it would speed up my bottling process. Essentially it was too fast for bottling and was a disaster. But the larger racking cane does in fact speed up the transfer between fermenter and bottling container down to just a couple minutes, and leaves the smaller racking cane clean and ready to go for actual bottling.
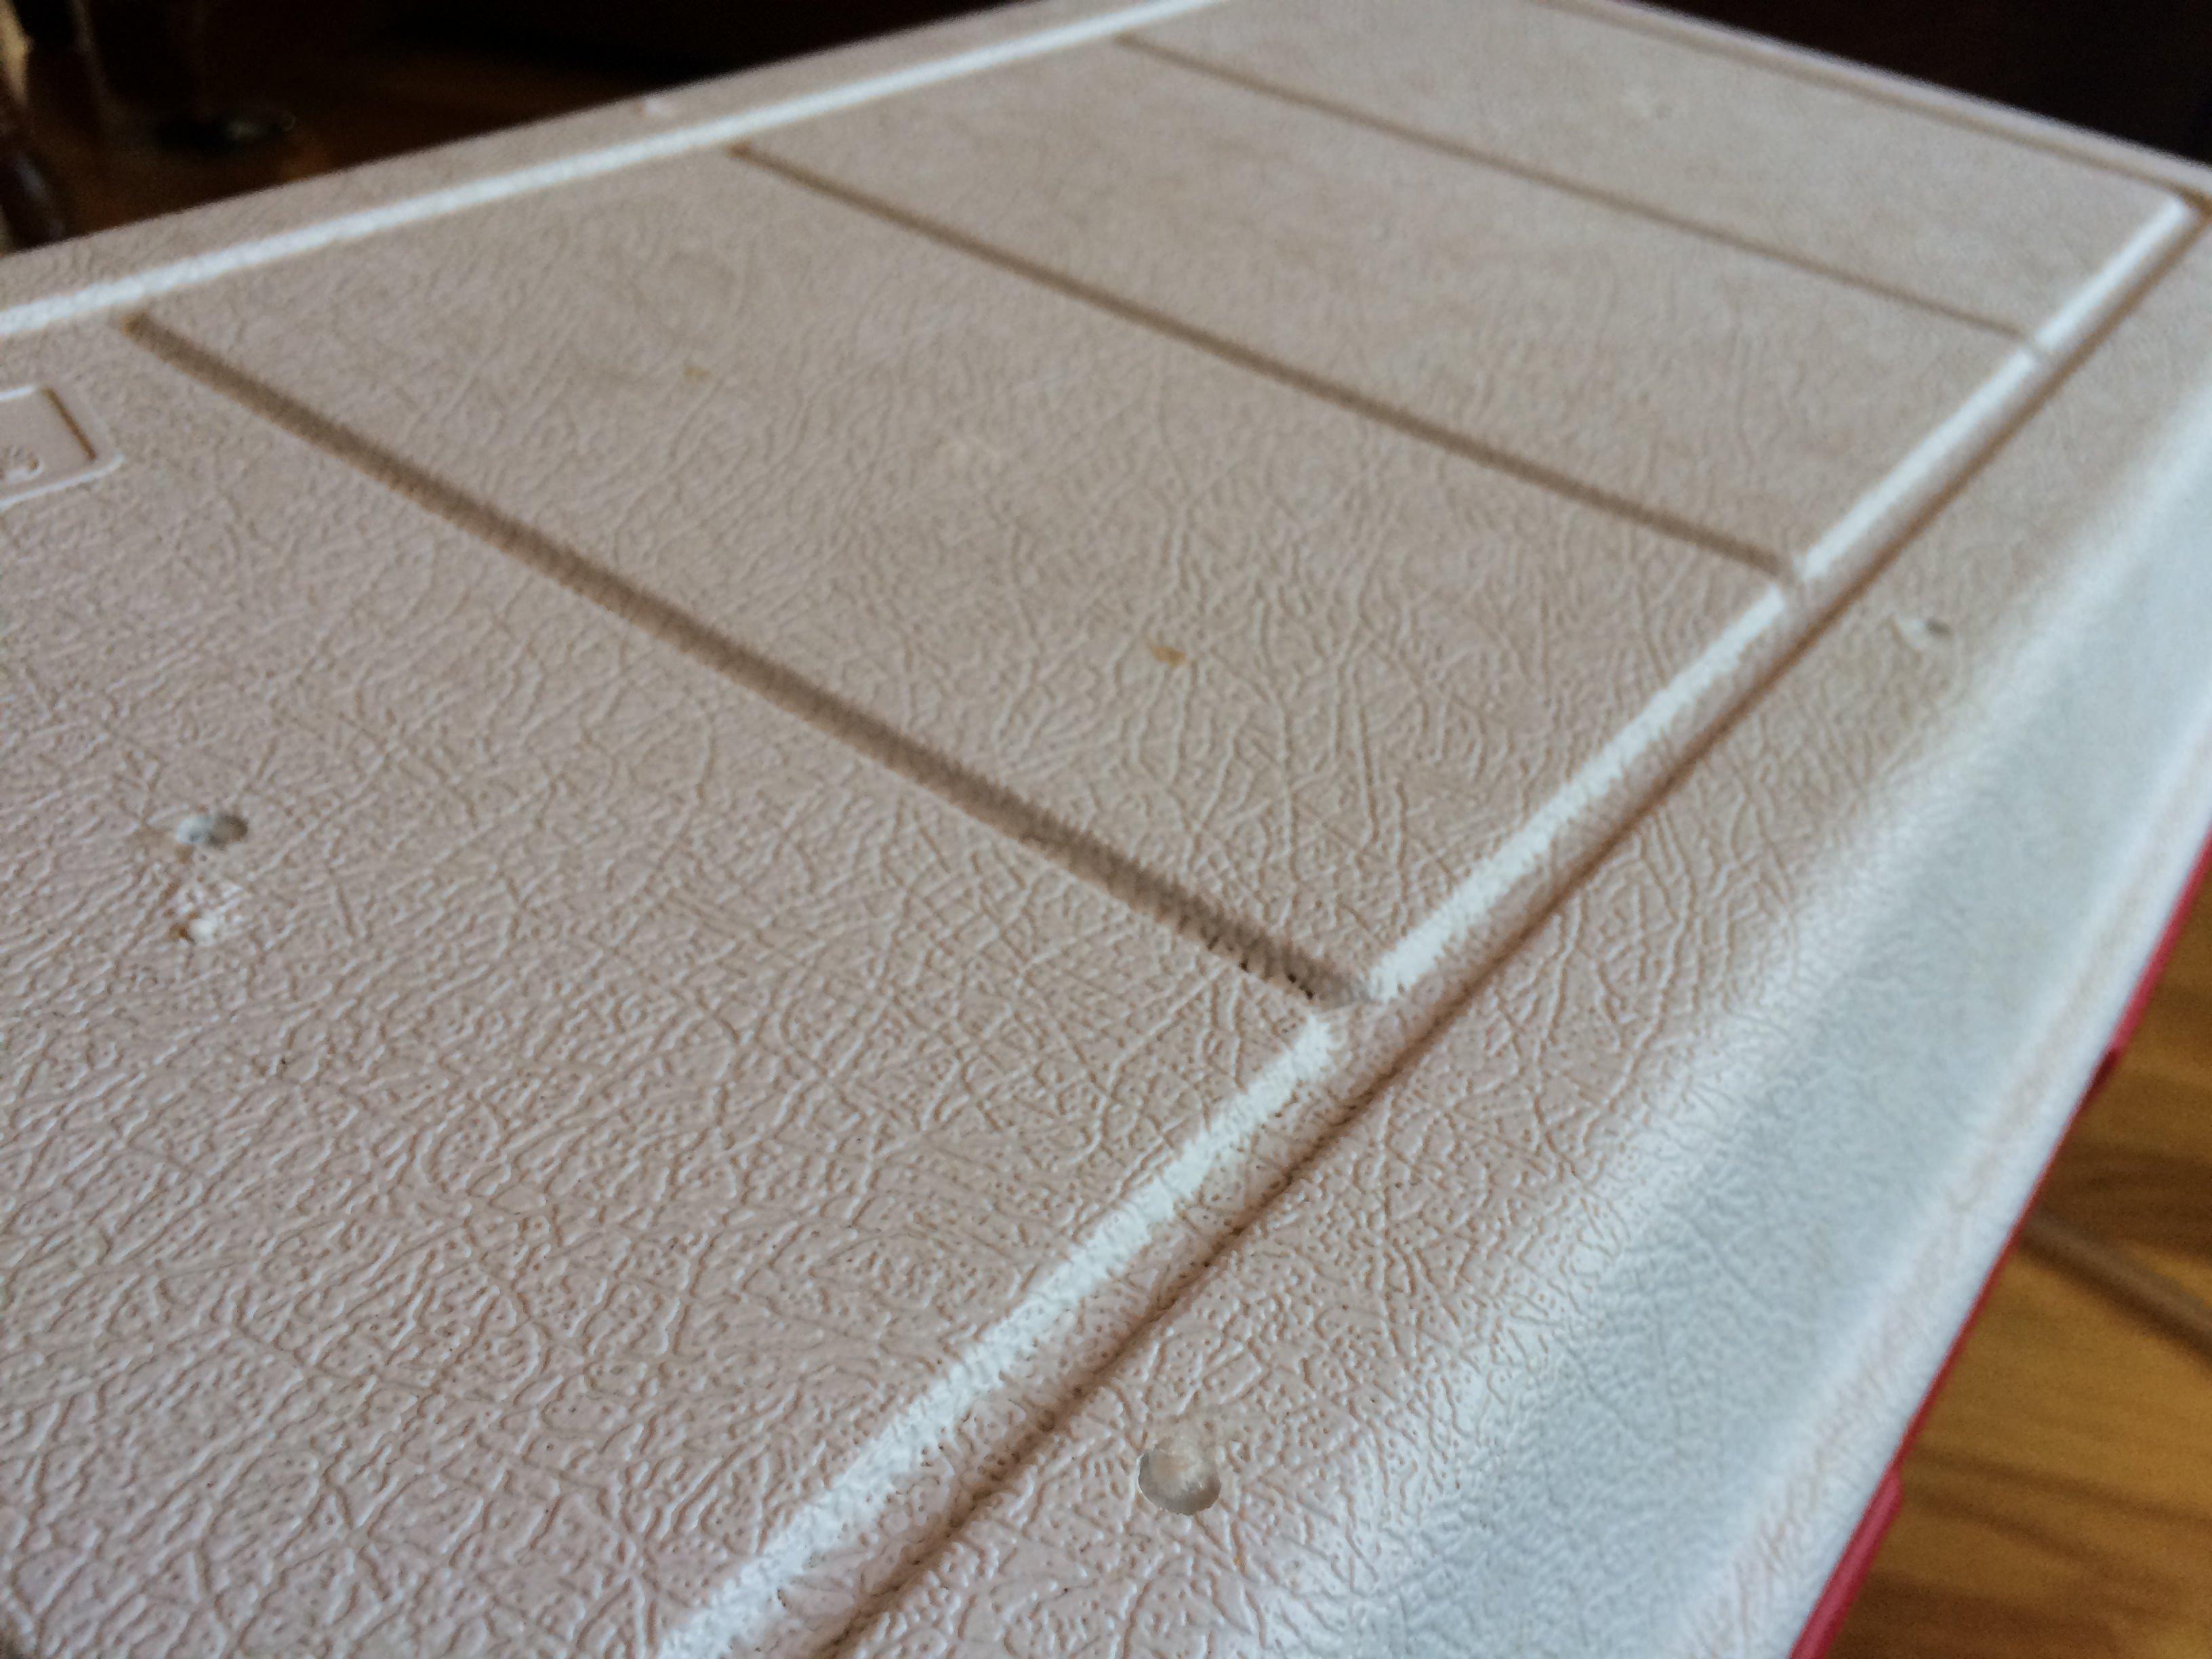
Insulate top of mash tun -
I was losing several degrees over 90 minutes during mashing, so I drilled some small holes in the top of the cooler lid and filled it with spray foam insulation. The door and window kind, since it doesnt apply much pressure when its expanding and drying (didnt want to warp the lid). The holes were just large enough to fit the can hose attachment inside and push it down in there. It took most of the can to fill it. Worked like charm, now I lose zero degrees and feel no heat on the lid during mashing. The lids of those coolers are usually not insulated because they're not built for keeping heat in if you think about it.
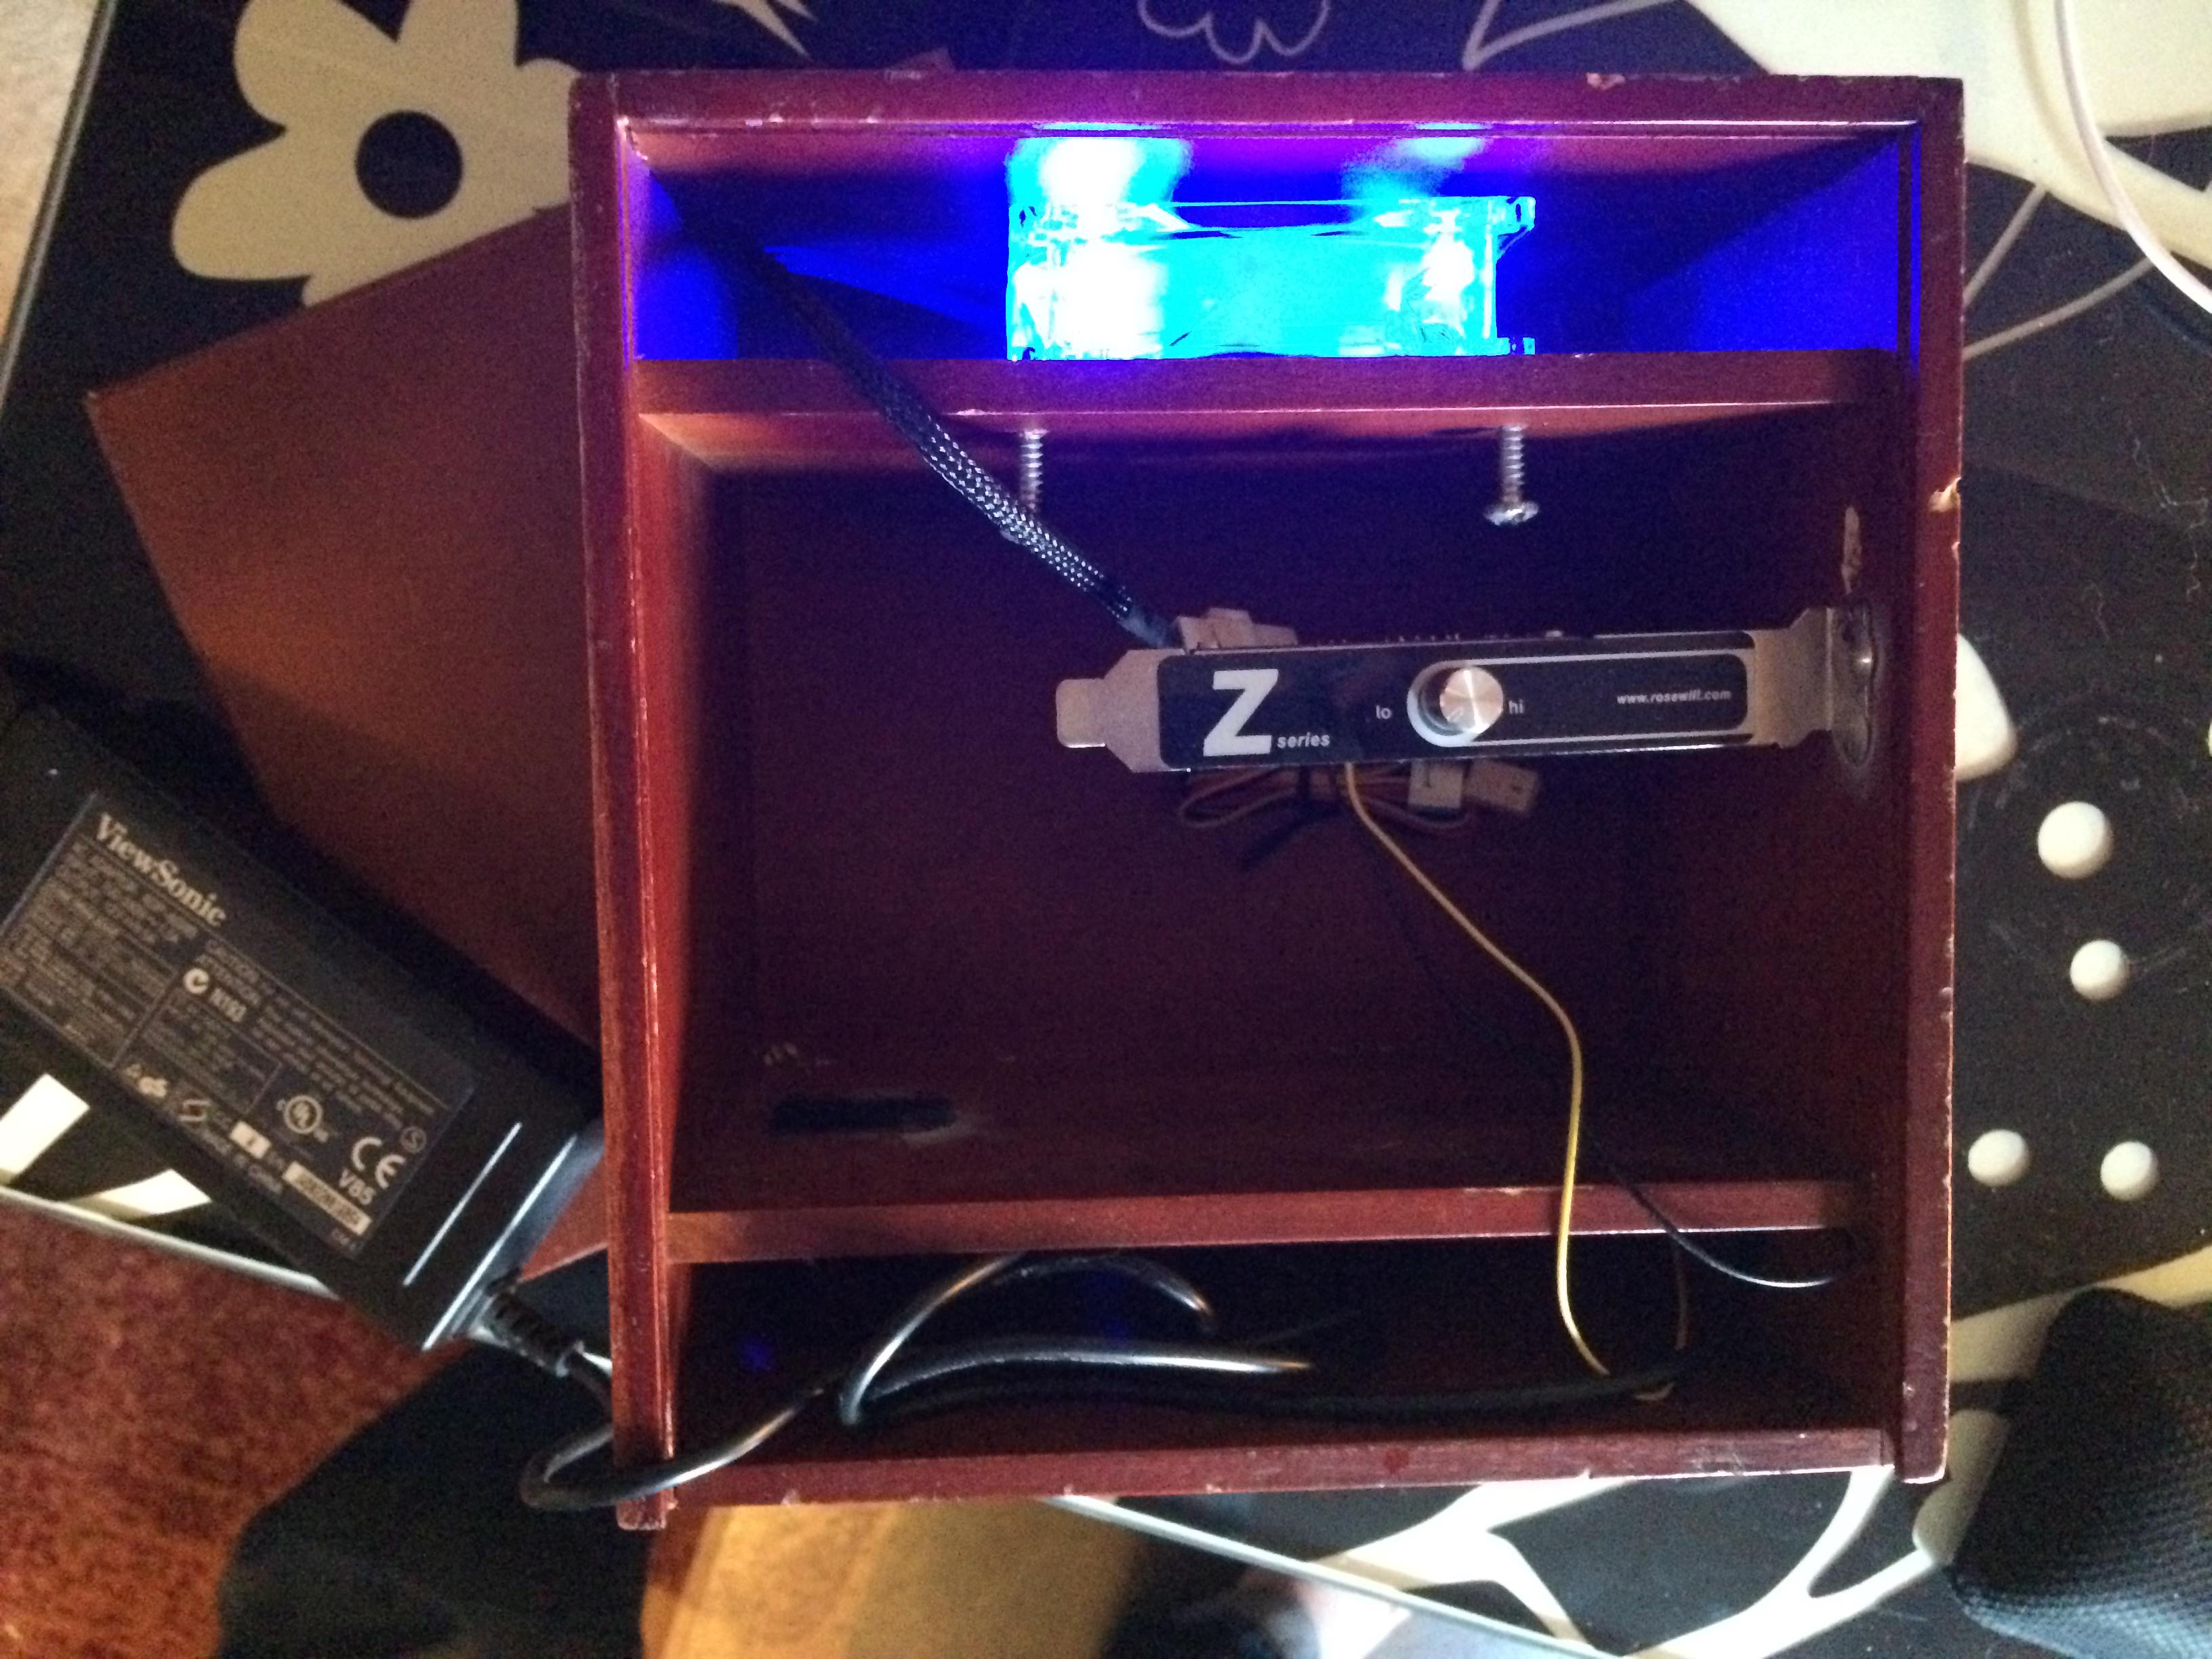
Temp conversion chart -
The temp controller I built uses an STC-1000 that displays in Celsius. I made this conversion chart http://d.pr/f/1gmoV (PDF) and I keep it next to the box in one of those vinyl binder sleeves.
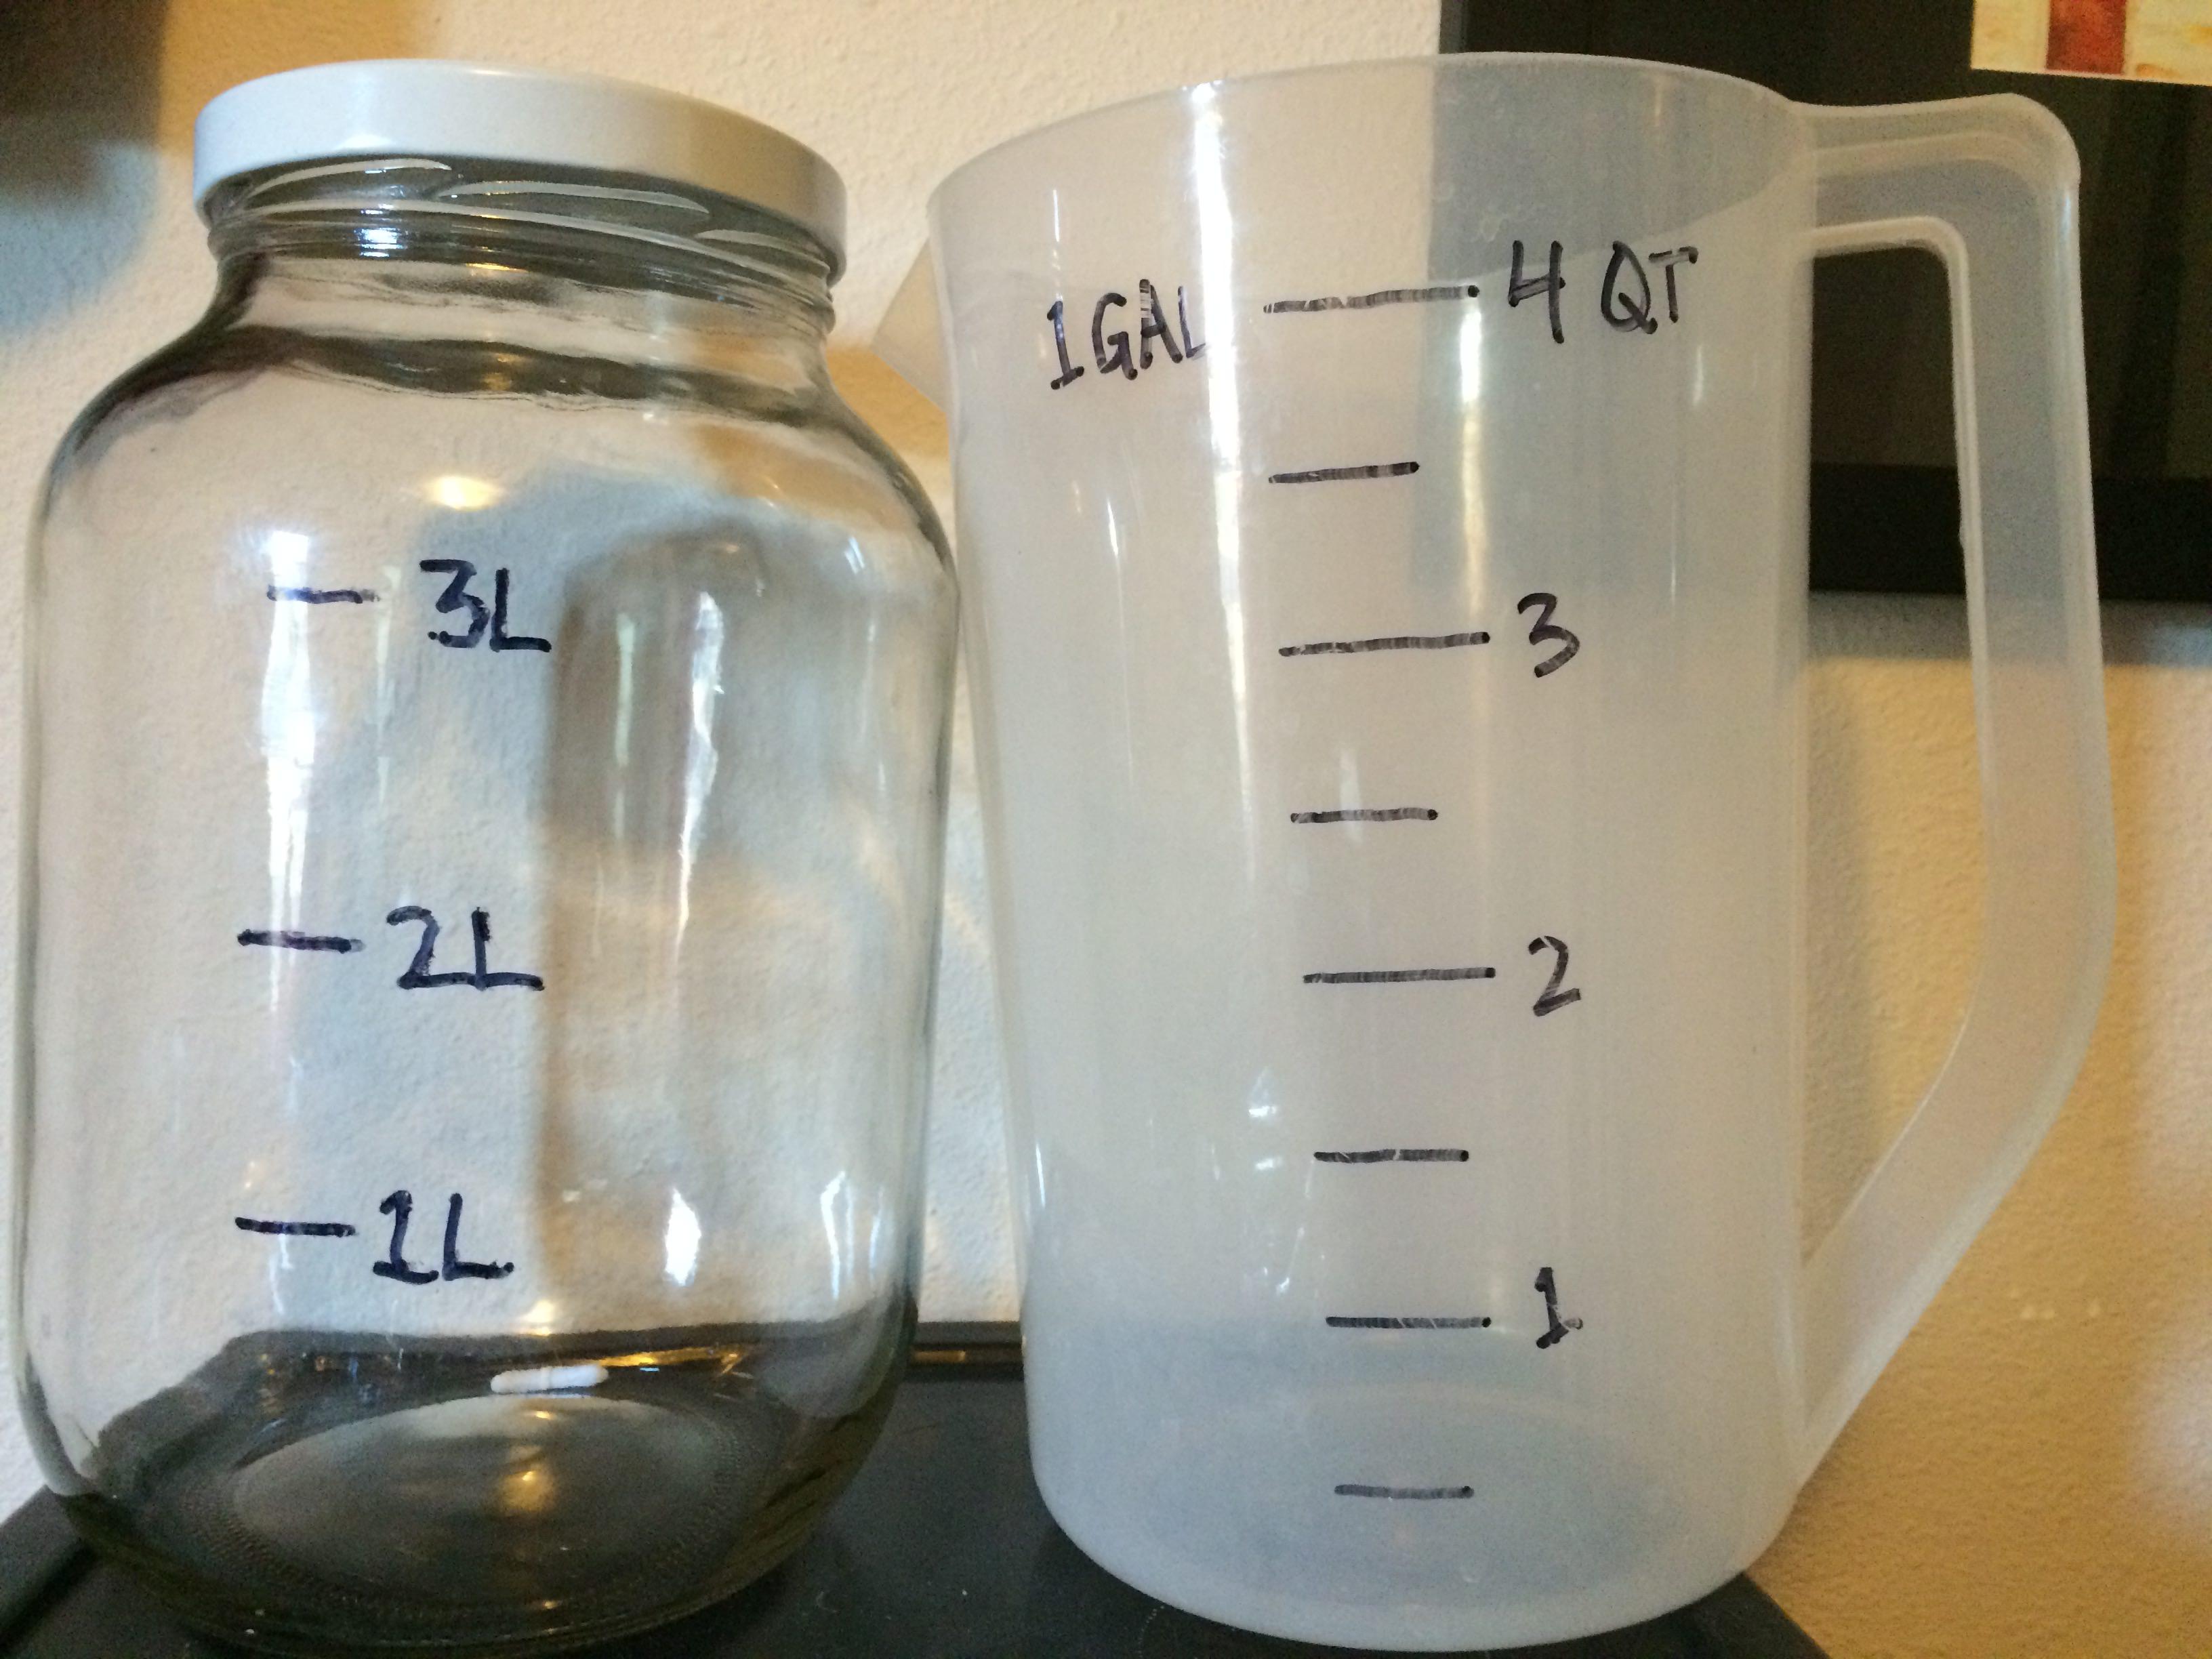
Cheap pitchers and jars with measuring marks -
These come in handy for all kinds of stuff. Brewing water measurements, starter vessels, etc. Since I have these things around, I figure why not mark them up with measurements. I make sure to use something verified to add the measuring volumes when I make the marks.
Homemade stir plate -
I made one, and it changed how I brew, at least where yeast is involved. It took some dialing in but it works great. I used these https://www.kjmagnetics.com/proddetail.asp?prod=B882-N52 and this http://www.newegg.com/Product/Product.aspx?Item=N82E16835200027 The included rotation speed control is sweet. The power source I use is 12V/5A, which is a bit overkill on the amps side but doesnt hurt anything and its just what I have right now.
Split starters -
I almost always make starters. When I do, I overbuild them by 600mL. Right after I take them off the stir plate, I give it a quick swirl and decant 500mL into a sanitized jar of the same size. I use that to make my next starter. If I dont use it within about 6 months, Ill just rebuild a same size starter with it to refresh it. The extra 100mL is for a bit of spill, I like to fill my jar past the top.
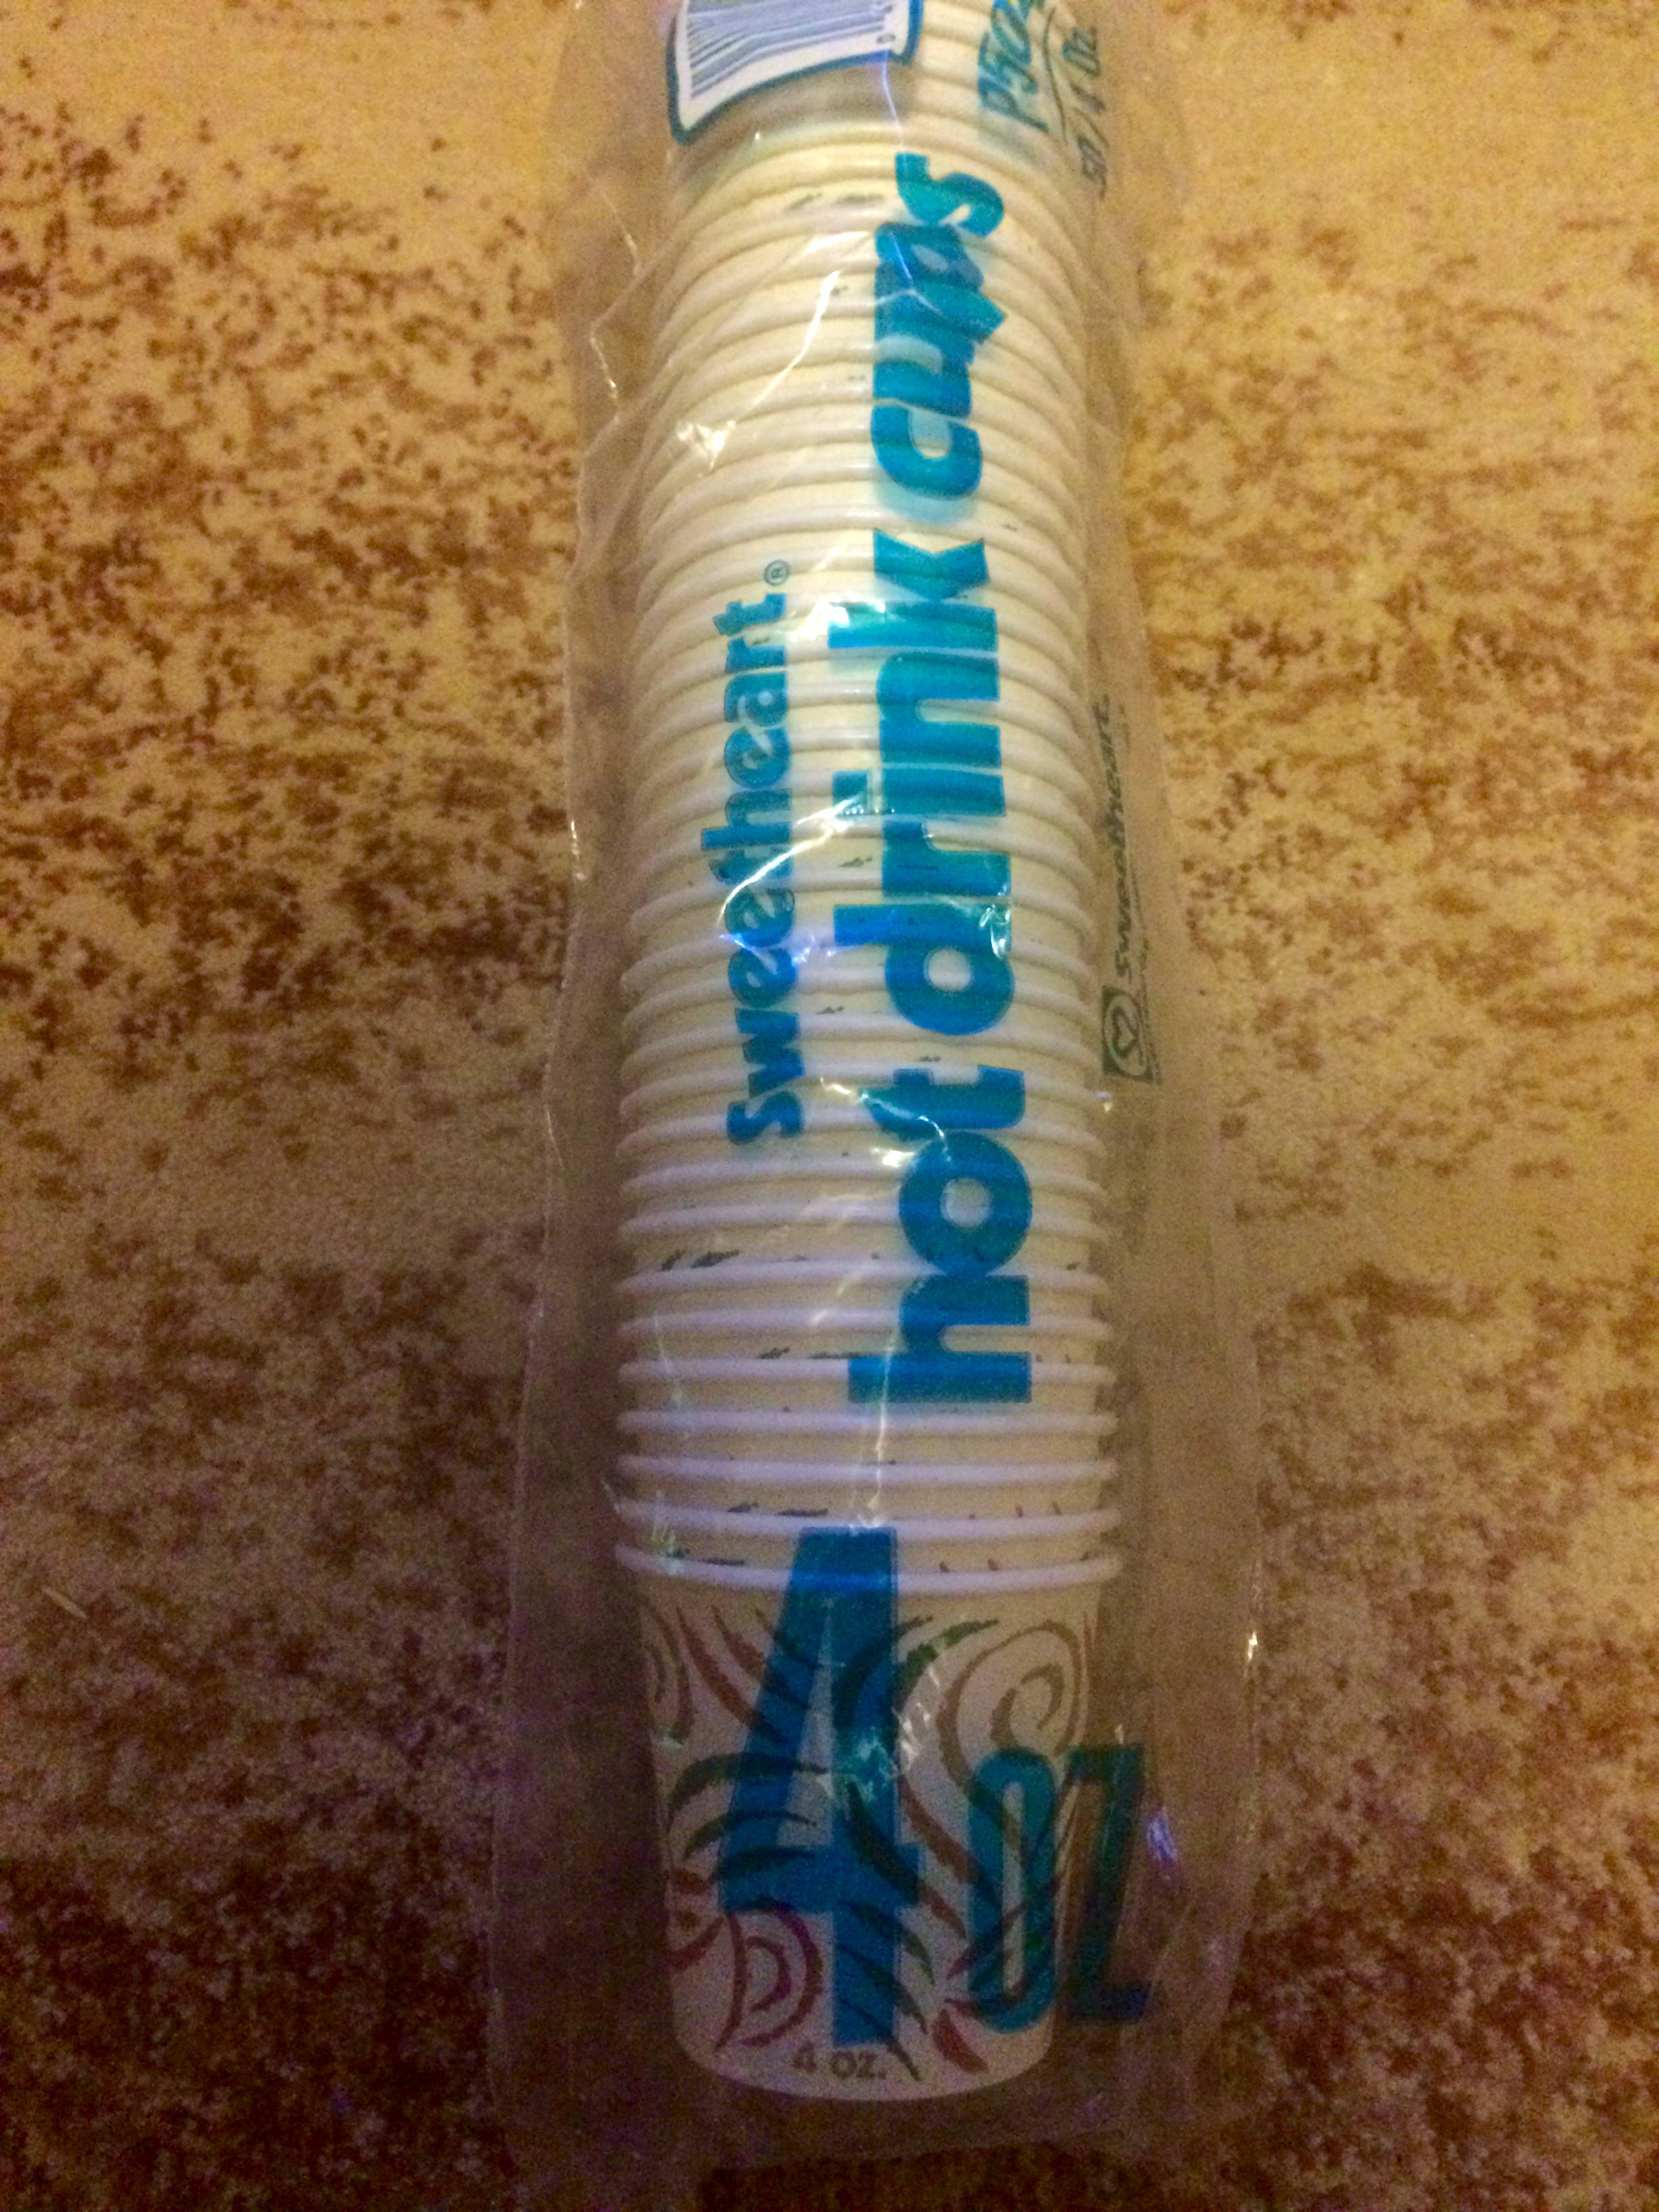
Small dixie cups for additions -
During the mash, I measure out all my hops and other additions into these cups. I use a marker and write the addition time on the side of each. Very helpful during the boil to have them all ready to go, and it's easy to combine clarity agents, hops, minerals, etc into a single cup for the proper time. They also work great with my scale (further down the list).
Storing hops -
I store all my opened hops and hop pellets vacuum sealed in the freezer. I make sure to write the date, the type, the weight and the alpha/beta % on the bag.
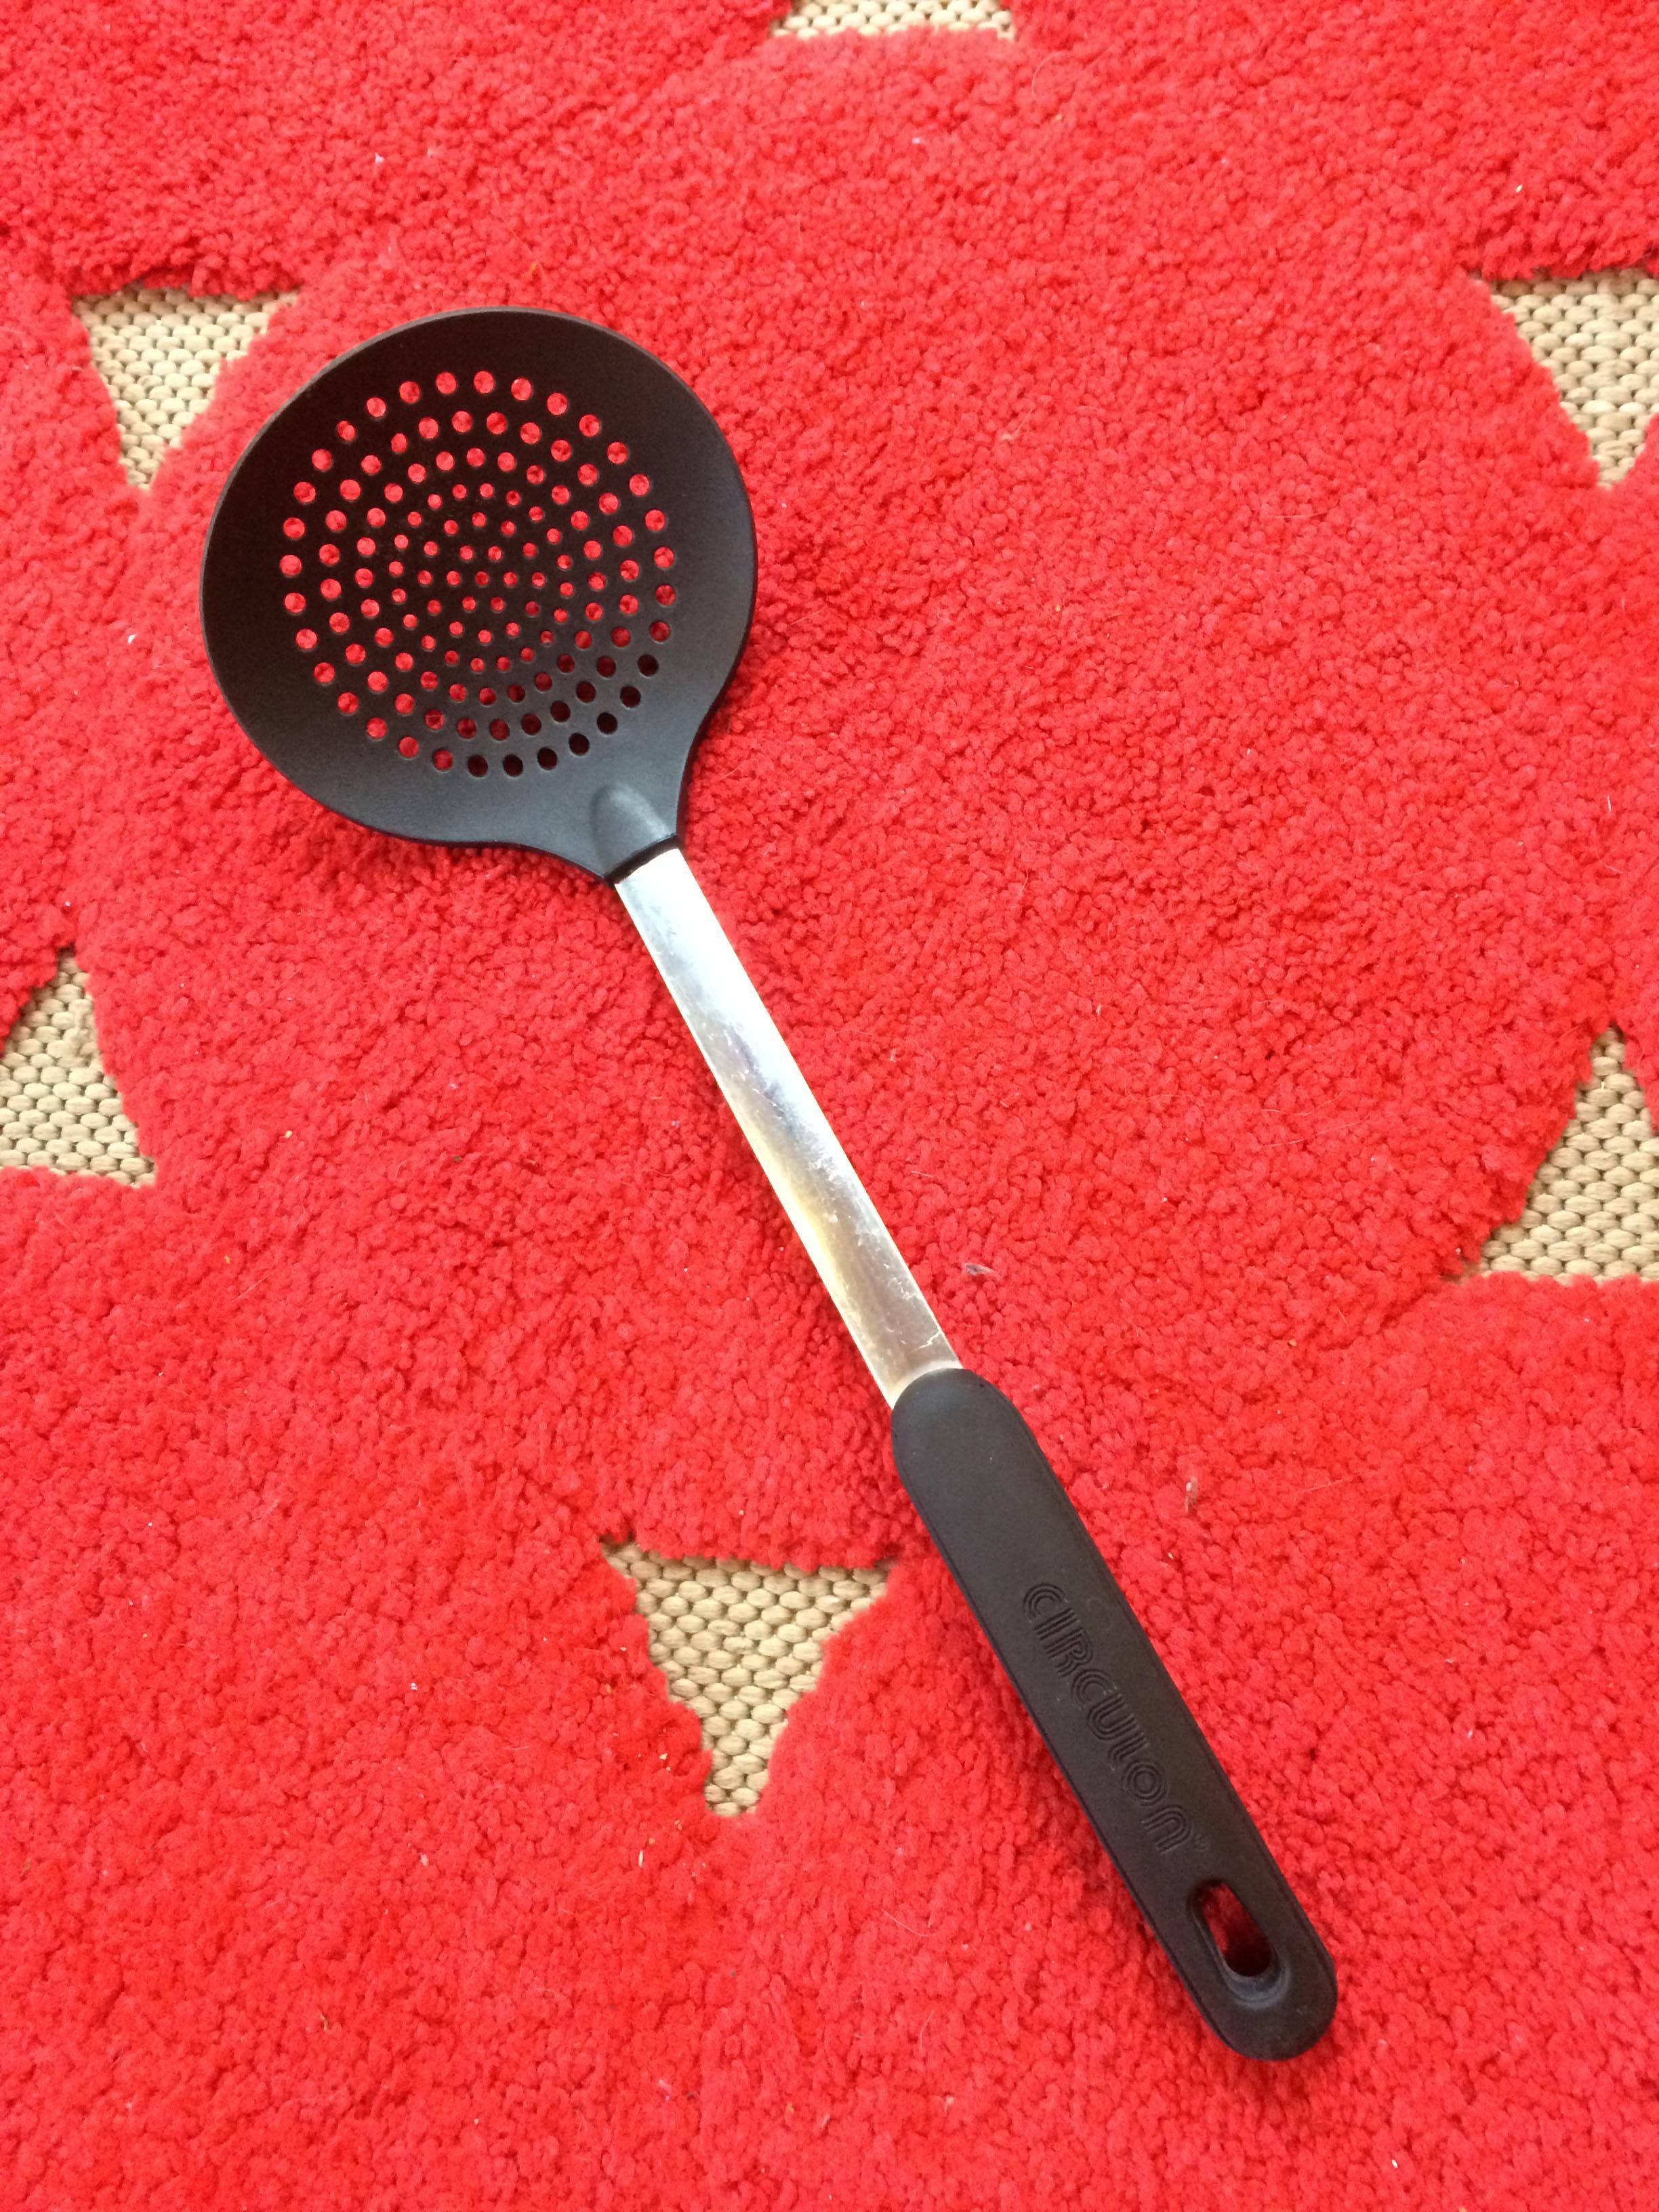
Mash paddle -
I dont even know what this thing is, but I got an efficiency jump when I started using it as a mash paddle instead of whatever I was using before. Its also plastic coated with no sharp edges so it's easy on the inside of the cooler.
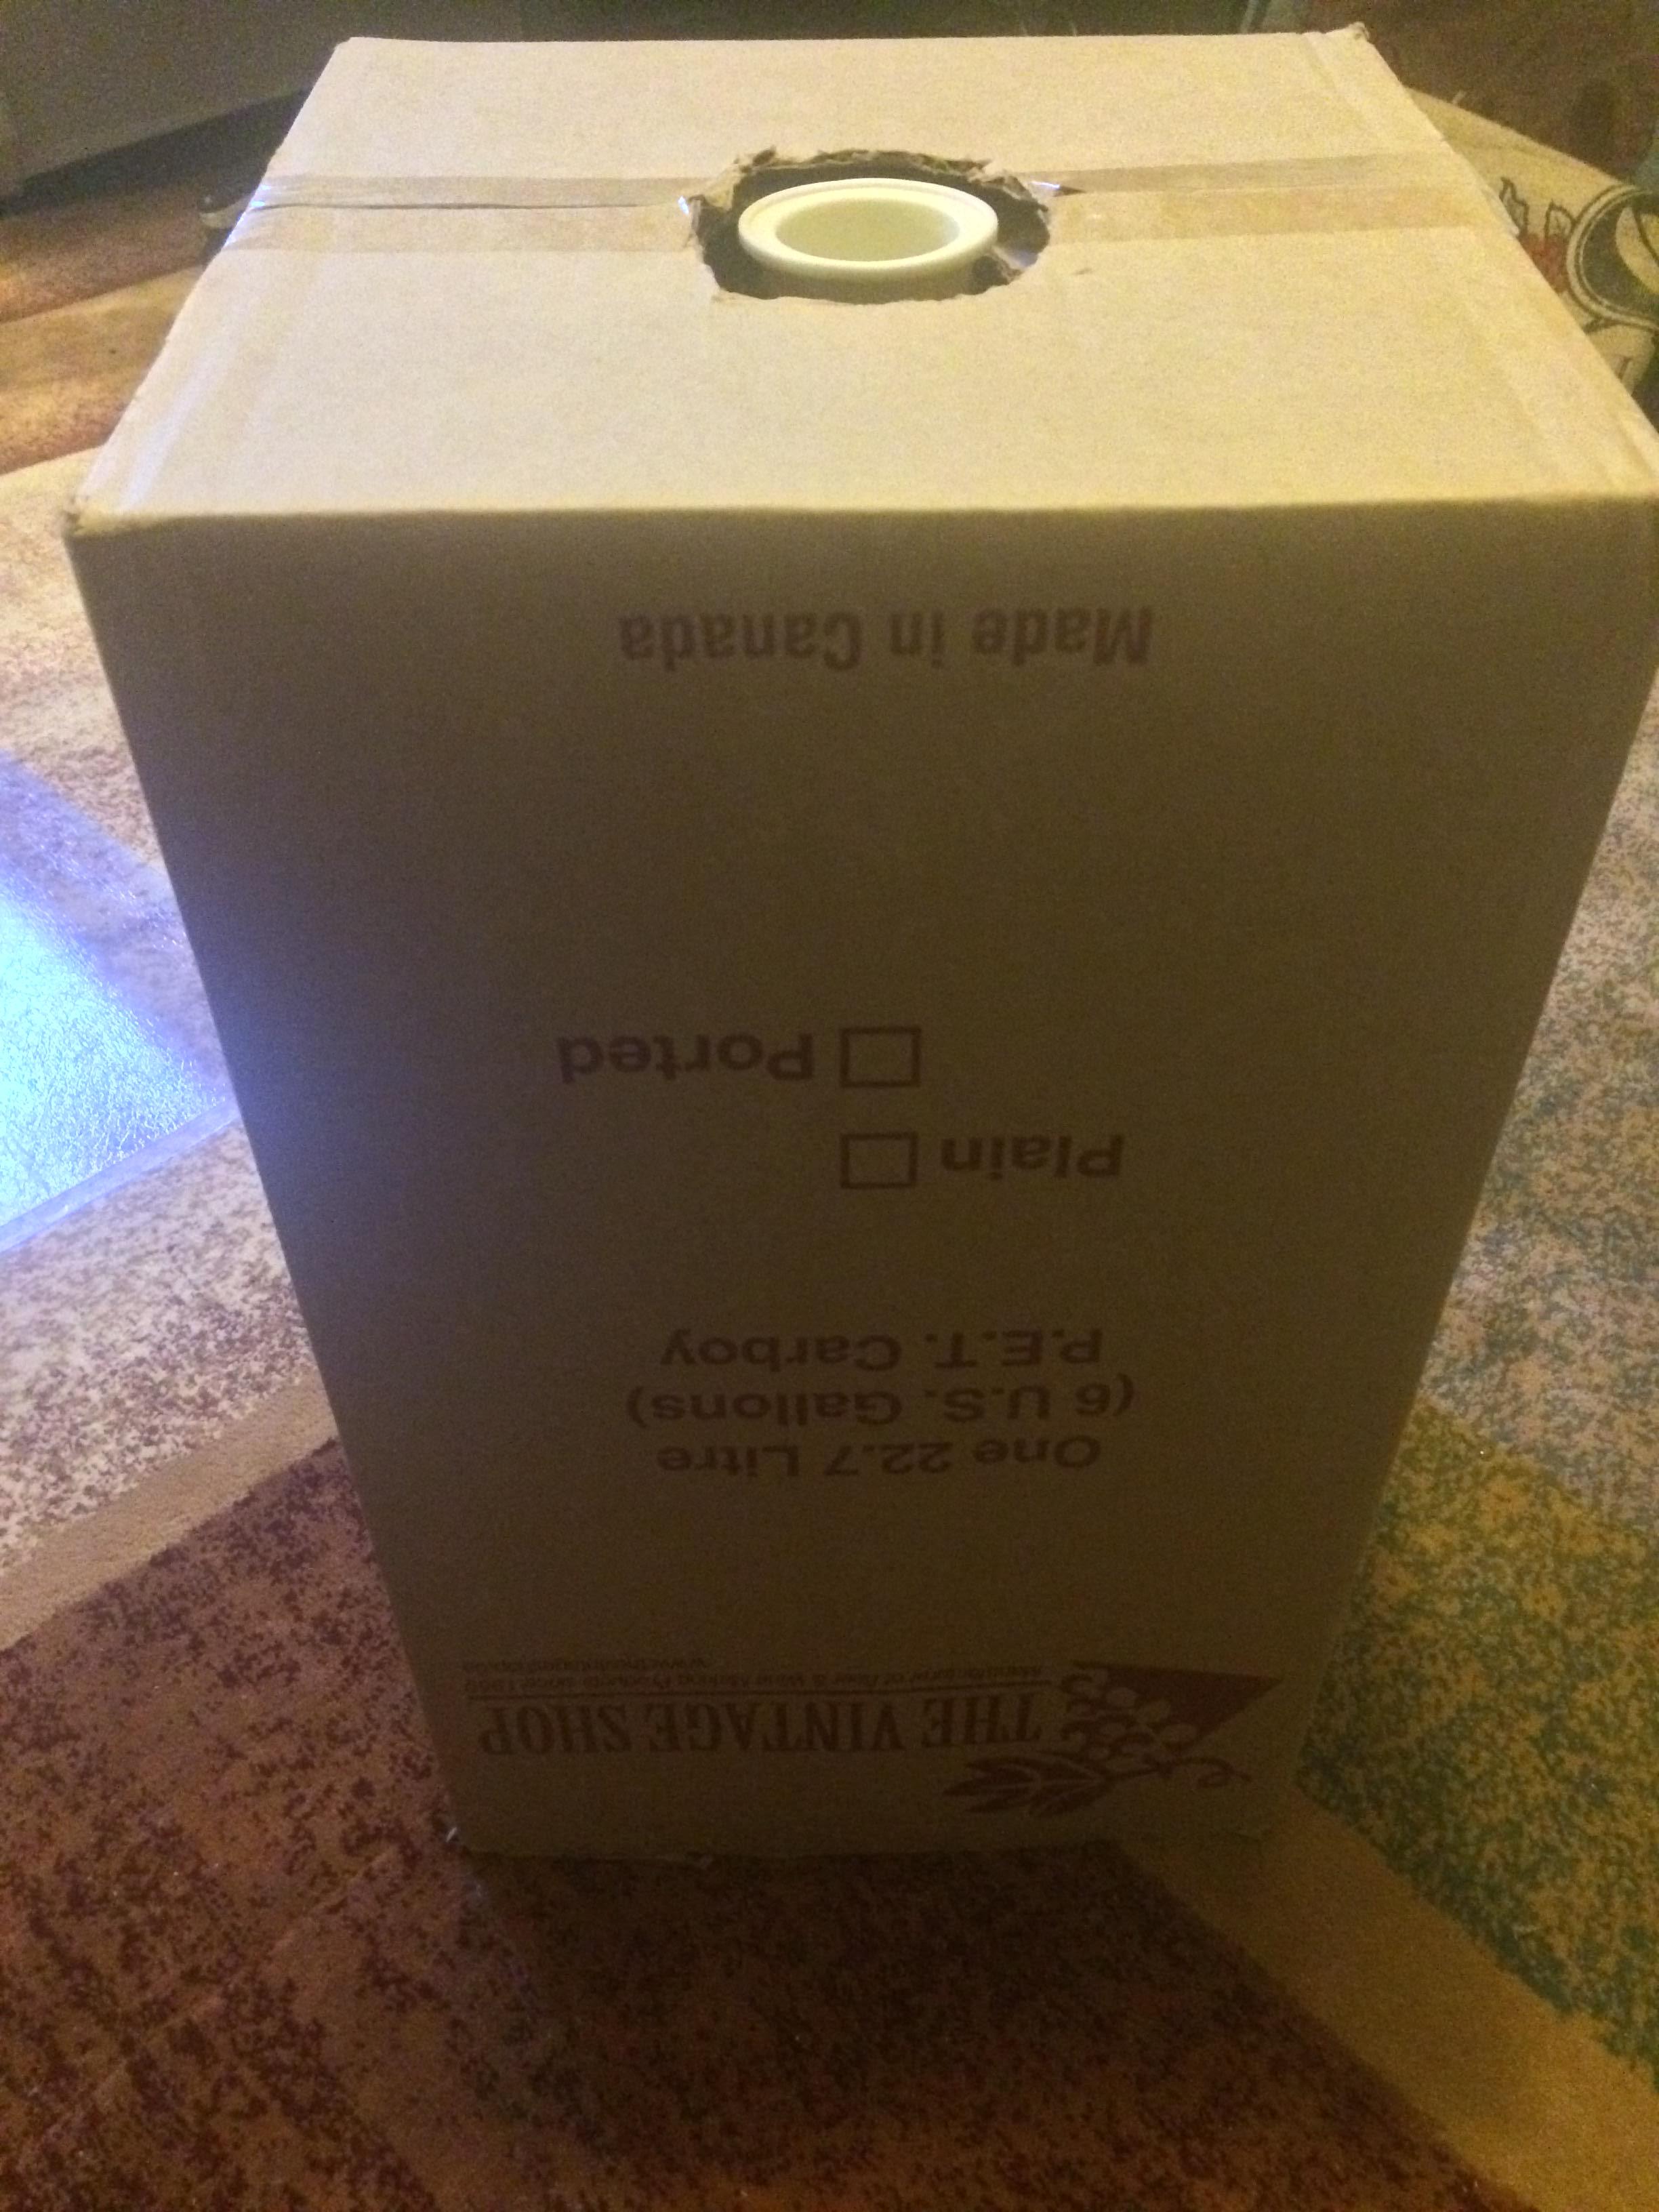
Carboy box to keep out light -
I keep the boxes and use them when a full carboy needs to be around light for some reason.
Small soda bottles for carbonation check -
When bottling, I fill at least one cleaned and sanitized small soda bottle along with its original cap. Its clear, so you can see whats going on in there and you can give it a squeeze to see how carbonation is coming along. Actually, as long as you keep them out of the light, these are good containers in general and I occasionally use quite a few of them instead of bottles.
2 liter bottles -
Sometimes I also fill a 2 liter soda bottle when Im bottling. Theyre good to take to parties. I decant them into a pitcher when I open them to pretend like Im classy and to keep the sediment back.
Fermentation chamber -
There are lots of different things you can do with your temp probe. I just pinch in between the fermenter and some insulating foam, using the mass of the carboy itself it keep it all together. It works great, the probe is always reading the wort temperature and Ive verified that its always exactly on point.

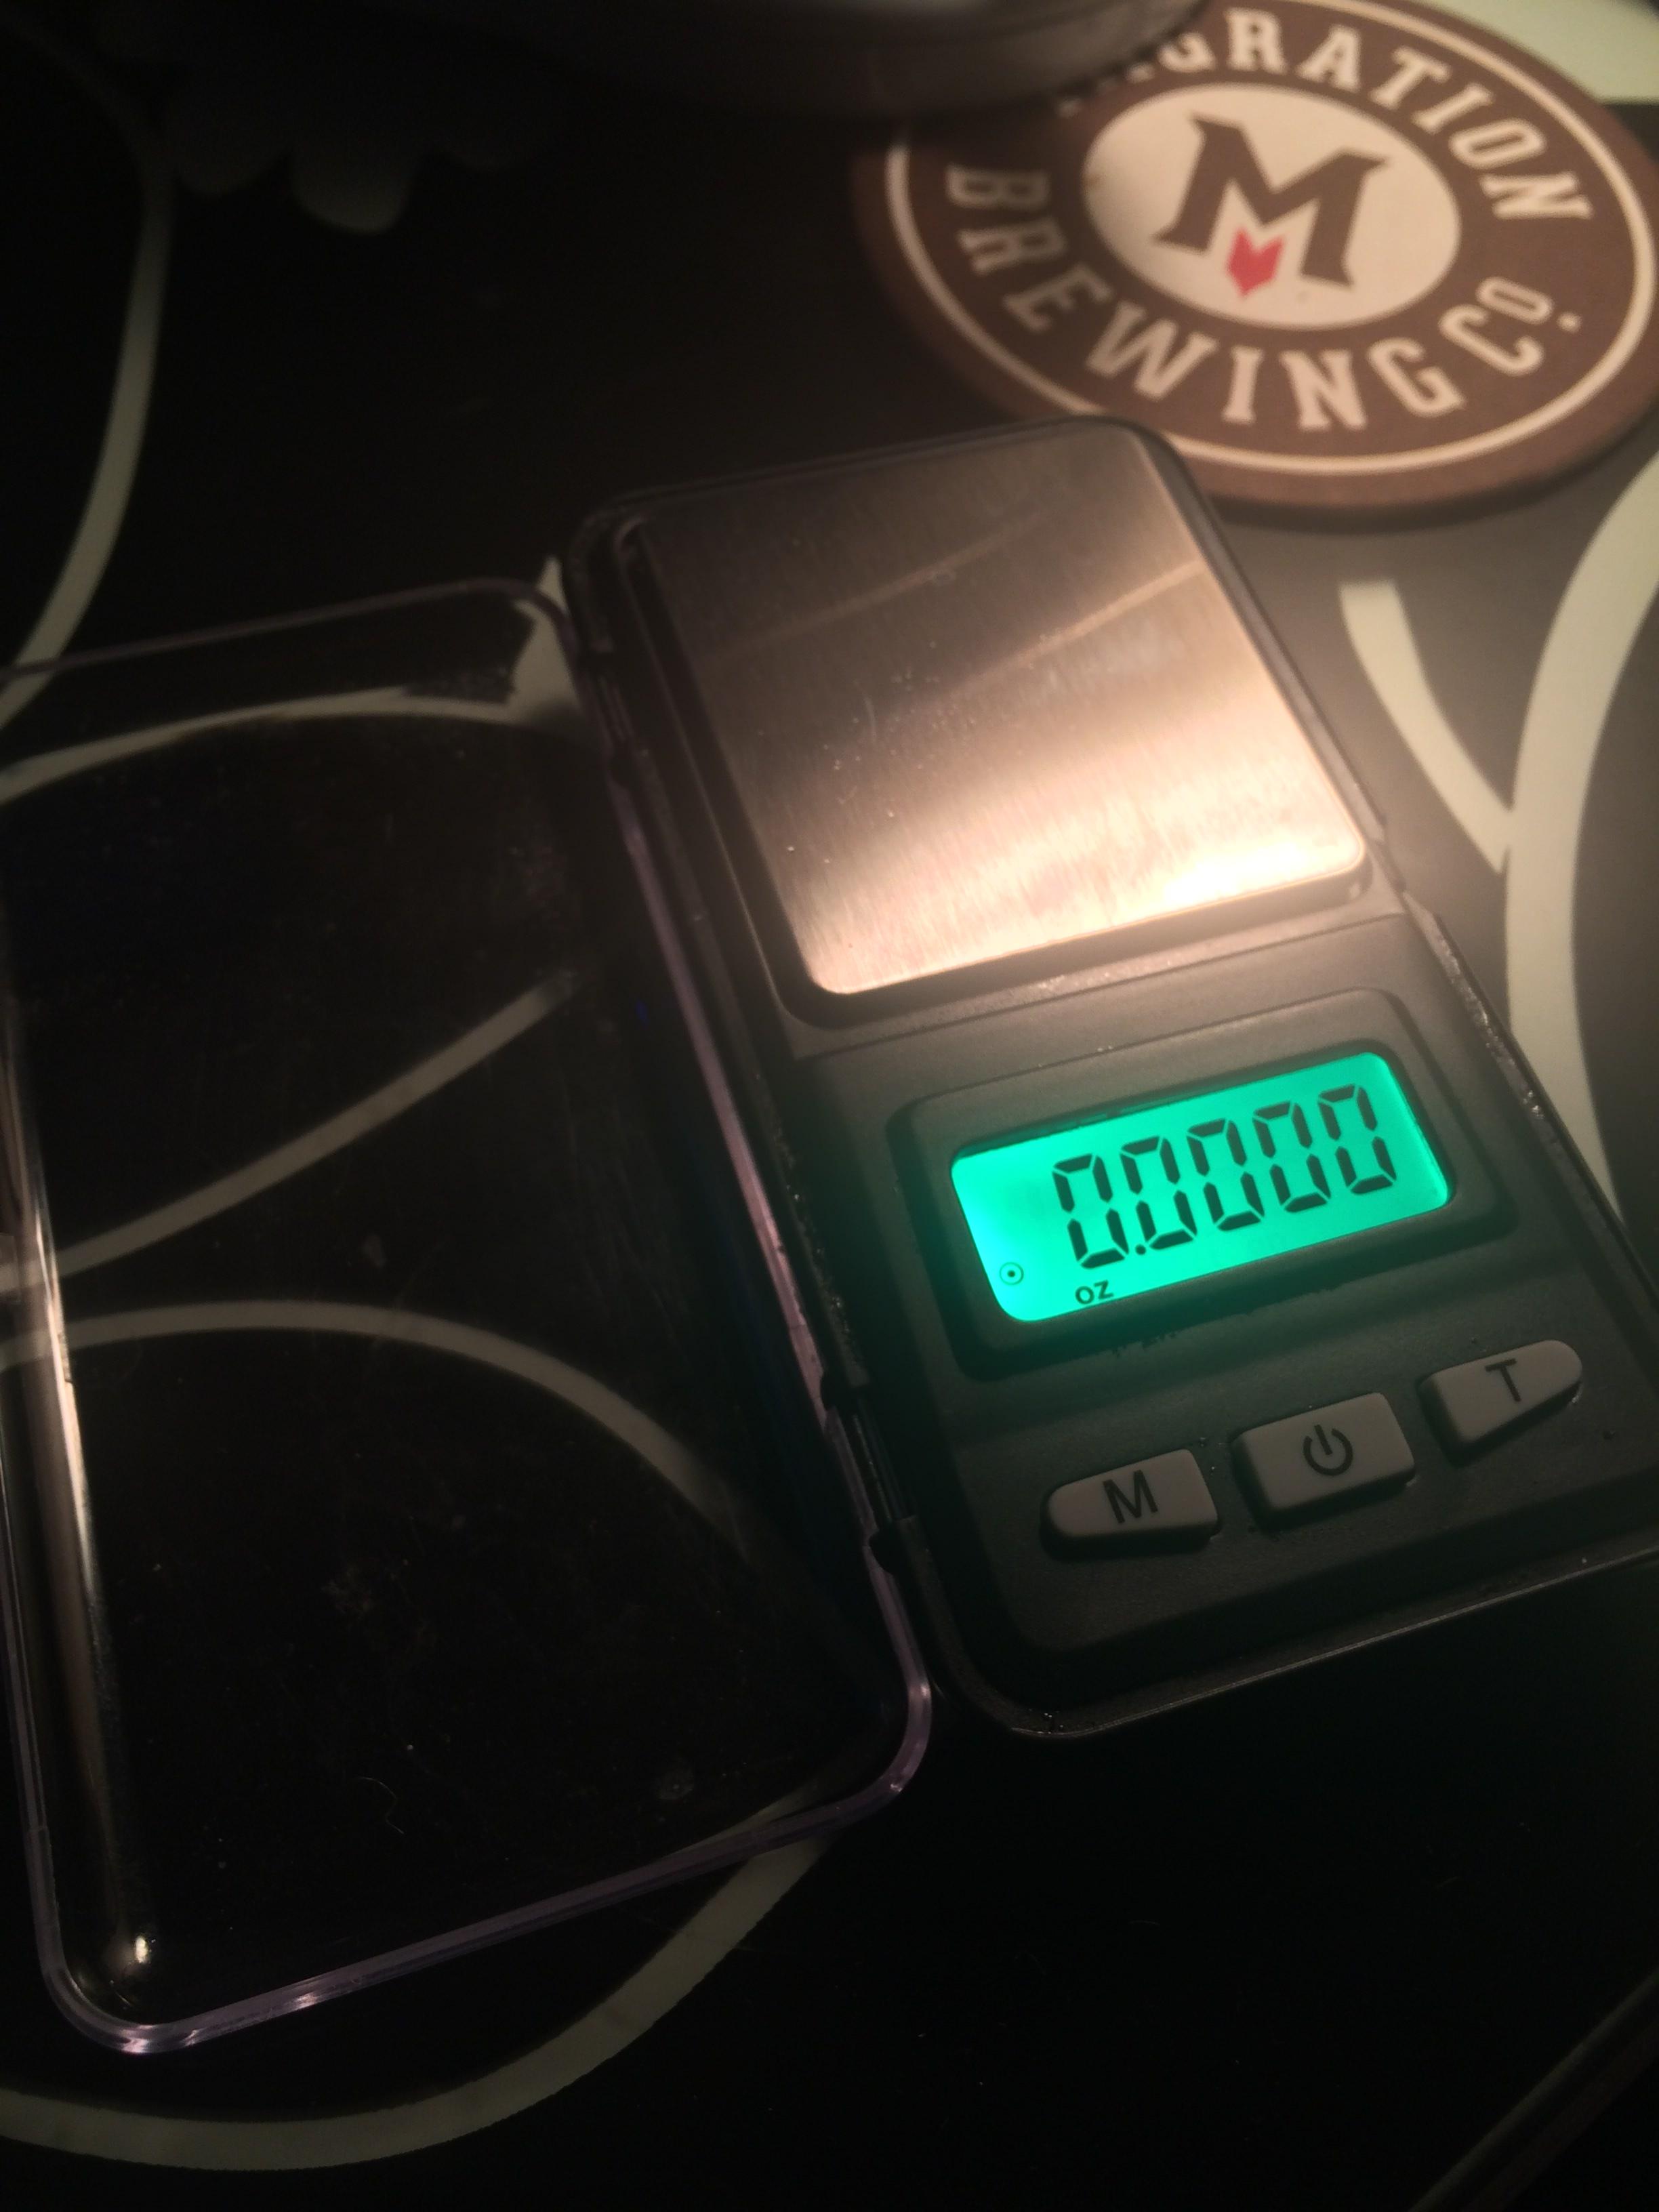
Jewelry scale -
I bought this thing for a few bucks on line. Its accurate down to something like a thousandth of a gram. It tares, and it has a flip cover. Best few bucks I ever spent on brewing gear.
Dishwasher rack -
I usually run a load of dishes before bottling, and use the clean dishwasher rack to hold my bottles upside down after sanitizing. I use a spray bottle of sanitizer on the rack first. The whole rack comes out to the table where I bottle.
Fermcap -
Had to throw it in there, just in case Im not the last person in the world to hear about it. Changed my brewing experience. No more boil overs and less crazy krausen.
Im certainly no expert, but I'm learning something new every day I brew. In fact the ongoing discovery is one of the things I enjoy most about brewing. So on that note, if you see anything here that I shouldnt be doing, or could be doing better, definitely let me know. Even better, add your own tips and techniques to the list!
Homemade PBW -
I did a lot of research on this to verify that the chemical makeup is safe, effective, easy and contains the same types of agents as PBW and acts in a similar way. In the interest of brevity I wont lay it out, here but instead just tell you that I thoroughly mix these two items: Seventh Generation Natural Dishwasher Detergent 75oz and Oxyclean Free 3lb. I keep some of it in the original Oxyclean container and the remainder in other airtight containers, and I use the same amount/volumes that Id use PBW. Make sure you get no-scent Oxyclean. It's a lot cheaper than PBW and works just as well if not better.
Use refractometer for FG readings -
I know this is generally frowned upon, but Ive found that diligence provides consistency and accuracy. I use the BF calculator here http://www.brewersfriend.com/refractometer-calculator/. I use the calibrate refractometer tool in Beersmith2 or another similar tool every few months to maintain calibration. I regularly measure an FG refract reading against a hydrometer reading to make sure that they match, and they always do to the thousandth. No its not much more work to just use a hydrometer for FG, but I just like using the refract better and knowing that it's correct.
Sanitized straw for refract readings from carboy -
When I want to pull a few drops for a measurement, I simply sanitize my hand and a drinking straw, dip it in the carboy, put my finger over the top end and pull the sample out.
Keep distilled water jugs around for blow off -
When I brew light styles, I build from distilled water, and I save a few empty gallon jugs with the caps on. I fill them up half way with sanitizer and use them for blowoff.
Bottle cap stickers -
I usually use Avery 5472 labels on bottle caps. Very cheap, various colors, they stay on well. You can Google a template file and just go from there.
Get boxes from Total Wine -
I usually bottle, and I usually have many different sizes of bottles going at any given time and not enough of the right boxes for storage. One day I walked into Total Wine and realized they have a whole aisle full of empty boxes for various bottle sizes. Endless supply really.
Brewers Friend water profile calculator -
I know my tap water profile. I saved that starting water profile, along with a profile for distilled, and one for 50/50 tap/DI mix. Every single brew I make uses one of those water sources, and I use this calculator to build my water for every beer I make. Works great, whether you use their default settings or build your own calcs. You can recall them later to use again, compare/contrast, etc. I link to them directly from my Beersmith notes.
Use larger racking cane for transfers -
One day I bought a larger gauge racking cane to see if it would speed up my bottling process. Essentially it was too fast for bottling and was a disaster. But the larger racking cane does in fact speed up the transfer between fermenter and bottling container down to just a couple minutes, and leaves the smaller racking cane clean and ready to go for actual bottling.
Insulate top of mash tun -
I was losing several degrees over 90 minutes during mashing, so I drilled some small holes in the top of the cooler lid and filled it with spray foam insulation. The door and window kind, since it doesnt apply much pressure when its expanding and drying (didnt want to warp the lid). The holes were just large enough to fit the can hose attachment inside and push it down in there. It took most of the can to fill it. Worked like charm, now I lose zero degrees and feel no heat on the lid during mashing. The lids of those coolers are usually not insulated because they're not built for keeping heat in if you think about it.
Temp conversion chart -
The temp controller I built uses an STC-1000 that displays in Celsius. I made this conversion chart http://d.pr/f/1gmoV (PDF) and I keep it next to the box in one of those vinyl binder sleeves.
Cheap pitchers and jars with measuring marks -
These come in handy for all kinds of stuff. Brewing water measurements, starter vessels, etc. Since I have these things around, I figure why not mark them up with measurements. I make sure to use something verified to add the measuring volumes when I make the marks.
Homemade stir plate -
I made one, and it changed how I brew, at least where yeast is involved. It took some dialing in but it works great. I used these https://www.kjmagnetics.com/proddetail.asp?prod=B882-N52 and this http://www.newegg.com/Product/Product.aspx?Item=N82E16835200027 The included rotation speed control is sweet. The power source I use is 12V/5A, which is a bit overkill on the amps side but doesnt hurt anything and its just what I have right now.
Split starters -
I almost always make starters. When I do, I overbuild them by 600mL. Right after I take them off the stir plate, I give it a quick swirl and decant 500mL into a sanitized jar of the same size. I use that to make my next starter. If I dont use it within about 6 months, Ill just rebuild a same size starter with it to refresh it. The extra 100mL is for a bit of spill, I like to fill my jar past the top.
Small dixie cups for additions -
During the mash, I measure out all my hops and other additions into these cups. I use a marker and write the addition time on the side of each. Very helpful during the boil to have them all ready to go, and it's easy to combine clarity agents, hops, minerals, etc into a single cup for the proper time. They also work great with my scale (further down the list).
Storing hops -
I store all my opened hops and hop pellets vacuum sealed in the freezer. I make sure to write the date, the type, the weight and the alpha/beta % on the bag.
Mash paddle -
I dont even know what this thing is, but I got an efficiency jump when I started using it as a mash paddle instead of whatever I was using before. Its also plastic coated with no sharp edges so it's easy on the inside of the cooler.
Carboy box to keep out light -
I keep the boxes and use them when a full carboy needs to be around light for some reason.
Small soda bottles for carbonation check -
When bottling, I fill at least one cleaned and sanitized small soda bottle along with its original cap. Its clear, so you can see whats going on in there and you can give it a squeeze to see how carbonation is coming along. Actually, as long as you keep them out of the light, these are good containers in general and I occasionally use quite a few of them instead of bottles.
2 liter bottles -
Sometimes I also fill a 2 liter soda bottle when Im bottling. Theyre good to take to parties. I decant them into a pitcher when I open them to pretend like Im classy and to keep the sediment back.
Fermentation chamber -
There are lots of different things you can do with your temp probe. I just pinch in between the fermenter and some insulating foam, using the mass of the carboy itself it keep it all together. It works great, the probe is always reading the wort temperature and Ive verified that its always exactly on point.
Jewelry scale -
I bought this thing for a few bucks on line. Its accurate down to something like a thousandth of a gram. It tares, and it has a flip cover. Best few bucks I ever spent on brewing gear.
Dishwasher rack -
I usually run a load of dishes before bottling, and use the clean dishwasher rack to hold my bottles upside down after sanitizing. I use a spray bottle of sanitizer on the rack first. The whole rack comes out to the table where I bottle.
Fermcap -
Had to throw it in there, just in case Im not the last person in the world to hear about it. Changed my brewing experience. No more boil overs and less crazy krausen.
 )
)


![Craft A Brew - Safale S-04 Dry Yeast - Fermentis - English Ale Dry Yeast - For English and American Ales and Hard Apple Ciders - Ingredients for Home Brewing - Beer Making Supplies - [1 Pack]](https://m.media-amazon.com/images/I/41fVGNh6JfL._SL500_.jpg)
