$4.87 keg tool

Homebrew Talk - Beer, Wine, Mead, & Cider Brewing Discussion Forum

Help Support Homebrew Talk - Beer, Wine, Mead, & Cider Brewing Discussion Forum:

This site may earn a commission from merchant affiliate links, including eBay, Amazon, and others.
Take a hammer and lightly tap the rim of the dimpled out part . It should close it enough to make it stay. I had to do something similar when I installed my 2" tri-clover ferrule for my heating element.

+1,

This problem occurs with the "expensive" route too. You want the coupling to "finish" stretching the dimple out so it is nice and solid. I try not draw the reducer all the way through if the coupling diameter is slight smaller. If I do over do it, I take a hammer and tap dimpling back some (although, "light" didn't really work on the keggle, it took a bit more beating to shrink the hole). When the coupling draws through it'll round the hole back out
 
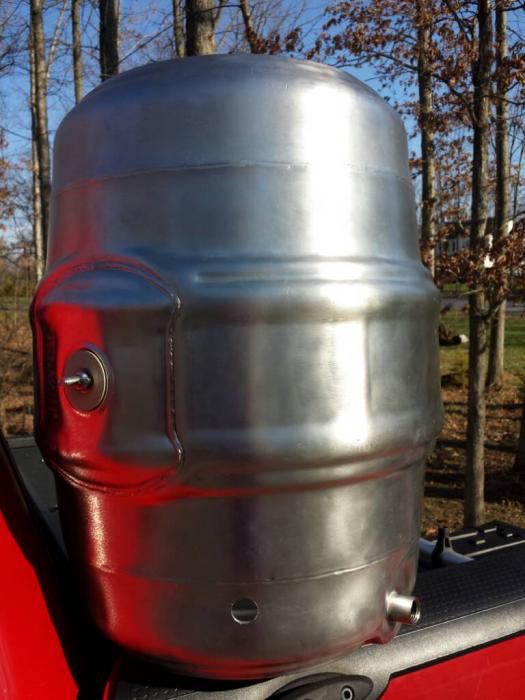
It's been rather slow going because of a lot of competing priorities, but here is a quick update on how my e-kettle has turned out so far.


The sight glass is the 16" model from Adventures in Homebrewing here. Still need to calibrate and put markers on the glass.

Here is a detail shot of how the sight glass attaches to the 1/4" soldered on spud. It uses a MxFxF 1/4" NPT parker 316 stainless tee, got it on ebay for cheap, but you can get them on amazon too. The sight glass male threads are 1/8 NPT so I had to get a 1/4" to 1/8" NPT reducer from amazon here. The other end of the tee is for an RTD temperature sensor. Still saving some $$ for the control equipment but have the plug installed so the kettle water tight in the mean time.


The electrical cover is a 1 1/2" chrome plumbing compression union for $6 at lowes. The plug is a 30 amp twist lock 240v with 10-3 SOOW cable. Right now it is just stuck in for the photo, need to get a stainless washer that fits and a strain relief to make it perminent. Would like to solder in a ground lug, but not sure about that part yet.


I was inspired by the heat stick build instructions, but instead of having the gasket pinch between the inside of the cap and the outside of the element flange using a 1 1/4" reducer cap, I used the regular cap with the seal between the kettle and the flange like it should be, nowhere for leaks along the threads! This seems like a major downside to most heating element covers using electrical boxes. It isn't 100% water tight but because it isn't part of the seal it doesn't need to be, just keep out splashes over the side. A diagram should make everything clear.


One plus is that it's easy to disassemble and inspect. Here is the heating element with the union removed and just the nut captured on the heating element flange.


REAAAALLLY looking forward to powering it up and at least running some boil time tests.
 
Last edited by a moderator:
Has anyone tried this tool/technique on HALF couplings instead of FULL couplings? I would assume it should work just fine but I want to check to see if anyone has had any issues.
 
I gotta be honest -- I have absolutely NO idea what the heck OP did here.

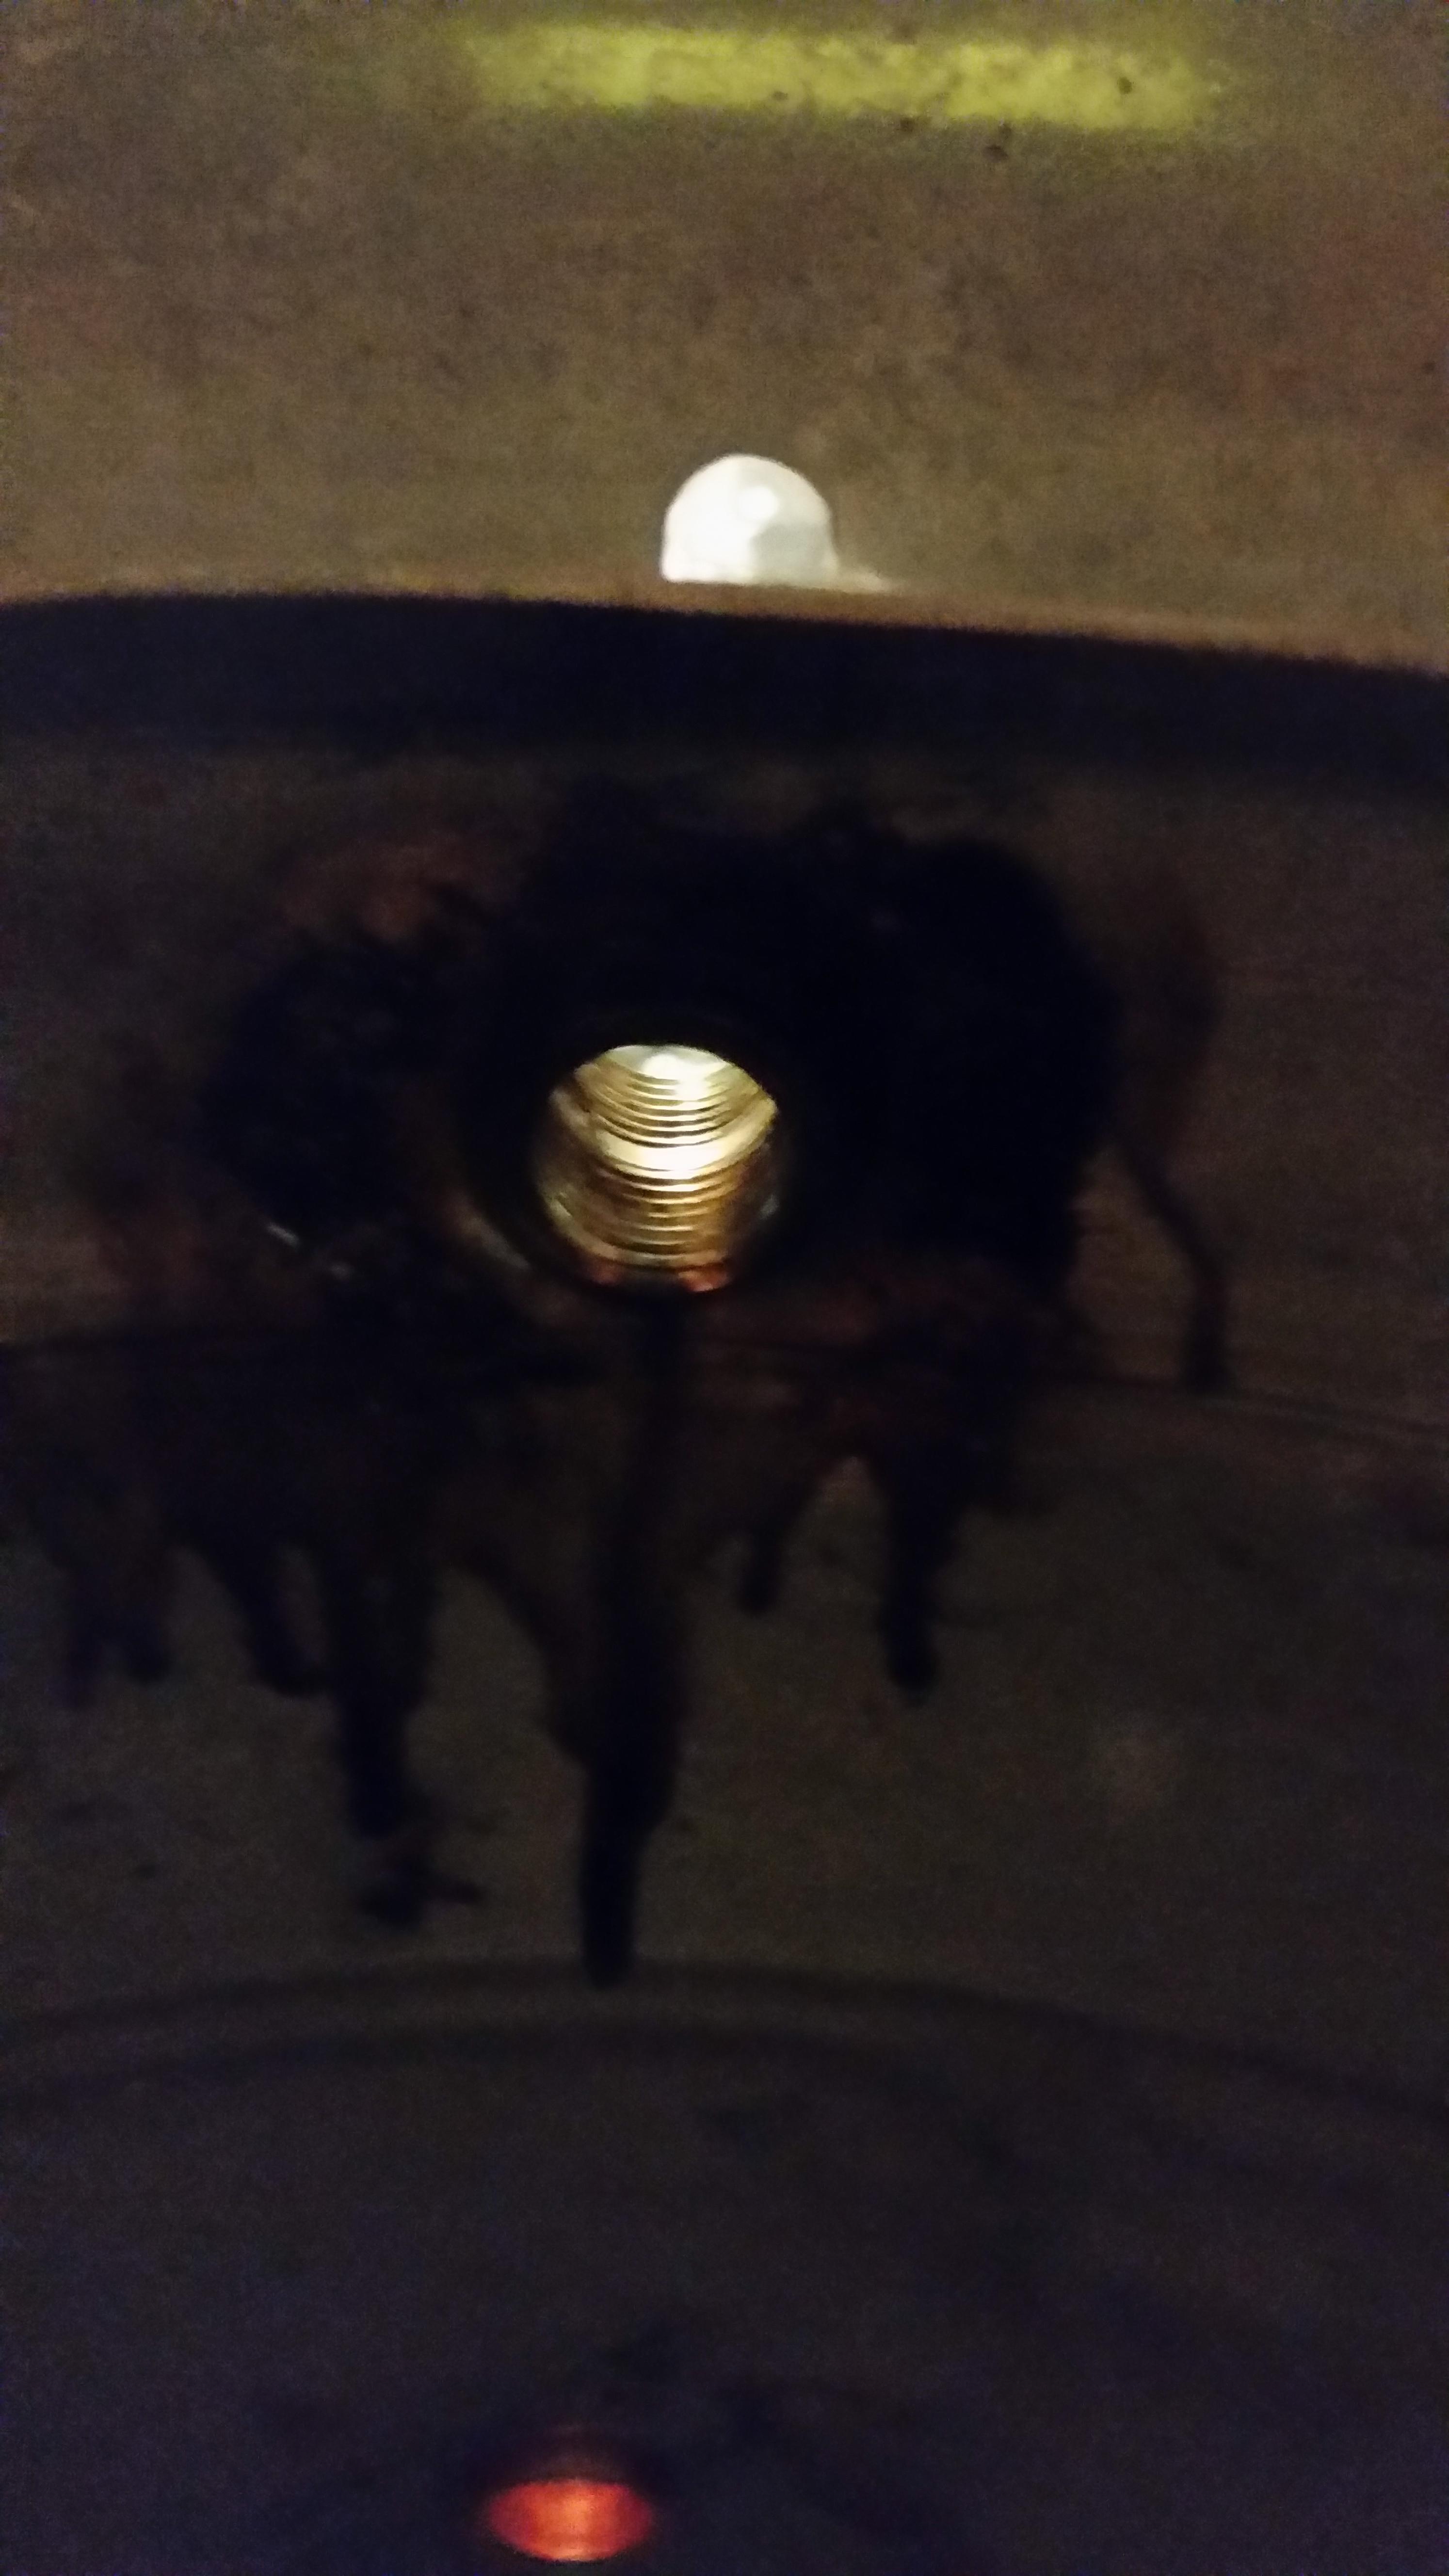
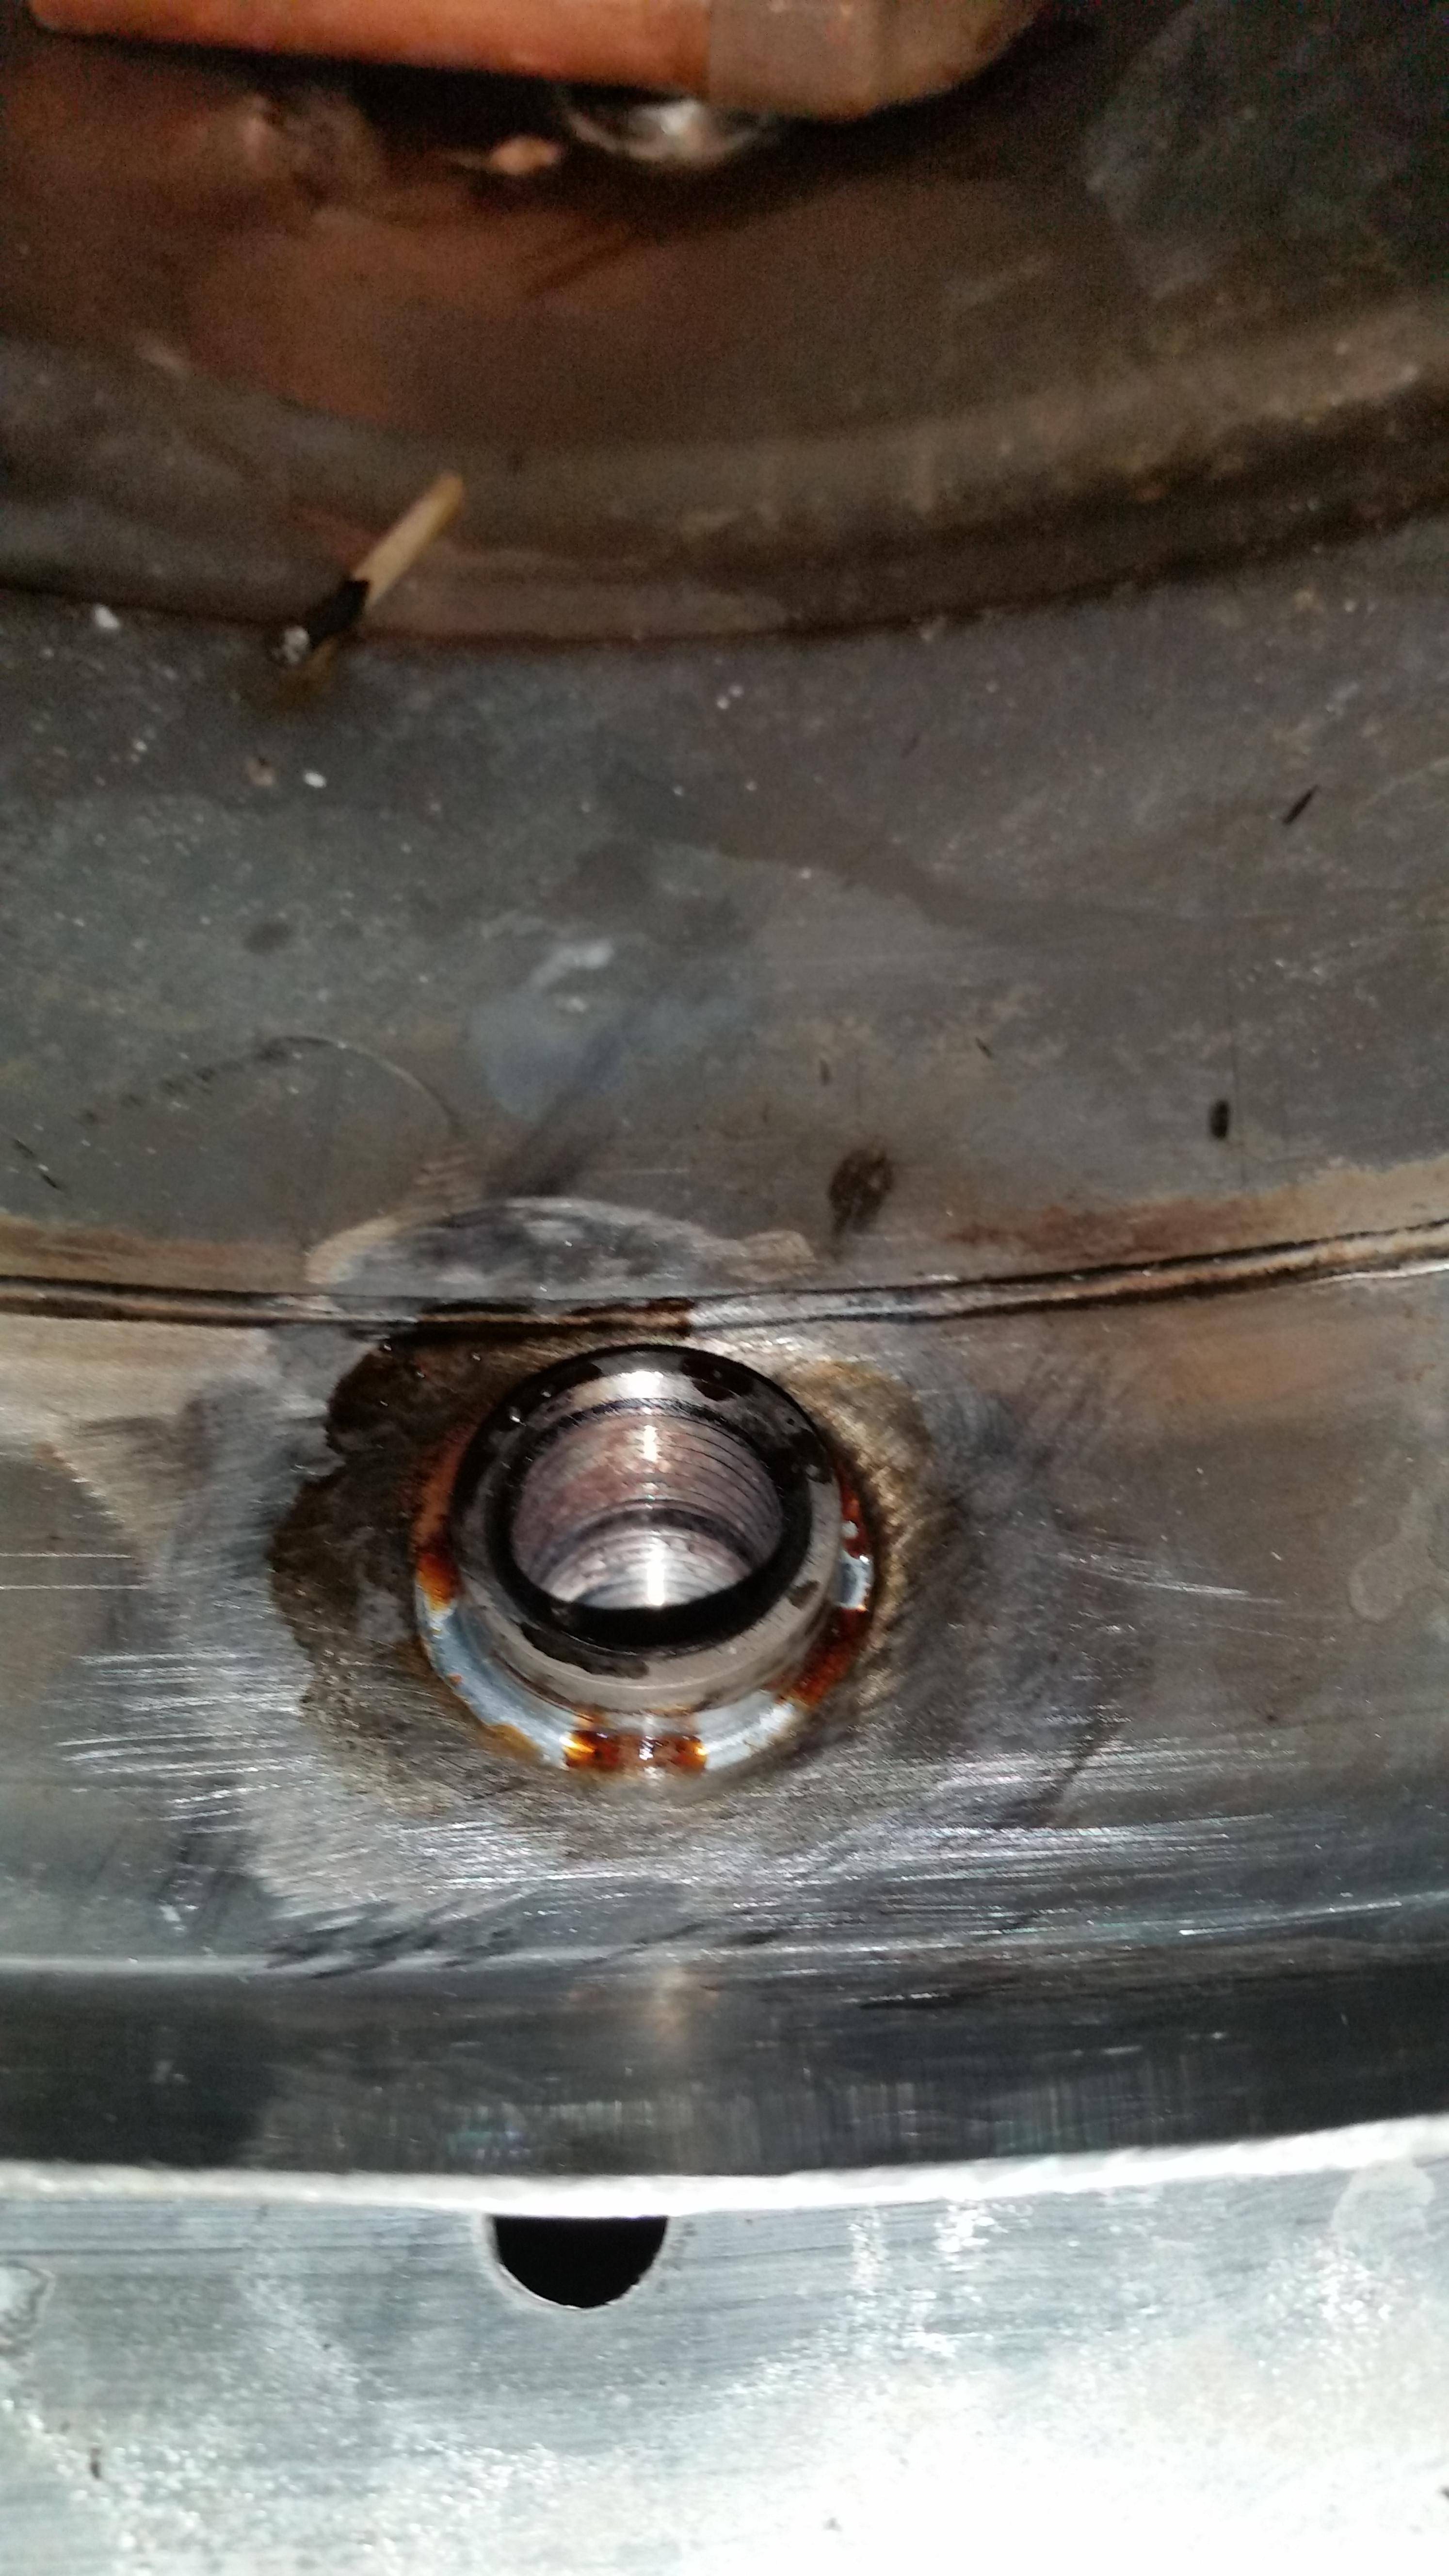
He shows a "tool" of some sort, then the next picture shows a coupler as well as a copper piece sticking through the kettle. There's so much missing information and pictures IN BETWEEN.

Can someone please elaborate as to what the heck is going on in these pictures? There's just SO MUCH information missing here that's crucial to explaining what the heck is happening here.
 
If you don't get it, you probably don't need the tool......


Sent from my iPhone using Home Brew

Wow, what an ass. Thanks for that worthless response, and wasting my time. I've consulted with a couple friends who are engineers by profession, and they all agree that the post is extremely uninformative, and confusing.


But thanks again. God forbid I ask for some clarification on a series of pictures that starts at Step A and then goes to Step Z. Seriously, you're an ass.
 
Wow, what an ass.

+1 Lots of people on this site love to make posts like that, its a shame. Anyway, to answer your question...

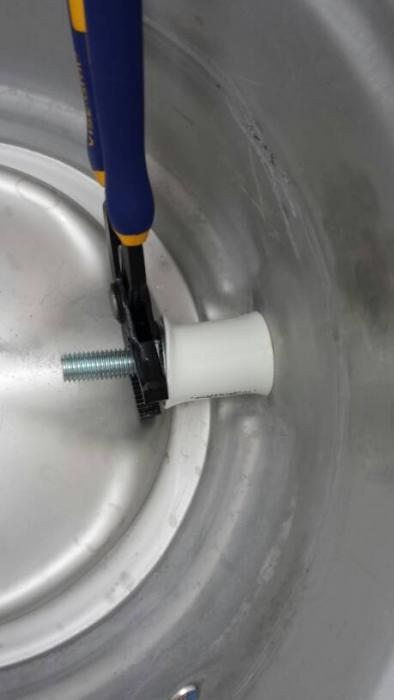
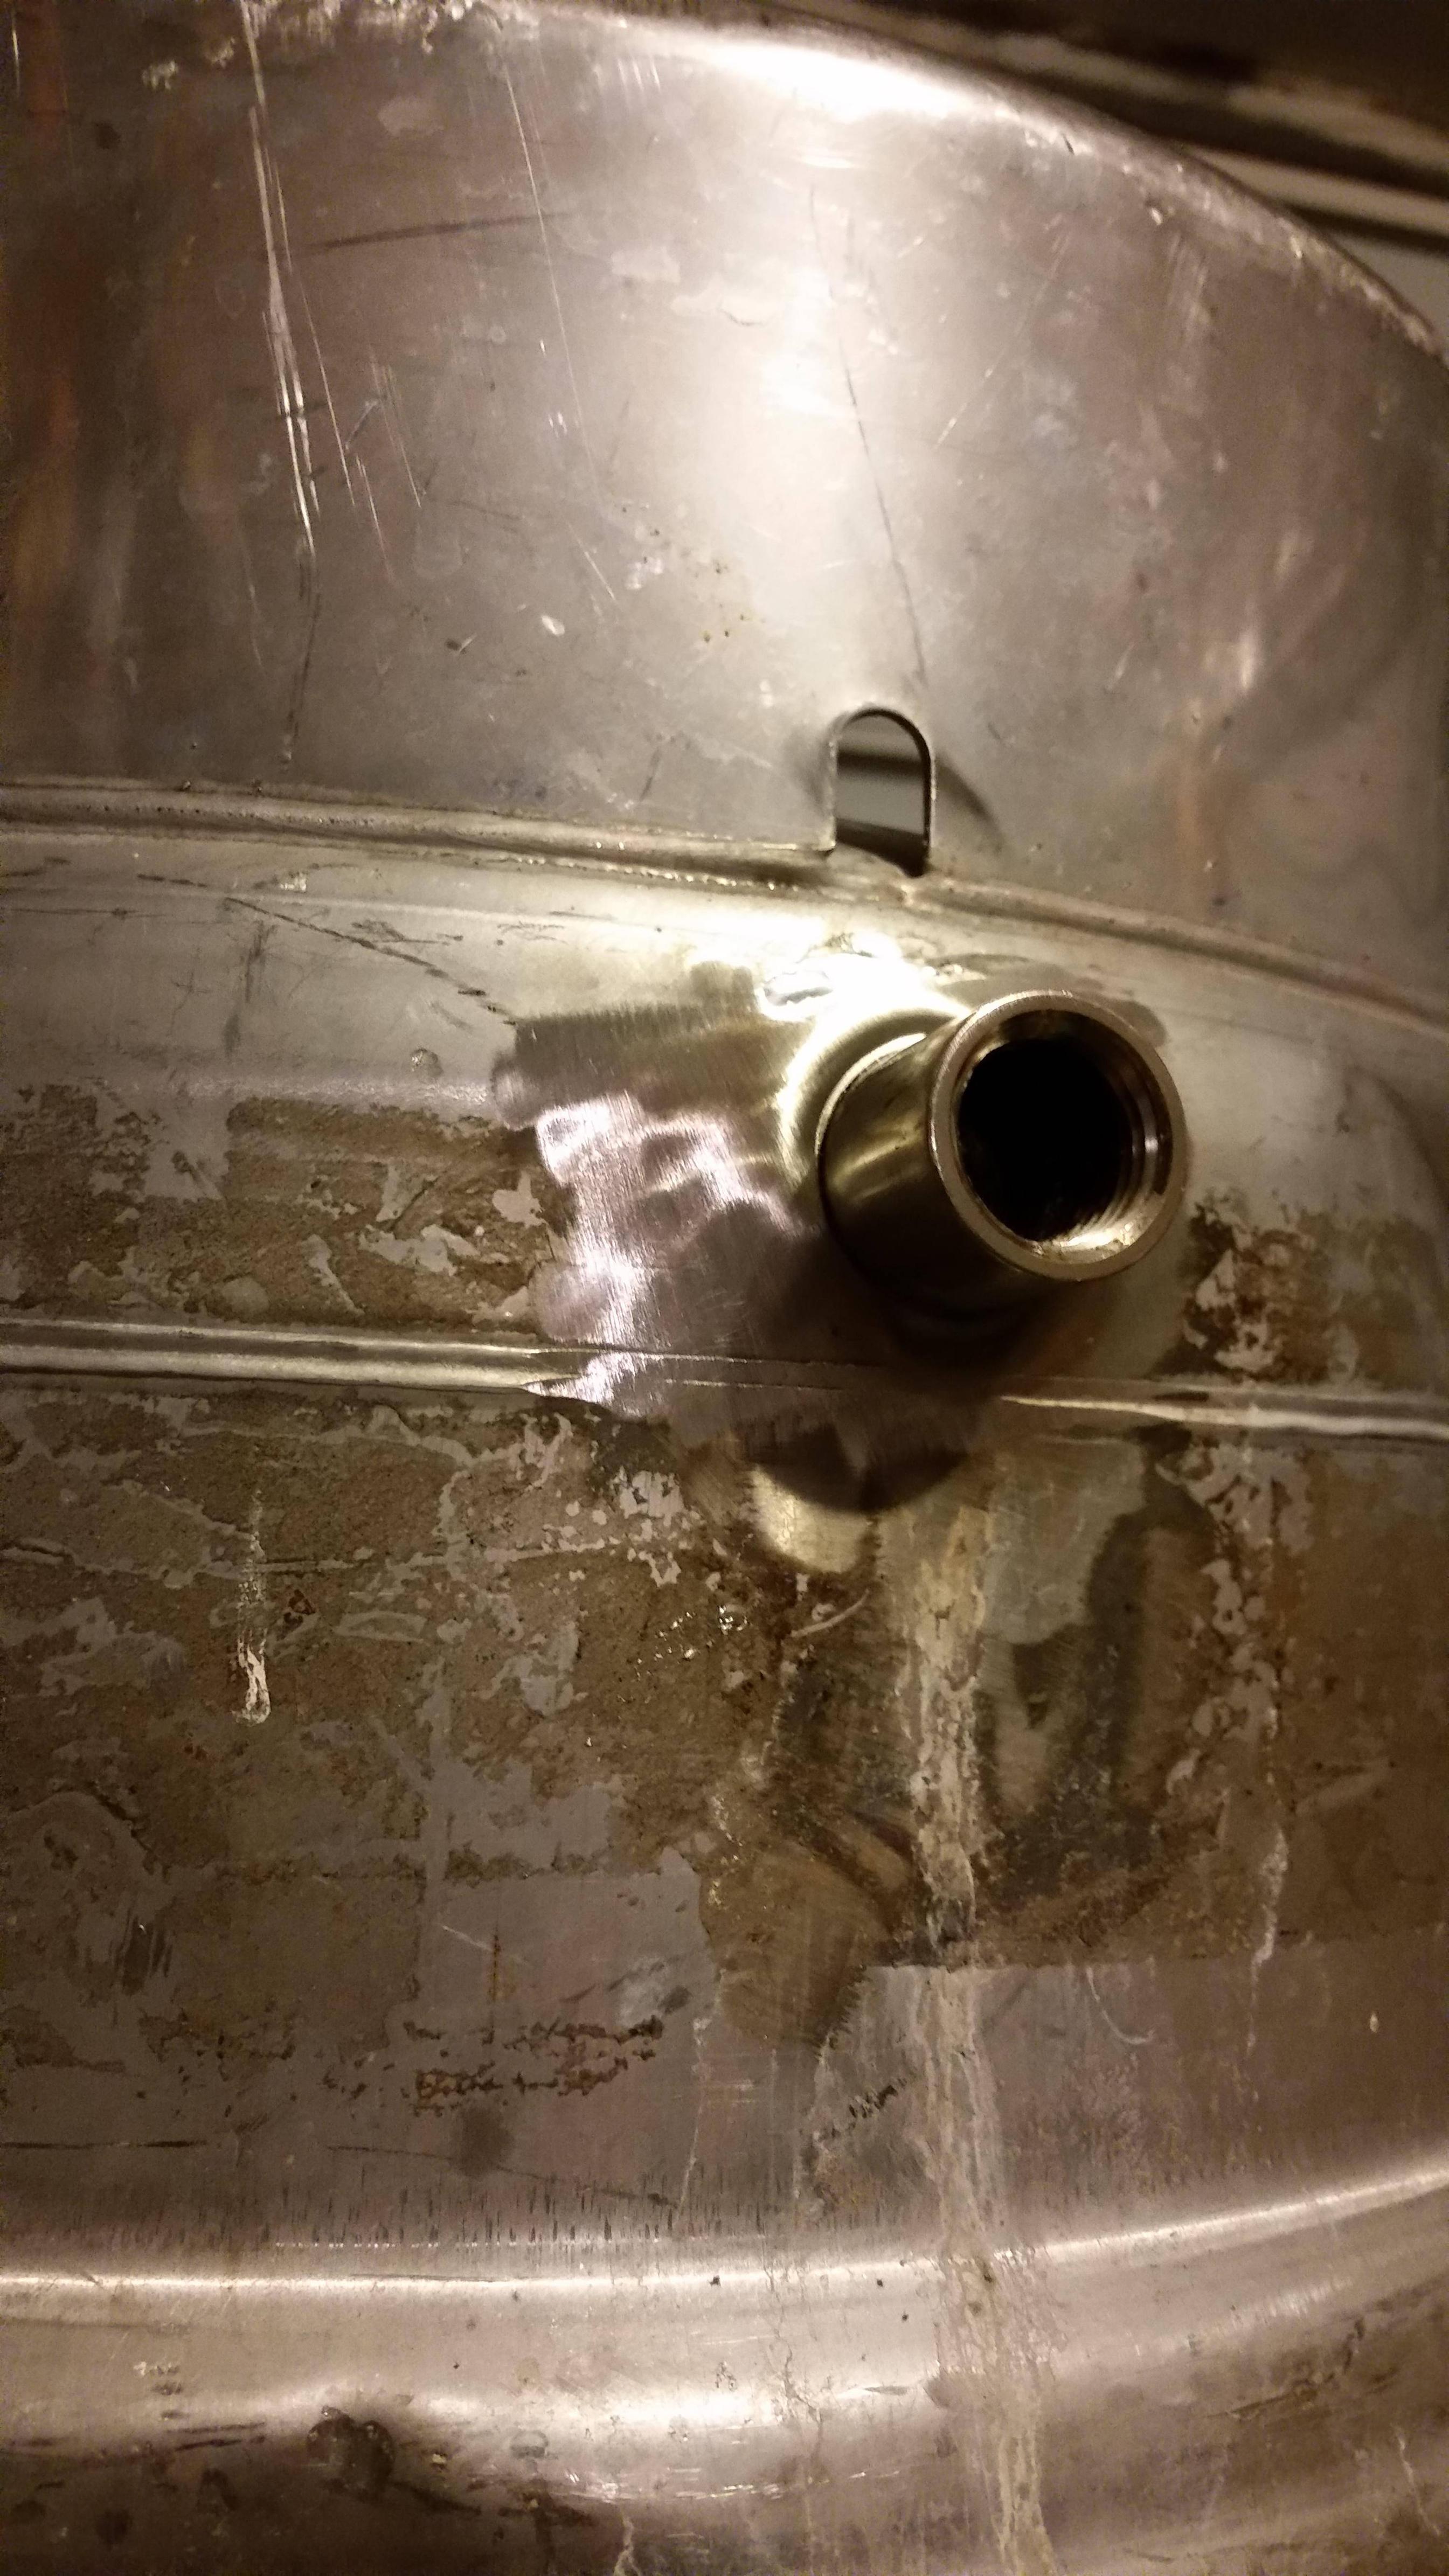
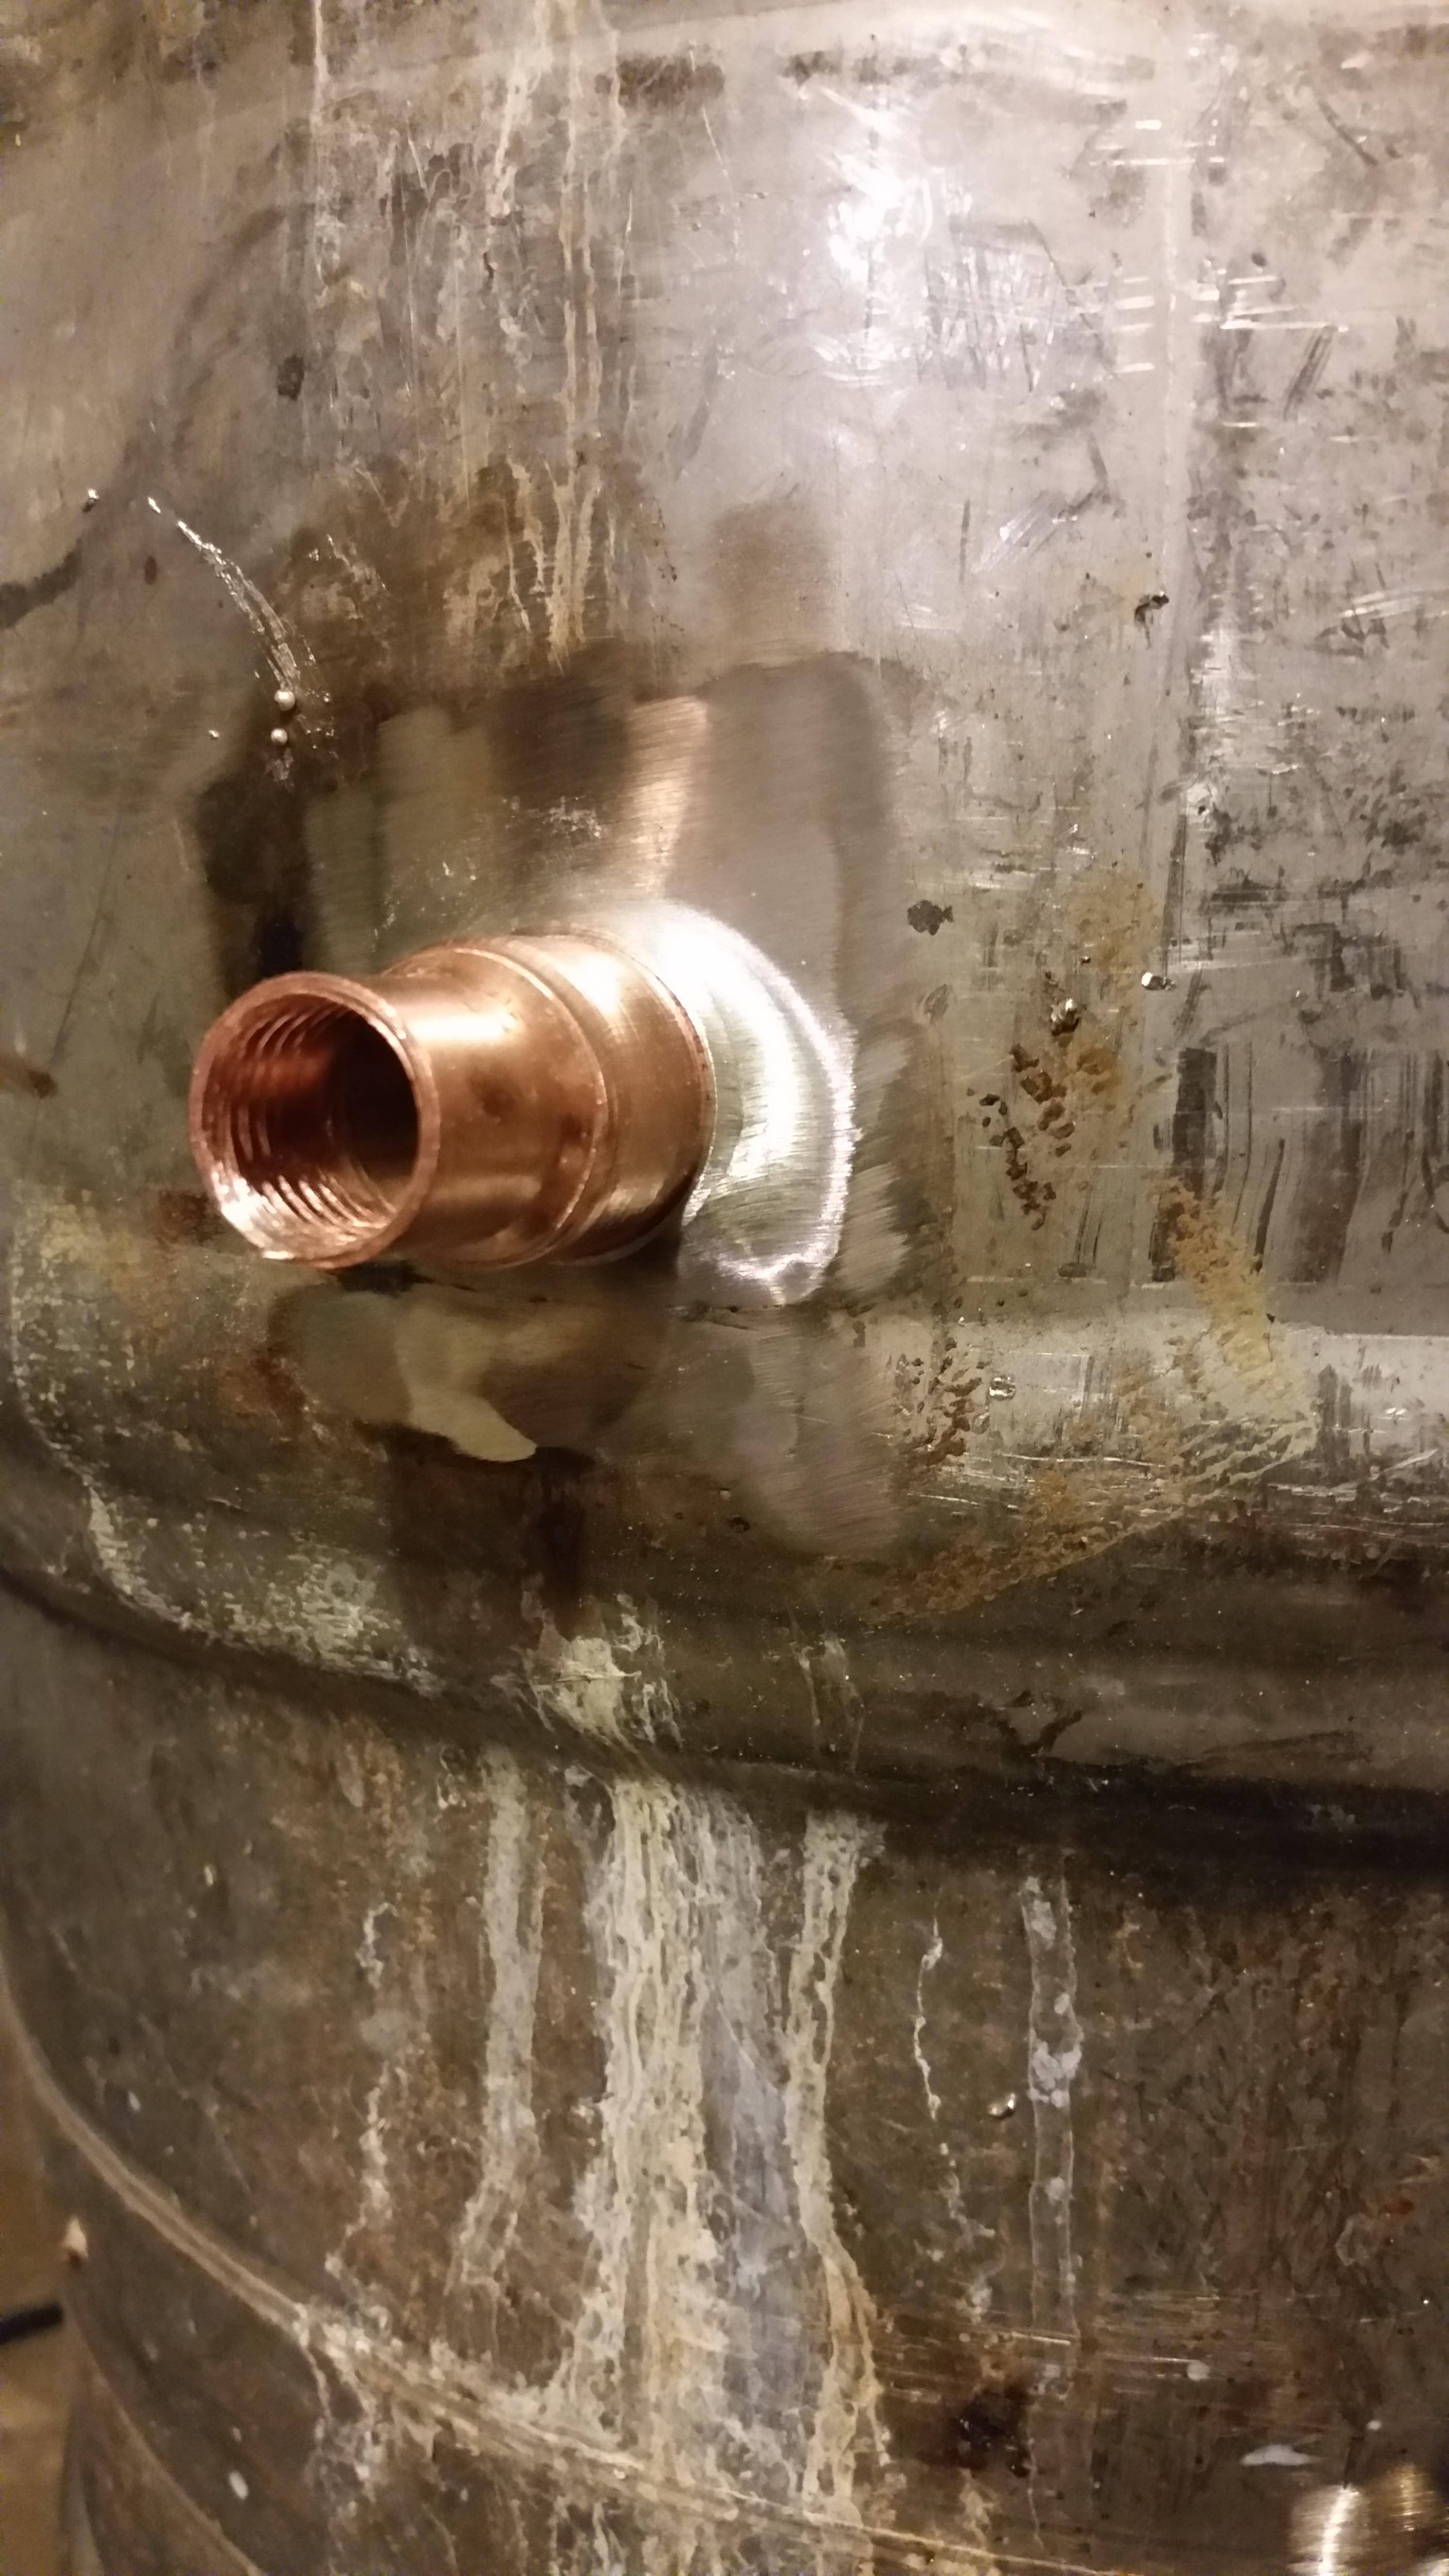
The tool the OP made is referred to as a "keg-tool" or "dimple-tool". It's used to simultaneously accomplish two goals: 1) pull a 1/2" NPT coupling though a hole in your kettle that is actually smaller than the OD of the coupling and 2) create a dimple (well/pit) around the coupling.

Not only do you get a very nice mechanical connection between the coupling and kettle you create a place for solder to pool up in making soldering very easy and secure. The dimple also creates more surface area for the solder to bind to.
 
Thanks guys. I had a general idea of what it was doing obviously (getting a coupling into the kettle without welding), but it was the fact that the pictures go immediately from Step A to Z that threw me off.

A little bit of explanation was all that was needed, and the 2 of you helped greatly. I actually discussed it last night with some buddies, and we pretty much figured it out after awhile. I had been referred to this thread for installing a thermowell on my Stainless Steel Brew Bucket (SSBrewTech), and I wanted to check out the method.

After looking at it, it actually looks like my best bet is going to be to simply drill a new hole (step bit) and mount a small stopper with the thermowell in it. This will allow me to remove the thermowell (an option I'd really like to have for cleaning purposes).

Brewhardware.com has a great solder on 1-1/2 tri clover fitting, but I am looking for something to get a 3/4" tric-clover on my kettle for things like a temp probe. I have been thinking about using a dimpling tool and one of these
https://www.brewershardware.com/1-2-Tri-Clover-Ferrule-Medium.html
 
Brewhardware.com has a great solder on 1-1/2 tri clover fitting, but I am looking for something to get a 3/4" tric-clover on my kettle for things like a temp probe. I have been thinking about using a dimpling tool and one of these
https://www.brewershardware.com/1-2-Tri-Clover-Ferrule-Medium.html

I've used the dimple tool on a sanitary flange like this. Works fine as long as you are ok with having the dimple on the outside of the tank.
 
caligula455, I want to thank you for taking the time to post this. Contriving beauty from almost nothing. Jolly good!
 
Thanks for the helpful info. I am proud to say that I was able to solder a half inch coupler to my boil kettle using the recommended tool. My first time soldering anything and it looks great and is leak free!
 
Pic of dimple made with this inexpensive but strong tool.

1396271603349.jpg
 
Thanks for the helpful info. I am proud to say that I was able to solder a half inch coupler to my boil kettle using the recommended tool. My first time soldering anything and it looks great and is leak free!

Can you please post pictures of the completed weld?
 
Is it better to "dimple in" vs "dimple out"? I was under the impression that applying heat to the coupler not the solder itself is proper. Seems somtimes it could be hard to apply heat from the inside of a vessel. Does this really matter?
 
I applied all the heat from the outside. I took my time and directed the heat to an area about 6 inches surrounding the joint and then put some heat on the top of the fitting but never directly on the solder. It took about 7-8 minutes.
 
After my success with the kettle I decided to try it with a Hoff Stevens kettle. The keg was much thicker material and the pvc coupler failed. Not sure if a new coupler would have fared better. I went out and picked up a galvanized 1 inch pipe coupler and will try that next. I will update later.

1396544473207.jpg


1396544504251.jpg
 
The heat will transfer itself to the inside.


Sent from my iPhone using Home Brew
 
wvdad, when I first used this tool on my kegs it failed too. Sometimes they shattered and other times they just deformed. I added a second larger pvc tube which fit snug around the 1" tube. With the added strength it worked great.
 
What did I do wrong? I drilled the hole out to 7/8 with my step bit (7/8 is the biggest hole on it) and the 3/4 to 1/2 inch copper coupler just falls right through the hole.

EDIT: Just noticed someone said there are 2 types of couplers. "The regular 1/2" x 3/4" coupling should measure just under 1" on the 3/4" side". Mine measures 7/8 of an inch on the 3/4 side, do I have the wrong one?
 
I had the same problem, see posts #26 and 28 for the answer.

I went back to Lowes and the boxes for the couplers are not only right next to each other and have the same labeling, but they're all just mixed into both boxes. Got the correct one and it worked perfectly.
 
I noticed that caligula opted to solder a spud onto the kettle for his sight glass rather than use the dimple tool. Is that preferred? I love the added strength that dimples provides but I'm afraid that the site glass will be situated very far away from the kettle sidewall once you add the elbow or tee.

I guess I could compensate by having the majority of the coupler pushed through to the inside of the kettle.

Thoughts?

John
 
Well, I just used the $4.87 tool on the heaviest, thickest walled pot I have ever seen and it performed beautifully. I was really concerned that the copper reducer or the PVC sleeve would fail but they both passed with flying colors. The only thing that I used/did differently was rather than use a section of 1" PVC pipe, I used a 1" PVC coupler. I think this has a little more backbone than the pipe and it worked awesome. I already have the coupler for my ball valve silver soldered and I am now going to do the one for my sight glass now.

Thank you so much for saving me ~$30. :)

John
 
I noticed that caligula opted to solder a spud onto the kettle for his sight glass rather than use the dimple tool. Is that preferred? I love the added strength that dimples provides but I'm afraid that the site glass will be situated very far away from the kettle sidewall once you add the elbow or tee.


I guess I could compensate by having the majority of the coupler pushed through to the inside of the kettle.


Thoughts?


John


I went with spuds too, two 1/2 inch ones for a ball valve and sight glass/thermometer, and a big 1 inch one for a water heater element. Everything except the water heater element, I purchased from brewhardware. The issue is that spuds are flat and pots are round, so you really only have two solid points of contact where the spud meets the sidewall. If you're going for a bottom drain, this isn't a problem, but since mine were on the side,I wound up having to take a ball-peen hammer and creating a small flat spot on my keg to hold all the solder and the spud firmly. If I had to do it all over again. I'd use the dimple tool and solder in a nipple. The other issue with spuds is that you can't thread anything in from the backside. If you are using a spud for a sight glass or thermometer, this is no issue, but if you want to incorporate a dip-tube, you might be S.O.L.


Sent from my iPhone using Home Brew
 
on my way to HomeDepot after lunch to pick up the parts for this, I've got a boil kettle and HERMS vessel that both had some failed badly soldered locknuts...my fault... and I want to replace them with nice clean looking fittings. if this doesn't work I'm going to have to sell them and start over.

help me caligula. you're my only hope.
 
I got one pulled through, it worked great - only a few issues
RoqbjYZ.jpg

and most of this second copper reducer pulled through..
l8yYmer.jpg

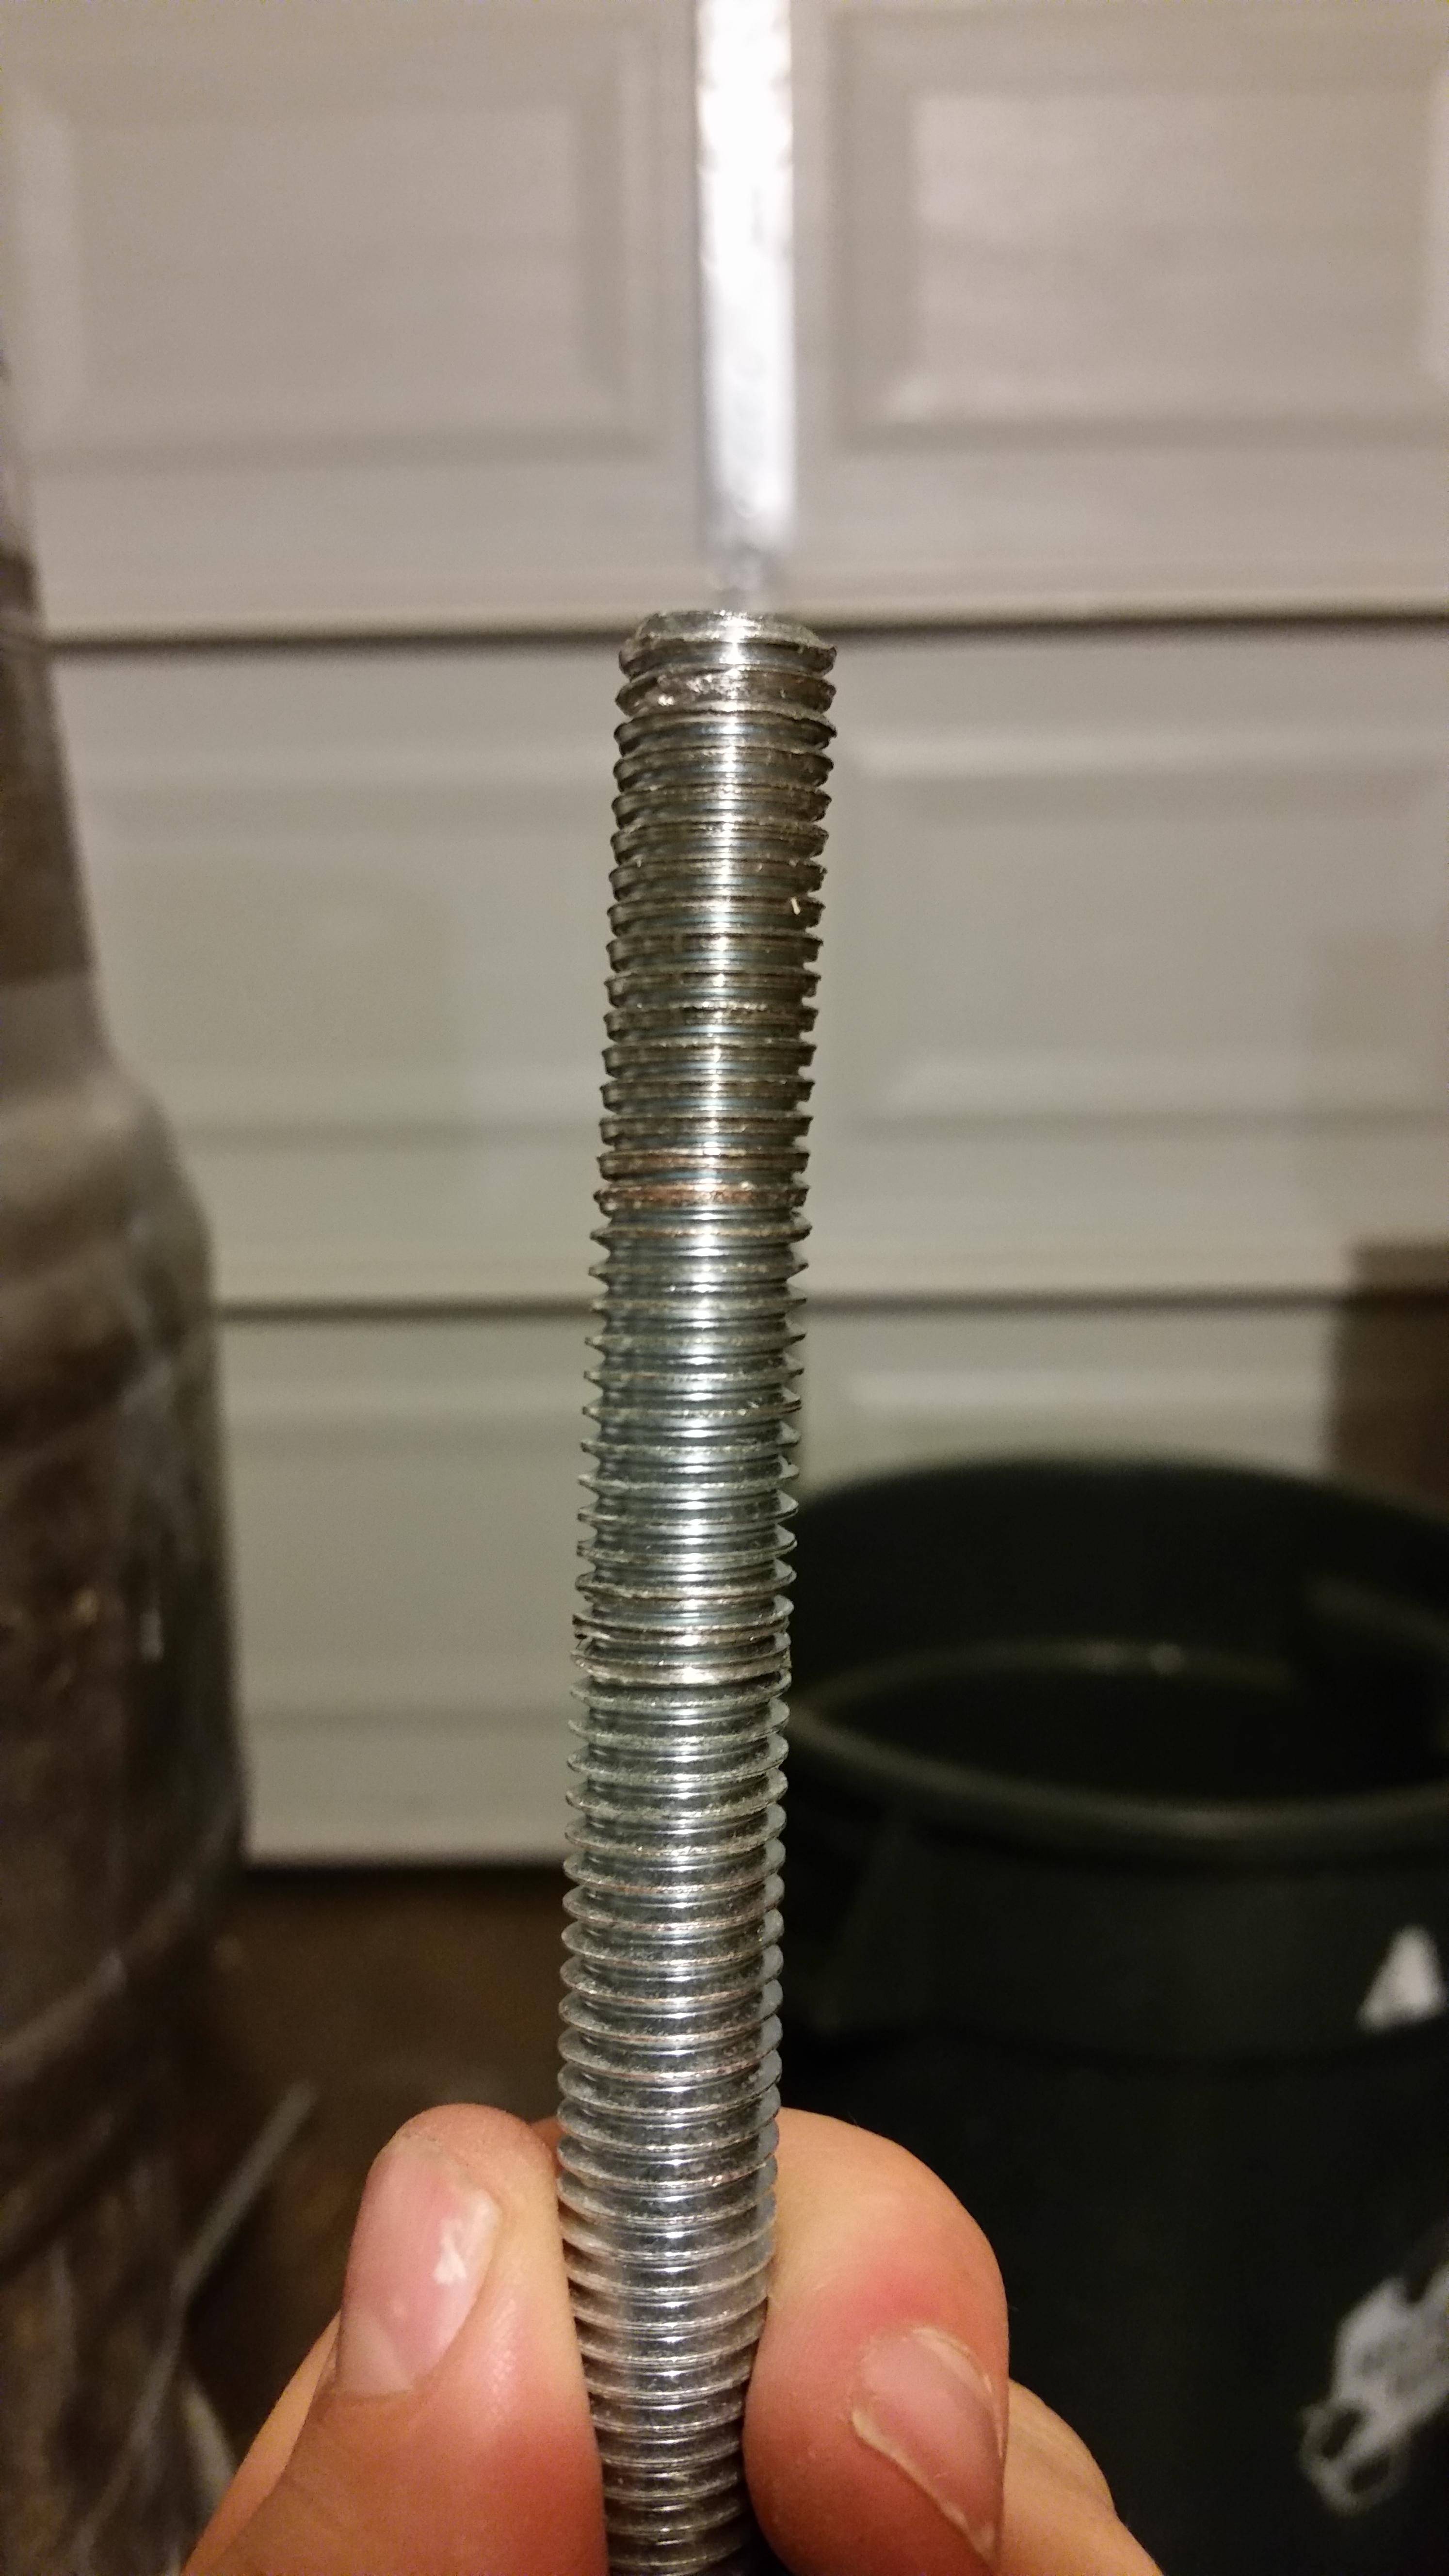
But, after one complete pull through and getting the copper through most of the way on the second my bolt threads are deformed to the point I can't even thread the nut. so one bolt per hole....
4BklnD8.jpg

and I think I need new flux....I heated the joint and it just smoked, turned black, and instead of settlings around the connector it just globbed up and didn't stick.... sad.
I think I need some liquid solder.
QIHILRV.jpg
 
...But, after one complete pull through and getting the copper through most of the way on the second my bolt threads are deformed to the point I can't even thread the nut. so one bolt per hole....
4BklnD8.jpg

@runningweird. I usually put vegetable oil on the copper fitting and the bolt threads. Haven't had any problem with threads wearing out and the oil makes it surprisingly easy to turn the bolt and pull everything through.
 
@runningweird. I usually put vegetable oil on the copper fitting and the bolt threads. Haven't had any problem with threads wearing out and the oil makes it surprisingly easy to turn the bolt and pull everything through.

that's a pretty good idea, I ended up using a cheater bar on my socket wrench and on the vice grips I used to hold the back nut on.

I'll hit home depot and get another couple bolts tonight.

Any ideas on the solder issue?
 
tAny ideas on the solder issue?

Are you using the right flux and solder? A lot of people (myself included) use Harris Stay-Clean flux and Stay-Brite solder. It's expensive but you might not need much. Home Depot carries a small kit with enough to solder two couplers to your keg. It's thin solder, so wrap it around each coupler 6 or so times and it should be good. That's worked for me just fine.
 
Back
Top