wvdad
Well-Known Member
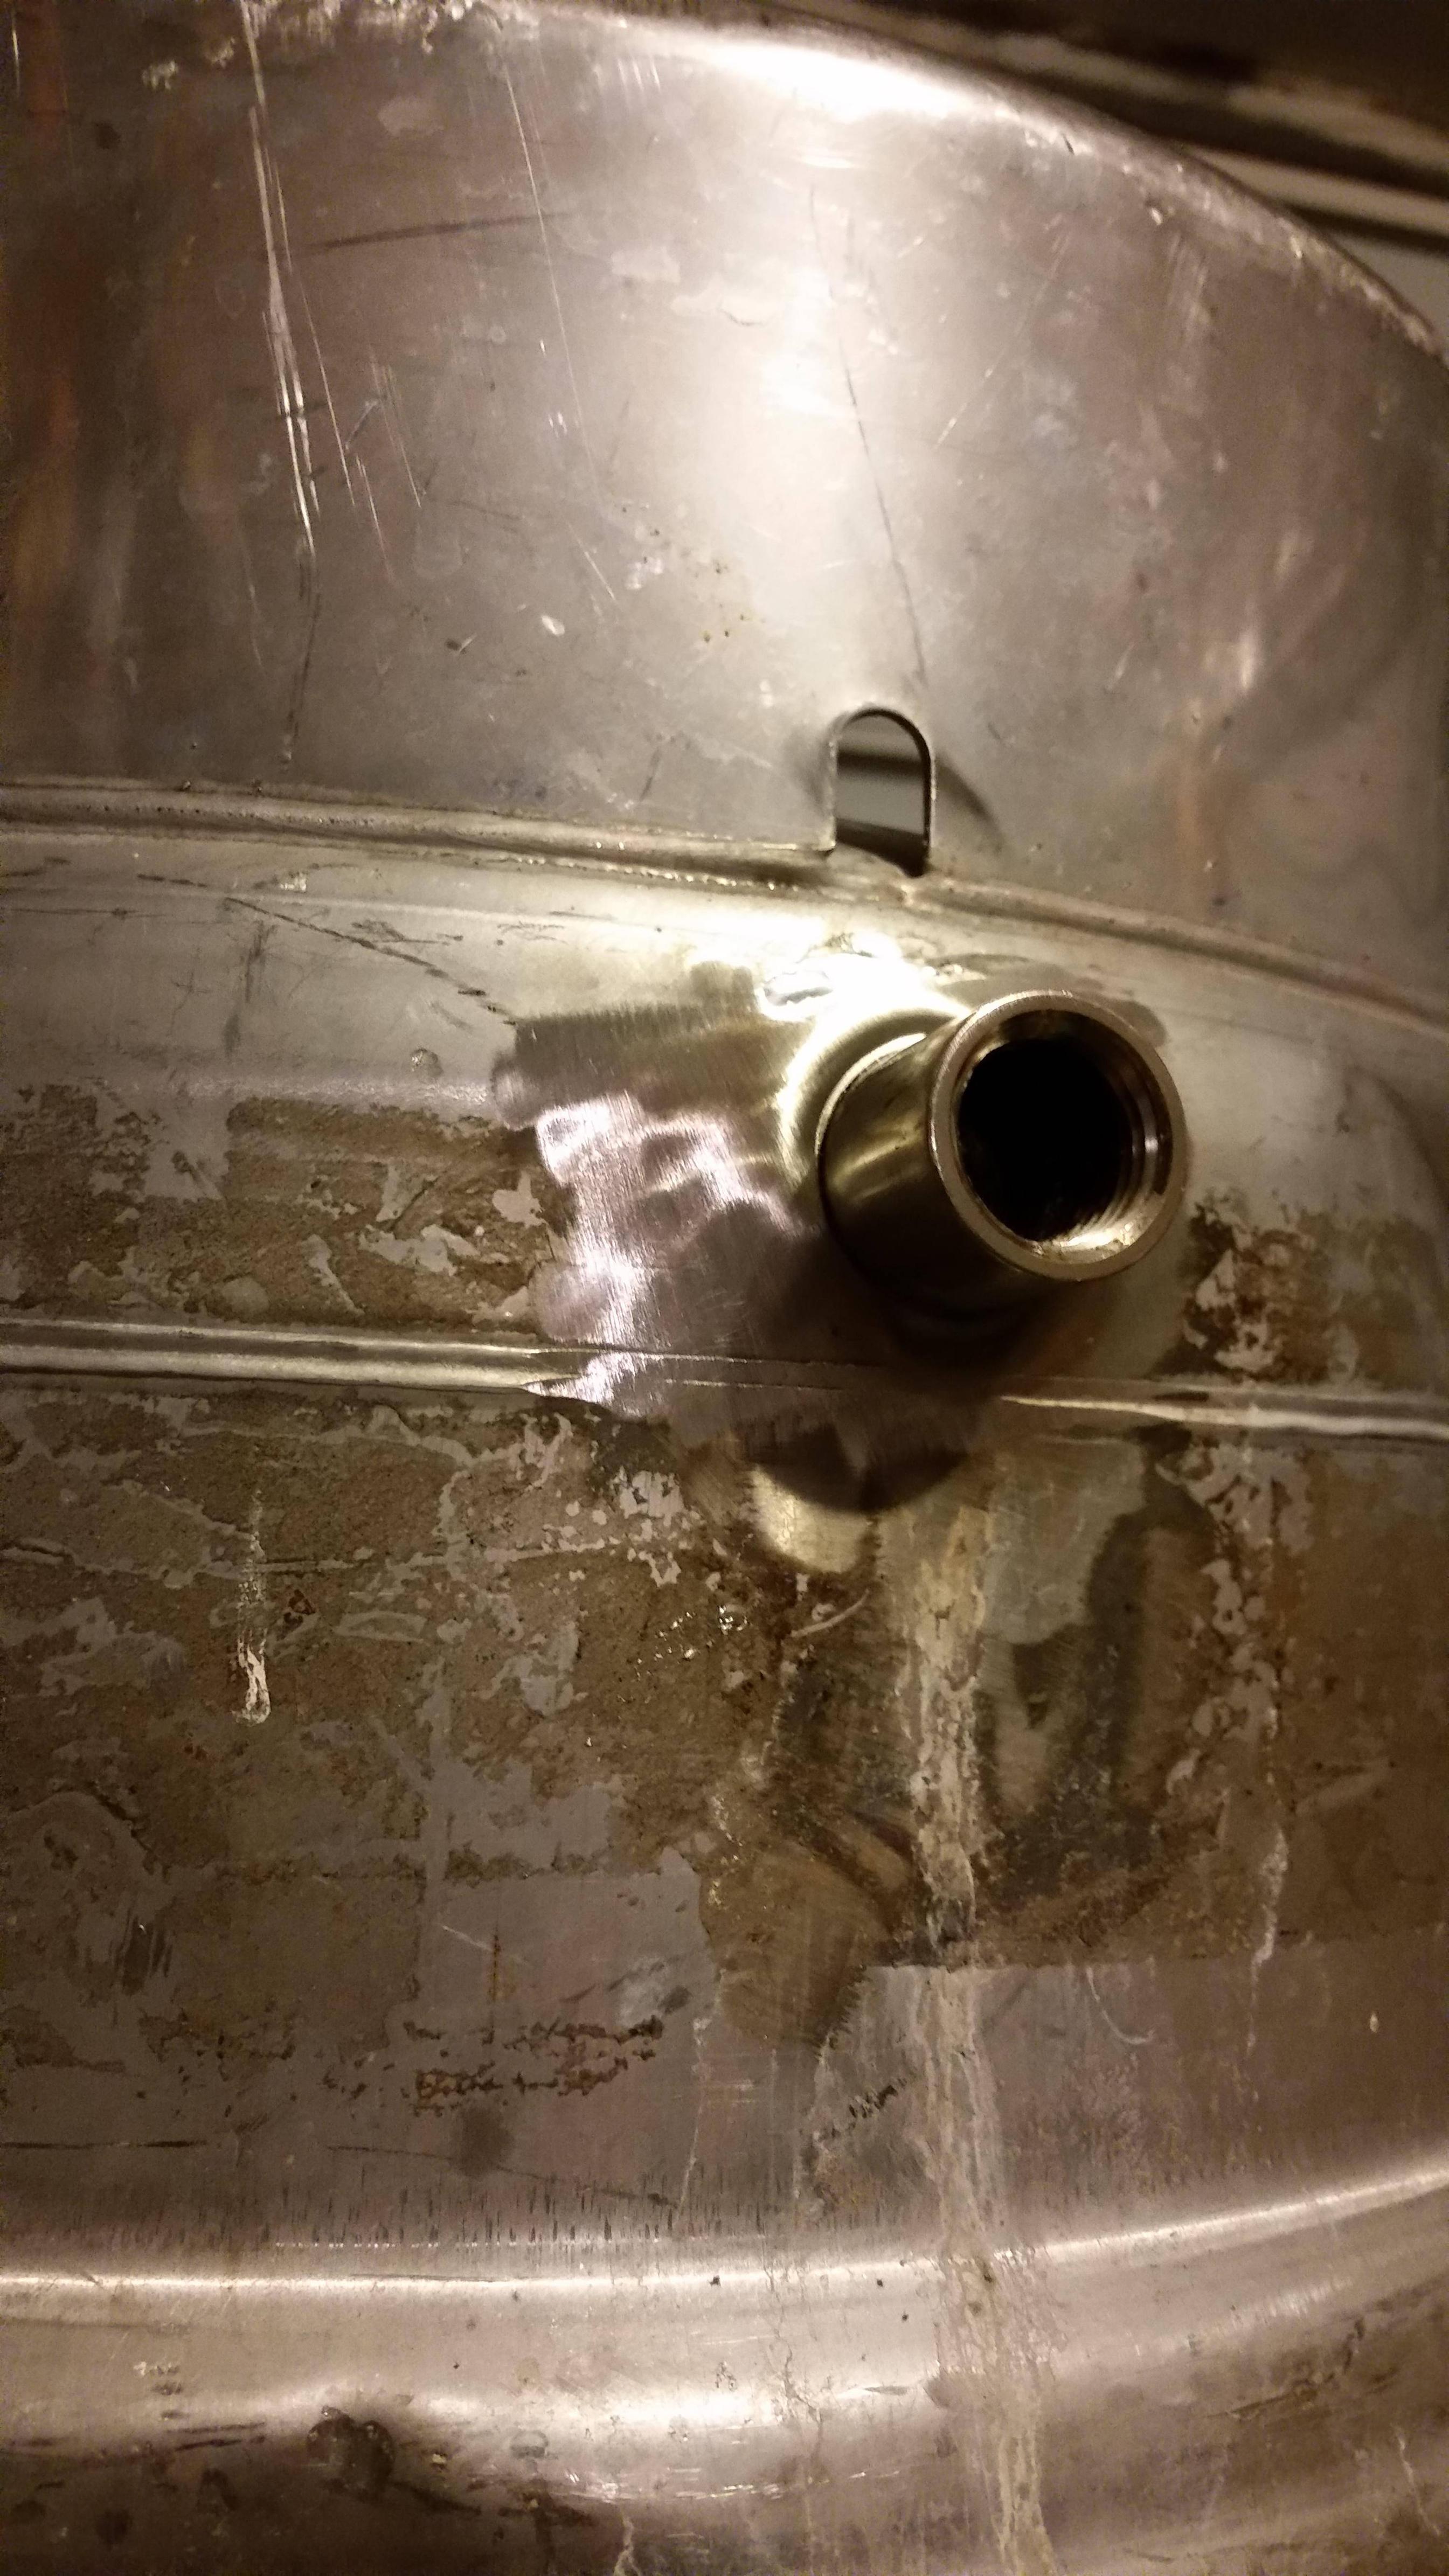
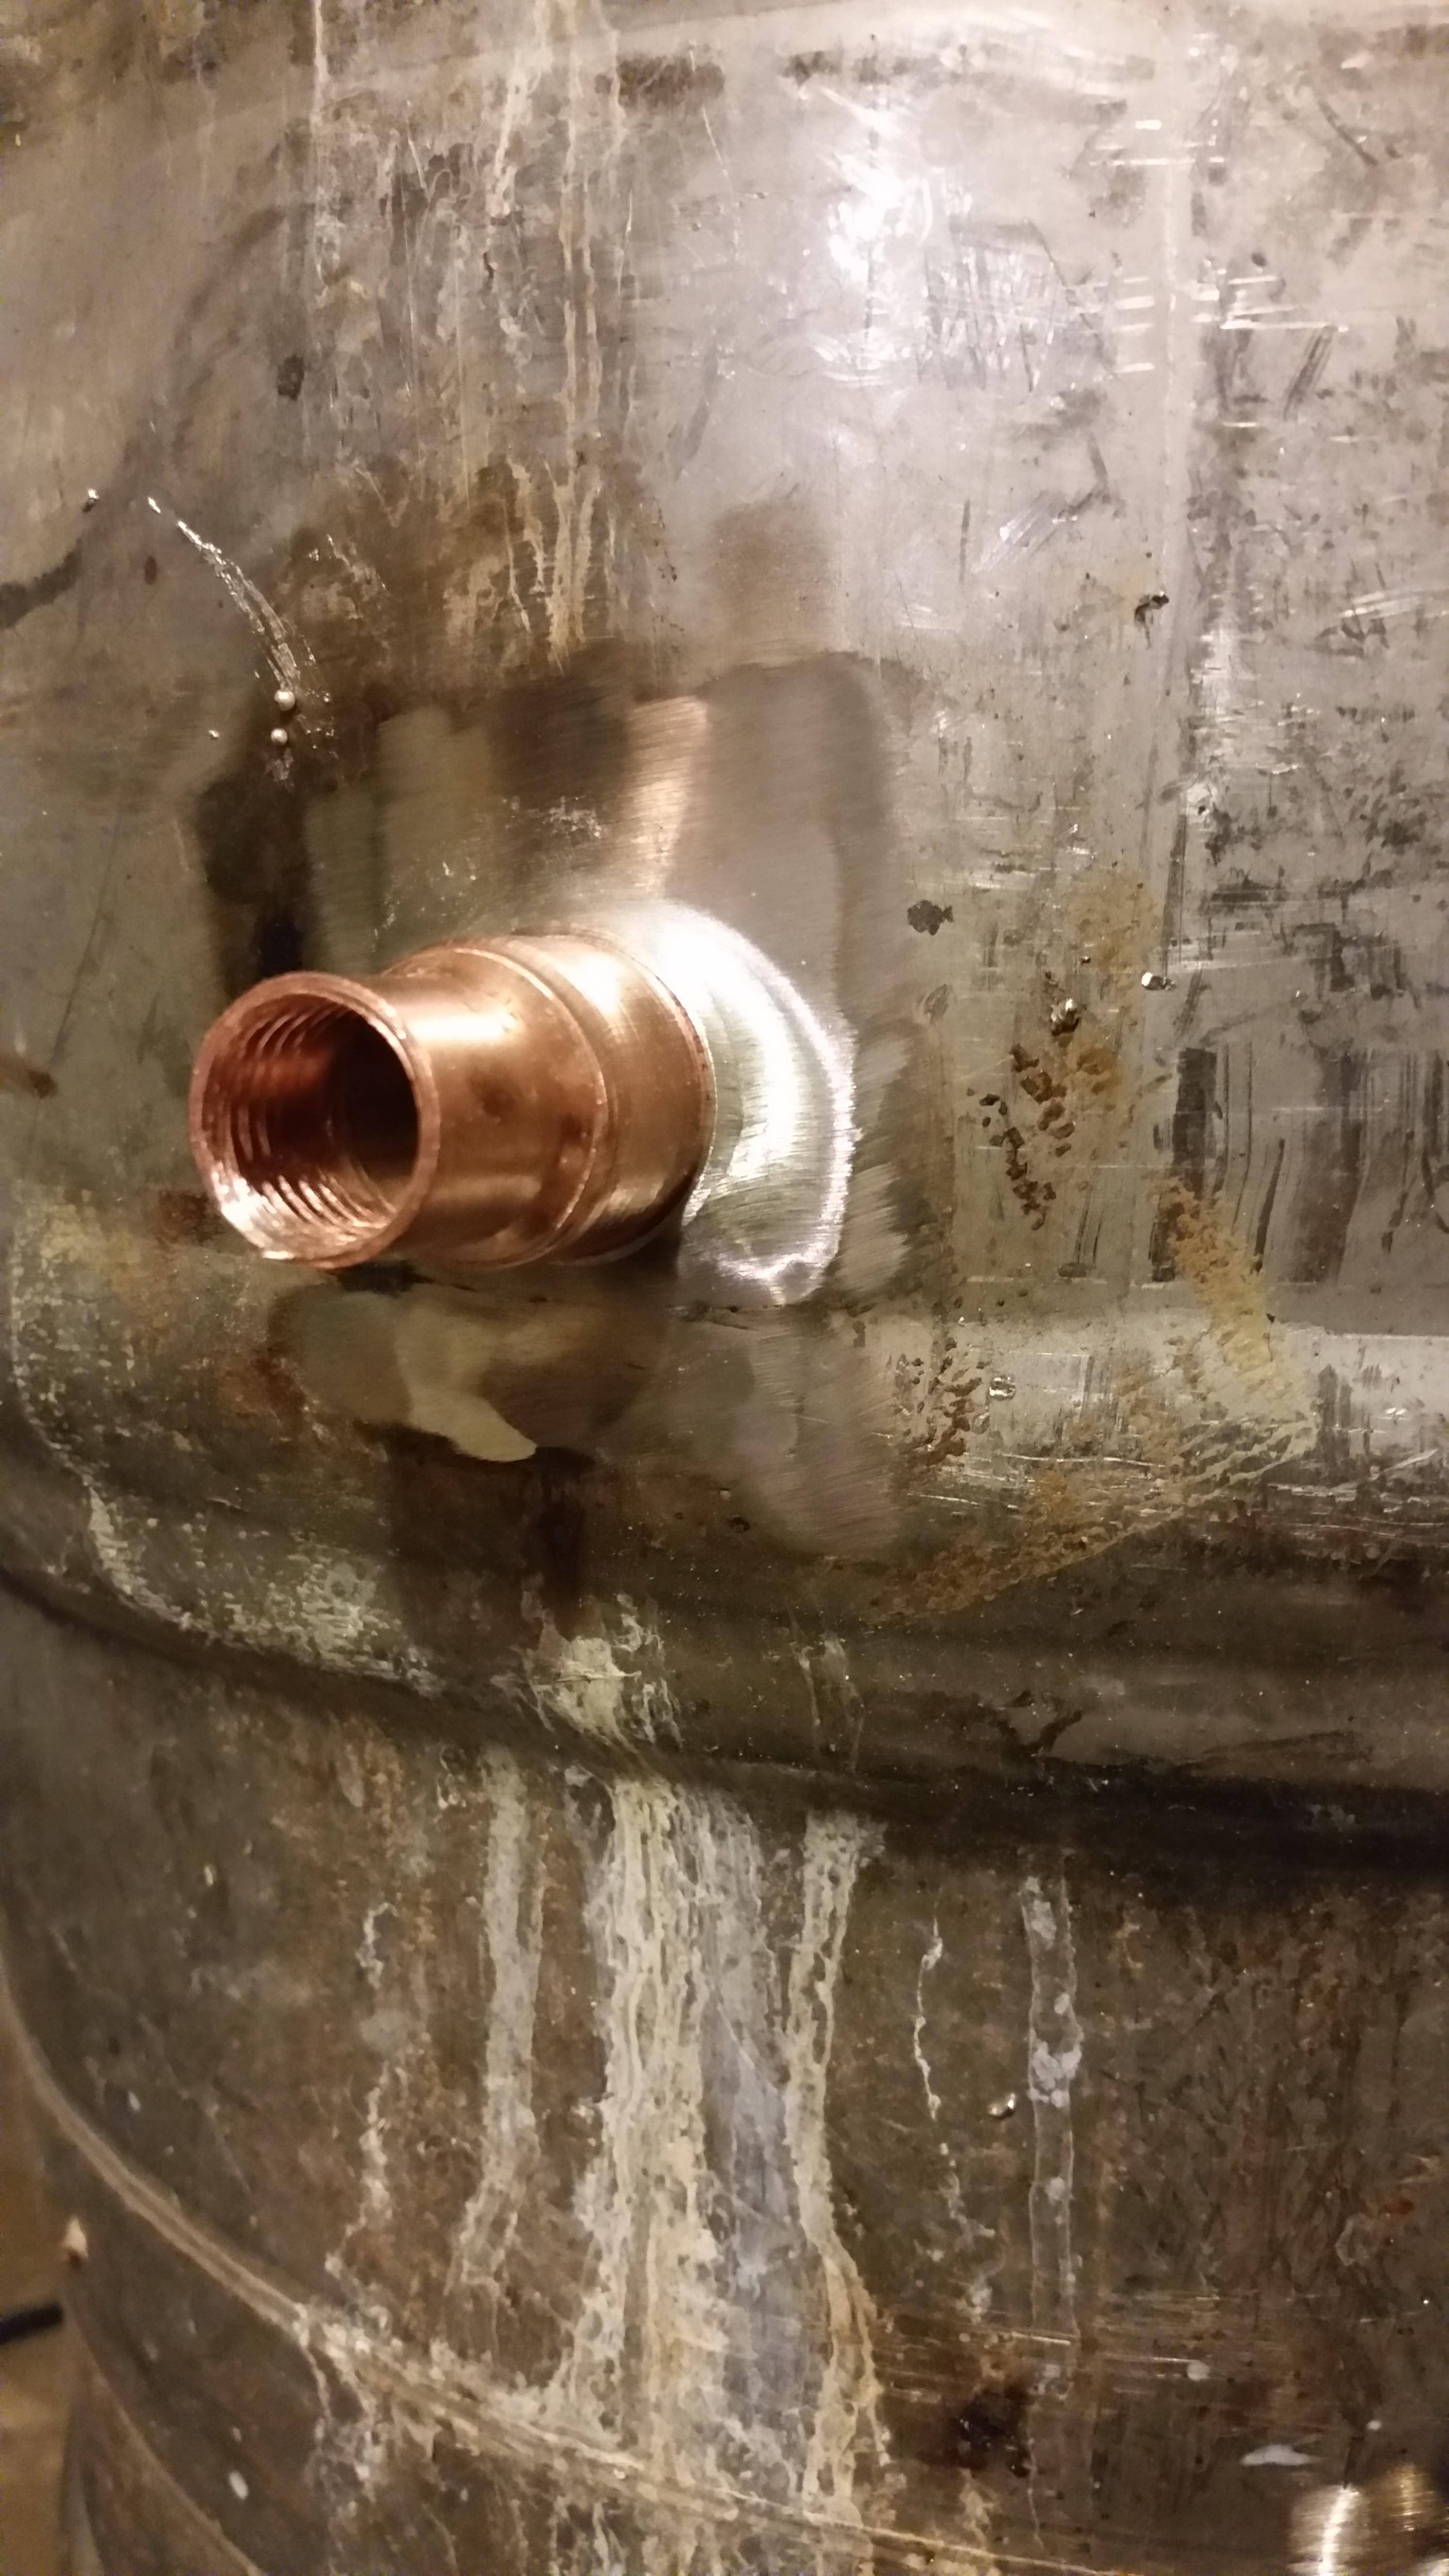
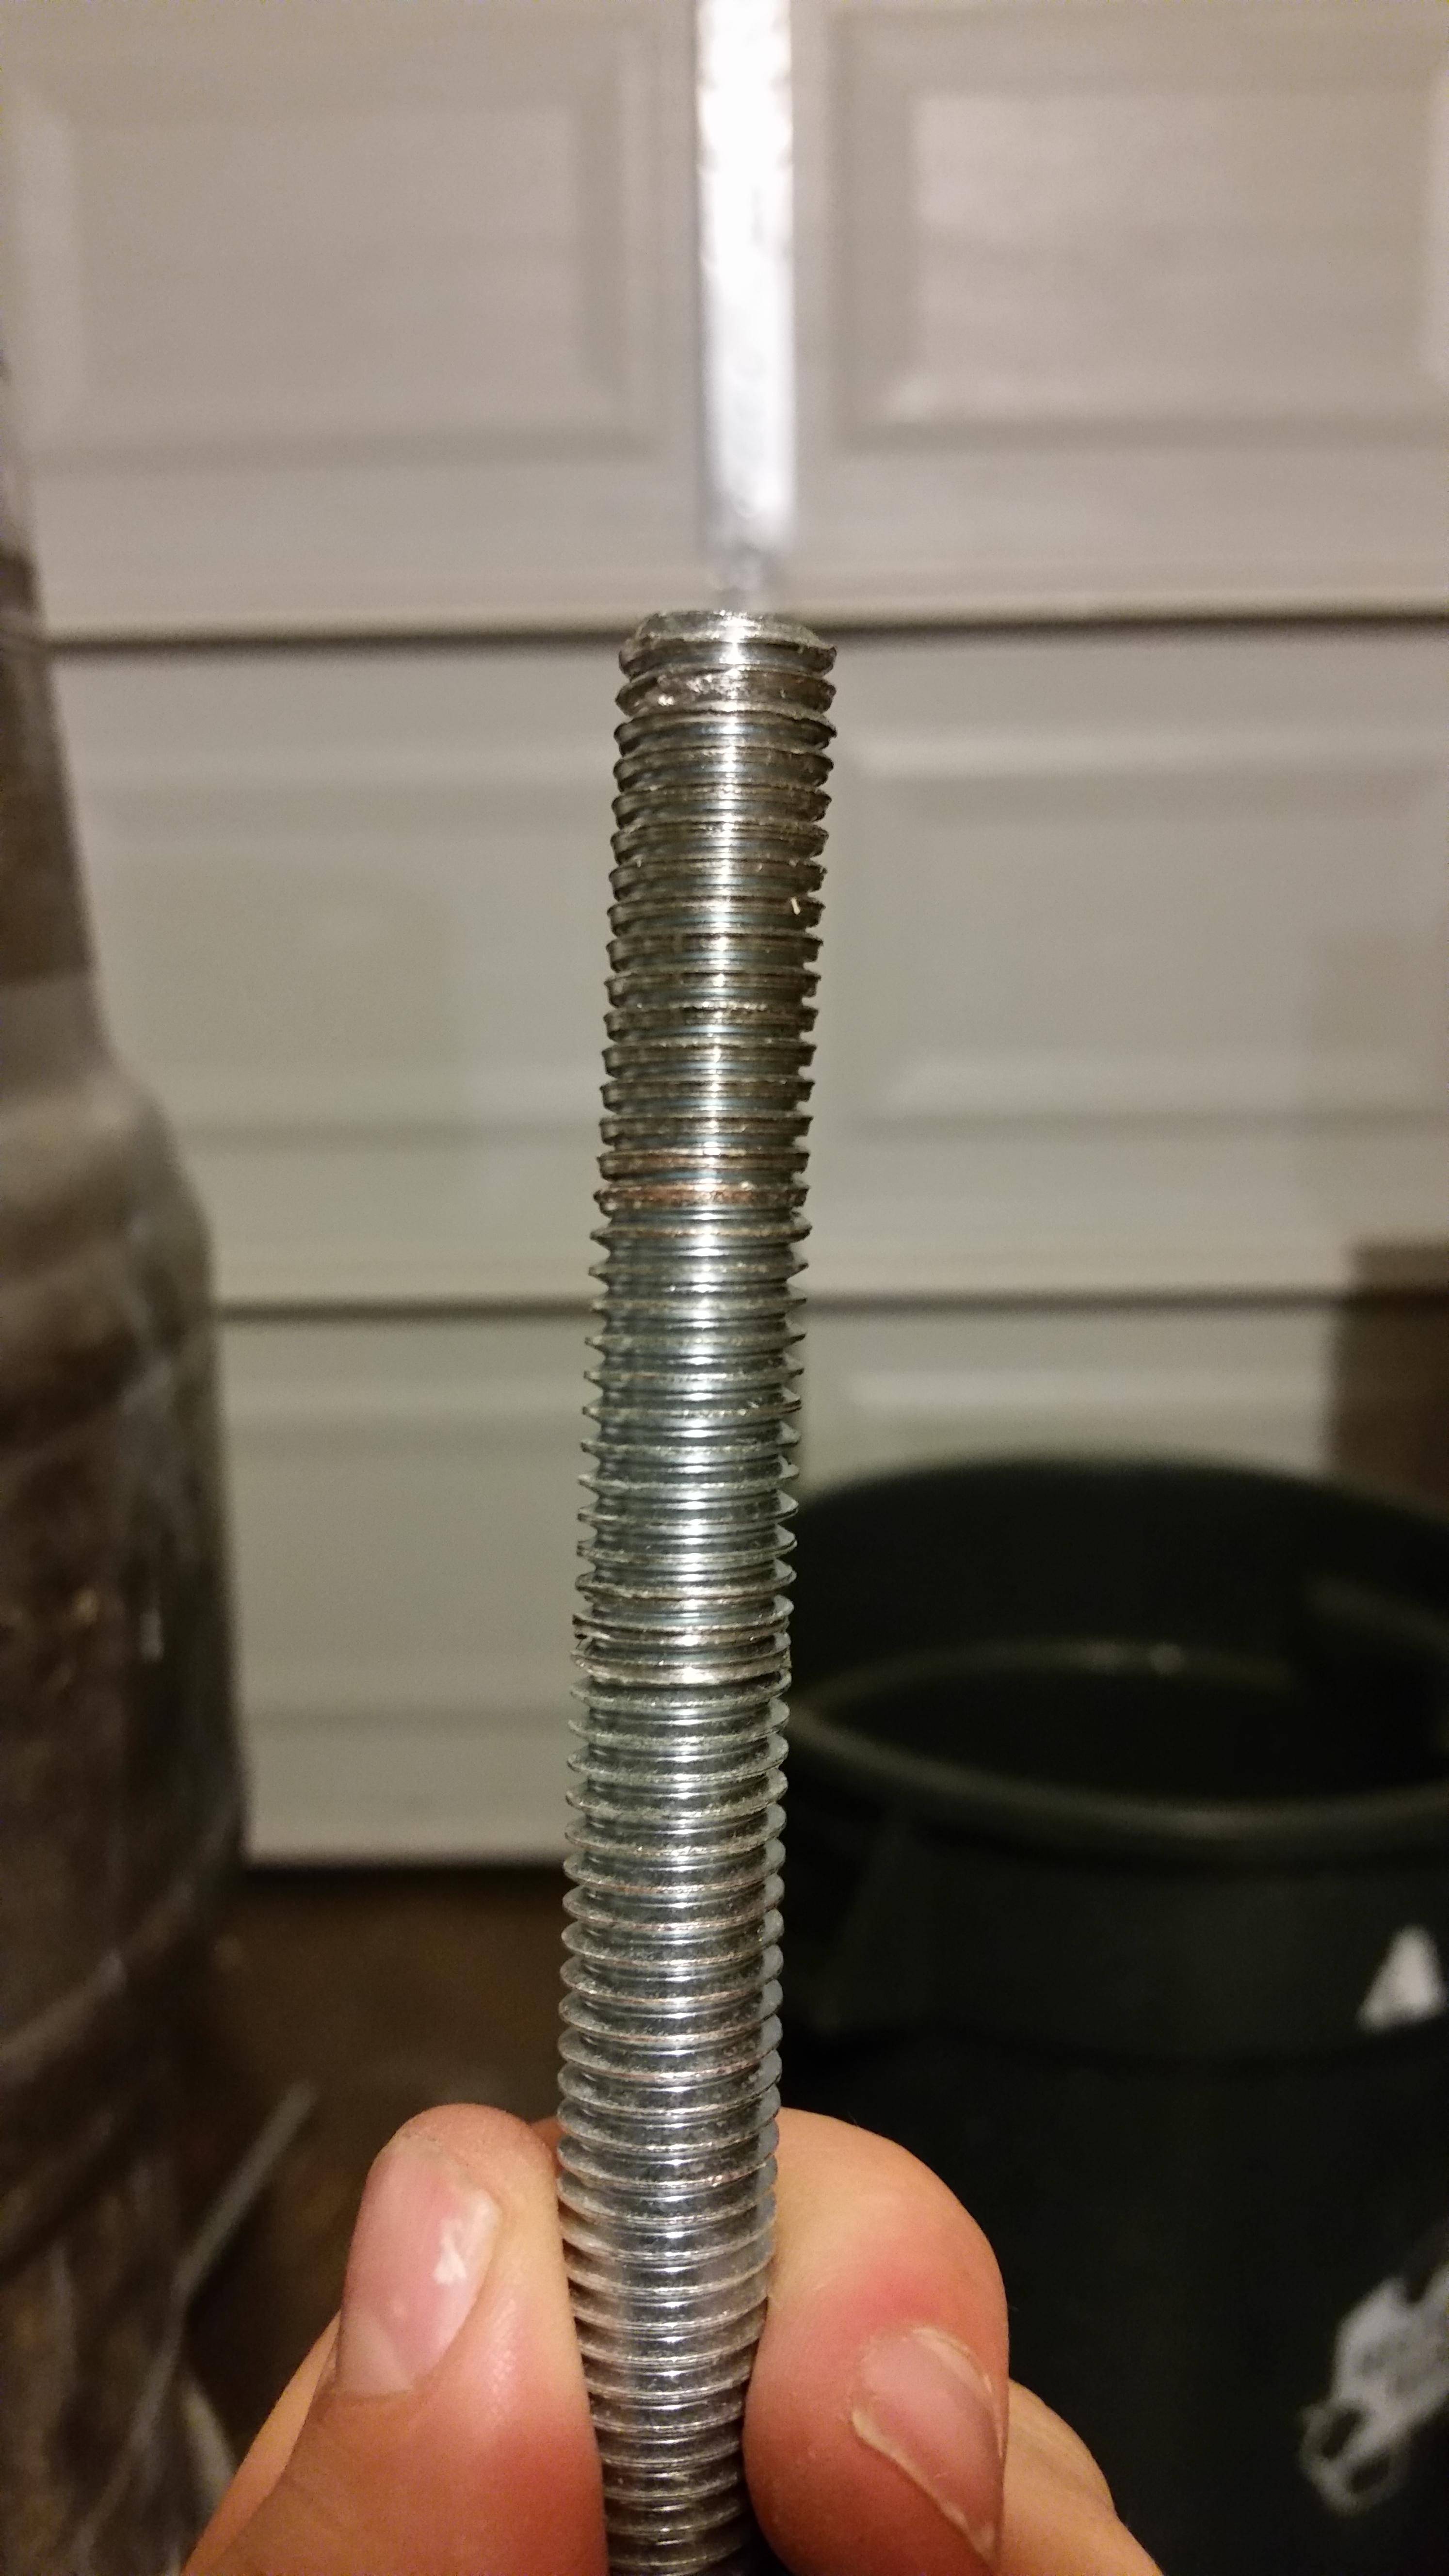
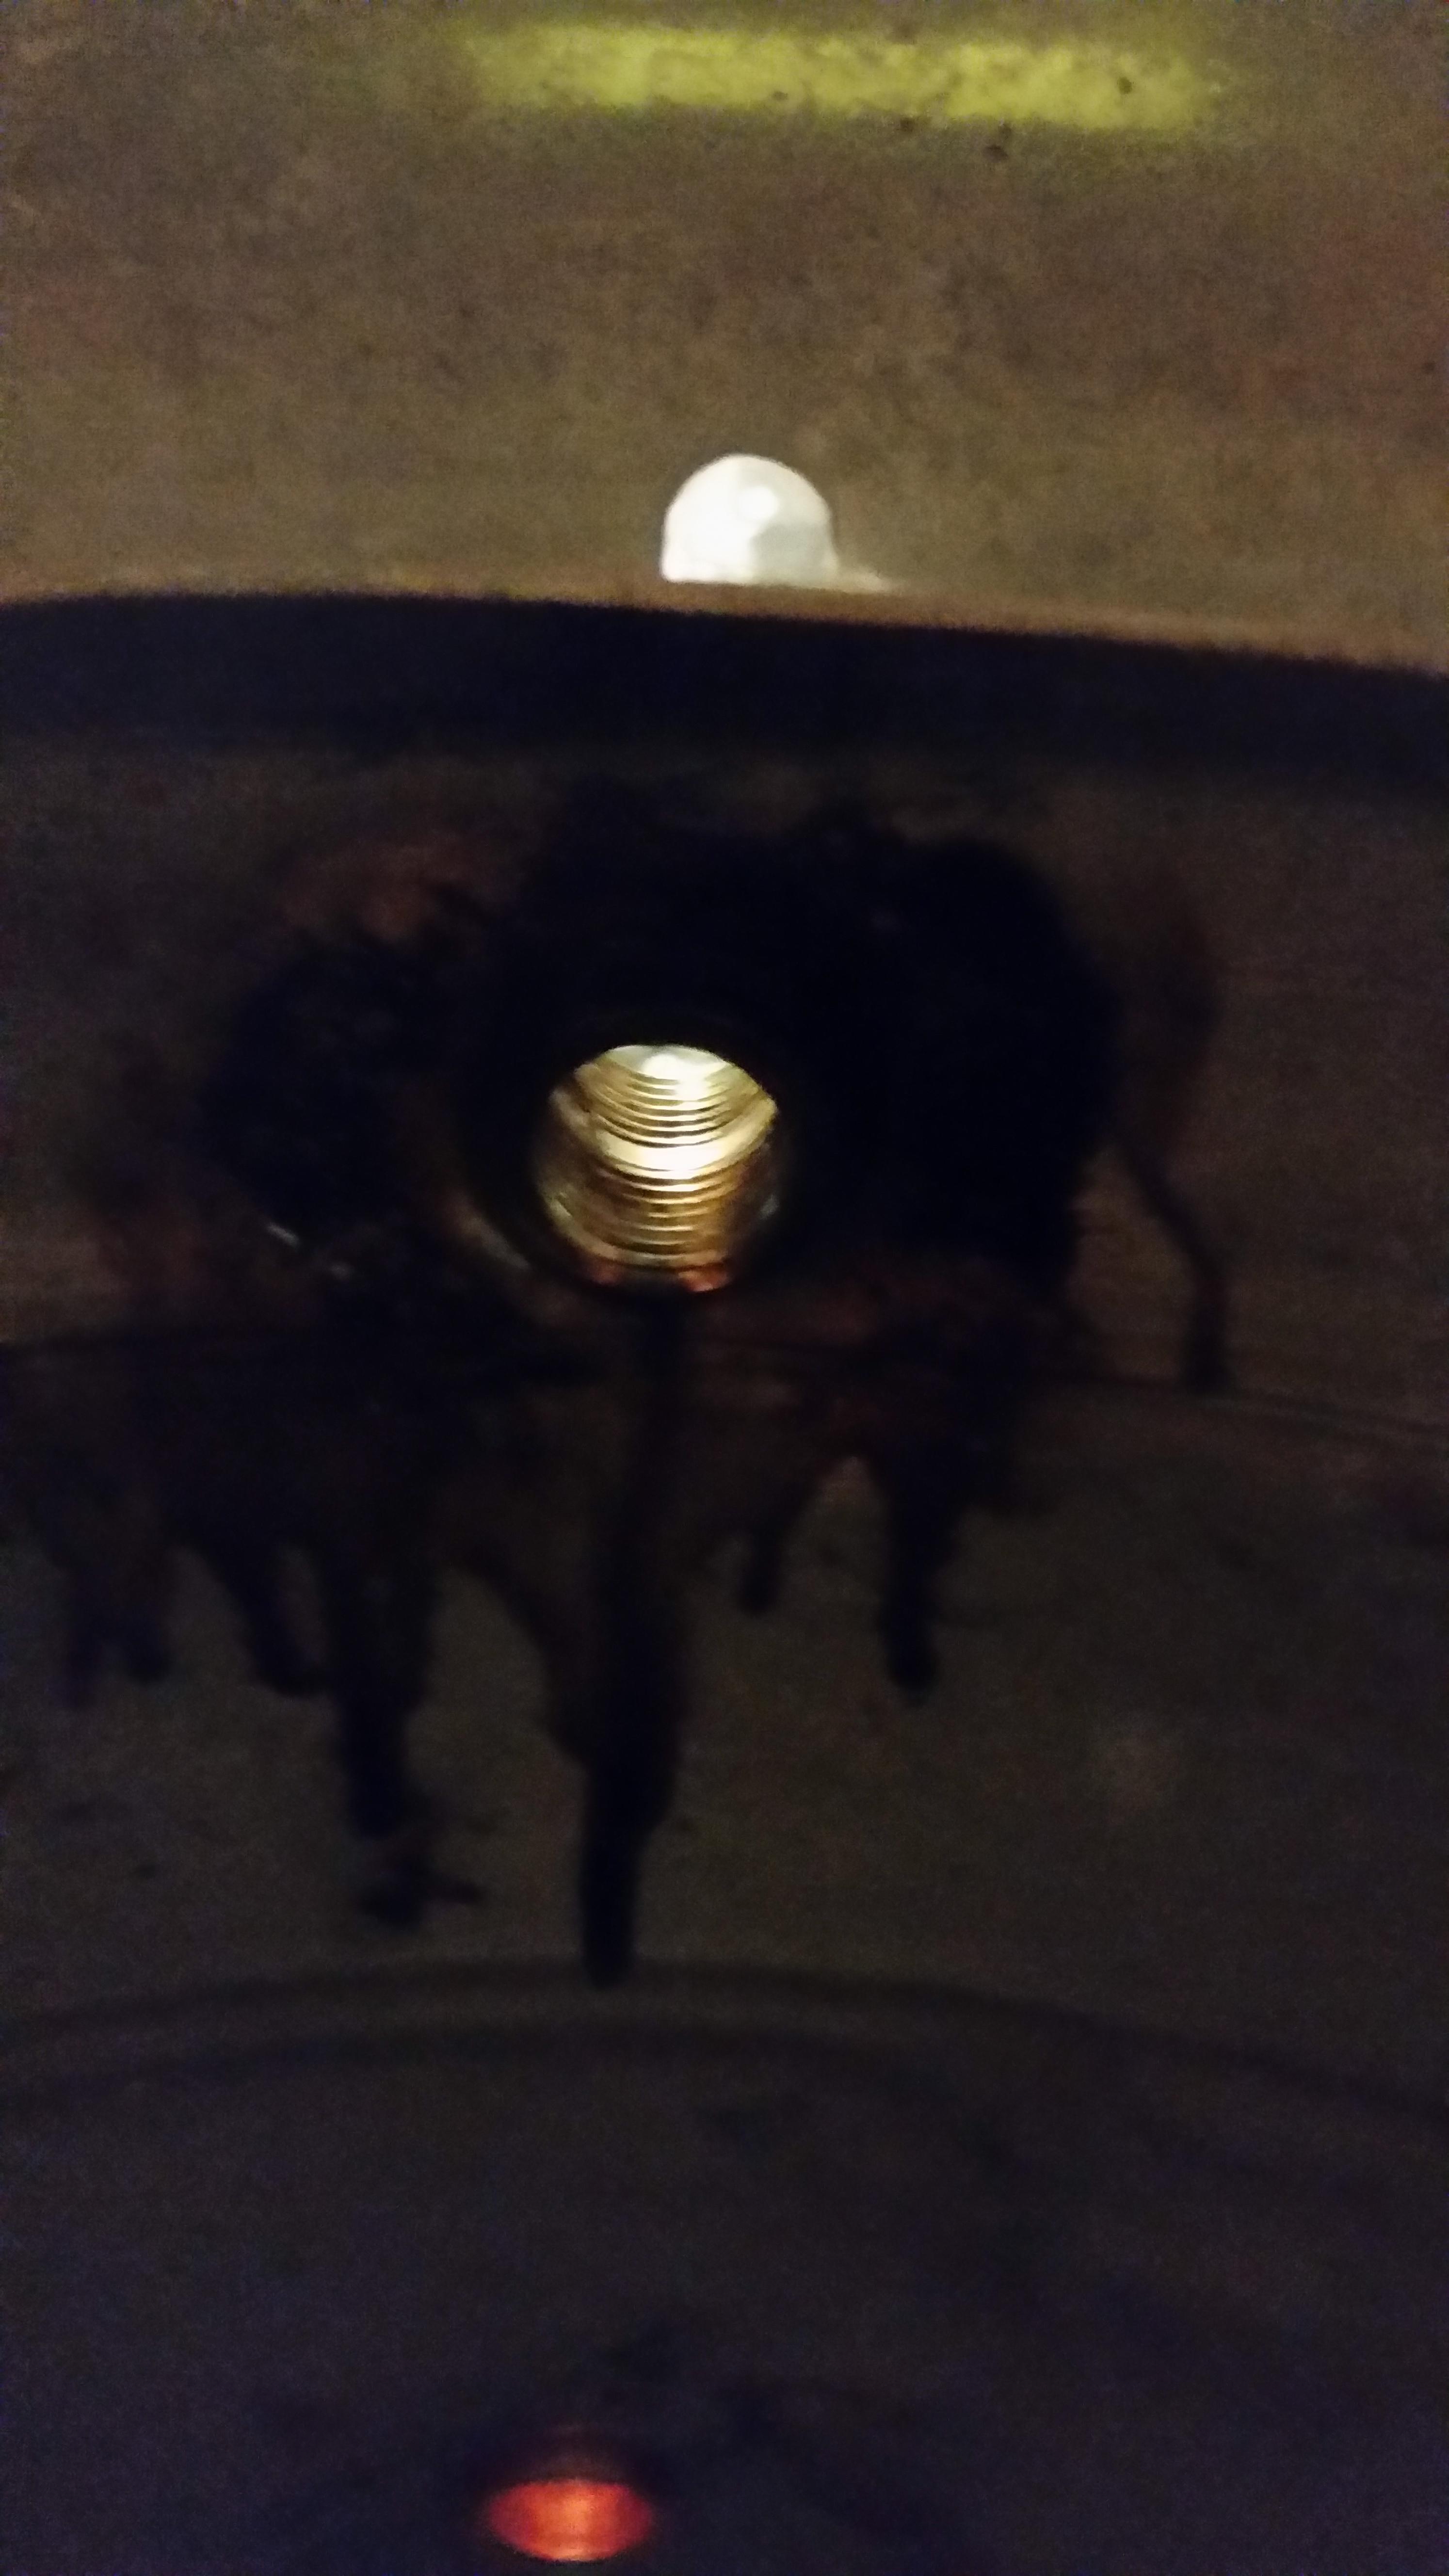
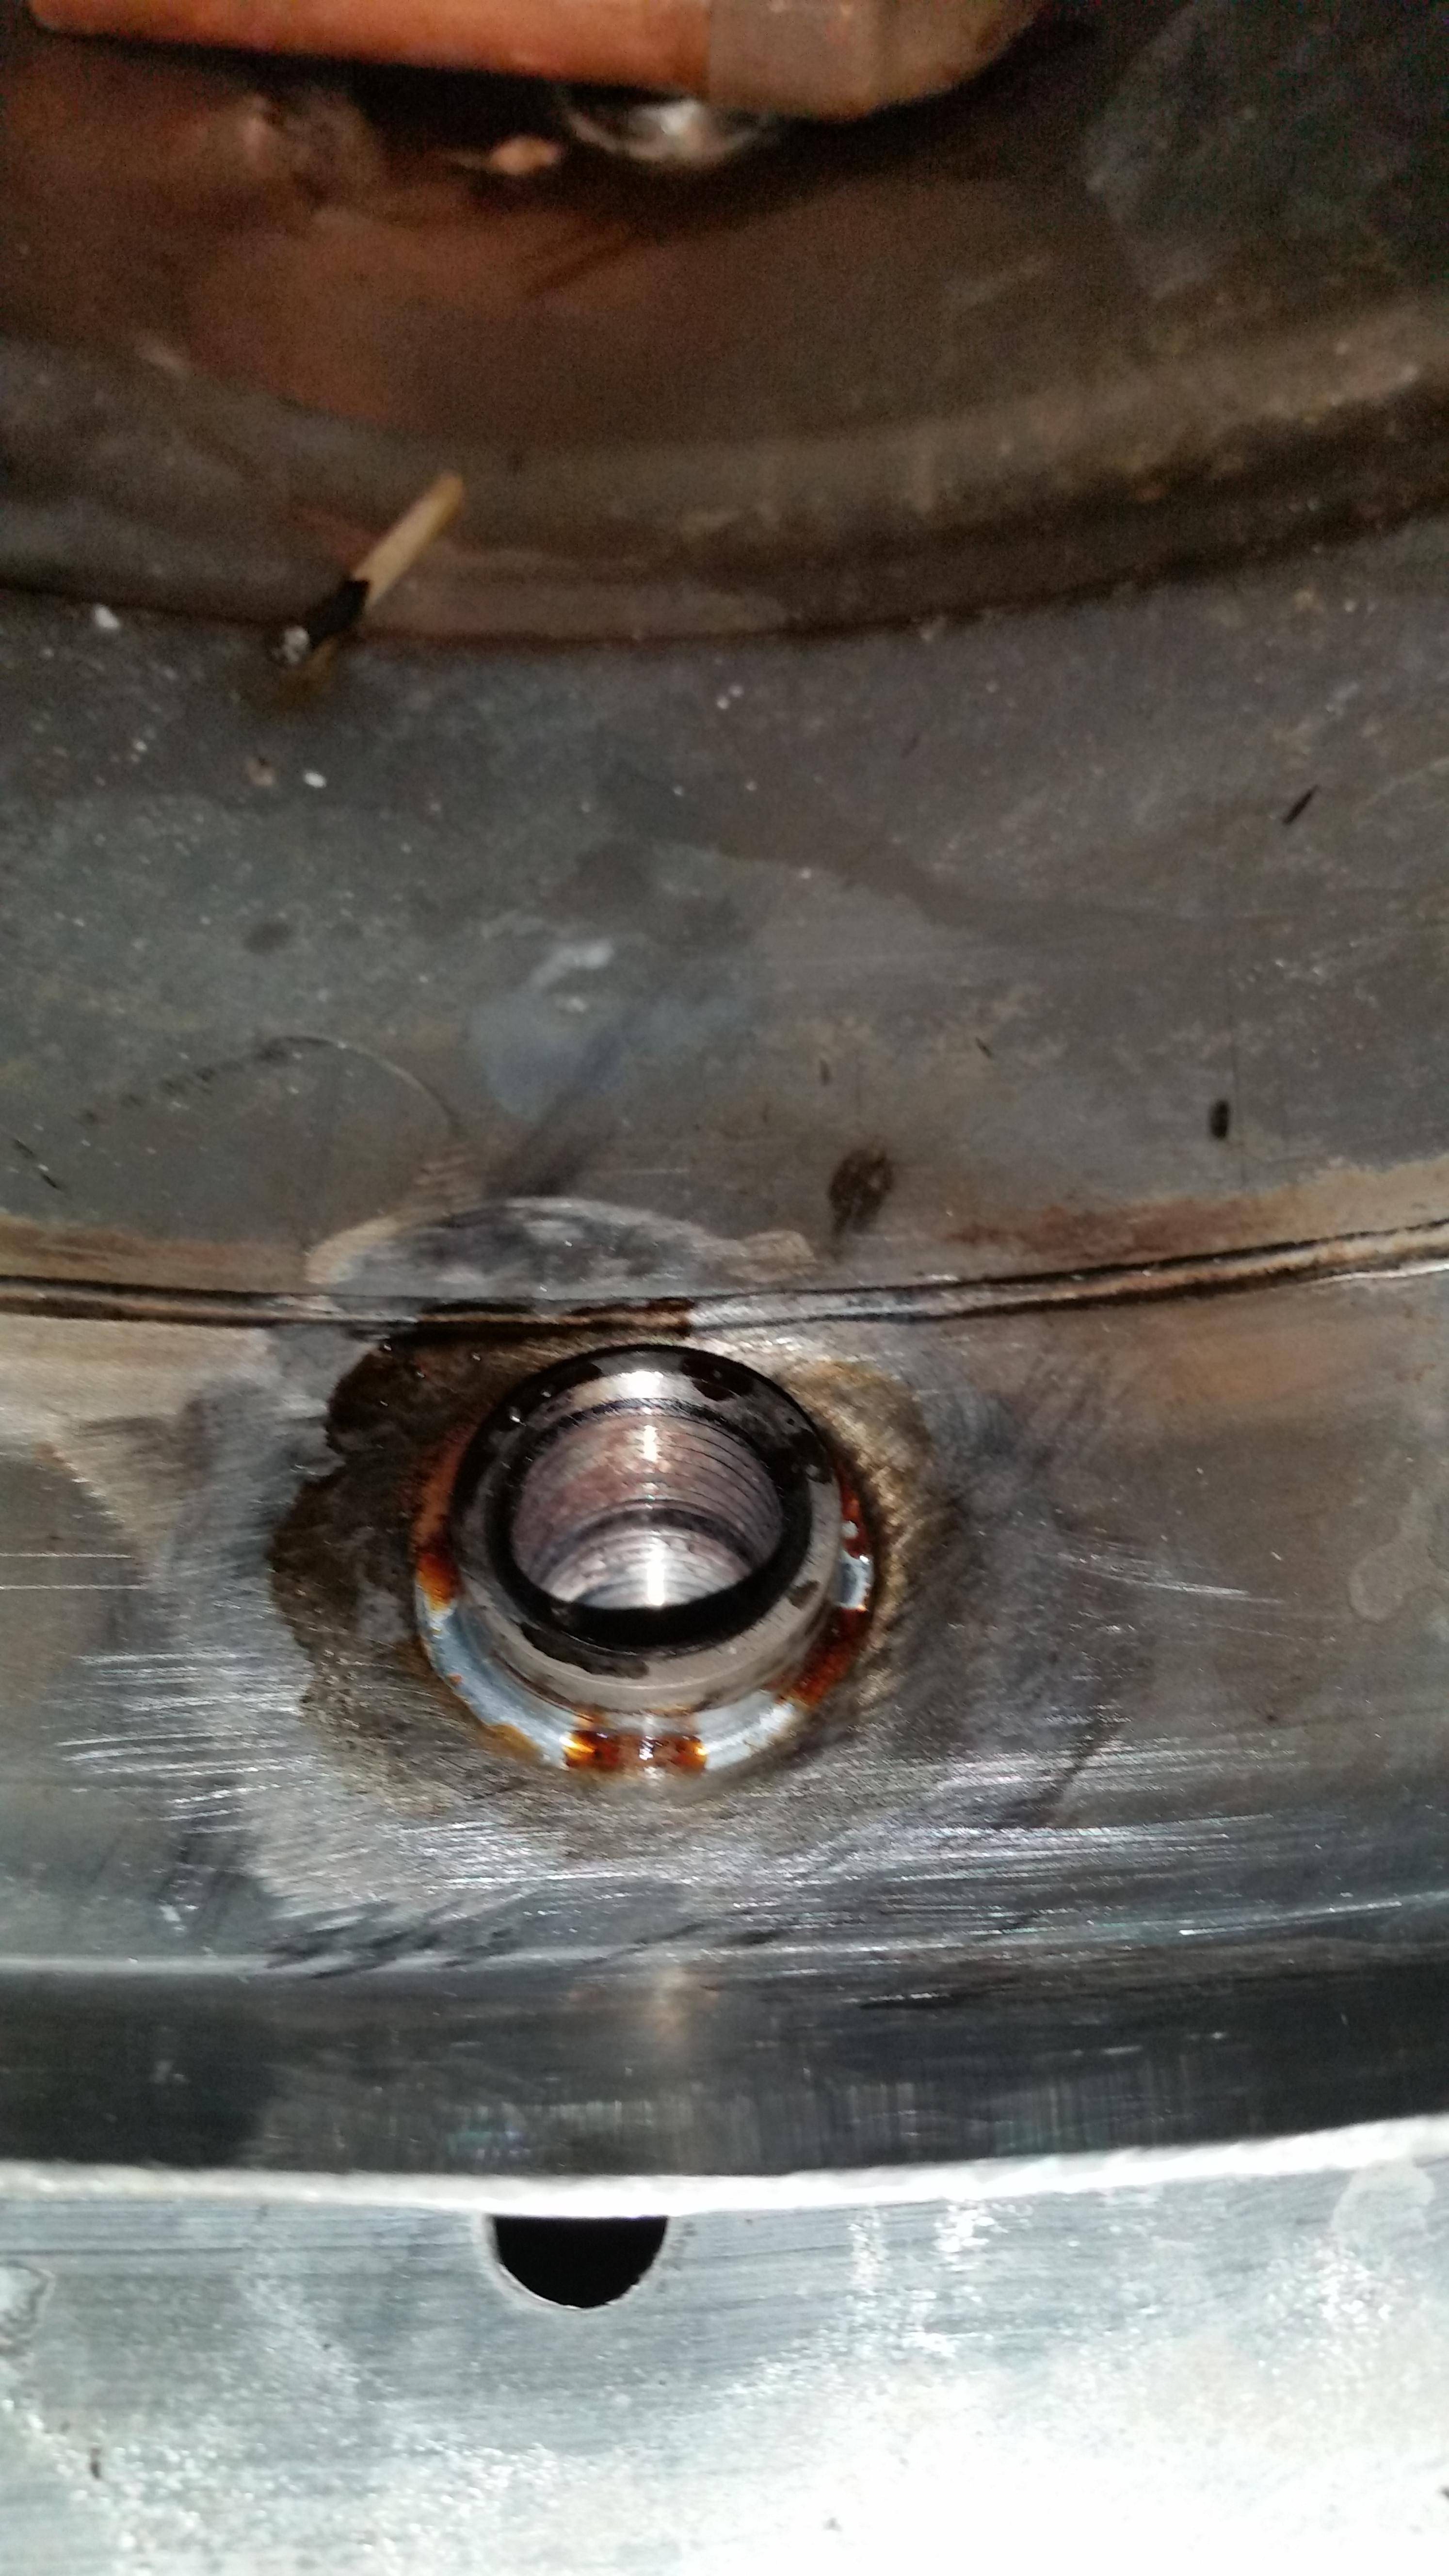
I applied all the heat from the outside. I took my time and directed the heat to an area about 6 inches surrounding the joint and then put some heat on the top of the fitting but never directly on the solder. It took about 7-8 minutes.


![Craft A Brew - Safale BE-256 Yeast - Fermentis - Belgian Ale Dry Yeast - For Belgian & Strong Ales - Ingredients for Home Brewing - Beer Making Supplies - [3 Pack]](https://m.media-amazon.com/images/I/51bcKEwQmWL._SL500_.jpg)


")