My only concern would be making sure there is enough liquid in the tank to fill the jacketed coils and still have a gallon or two in the glycol reservoir. There are some pretty small 2-3 gallon glycol chillers but the price goes up pretty good from there.
I think I am leaning towards this 7 gallon glycol chiller -
http://rapidswholesale.com/glycol-chiller-7-gallon.html I like having the pump, reservoir and cooling unit all in one. Then I will just run an in-line reef heater (
http://www.marinedepot.com/Hydor_ET...rium_Heaters-Hydor_USA-HD08103-FIHTIH-vi.html). I can upgrade the Ranco ETC to a dual stage so during fermentaiton I can plug the in-line heater to the heat side and have the compressor plugged into the cold side for full closed loop control with the minimal amount of components. This will be reading the beer temp as well instead of fluid through the coils, but I'm sure that's basically splitting hairs. The system would be constantly circulating.
My other idea was to run a TECO TK-1000 reef chiller that has a built-in heater (
http://www.aquariumspecialty.com/teco-tank-tk-1000-aquarium-chiller) and purchase a square or round 10 gallon cooler and separate pump. But I like the compactness of having it all in one unit, plus when you add up the $900 reef chiller with a spare pump, spare cooler, hoses to/from, valves, etc it gets pretty damn close to the glycol chiller in price. The TK-500 may be able to handle it but I don't want to wonder if I can maintain crash cool temps in the middle of summer.
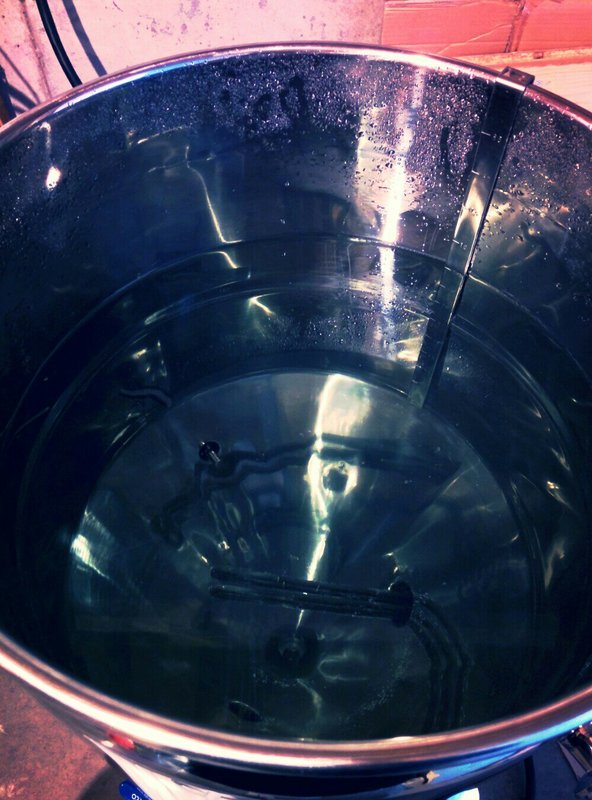
edit: Referencing an earlier post, the coils hold approximately 5 gallons of water, so I wonder if a 7 gallon glycol chiller would be enough...


![Craft A Brew - Safale S-04 Dry Yeast - Fermentis - English Ale Dry Yeast - For English and American Ales and Hard Apple Ciders - Ingredients for Home Brewing - Beer Making Supplies - [1 Pack]](https://m.media-amazon.com/images/I/41fVGNh6JfL._SL500_.jpg)