
Photopilot
Well-Known Member
I think my collared keezer is now far enough along to show it off, so here it is. I will start from the beginning of the build so anyone interested can see how I did it.
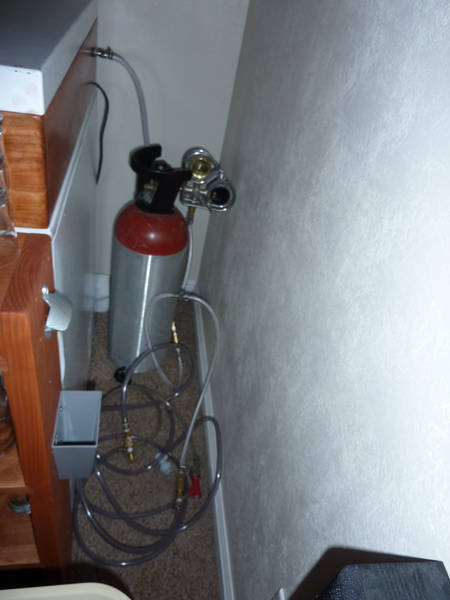
This project was a long time coming. When I built my house in 97 I put a minifridge in the peninsula to hold kegs so beers on tap in the house is a long term deferred dream come true. So in total this project took 13 years.
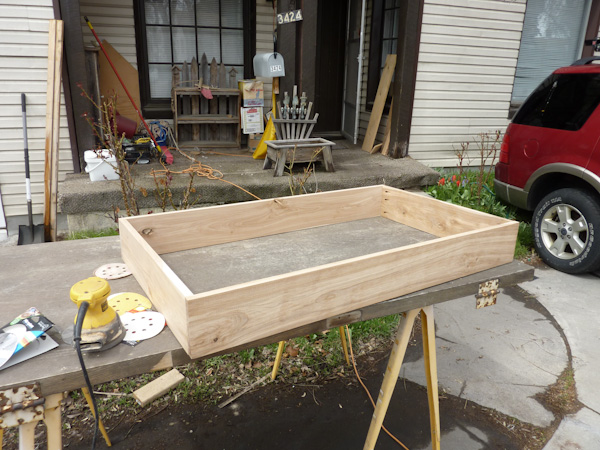
My design philosophy was like Coastarines just use the tools you have, since I have most all of them I decided to make it as complicated as possible. For wood, there is a wood wholesaler in SLC and he sells retail as well with some good prices. I bought 2 sticks of rustic red birch for around $15 and used this to make the collar. I had bought a Kreg pocket screw jig last year and had yet to use it, felt it was time. I also planned on possibly moving or adding or changing parts of the setup so the pocket screws allows me to disassemble the sides.
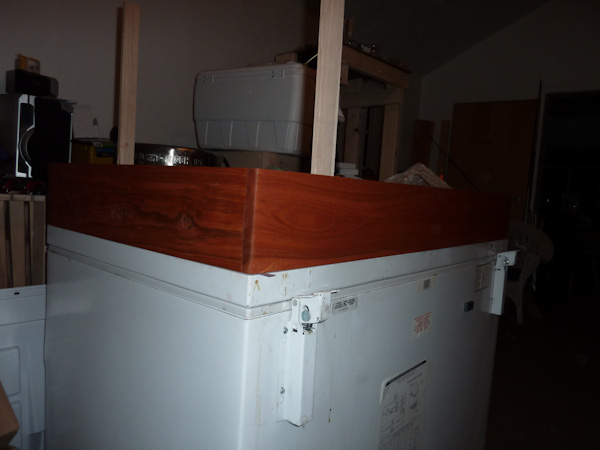
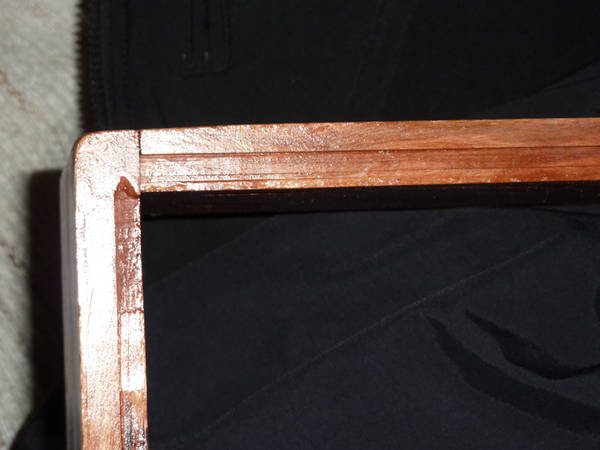
I used Watco Danish Oil Cherry to stain the collar as well as the rest of the wood to follow then finished with 2 coats of spar varnish for better handling of moisture. It was more glossy than I would have preferred but wanted the best moisture resistance.
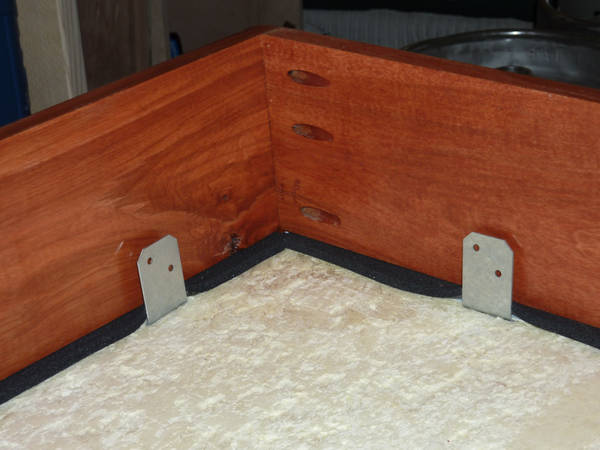
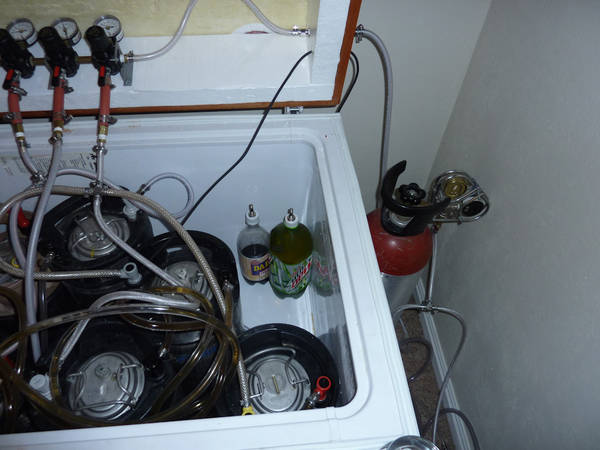
On the freezer lid I removed the weather strip and plastic liner under the lid. Then mounted L-shaped brackets under the foam and drilled through and screwed the brackets home.

I had put a dado in the wood collar to catch the foam lip around the edge of the lid
I then clamped this collar down tight into the foam added a custom thickness shims between the brackets and collar and screwed through the bracket, the shim and into the collar. See the second photo in this thread for photos of the shim. This was just trying them on for thickness I later cut them to size to just fit under the area covered by the L-bracket.
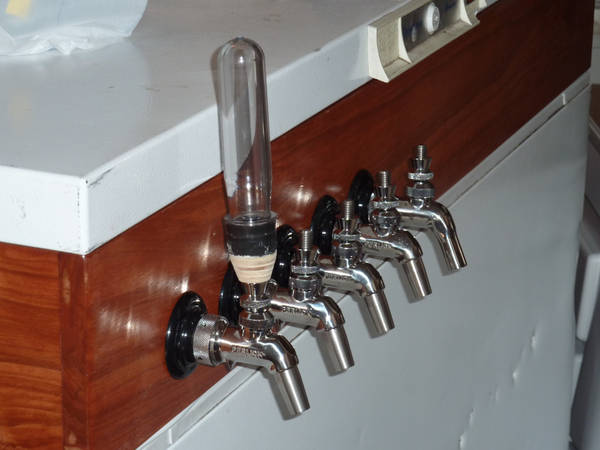
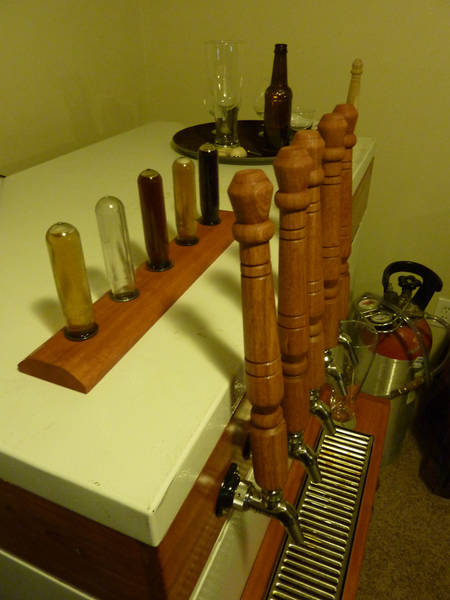
Here is the finished collar with the beer flowing.
So that is how to make a simple keezer build more complex than it needs to be. I have done a bunch more to it since then i will post tomorrow. It seems like a long time in building but analyzing the pictures it was one month from picking up the fridge to the final picture here. That includes a few days of the fridge bouncing around in the back of my car till I had time to take it out. So i guess the total time to get it done from dreaming it to fruition is just under 13 years.
This project was a long time coming. When I built my house in 97 I put a minifridge in the peninsula to hold kegs so beers on tap in the house is a long term deferred dream come true. So in total this project took 13 years.
My design philosophy was like Coastarines just use the tools you have, since I have most all of them I decided to make it as complicated as possible. For wood, there is a wood wholesaler in SLC and he sells retail as well with some good prices. I bought 2 sticks of rustic red birch for around $15 and used this to make the collar. I had bought a Kreg pocket screw jig last year and had yet to use it, felt it was time. I also planned on possibly moving or adding or changing parts of the setup so the pocket screws allows me to disassemble the sides.
I used Watco Danish Oil Cherry to stain the collar as well as the rest of the wood to follow then finished with 2 coats of spar varnish for better handling of moisture. It was more glossy than I would have preferred but wanted the best moisture resistance.
On the freezer lid I removed the weather strip and plastic liner under the lid. Then mounted L-shaped brackets under the foam and drilled through and screwed the brackets home.
I had put a dado in the wood collar to catch the foam lip around the edge of the lid
I then clamped this collar down tight into the foam added a custom thickness shims between the brackets and collar and screwed through the bracket, the shim and into the collar. See the second photo in this thread for photos of the shim. This was just trying them on for thickness I later cut them to size to just fit under the area covered by the L-bracket.
Here is the finished collar with the beer flowing.
So that is how to make a simple keezer build more complex than it needs to be. I have done a bunch more to it since then i will post tomorrow. It seems like a long time in building but analyzing the pictures it was one month from picking up the fridge to the final picture here. That includes a few days of the fridge bouncing around in the back of my car till I had time to take it out. So i guess the total time to get it done from dreaming it to fruition is just under 13 years.


")


