EarthBound
Well-Known Member
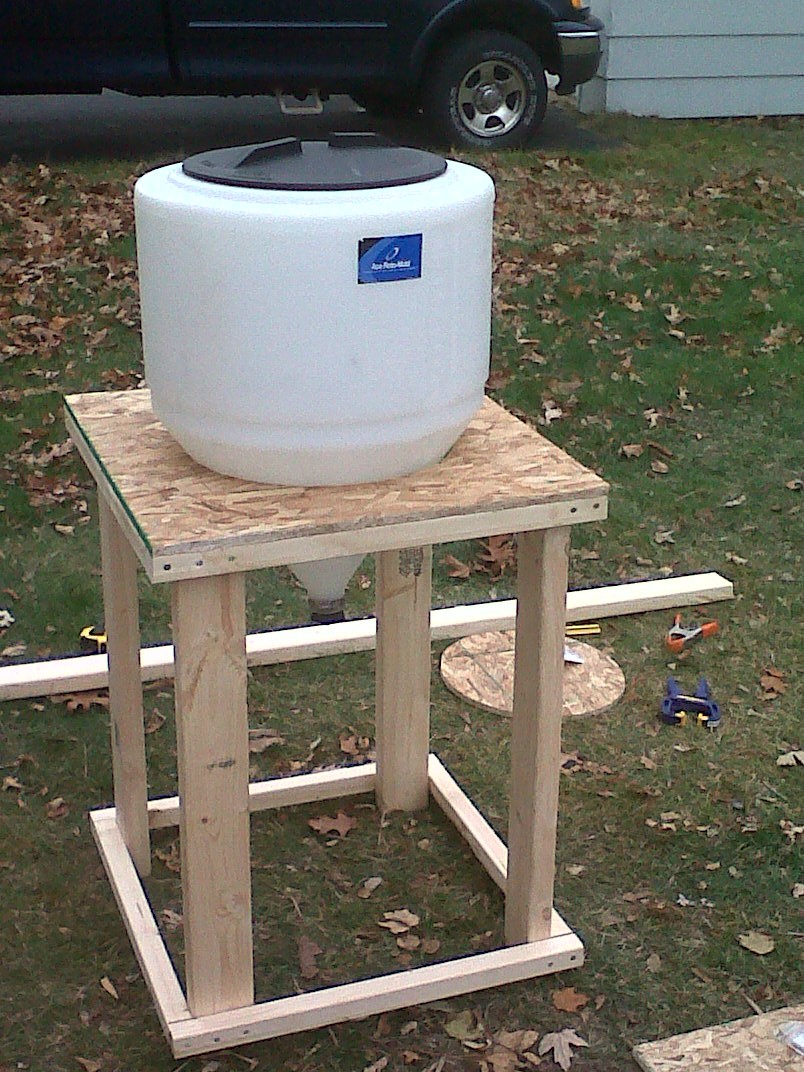
I like the yeast catchermy main reason for creating a catcher at the bottom was to catch all the junk that collects at the bottom of a fermenter after fermentation and secondary!! The more junk that stays out of the fermenter gives you more beer in the end, at least what I believe! My process is:
1) attach catcher to bottom of ballvalve with ballvalve open!
2) poor cooled wort into fermenter and add yeast
3) after 5-7 days or after fermentation is done close ballvalve and remove catcher. Harvest what u want if you like. Clean and sanitize and reattach catcher for the secondary fermentation process!
4) during secondary fermentation some more junk will collect in catcher!
5) keg or bottle your beer
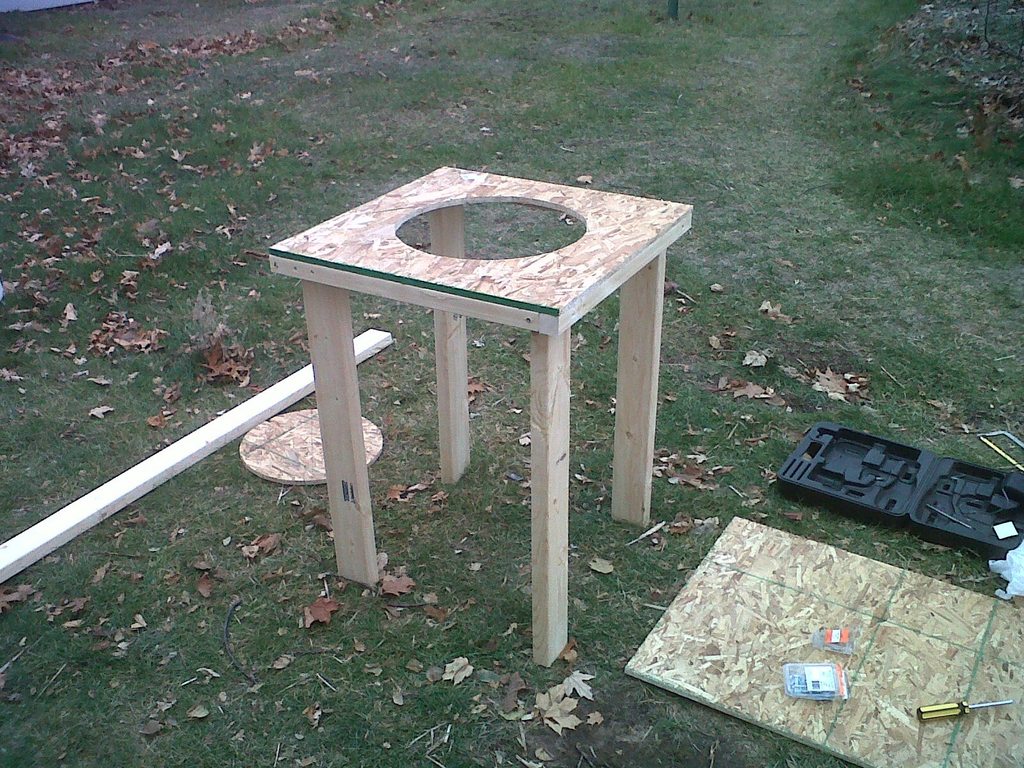
Your design looks great, easy to clean!
I'd get a nipple that goes from bottom of fermenter to ballvalve! idea is good!
Enjoy the new fermenter
Sent from my iPhone using HB Talk
Thank you! I'm glad that I decided to emulate your design because I think it's a more efficient way of harvesting yeast. I'll definitely get that nipple you suggested. I look forward to finally using it.