Where to begin? So I've been homebrewing since 1994. Like most home brewers I moved up to kegging sometime around 2006. That is when I build my first 1 tap kegerator with an old fridge I had laying around. Eventually this hobby turned into more an obsession and the 1 tap kegerator became a 3 tap.
Disclaimer: I've never done a post so my pictures will be all at the end. I'll post as many as the site will allow. Also sorry about the last 2 not being rotated, I don't know how to correct that.
Then I guess I grew bored with that setup around 2013. I follow homebrewfinds and one day I saw a great deal for a 6.8 cubic foot chest freezer at a big box store for about $170. I made a decision to start the next build using that. So I purchased it and didn't get around to opening the box right away since I still needed more materials. When I did though I was surprised to find out that it had been dropped and there was some damage to it. So I contacted the store and they were willing to do an exchange or give me a 10% refund. So once I confirmed that it still worked I opted for the refund since this is just cosmetic and will not be seen. Score! my build just got cheaper.
So the build begins. I had been collecting pallets for a little while at this point leading up to the build. Disassembling. Stock pilling.
First step was to build a frame. I knew this was going to be heavy and I'd need to move it to access around it so I put casters under it. Also as I was constructing this frame, I took into consideration that someday this freezer may break and I'd need to swap in a new one.
The next step was to fill in the sides and begin the top.
Using pallet wood, yet cheap, but a lot of work and time consuming due to the fact that the wood is all inconsistent, warped and unfinished. I do not own a plainer, thus making the top very time consuming. I do have a belt sander, so I used 80 grit sand paper to smooth the top. One thing I need to mention, I really like how I made the drip pan removable and it sets down in the top. I learned from my previous kegerator, which had a drain in the drip pan, is that beer goes moldy and gets gross. That drip pan was not removable and cleaning it was a pain, especially if you have a stout tap because they seem to drip.
When I built the sides I did make an access door for my co2 and beergas bottles and regulators. Not completely necessary but convenient.
I don't care for the keezer builds where the taps come out of a sleeve on the side so I opted to build a tower. Nothing to fancy. I didn't put in a cooling fan but I don't think it is really needed if you insulate your lines good enough. I get minor foaming when it gets really hot out but that's usually only the first pour and very minimal. I just don't like the idea of having a fan constantly running inside the freezer.
At this point most of the rough work is completed and time to move it to my basement where I can complete assembly and finish this up.
Nothing fancy. Stained the sides and clear coated the top a bunch. I used a Johnston digital temp control to control t he freezer. My co2 and nitro bottles fit nicely inside the frame hidden.
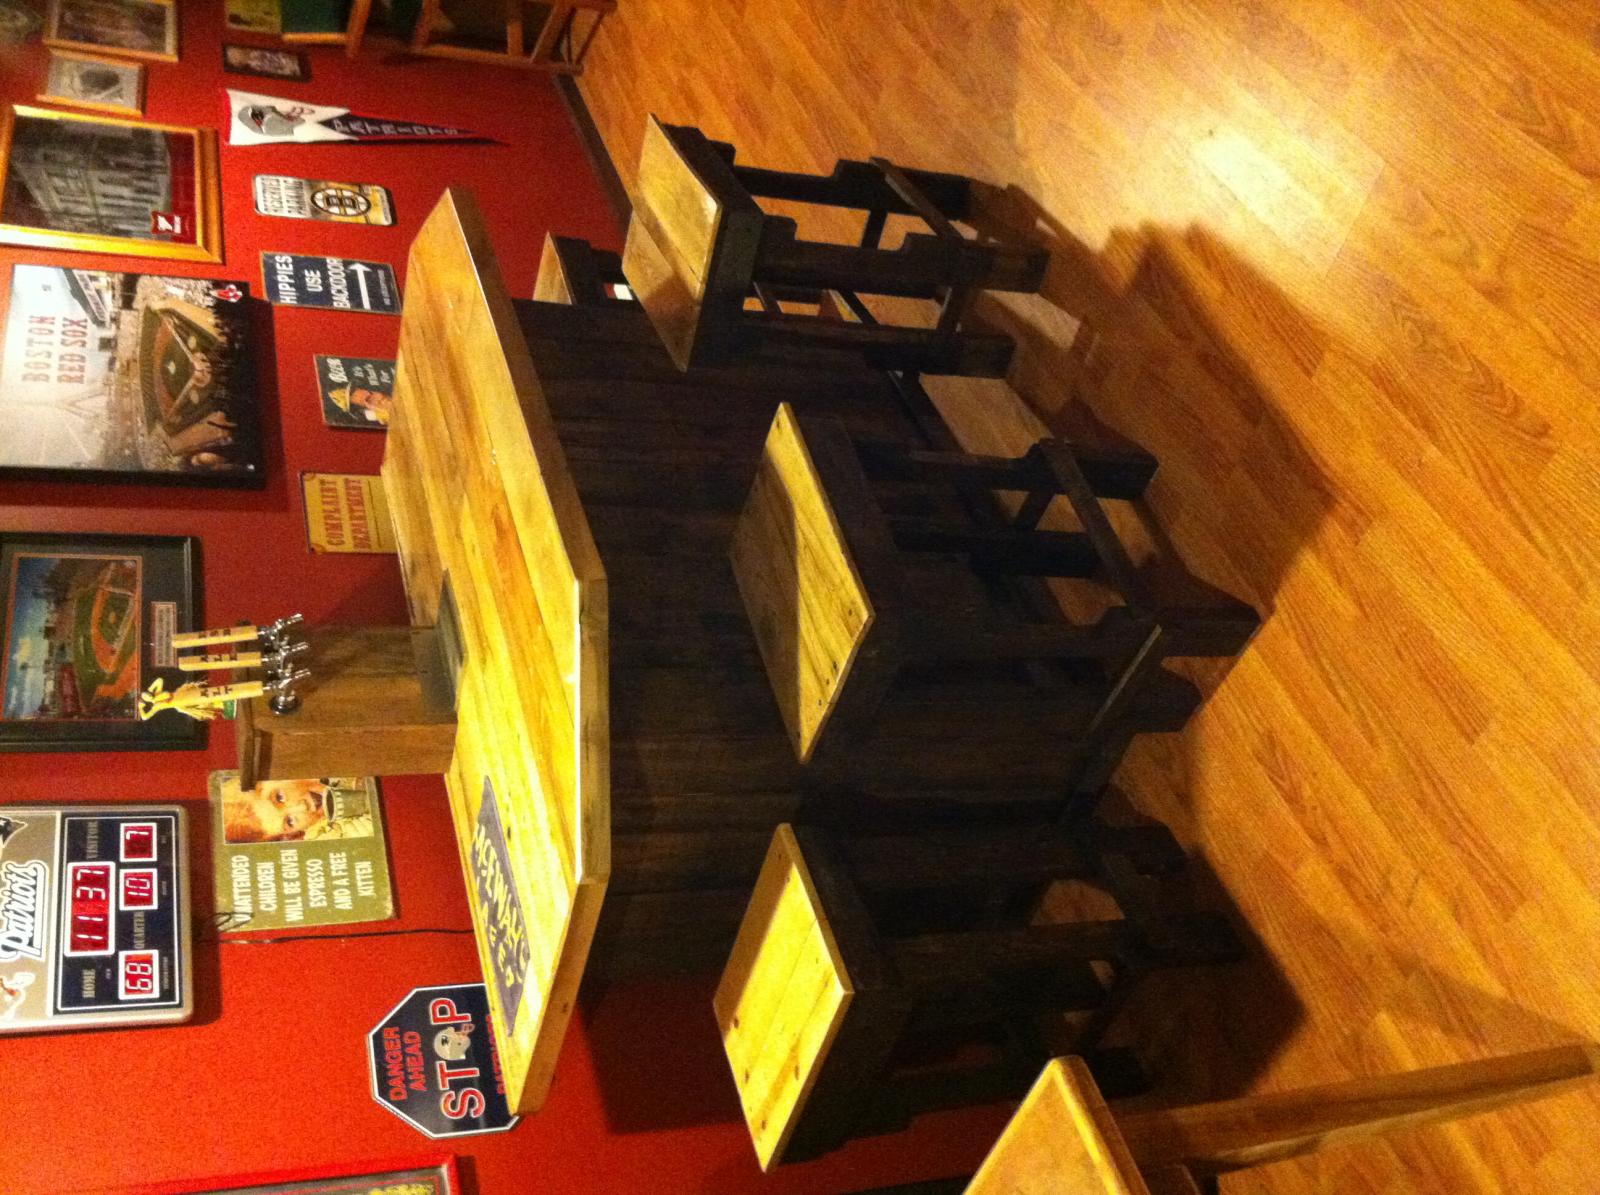
I still wasn't happy with this as I felt there was more to do. I built 2 stools from,...wooden pallets. I decided on which I liked better and made 4 total. The one I didn't like went on to be greater beer making things, maybe I'll do a post on that another time.
Still not done. I was waiting patiently to come across some cheap piping. by cheap, I mean free. The day came and I fabricated a foot rail for the bottom.
But wait there's more. I had been working really hard on this next part. I was saving my bottle caps from beer bottles for a little while now and now had enough for the final chapter. I moved the bar top edge up about a half inch and fabricated a build up to go around the drip pan. I then glued all the caps down and applied epoxy resin to the top and filled it in. Now the top looks like glass.
In conclusion. There is very little if anything I'd change on this, I enjoyed building this and would build another in a heart beat. One thing I wish it had is a glass rinser so I can change beer styles without having the previous beer contaminating the new beer. To add the glass rinser would be a few hundred more in setup and more constant cleaning work. All said and done. I'd put the build at maybe $900. Freezer, taps, hoses, regulators, compressed gas bottles, epoxy resin, hardware, building supplies.


View attachment 332900
Disclaimer: I've never done a post so my pictures will be all at the end. I'll post as many as the site will allow. Also sorry about the last 2 not being rotated, I don't know how to correct that.
Then I guess I grew bored with that setup around 2013. I follow homebrewfinds and one day I saw a great deal for a 6.8 cubic foot chest freezer at a big box store for about $170. I made a decision to start the next build using that. So I purchased it and didn't get around to opening the box right away since I still needed more materials. When I did though I was surprised to find out that it had been dropped and there was some damage to it. So I contacted the store and they were willing to do an exchange or give me a 10% refund. So once I confirmed that it still worked I opted for the refund since this is just cosmetic and will not be seen. Score! my build just got cheaper.
So the build begins. I had been collecting pallets for a little while at this point leading up to the build. Disassembling. Stock pilling.
First step was to build a frame. I knew this was going to be heavy and I'd need to move it to access around it so I put casters under it. Also as I was constructing this frame, I took into consideration that someday this freezer may break and I'd need to swap in a new one.
The next step was to fill in the sides and begin the top.
Using pallet wood, yet cheap, but a lot of work and time consuming due to the fact that the wood is all inconsistent, warped and unfinished. I do not own a plainer, thus making the top very time consuming. I do have a belt sander, so I used 80 grit sand paper to smooth the top. One thing I need to mention, I really like how I made the drip pan removable and it sets down in the top. I learned from my previous kegerator, which had a drain in the drip pan, is that beer goes moldy and gets gross. That drip pan was not removable and cleaning it was a pain, especially if you have a stout tap because they seem to drip.
When I built the sides I did make an access door for my co2 and beergas bottles and regulators. Not completely necessary but convenient.
I don't care for the keezer builds where the taps come out of a sleeve on the side so I opted to build a tower. Nothing to fancy. I didn't put in a cooling fan but I don't think it is really needed if you insulate your lines good enough. I get minor foaming when it gets really hot out but that's usually only the first pour and very minimal. I just don't like the idea of having a fan constantly running inside the freezer.
At this point most of the rough work is completed and time to move it to my basement where I can complete assembly and finish this up.
Nothing fancy. Stained the sides and clear coated the top a bunch. I used a Johnston digital temp control to control t he freezer. My co2 and nitro bottles fit nicely inside the frame hidden.
I still wasn't happy with this as I felt there was more to do. I built 2 stools from,...wooden pallets. I decided on which I liked better and made 4 total. The one I didn't like went on to be greater beer making things, maybe I'll do a post on that another time.
Still not done. I was waiting patiently to come across some cheap piping. by cheap, I mean free. The day came and I fabricated a foot rail for the bottom.
But wait there's more. I had been working really hard on this next part. I was saving my bottle caps from beer bottles for a little while now and now had enough for the final chapter. I moved the bar top edge up about a half inch and fabricated a build up to go around the drip pan. I then glued all the caps down and applied epoxy resin to the top and filled it in. Now the top looks like glass.
In conclusion. There is very little if anything I'd change on this, I enjoyed building this and would build another in a heart beat. One thing I wish it had is a glass rinser so I can change beer styles without having the previous beer contaminating the new beer. To add the glass rinser would be a few hundred more in setup and more constant cleaning work. All said and done. I'd put the build at maybe $900. Freezer, taps, hoses, regulators, compressed gas bottles, epoxy resin, hardware, building supplies.


View attachment 332900