my keggle build pics

Homebrew Talk - Beer, Wine, Mead, & Cider Brewing Discussion Forum

Help Support Homebrew Talk - Beer, Wine, Mead, & Cider Brewing Discussion Forum:

This site may earn a commission from merchant affiliate links, including eBay, Amazon, and others.

Gridlocked

Well-Known Member
Joined
Feb 17, 2010
Messages
793
Reaction score
24
Location
MN
Again, I'm keeping track of this more for my own entertainment than anything else, but feel free to hit me up with questions or tips. I like going back and seeing when I started a project so the thread posts are a great way for me to keep track of things. :D


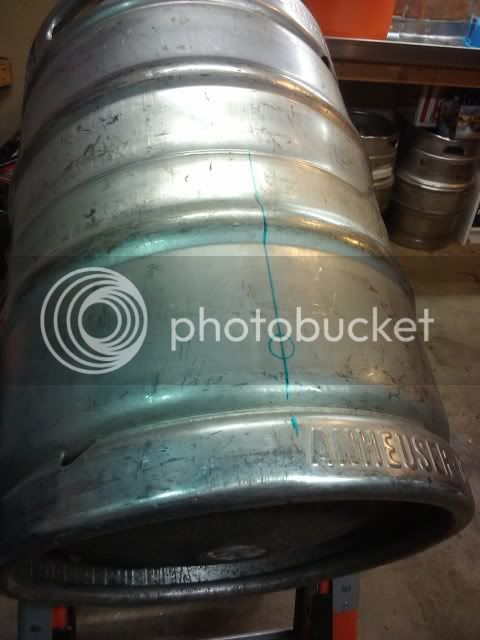
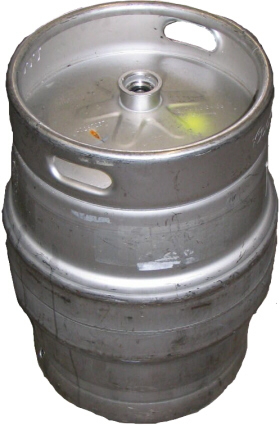
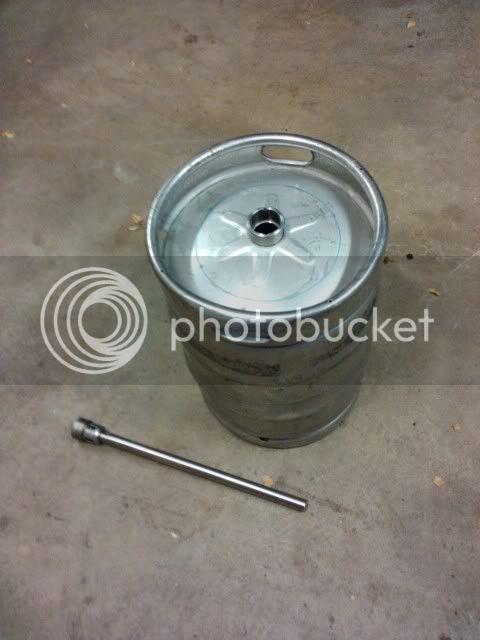
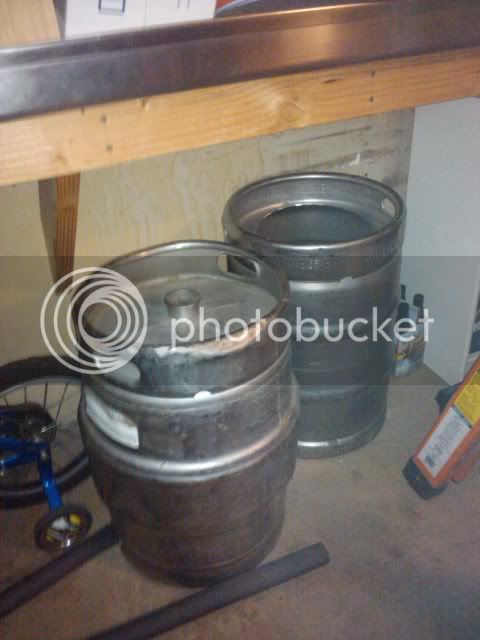
The $20 Craigslist kettle.
2010-10-07205905.jpg


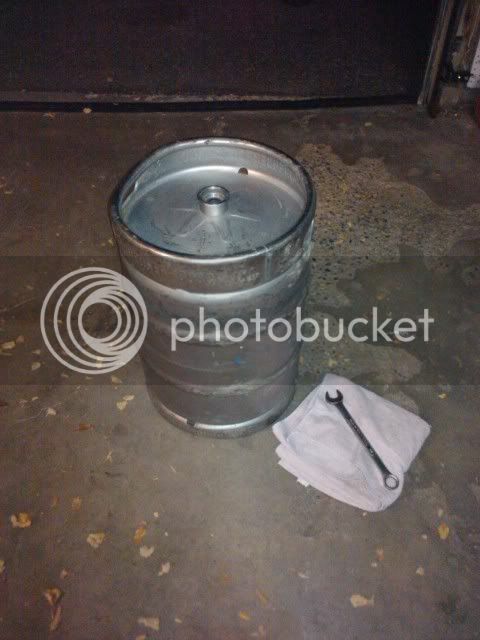
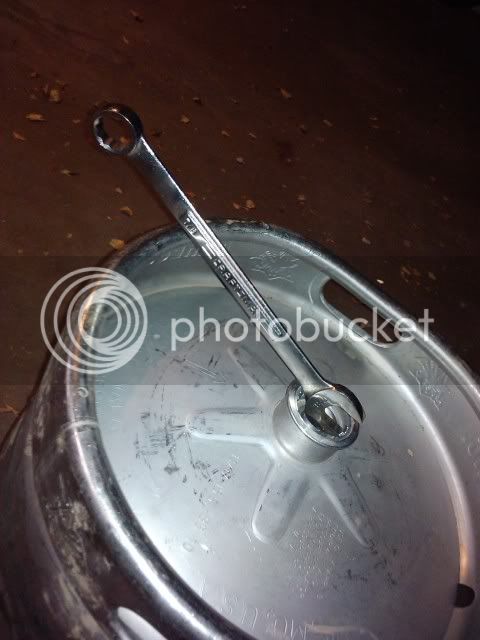
The plan was to relieve the pressure with a 7/8" box-end wrench. The towel was to control the spray because I had no idea how much pressure was inside the keg. Turned out to be VERY little. I hooked the end of the wrench under the little tab that the tap usually slides around and pressed down. Very simple.
2010-10-07205920.jpg


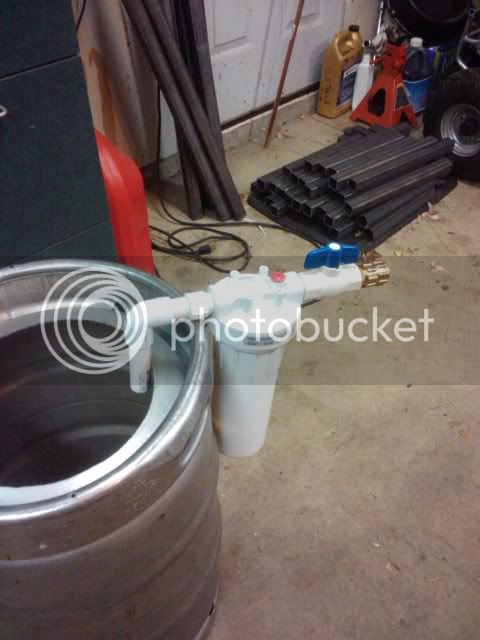
I pulled out the dip tube because the plan was to make a jig that fit into the hole to use as a rotation point. This was amazingly easy. Pull out a retainer clip and it slid right out. This is when I found out that five-year-old Bush Light doesn't smell the best. Don't get me wrong, it tastes better than it smells, I'm just sayin...
2010-10-07211735.jpg


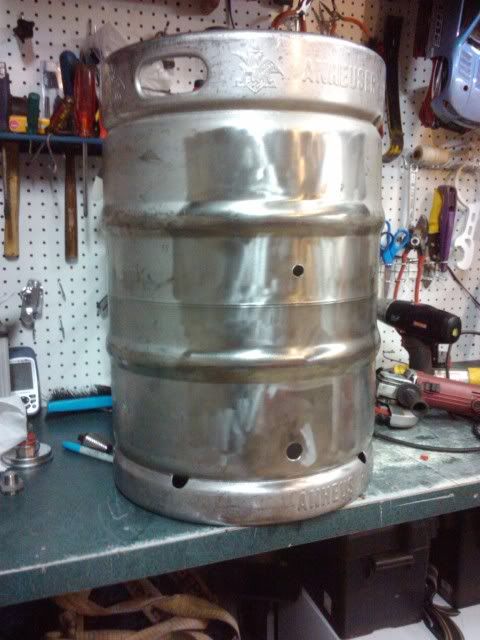
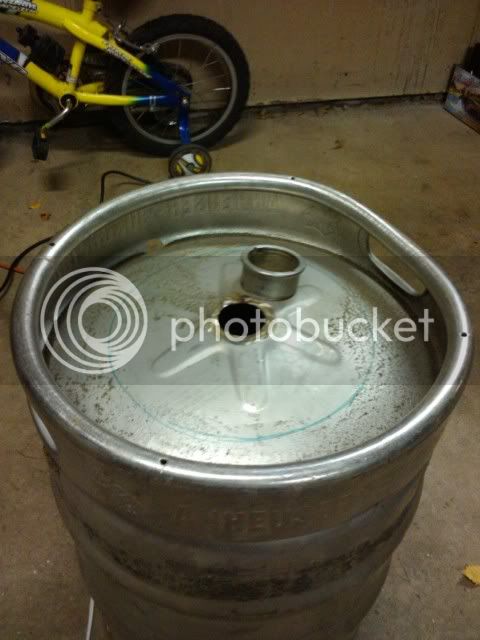
My jig construction failed so I took off the neck so that I could get a good line drawn around the lid I am going to use.
2010-10-07221249.jpg


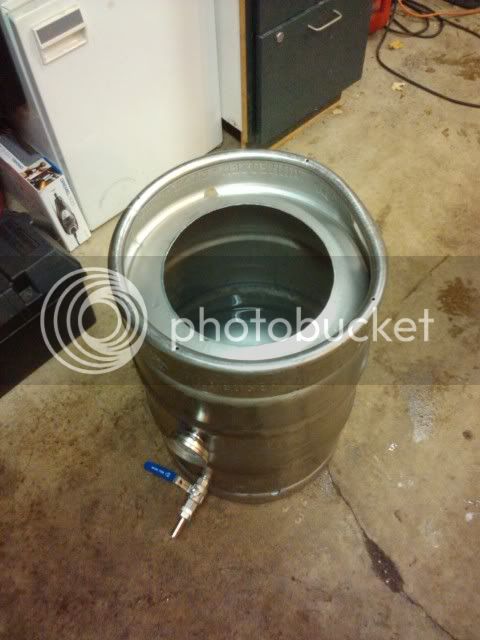
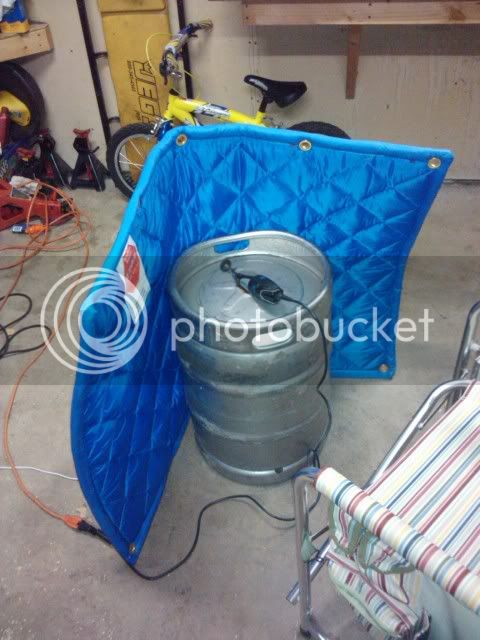
Rather than using the big clumsy angle grinder, I decided to use the dremmel tool and take my time. I went through three or four of the metal cutting discs that I had but I'm pretty pleased with the cut. Both my boys were sleeping so the blue sound barrier was employed to keep the noise down. :) Advantages of being in the industry.
2010-10-07224914.jpg


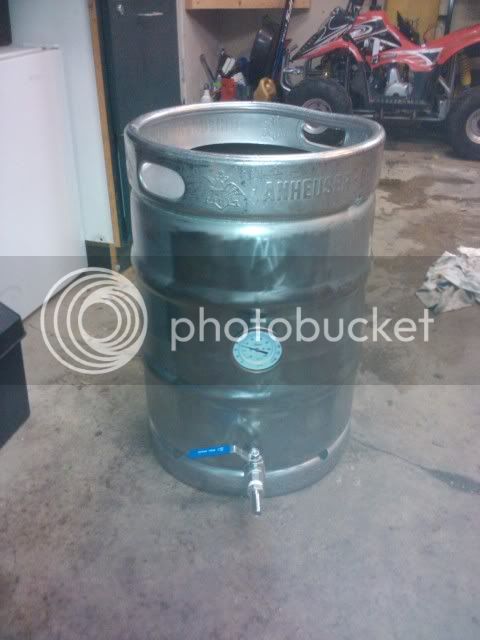
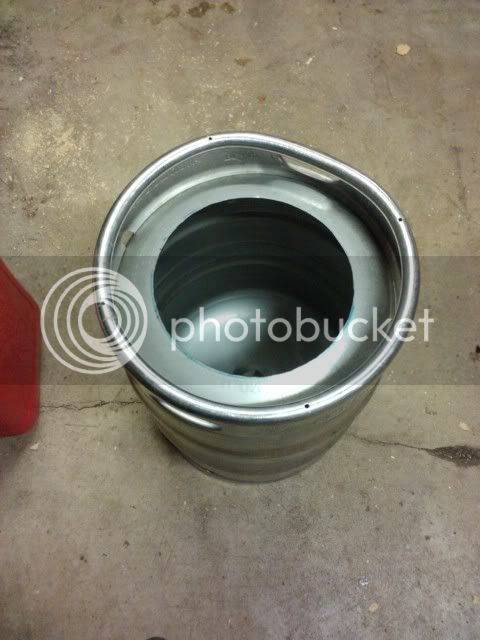
The lid didn't quite fit because I wanted to cut the hole a little too small rather than a little too big. I spent a few minutes with the angle grinder and took off most of the sharpest edges and widened the hole a little bit. I still need to sand and smooth out the cut, but overall I'm pretty happy with the work.
2010-10-07235440.jpg
 
I have the bulkhead and thermometer from Barginfittings but did not have time to get them in last night. I'll also be picking up a sanding wheel for the angle grinder to smooth out the top cut edge. And, to keep from cutting my arm off, I'll be slitting a piece of my old auto-siphon tubing and sticking that over the edge when I'm cleaning or storing it...

more to come.
 
Looks good thus far. I'm going throught the same process now. I used an angle grinder with a metal cut off disc to cut the hole in the top. I couldn't believe how easy that was. Tonight I drilled the hole for the ball valve...also bought my stuff from bargainfittings.com. Great site. Would recommend them anytime.
 
That's a pretty nice hole with a dremel! Good job.

I rarely use a lid on any of my keggles. At one time I thought I would need them, but I never do. I have a keggle that serves as my mashtun... I cut a circle of reflectix insulation for the top of that.
 
Thanks guys! I took my time with the Dremmel and kind of used the under side of my hand as the pivot which worked out pretty good. I knew that it would constantly bother me if my circle looked like a cookie so I went slow. If you go that route, make sure you get a pack or two of metal-cutting blades so they're on hand because you WILL burn through them.

I rarely use a lid on my boil kettle either, but I figured I would plan for one just in case...

Hey passedpawn, I'm also going with a keggle as the mashtun, got any pics of yours? I have access to some insulation material that I plan to use and I have ideas of how I will proceed, but how does yours work, and what do you usually get for heat loss? Any pics or tips you could share?

I was taking delivery of number two and three tonight, but my buddy forgot to throw them into his car today so I'll get them next Monday.
 
I'll continue to post pics and little write-ups about the progress and what I have learned so stay tuned if you're interested, but here is the latest update. Turns out that my buddy was only able to come up with one keg rather than two, but I'm happy with it regardless. The plan so far is undecided weather a single-tier system or a double tier system will work best, but I plan on insulating a keg for my MLT rather than a modified cooler. We'll see how that pans out. I hope to punch the holes for the barginfittings.com stuff in the next few days.

So far, both kegs that I've acquired have had a top side smashed in [Minnesota accent] pretty good [/Minnesota accent] and I hope that trend keeps up. Maybe it's because I've enjoyed a few home brews tonight, but number two is going to be named Killarney.

Number one and two:
2010-10-18224957.jpg
 
NICE!

i have 3 kegs i got about 6 months back for FREE :ban:, all in the same state as your first one.

i got that far with the project and just havent got around to finishing them..

maybe watching your build progress will inspire me to continue mine. :mug:
 
The first keggle is complete.
I learned a few things the hard way:

1. Have a cord-drill on hand when working. Or, a cordless with more than one battery (one of my batteries is shot). Waiting for a battery to charge is stupid.

2. Take your time when drilling the stainless. Have a sharp bit and use plenty of oil.

3. Install the thermometer low enough so that it can be used for five-gallon batches. I didn't even think of this and mine is too high.

4. Do not use a standard (non-stainless) wire brush on stainless. It removes a finish from the steel that keeps it from rusting. The stainless can be repassivated by cleaning with acids and letting the oxygen in the atmosphere re-seal the stainless. More about that here.

2010-11-20220717.jpg


2010-11-21003043.jpg


2010-11-21164454.jpg


2010-11-21164506.jpg


And, I put together a filter system so hopefully I won't have to buy water anymore. My city water is absolute garbage and every time I want to brew, I have to run to the store which sucks.
2010-11-20214639.jpg
 
Up next will be the use of the steel in the picture of the filter above...
 
Great progress. I have cut the tops off of 3 kegs that I found online. I am preparing to drill holes for the thermometer, ball valve, and sight glass on my brew kettle. How did you determine the height for your ball valve? I have always assumed I would put it as low as possible, but it looks like yours is up about an inch or so.
 
Looks good! Where are you at in MN? I'm in Bloomington, but I was wondering if you or anyone you know in the twin cities would like to do a conversion for me? I can pay cash.... just don't have the tools or time!

For the record, I'm all for buying tools and starting new projects, but I just finished the "man cave" and SWMBO won't let me buy anything else for awhile. :)
 
Great progress. I have cut the tops off of 3 kegs that I found online. I am preparing to drill holes for the thermometer, ball valve, and sight glass on my brew kettle. How did you determine the height for your ball valve? I have always assumed I would put it as low as possible, but it looks like yours is up about an inch or so.

Yeah, I went onto bargainfittings.com site and watched the video. I took the washer and put it as low as I could - but so the washer is flat to the keg wall - just above the bottom curve.

Looks good! Where are you at in MN? I'm in Bloomington, but I was wondering if you or anyone you know in the twin cities would like to do a conversion for me? I can pay cash.... just don't have the tools or time!

For the record, I'm all for buying tools and starting new projects, but I just finished the "man cave" and SWMBO won't let me buy anything else for awhile. :)

HappyLoon, I could do the conversion for you if you can wait until after Christmas. My schedule is INSANE until then. I'm out on the west side, just north of Waconia and work in Chaska. Let me know and we'll meet up. If you can get me another keg (with straight walls, I'll do the conversion for free assuming you have the fittings and thermometer. I just bought a new drill and step bit for mine, so I'm all set.
 
HappyLoon, I could do the conversion for you if you can wait until after Christmas. My schedule is INSANE until then. I'm out on the west side, just north of Waconia and work in Chaska. Let me know and we'll meet up. If you can get me another keg (with straight walls, I'll do the conversion for free assuming you have the fittings and thermometer. I just bought a new drill and step bit for mine, so I'm all set.

I'm on the southwest side of Bloomington, near 169 and the Shakopee exit. I can PM you with more info later on, I'm in no hurry, enjoy the holidays!

I'm sure I could talk a couple buddies into letting me buy their kegs from them. Straight walls, as in a typical AB keg? Thanks!
 
Ah, right on, so you're just down the road! Awesome! Yeah, shoot me a PM and we'll get it done for you. Yeah, straight walls. I have two like the one pictured below which aren't ideal for my future setup.
15.5g%20Coors%20Keg.JPG
 
I realize I am digging up an old thread, but I was wondering if you could tell me how far up from the bottom you drilled the holes, for the valve and thermometer?
 
"I realize I am digging up an old thread, but I was wondering if you could tell me how far up from the bottom you drilled the holes, for the valve and thermometer?"

What I did was, I filled the keg with 5 gallons of water. Then I marked where I wanted the valve, thermometer and sightglass within that 5 gallon range. If you plan to do 10 gallon batches, just use 10 gallons of water. I may bounce from 5 to 10 gallon batches myself, so I figure I am safe with putting them at the 5 gallon level so that it could be used for both.
 
I'll measure mine tonight, but what I did was to put the washer onto the keg wall as low as possible but where it was flat to the keg wall. Mark that with a sharpie and punch a dimple with a punch-tool in the center. Bargainfittings shows a few pictures on their site.
 
Gridlocked said:
I'll measure mine tonight, but what I did was to put the washer onto the keg wall as low as possible but where it was flat to the keg wall. Mark that with a sharpie and punch a dimple with a punch-tool in the center. Bargainfittings shows a few pictures on their site.

Great let me know what you come up with. The other info is also helpful, thank you.
 
HA! Thanks man. Sorry I have not had time to get those measurements. We lost a family member yesterday and I wasn't home much. The link should walk you right through it though.
 
Gridlocked said:
HA! Thanks man. Sorry I have not had time to get those measurements. We lost a family member yesterday and I wasn't home much. The link should walk you right through it though.

No worries, sorry for your loss. I wish you and your family the best.
 
wow.. didnt read all the pages of the post..what i meant was that the keggle build was inspiring me to try my own hand at it.

sorry for your loss
 
Good to know that I can use my dremmel to cut the top. I've had a keg just sitting for a while now that I've been just stalling on doing. I think I may get the top chopped off tomorrow ^_^

Which dremmel metal cutting bit did you use? Are there different varieties or any metal cutting one will work?

EDIT: Also, did you use just a regular drill bit or one of the step-bits from the tutorial?
 
wow.. didnt read all the pages of the post..what i meant was that the keggle build was inspiring me to try my own hand at it.

sorry for your loss

Thanks rdann87. Glad it was inspiring! I don't really think of myself as an inspirational person but what the heck. Yeah, go for it it's not that hard. Just make sure you really think through where you're putting your holes. I ended up with at least 2 mistakes (extra holes) that I had to try to figure out how to use.

Good to know that I can use my dremmel to cut the top. I've had a keg just sitting for a while now that I've been just stalling on doing. I think I may get the top chopped off tomorrow ^_^

Which dremmel metal cutting bit did you use? Are there different varieties or any metal cutting one will work?

EDIT: Also, did you use just a regular drill bit or one of the step-bits from the tutorial?

Yeah, the dremmel takes a while but it works really well. Just go slow and start the groove and deepen it as you go around. I have a quick-disconnect that worked slick as you WILL go through cutting discs. I think I used two or three full packs of discs to cut the top off of three kegs so be sure to have plenty on hand. As far as what type, I think I just used the regular mettle cutting discs that came with the quick-disconnect thing.

OH, while you're at the store getting the discs, get a grinding bit or two - the roundish stone ones for taking the burs off of the holes once you drill them. For the fitting holes, I started with an 1/8" bit, went up to a 3/8" and then used the step-bit that I got from bargainfittings.
 
Well mine is there because I had no idea what the heck I was doing when I started drilling. Live and learn I guess.

I finally used all these things last night and shot a bit of footage and explained what I did, why I did it and what I learned through the build. This is my first YouTube experience and I don't own any video editing software so take them for what they're worth. Hopefully someone out there can learn from my mistakes.

The HLT:
[ame="http://www.youtube.com/user/SuperTedMaximus?feature=mhum#p/u/1/EuXJXxUIkWI"]http://www.youtube.com/user/SuperTedMaximus?feature=mhum#p/u/1/EuXJXxUIkWI[/ame]

The MLT:
[ame="http://www.youtube.com/user/SuperTedMaximus?feature=mhum#p/u/2/q8drbgQ-YFQ"]http://www.youtube.com/user/SuperTedMaximus?feature=mhum#p/u/2/q8drbgQ-YFQ[/ame]

The Boil Kettle:
[ame="http://www.youtube.com/user/SuperTedMaximus?feature=mhum#p/u/3/S0OrZoOXVoA"]http://www.youtube.com/user/SuperTedMaximus?feature=mhum#p/u/3/S0OrZoOXVoA[/ame]
 
Back
Top