Some pointers that I forgot to mention in my earlier posts:
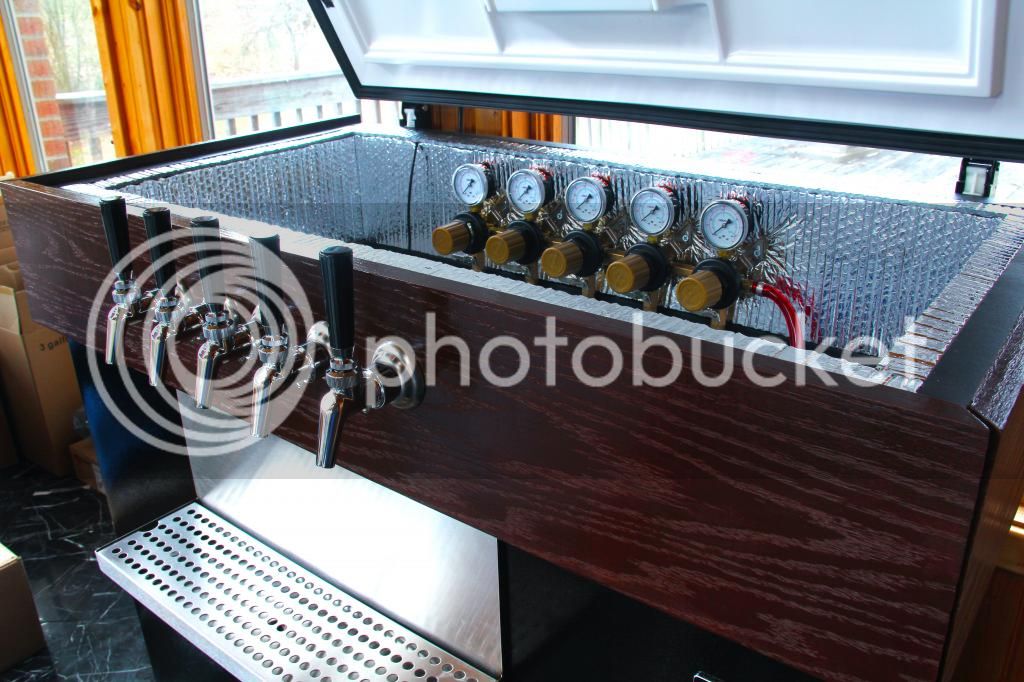
-I use 10 ft. beer lines. I coil the slack with velcro and lay it on the bottom floor tucked in between the kegs where it's the coldest. I believe this has helped me greatly with avoiding foaming issues.
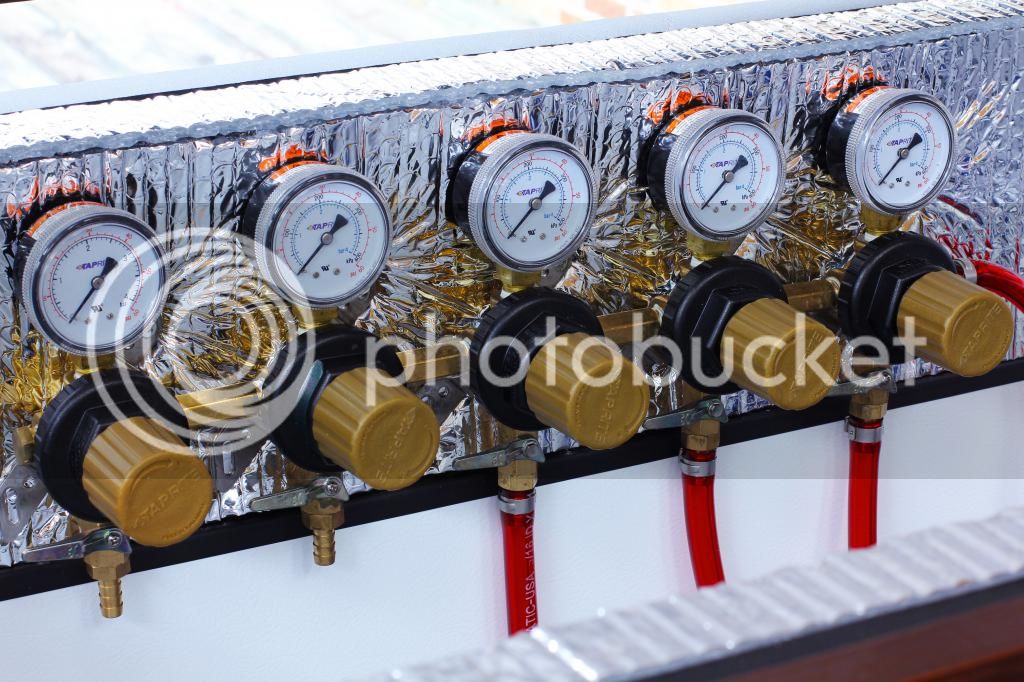
-As you can see with my first gas line, it's much longer than the rest. The 5 foot gas line allows me to easily reach out and purge any carboys or kegs outside of the keezer.
-It's much easier to rack into an empty keg already placed inside the keezer than it is trying to lift a full keg over the collar and into position. Might be common sense I guess, although that "Aha!" moment hit me pretty hard.


")