
I've been brewing a long time, but I'm always looking for ways to cut down my brew time, so I'm just getting into BIAB. I've used 2 keggles for my all grain setup, so going to BIAB, I was a little concerned about mash temperature loss with using the SS keggle. This was never an issue with my cooler and all grain setup and I like building stuff. Plus, I do a lot of my brews in the winter on my driveway and I live in Buffalo. So, I set off to construct a mash tun insulator for my keggle.
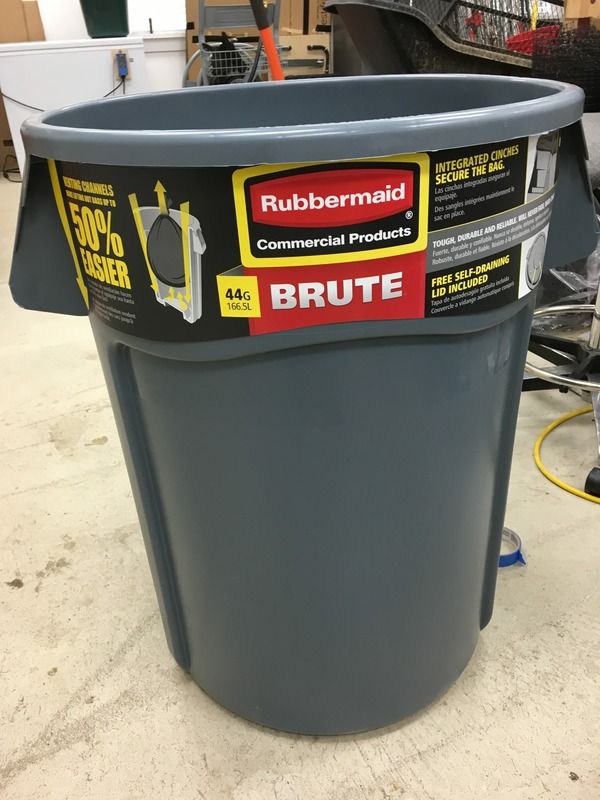
First, I need to get the right sized shell and this garbage can did nicely.
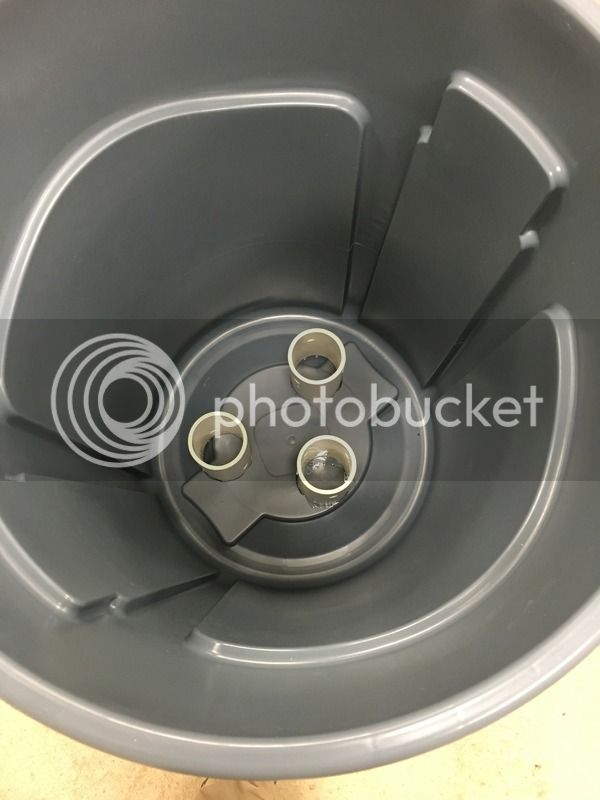
The garbage can fit nicely from a width perspective, but I needed to raise my keggle in the can so that it would sit flush on the ground or on my brew stand with the insulator on top. So, I glued down three pieces of PVC pipe for spacers,
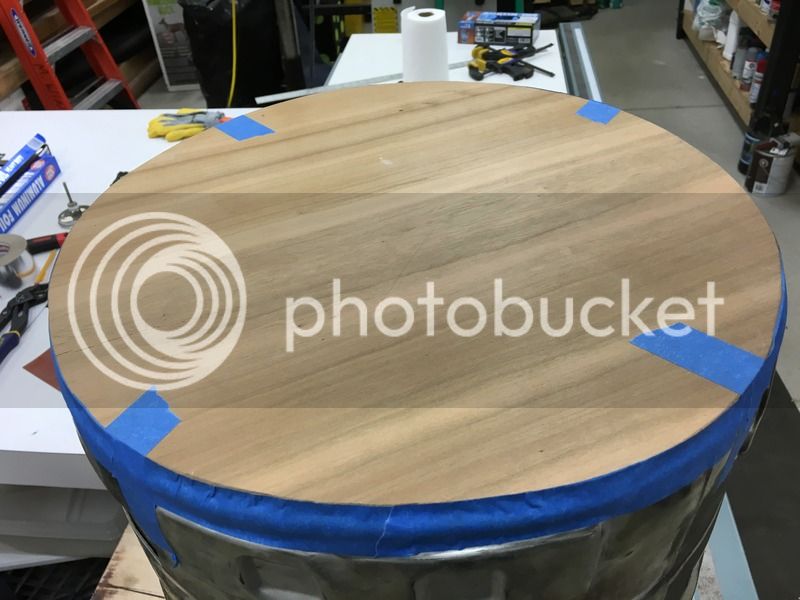
Next, I flush mount a piece of 1/8" board onto the top so when I inverted it into the garbage can, it would rest on my PVC platform.
I wrapped my keggle in several wraps of wax paper to use as a pseudo mold release.
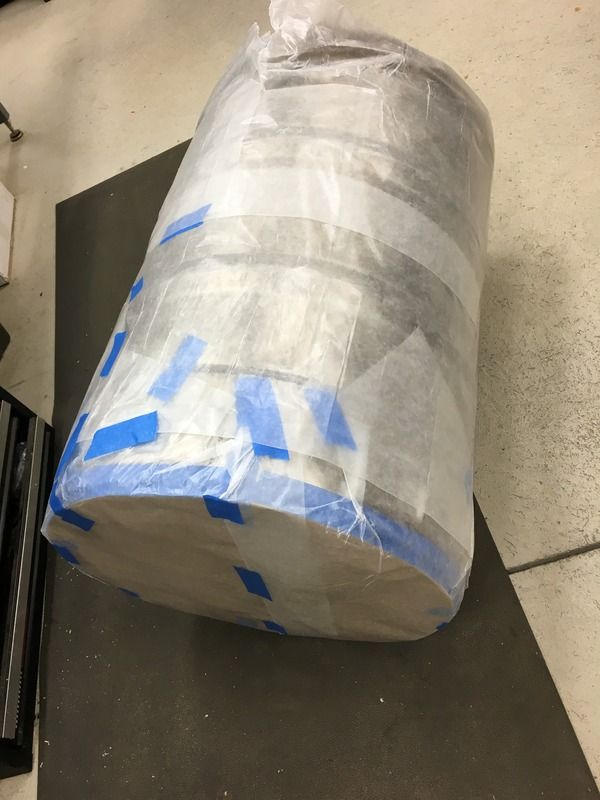
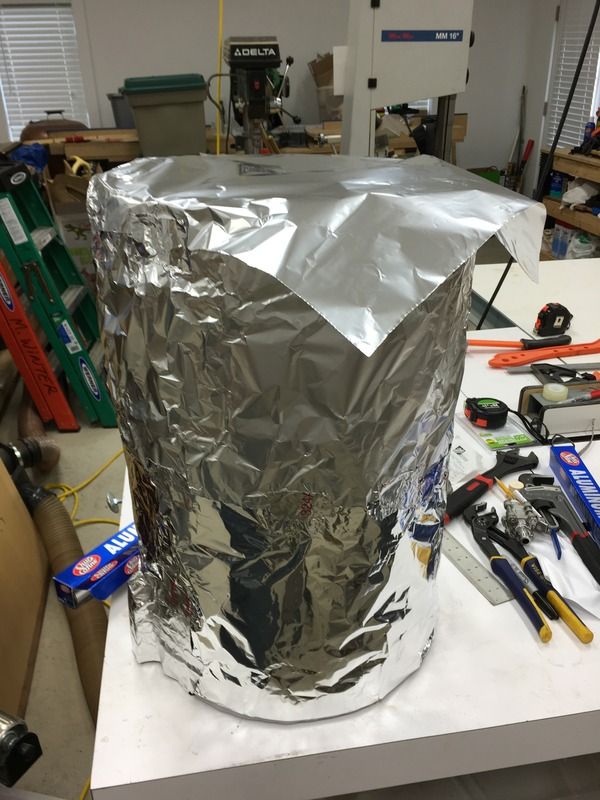
Then, I wrapped it in several sheets of foil as I intended this layer to stick to the foam. However, I first removed my spigot and my thermometer. My thermometer will be permanently removed,
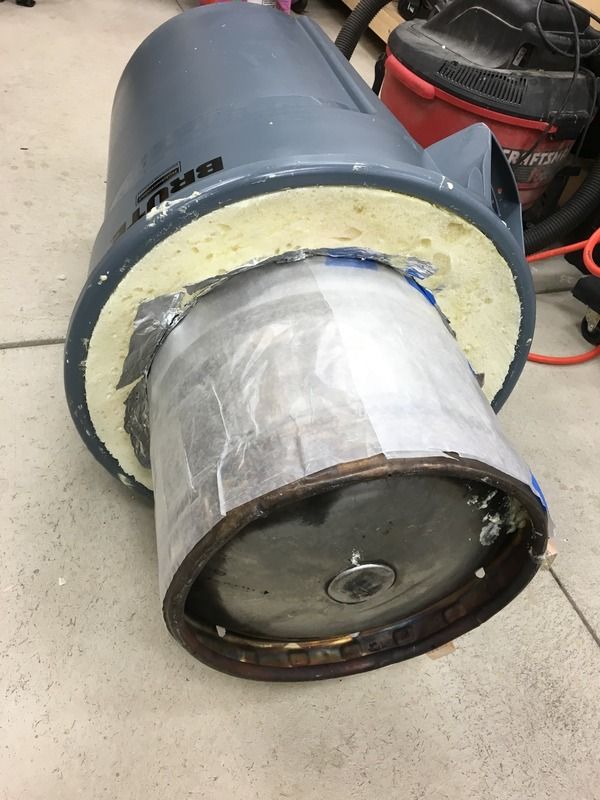
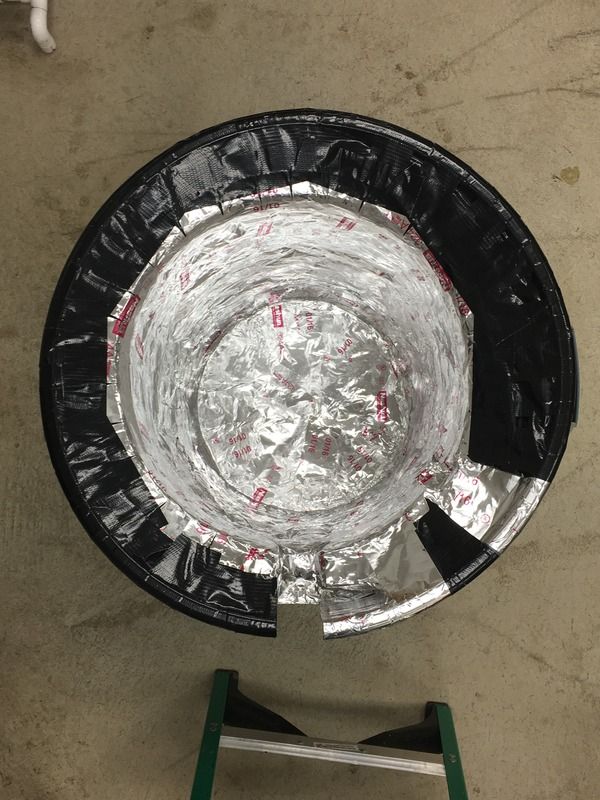
I filled the bottom of the can with high expansion foam up to the top of the PVC tubes. Next, I placed the keggle centered into the can and began to build up single layers of spray foam over the next several days. At first, I made a huge mistake and emptied several cans at once, but I found the weight of the foam collapsed the foam underneath and it never cured. I had to discard my first attempt and then went to a single layer of foam followed by a minimum of an 8 hour cure between layers. After several days, it was finished and then I tried to pull my keggle out and it worked as planned. The foil stuck and the wax paper worked as a release agent.
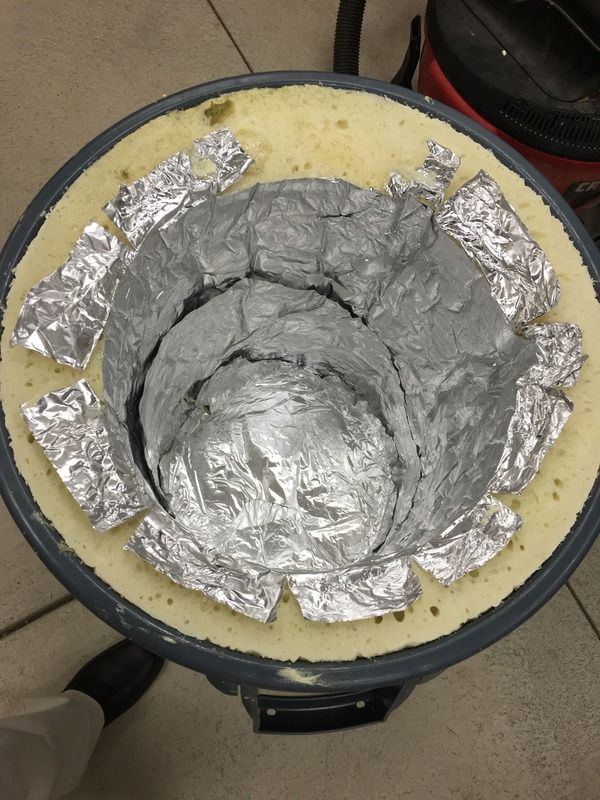
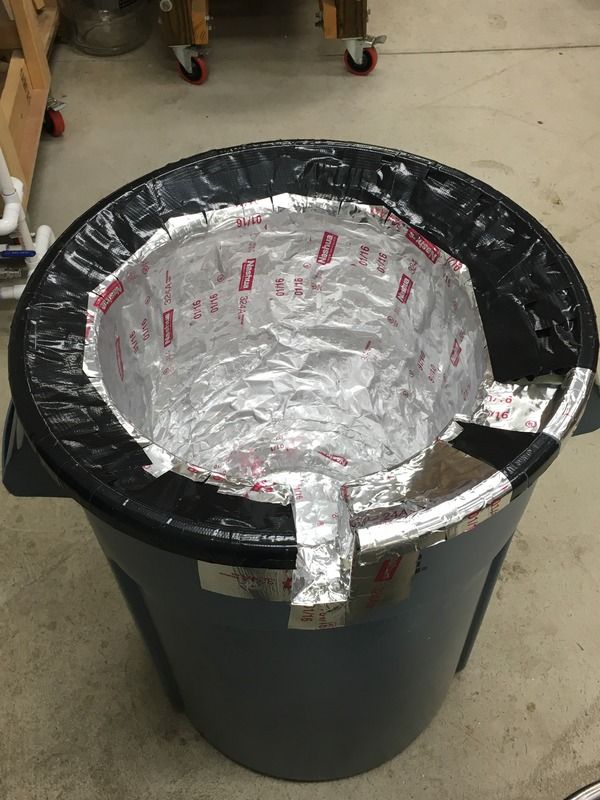
Rough stage.
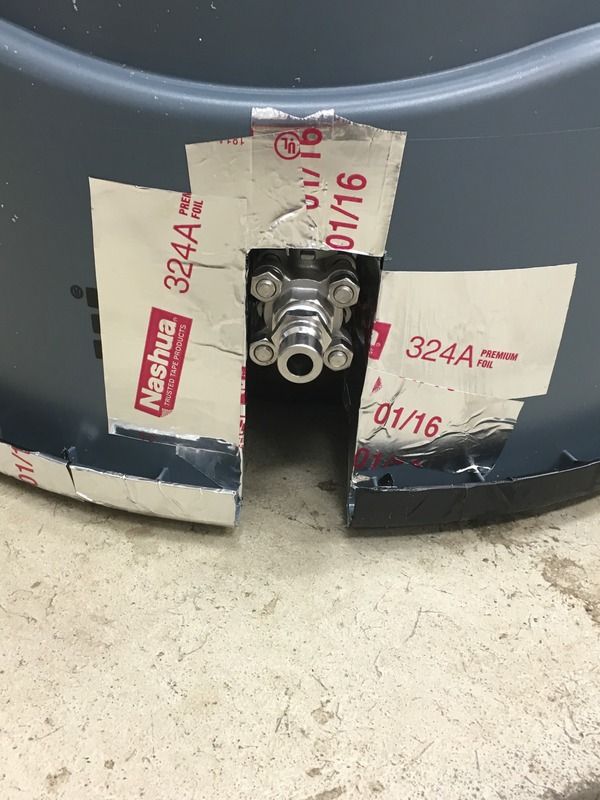
After some trimming and a lot of high temperature foil tape, this is the finished product with a cut-out for my spigot. I also had to cut out the section for the spigot handle in the off position. It may be a little hard to see in the picture, but the handle stays within the wall of the can.
Close up of the spigot. You can see that the can rests just slightly off the ground which is what I was shooting for since I wanted it with maximum coverage, but just off my burner.
Finished insulator.
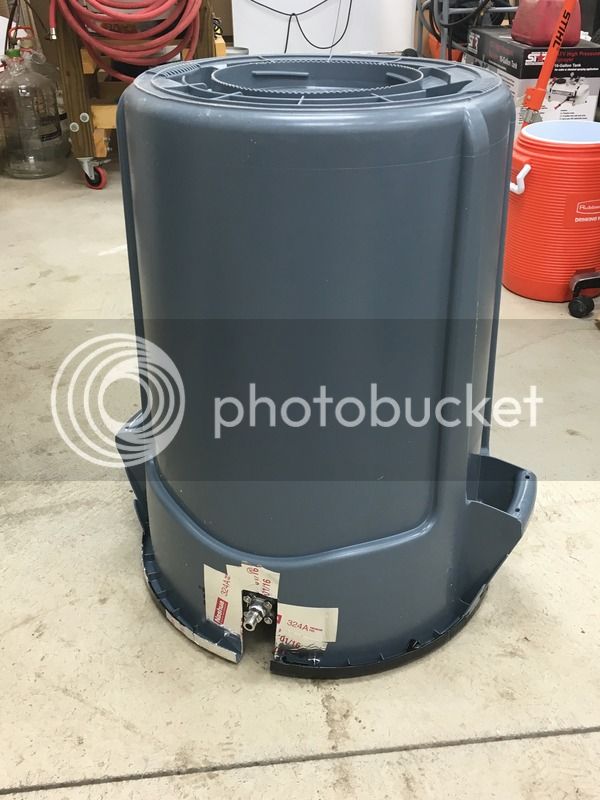
I haven't done a test run yet, but I'm really happy with how it came out and it should work great. Since it will be on my burner, I plan to put on the insulator and then wrap a blanket around the bottom to cover the air gap.
First, I need to get the right sized shell and this garbage can did nicely.

The garbage can fit nicely from a width perspective, but I needed to raise my keggle in the can so that it would sit flush on the ground or on my brew stand with the insulator on top. So, I glued down three pieces of PVC pipe for spacers,

Next, I flush mount a piece of 1/8" board onto the top so when I inverted it into the garbage can, it would rest on my PVC platform.

I wrapped my keggle in several wraps of wax paper to use as a pseudo mold release.

Then, I wrapped it in several sheets of foil as I intended this layer to stick to the foam. However, I first removed my spigot and my thermometer. My thermometer will be permanently removed,

I filled the bottom of the can with high expansion foam up to the top of the PVC tubes. Next, I placed the keggle centered into the can and began to build up single layers of spray foam over the next several days. At first, I made a huge mistake and emptied several cans at once, but I found the weight of the foam collapsed the foam underneath and it never cured. I had to discard my first attempt and then went to a single layer of foam followed by a minimum of an 8 hour cure between layers. After several days, it was finished and then I tried to pull my keggle out and it worked as planned. The foil stuck and the wax paper worked as a release agent.

Rough stage.

After some trimming and a lot of high temperature foil tape, this is the finished product with a cut-out for my spigot. I also had to cut out the section for the spigot handle in the off position. It may be a little hard to see in the picture, but the handle stays within the wall of the can.


Close up of the spigot. You can see that the can rests just slightly off the ground which is what I was shooting for since I wanted it with maximum coverage, but just off my burner.

Finished insulator.

I haven't done a test run yet, but I'm really happy with how it came out and it should work great. Since it will be on my burner, I plan to put on the insulator and then wrap a blanket around the bottom to cover the air gap.
