GurGinator28
Active Member
For those interested in another Keezer build!!!!
I did a fair amount of research, as most people do, and put my own spin on it. I’ll attempt to detail the components used and where and how much I bought them for (all prices include any tax/delivery). I didn’t go the thrifty route and instead chose to treat myself to all new equipment and parts.
GE 7.0 cu ft Chest Freezer Model # FCM7SHWW ($210 - Home Depot) - This thing is amazing, I can barely hear it.
x3 New 5 Gallon Corny Kegs ($285 - Adventures in Homebrewing. They later went on sale and they were nice enough to give me a partial credit).
x3 Faucet Fridge Homebrew Kegerator Kit (Keg Connection - $418) Base price is 1/2 this without add-ons and up-grades
Taprite Regulator w/ Air Distributor (RA23TA)
x3 Ball Lock Disconnects (DC203-3)
x3 Beer Lines - 10' per line (HO101-30)
x3 Tailpieces: Stainless Steel Tailpieces (TP316SS-3)
x3 Shank Assemblies: 3 1/8" Stainless Steel Shanks (SK103SSKIT-3)
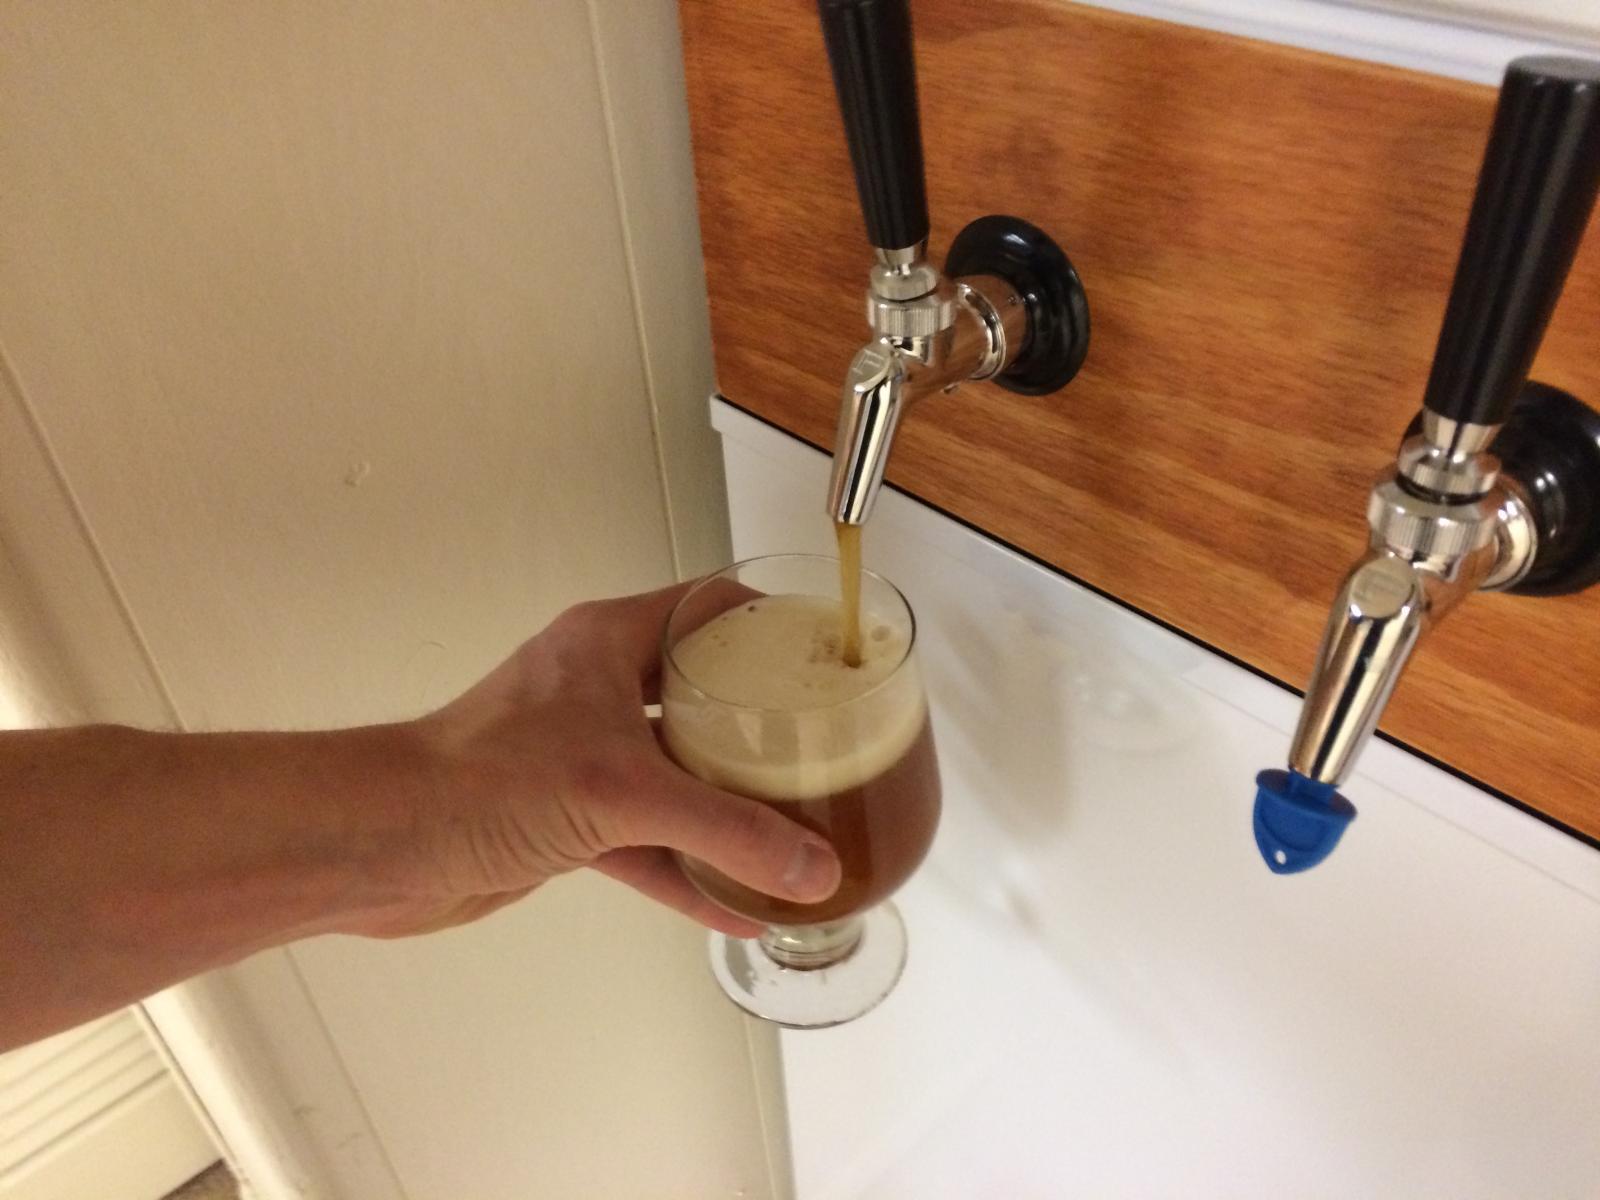
x3 Perlick 630SS (FA206-H)
5 LB CO2 Cylinder, Aluminum (CO505)
Faucet Wrench (FA801)
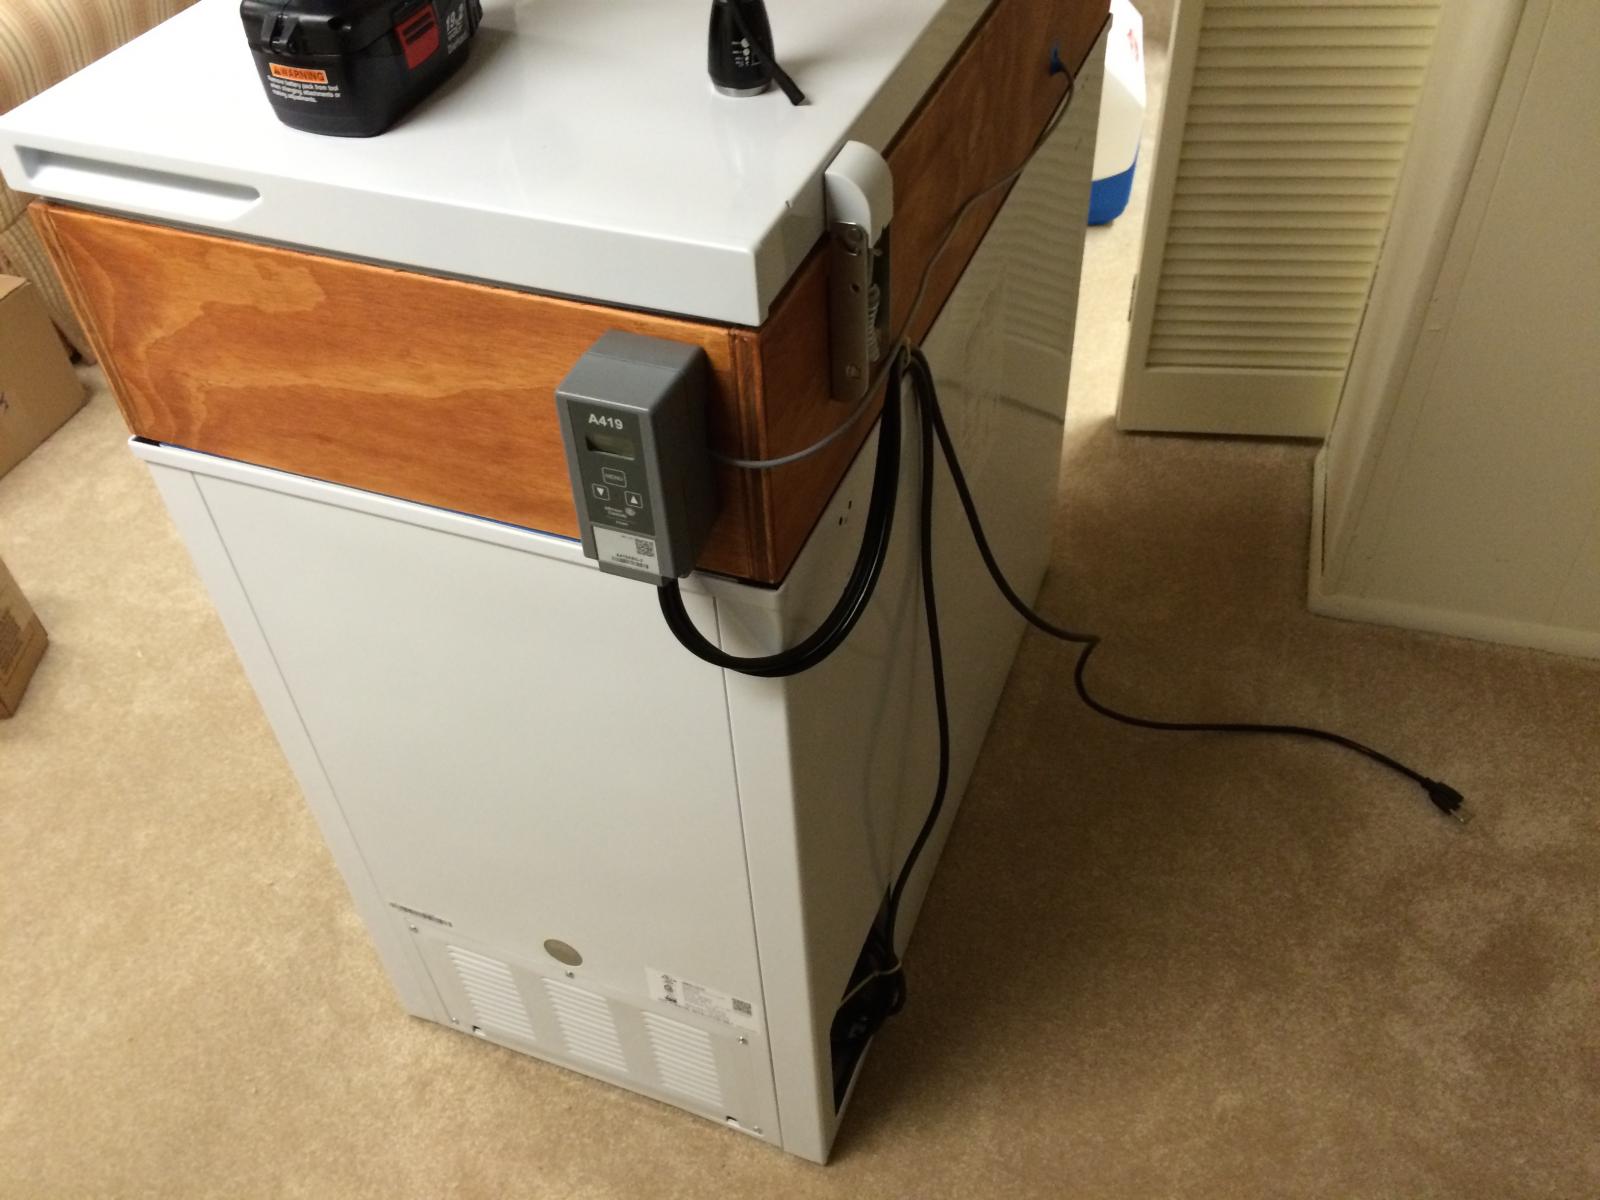
Johnson Controls Digital Thermostat Control Unit - ($78.50 - Amazon)

I was set on making this a 3 tap keezer, but with the goal of being able to expand to 4 in the future if I so choose. This particular freezer model will only hold 3 kegs on the floor, but a 4th will fit on the shelf IF… you make the collar tall enough.

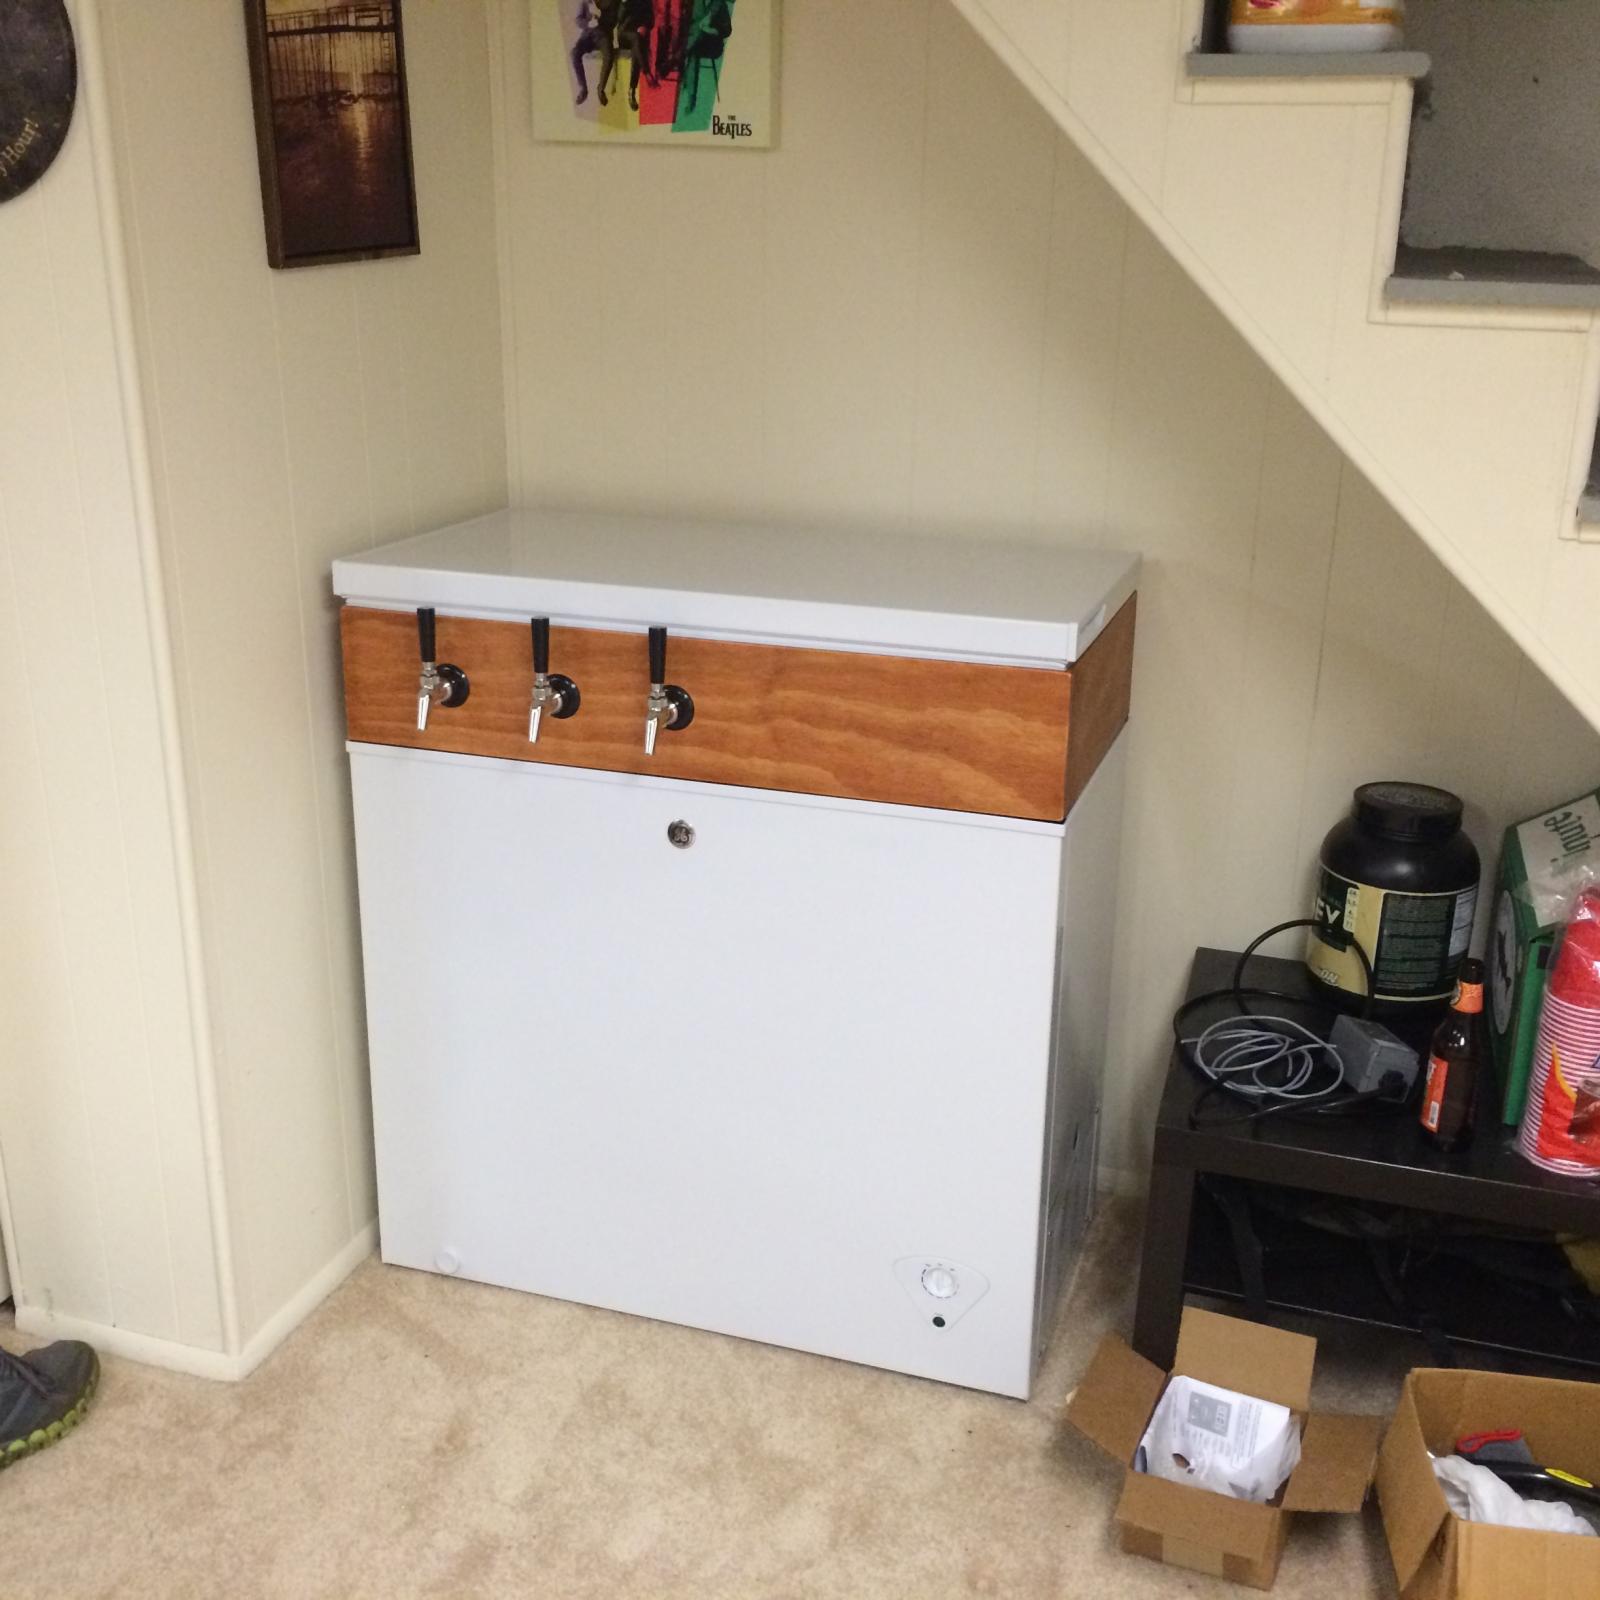
So that’s exactly what I did. I had to account for how high the keg rose above the edge and then add for the hoses in addition to some space for where there is a small step drop down in the lid. The collar is exactly 7” tall and everything fits great.
I opted to attach the collar to the freezer rather than to the lid for simplicity and space reasons. The nook I have it in would not be ideal if the lid hinged at the bottom of the collar… Also, I’m tall and still young so I can manage the keg lifts for now.


I used 3/4” plywood (cabinet grade) for my collar. That’s one thing I hadn’t seen someone else do. This was partly because I had it lying around and because I could cut it to whatever height I needing, rather than rely on stock at the store. I also used a Kreg jig for the first time and would highly recommend it to anyone interested in joinery.


I used a forstner bit for the shank holes and spaced them 6”. The insulation foam is 1” and is friction fit. It’s not a very durable material and figured I could replace it easily if I ever bashed a chunk out of it. I sanded the collar with 220 then 400 then just one coat of cherry stain then a modest tune up with 400. I didn’t want it dark.


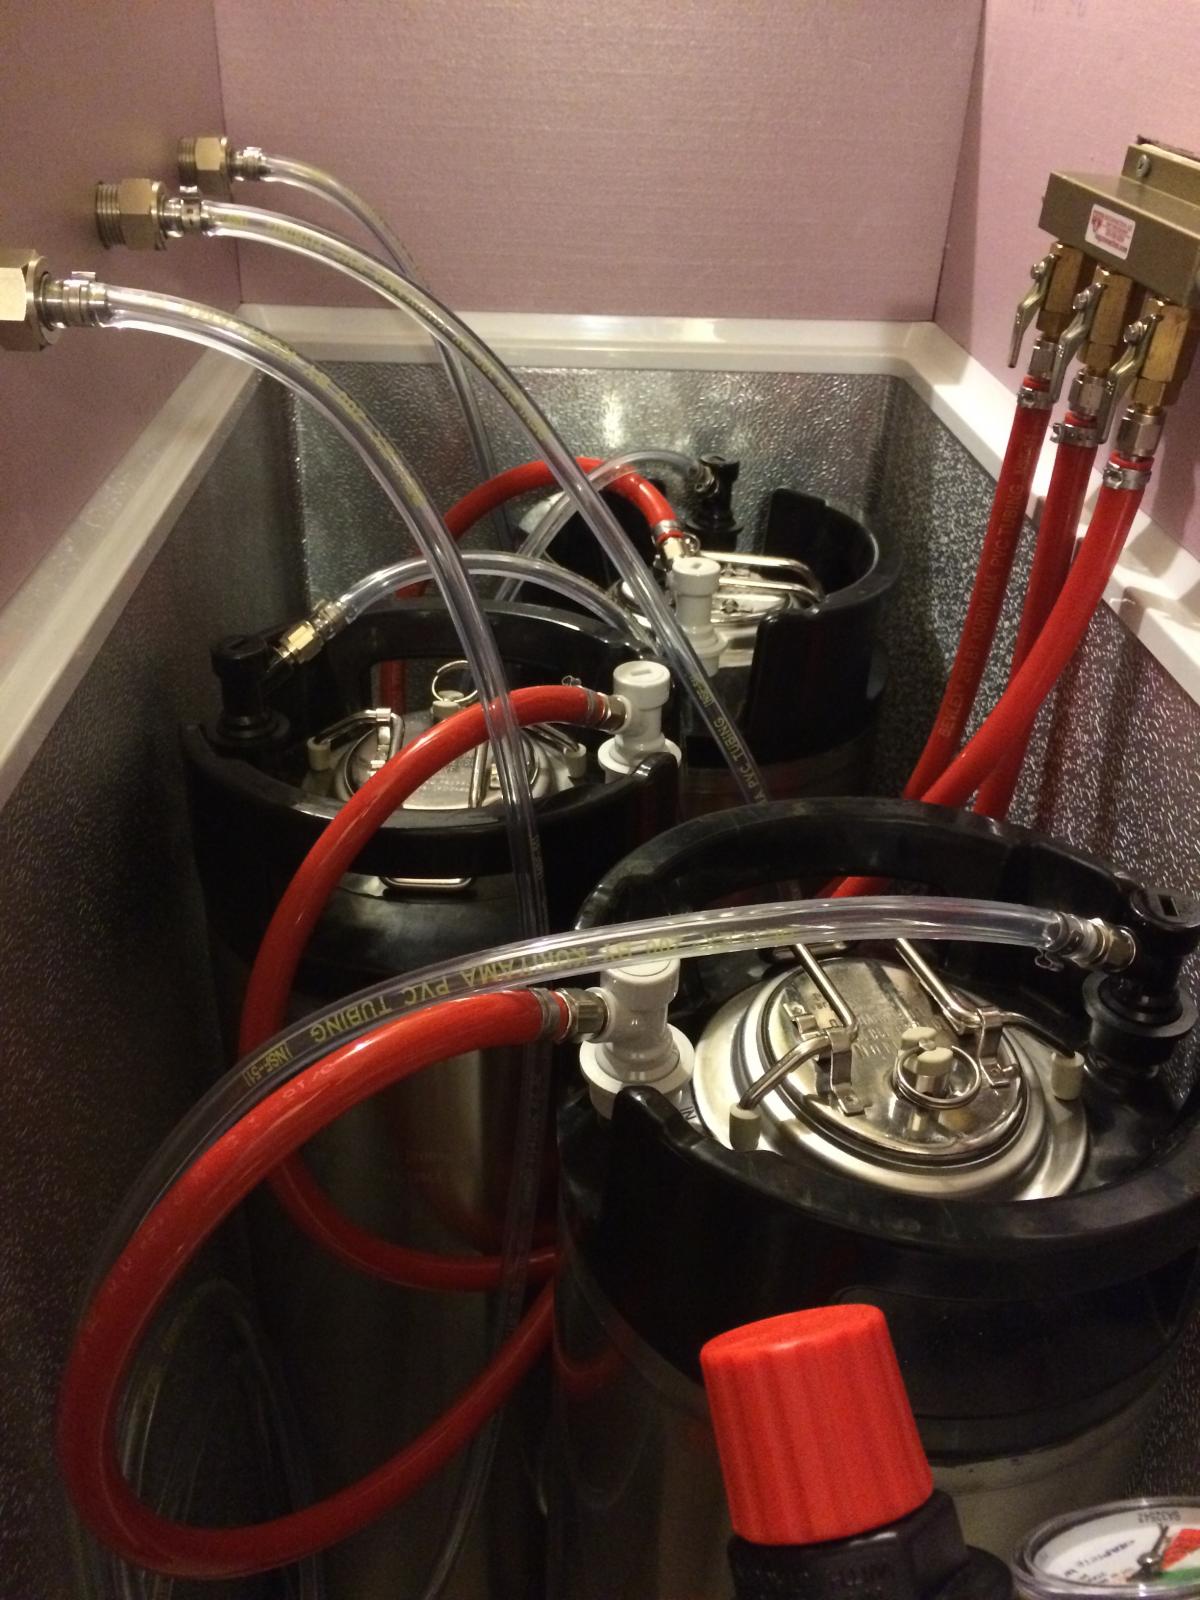
After a couple attempts hacking at some scrap 2x4 I got the block I needed to mount the manifold. It’s attached to the collar, then the foam slides around it, then the manifold is attached.
The lid attachment was easy enough and was just a matter of positioning and screwing the hinges into the collar (using wood screws, not what they were originally attached to the freezer with.)
I plan to paint this when the weather gets warmer, but for now its operational. At the moment the collar is affixed to the freezer by some old velcro. This prevents it from shifting and holds like a bear, but I will eventually attach it via adhesive once painted, which is also why I haven’t done a drip tray yet. I’ll be going with the black chalkboard paint as I’m partial to matte finishes.
HBT was an important part of my inspiration and I wanted to contribute what I could. Thanks and cheers!
** See next post for some more images **
I did a fair amount of research, as most people do, and put my own spin on it. I’ll attempt to detail the components used and where and how much I bought them for (all prices include any tax/delivery). I didn’t go the thrifty route and instead chose to treat myself to all new equipment and parts.
GE 7.0 cu ft Chest Freezer Model # FCM7SHWW ($210 - Home Depot) - This thing is amazing, I can barely hear it.
x3 New 5 Gallon Corny Kegs ($285 - Adventures in Homebrewing. They later went on sale and they were nice enough to give me a partial credit).
x3 Faucet Fridge Homebrew Kegerator Kit (Keg Connection - $418) Base price is 1/2 this without add-ons and up-grades
Taprite Regulator w/ Air Distributor (RA23TA)
x3 Ball Lock Disconnects (DC203-3)
x3 Beer Lines - 10' per line (HO101-30)
x3 Tailpieces: Stainless Steel Tailpieces (TP316SS-3)
x3 Shank Assemblies: 3 1/8" Stainless Steel Shanks (SK103SSKIT-3)
x3 Perlick 630SS (FA206-H)
5 LB CO2 Cylinder, Aluminum (CO505)
Faucet Wrench (FA801)
Johnson Controls Digital Thermostat Control Unit - ($78.50 - Amazon)
I was set on making this a 3 tap keezer, but with the goal of being able to expand to 4 in the future if I so choose. This particular freezer model will only hold 3 kegs on the floor, but a 4th will fit on the shelf IF… you make the collar tall enough.
So that’s exactly what I did. I had to account for how high the keg rose above the edge and then add for the hoses in addition to some space for where there is a small step drop down in the lid. The collar is exactly 7” tall and everything fits great.
I opted to attach the collar to the freezer rather than to the lid for simplicity and space reasons. The nook I have it in would not be ideal if the lid hinged at the bottom of the collar… Also, I’m tall and still young so I can manage the keg lifts for now.
I used 3/4” plywood (cabinet grade) for my collar. That’s one thing I hadn’t seen someone else do. This was partly because I had it lying around and because I could cut it to whatever height I needing, rather than rely on stock at the store. I also used a Kreg jig for the first time and would highly recommend it to anyone interested in joinery.
I used a forstner bit for the shank holes and spaced them 6”. The insulation foam is 1” and is friction fit. It’s not a very durable material and figured I could replace it easily if I ever bashed a chunk out of it. I sanded the collar with 220 then 400 then just one coat of cherry stain then a modest tune up with 400. I didn’t want it dark.
After a couple attempts hacking at some scrap 2x4 I got the block I needed to mount the manifold. It’s attached to the collar, then the foam slides around it, then the manifold is attached.
The lid attachment was easy enough and was just a matter of positioning and screwing the hinges into the collar (using wood screws, not what they were originally attached to the freezer with.)
I plan to paint this when the weather gets warmer, but for now its operational. At the moment the collar is affixed to the freezer by some old velcro. This prevents it from shifting and holds like a bear, but I will eventually attach it via adhesive once painted, which is also why I haven’t done a drip tray yet. I’ll be going with the black chalkboard paint as I’m partial to matte finishes.
HBT was an important part of my inspiration and I wanted to contribute what I could. Thanks and cheers!
** See next post for some more images **


