My first post on this forum on which I've been a member for quite some time, seeking all different kinds of information regarding homebrewing and DIY projects. Now I wanted to share a bit around my latest project. Hopefully this will provide you information, tips or general ideas when deciding to build a keezer on your own.
My decision to build a keezer came about when I finally decided it wasn't feasible using my fementation fridge both as a temperature controlled fermentation chamber as well as housing and serving my filled kegs. Every brewday I needed to make room for the fermentors, thus forcing me to put my kegs in the garage for some time.
So the project planning phase started by reading and visualizing different ideas, which were all narrowed down to the following specifics;
- 4 Taps
- Countertop instead of Collar
- STC1000 controlled
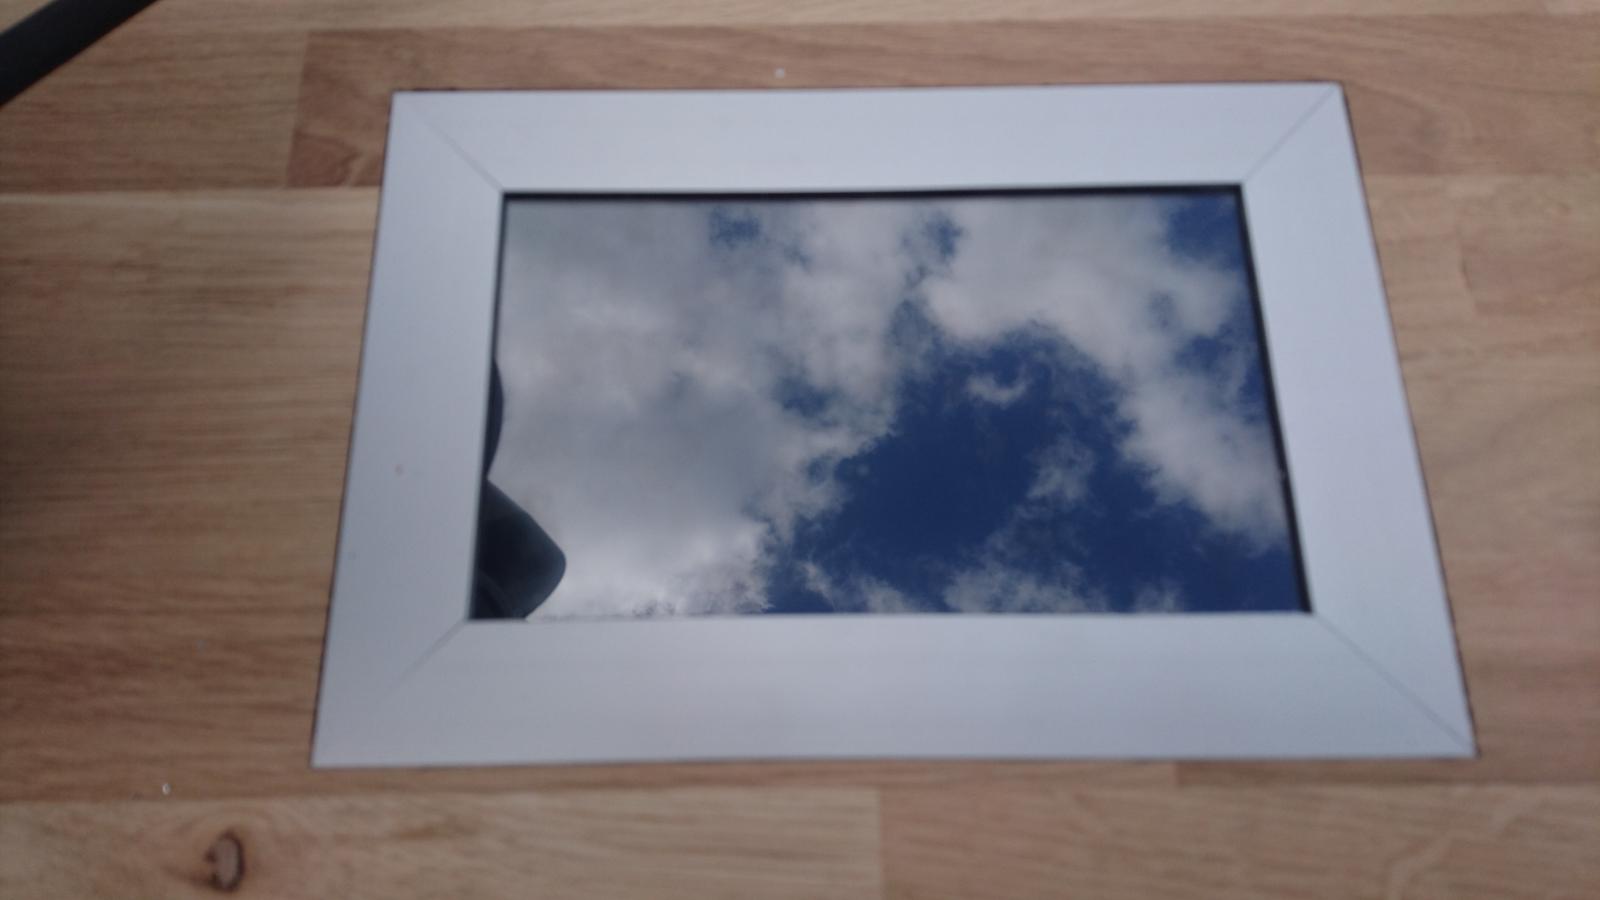
- Integrated 7" Touch Monitor to present beers on tap
- Some kind of taptower
- On Wheels
- Max 75cm deep (in order to easily move it between garage and home)
- IR Sensor Controlled Monitor
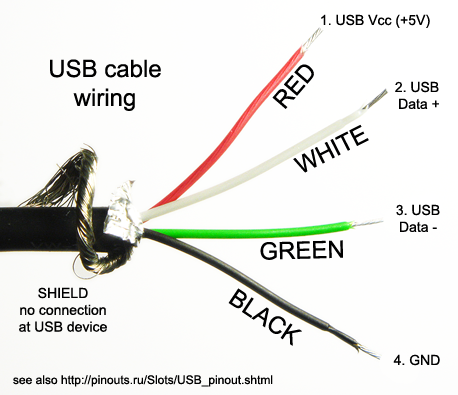
- 2 Integrated computer fans to circulate air
- It needs to be black
The chest freezer was given to me freely by my father who makes a living on kitchen appliances

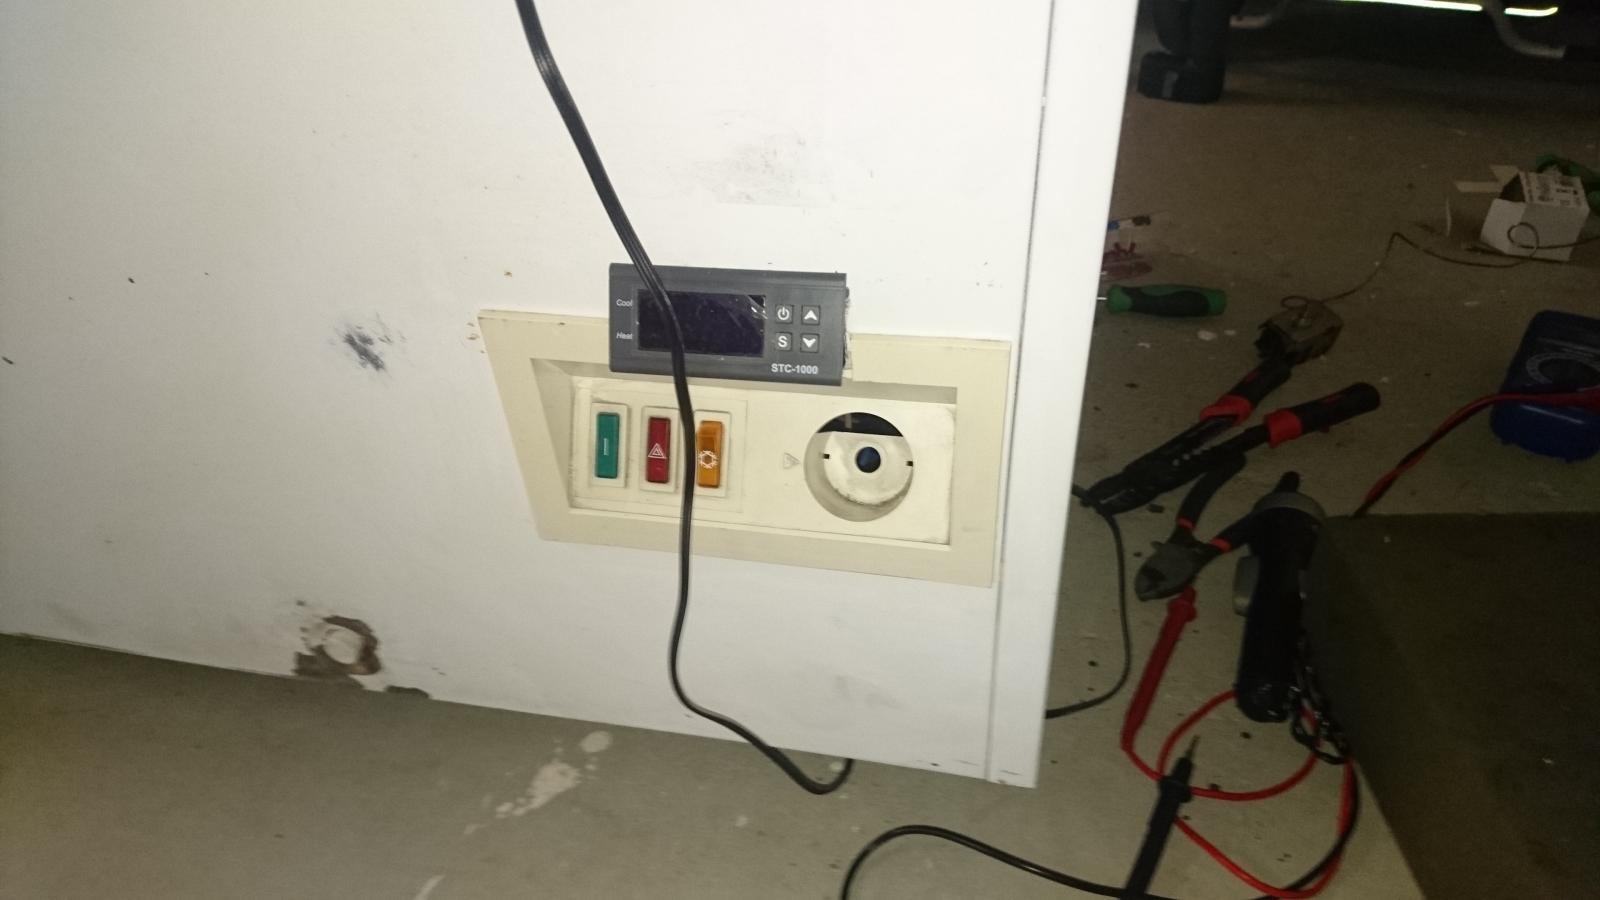
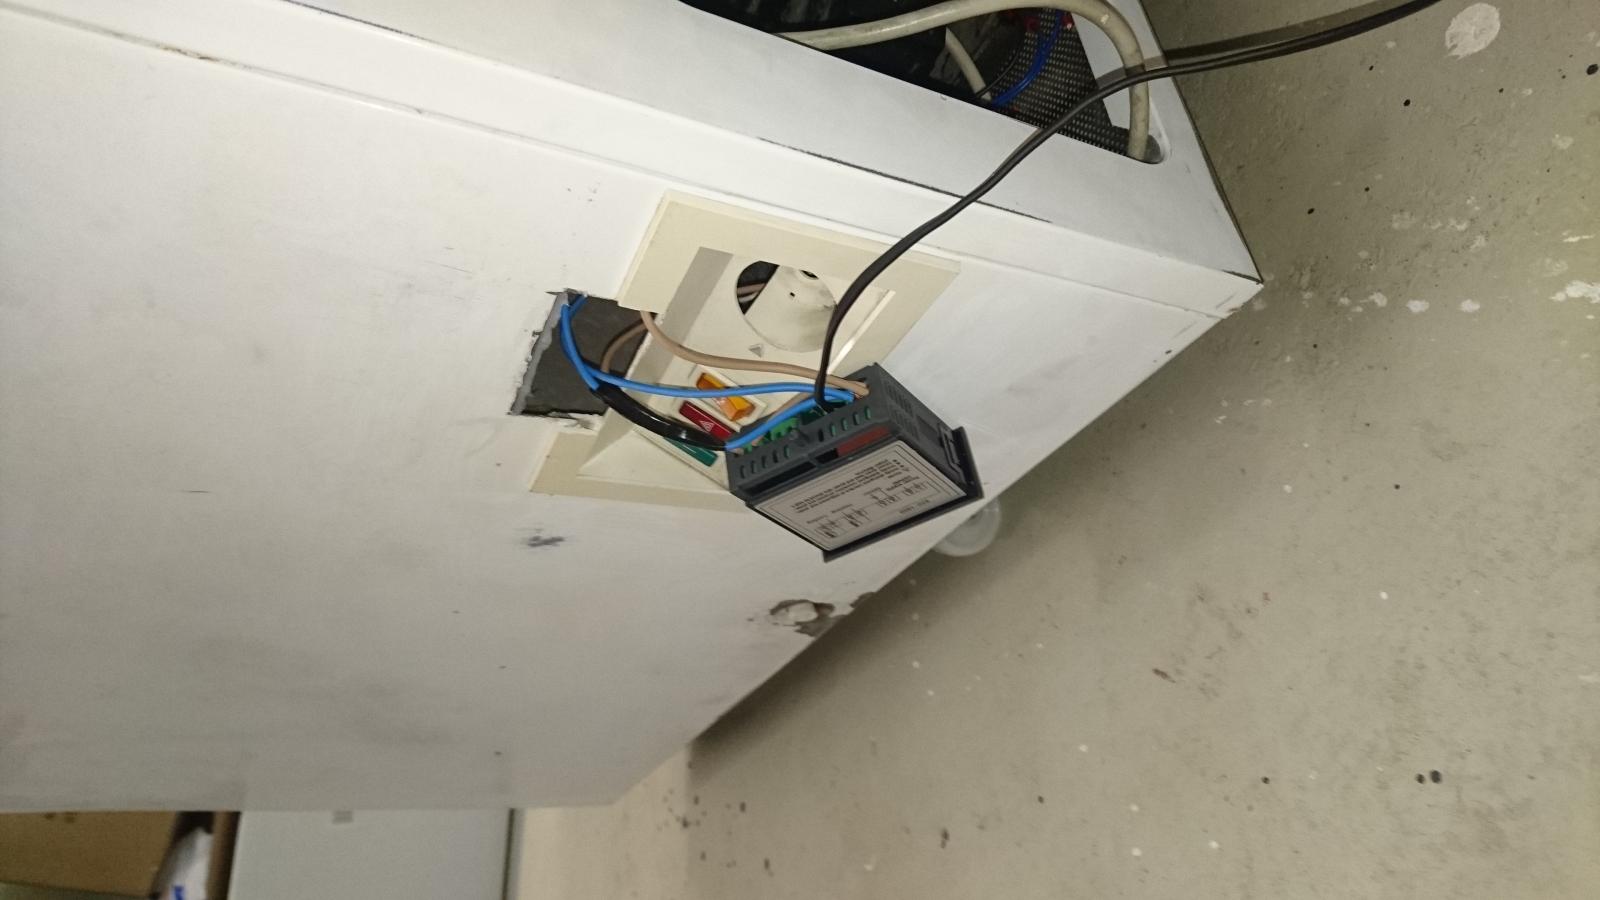
Quickly found a way to integrate the STC1000 by cutting the steel just above the front panel.

Unfortunately, i cut a bit to high, and due to that the top just above the compressor was slightly curved, the stc1000 didn't fit as planned. I did a cut a bit deeper and added a silicon string just above to conseal the eventual gap.

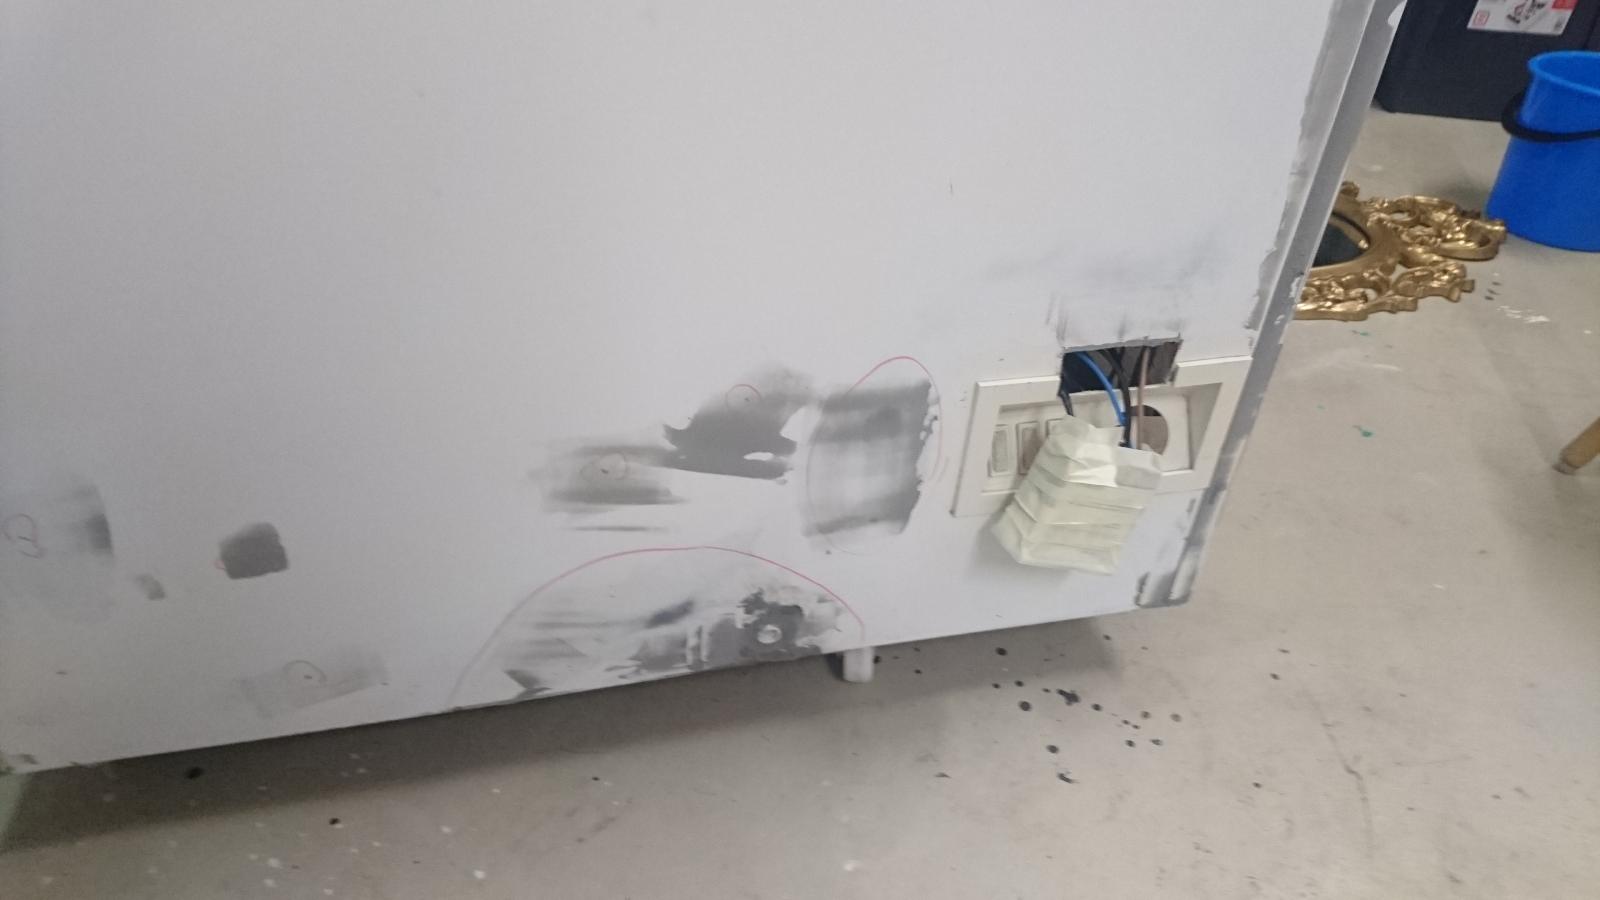
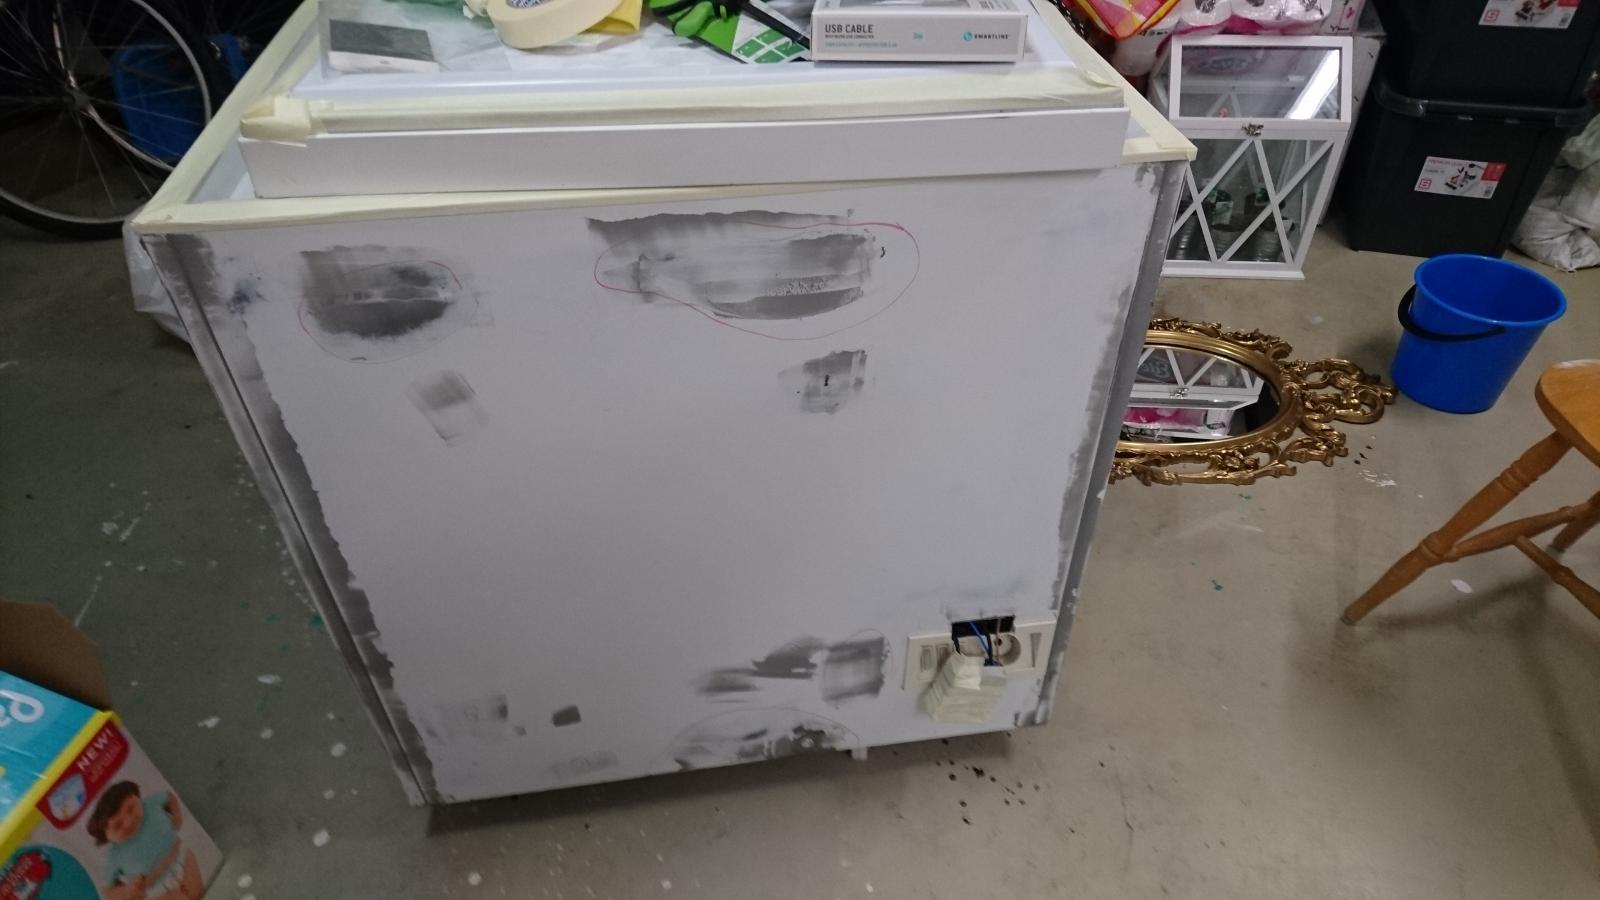
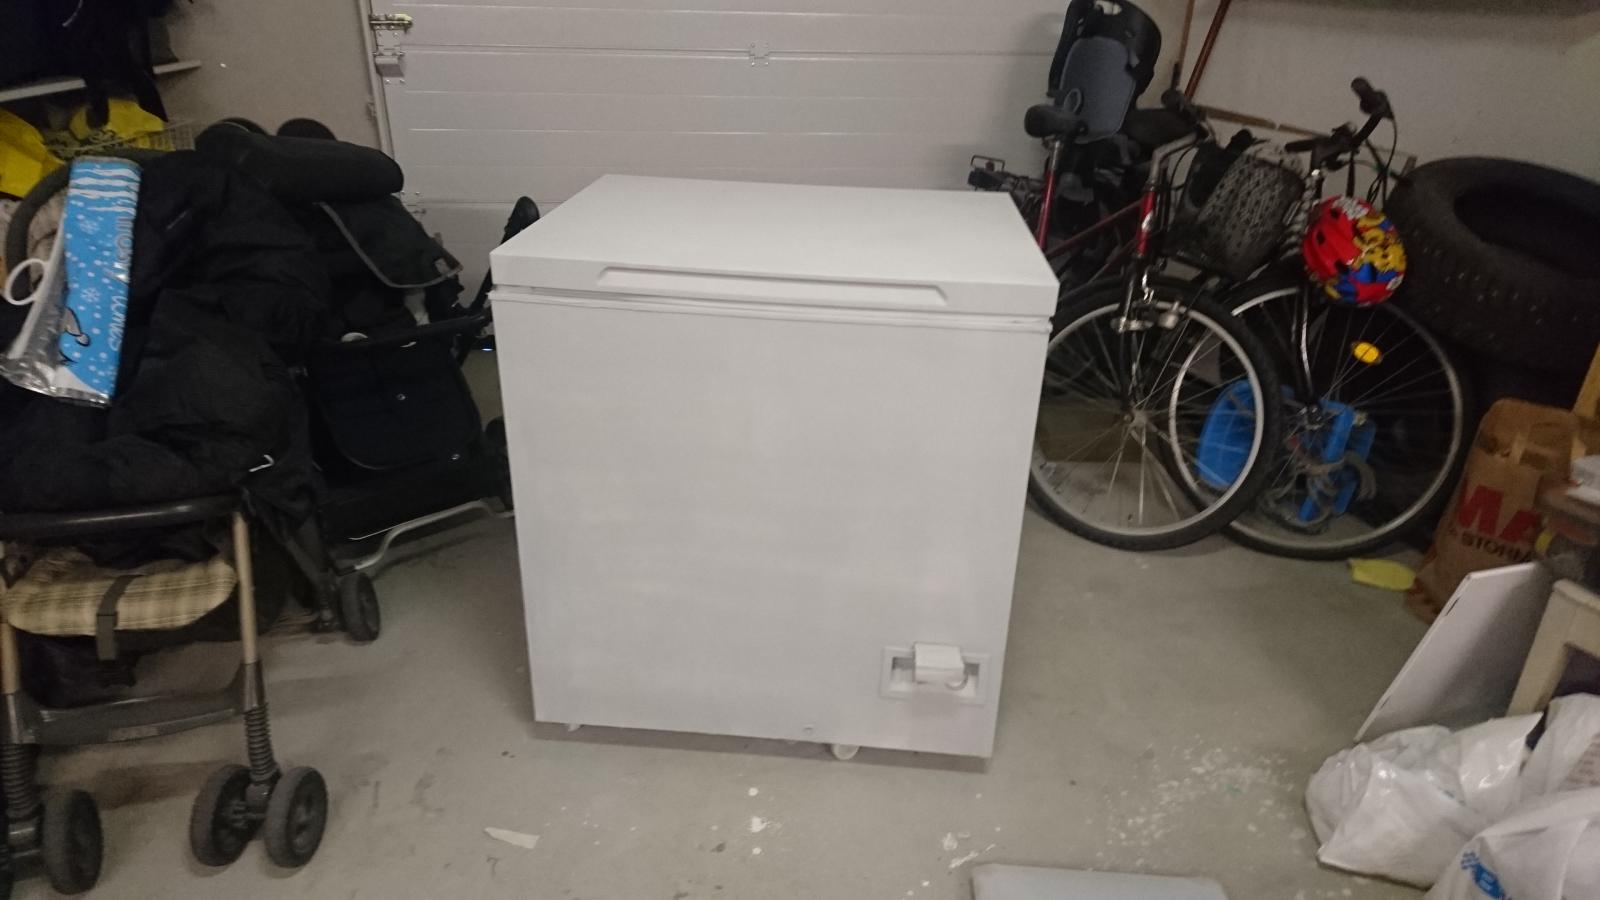
The freezer was in pretty rough shape, so did some sanding to get rid of rust and filled all dings and gaps with polyester filler prior to adding primer to the entire freezer.

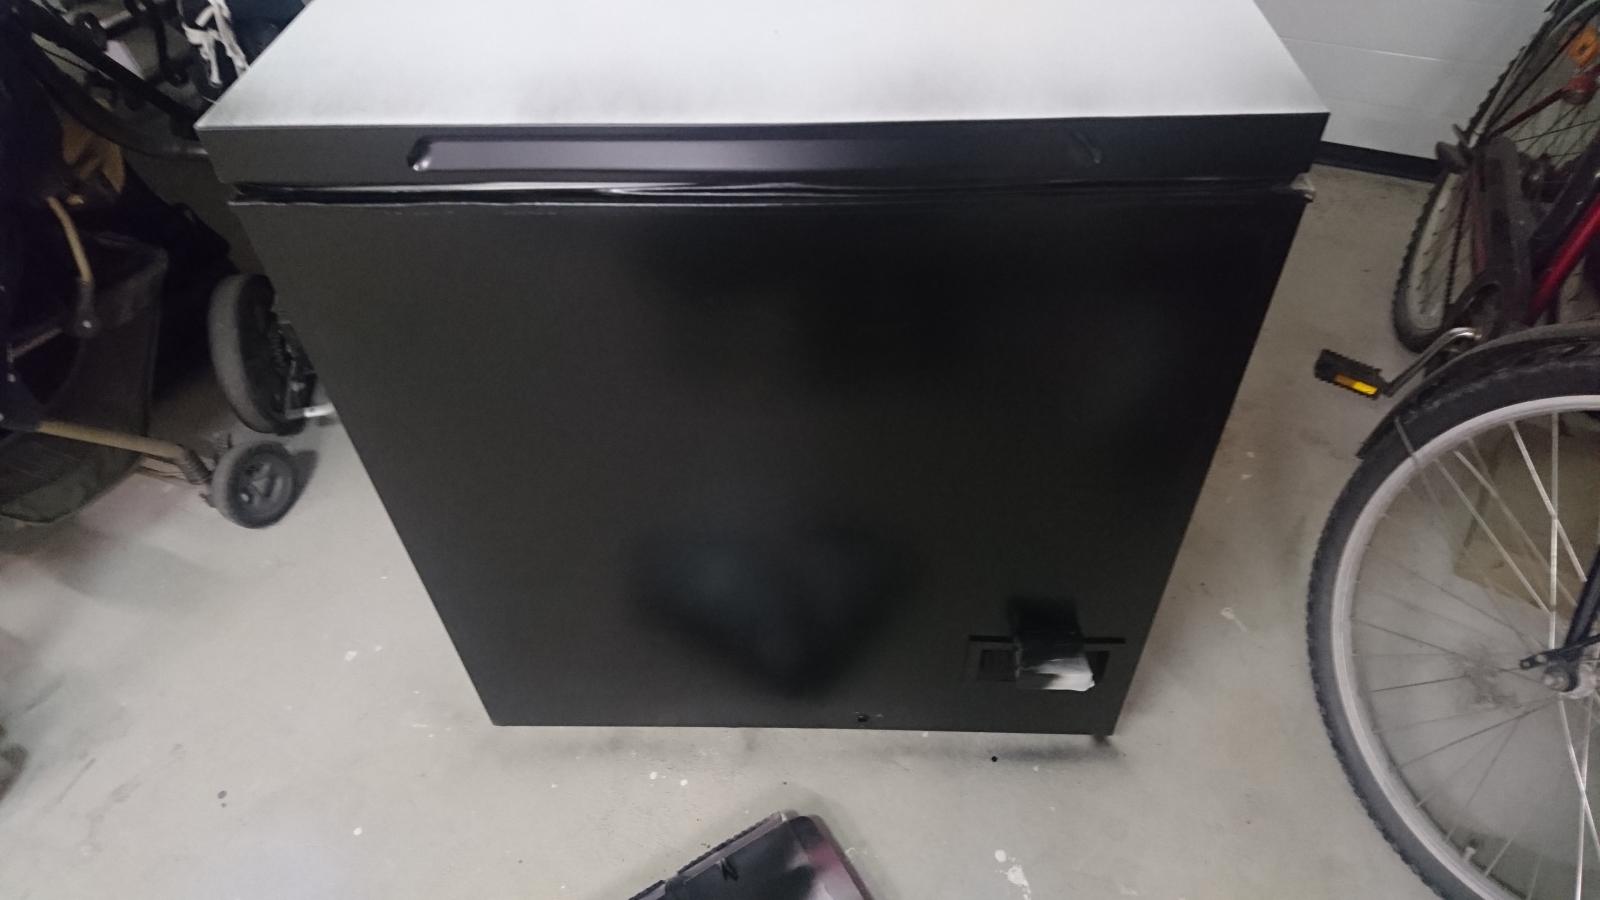
Final layer of primer added, looks as new! :rockin:
Just barely seeing the wheels.
My decision to build a keezer came about when I finally decided it wasn't feasible using my fementation fridge both as a temperature controlled fermentation chamber as well as housing and serving my filled kegs. Every brewday I needed to make room for the fermentors, thus forcing me to put my kegs in the garage for some time.
So the project planning phase started by reading and visualizing different ideas, which were all narrowed down to the following specifics;
- 4 Taps
- Countertop instead of Collar
- STC1000 controlled
- Integrated 7" Touch Monitor to present beers on tap
- Some kind of taptower
- On Wheels
- Max 75cm deep (in order to easily move it between garage and home)
- IR Sensor Controlled Monitor
- 2 Integrated computer fans to circulate air
- It needs to be black
The chest freezer was given to me freely by my father who makes a living on kitchen appliances

Quickly found a way to integrate the STC1000 by cutting the steel just above the front panel.
Unfortunately, i cut a bit to high, and due to that the top just above the compressor was slightly curved, the stc1000 didn't fit as planned. I did a cut a bit deeper and added a silicon string just above to conseal the eventual gap.
The freezer was in pretty rough shape, so did some sanding to get rid of rust and filled all dings and gaps with polyester filler prior to adding primer to the entire freezer.
Final layer of primer added, looks as new! :rockin:
Just barely seeing the wheels.


