OP
OP
10/04/2015 update
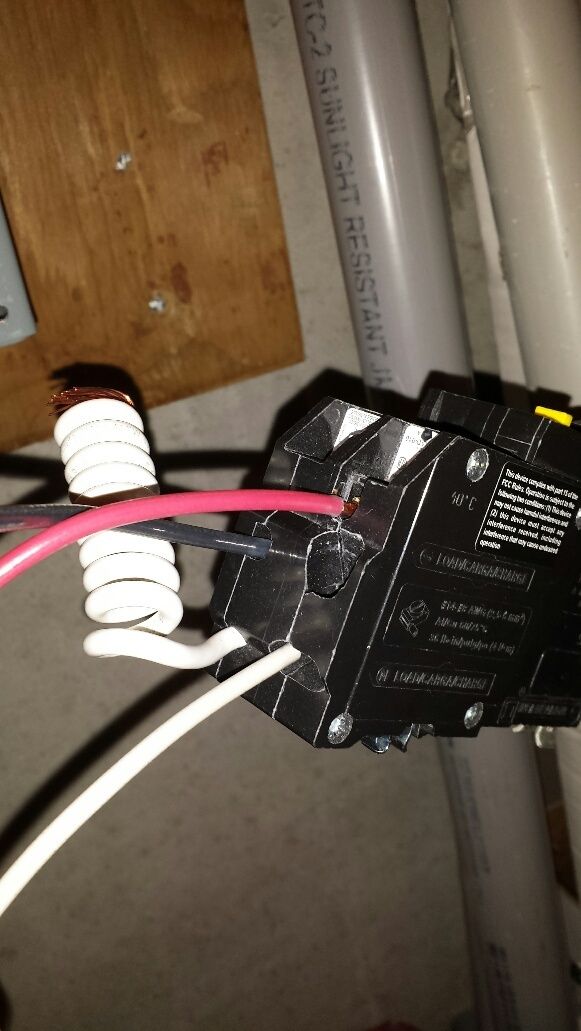
awoke this morning and checked my phone to discover the infamous 'menards 11% off sale' was a go for this week. finally! i've been holding off on a bunch of building stuff to save the 11%. one big item i had been holding off on is the 30 amp gfci breaker to serve the control panel. this would normally be $108.67 (with tax) but i got it for $97.34 after the rebate. this isn't available at the store so i had to order it. still cheaper than what i was finding online.
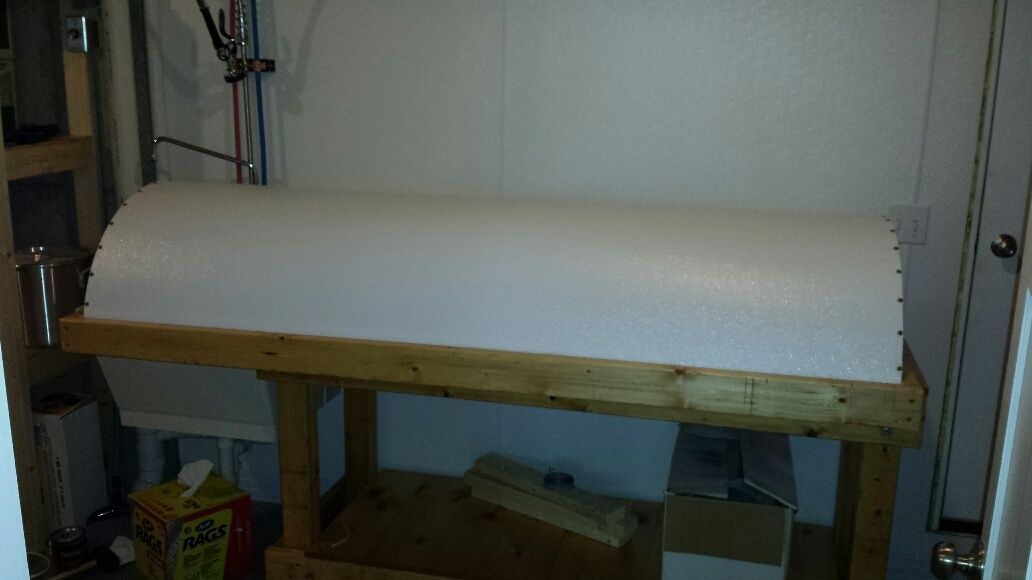
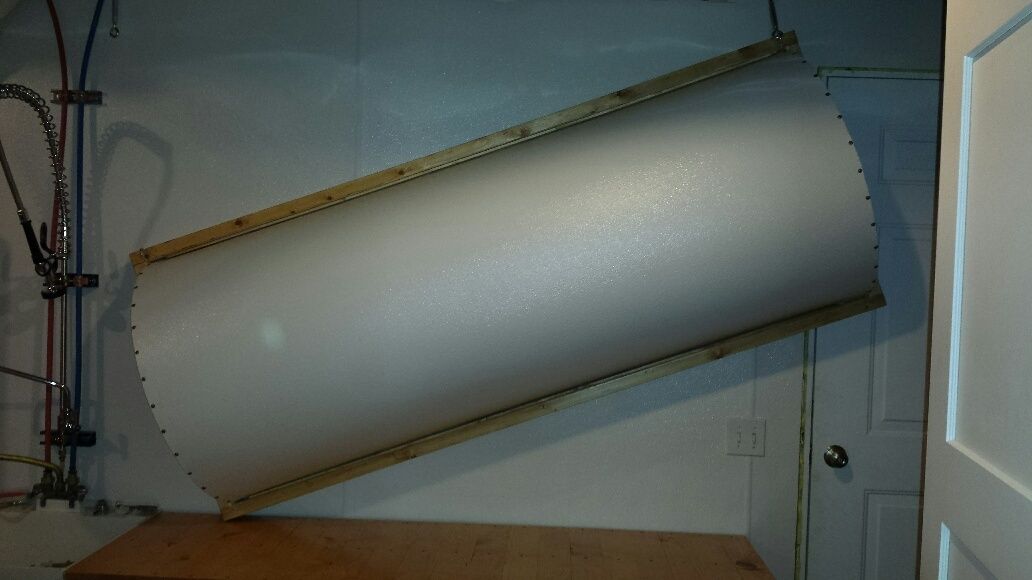
ran to the store and grabbed electrical parts for stuff 'upstream' of the control panel, as well as some ductwork pieces for my makeup air system as well as parts to finish off my vent hood. i have some scrap frp and plywood lying around so decided to steal deprecated's design:
https://www.homebrewtalk.com/showthread.php?t=371453
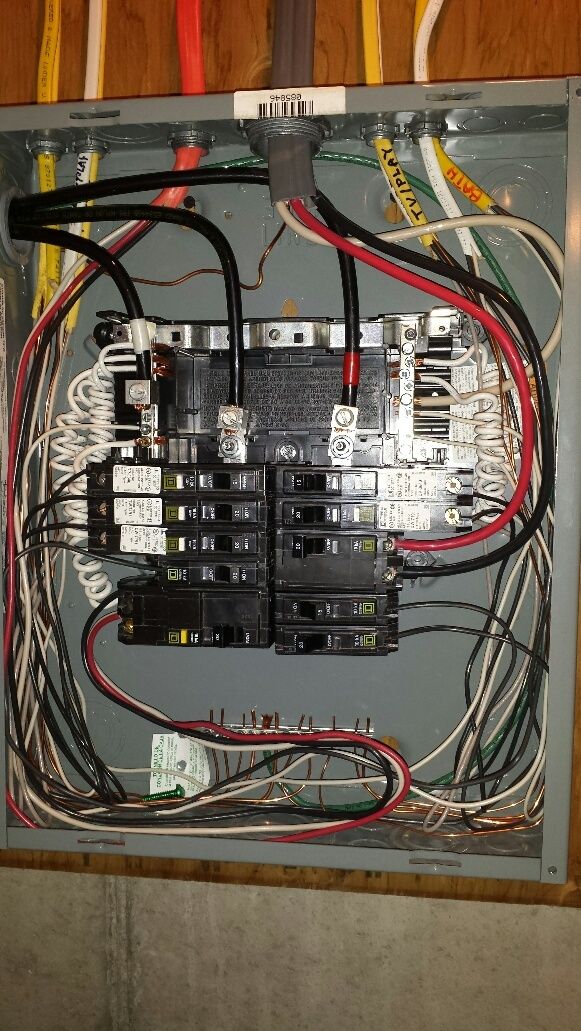
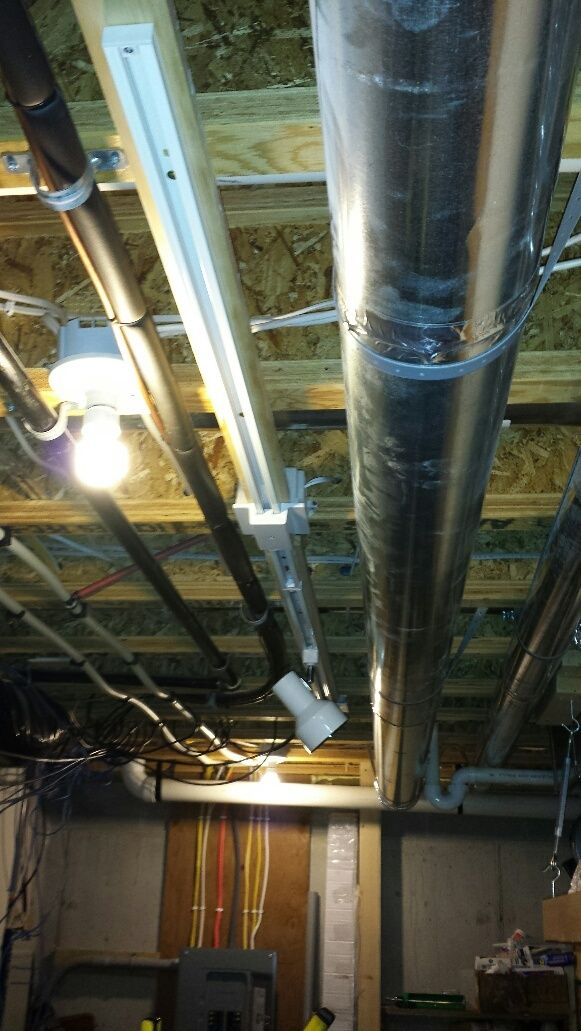
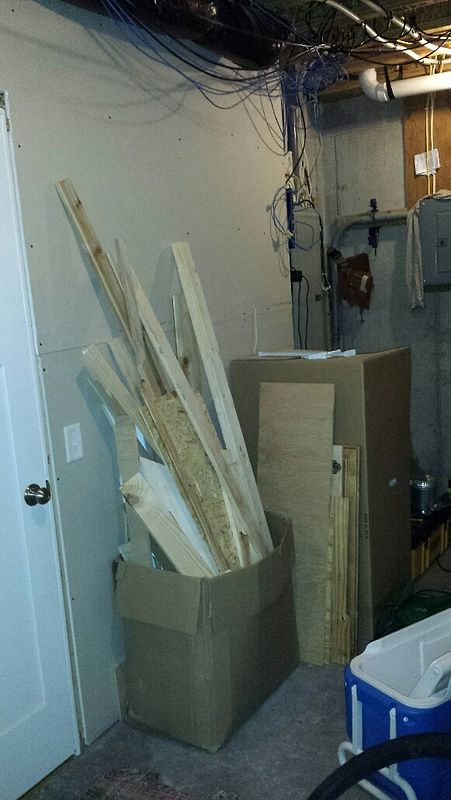
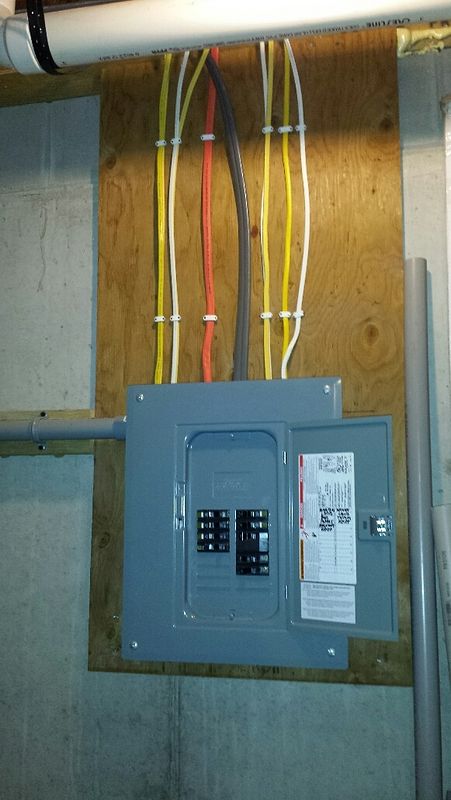
i eventually plan on having a keezer and fermentation chamber so i wanted to get some additional receptacles in the brewery area. like everything else i seem to do, first step was to get stuff out of the way. you can see the subpanel for my circuits in the background. before:
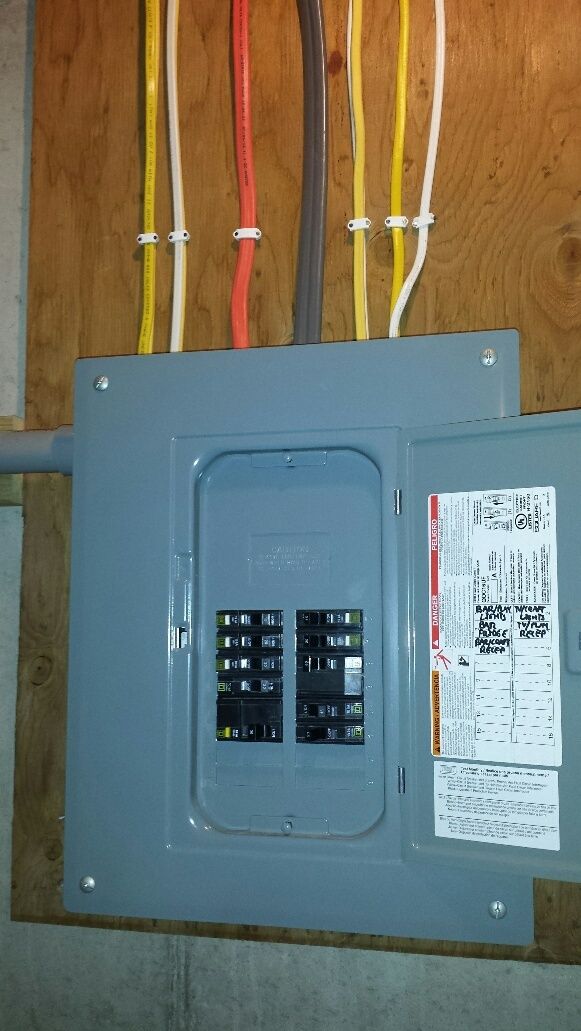
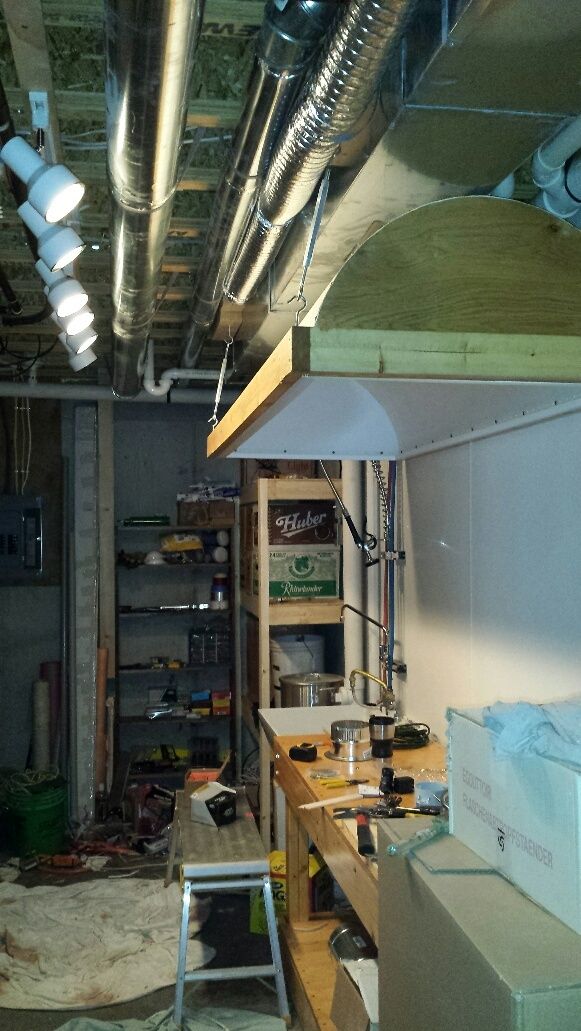
and after:

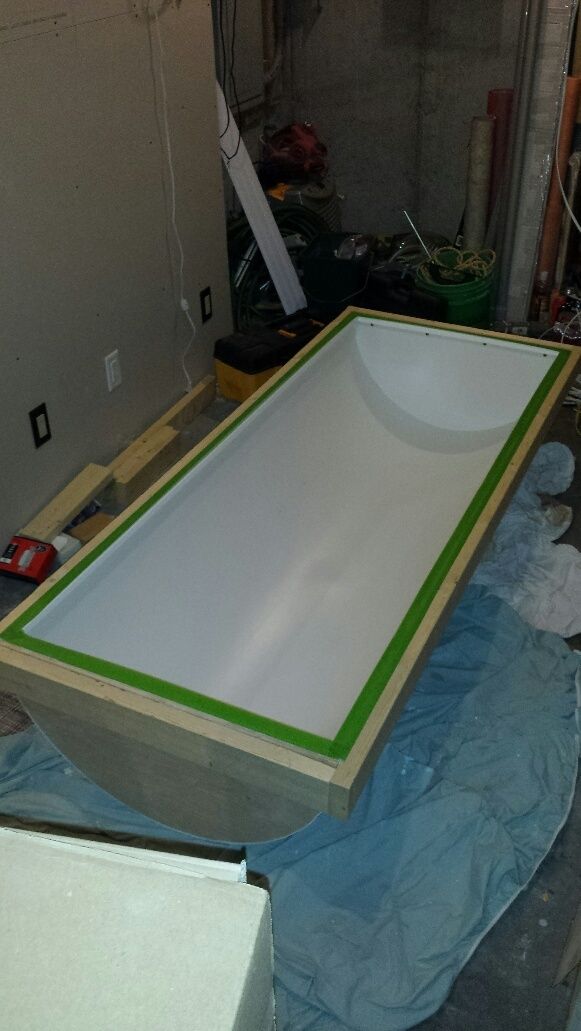
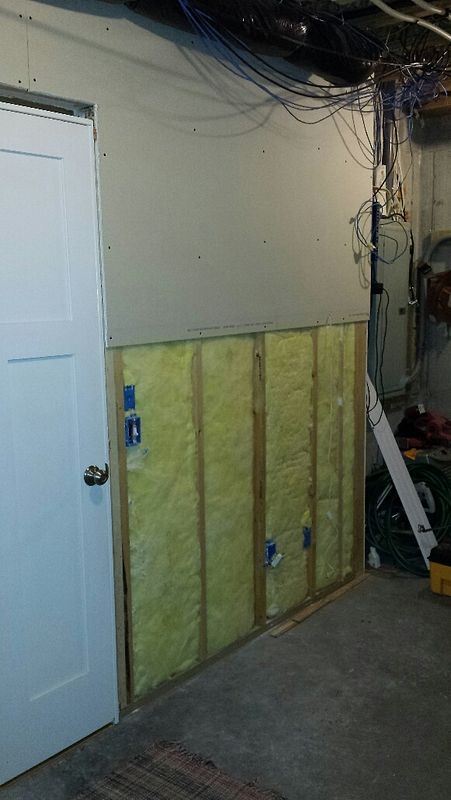
the cleaned up area would be the perfect spot for a keezer, with a fermentation chamber to the side. there is already a receptacle on the wall but it is part of the general basement utility area circuit which serves lights, the water heater (gas) and a chest freezer. i wanted a dedicated circuit for brewery stuff. rather than hack the drywall up and fish wires, i decided to simply take the drywall down. it is only two panels and they aren't even full size. first panel removed:
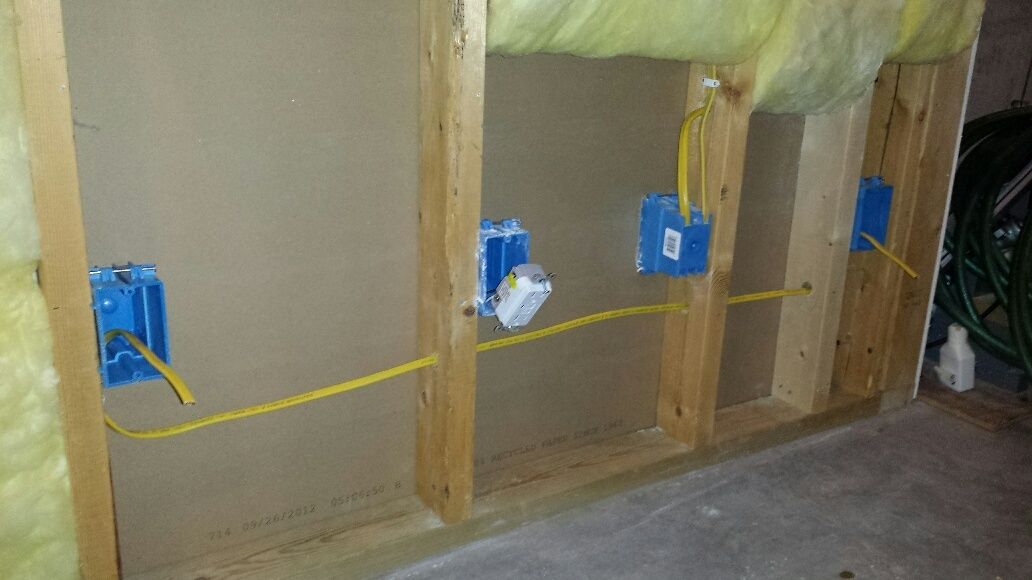
two new boxes installed, with wiring between them. a 20 amp circuit might be overkill but with the effort i was putting in, might as well get the extra capacity for a minimal additional cost:
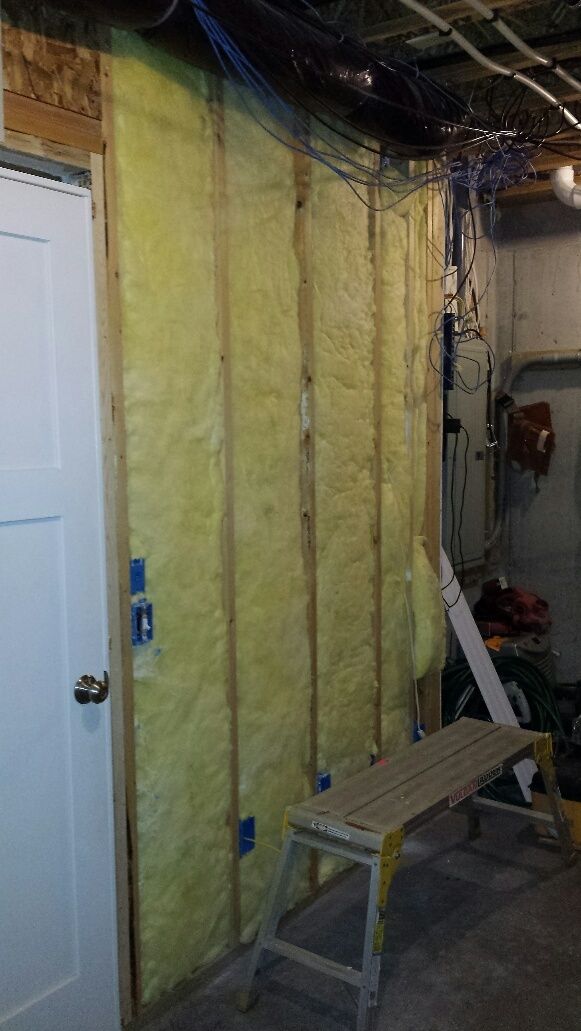
upper piece of drywall removed:
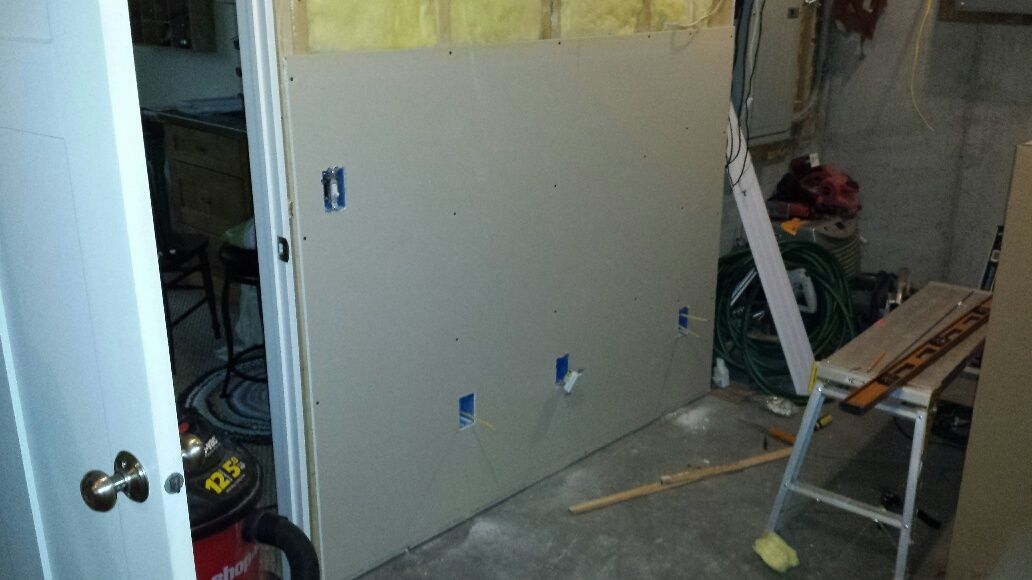
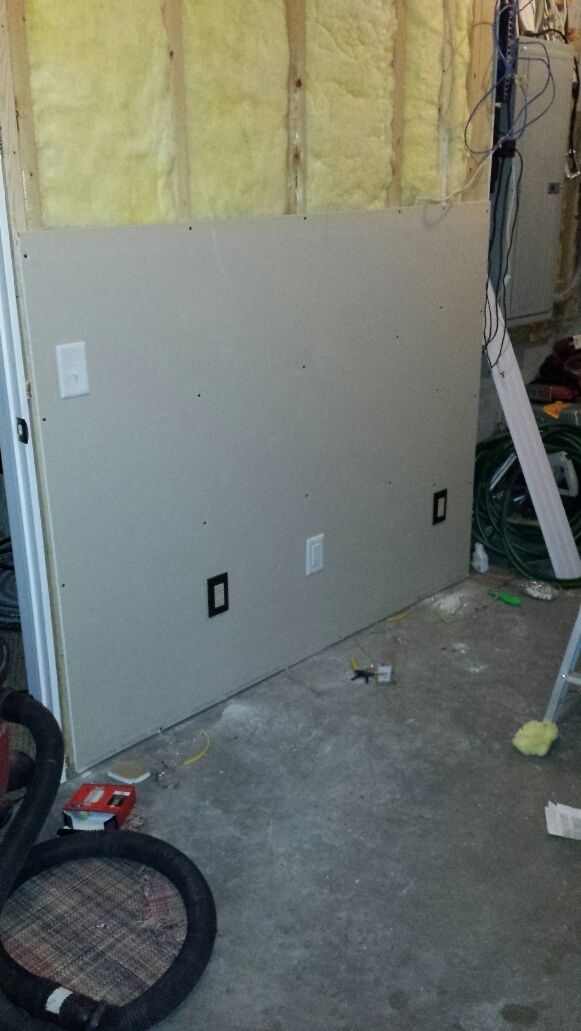
openings for the receptacles cut into the lower drywall piece:

and the lower piece of drywall reinstalled. i don't have a drywall gun so simply cranked back the torque on the drill to prevent overdriving the screws:
receptacles wired up, installed and wall plates added. i purposely chose a wonky color to help distinguish them from the old receptacle. they will likely be covered with equipment anyway:
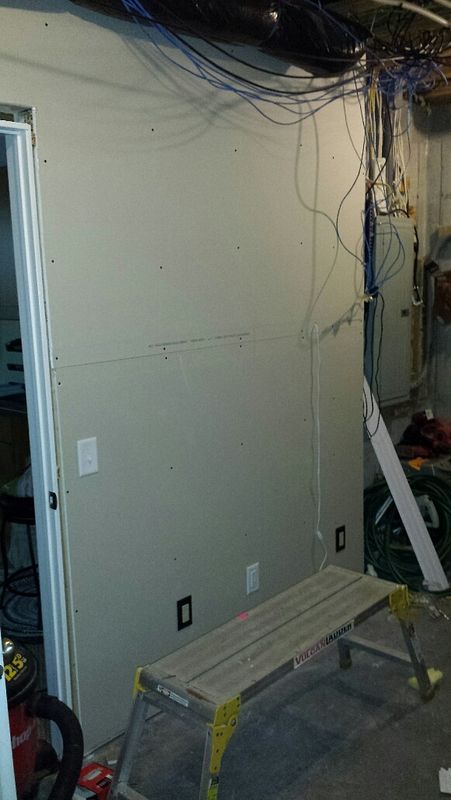
and the upper piece of drywall re-attached:
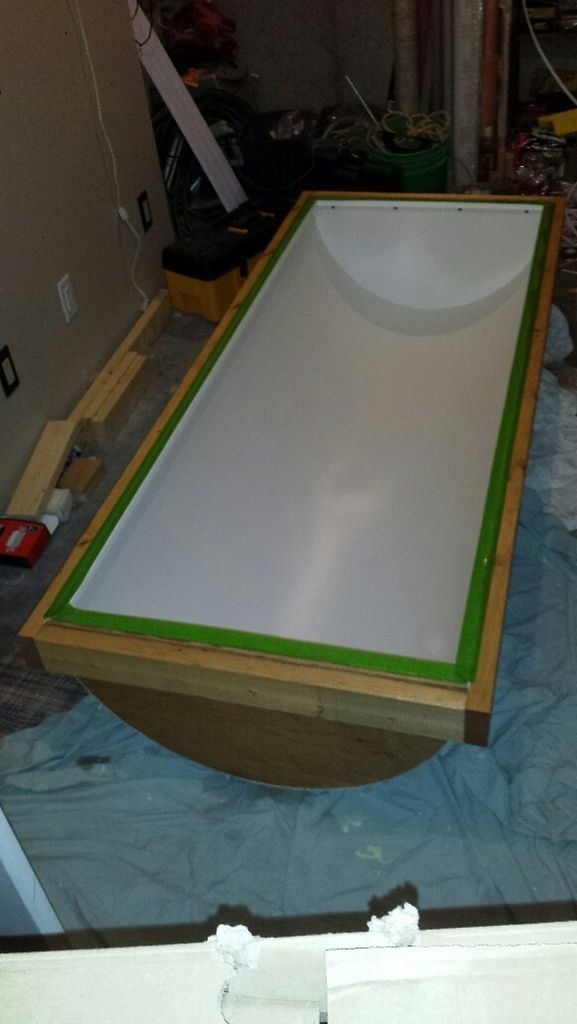
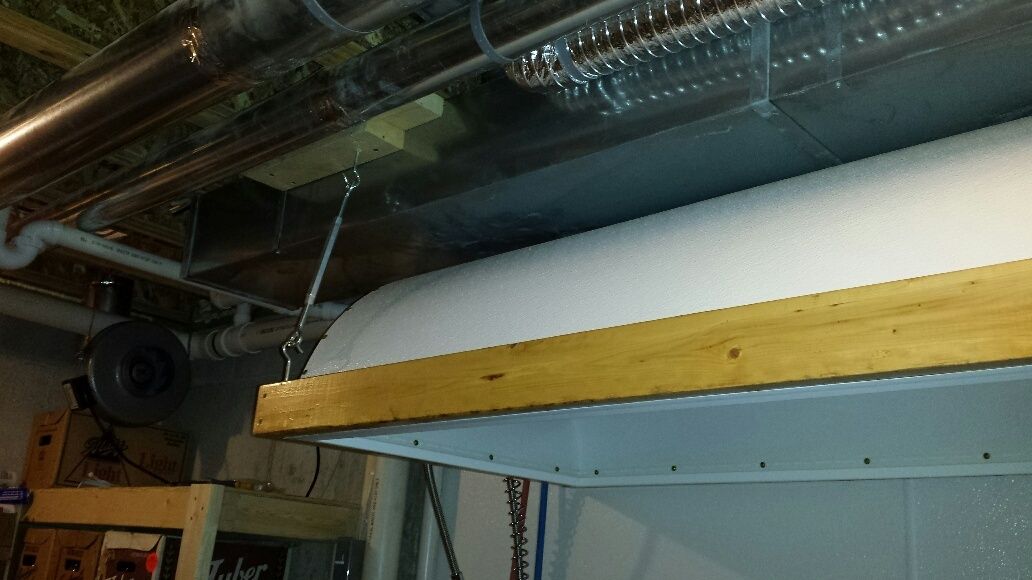
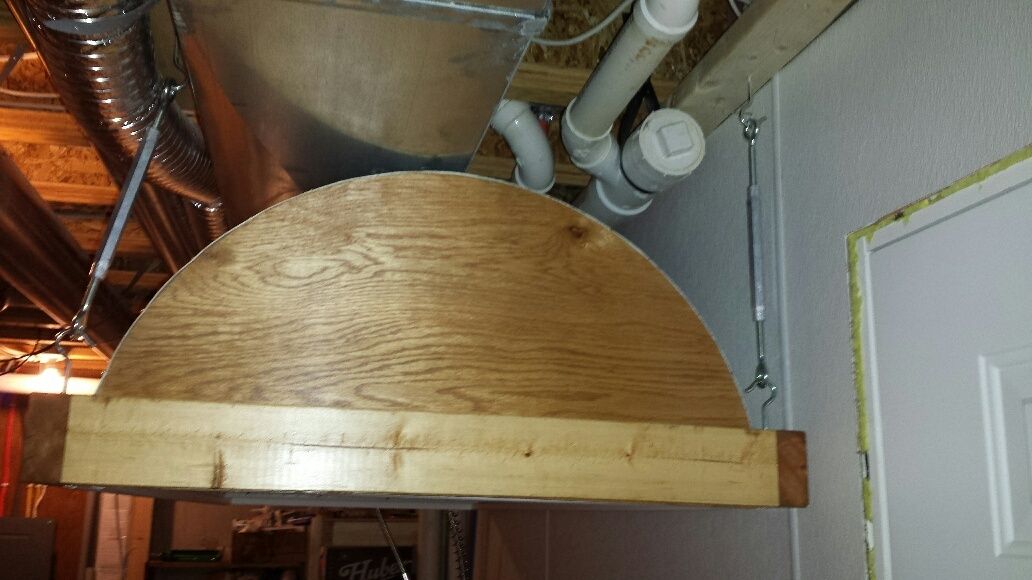
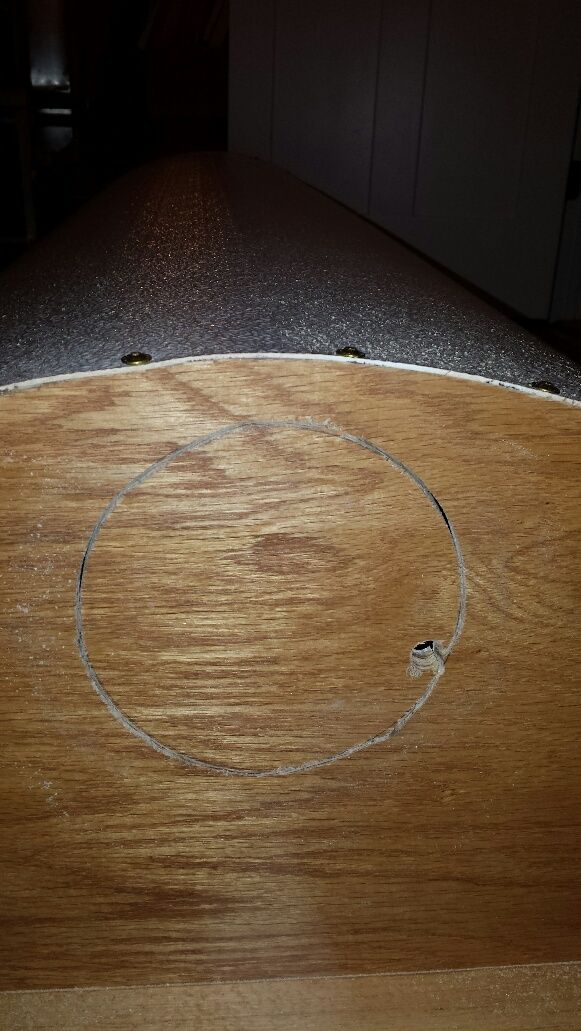
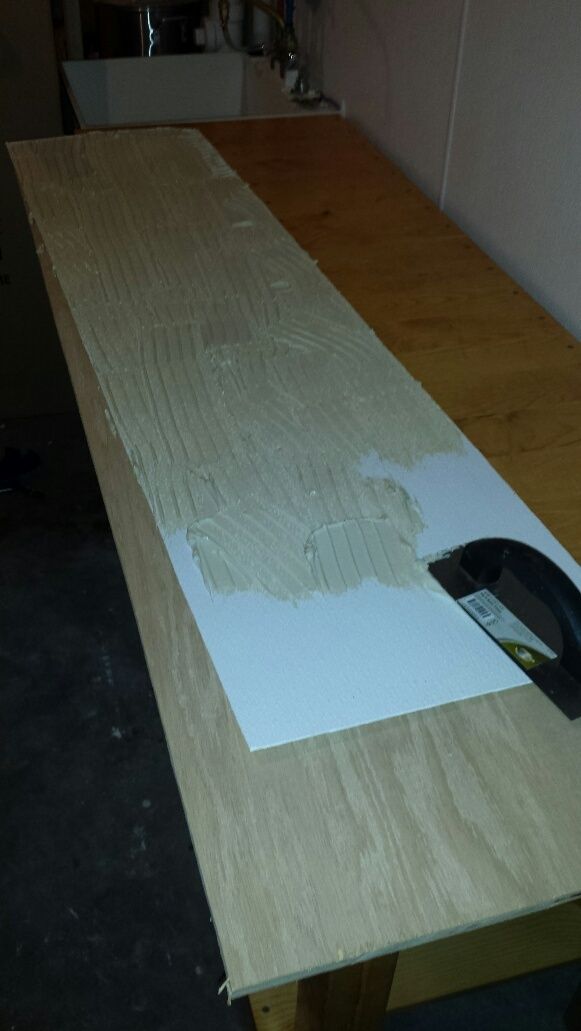
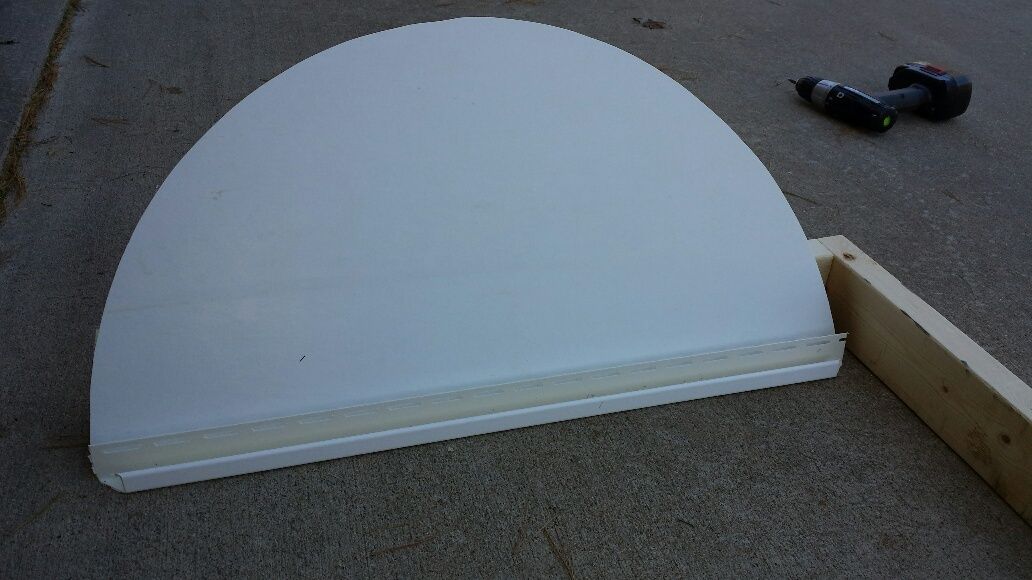
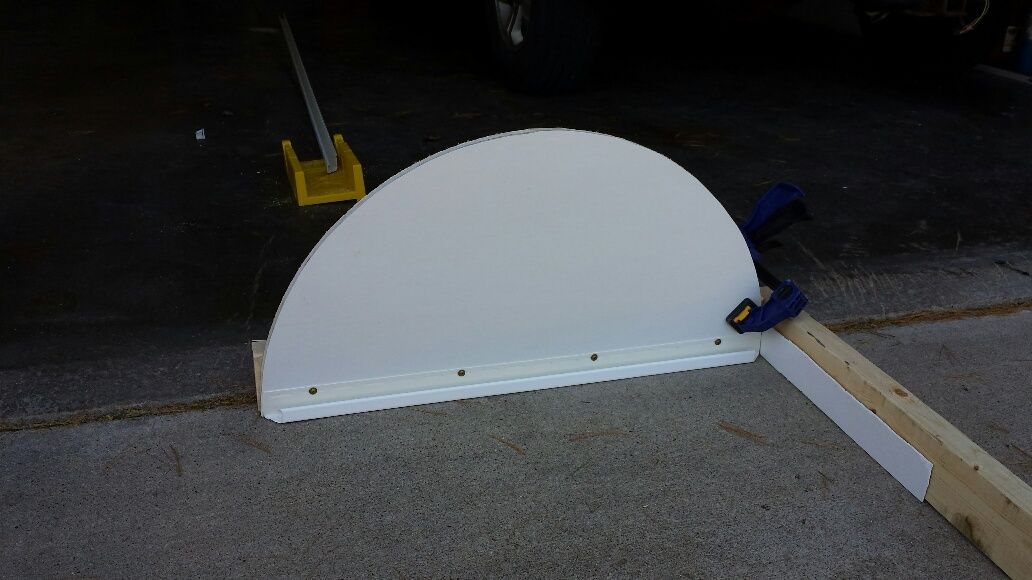
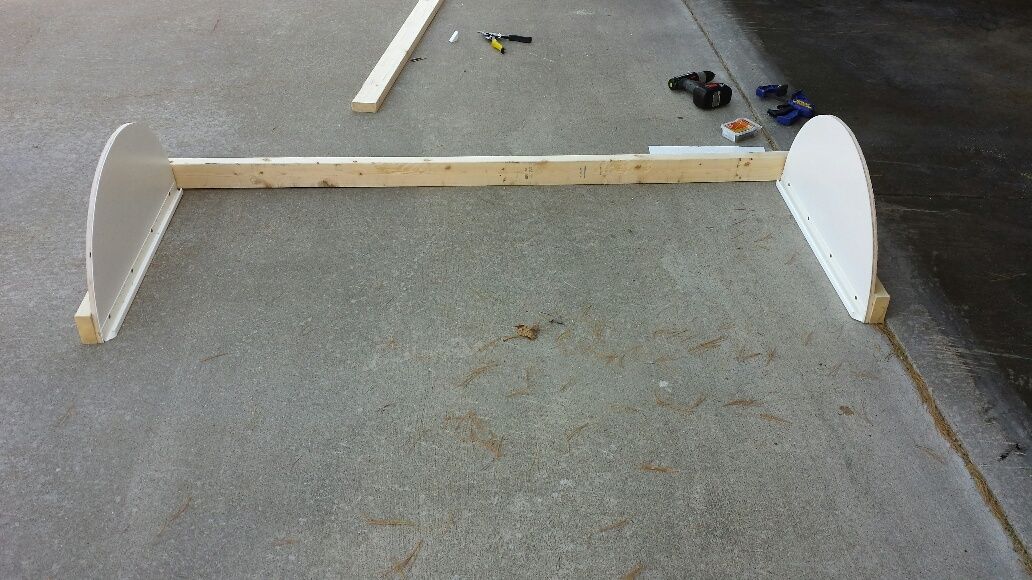
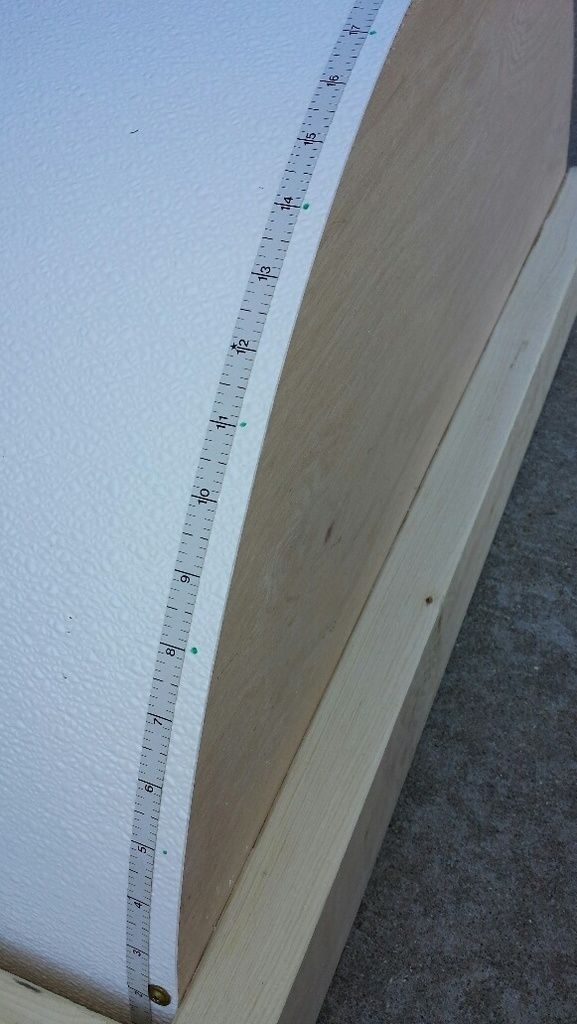
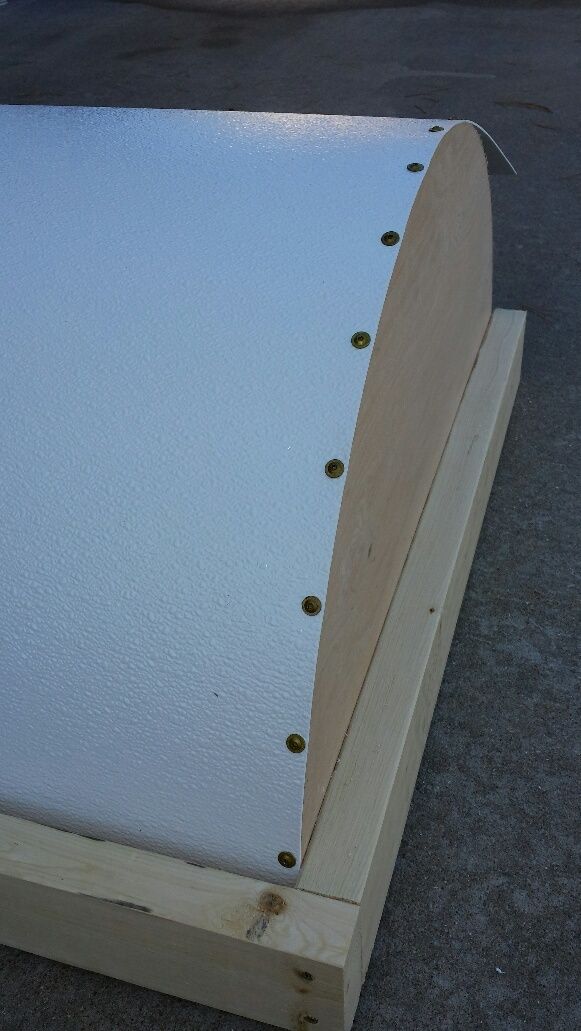
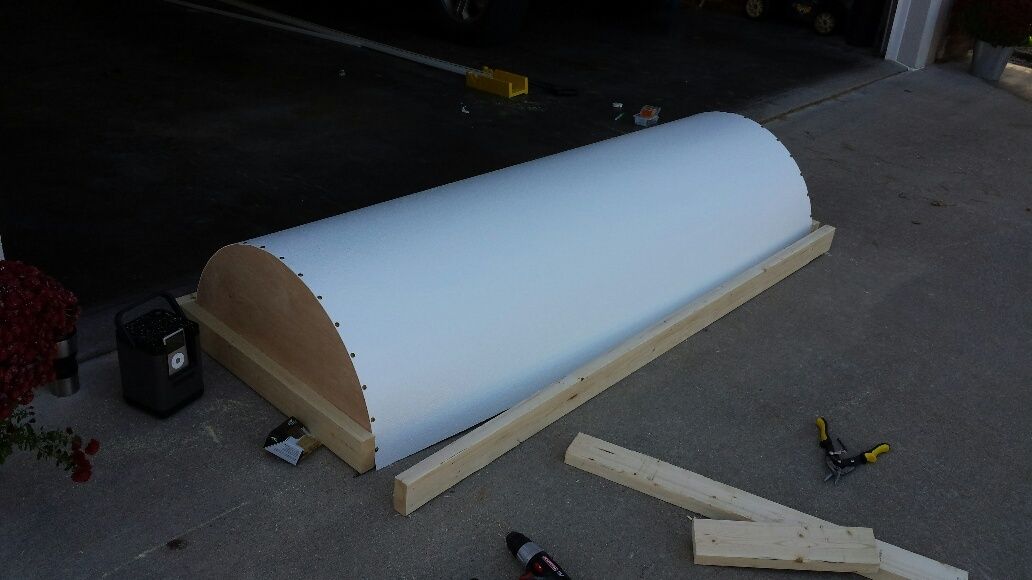
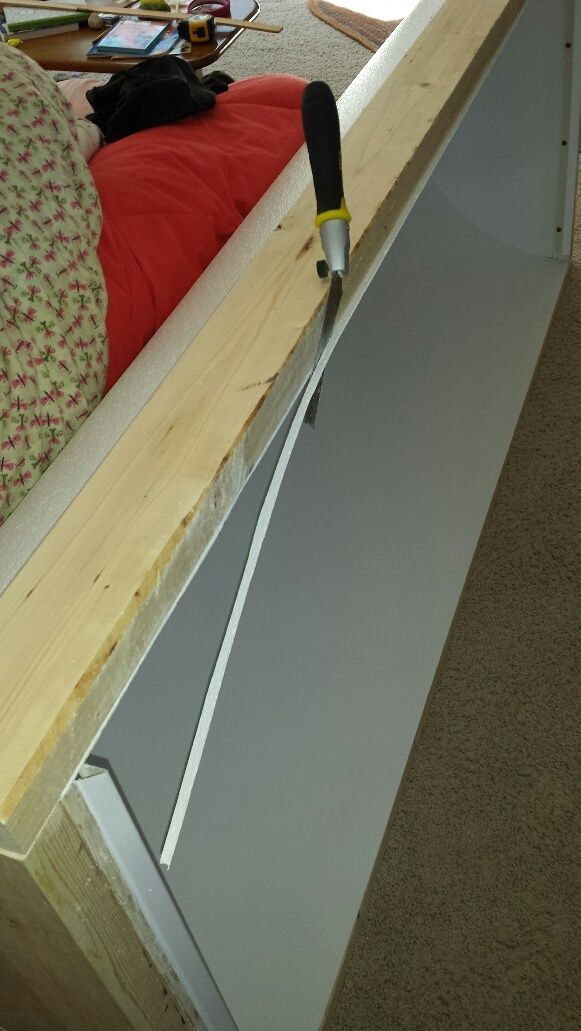
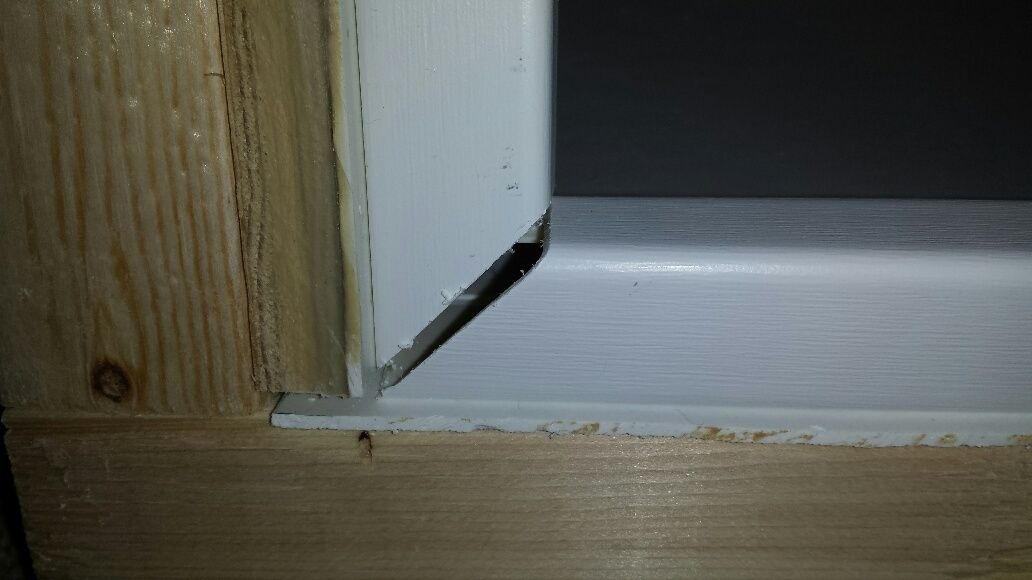
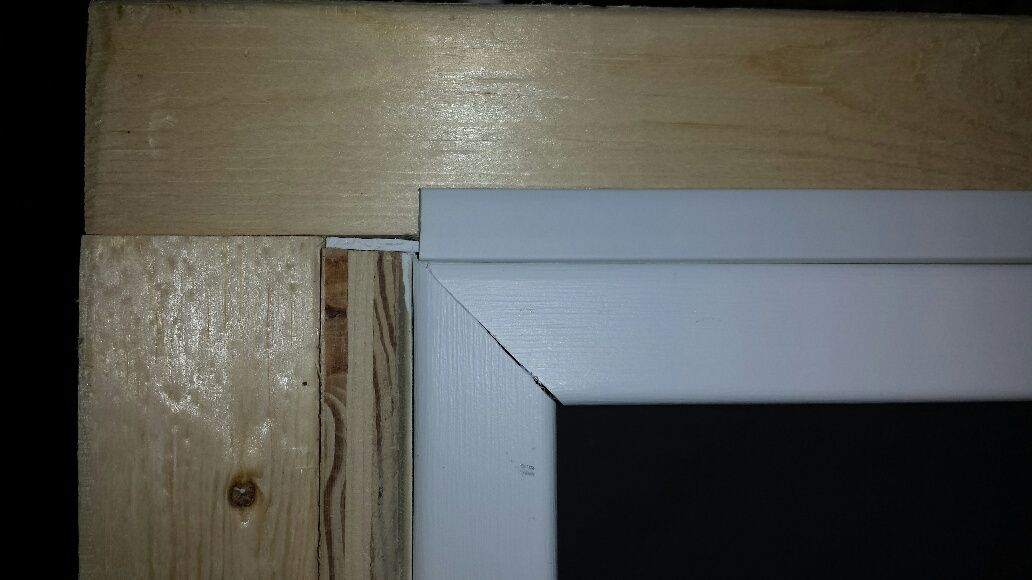
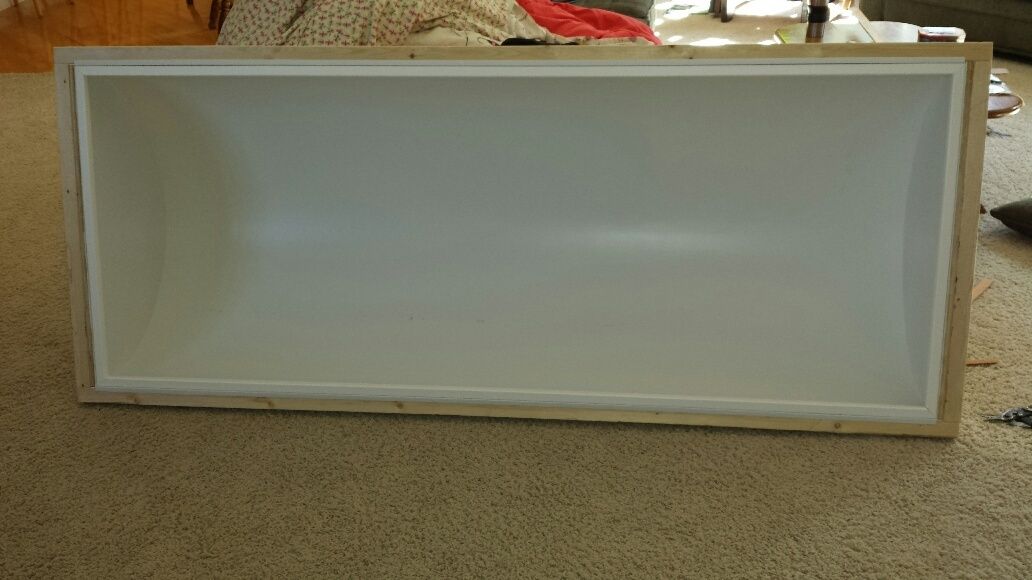
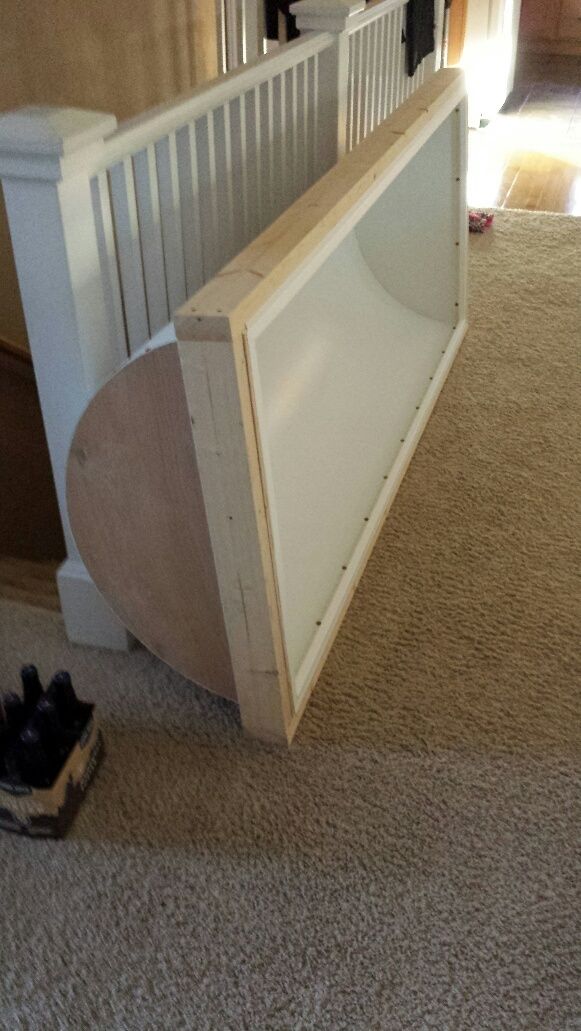
took a 'break' to get the frp attached to my plywood. the plywood is actually a nice piece of oak plywood leftover from my bar build. i've held onto it for a couple years thinking i would eventually find a use and lo, here we are! the piece is only 15" wide though so when i go to install the main frp on the half circles, i'll have to trim about an inch off of the 4' side of the frp sheet. shouldn't be a problem:
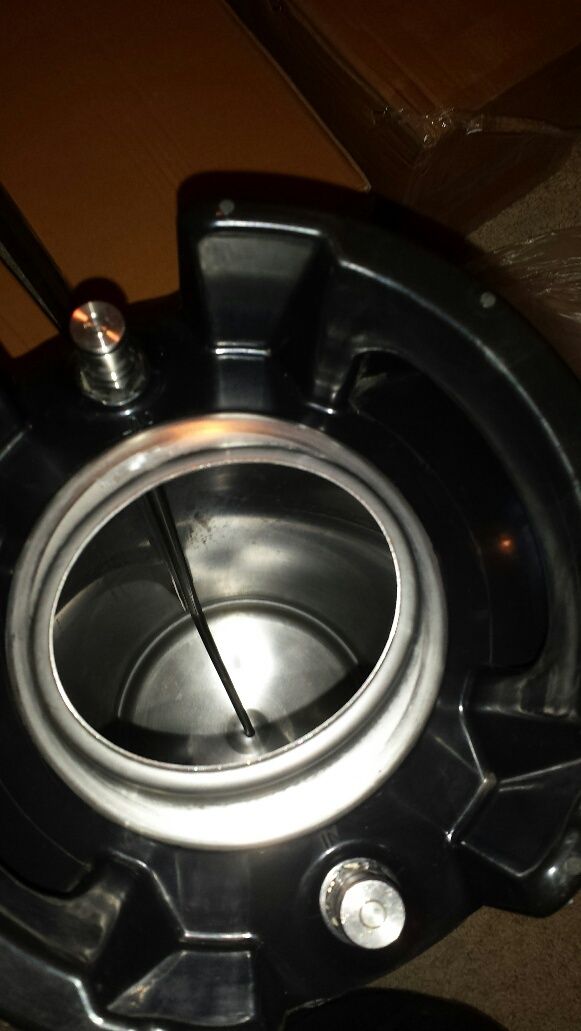
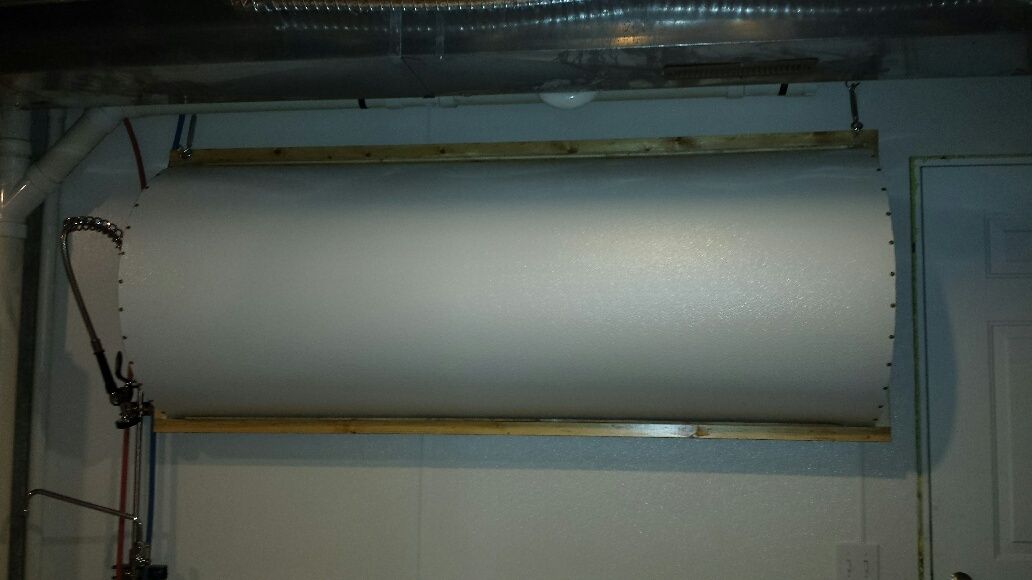
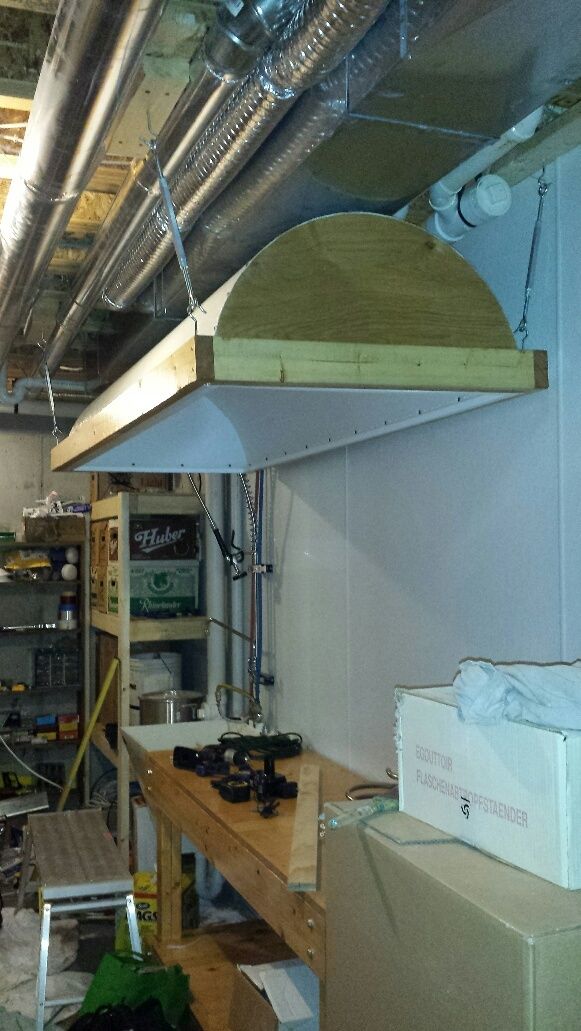
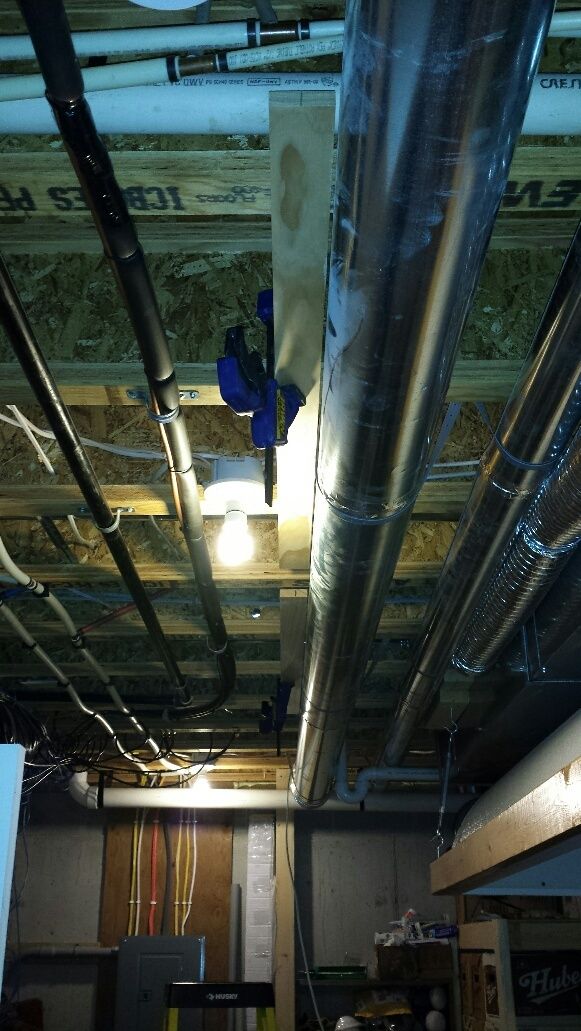
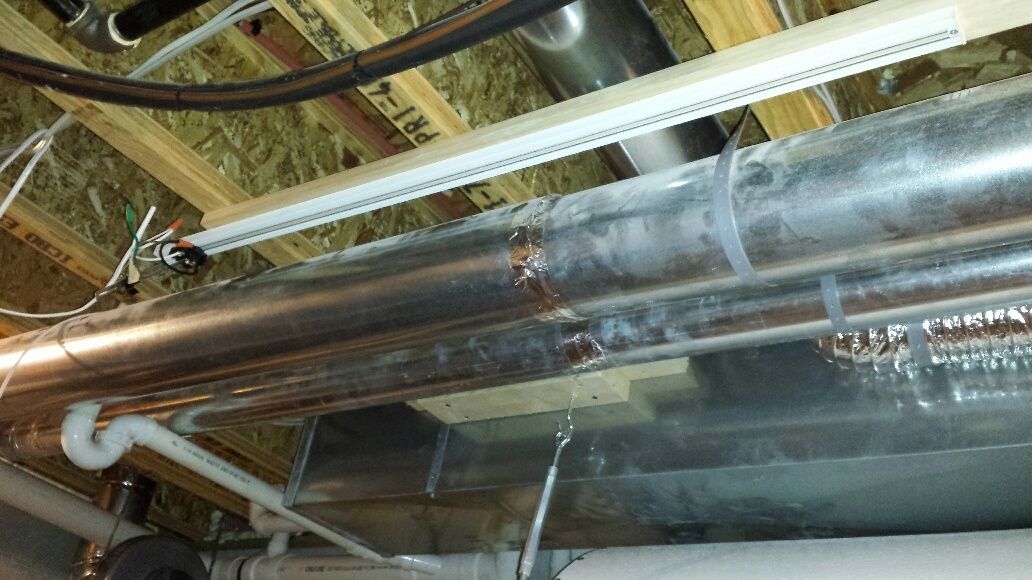
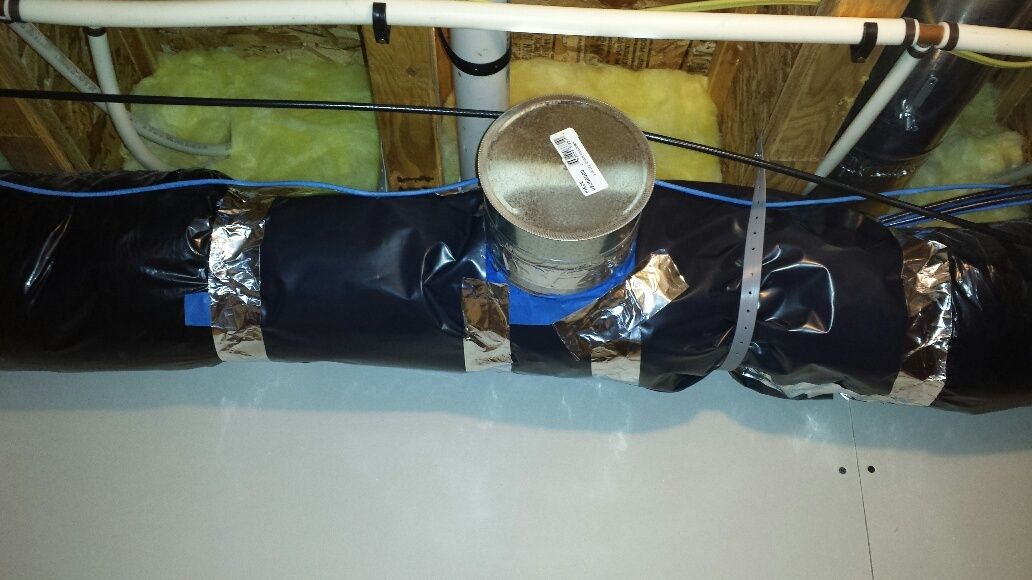
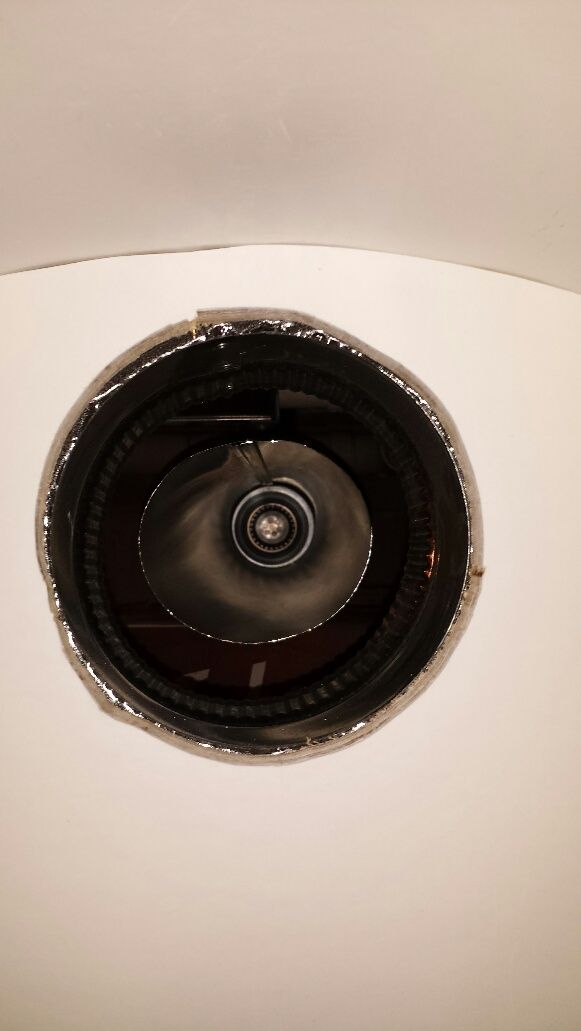
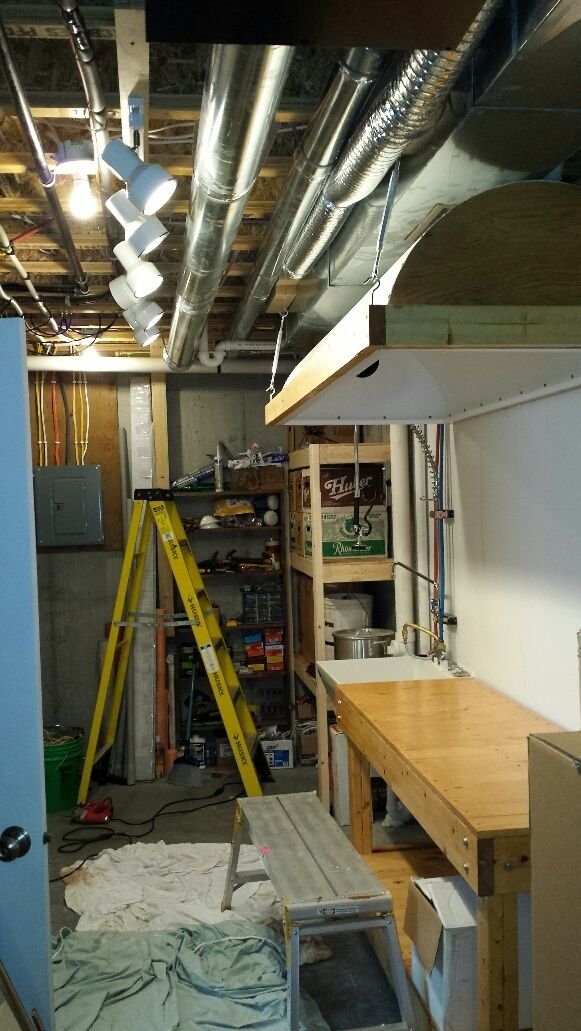
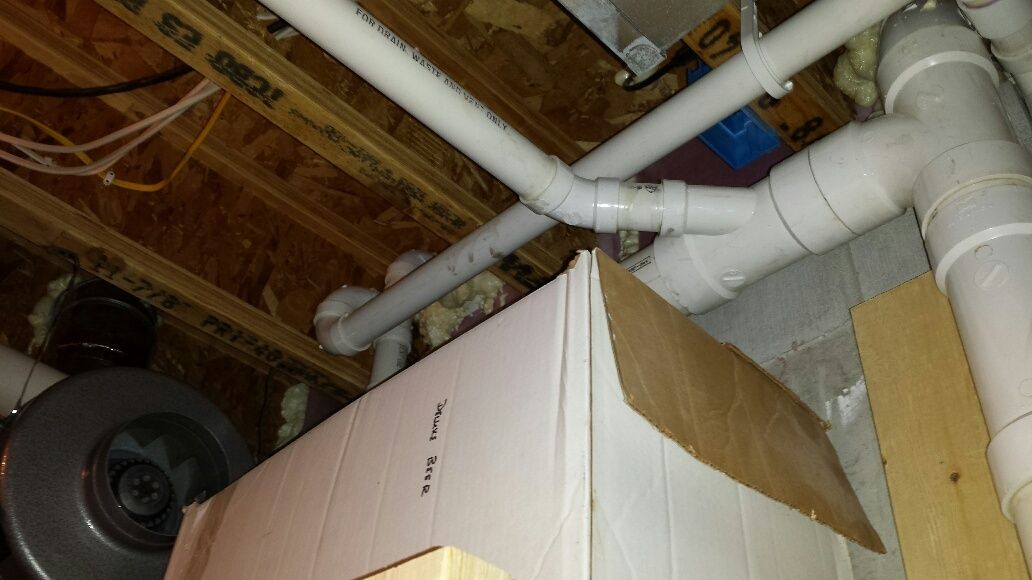
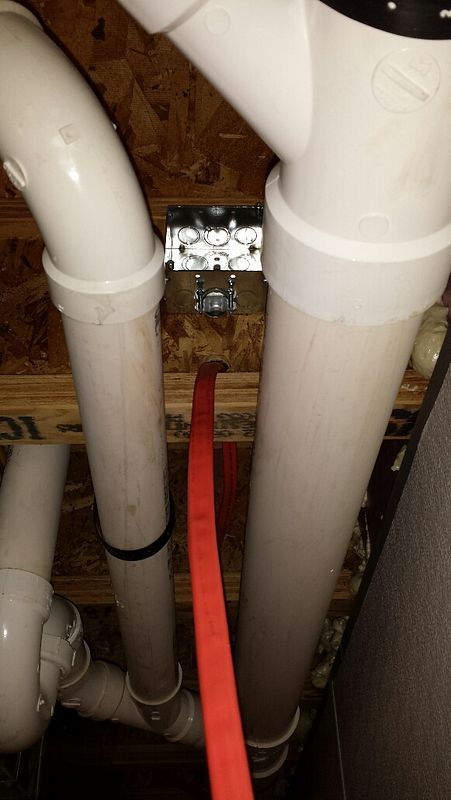
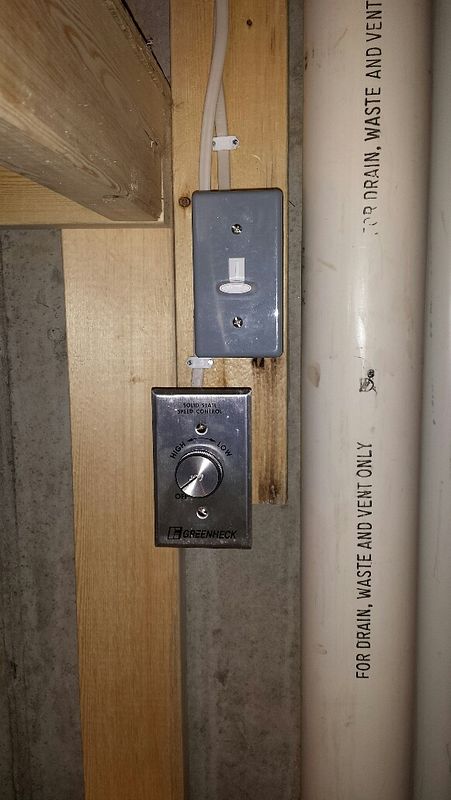
next step was the receptacle for the vent fan cord as well as the control switch. single gang box mounted up in the joists, you can see the distance to the fan:
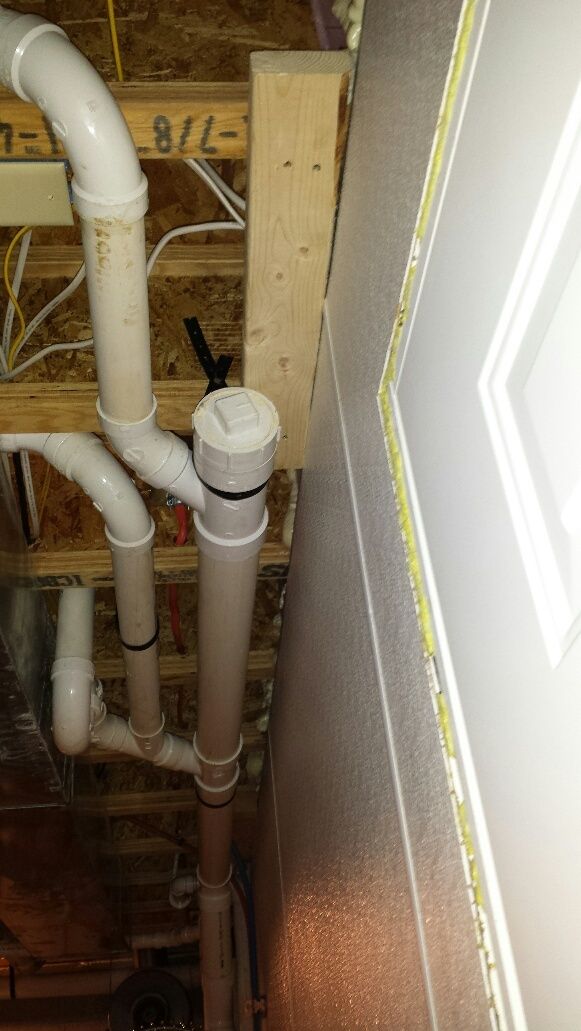
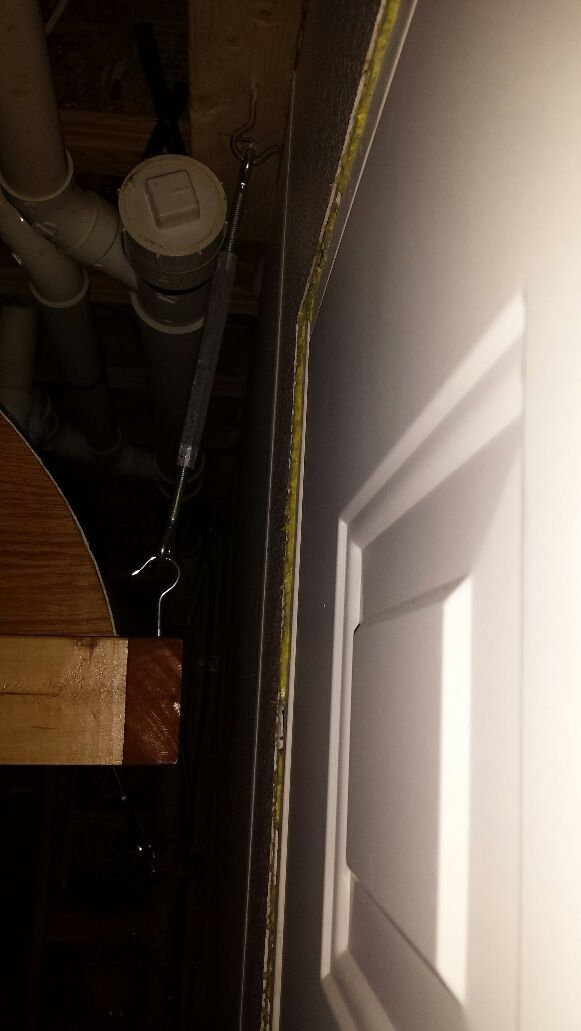
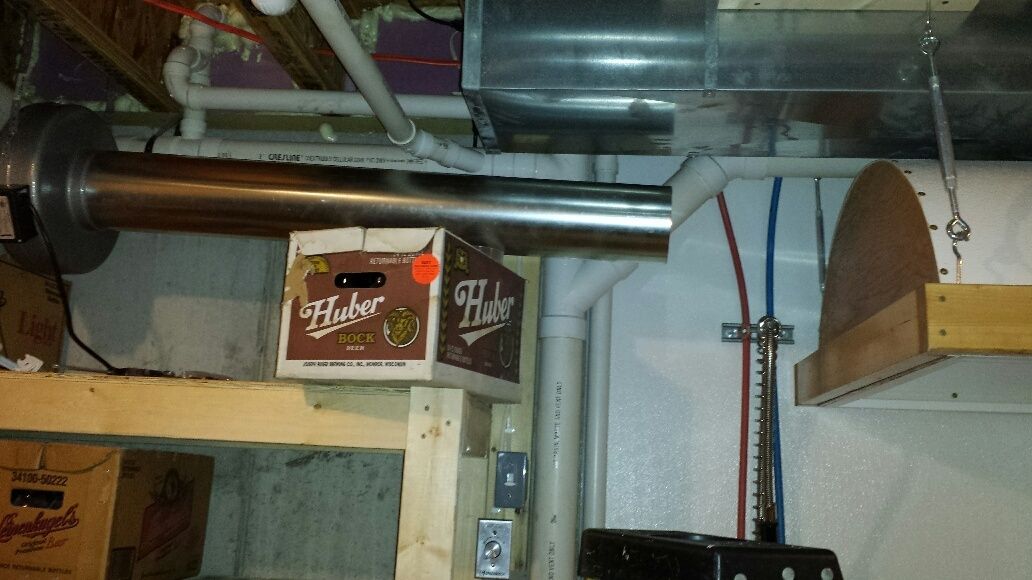
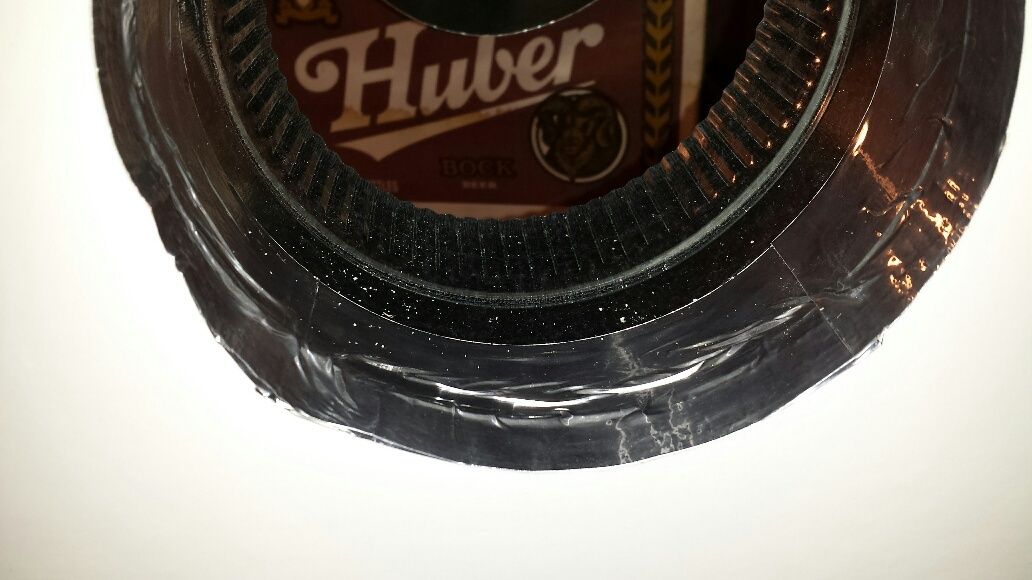
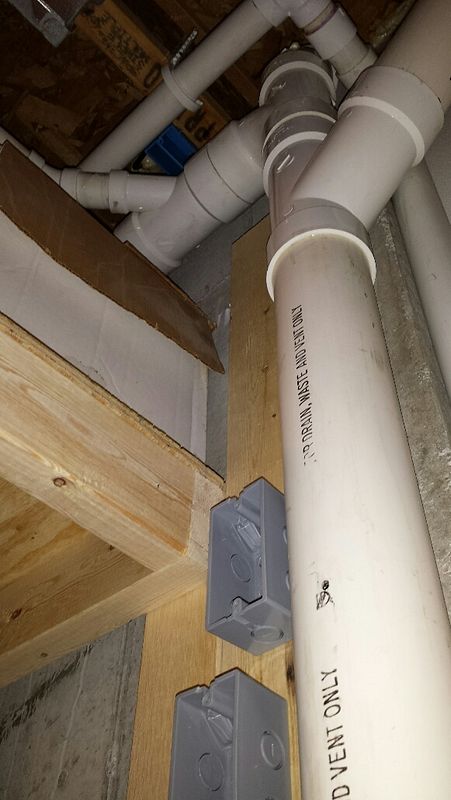
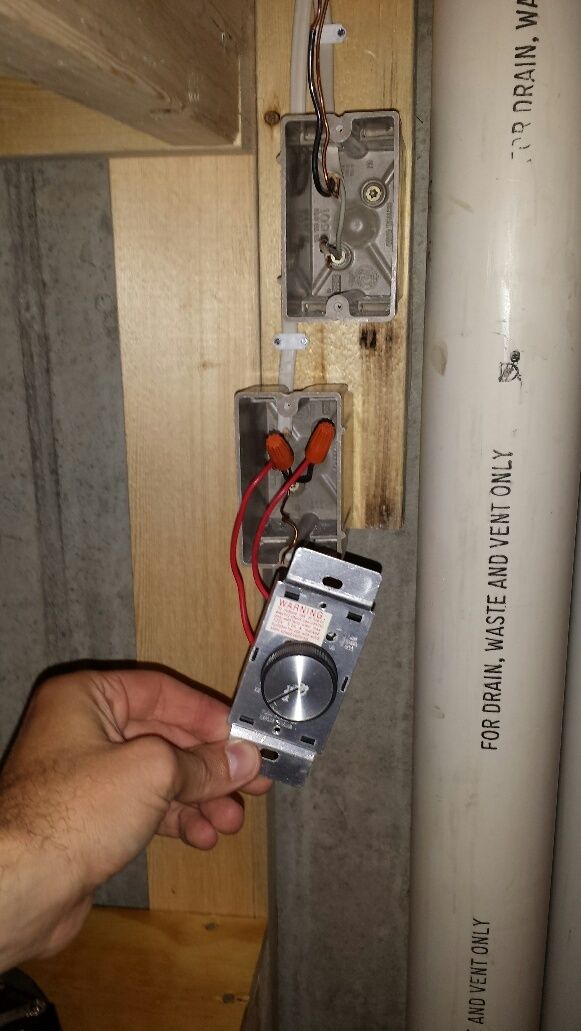
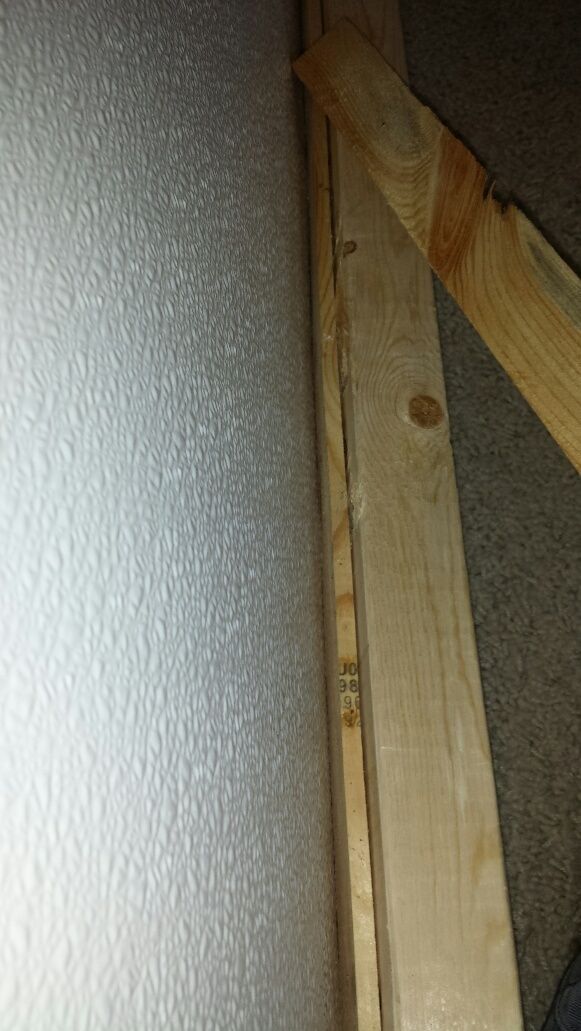
and a shot of the box fro the control switch. i added a second box to control some future lighting. not sure what the scheme will be but i'm getting the switch in there now. the switches are mounted to a 2x4 which is glued to the concrete wall. it was the perfect size gap between the vent stack piping and the adjacent shelf:
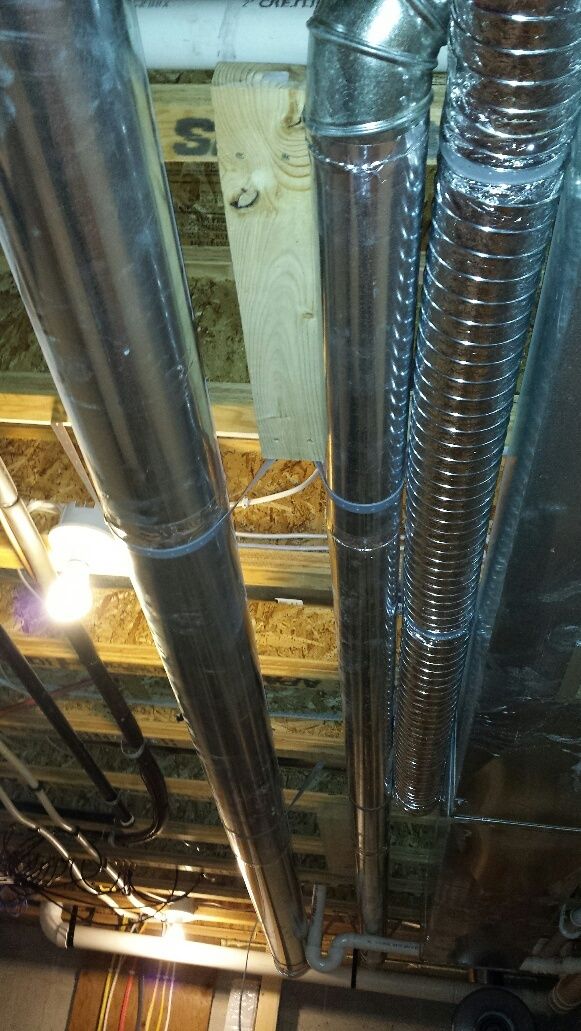
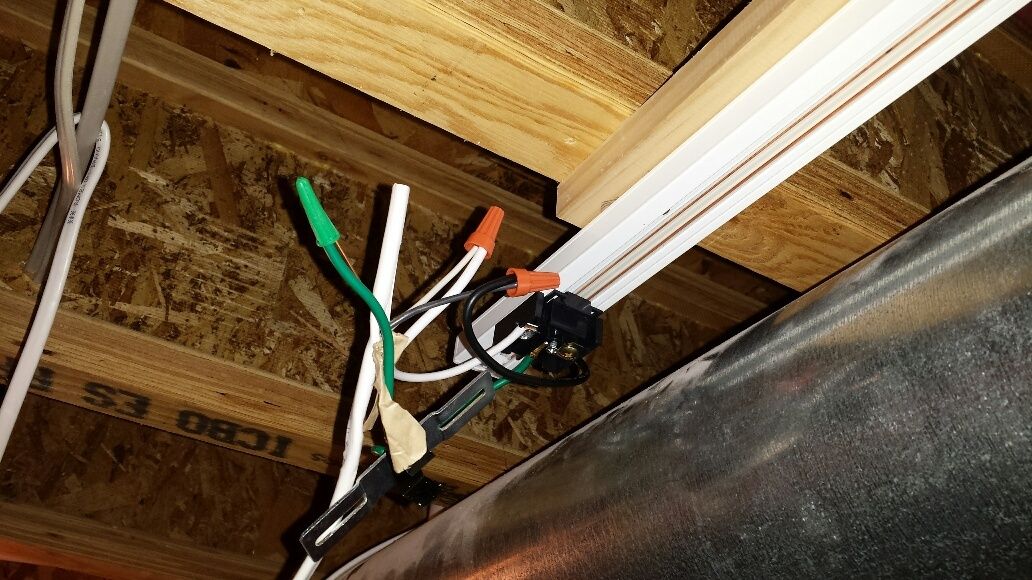
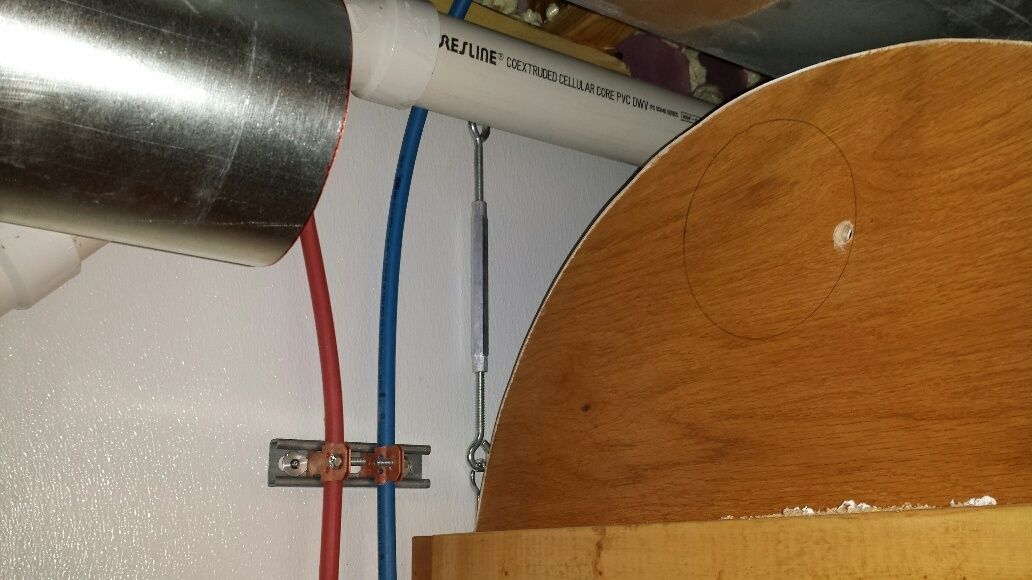
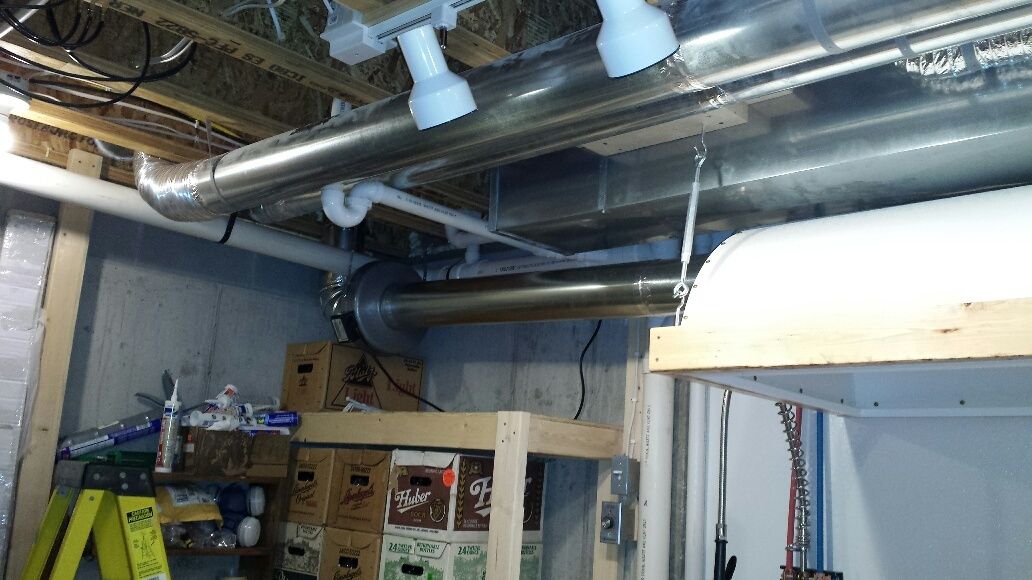
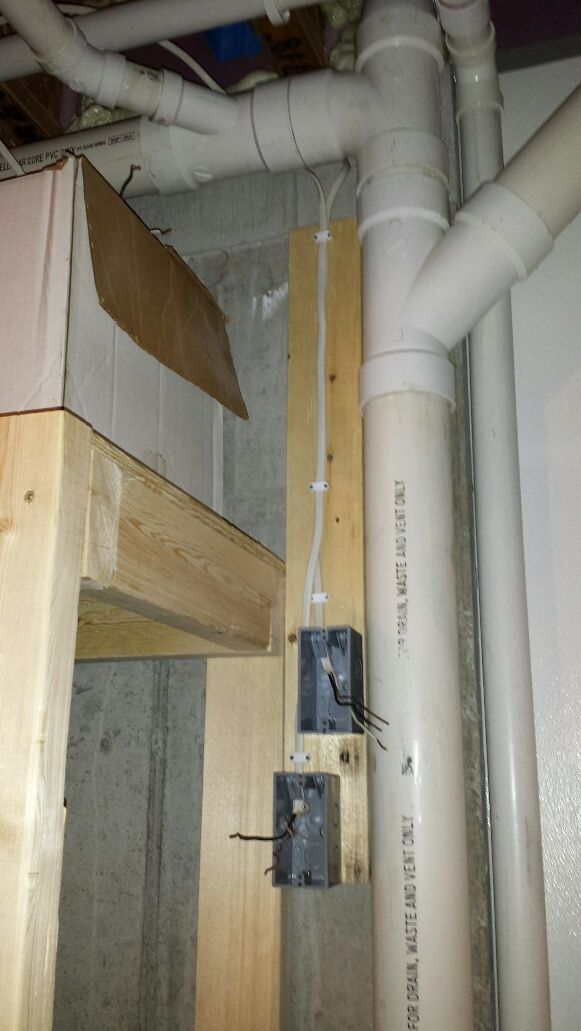
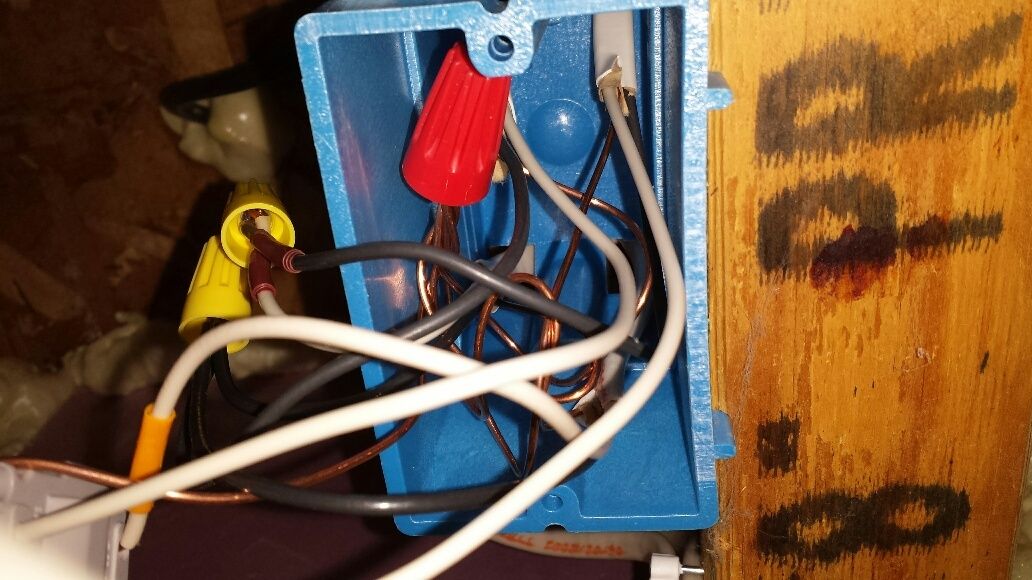
and with the wires installed from the switch boxes up to the receptacle. there is also a dedicated 15 amp circuit wired back to my subpanel:
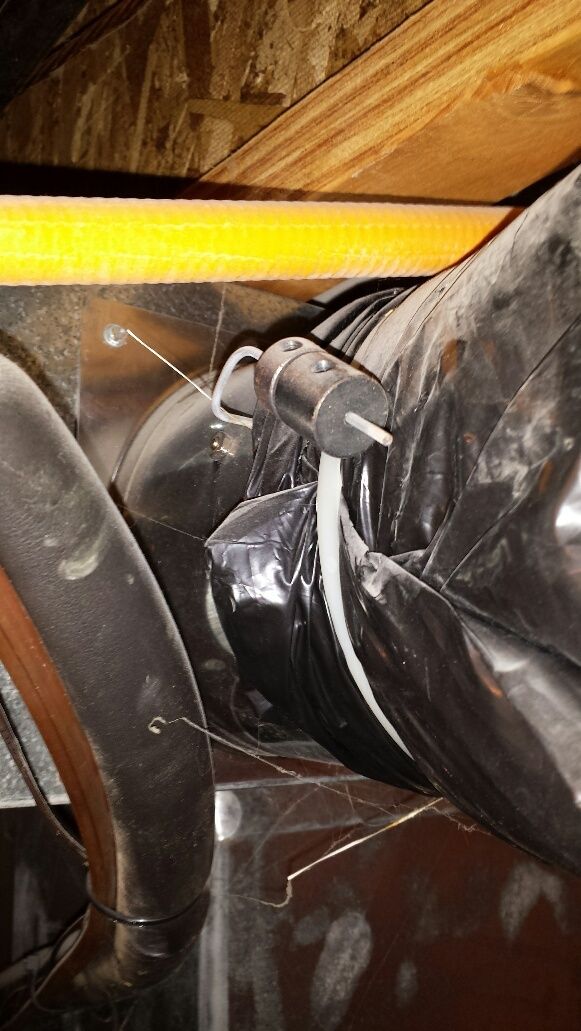
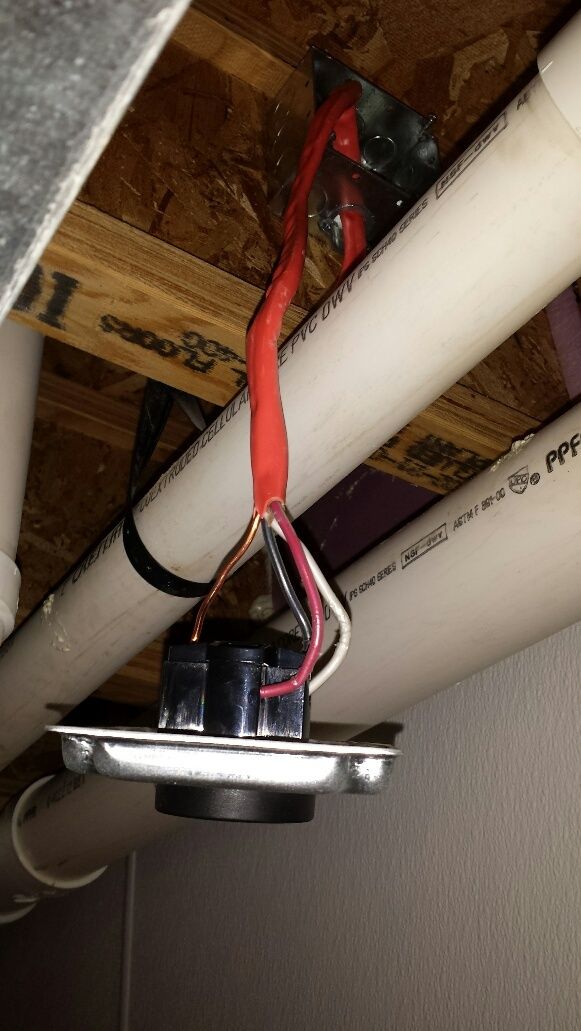
by this time, the packer game was on so i called it a day. my fan controller should show up today so i can get that all finalized. looking at the photos, i'm debating rotating the fan 90 degrees or so such that the fan junction box is on the back side, will make for a cleaner look.
awoke this morning and checked my phone to discover the infamous 'menards 11% off sale' was a go for this week. finally! i've been holding off on a bunch of building stuff to save the 11%. one big item i had been holding off on is the 30 amp gfci breaker to serve the control panel. this would normally be $108.67 (with tax) but i got it for $97.34 after the rebate. this isn't available at the store so i had to order it. still cheaper than what i was finding online.
ran to the store and grabbed electrical parts for stuff 'upstream' of the control panel, as well as some ductwork pieces for my makeup air system as well as parts to finish off my vent hood. i have some scrap frp and plywood lying around so decided to steal deprecated's design:
https://www.homebrewtalk.com/showthread.php?t=371453
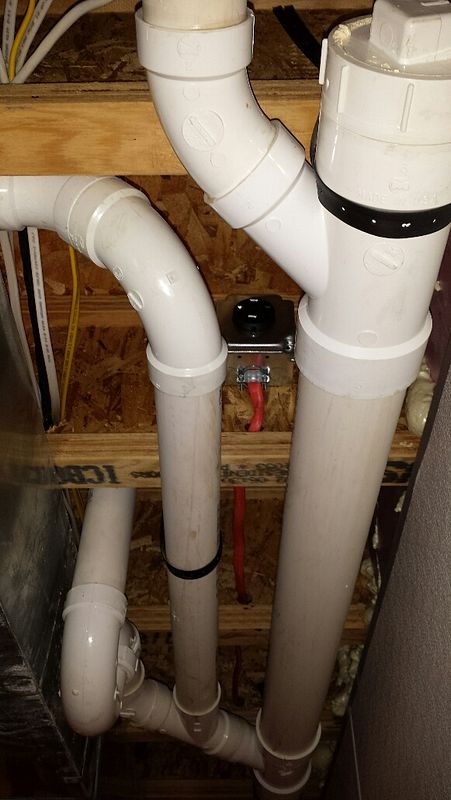
i eventually plan on having a keezer and fermentation chamber so i wanted to get some additional receptacles in the brewery area. like everything else i seem to do, first step was to get stuff out of the way. you can see the subpanel for my circuits in the background. before:
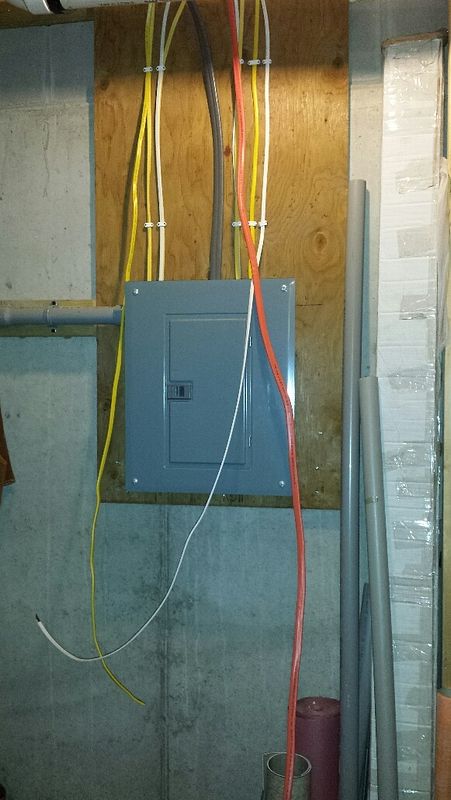
and after:
the cleaned up area would be the perfect spot for a keezer, with a fermentation chamber to the side. there is already a receptacle on the wall but it is part of the general basement utility area circuit which serves lights, the water heater (gas) and a chest freezer. i wanted a dedicated circuit for brewery stuff. rather than hack the drywall up and fish wires, i decided to simply take the drywall down. it is only two panels and they aren't even full size. first panel removed:
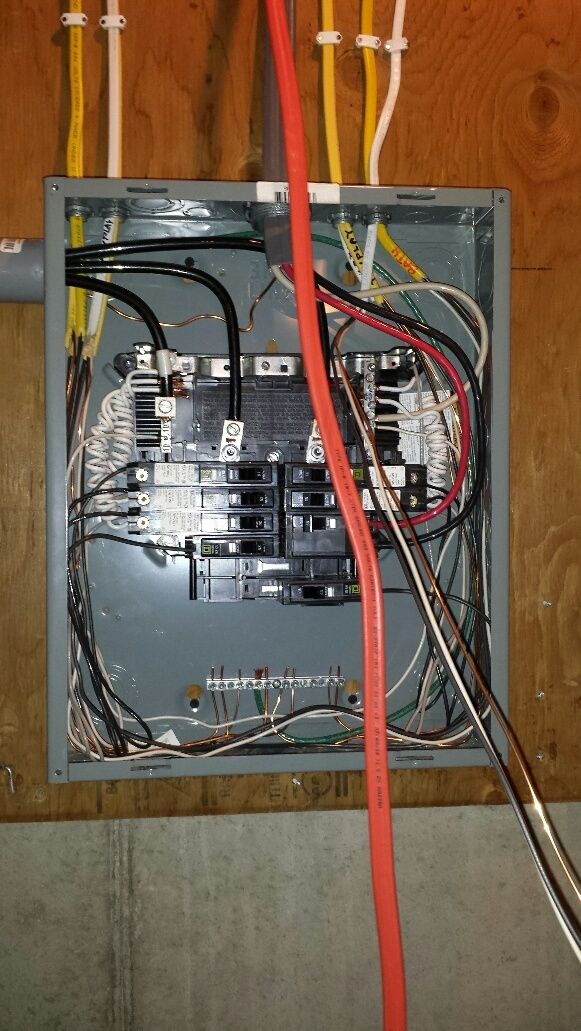
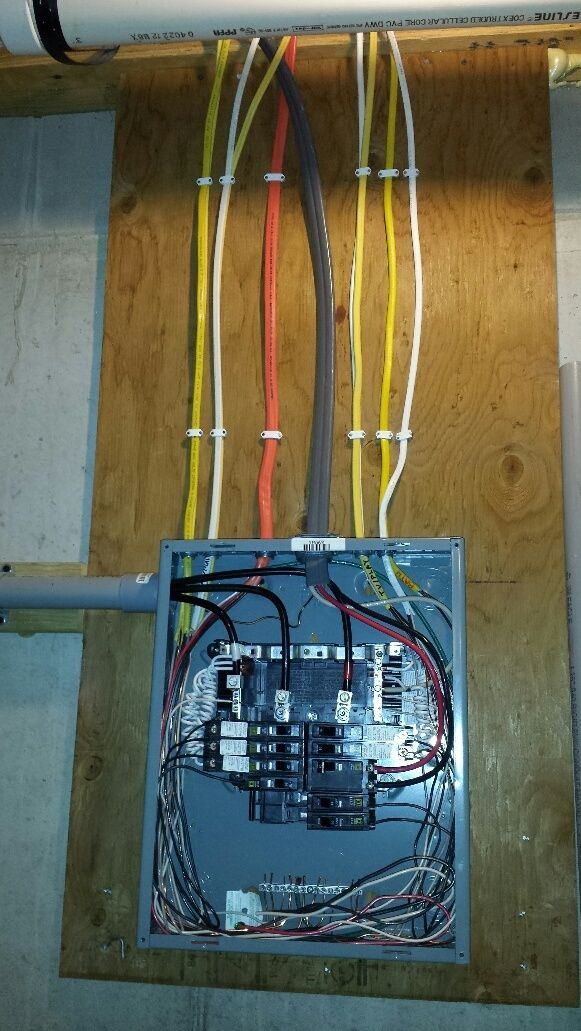
two new boxes installed, with wiring between them. a 20 amp circuit might be overkill but with the effort i was putting in, might as well get the extra capacity for a minimal additional cost:
upper piece of drywall removed:
openings for the receptacles cut into the lower drywall piece:
and the lower piece of drywall reinstalled. i don't have a drywall gun so simply cranked back the torque on the drill to prevent overdriving the screws:
receptacles wired up, installed and wall plates added. i purposely chose a wonky color to help distinguish them from the old receptacle. they will likely be covered with equipment anyway:
and the upper piece of drywall re-attached:
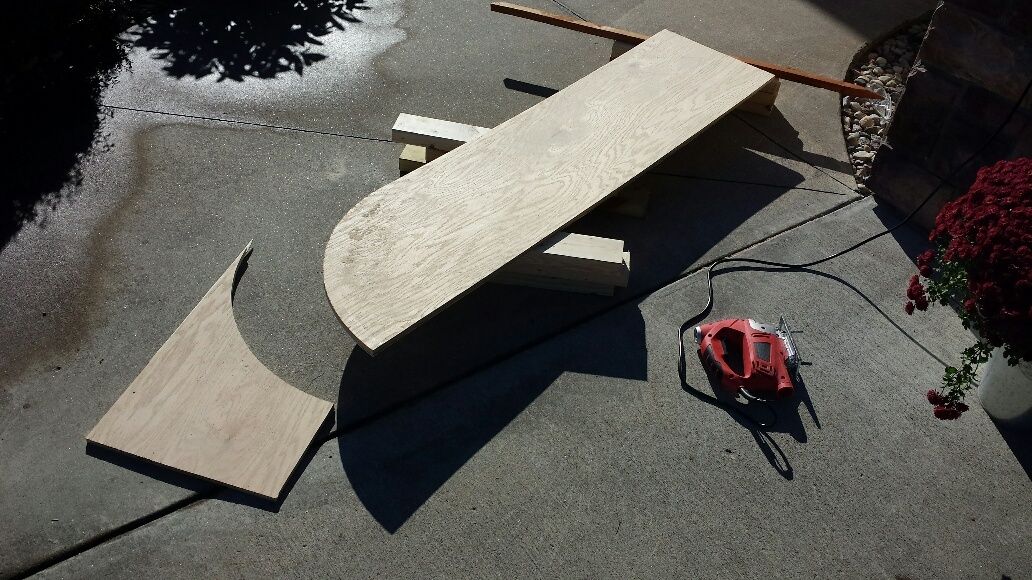
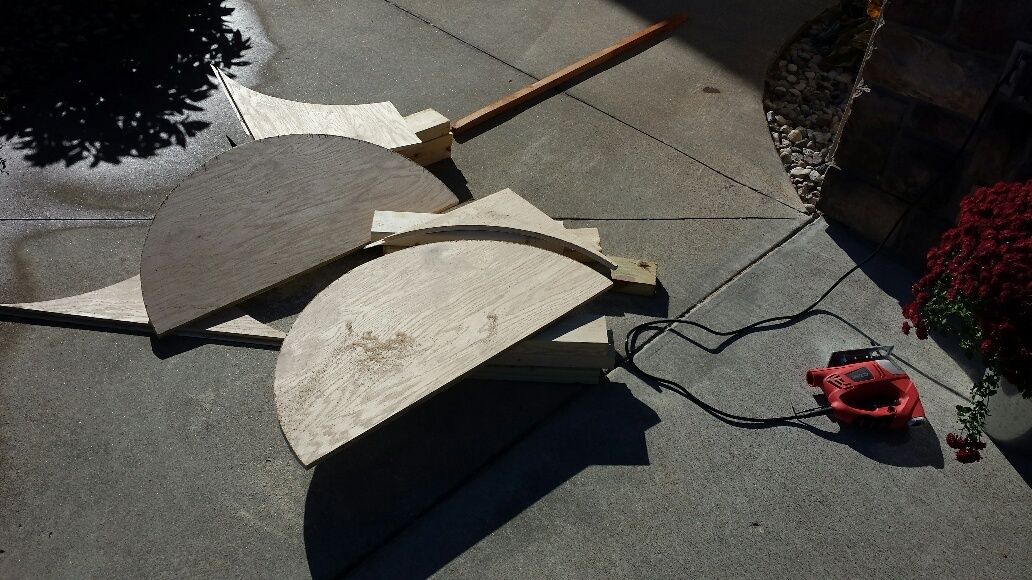
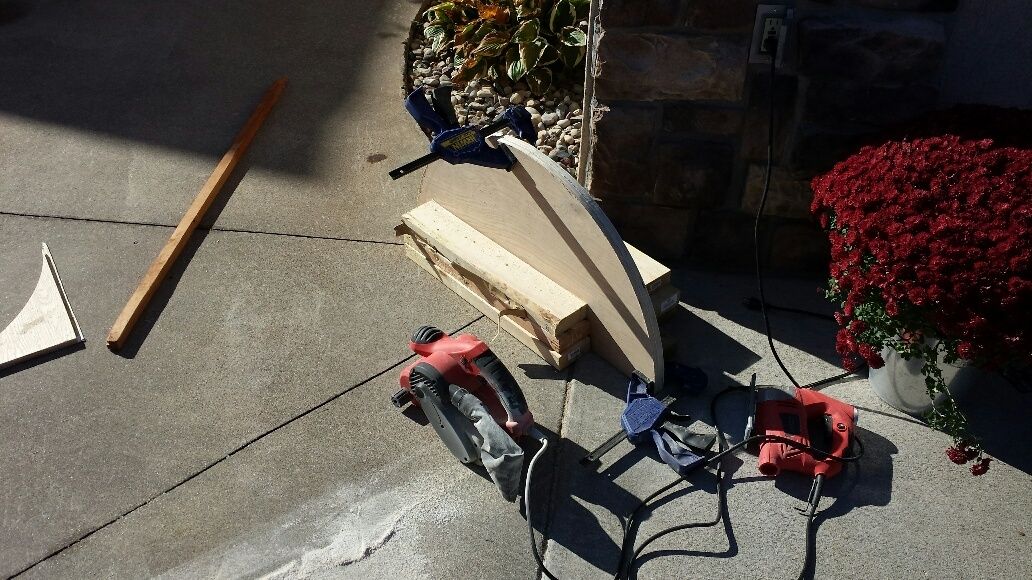
took a 'break' to get the frp attached to my plywood. the plywood is actually a nice piece of oak plywood leftover from my bar build. i've held onto it for a couple years thinking i would eventually find a use and lo, here we are! the piece is only 15" wide though so when i go to install the main frp on the half circles, i'll have to trim about an inch off of the 4' side of the frp sheet. shouldn't be a problem:
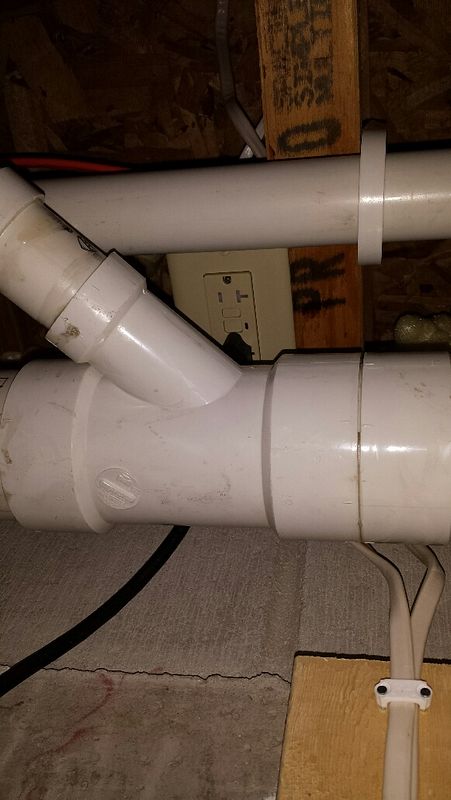
next step was the receptacle for the vent fan cord as well as the control switch. single gang box mounted up in the joists, you can see the distance to the fan:
and a shot of the box fro the control switch. i added a second box to control some future lighting. not sure what the scheme will be but i'm getting the switch in there now. the switches are mounted to a 2x4 which is glued to the concrete wall. it was the perfect size gap between the vent stack piping and the adjacent shelf:
and with the wires installed from the switch boxes up to the receptacle. there is also a dedicated 15 amp circuit wired back to my subpanel:
by this time, the packer game was on so i called it a day. my fan controller should show up today so i can get that all finalized. looking at the photos, i'm debating rotating the fan 90 degrees or so such that the fan junction box is on the back side, will make for a cleaner look.
 ):
):

")