How to add permanent volume markings to a kettle (illustrated)

Homebrew Talk - Beer, Wine, Mead, & Cider Brewing Discussion Forum

Help Support Homebrew Talk - Beer, Wine, Mead, & Cider Brewing Discussion Forum:

This site may earn a commission from merchant affiliate links, including eBay, Amazon, and others.
Good point on the foam. But doing multiple transfers (carboy, keg, carboy, keg) seems like risking too much exposure and added losses.

It's not about "multiple transfers". I think you misunderstood what I was saying. This is just using water to get an initial volume measurement. If the goal is to get the max amount of beer into a 5 gallon keg, without overfilling it, then instead of marking that volume on the inside of your kegs mark it on the outside of your carboys. Then you don't have to deal with trying to peer through the dense layer of Starsan foam to see the beer level in the keg.

I have vinyl volume markers on my carboys I bought from Bobby M. I've been shooting a little above the 5 gallon mark to get more beer into my kegs and I thought about doing the same thing with a couple of my carboys.
 
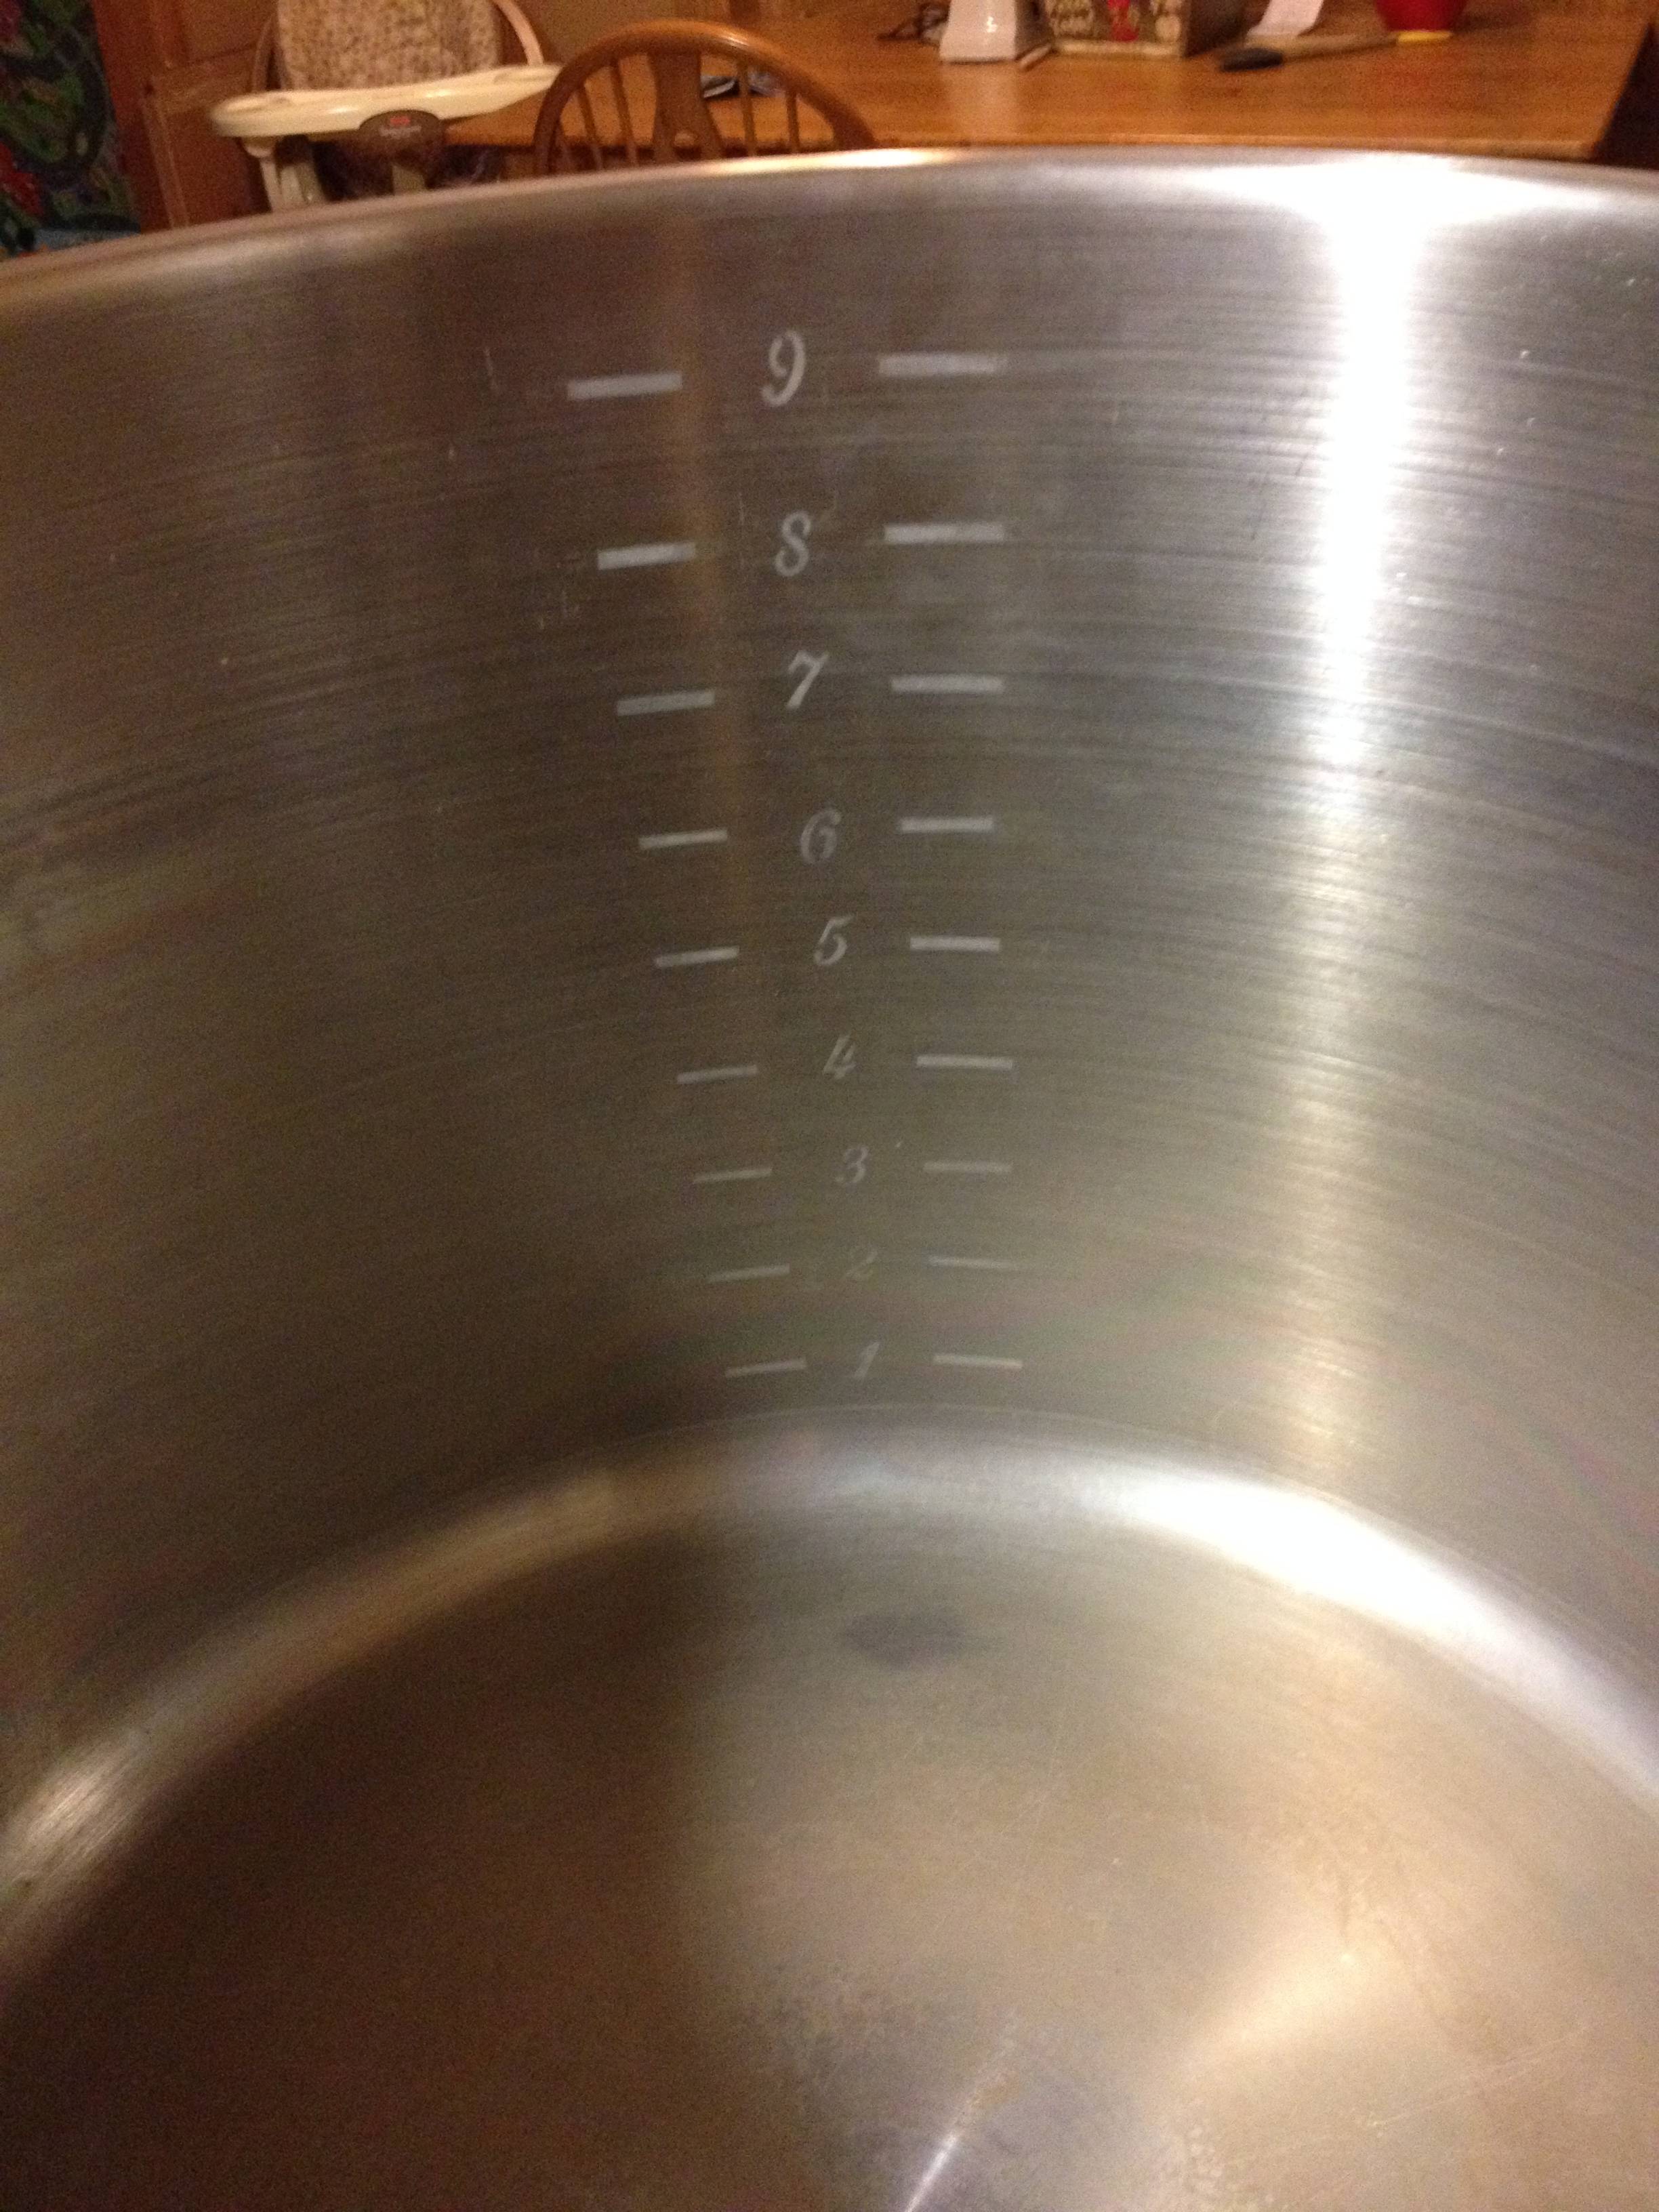
Did mine yesterday. Pretty straight forward. The most tedious part was filling 15 gallons, one gallon at a time, and getting the initial markings and everything tapped off. Could be a bit neater but overall I am happy with the results.
 
I found a wall charger for an old portable DVD player. Output 9v 2a. I stripped the two ends and taped one to the outside of a cheap stainless cup. Making a test run.
 
Mine were a little worse, but again, served the purpose. Wish I'd looked harder for better stencils(And had a couple less homebrews when applying em..), but oh well.

Thanks for the technique, I'm real happy. Was quickly able to figure out I missed my preboil volume during the brew today and adjusted before starting the boil. End batch size was spot on, doubt I would have hit it without these..

View attachment 1496803167616.jpg
 
Here's how you make this stupid easy.

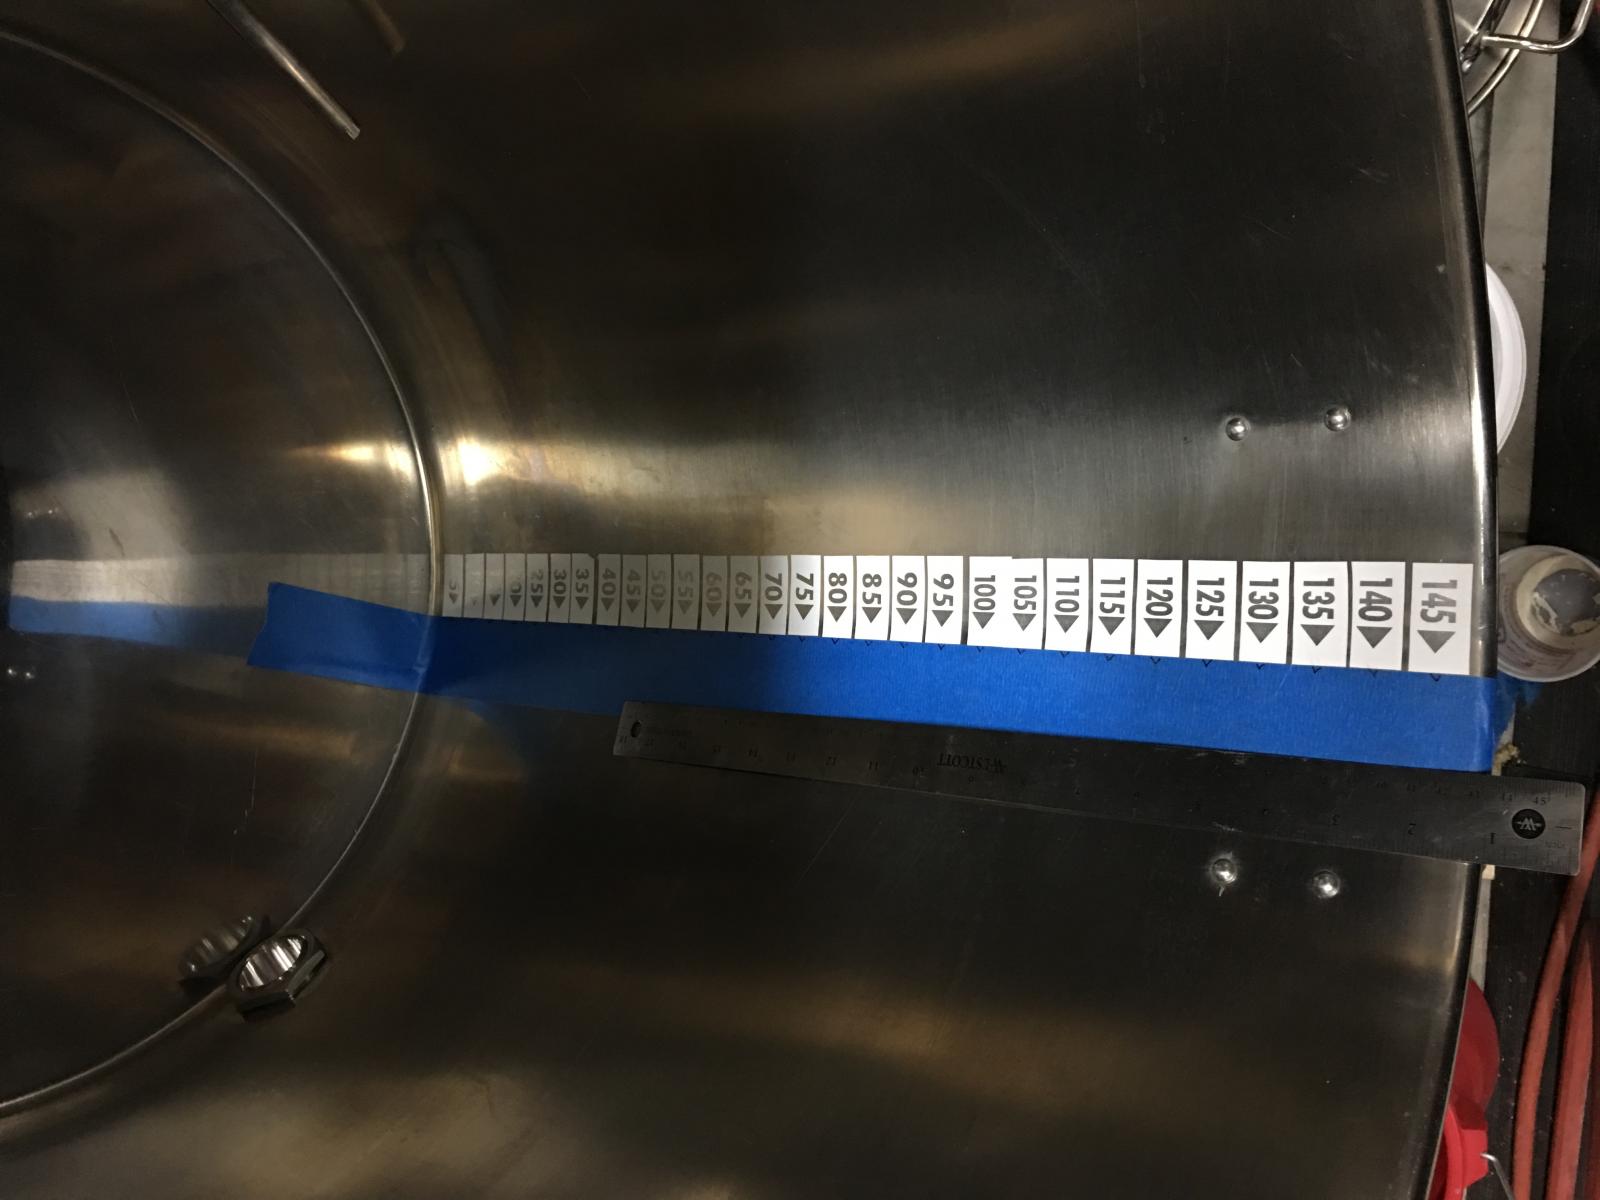
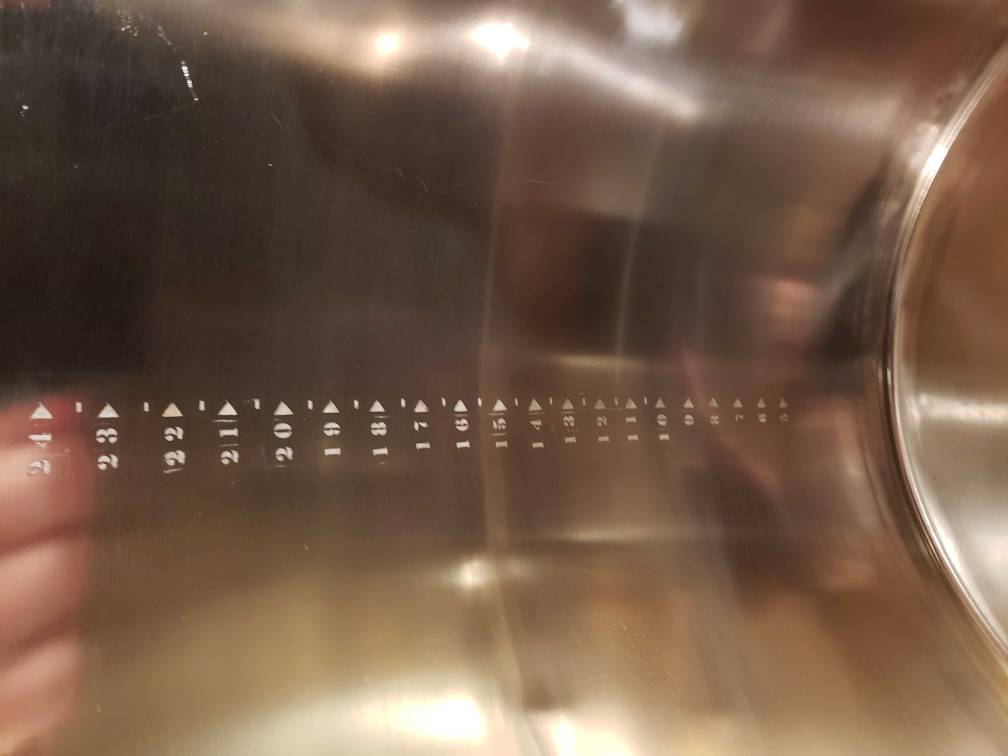
Step one determine your desired graduations, then go to brewhardware.com and pick out a set of sight glass decals. Put them in your cart and in the comments at checkout ask @Bobbym to invert them so that you can use them for etching (he knows what that means don't worry). Yes they are still only $8 a set (shut up and take my money).

Step two when they get to you determine the way you want to space them, for me I just did the math to determine the spacing and applied them based on that. There will be some error no matter what method you choose.

Step three proceed with etching as described in this thread.

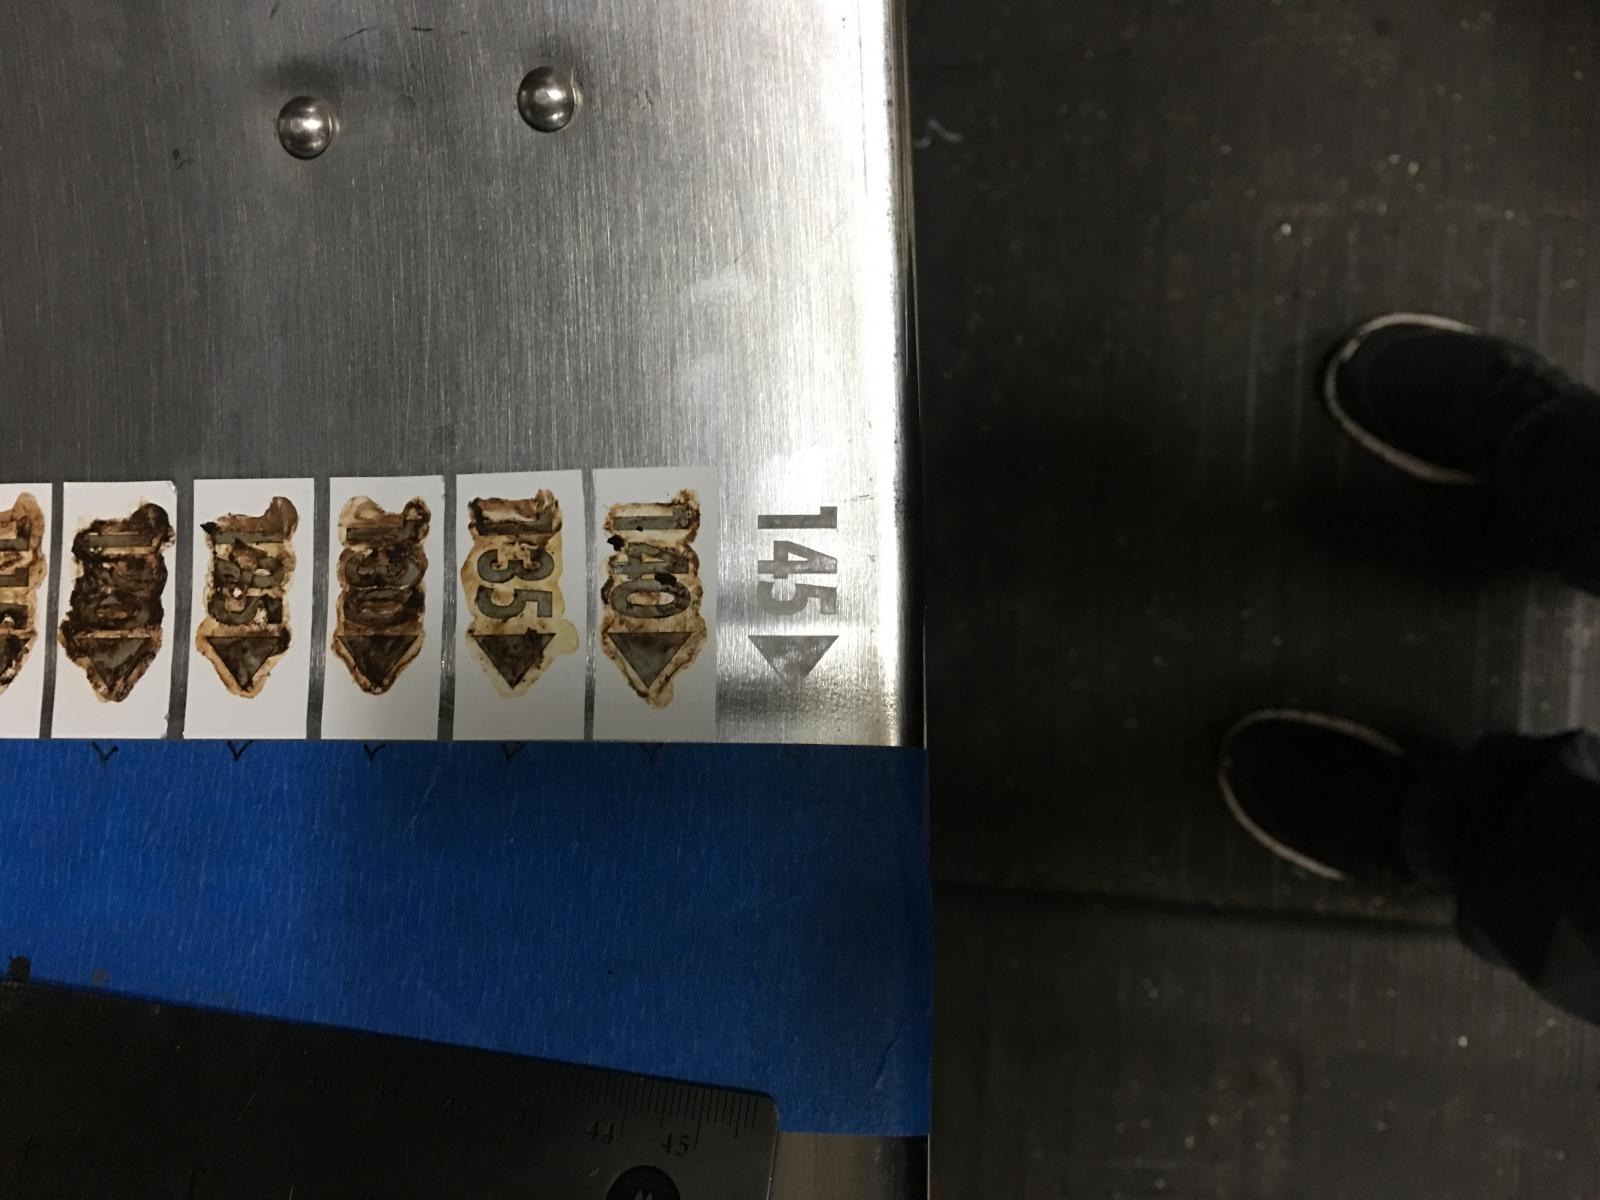
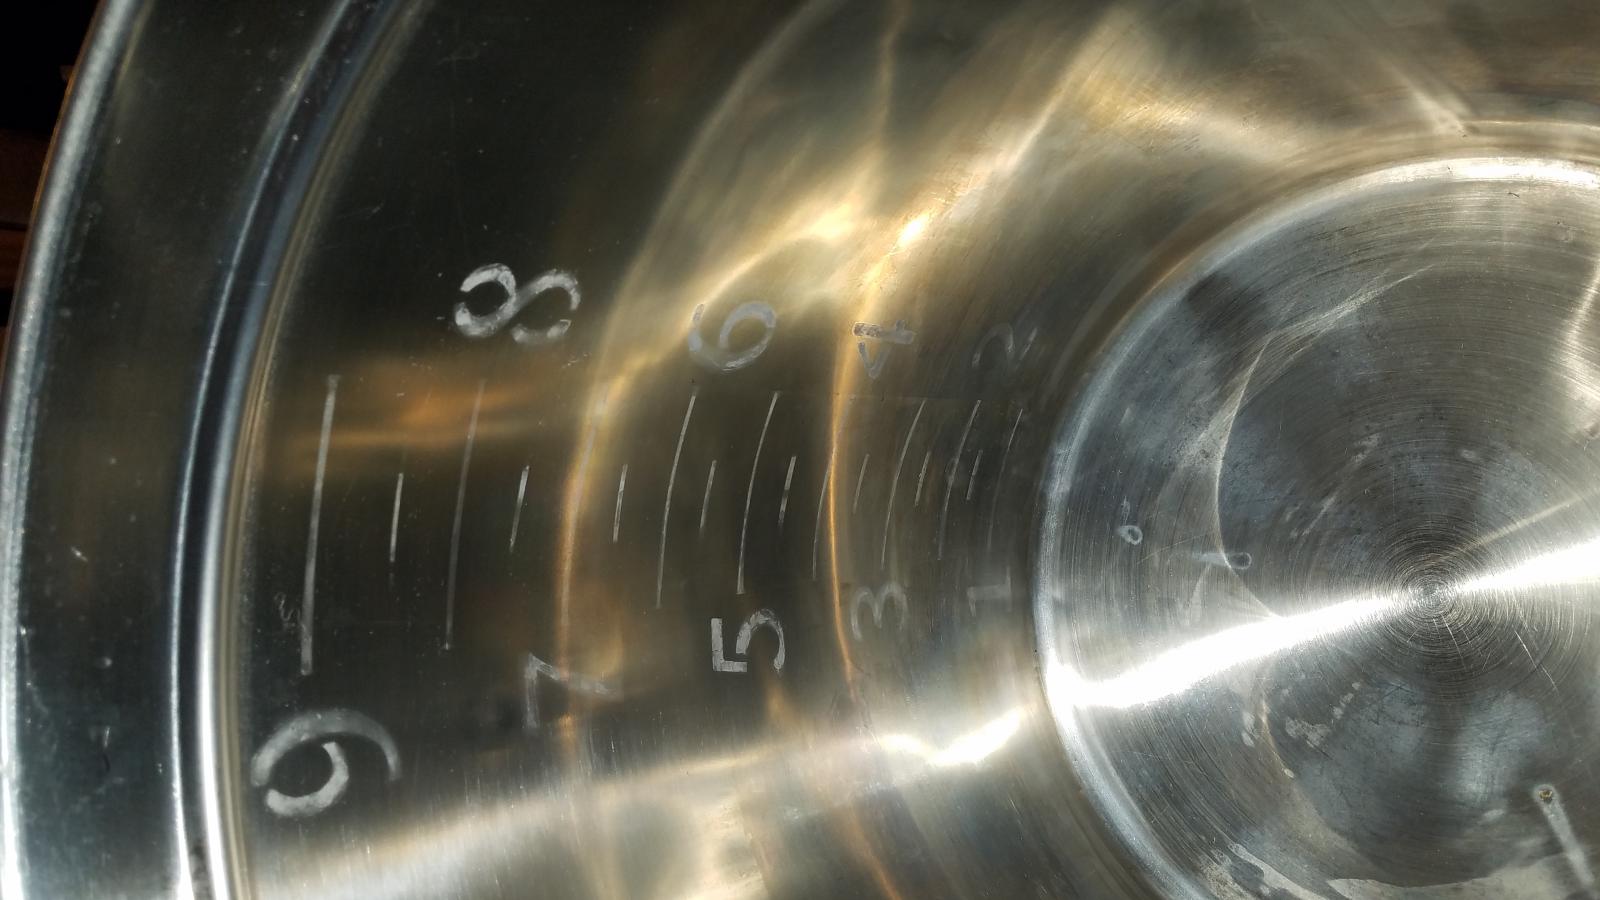
Here are mine.

IMG_1201.jpg


IMG_1202.jpg


IMG_1203.jpg
 
View attachment ImageUploadedByHome Brew1497196544.310704.jpg

Tapped up...

View attachment ImageUploadedByHome Brew1497196570.840095.jpg

Gallon mark etching complete...

View attachment ImageUploadedByHome Brew1497196646.216436.jpg

Numbers added and power washed clean...

View attachment ImageUploadedByHome Brew1497196676.364053.jpg

Boil kettle put back together!

This project turned out way more tedious than I'd planned. I'd argue some of that was my fault though in having to deep clean the kettle, and also doing the vertical line tangent to each gallon mark.

I'm happy with the final product though.

Heads up to anyone else looking to do this. The "white" etching can almost turn invisible depending on the angle you're looking from. With a flat surface in a kettle this probably isn't as much of an issue, but on a keggle it can get tricky...

Cheers! [emoji482]
 
I am at a loss to figure why this will not work for me ?? I upped the battery to 12v 8amp ( the battery that runs the depth finder on my kayak), I upped the salt to 1tsp in 1/8c vinegar, and I attached the + lead about 2 inches from I hope to be etching. Nothing !

16 GA wire - does it matter?
18 inches of wire - does that matter?
Non iodized salt ???

Good electrical contact? QTip saturated contact with other wire good and sloppy wet? Reversed polarity? Special Unobtanium Metal Kettle?
 
Polarity is also key. You should hear some amount of fizzing as you make contact.

The Q-Tip turns black pretty quickly from scratching the metal off if you’ve got everything setup correctly
 
Purchased a Silhouette Cameo vinyl cutter for my daughter a couple Christmases ago... I've been using it more than she has!

Then... I remembered this thread.

Thought I'd test out etching my pot (inside & out) on the lid first as I care a lot less about it than the pot itself... here's my first etching test with vinyl off the cutter:

FinalEtch_1.jpg


I have notations w/numbers about where I goofed up:

1) That was actually the edge of the vinyl and some of the electrolyte dripped out of the 'P' - I didn't realize that there was enough of an electrical circuit to actually etch the edge where the drips were. Barely noticeable, but noted for next time.

2) Something that I noticed that I didn't see (at least much of) in this thread - there can be a considerable amount of heat generated, especially when the q-tip starts to get dry and when it may be 'overloaded' with stainless that's removed. The vinyl that separated the round part of the 'g' from the 'tail' actually melted & deformed!

3) Those spots it seems I didn't double-check to verify the vinyl was glued well to the pot lid and I lost some resolution.

4) Another spot where I didn't burnish the vinyl well enough and there's a small, slight "bridge" between the last 'g' & 'e' of my name.

The vinyl I have is considered 'permanent' but it seems as if the glue takes a while to completely 'set' -- I put the vinyl down only a few minutes before I started etching and I wonder if it hadn't set fully and made it easier for the electrolyte to penetrate under the vinyl and make a less defined edge. When I etch my brewpot I'll probably apply the vinyl a day before I attempt the etch. It'll make it tougher to remove the vinyl once I'm complete, but it should reduce the chances of the vinyl lifting prematurely and hopefully I'll get better, crisper definition.

Notes:

* This is a very deep etch. I probably over-etched by a fair margin (especially if I melted small portions of the vinyl) so I'll know to not linger on each letter as much.

* I don't completely suck at chemistry (I understand basics like bases and acids), but it's not my strongest suit. I used about a 1/4 cup of white distilled vinegar and about 1 tsp. of coarse sea salt (all we have in the house right now) but I ground it up in my spice grinder to extremely fine so it would dissolve better in the cold liquid. Also, it seemed like the etching was quite slow just as the q-tip was fresh and just turning yellow, but the more metal that was etched, the faster the etching would go, as if the previously etched metal was helping create a stronger electrolyte that could carry more current.

* I understand electricity very, very well. Although I have a gazillion spare power supplies from 5v up to 20v, that's woefully difficult to experiment with or track the process, so I used a variable voltage, current limited IP-20 Heathkit power supply that can supply up to 50 volts at 1.5 amps. I tinkered with different voltages and about 16v seemed to work best for me, but the 'sizzle' didn't seem to happen (or at least much) unless I could keep the current draw above .75 amps and the best etching happened around 1.2 amps. Stopping often, moving to different letters often, and keeping the q-tip wet often seemed to help quite a bit. I'm also wondering if maybe I should try a lower voltage (6-9 volt) power supply, but something that can carry more current if maybe that would etch well also. When I had my power supply at the lower voltage, it seemed that it wouldn't supply enough amperage to etch well. Maybe more tinkering is necessary...

Is it perfect? Nope. A first try at a new project rarely is. Did I learn a lot? Yup! Am I still pleased with the results? Oh, heck yea!

Hope this helps!
 
Sweet! I just stumbled on this, so sorry if I'm necroposting lol. But will himalayan pink salt work for this? Or should I get a small thing of table salt?

I was even considering getting an actual kettle mainly for the graduation marks, but this looks more fun (and cheap)
 
No reason pink salt wouldn't work. As for "necroposting" (gotta be honest, I had to look that one up), this thread deserves to be brought back occasionally!
 
Just wanted to say thanks for the inspiration. Got mine done this past weekend.
 

Attachments

  • IMG_20180520_124744.jpg
    IMG_20180520_124744.jpg
    1.1 MB · Views: 346
This method uses electrolytic acid etching but requires nothing but cheap household materials! The hardest part is taping off where you want the marks to be. This works by actually removing metal only where the current flows.

BtYN9Gt.jpg

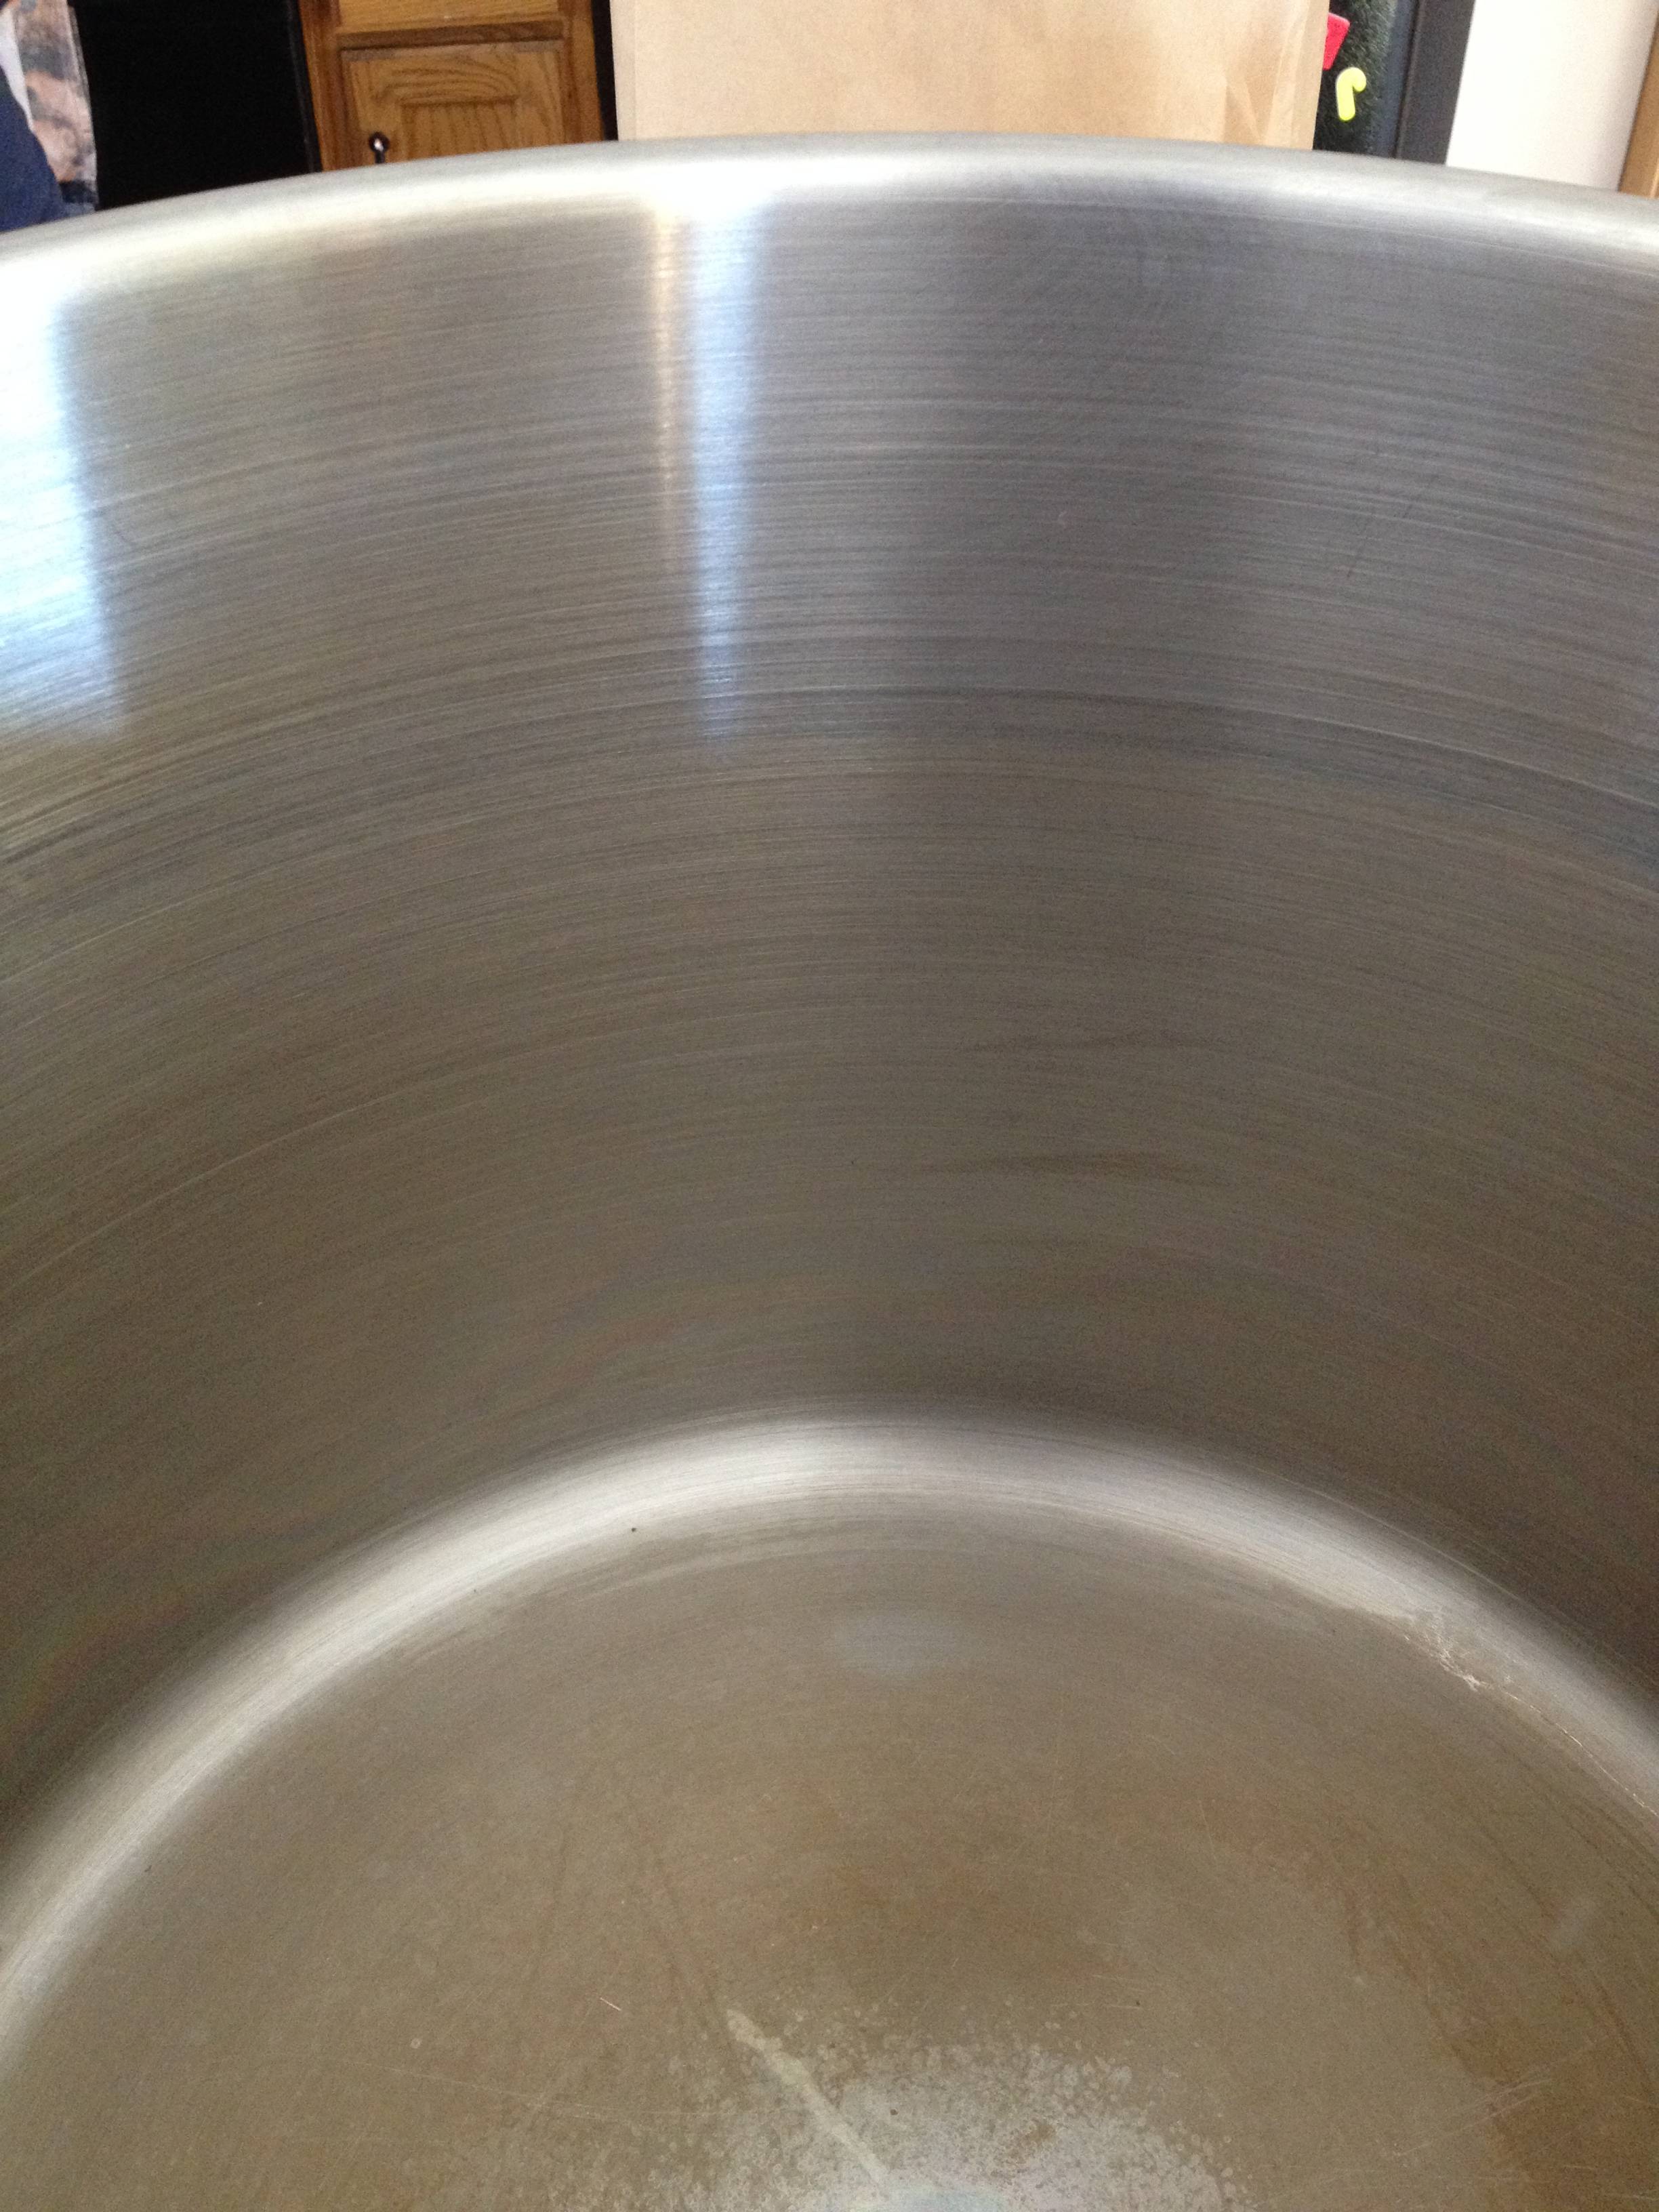
10 gallon kettle, completely bare.

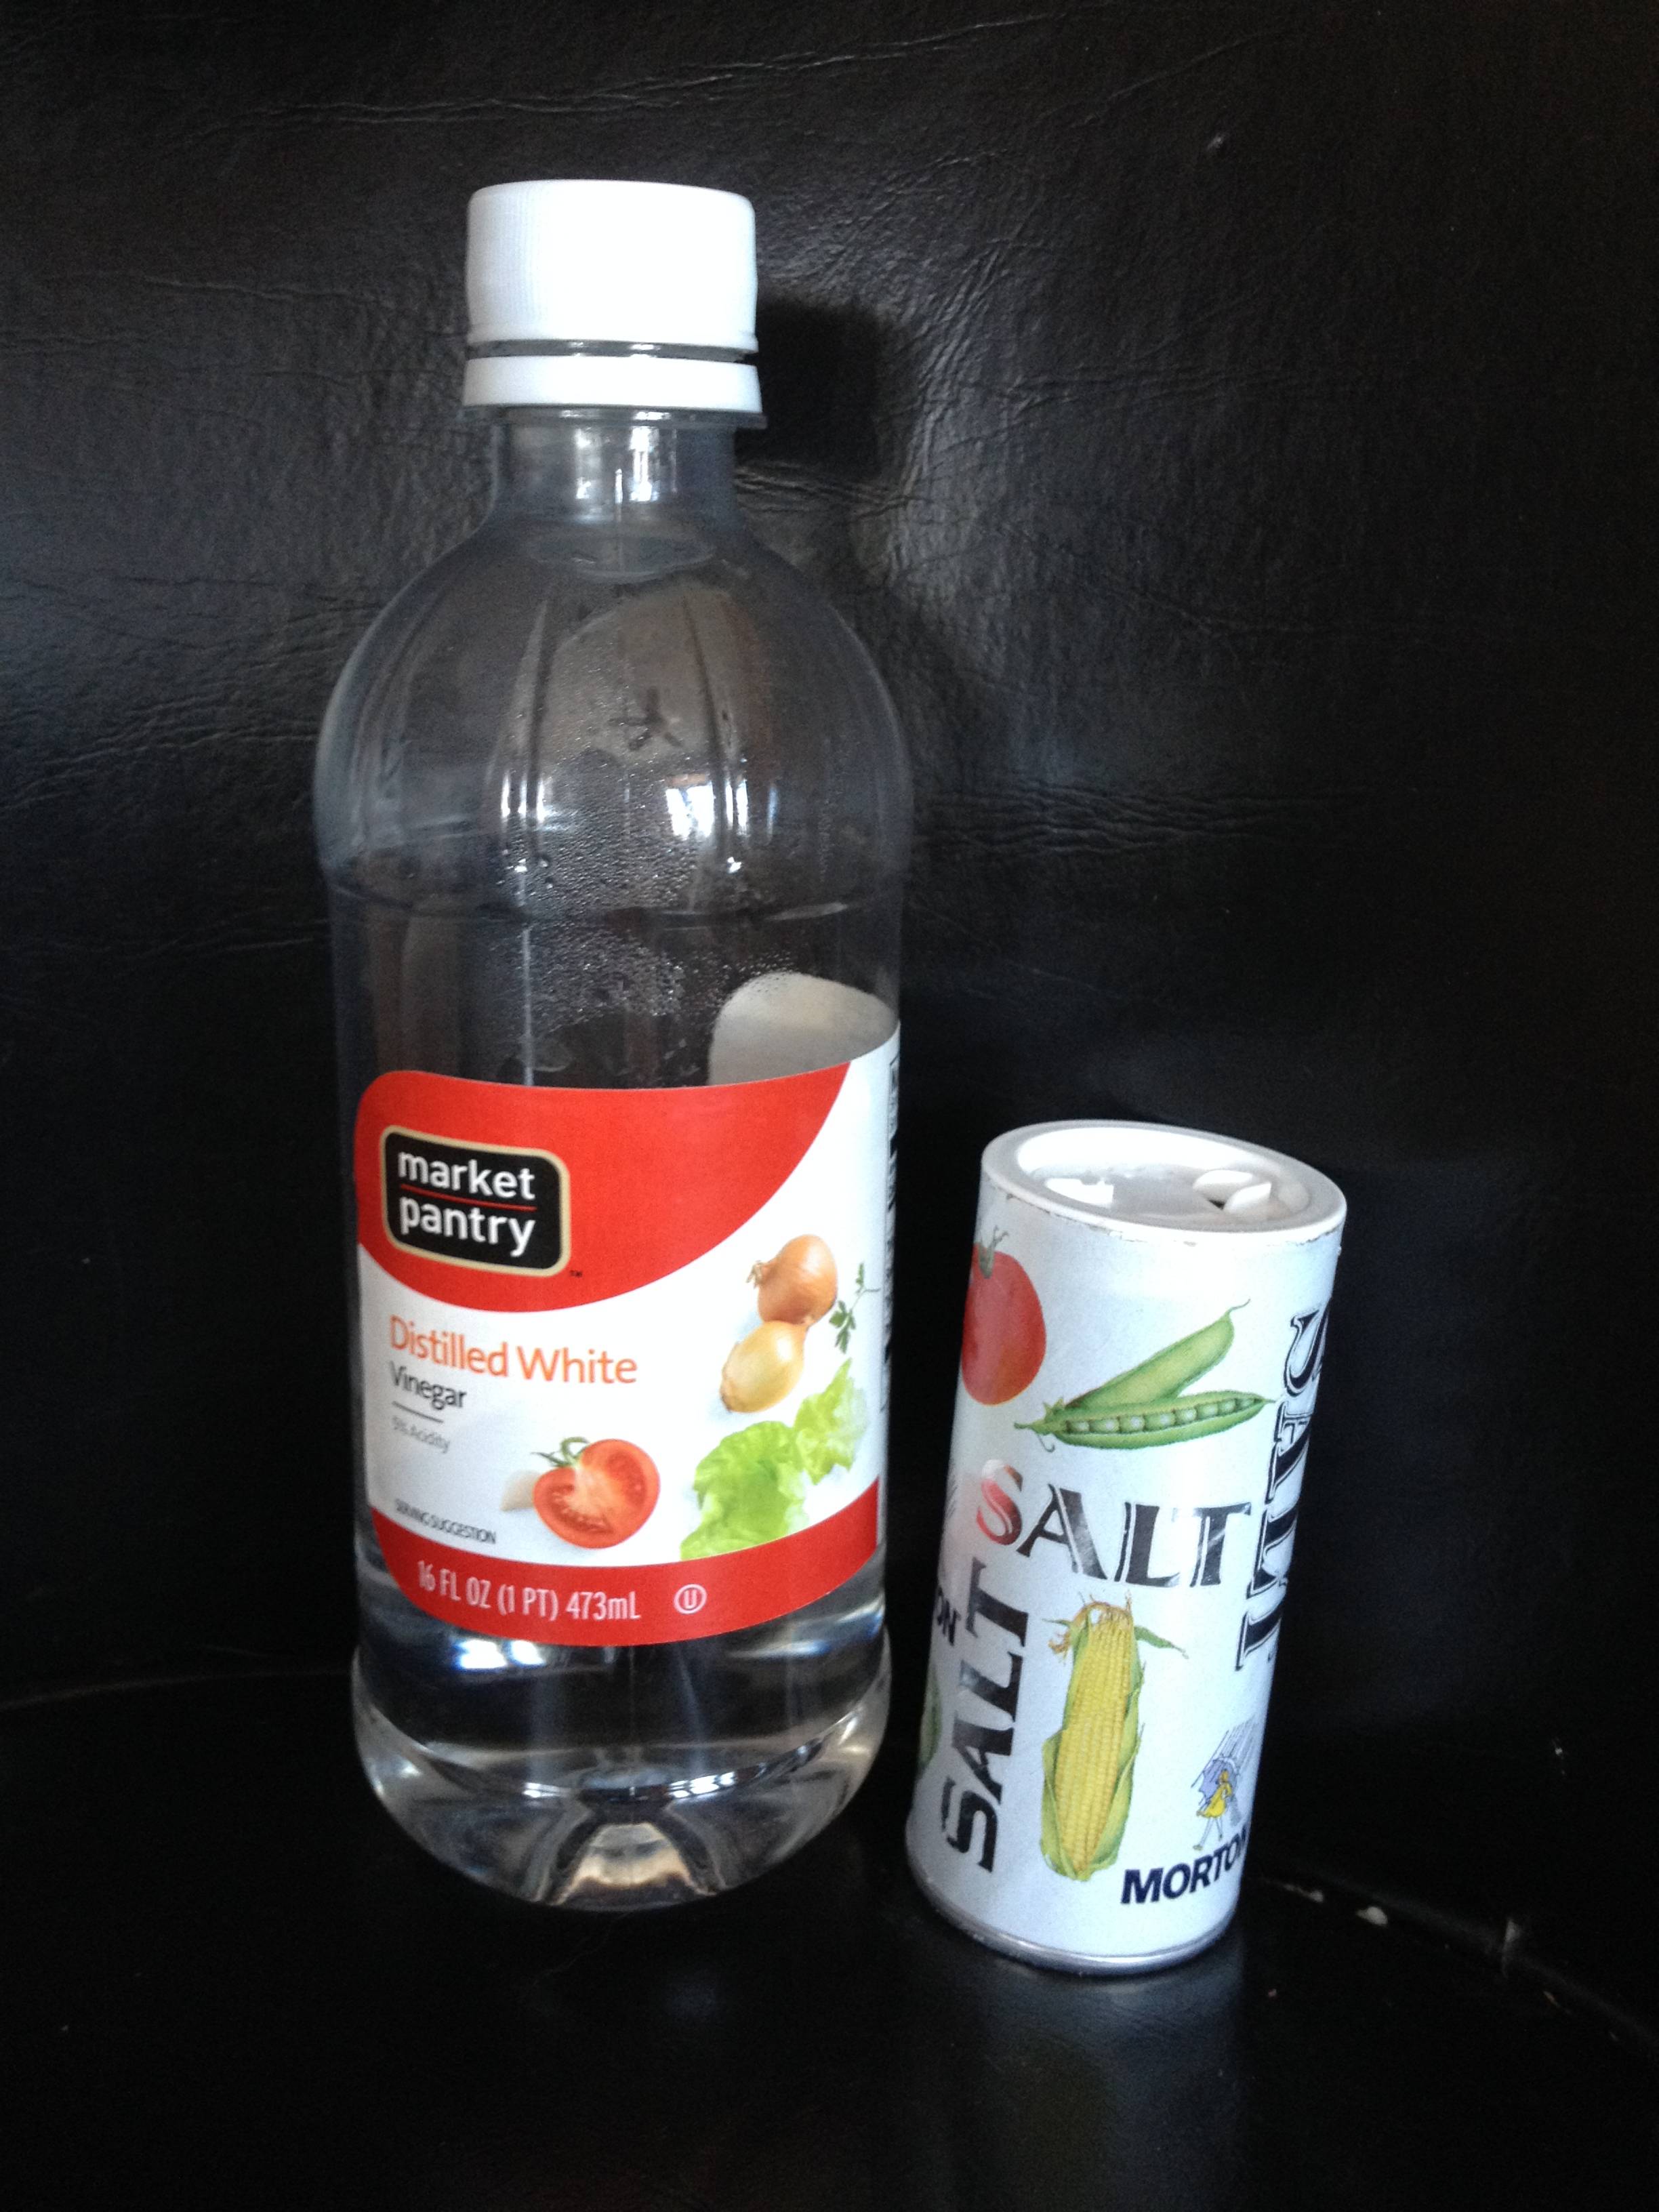
Ingredients:
GY5kVkt.jpg

All you need is something acidic enough like vinegar and an electrolyte like salt. A ratio of 1/4 cup vinegar to 1 tsp salt worked for me.

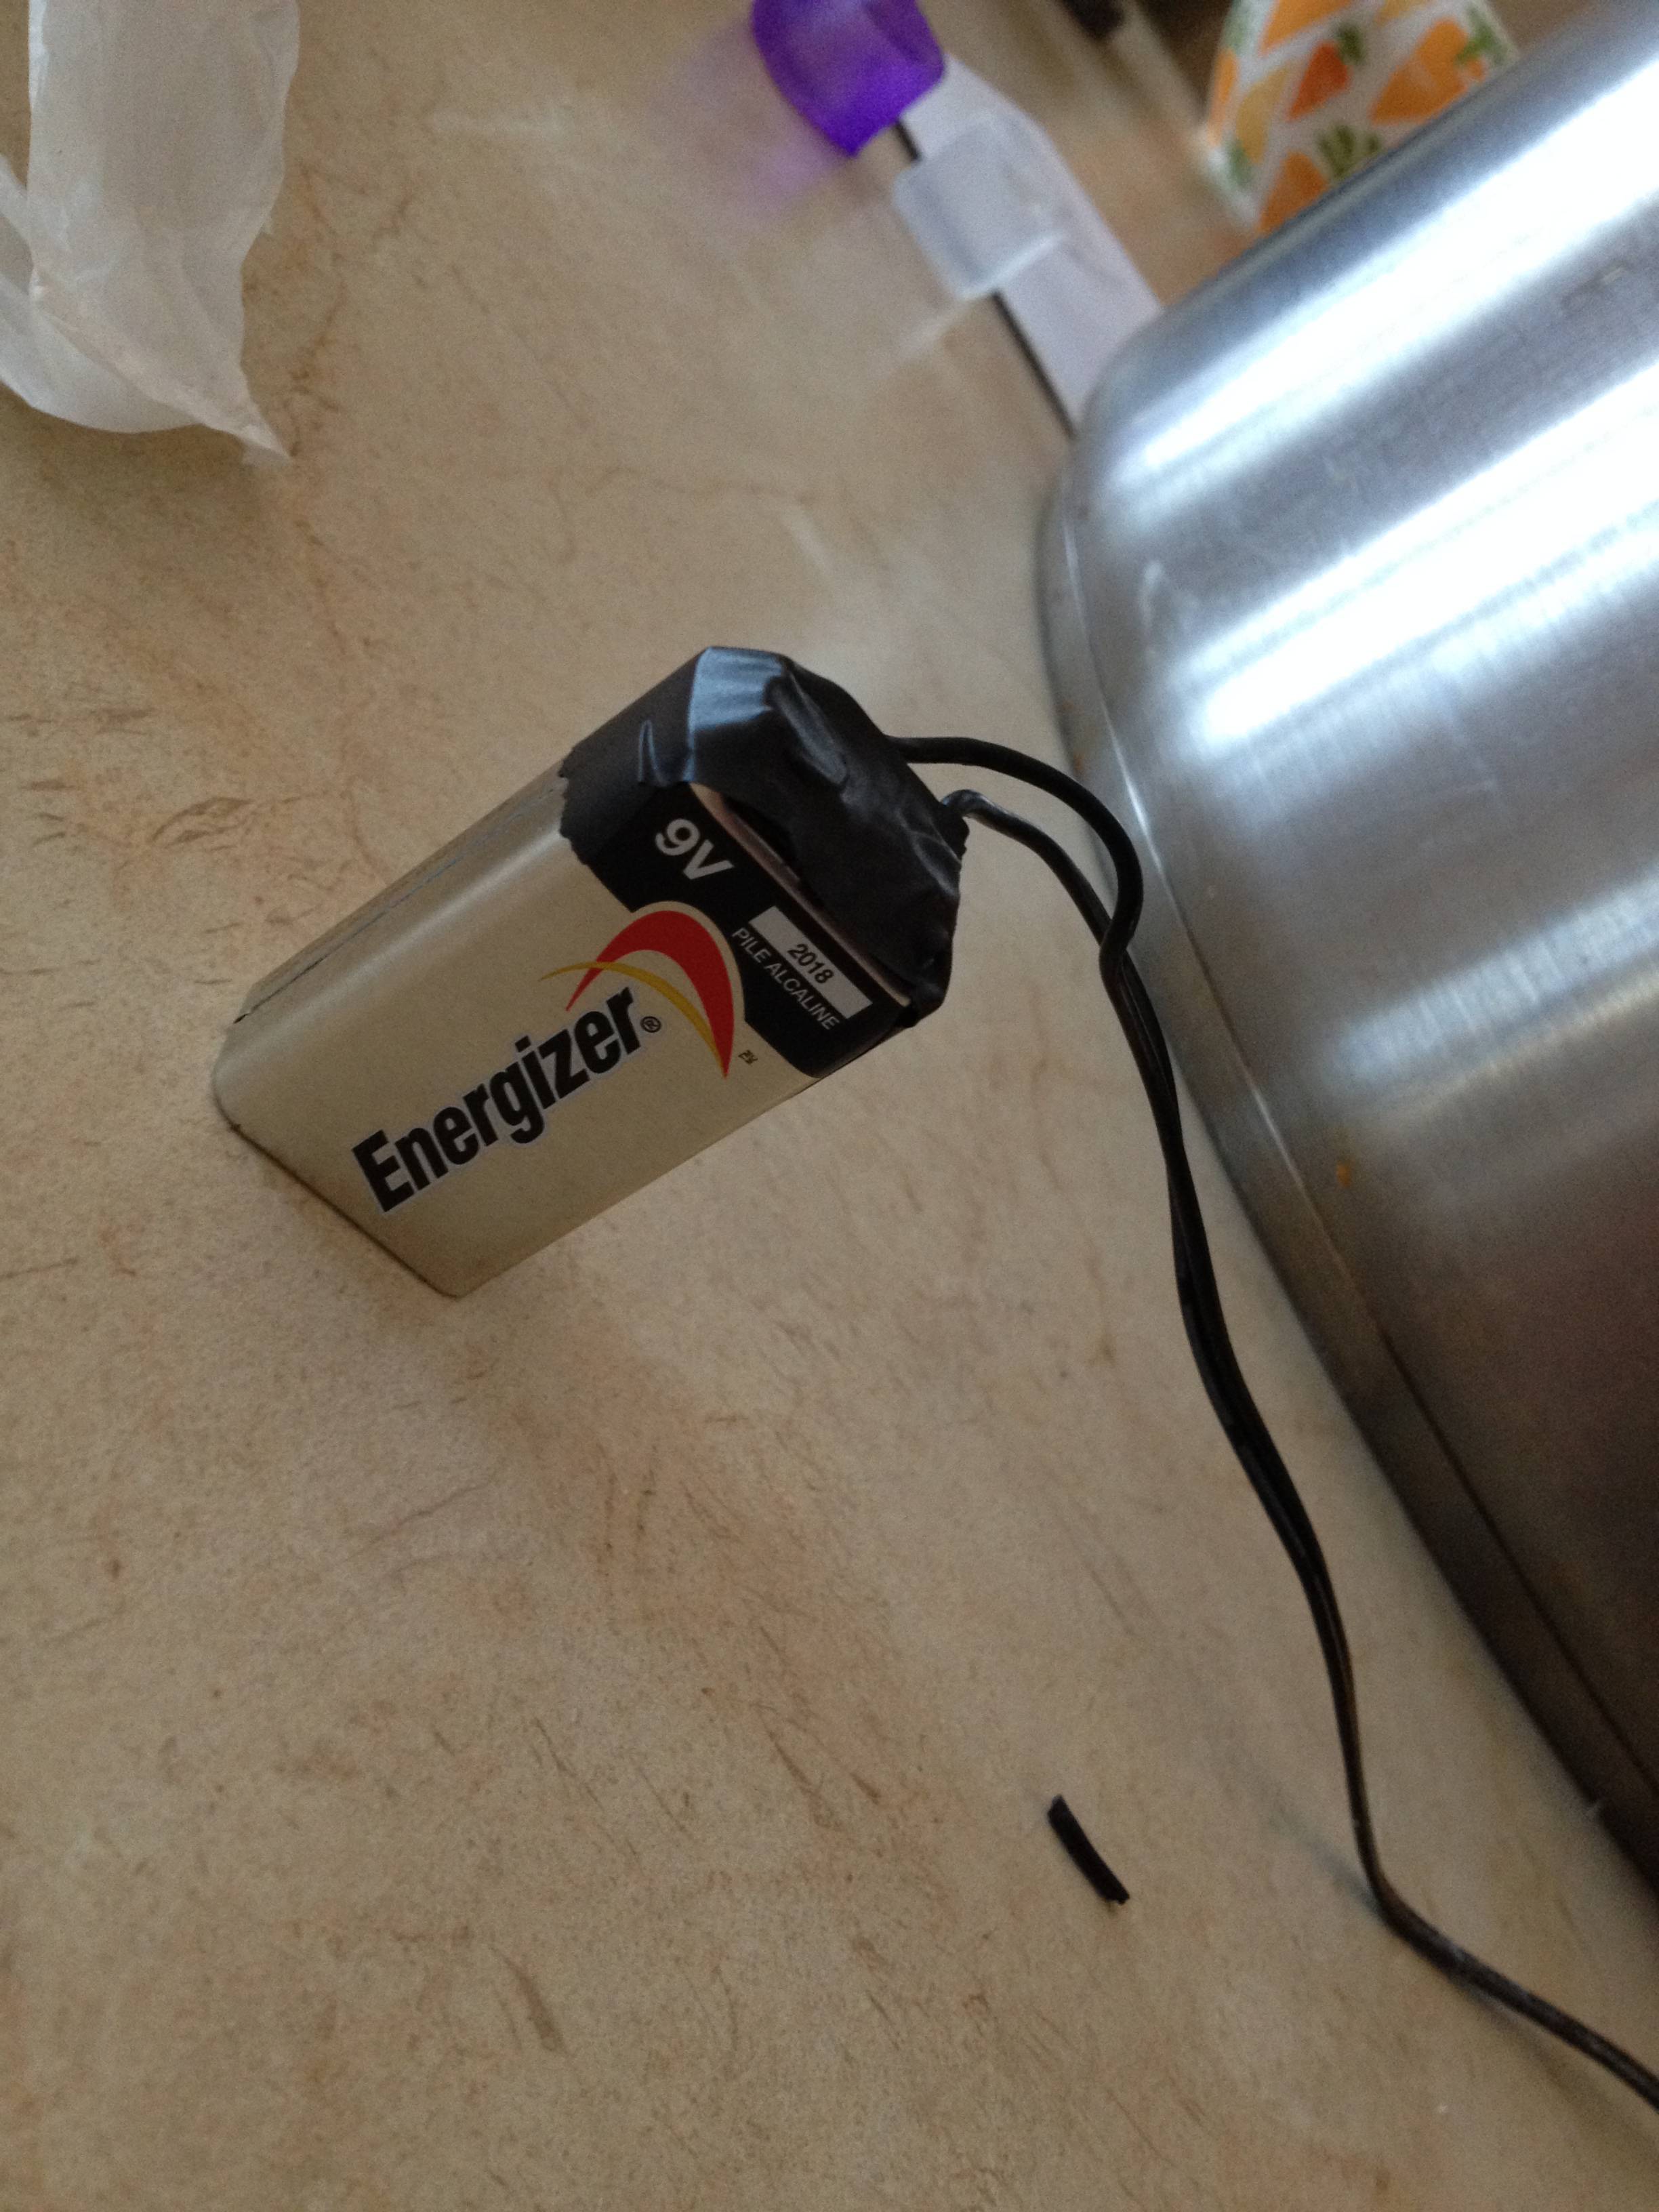
9 volt battery and etching tool
s5GDvTe.jpg

kyuAQv8.jpg

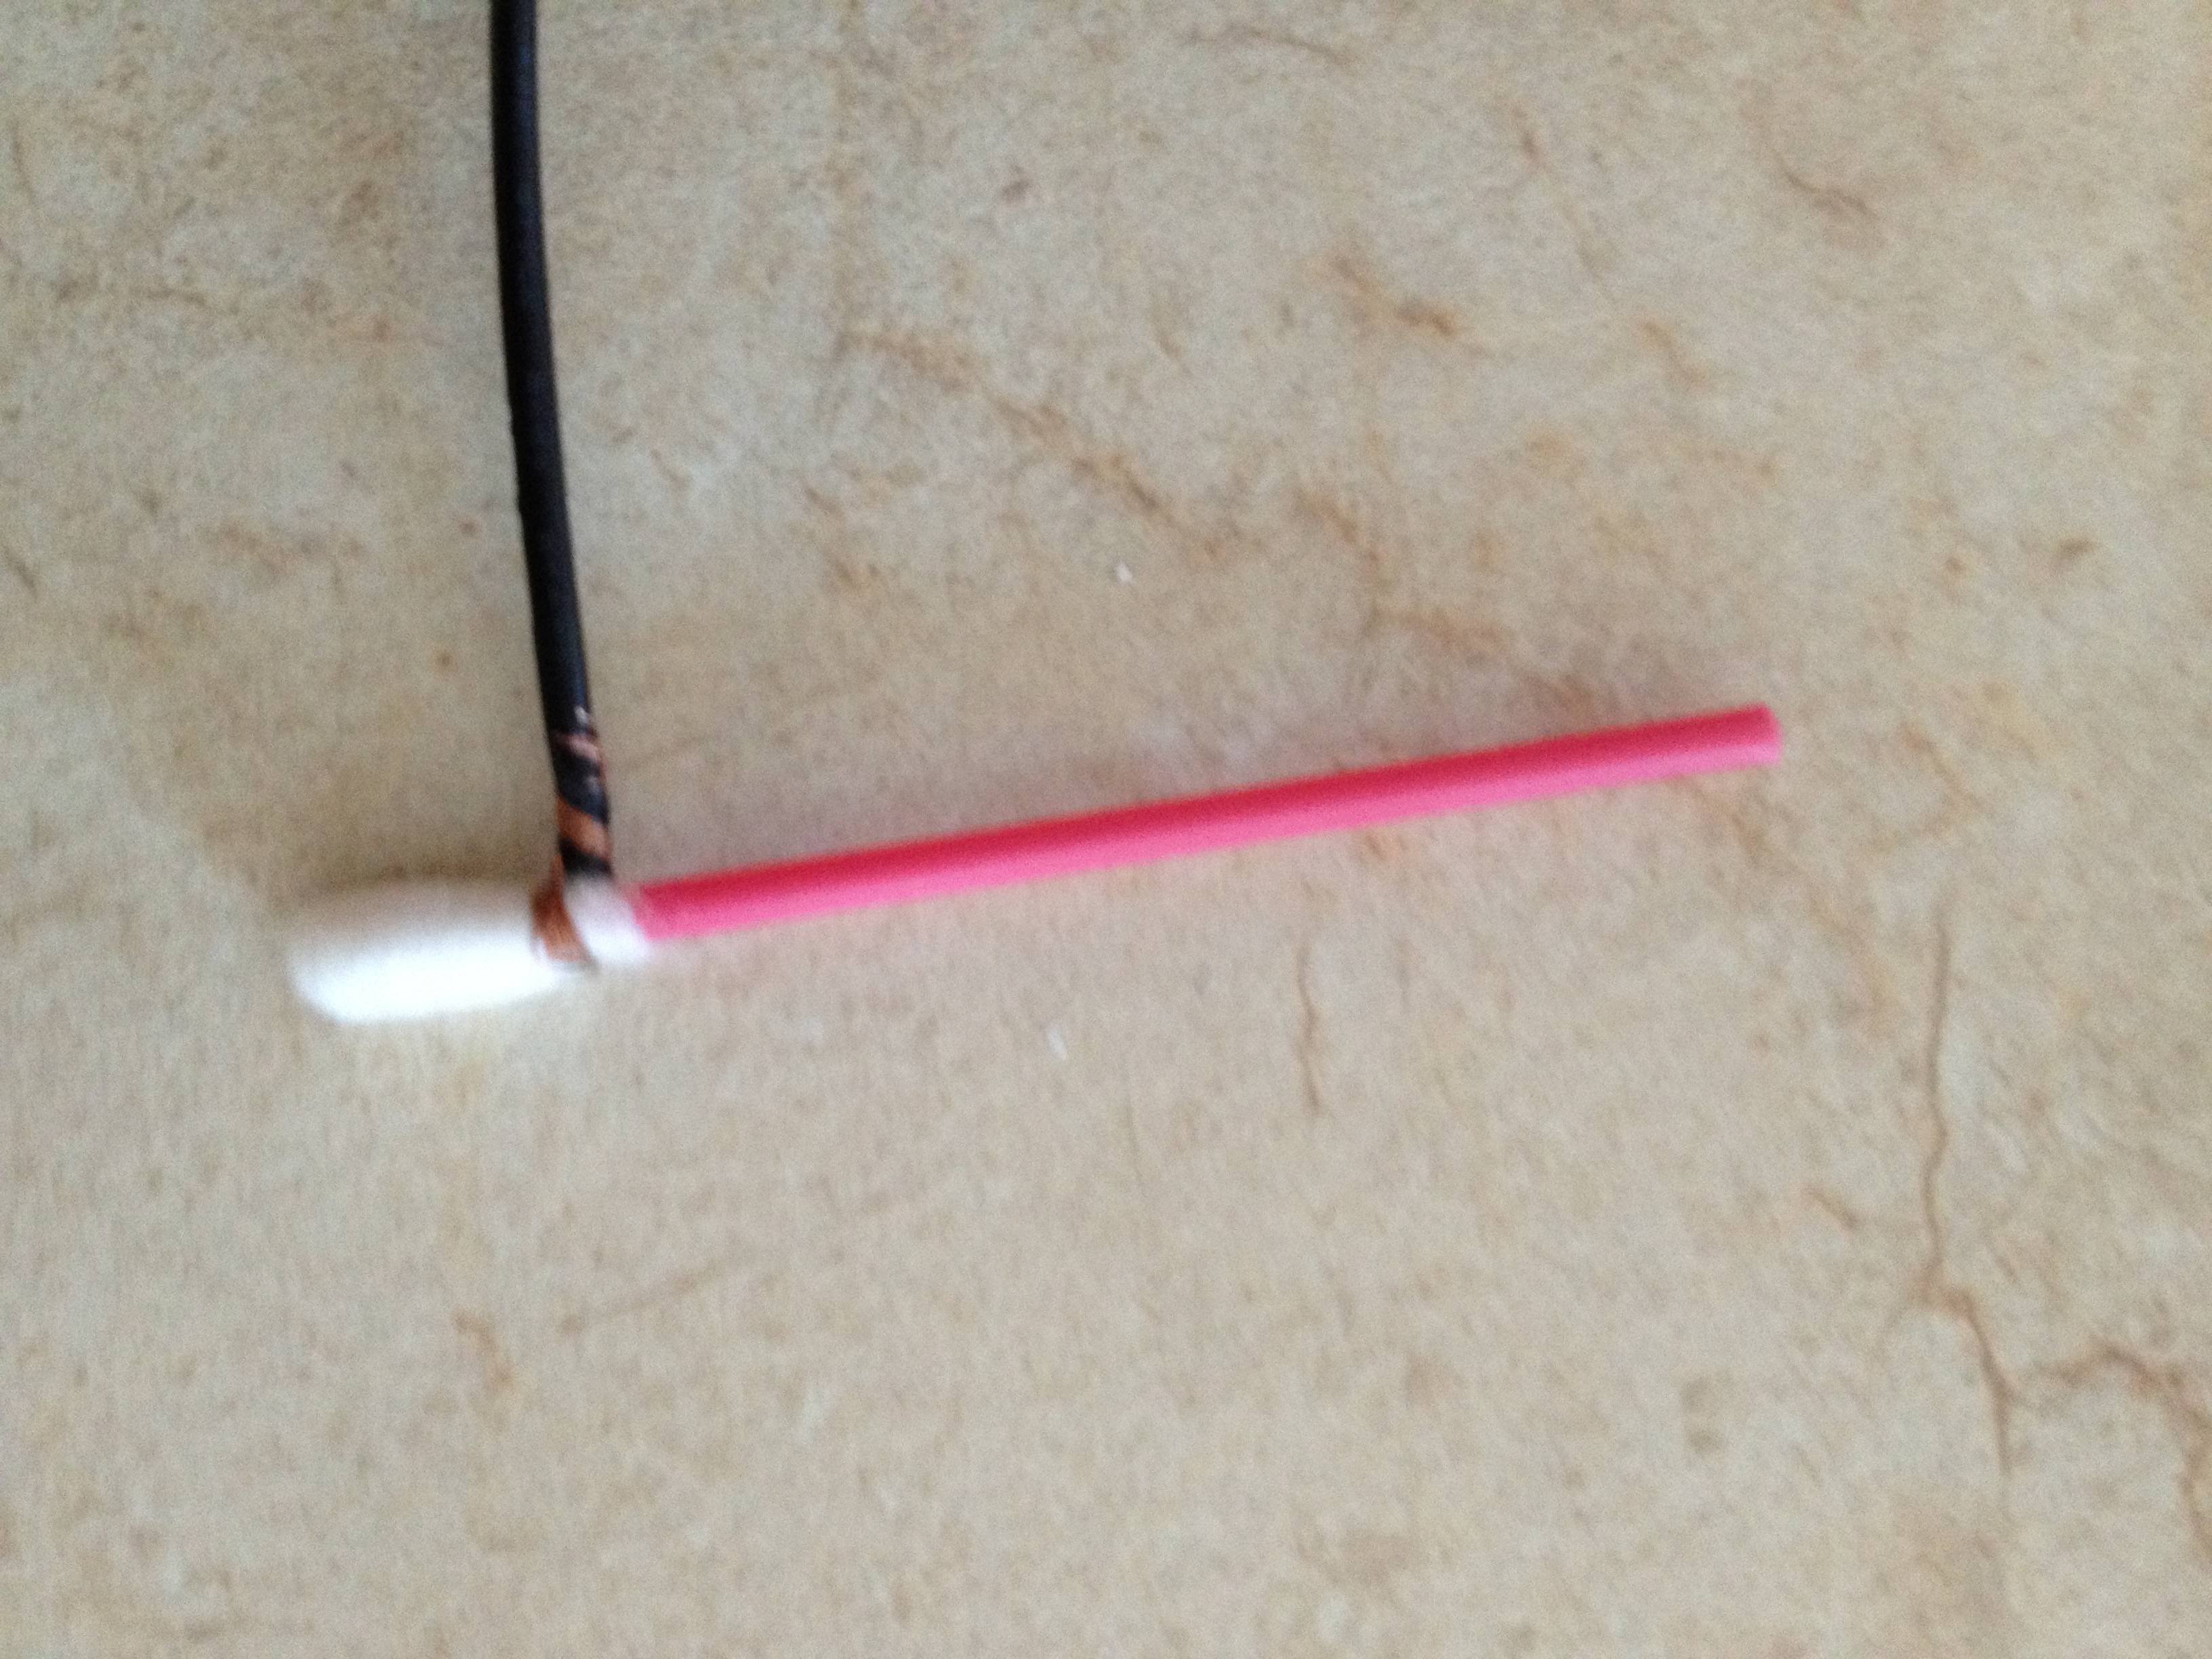
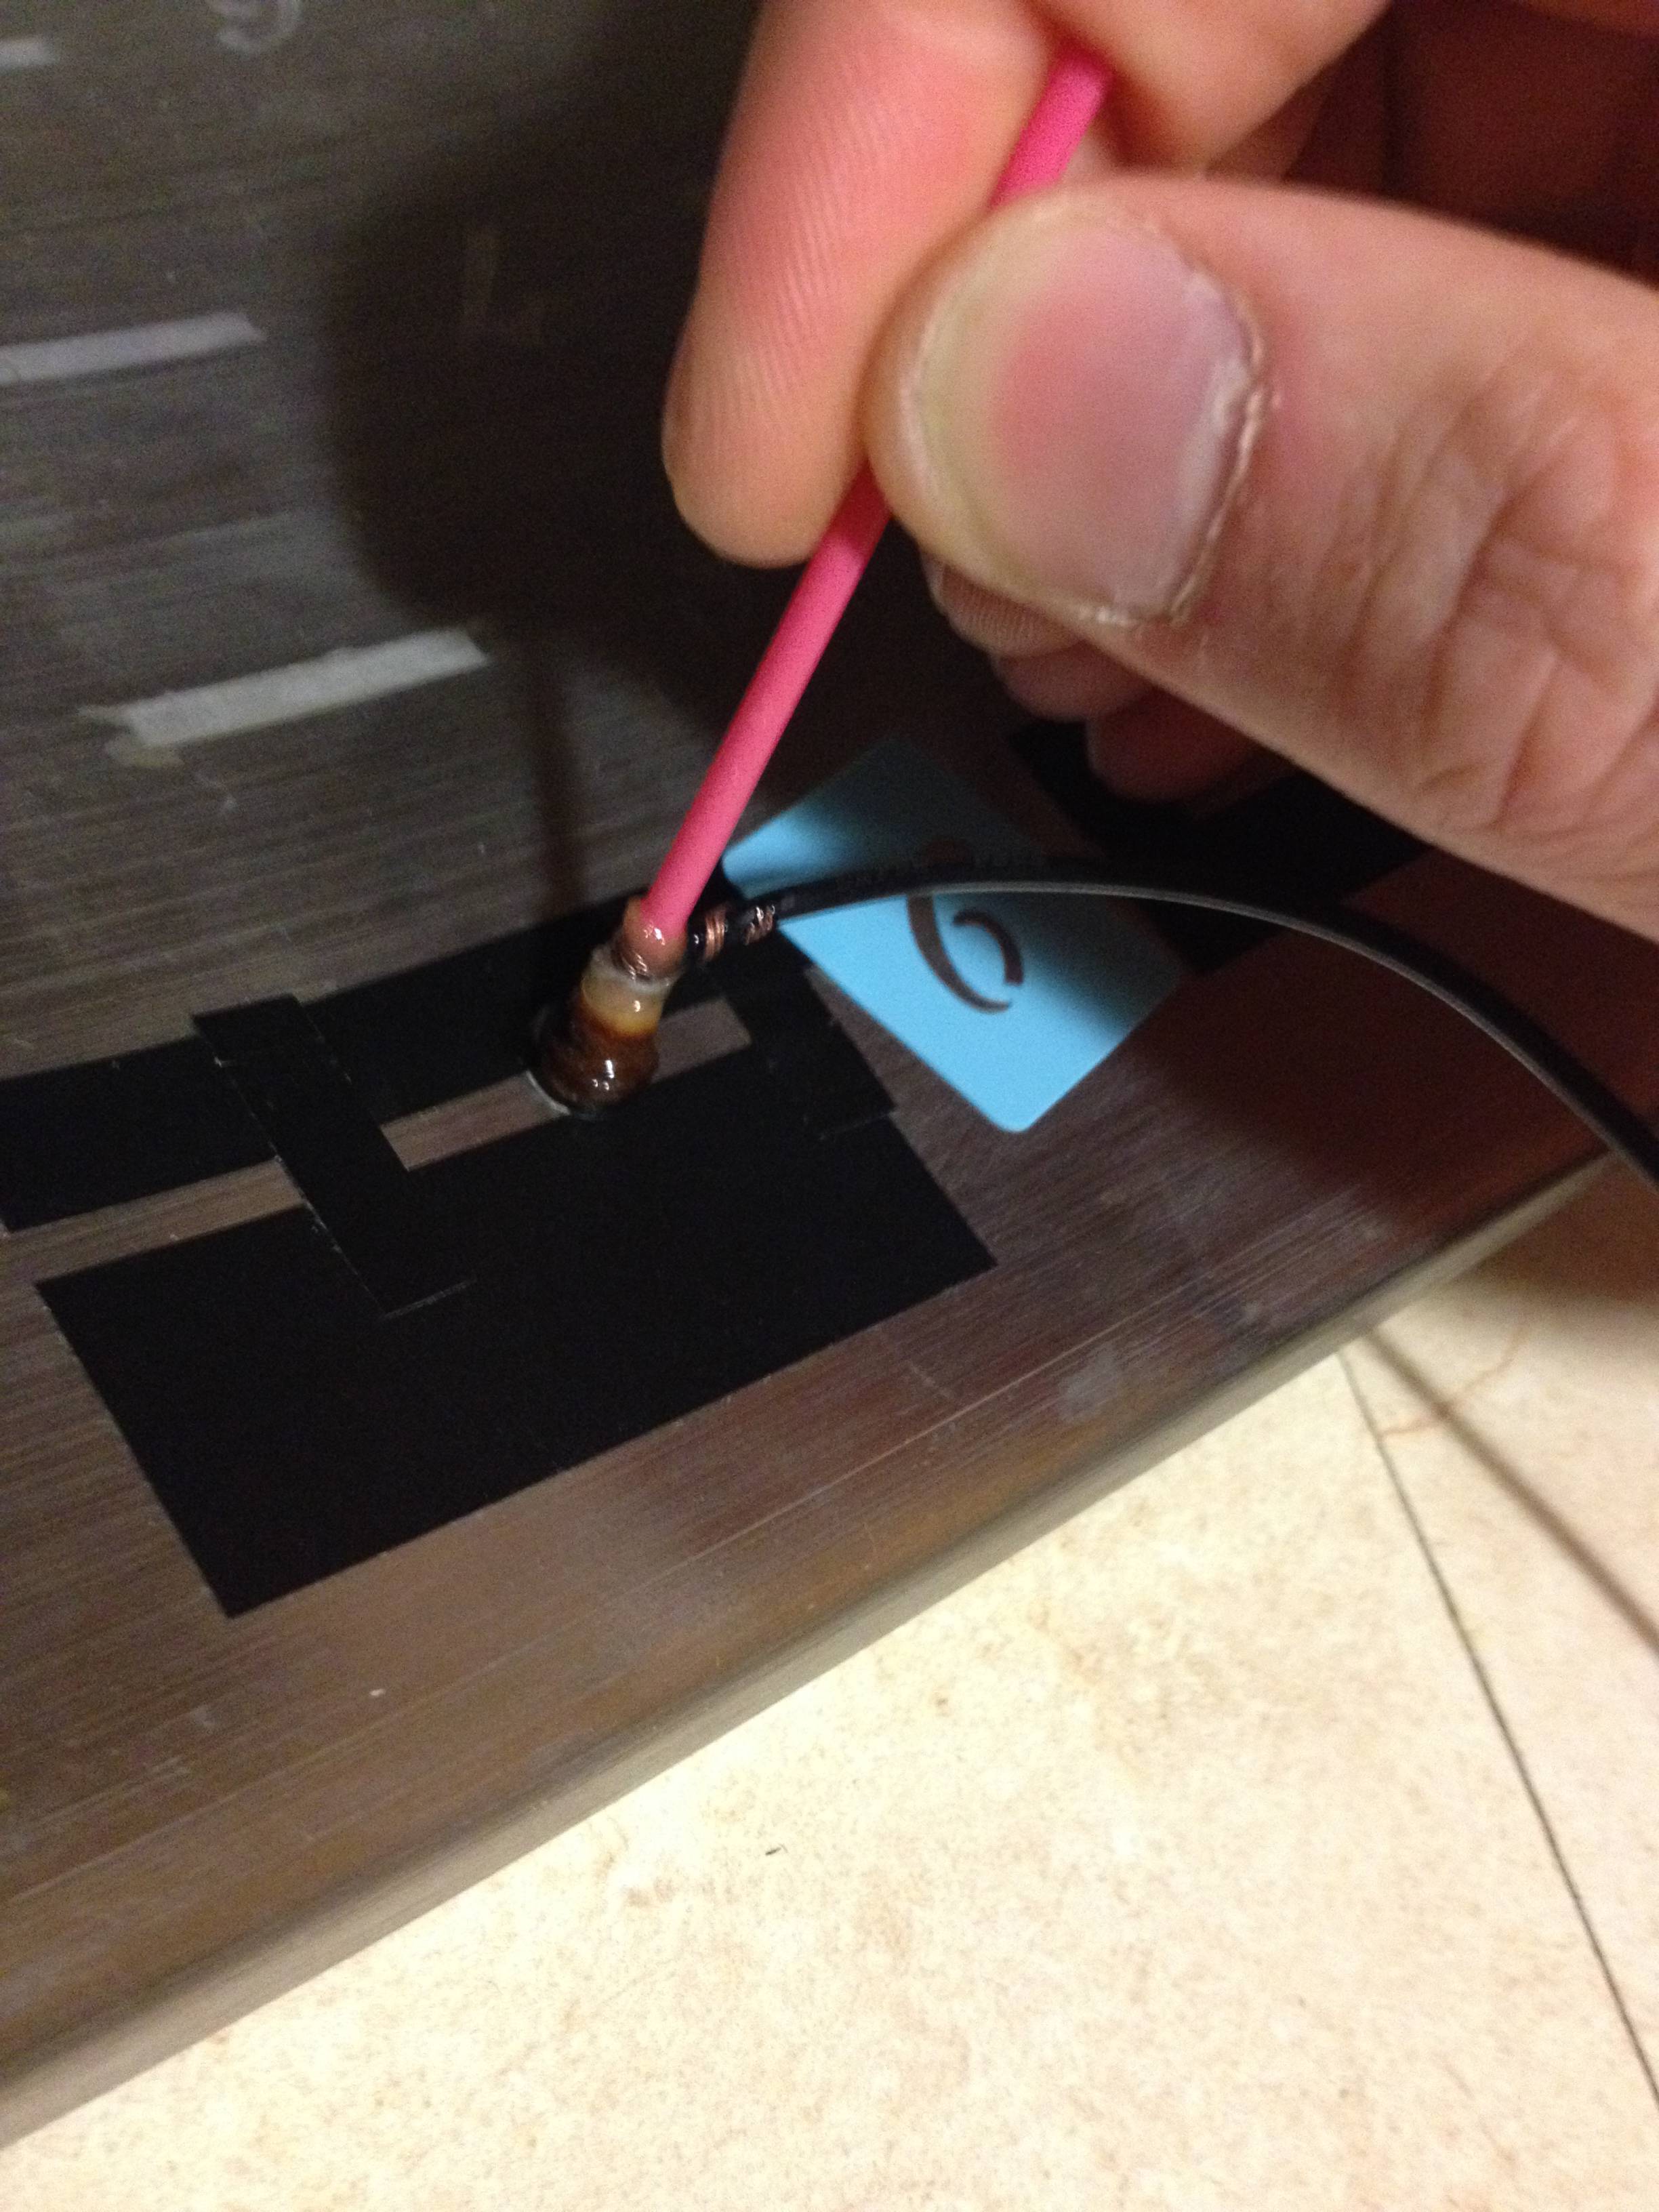
Hook up the POSITIVE lead directly to your kettle.
Attach the NEGATIVE lead directly to a Q-tip, making sure the wires will be touching the vinegar solution.

MAKE SURE YOU HOOK THEM UP IN THE RIGHT ORDER. The other way around would try to ADD metal to the kettle.

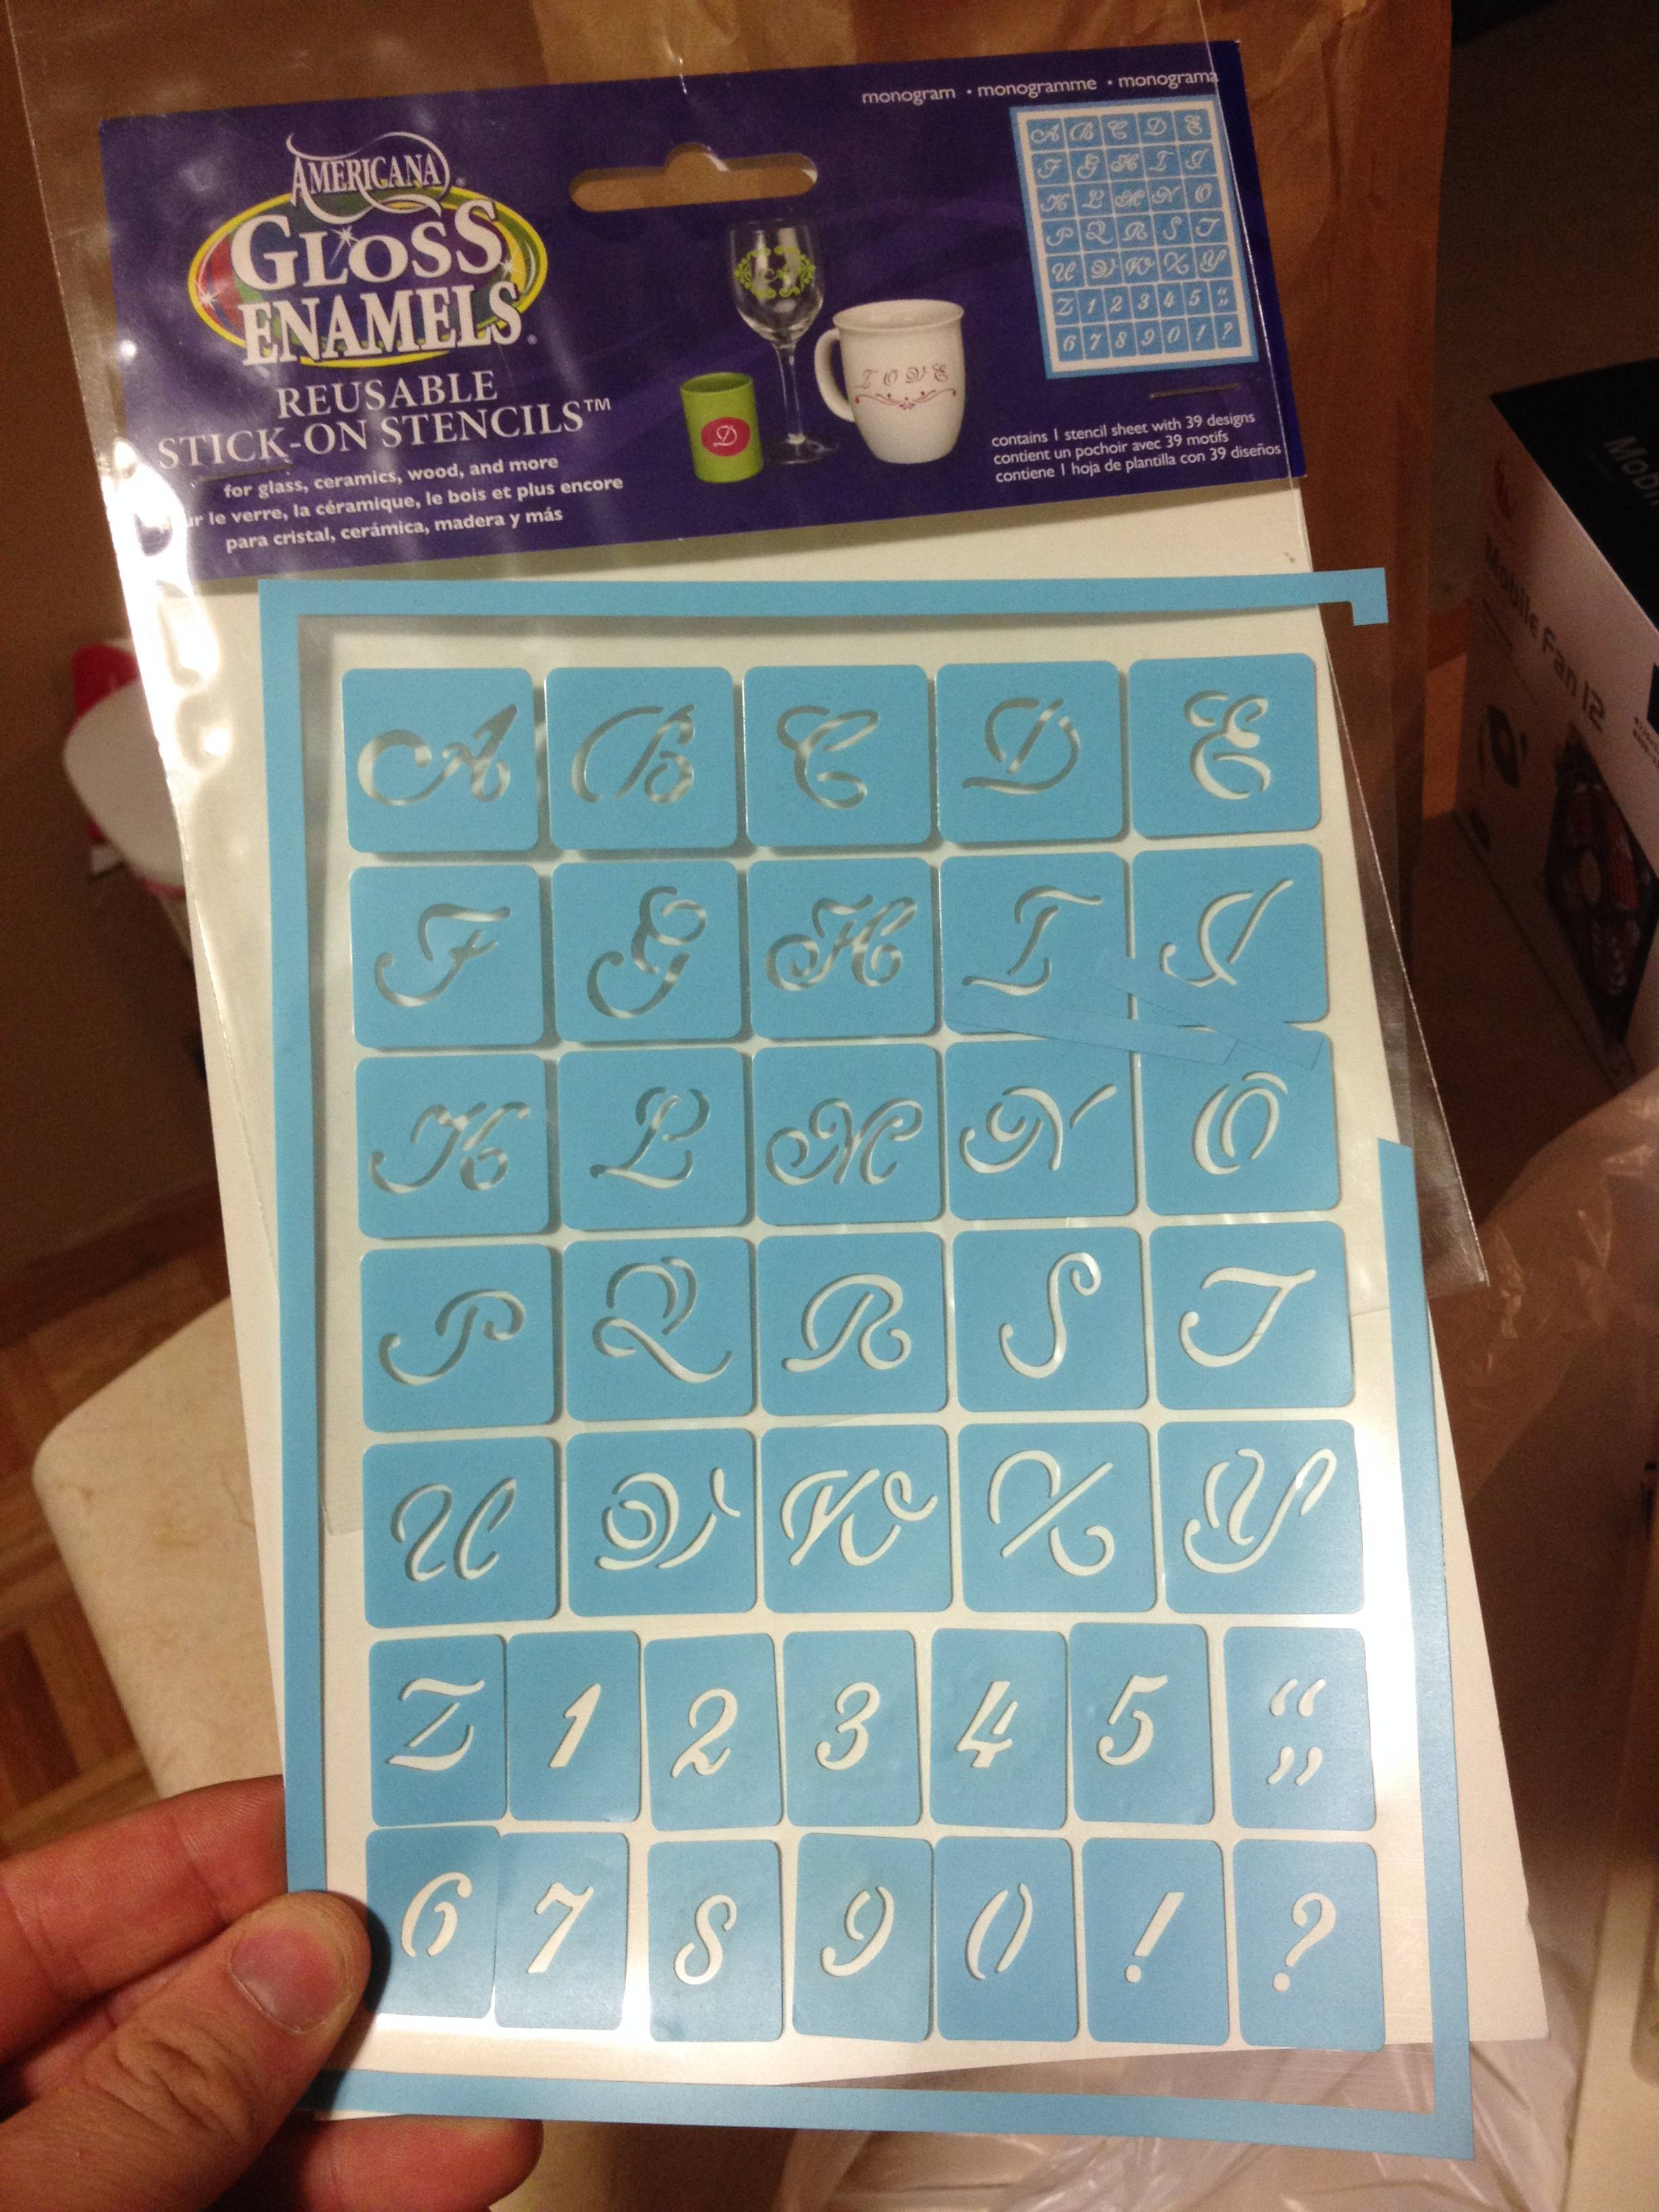
Stencils
Ia2m1A6.jpg

This was the only part I didn't have lying around. They were cheap at a local craft store. Adhesive and re-usable, perfect for this project.

Etch!
FqPoALj.jpg

Dip the Q-tip in your salted vinegar solution and touch the kettle. If you hear some sizzling or see some bubbling, you know it is working. It only takes a few seconds of contact to permanently dissolve some metal. I suggest testing it on another piece of the same metal that you don't care much about before etching your kettle.

The Result:
XZTxNwf.jpg

It turned out even better than I expected. No more guessing or relying on a measuring stick.

Again, practice on some other metal first!


Awesome post thanks
 
Tough to do in a keggle. A little rough, but it'll do the job.
 

Attachments

  • 20180619_094331.jpg
    20180619_094331.jpg
    1.5 MB · Views: 292
Just wondering, its why I prefer to use a ruler, as in my pot I have a 2 Litre difference between room temp and boil for the same measurement.

Awesome idea though, will have to give this a try

Yup, I think most people either ignore the 2L and figure it will still taste like beer, or they'll use a conversion calculator for the hot volume.

It's pretty easy to do, you could do two separate scales for hot and cold.
 
How does everyone set theirs up?
Do you do it at mash temp, boil temp or tap water temp?

I mark at room temperature. When wort is at boil temperature it will register higher but you will still want to boil off the same amount. If you want to boil off 4 liters do that at what ever the measurement is at the higher temperature. When it cools off you will be back to the your original reference temperature minus the 4 liters. For all practical purposes a single liter or gallon is the same volume hot or cold.

Priceless brewing calculator is a nice tool for predicting volumes.
 
If you use a small low voltage AC supply the marks will be black. They are easier to see, they really stand out.

Do you have an example? An AC current wouldn’t remove material like the DC does. Just wondering how deep the markings are using AC. Sounds interesting. If it stays dark after cleaning, it may be a good way of adding “depth” to some of the more elaborate projects, using both AC and DC.......
 
i just tried this with a 9v.....didn't leave a better mark then a clean spot from PBW....lol...i'll have to try A/C now..... @Brewbuzzard how many volts? (i.e. can i cut a cord and use my cheapo fan speed controller?)

edit: fan speed controller is out...i just plugged a multi meter into it, and it just cycles voltage really fast between 80->100v's
 
Last edited:
Do you have an example? An AC current wouldn’t remove material like the DC does. Just wondering how deep the markings are using AC. Sounds interesting. If it stays dark after cleaning, it may be a good way of adding “depth” to some of the more elaborate projects, using both AC and DC.......
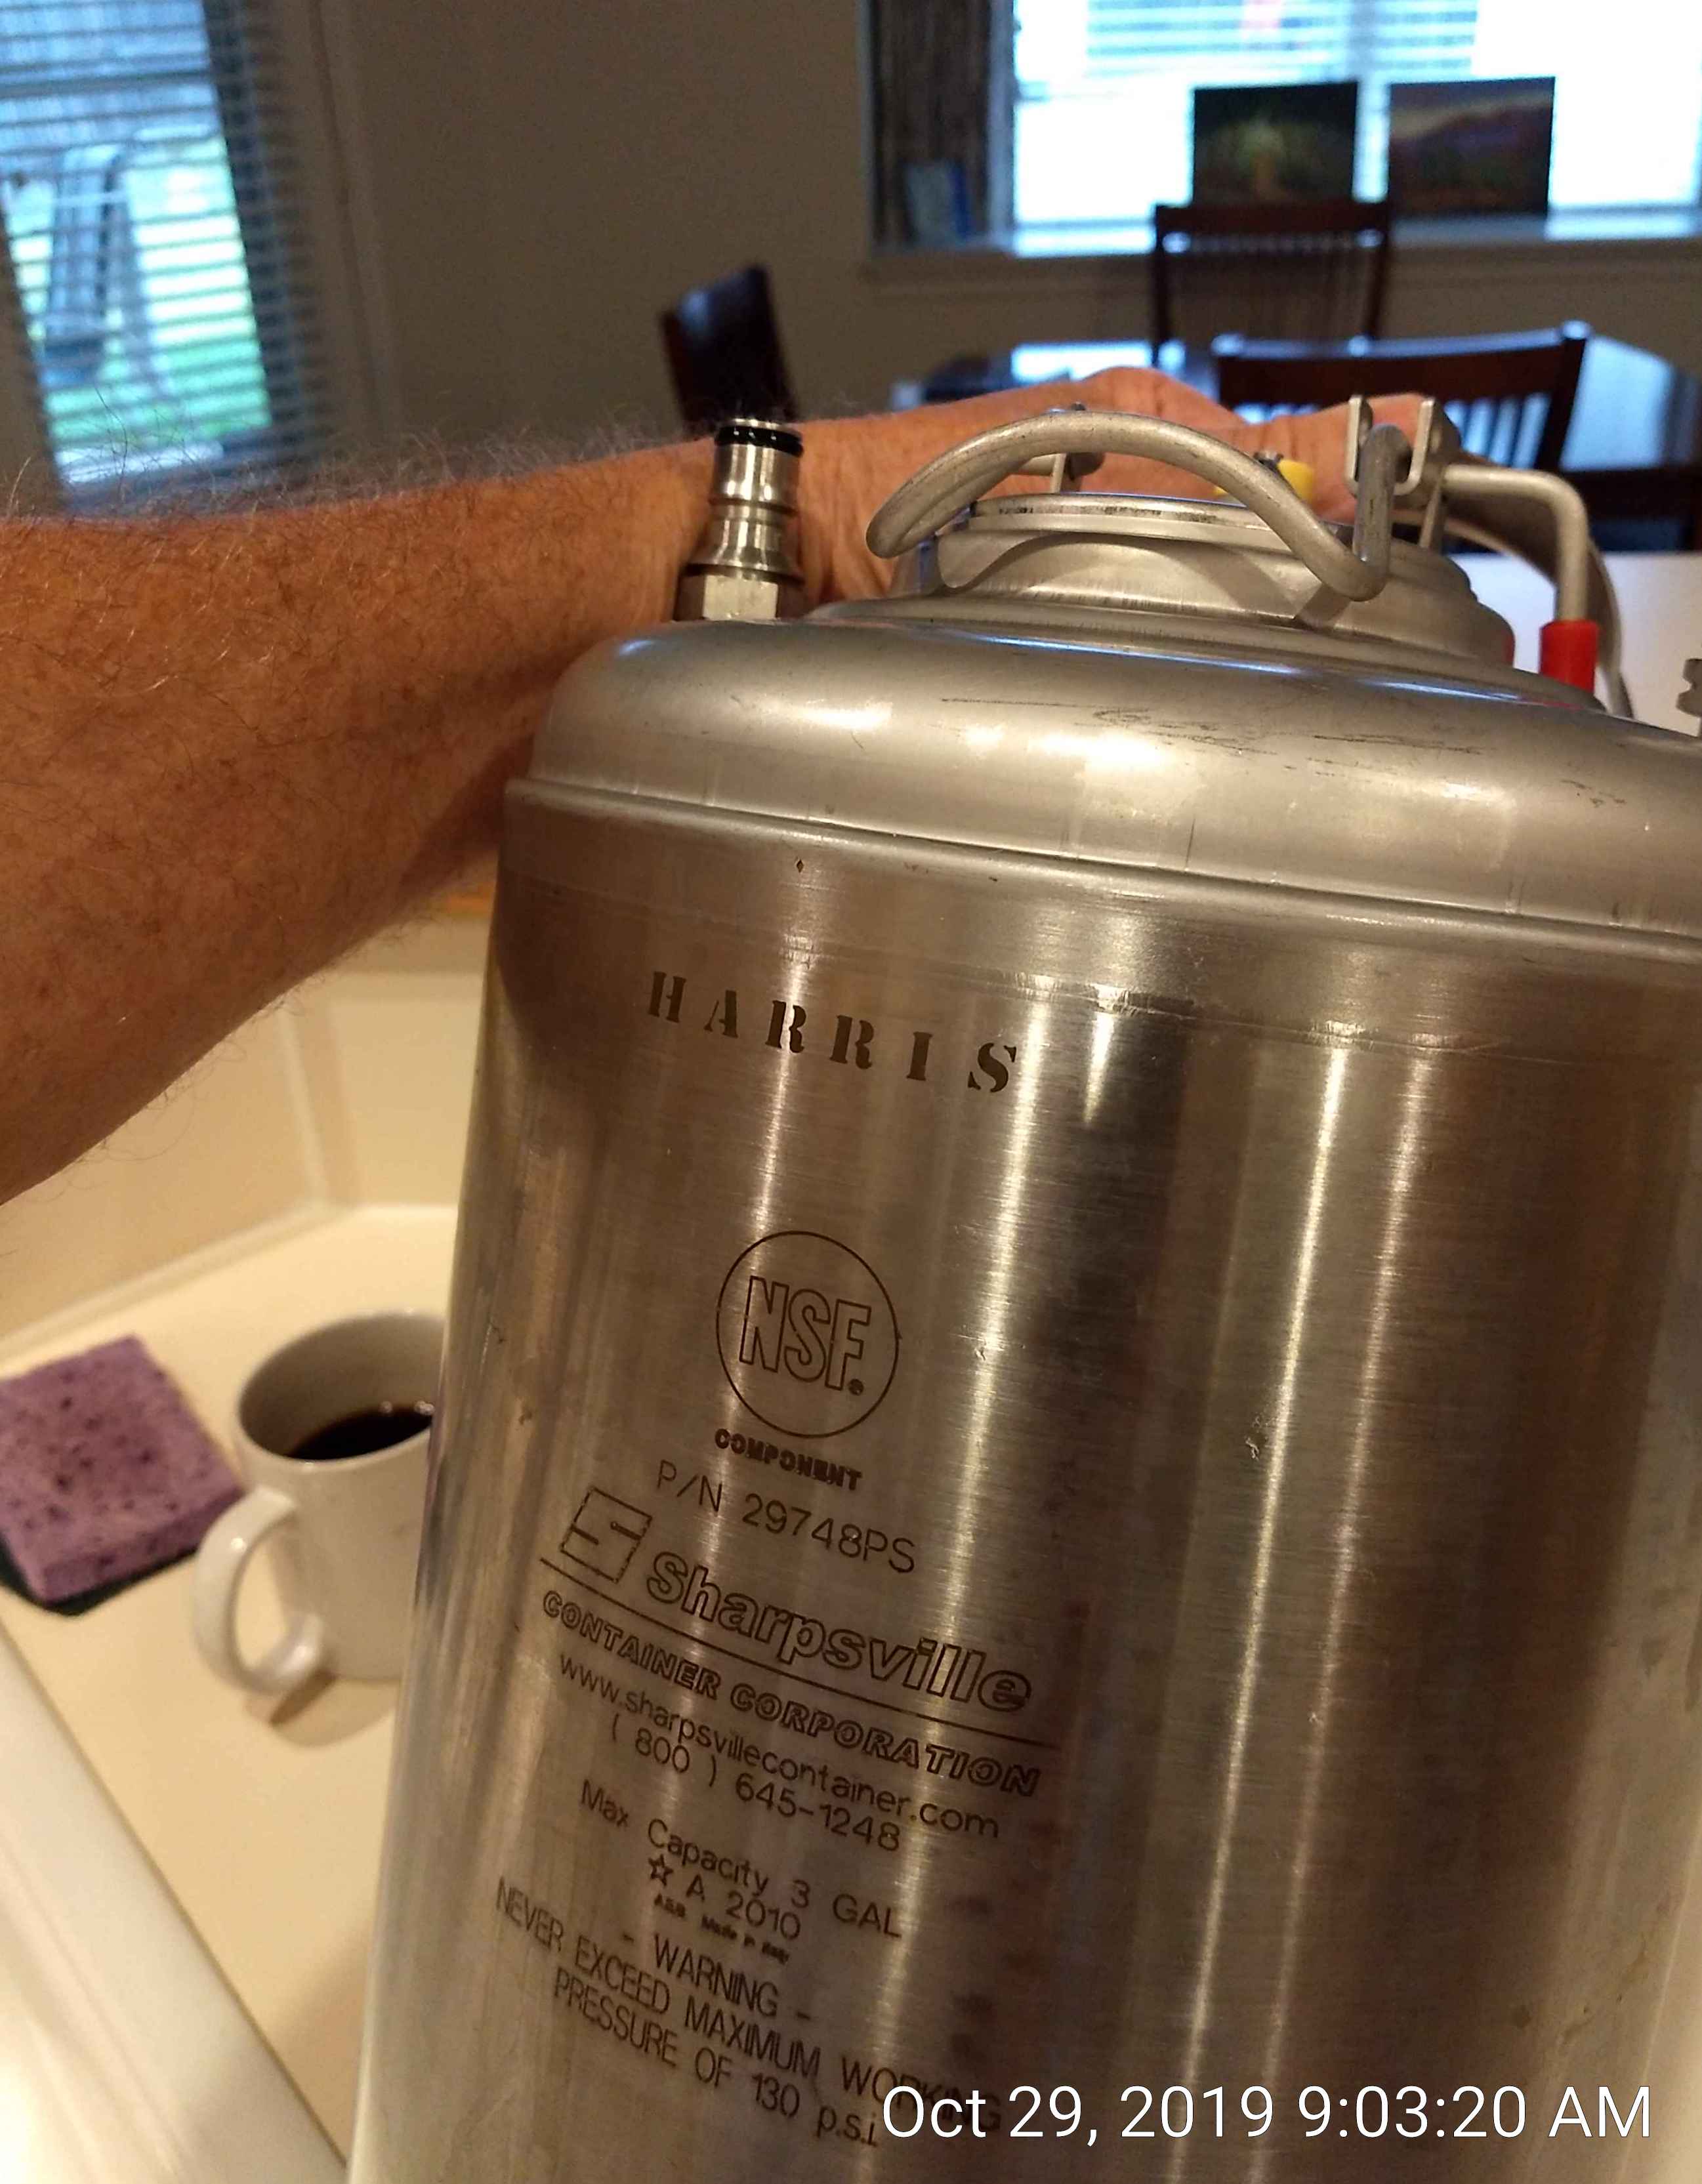
I etched my last name on this keg. I assume the manufacturer used the same method to do the original labeling.
IMG_20191029_090320.jpg
 
Back
Top