Hello gents (and ladies too)!
If this is in the wrong place, please move it where appropriate.
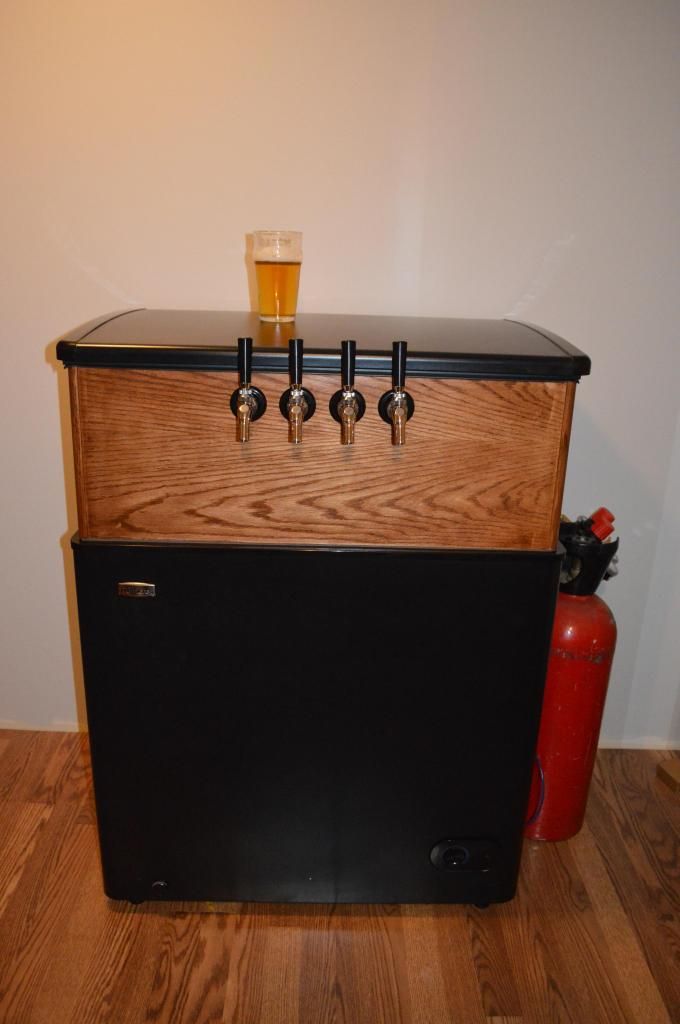
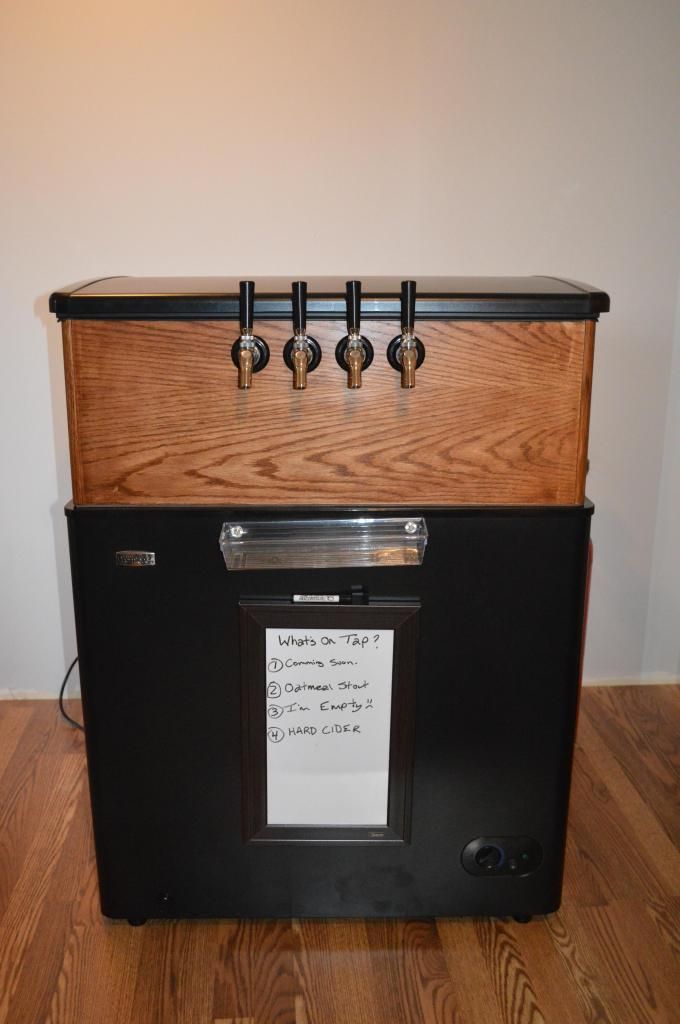
I am getting geared up to build a keezer, I have been doing lots of reading and learning and I think I have a plan in place. I want to run it past you folks before I start building so I don't miss anything. I have a few questions that will be thrown in along the way.
This is going to be long-winded, so bare with me and I apologize in advance.
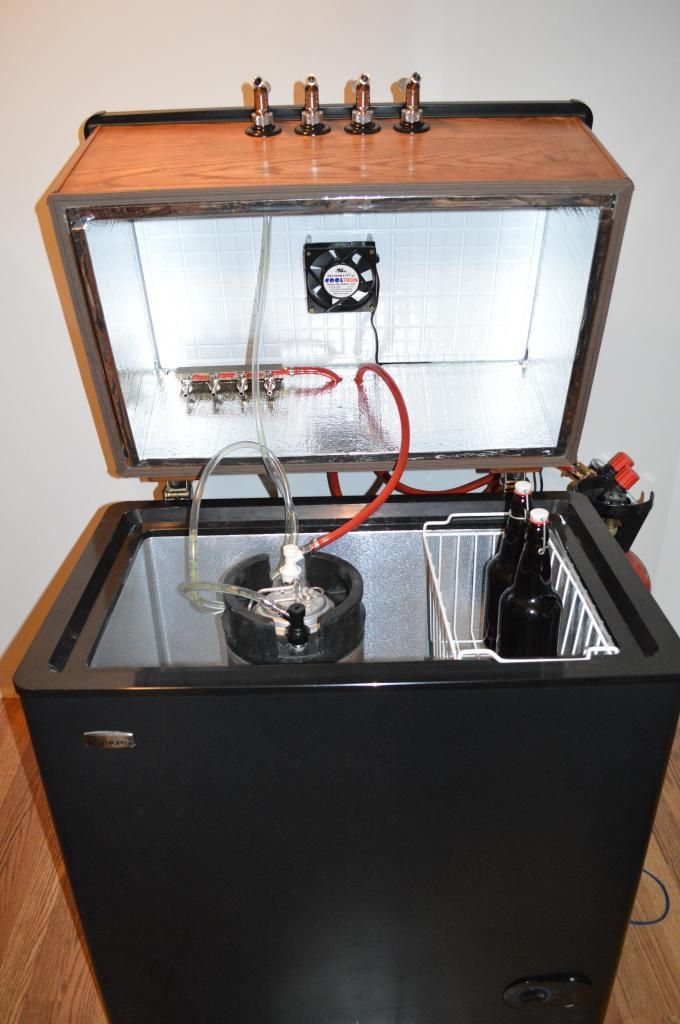
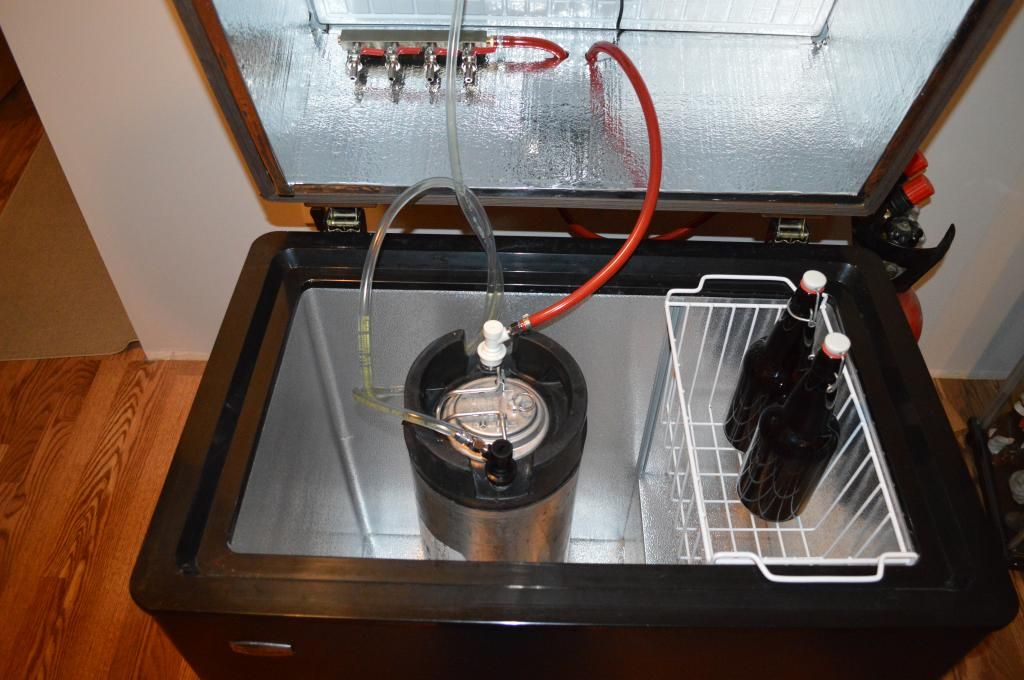
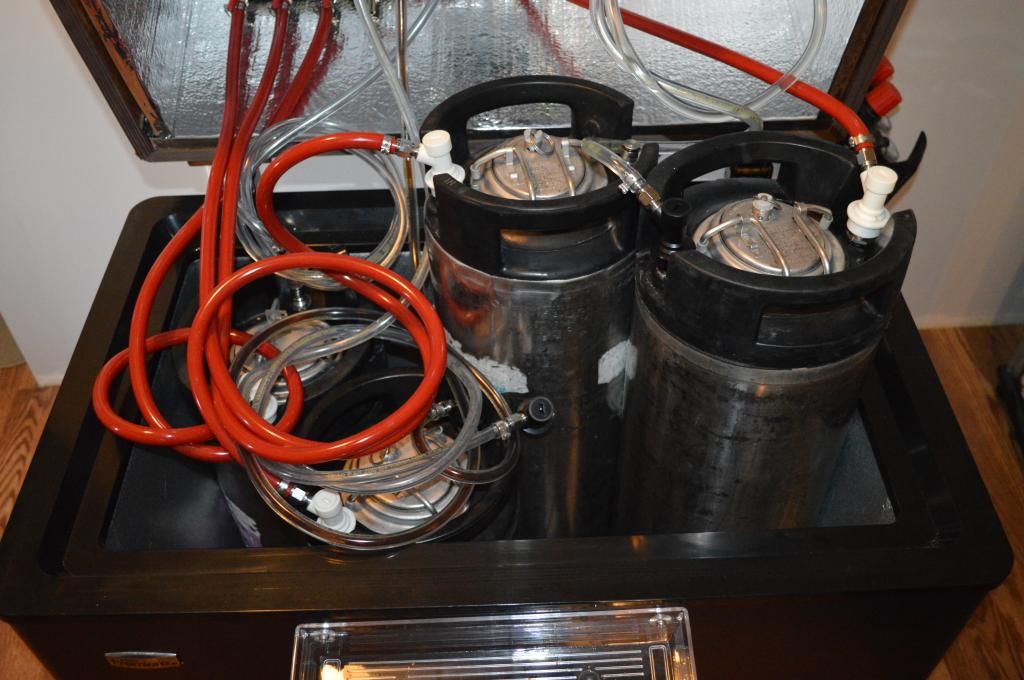
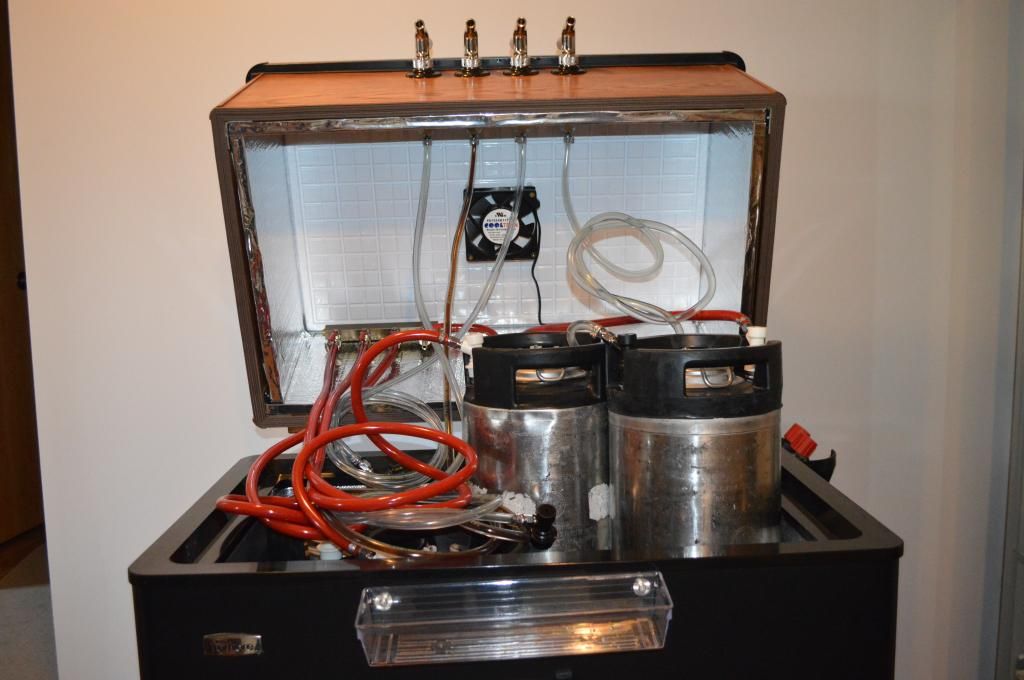
I have purchased a used Danby 555BL chest freezer for the project. It's in good shape and was a good price. It's so close to fitting 3 ball lock corny kegs on the floor that it's painful, but it doesn't. It will fit two on the floor, and two on the hump, with a shelf to support the one hanging almost fully over the edge. Based on my measurements, a 5lb CO2 tank would fit in as well, but there likely will not be room for the regulators to attach. Externally mounted CO2 tank I'm okay with, but would prefer internal.
Can all the regulators all be mounted to the collar, with high pressure line feeding from the tank to the regulator? Any other advice?
I need to go with a 10" collar to fit kegs on the hump and have adequate clearance for disconnects. The interior space is quite snug for 4 kegs, so I wish to hinge the collar and have the shanks and taps swing up out of the way. I'm thinking 1x10 lumber (as opposed to 2x10 to save weight and stress on the hinges), and 1" polystyrene insulation. I know a fan will be required to keep the top end cool. I'm thinking of leaving the original weatherstripping in place (it seems to be tucked under the interior trim) and using weatherstripping with adhesive on both sides (like for a truck topper) to attach the lid to the collar, with some brackets and screws as backup. Weatherstripping again on the bottom of the collar. I'm not an expert wood worker, so I don't want to spend big $ on fancy wood that I might screw up. Red Oak is $10/ft in my area.
What's cheap-ish and finishes well (stain to complement a black freezer).
Are there any moisture issues with the polystyrene insulation? I anticipate using a rechargeable dehumidifier.
I would prefer a small 120V fan for simplicity, wired to cycle on with compressor. Any suggestions?
I want to try and use the existing thermostat, if that is a bust than I will use an external temp controller.
Am I missing anything? I appreciate any input offered.


