Madtown Brew
Well-Known Member
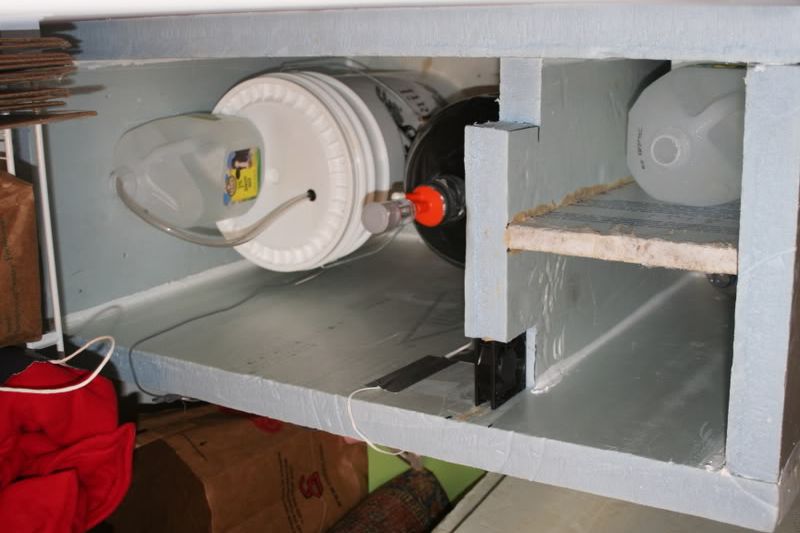
It may not look too pretty, but man does it work well. I only had it running for about 15 min. and my temp probe was already reading 64F. Dialed up the thermostat a bit and it has been holding @ 68F for the past 2 hrs.
I do have to figure out a better place to put it. At least someplace more accessable than in the corner of the closet under a shelf. Was a B**** and a half to lower the bucket and carboy in.
the pics:
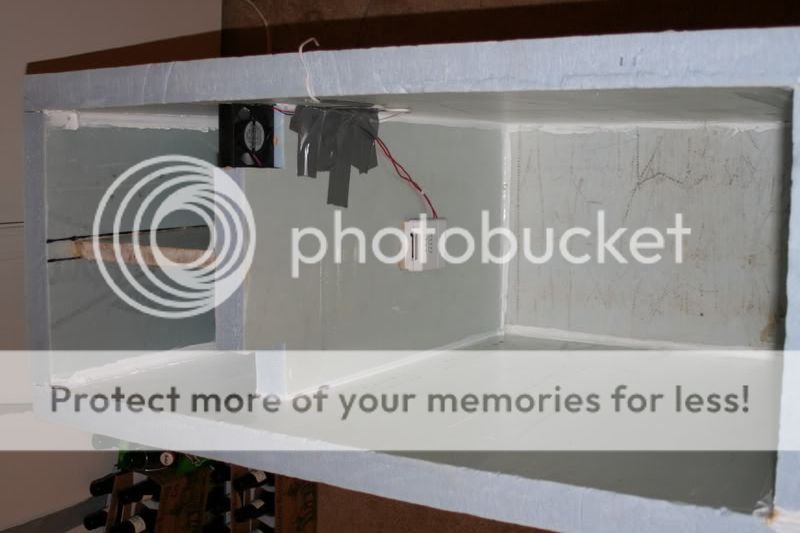
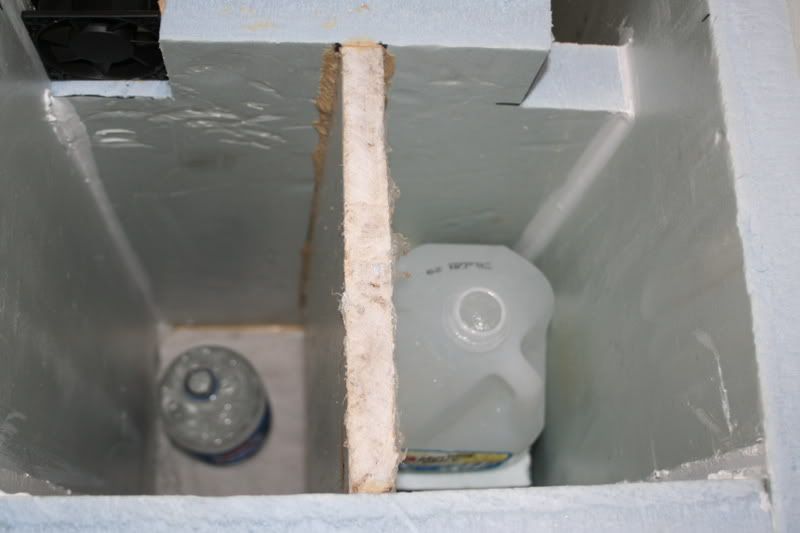
ice chamber (2 milk jugs on right, stacked with a shelf in between.)
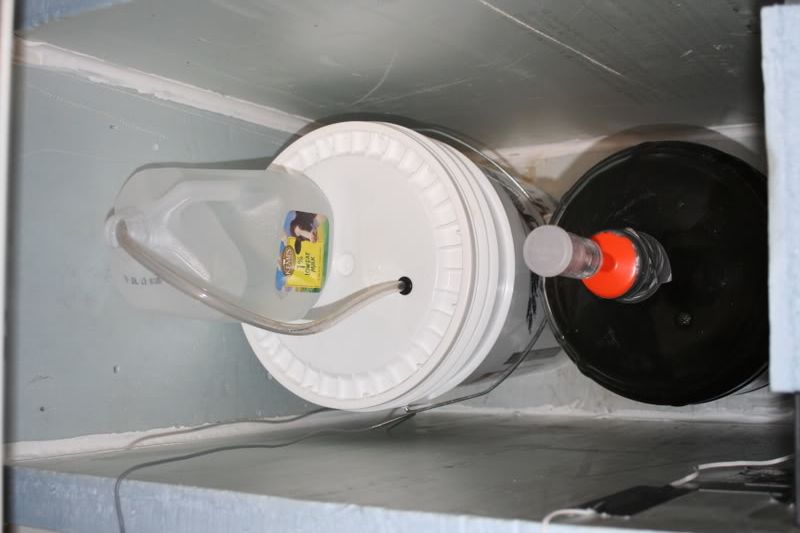
fermentation chamber
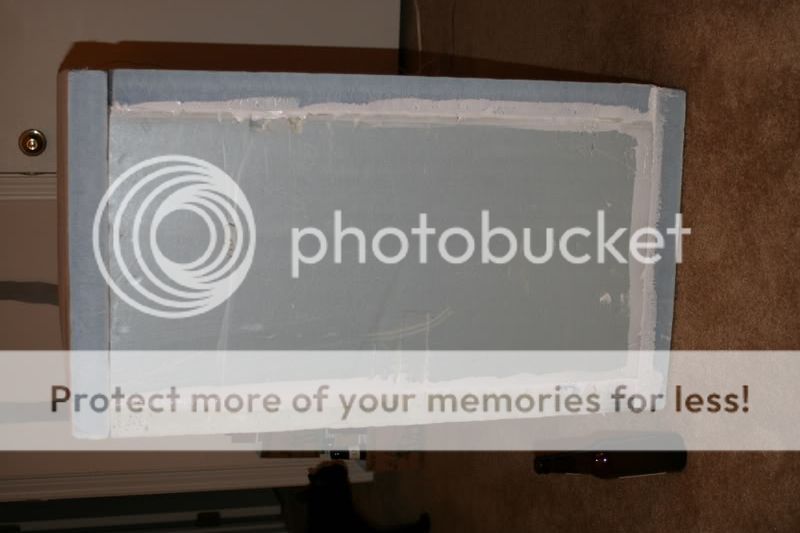
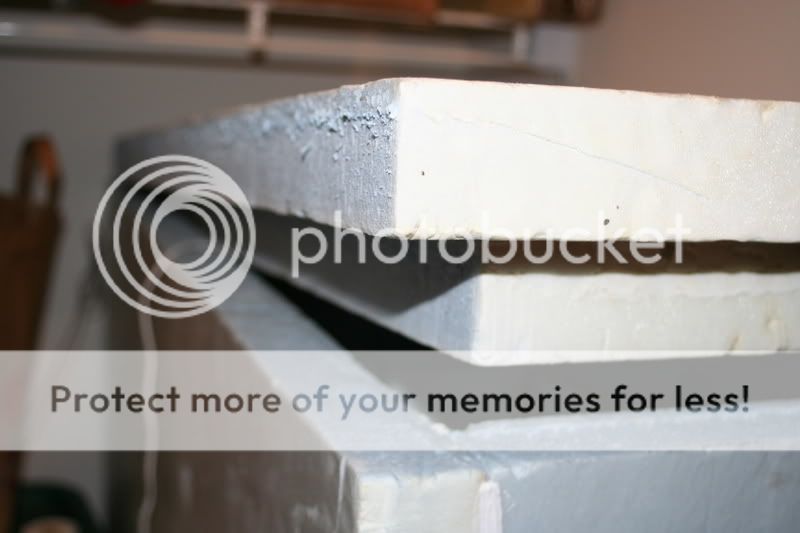
the lid
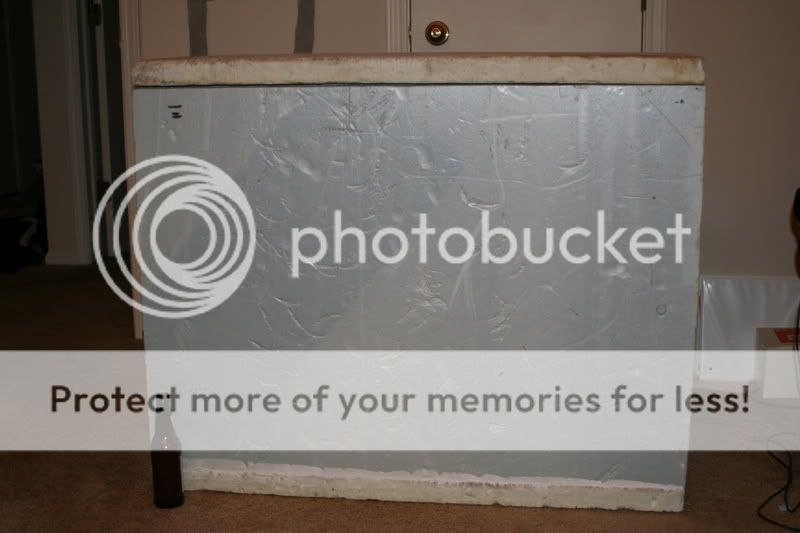
Dimensions are approx: 42" x 19" x 32" tall (with lid on). Fermentation chamber interior is 28" x 15" x 28" tall - large enough for 2 buckets or carboys (5 or 6.5 gal.) and tall enogh to allow for any sort of blow off setup.
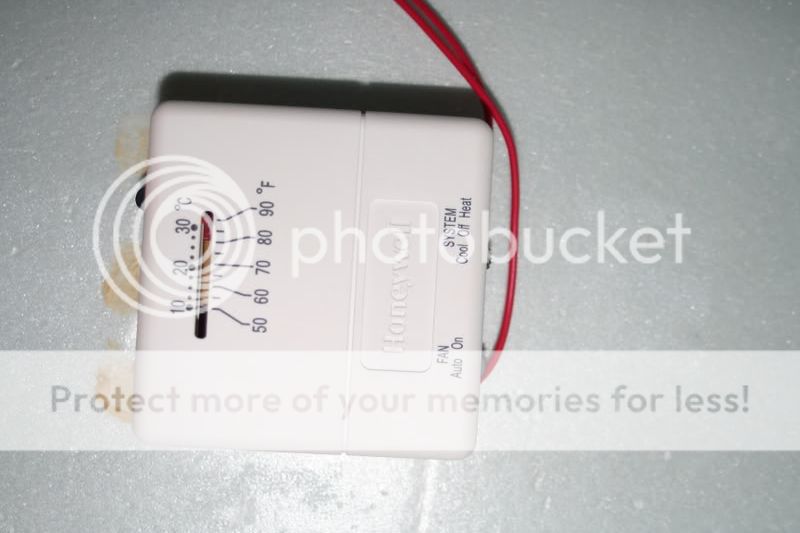
I pretty much followed the directions in the PDF file from the DIY projects section. I got the styrofoam for free from work (which was nice!), and so I just splurged on the more expensive Radio Shack fan and power supply. The Thermostat is a simple Honeywell bimetal heating/cooling thermostat ($12.99 @ hardware store). Total cost about $35 and it was super easy to construct. Only thing I modified form the design is the lid, in order to get a more tight fitting seal. No weatherstripping used or needed, so far.
I plan to bottle the brown ale in the carboy tomorrow and then rack the IPA in the bucket over (yes, I know it still has that dinky blow off tube there. That's because I used all of my ferm locks for culturing some yeast and haven't made it back to the LHBS yet). I think I may clean up the inside a bit better while it's empty and take some spray paint to it just to make it look a bit more appealing.
Just thought I'd share. Will update after a few days of use (hopefully with better pics).
I do have to figure out a better place to put it. At least someplace more accessable than in the corner of the closet under a shelf. Was a B**** and a half to lower the bucket and carboy in.
the pics:
ice chamber (2 milk jugs on right, stacked with a shelf in between.)
fermentation chamber
the lid
Dimensions are approx: 42" x 19" x 32" tall (with lid on). Fermentation chamber interior is 28" x 15" x 28" tall - large enough for 2 buckets or carboys (5 or 6.5 gal.) and tall enogh to allow for any sort of blow off setup.
I pretty much followed the directions in the PDF file from the DIY projects section. I got the styrofoam for free from work (which was nice!), and so I just splurged on the more expensive Radio Shack fan and power supply. The Thermostat is a simple Honeywell bimetal heating/cooling thermostat ($12.99 @ hardware store). Total cost about $35 and it was super easy to construct. Only thing I modified form the design is the lid, in order to get a more tight fitting seal. No weatherstripping used or needed, so far.
I plan to bottle the brown ale in the carboy tomorrow and then rack the IPA in the bucket over (yes, I know it still has that dinky blow off tube there. That's because I used all of my ferm locks for culturing some yeast and haven't made it back to the LHBS yet). I think I may clean up the inside a bit better while it's empty and take some spray paint to it just to make it look a bit more appealing.
Just thought I'd share. Will update after a few days of use (hopefully with better pics).