Finally building my new kegerator ( keezer)

Homebrew Talk - Beer, Wine, Mead, & Cider Brewing Discussion Forum

Help Support Homebrew Talk - Beer, Wine, Mead, & Cider Brewing Discussion Forum:

This site may earn a commission from merchant affiliate links, including eBay, Amazon, and others.

soccerRef

Supporting Member
HBT Supporter
Joined
Dec 28, 2011
Messages
139
Reaction score
4
Location
Katy
After a move from WNY to Katy Texas 2 years ago I am finally getting back to brewing!!! An important step is wrapping up, my new kegerator is finally getting finished!

The design was a mesh of a few things from the forums, with modifications to limited location/size/etc. In order to get it inside the house it had to be a "furniture style" build, and match the inside decor enough to fit in.

I know everyone including myself loves to cruise through pics of build, so here it goes!
 
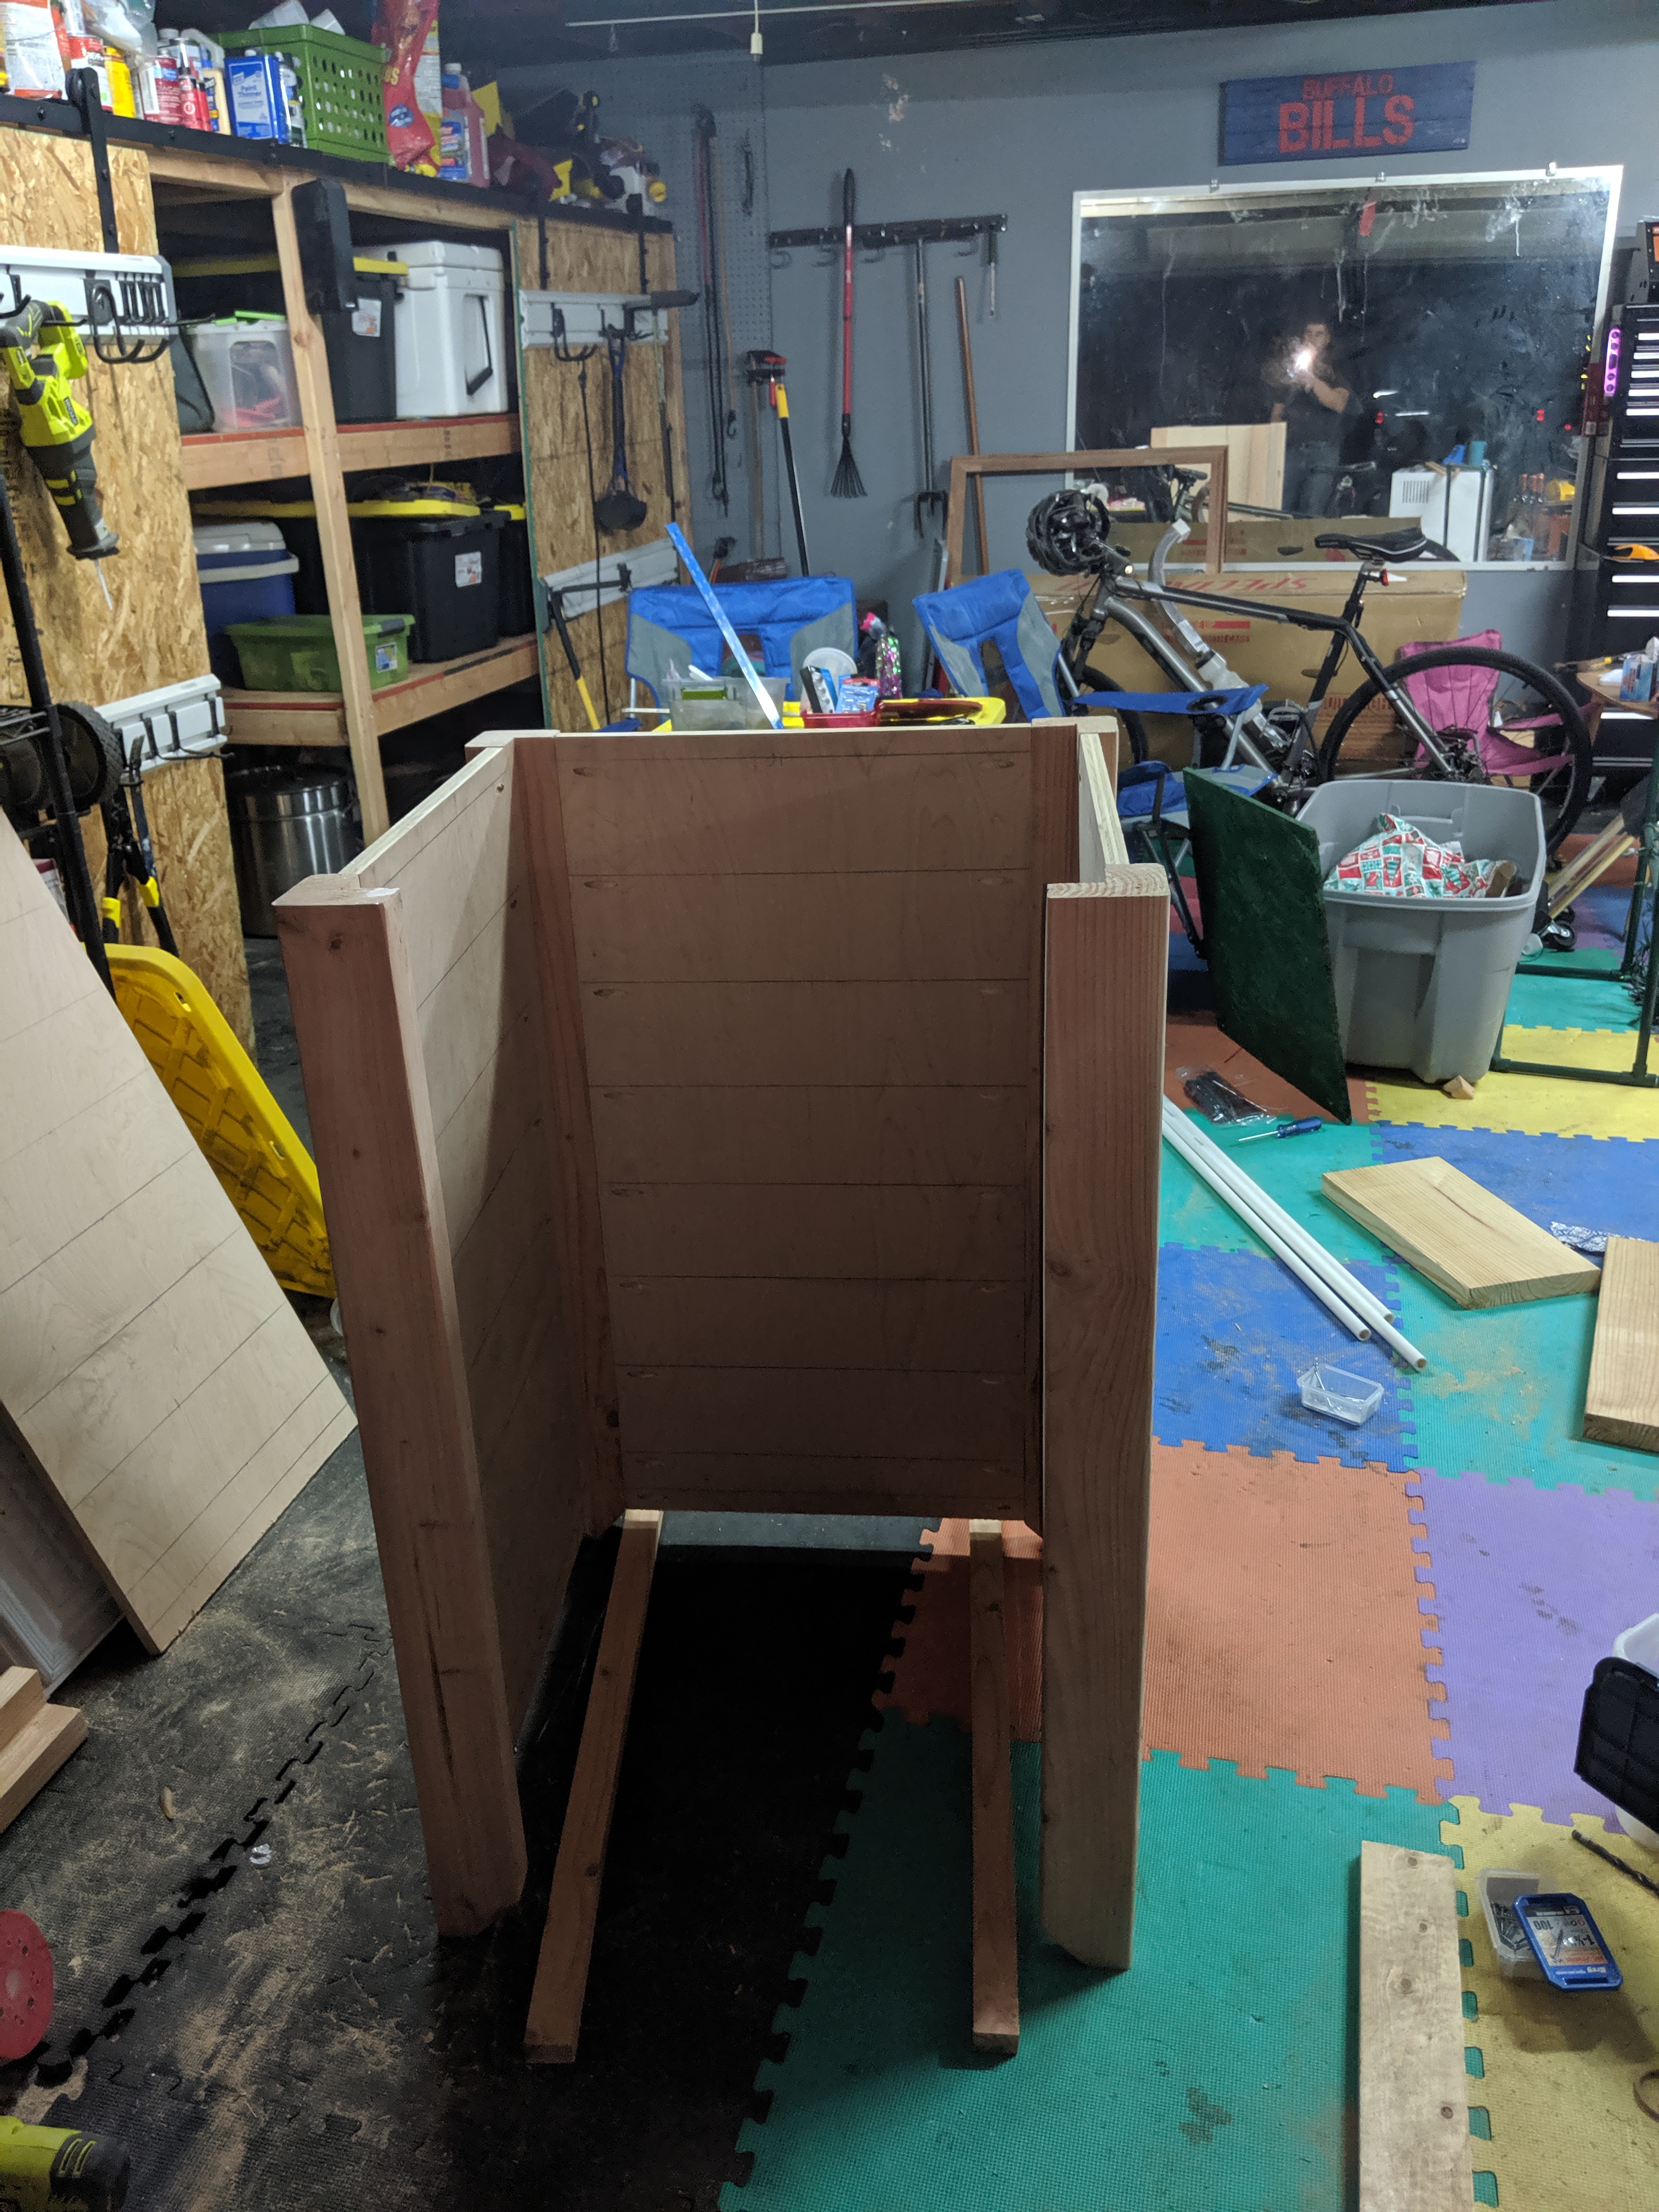
3 sides together.jpg
3rd side getting added.jpg
3 sides together.jpg
3rd side getting added.jpg
3 sides together.jpg
3rd side getting added.jpg
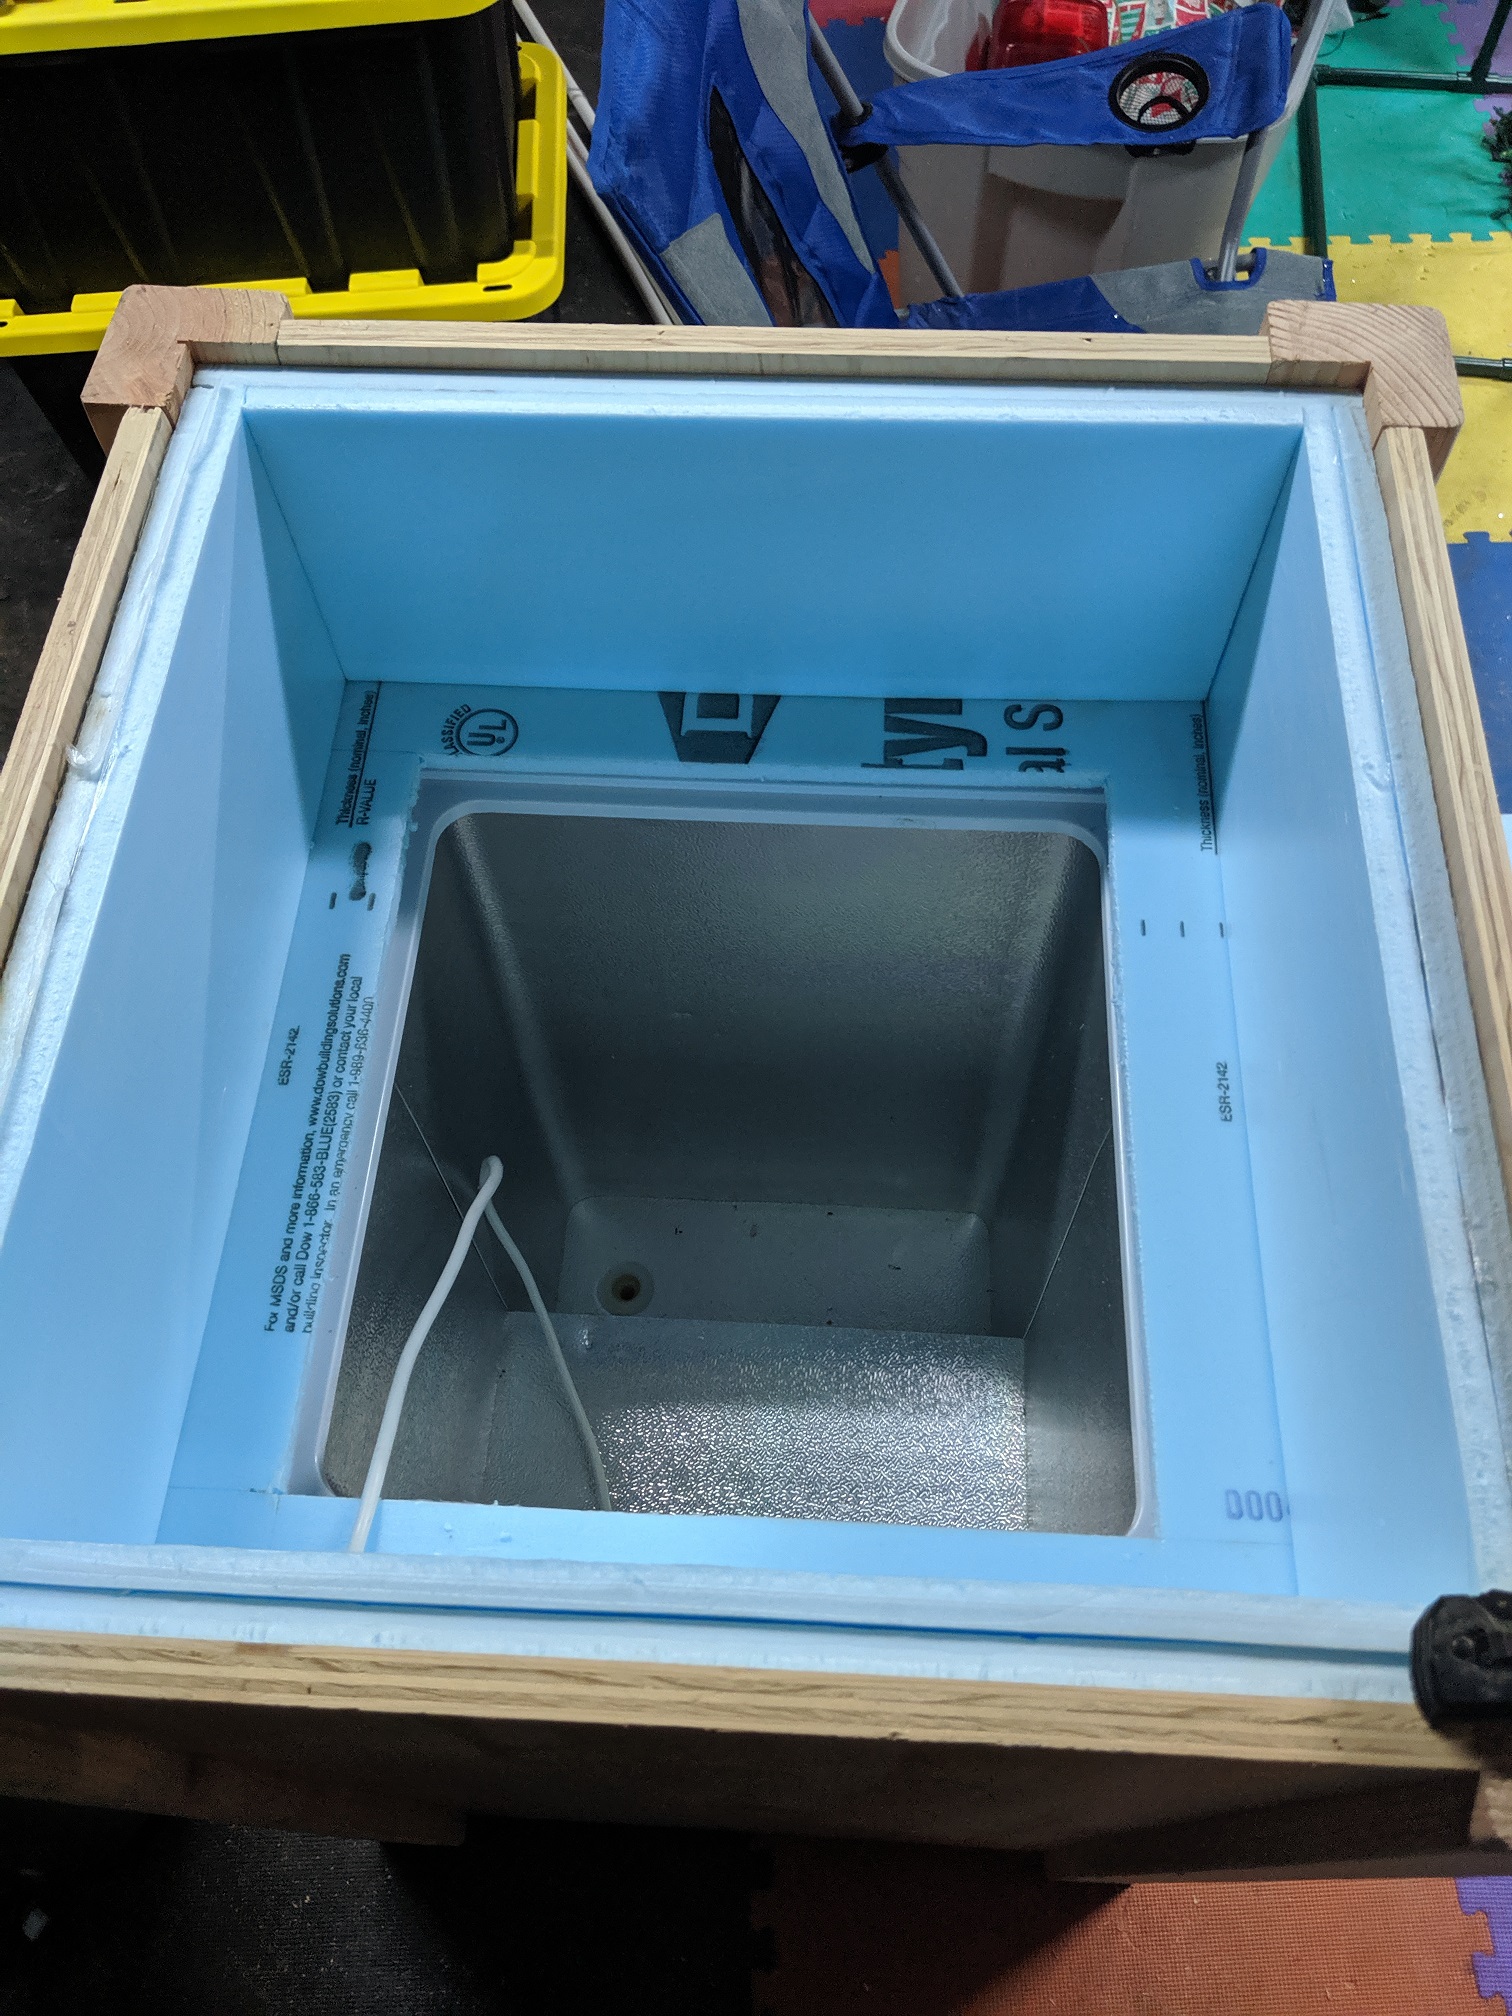
upside down freezer with parts.jpg
 
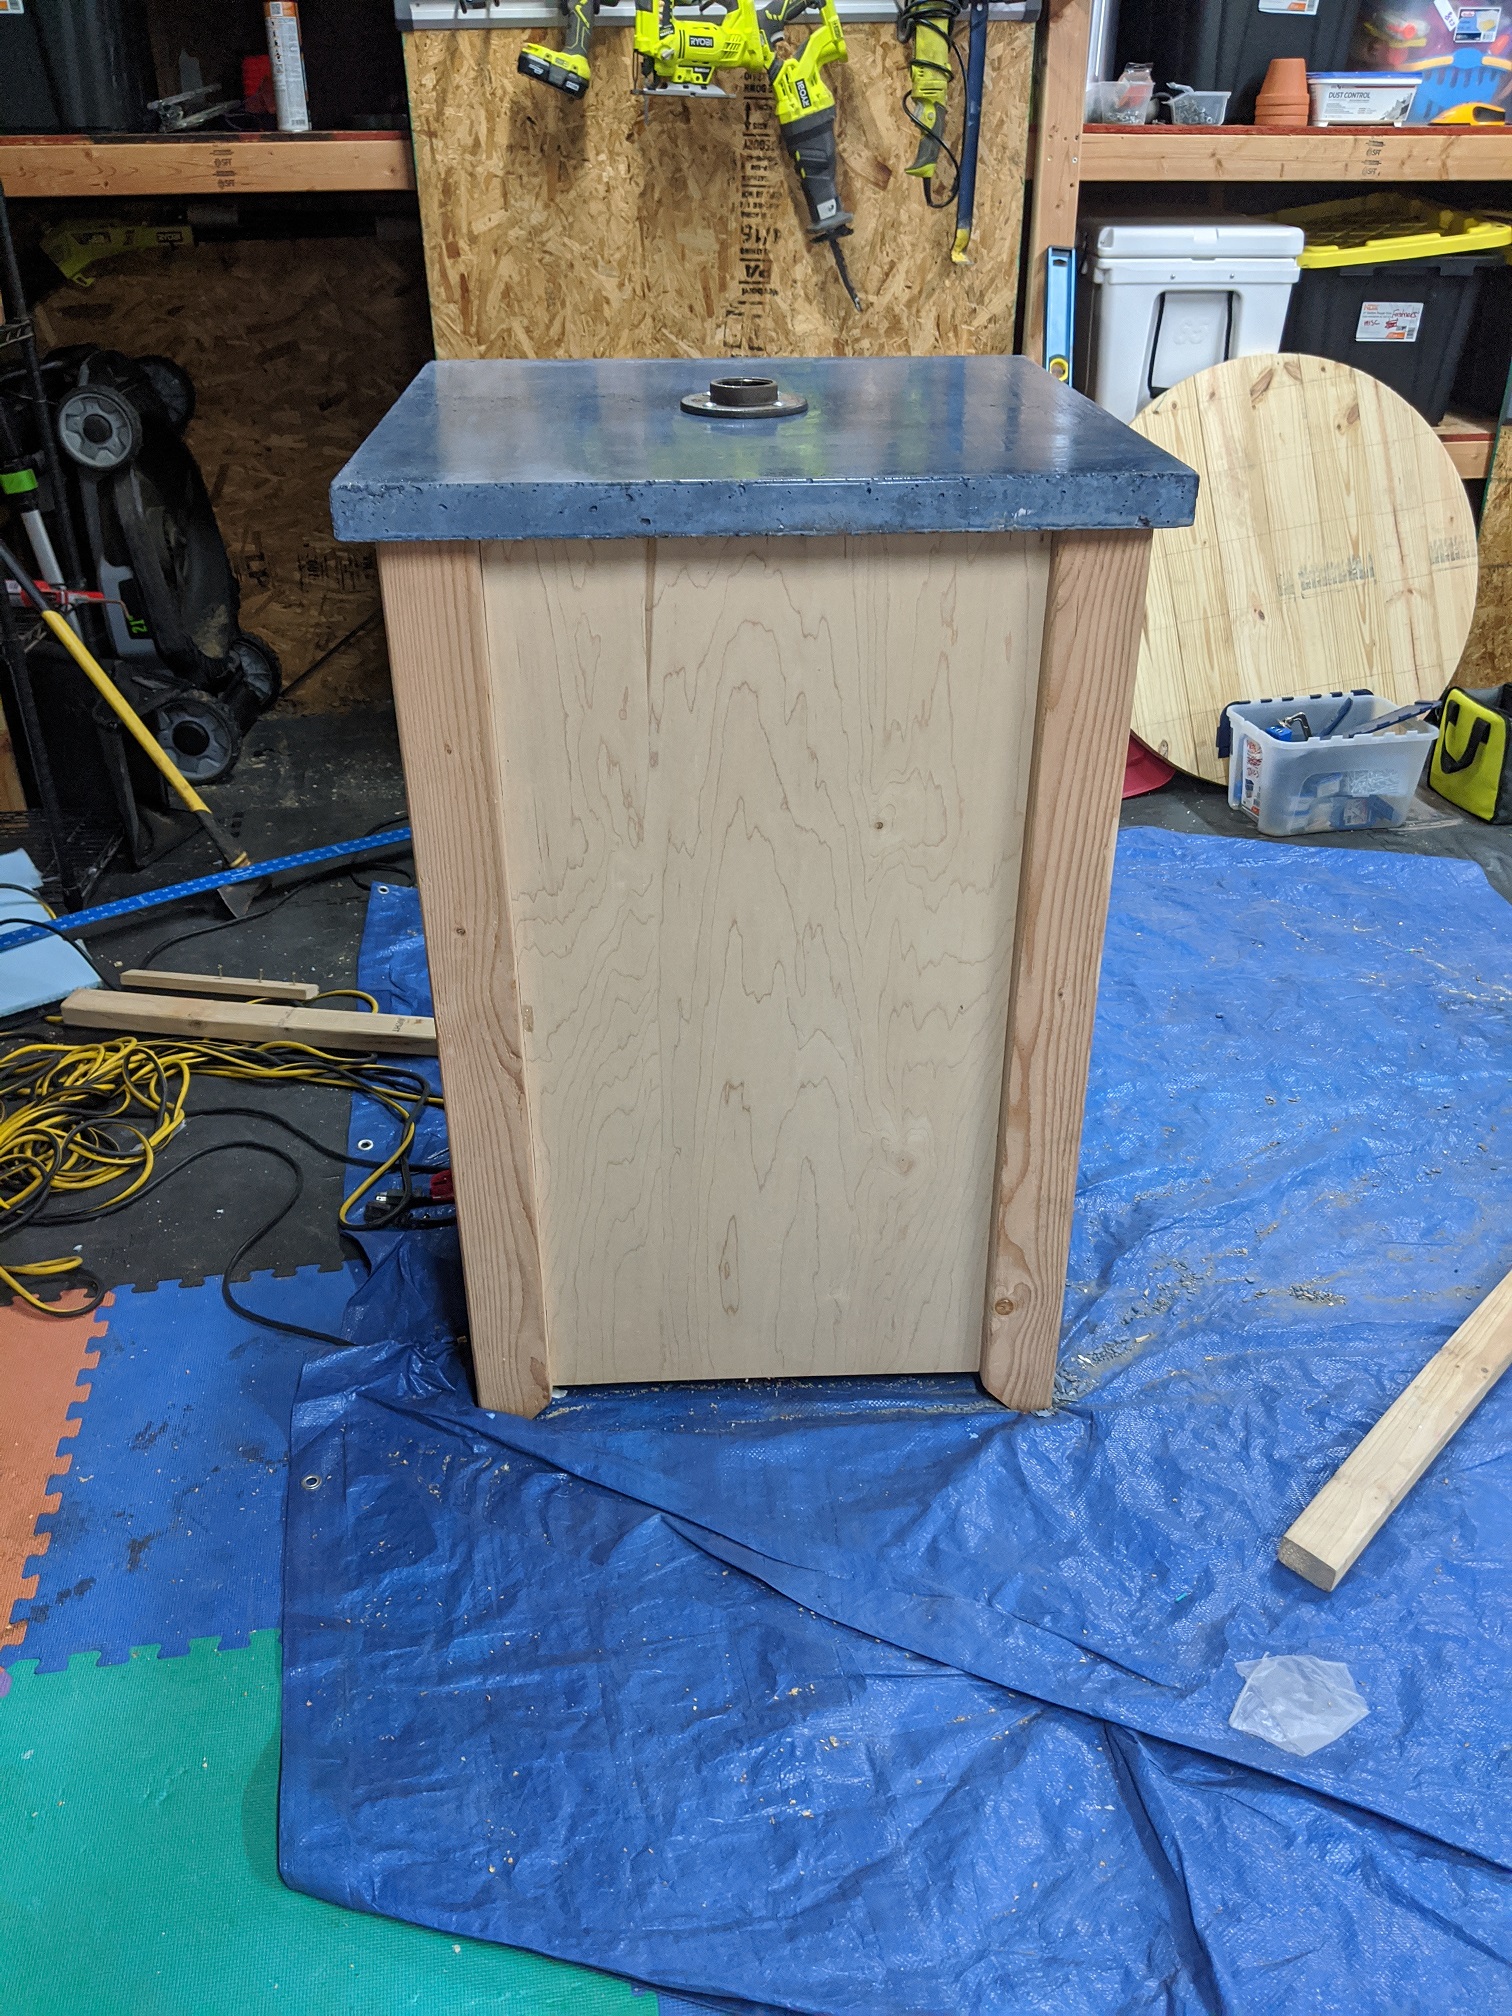
Concrete form - needed to have pre designed holes for the pipe flange to mount, and keglines... didn't want to risk drilling after! color was added to make the top a slate gray/blue color
 

Attachments

  • form 2 sides.jpg
    form 2 sides.jpg
    3.2 MB · Views: 24
  • form with wood brace.jpg
    form with wood brace.jpg
    3.4 MB · Views: 22
  • concrete mixed.jpg
    concrete mixed.jpg
    1.6 MB · Views: 25
  • concrete in form.jpg
    concrete in form.jpg
    1.2 MB · Views: 23
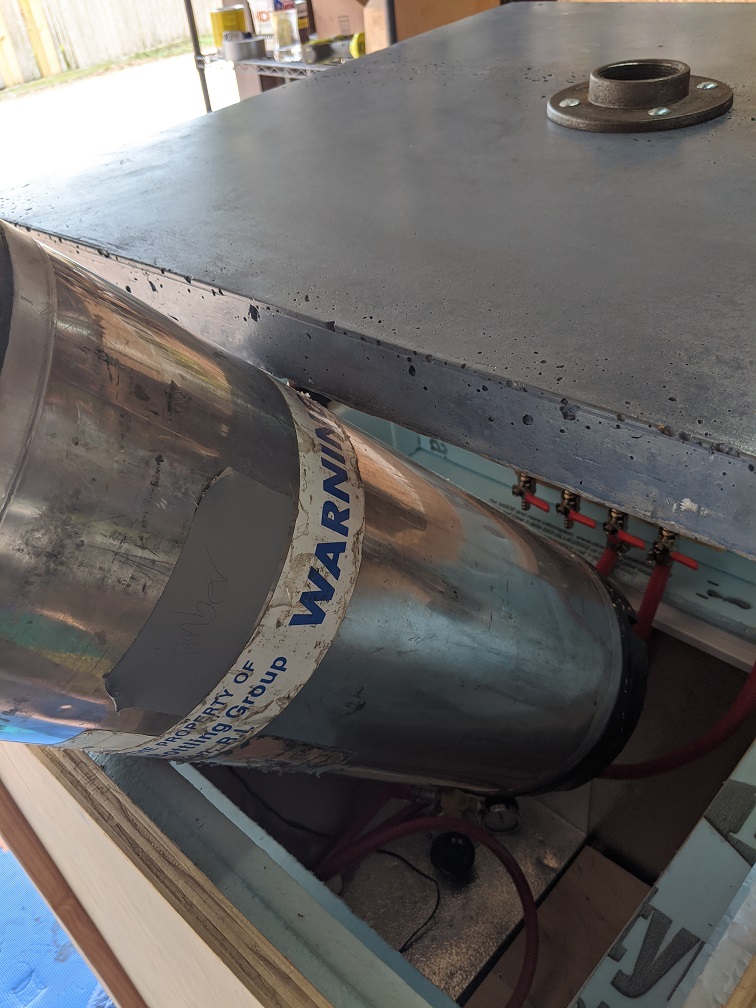
As of this picture string the box still needs to be stained (tomorrow hopefully)), the rest of the parts for the tap tower ( black pipe) arrive through the end of the week ( so hopefully this weekend it will all go together) - then the 2 beers from the fridge can finally get tapped! they've been waiting patiently.

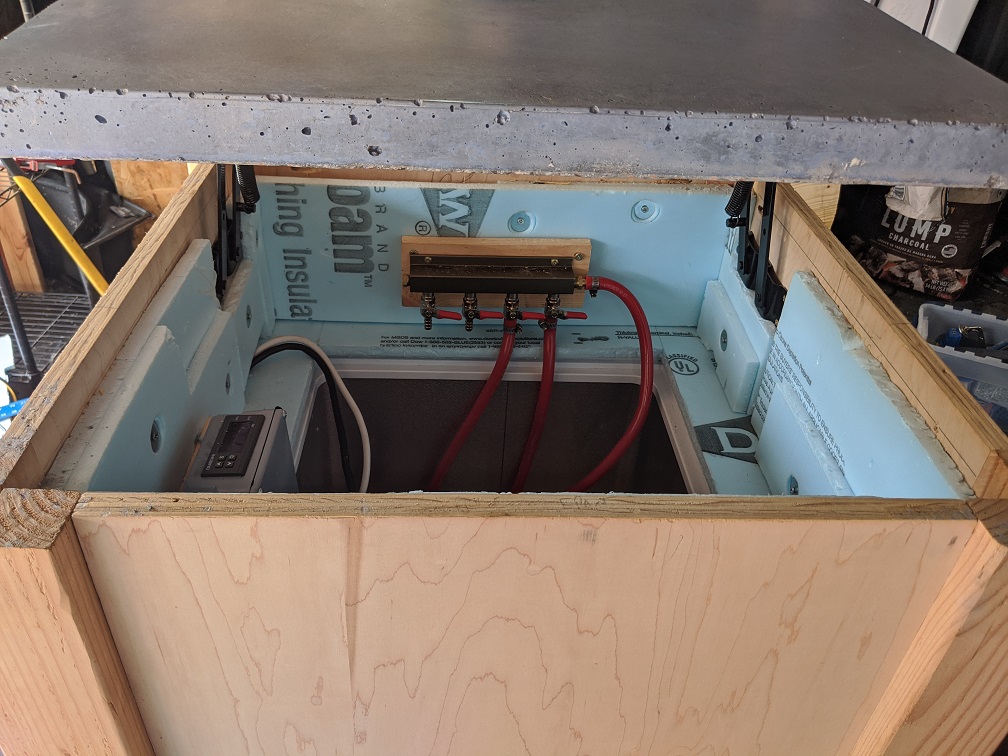
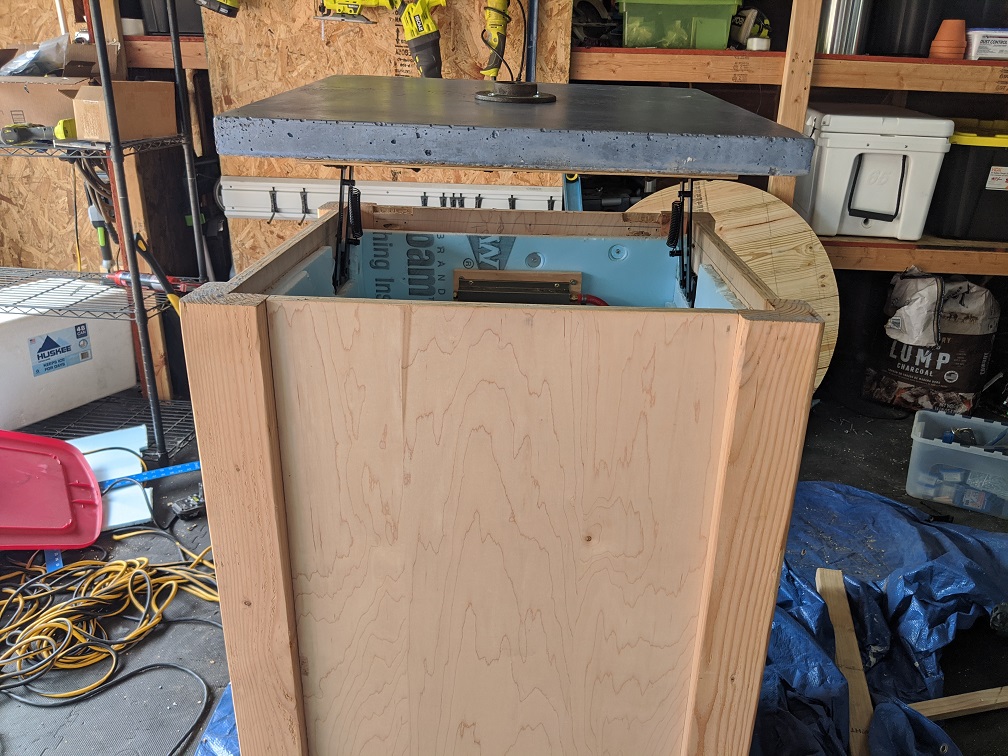
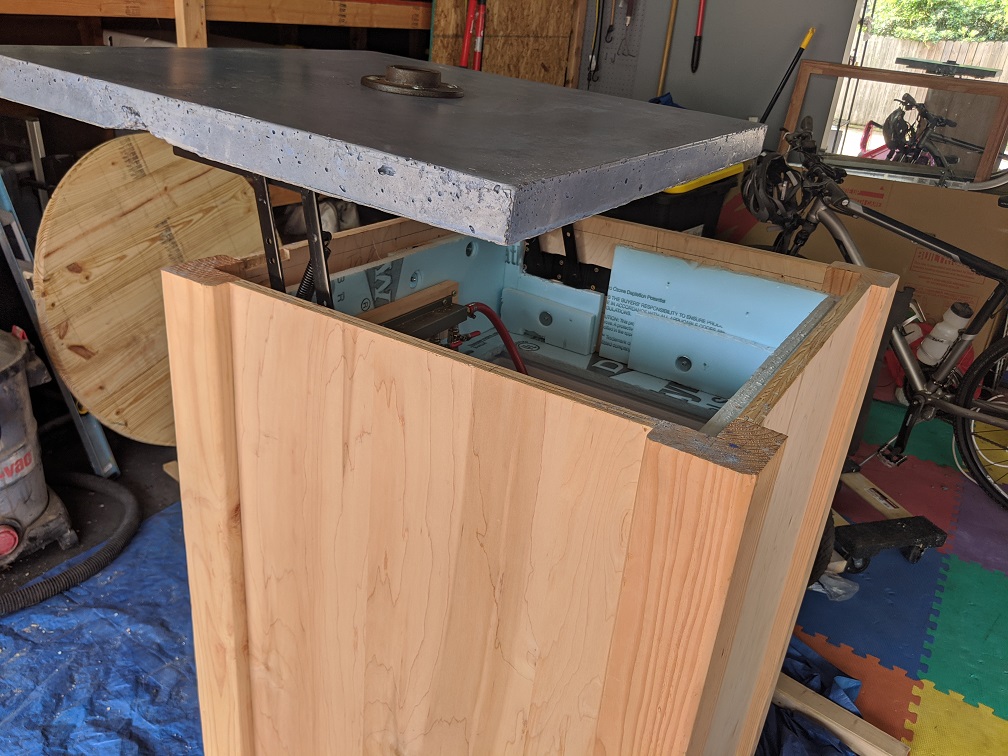
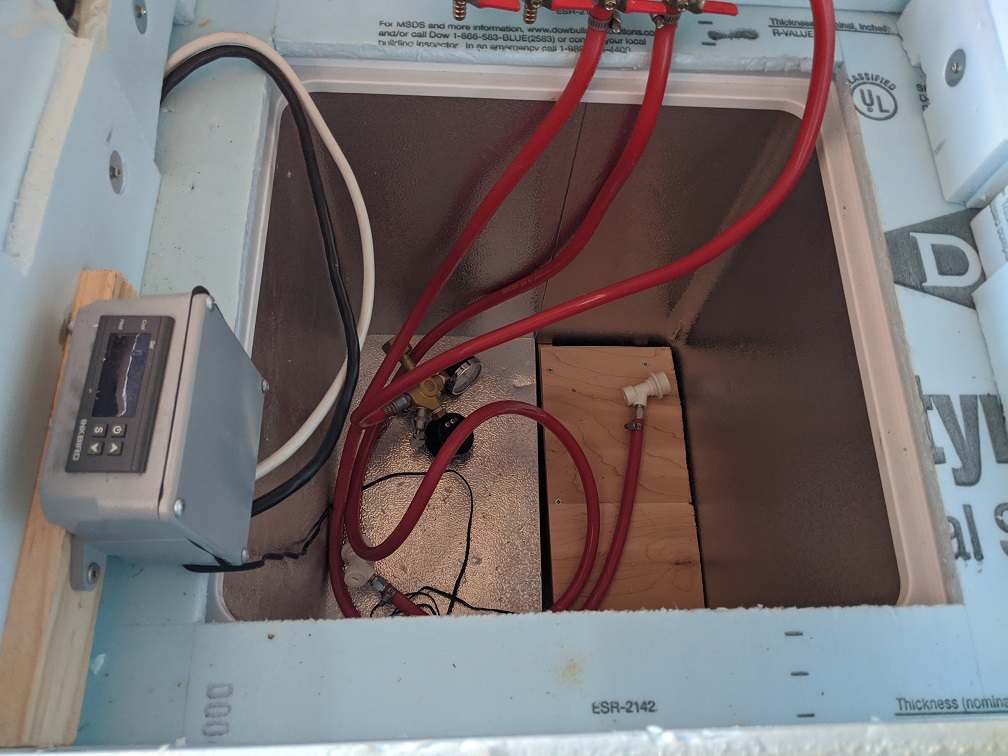
I will get more pics of the final inside views which are already complete - the top was drying from the sealer when I took the pics tonight so didn't want to move it - I ended up using those hinge/supports you build raising coffee tables with, as hinges would both not really work with the 4 sided furniture design, but also not be able to support the weight of 100lbs of concrete when open... it allows for plenty of room to slide corny kegs inside, which is all I use, but also supports the top in a raised position and is not to hard to open/close!
 
Thats pretty tall to be lifting kegs, IMHO.
its a little tall... but I only use corny's, so honestly not too bad... the design/location sort of drove function on this one...happy wife happy life:)

a few more pics coming below, as well as a video of a keg going in and out, the keg being shown is about 3/4 full of water for testing
IMG_20200409_171211.jpg
IMG_20200409_171214.jpg
IMG_20200409_171217.jpg
IMG_20200409_171221.jpg
IMG_20200409_171241.jpg
 
Is there ventilation for the freezer to get rid of heat? I know compared to freezing kreezers work lightly, but it might start working hard if there's no ventilation for the freezer. Then again I'm new here so I don't know if other people have had success "wrapping" a freezer with wood.

Does that freezer have a fan to exhaust heat out the back or is it like a typical freezer that puts heat out all the sides?
 
Is there ventilation for the freezer to get rid of heat? I know compared to freezing keezers work lightly, but it might start working hard if there's no ventilation for the freezer. Then again I'm new here so I don't know if other people have had success "wrapping" a freezer with wood.

Does that freezer have a fan to exhaust heat out the back or is it like a typical freezer that puts heat out all the sides?

good question! So I don't have any good pics of the bottom, but this freezer had a lot of air space around the bottom and the compressor, which was held to the freezer similar to many of the mini-fridges with 1 metal bar... the bottom of this wood box has a small edge ( 3/4") to catch the side of the freezer, then 2 small-ish support pieces pkt screwed into the frame, the rest is open space, and the legs of the wood box give the actual freezer bottom a decent amount of space from the floor... which is a long way of saying there is a path to ventilation for the freezer, and in test I left it running for 2 weeks straight with decently warm temps in my garage ( non insulated houston texas) and it preformed well ( had temp gauges watching it, logged on/off and cycles etc... gotta love a ras-pi monitoring system).

Absolute worst case scenario I can make another vent in one side of the bottom/base with my router, and trim it up with some decorative something... I really don't see it being an issue but there is a back up plan!

to answer the potential follow up of is my box/support system as described to leave airflow strong enough, before putting the top on a weight test was also preformed I put way more weight than would ever be in inside of the freezer and it didn't have any issue.
 
its a little tall... but I only use corny's, so honestly not too bad... the design/location sort of drove function on this one...happy wife happy life:)
Once I looked at it again with the kegs in, and thought about my keezer, I realized its probably not as tall as it appears in the pic. Must just be an illusion due to the dimensions.
 
Really like the overall look, the top looks great. In regard to the ventilation question above, the main issue with wrapping a freezer in wood is a freezer doesn't dissipate it's heat around the compressor, it dissipates it through the walls of the freezer. When a freezer is running properly, you should be able to put your hand on the side and it should be warm to the touch. By putting wood around the sides, you are trapping that heat into the walls and pushing it back into the freezer which causes it to run more, eventually causing failure. It's not going to die on you right away, but you won't get as many years out of it as you would if it were bare.
 

Latest posts

Back
Top