bradleybiscuits
New Member
Beautiful work Jon.
My wife dislikes you already!!!!!
My wife dislikes you already!!!!!
Last edited:

Hi Jon,
I had another question if you don't mind. From what I can see, your system is a closed system. How are you transferring to a fermenter after chilling and how are you draining any left over junk wort and such? There must be a place that allows you to drain and transfer wort.
Thanks
Nice. I assume you don't whirlpool then?
Yes, I whirlpool. Why would you assume not?
Isn't the screen and wall overkill for whirlpool? Can't you just wait for the trub to settle then run a pickup tube against the side wall?
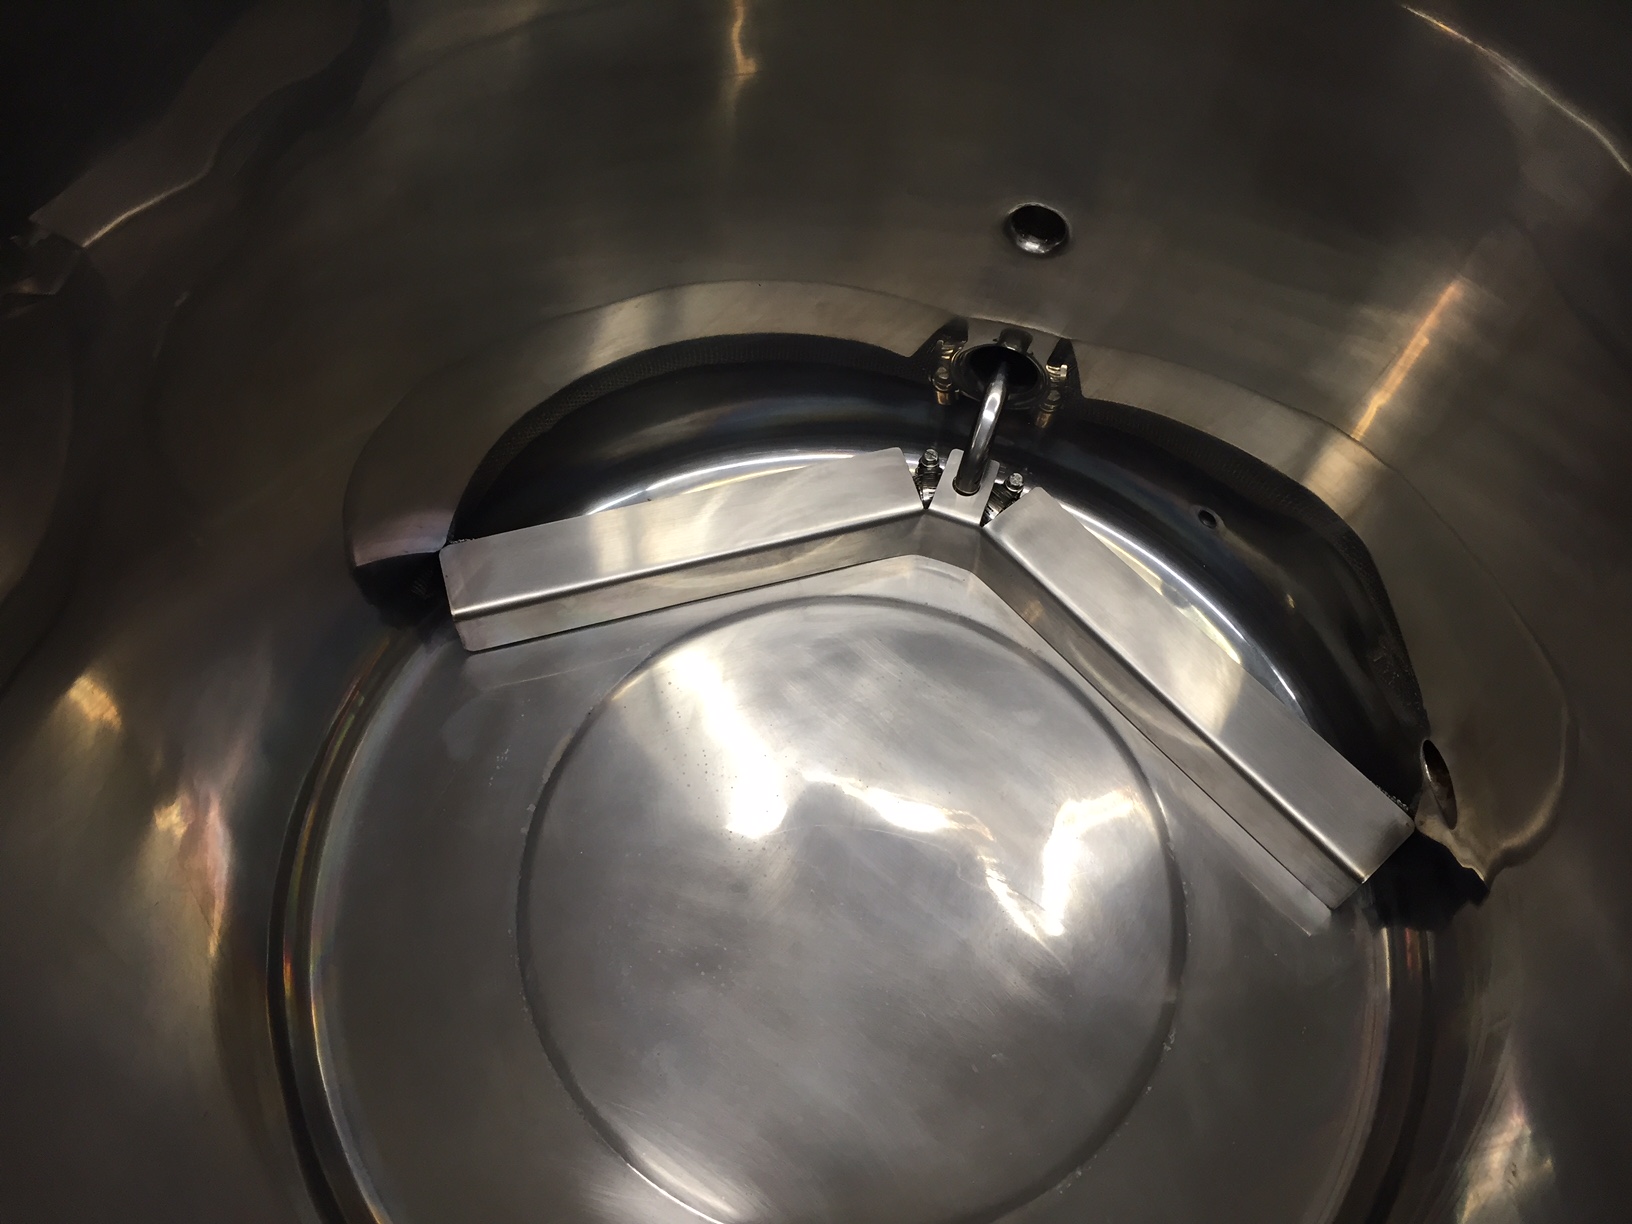
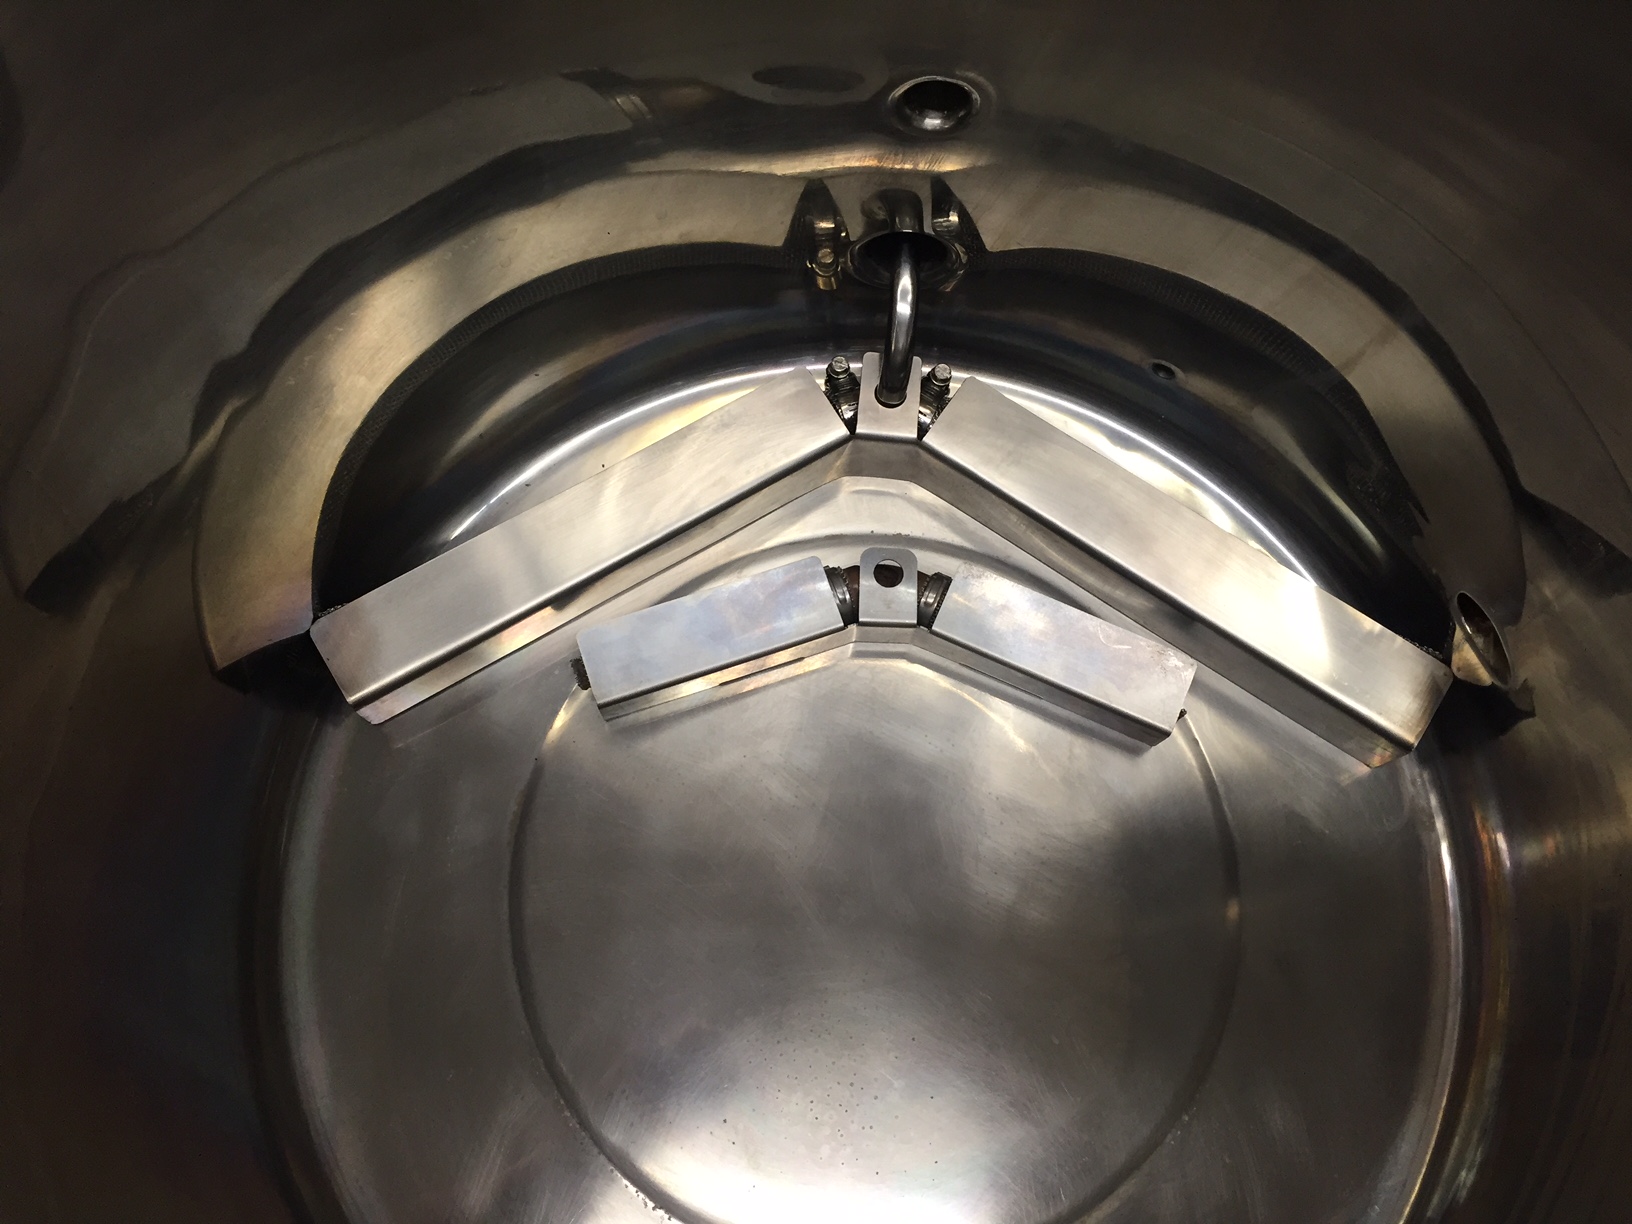
With 10 minutes left in the boil, I start a recirc. At 6 minutes left, I bring the plate chiller into the loop to sterilize it and the hose that is used to transfer to the fermenter. I don't want to recirc through the plate chiller without filtering the trub out.
With 10 minutes left in the boil, I start a recirc. At 6 minutes left, I bring the plate chiller into the loop to sterilize it and the hose that is used to transfer to the fermenter. I don't want to recirc through the plate chiller without filtering the trub out.
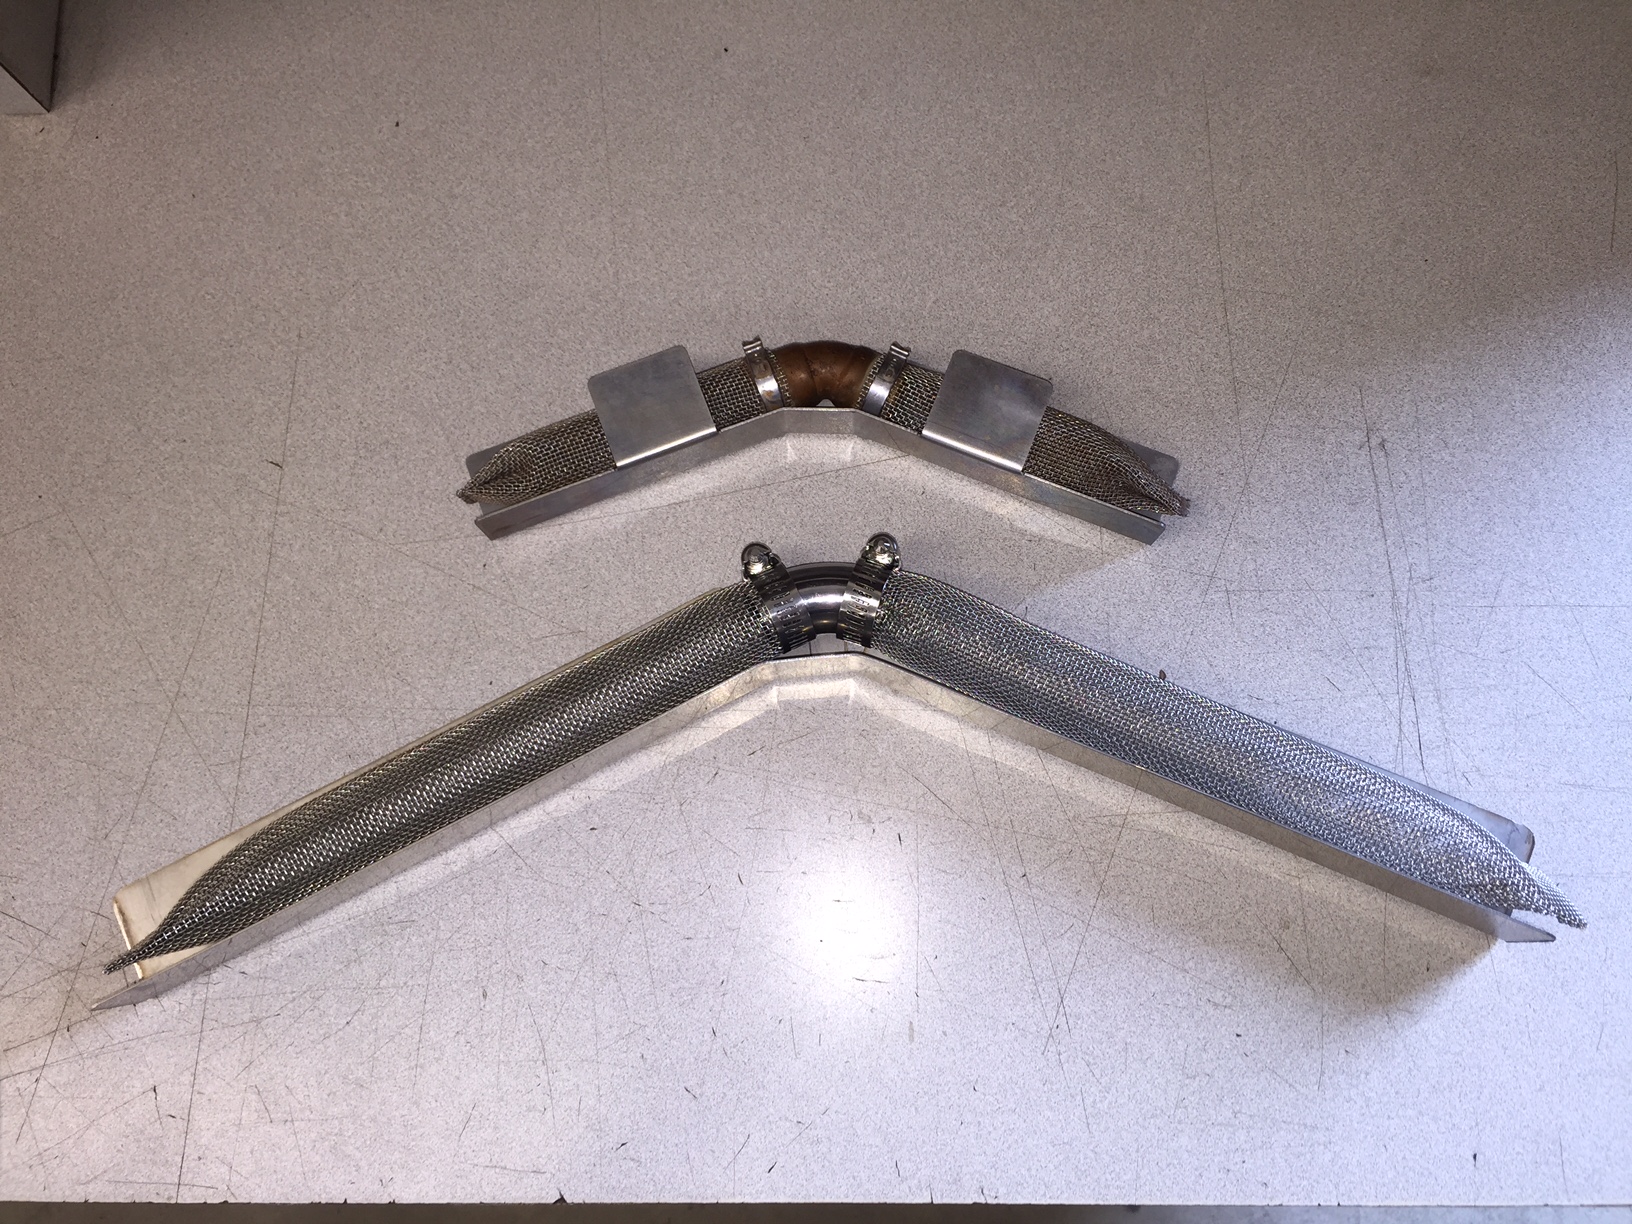
I keep the boil going while I recirc. With the old kettle screen, every once in a while I would lose prime on my pump with a vigorous boil going. However, I can tell just from the two batches yesterday that the new kettle screen is helping greatly as my flow was way better than it was with the smaller screen.In your cycle above, do you stop the boil? I suppose I could let the temp come down and hold near boiling, do a fast whirlpool, then a slow whirlpool like you do (through chiller). I suppose 208 would still sterilize the chillers. But how would you do a reduced temp hopstand? Turn the chiller flush on at the end or the chiller sanitization?
I've found these forums to be a terrific wealth of knowldege, very glad that you pros are here.
With this setup, I have perfectly clear wort. I am very happy with the performance of my chillers, but would someday like to upgrade to plate chillers, if for no reason other than more of a "professional" setup. My concerns are the propensity for clogging doing this. So I could turn the boil off (or go PID 208 degrees) and whirlpool first, then bring the chillers inline (and the remaining sub-boiling temp should be OK to sanitize as you mentioned), but then how would I do a hopstand? I have a silly goal of not using filtering (I like the challenge I guess?), so any ideas how this could be accomplished? Probably more of an academic discussion, but what the heck.
An incredible setup. Pro. Very complicated. I'd absolutely love to stand on your shoulder and replicate something close to this system.
Any chance for a partslist?
Do you have any photos of your inlets from the inside? What exactly is on the inside and are they triclamp and tangential? Why did you decide to make the HLT and BK inlets high up? Finally, why did you decide to have the temperature sensors in the front directly above the valve instead of say out of the way in the back?
Did all the kettles come pre-stocked with TC flange at the top ... or was did only the MT come pre-stocked that way?
Wow Jon, just wow. I dropped by to see what size batches you're doing. I'm planning on moving up to 15 gallons/batch. Looks like you've knocked everything out of the park.

How do you regulate the gas flow? With the ball valves? Also why did you not go all sanitary fittings and tubing on the worth side and re circulation?
Hi Jon,
How are you bending your steel tubing? Is this something that can be done easily with a bender? If you are able to, what size tubing are you using? Do you have an recommendations when hard plumbing a brewery? I am trying to do the same.
I personally feel it is a non-issue. I run hot water through the rig after brewing and that alone cleans out everything nicely. Additionally, none of the compression fittings have the actual compression ring installed. I simply use an o-ring there. You can easily open any of the compression fittings to check things out (note: I did use the compression rings on the fresh water input plumbing due to the pressure there).I have been thinking about how to incorporate hard tuning into a rig. I know compressions is a way as you used Jon but I personally think they have too much room for gunk collection inside as the ferrule makes the seal on the outside of the tube a distance from the end.
It was all bent using a hand bender. Pretty easy. All tubing is 1/2" except for the burners which is 3/8". I bought all the tubing from McMaster.
The majority of my bends are single 90 degree bends which allows you to trim the length of either/both ends to match up to your application. Putting multiple bends into the tubing gets a little trickier when trying to line things up. Still, not super hard.
I personally feel it is a non-issue. I run hot water through the rig after brewing and that alone cleans out everything nicely. Additionally, none of the compression fittings have the actual compression ring installed. I simply use an o-ring there. You can easily open any of the compression fittings to check things out (note: I did use the compression rings on the fresh water input plumbing due to the pressure there).
Additionally, just in case there's gunk left around, recirculating the hot wort is killing it anyways.
Here's the McMaster info for both the 3/8" and 1/2" tubing. (Pricing is when I bought it, may not be current pricing).Jon, thank you for the feedback. Much appreciated. Would you happen to know what thickness the 1/2" ss pipe was? Or the ID at least? I trust your experience from others as most information here runs the board when considering thickness for bending.
I guess you basically CIP everything?
My suggestion for framing, wind shield and kettle support? I'd do it again exactly the way I have it here. The Brewers Hardware frame works very well for moving the exhaust heat out the back keeping everything up front cool enough to touch/handle.With all that said, what is your recommendation for framing, wind shield, kettle support and such?
Enter your email address to join:
