I love some input on what I should do with my chill water source.
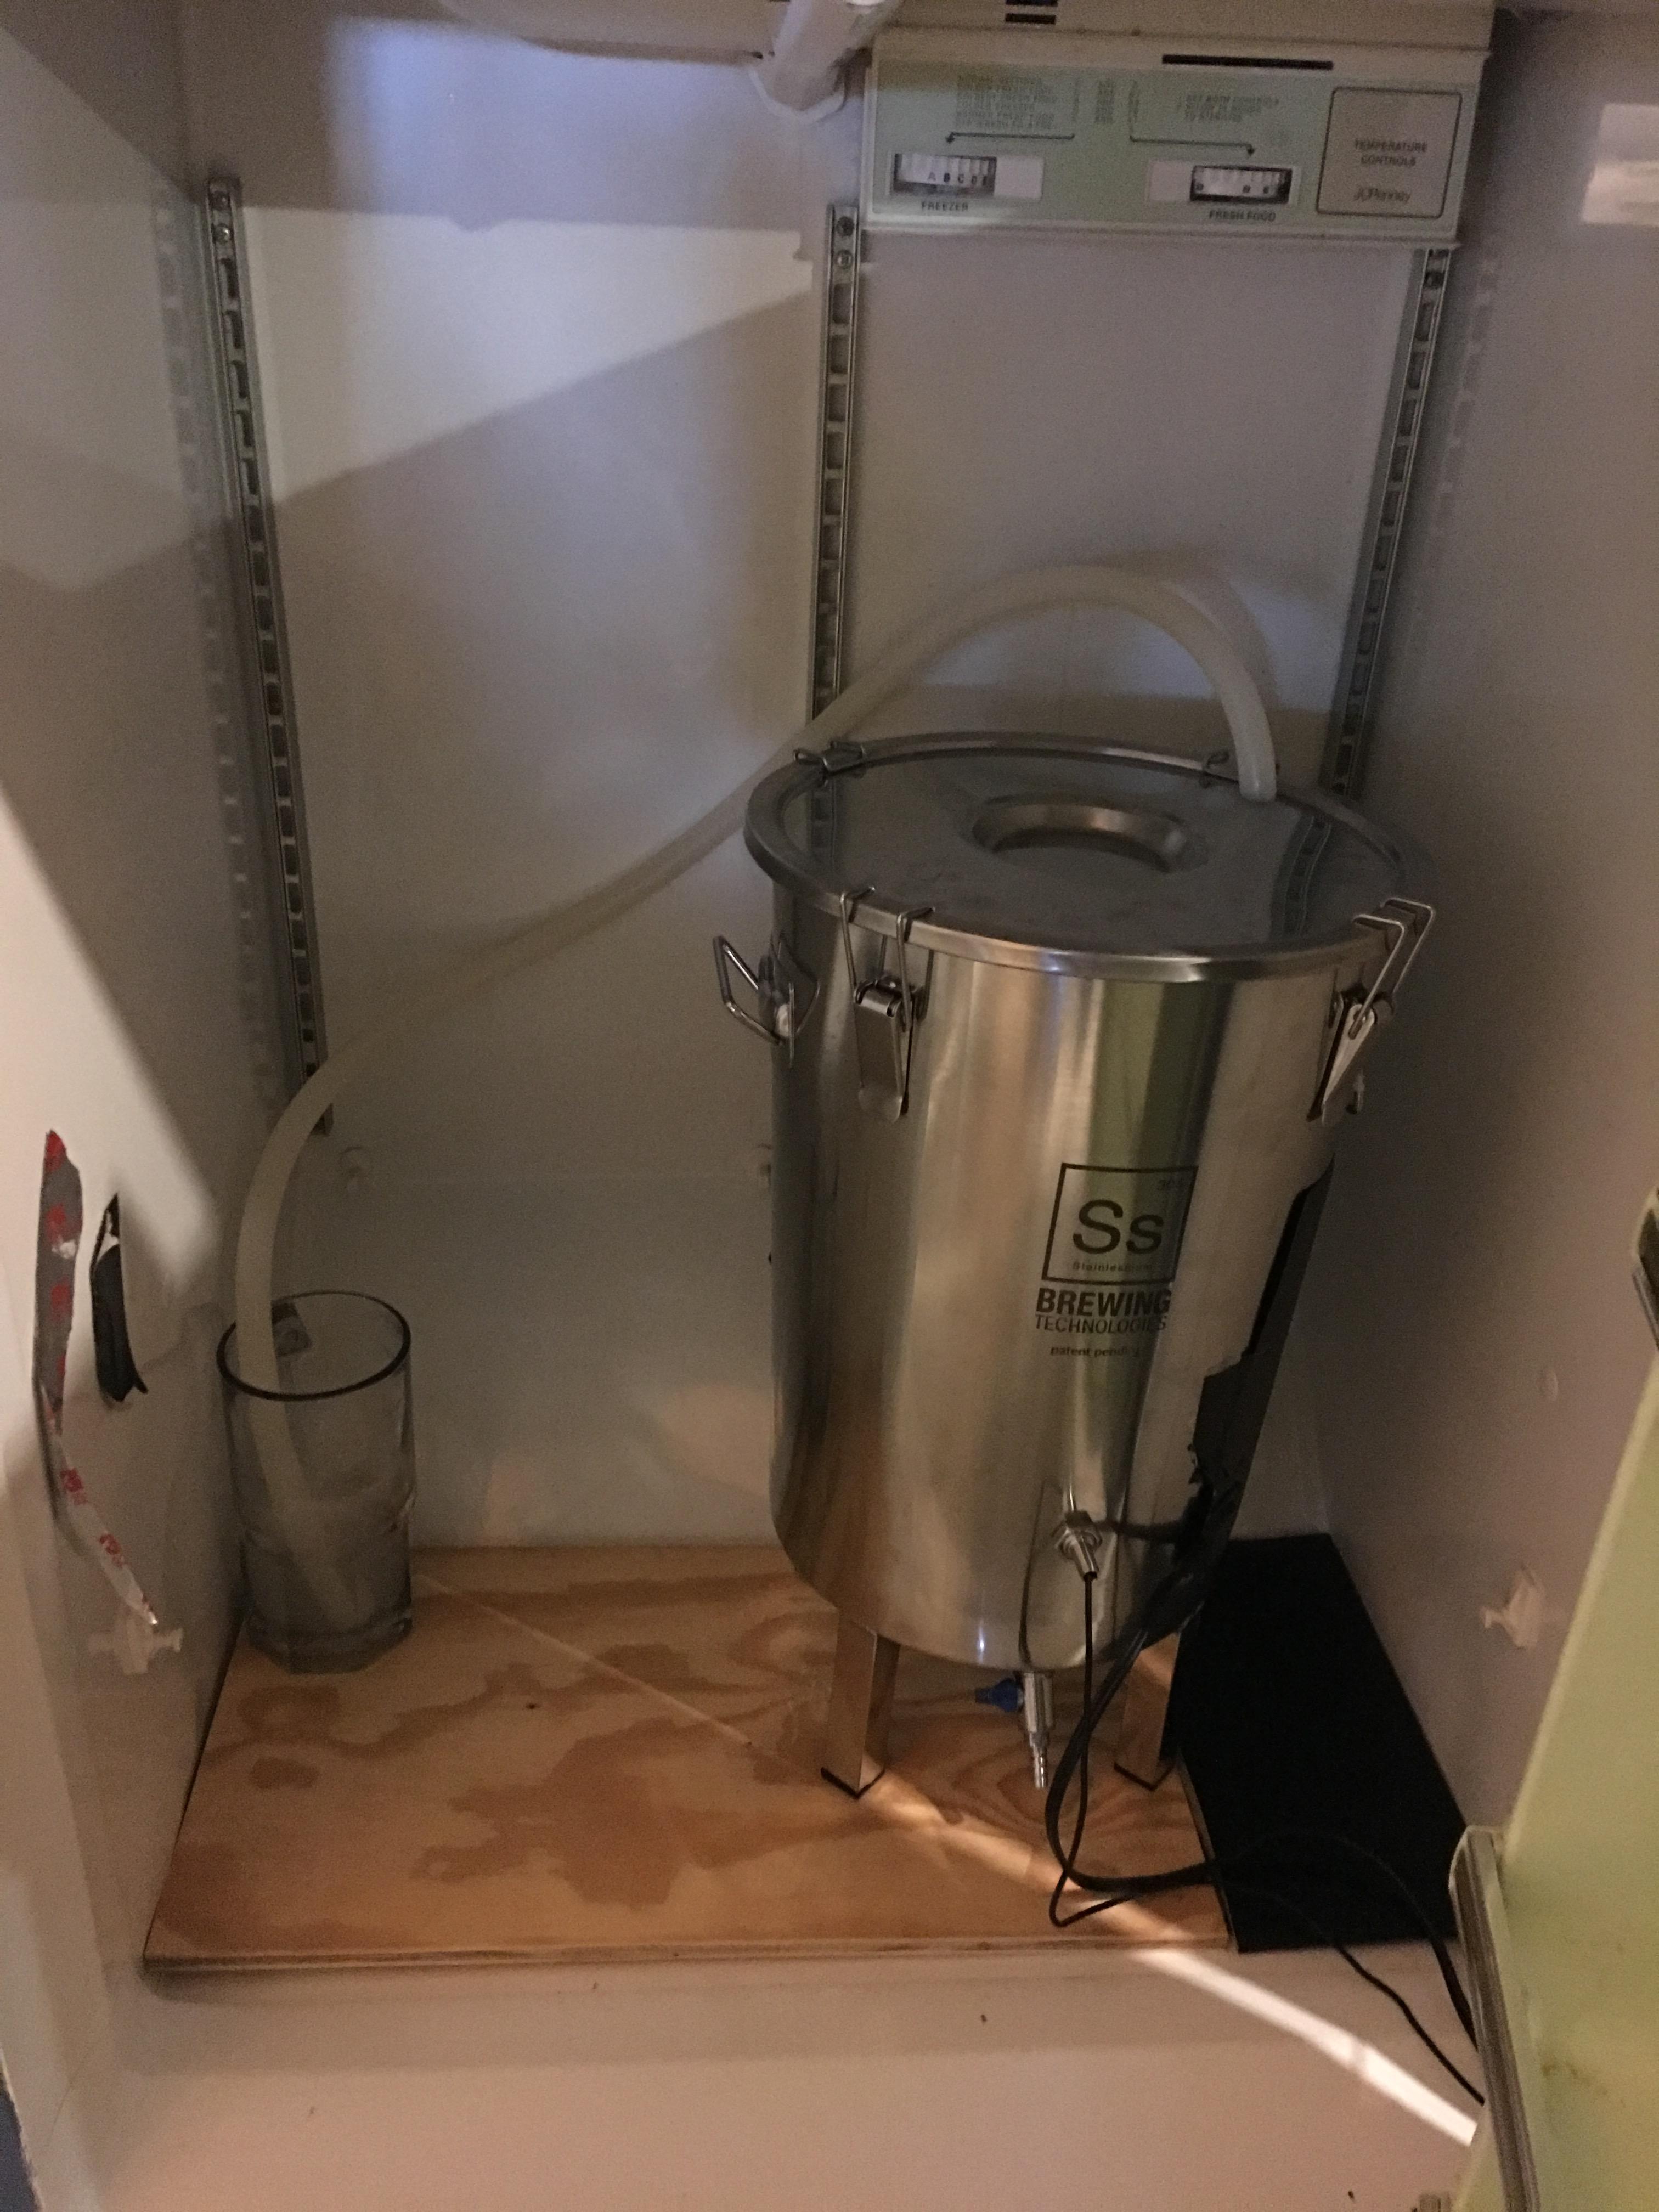
I'm building a keezer right now. Dual Tap, but 7 cu freezer which gives me room to store kegs, cold crash etc.
I was thinking of putting a chill water source in my keezer. The thought is that I wouldn't have to change out frozen bottles as much, and it may be possible to cold crash with some extra attention.
My cooler now is 7 gallons which is super easy to achieve ale temps during fermentation on two brew buckets. If I put a chill source in my keezer it would be five gallons (probably a keg) --- Im not sure what the loss of volume would mean for my two buckets.
I'm wondering if anyone here has their chill source in their keezer, and what benifits they get from it. My space usually sits pretty steady around 70 degrees, and I'm not lagering, so the differential is pretty low.

") Ed
Ed