OP
OP
blackheart
Well-Known Member
On to more pictures....
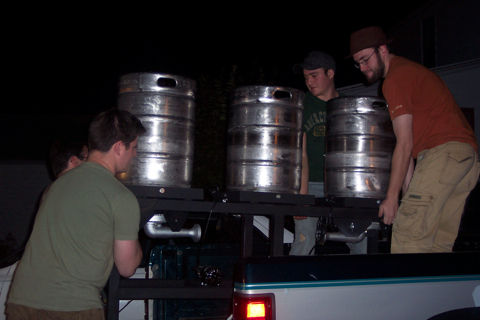
Love at first site?
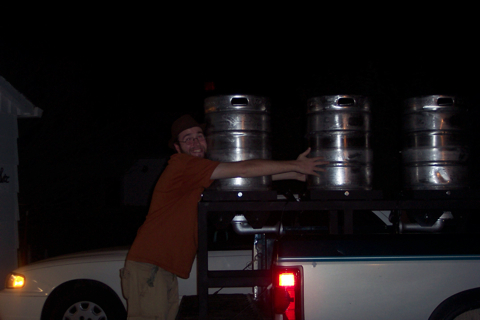
Getting the massive stand out of the truck last night
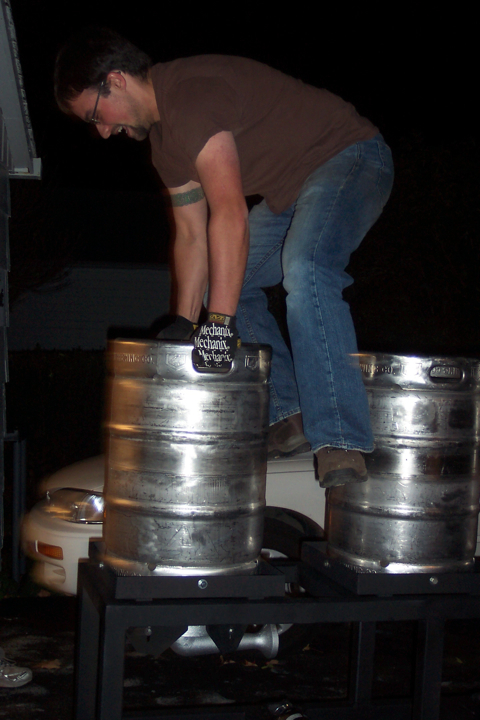
Adam jumped on the stand for two reasons, one, to test the stand, but mostly to get the caster inserts to insert themselves into the 2" tubing
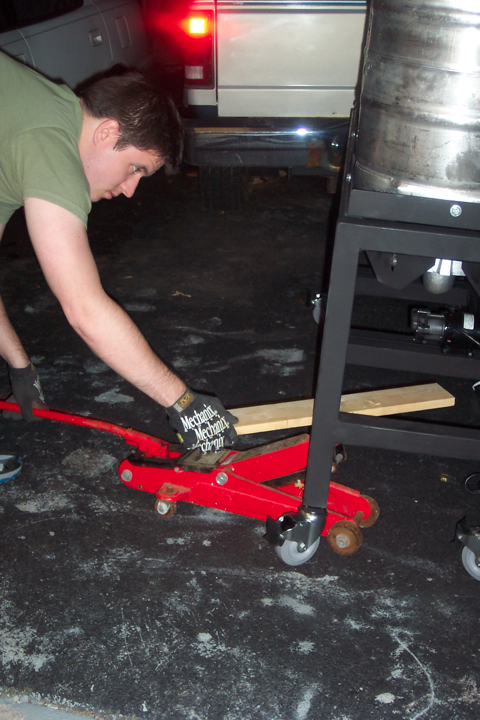
Here I am jacking up the frame so we can hammer the wheel inserts into place, the jumping idea only got us so far.
And there is the stand wheeled into place as we check it for levelness
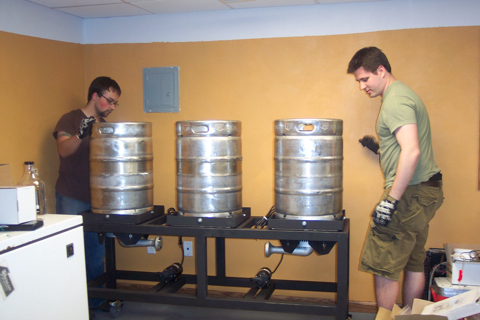
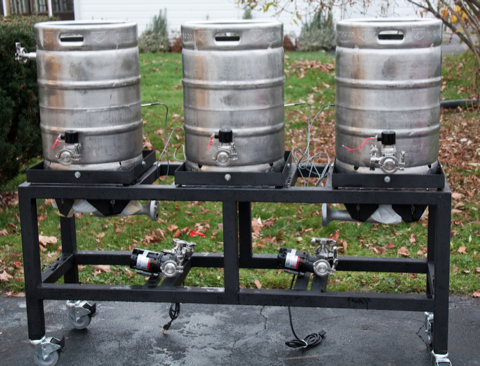
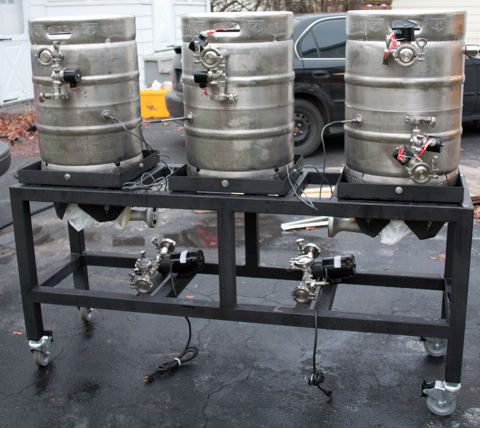
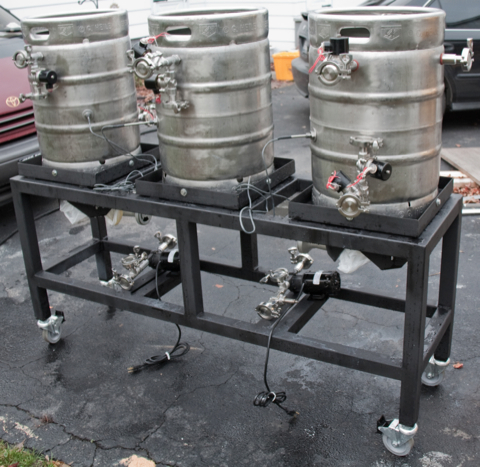
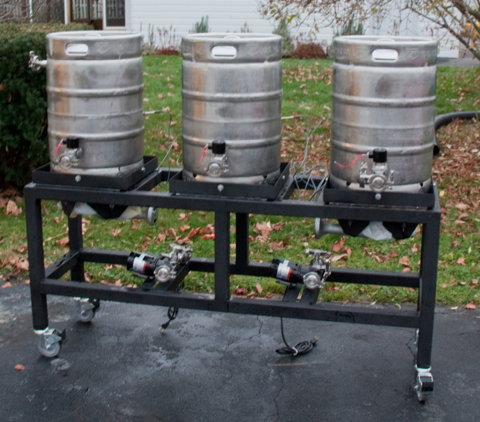
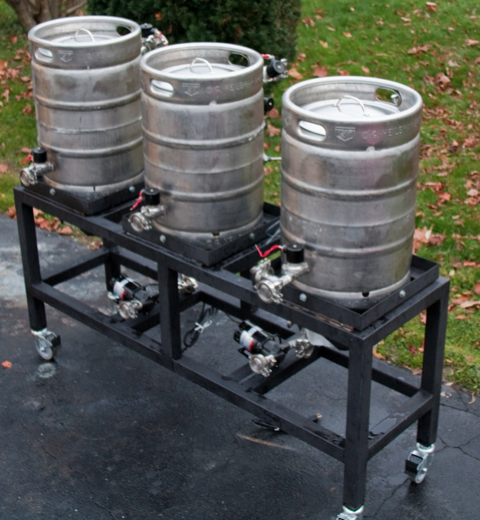
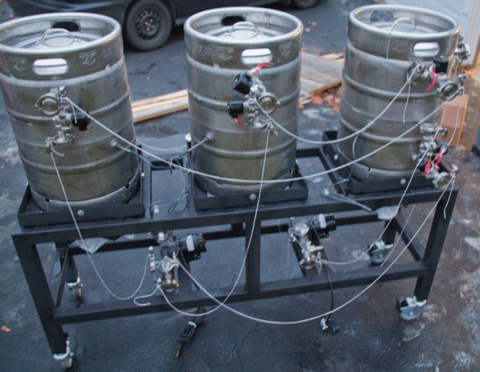
Here are some final shots of the brew stand in place...
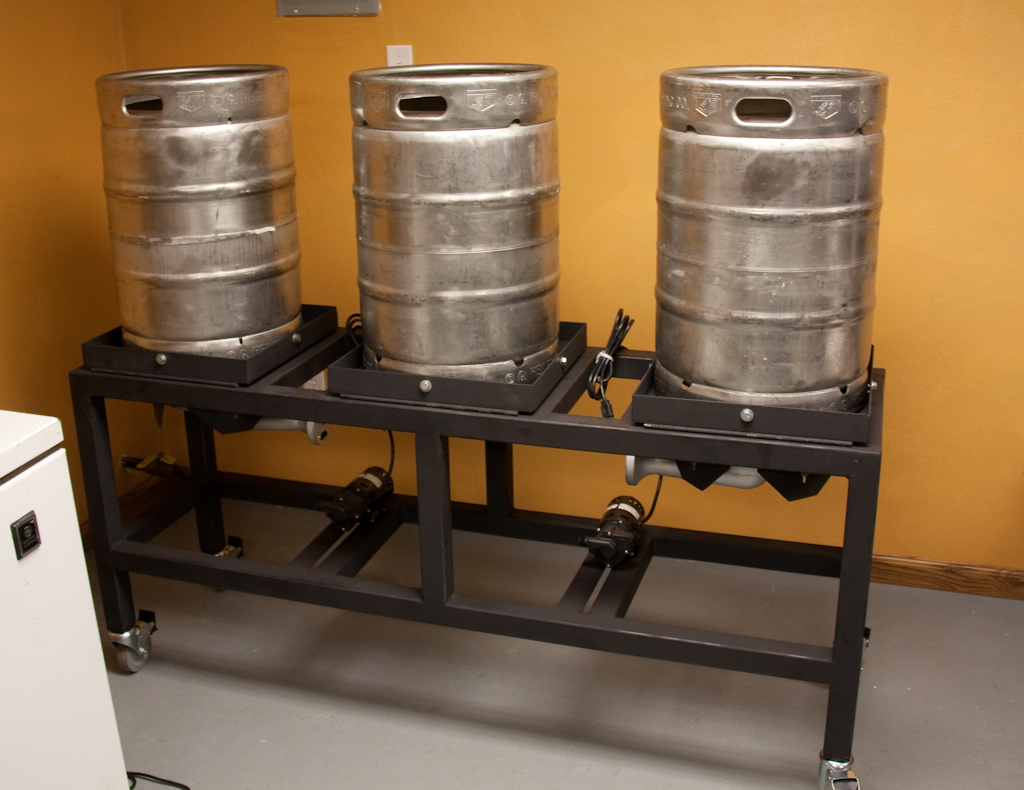
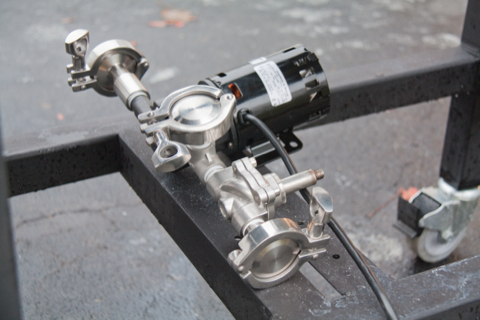
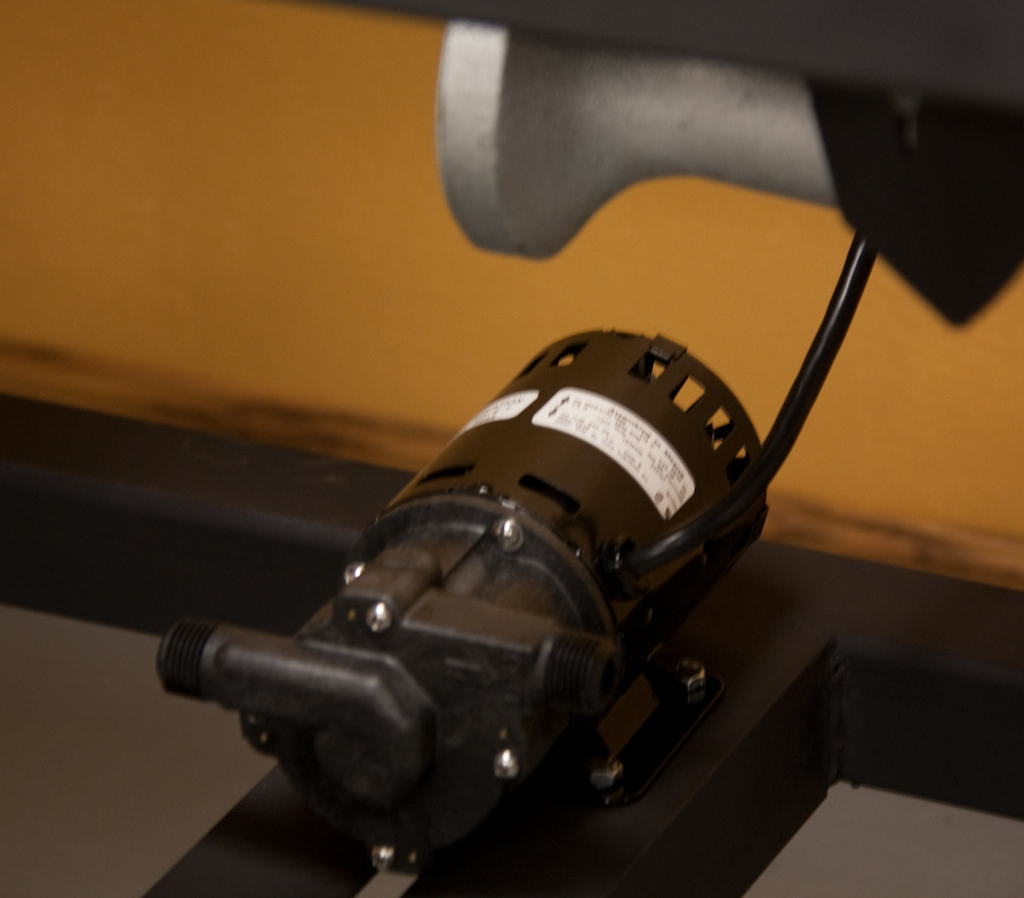
Pumps have been mounted! (center mounted so that we can hide most of the tubing under the stand instead of hanging in front.)
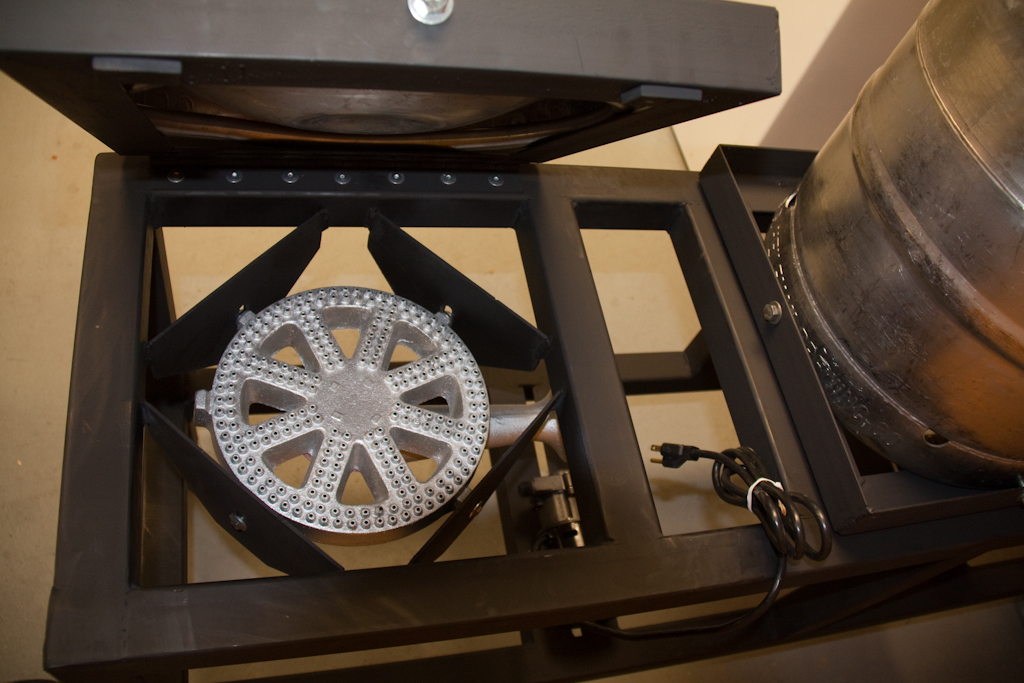
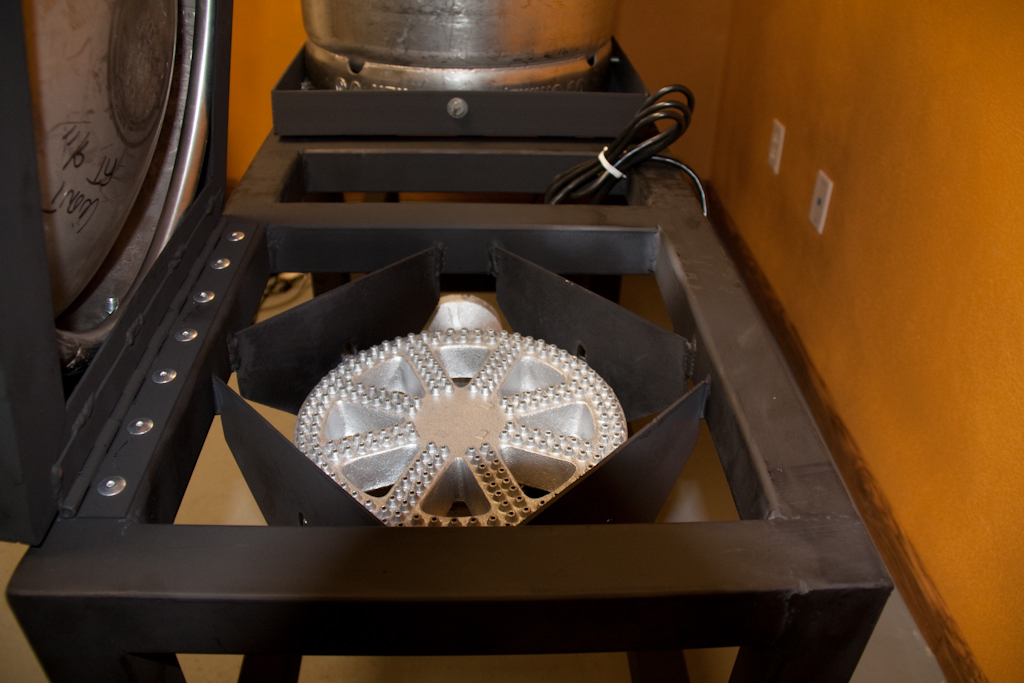
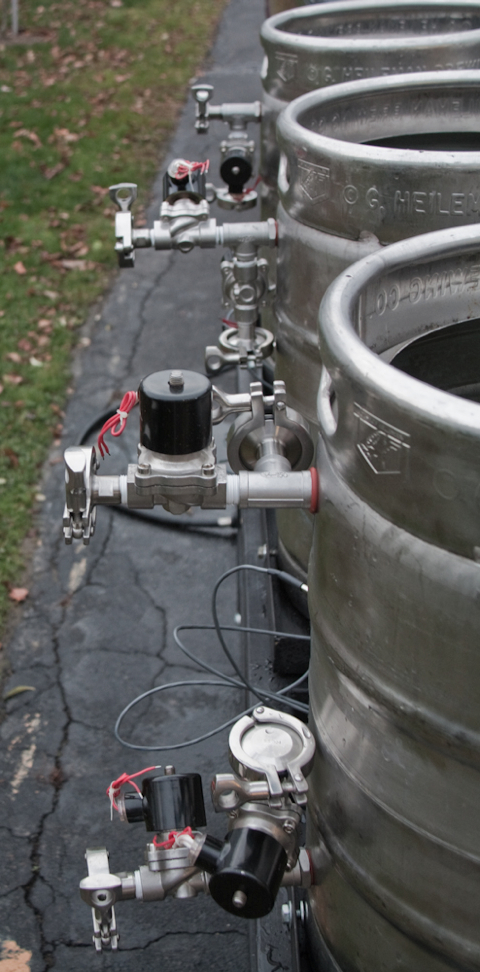
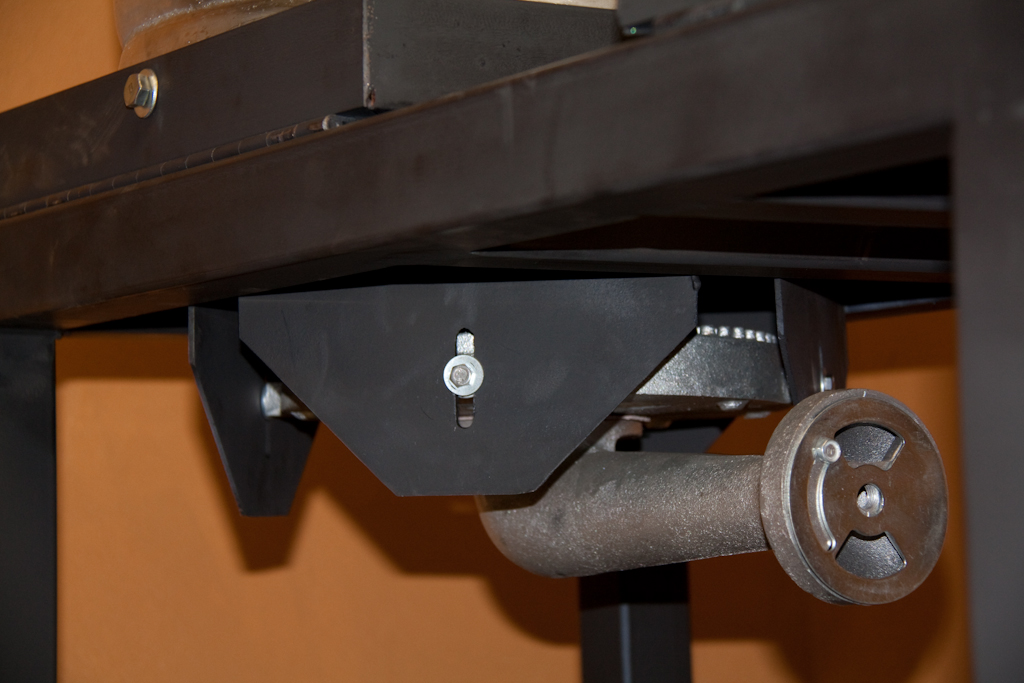
Close up of the burner/heat shield Notice the adjustable height.
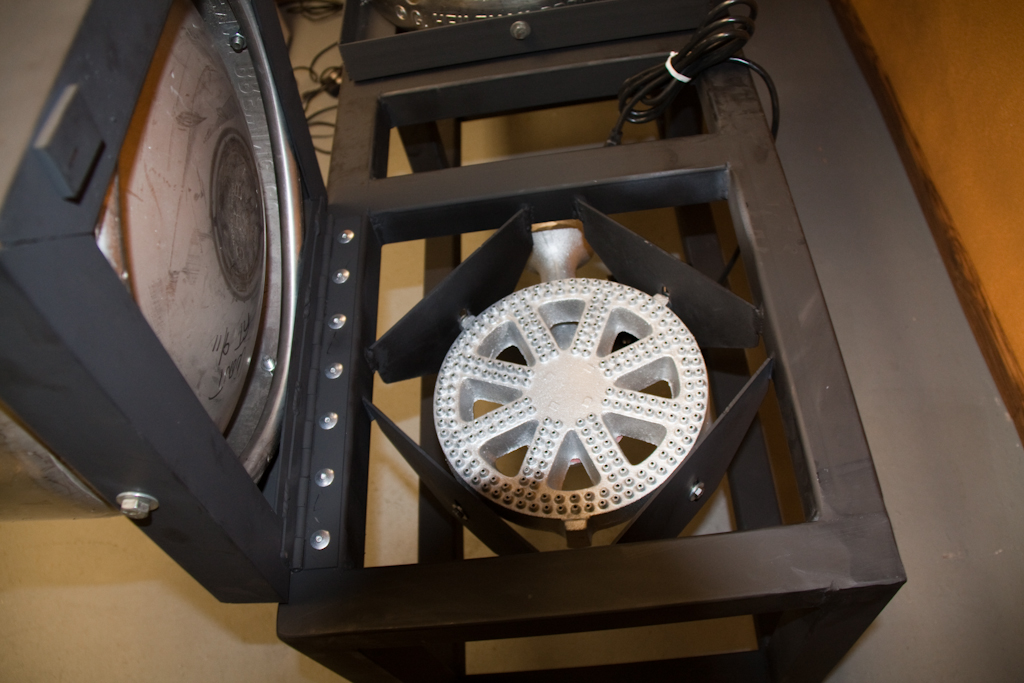
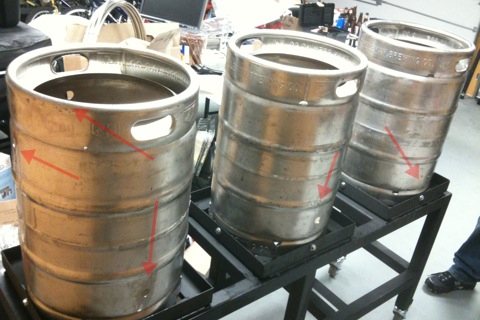
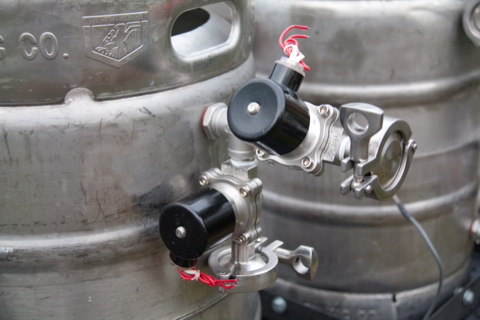
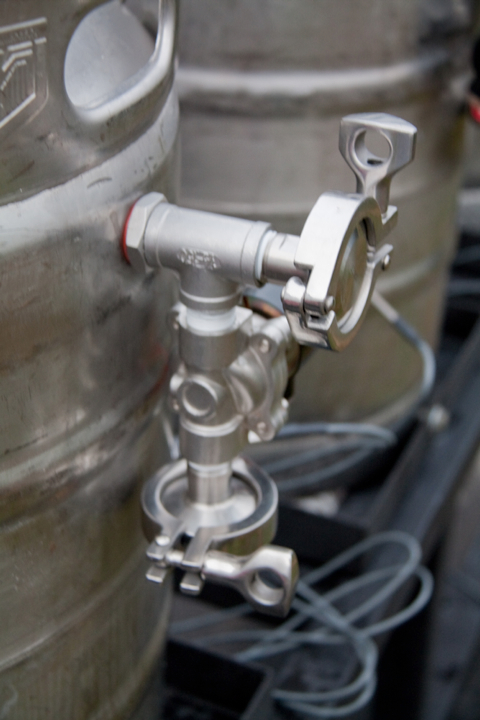
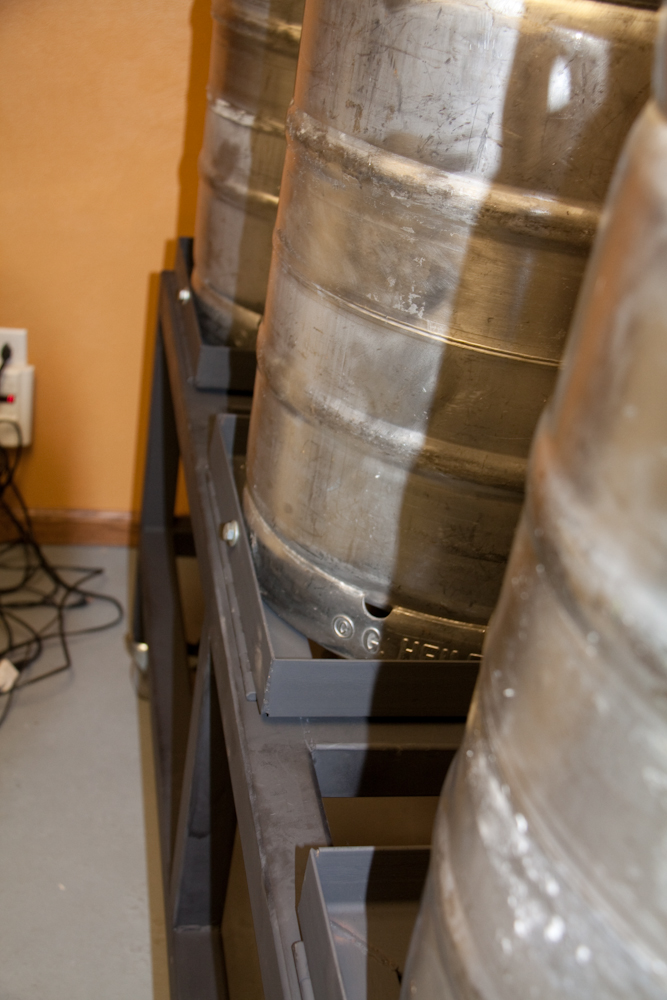
Side shot. You can see the "baskets" for each keg. Also the thin profile hinges that allow us to tip them over. Also note the bolt in the front, these along with one on every other side hold the keg to the tipping frame
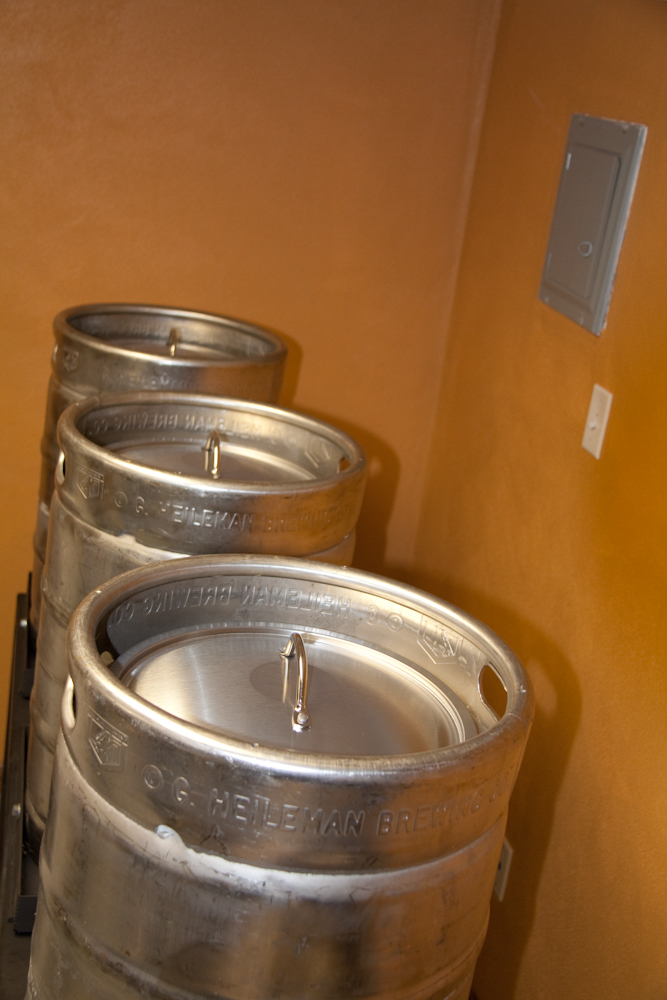
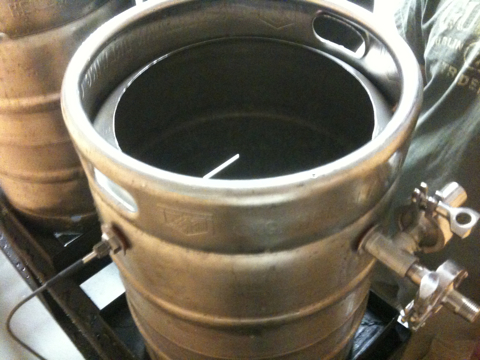
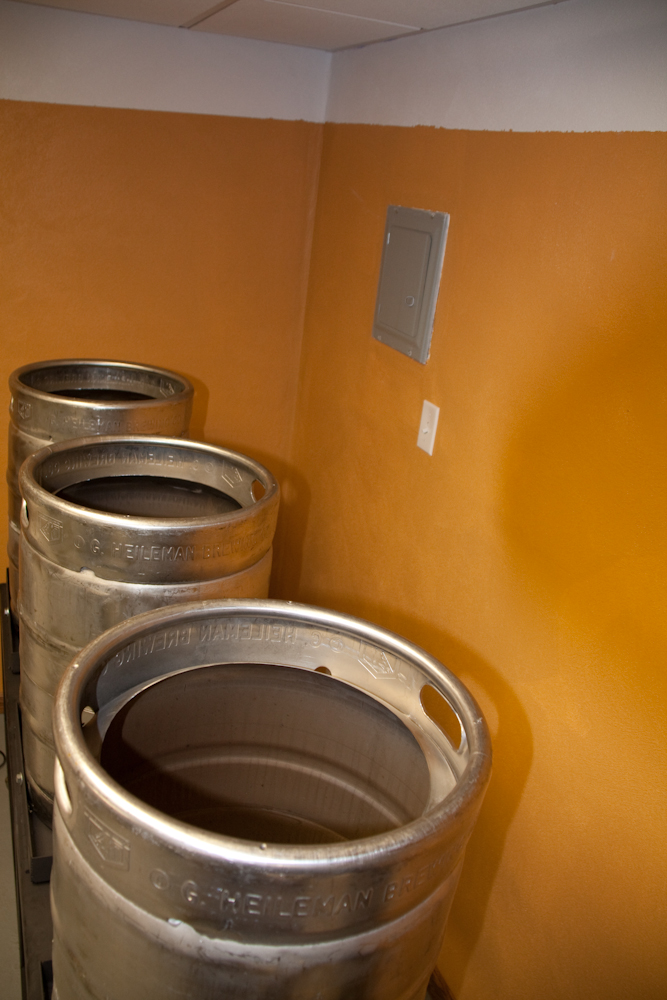
Here is the kegs cut with a plasma torch to fit our SS 12" lids
Love at first site?
Getting the massive stand out of the truck last night
Adam jumped on the stand for two reasons, one, to test the stand, but mostly to get the caster inserts to insert themselves into the 2" tubing
Here I am jacking up the frame so we can hammer the wheel inserts into place, the jumping idea only got us so far.
And there is the stand wheeled into place as we check it for levelness
Here are some final shots of the brew stand in place...
Pumps have been mounted! (center mounted so that we can hide most of the tubing under the stand instead of hanging in front.)
Close up of the burner/heat shield Notice the adjustable height.
Side shot. You can see the "baskets" for each keg. Also the thin profile hinges that allow us to tip them over. Also note the bolt in the front, these along with one on every other side hold the keg to the tipping frame
Here is the kegs cut with a plasma torch to fit our SS 12" lids