Amateur Keezer Build--Learn from My Experience

Homebrew Talk - Beer, Wine, Mead, & Cider Brewing Discussion Forum

Help Support Homebrew Talk - Beer, Wine, Mead, & Cider Brewing Discussion Forum:

This site may earn a commission from merchant affiliate links, including eBay, Amazon, and others.

catman

Well-Known Member
Joined
Oct 11, 2020
Messages
53
Reaction score
9
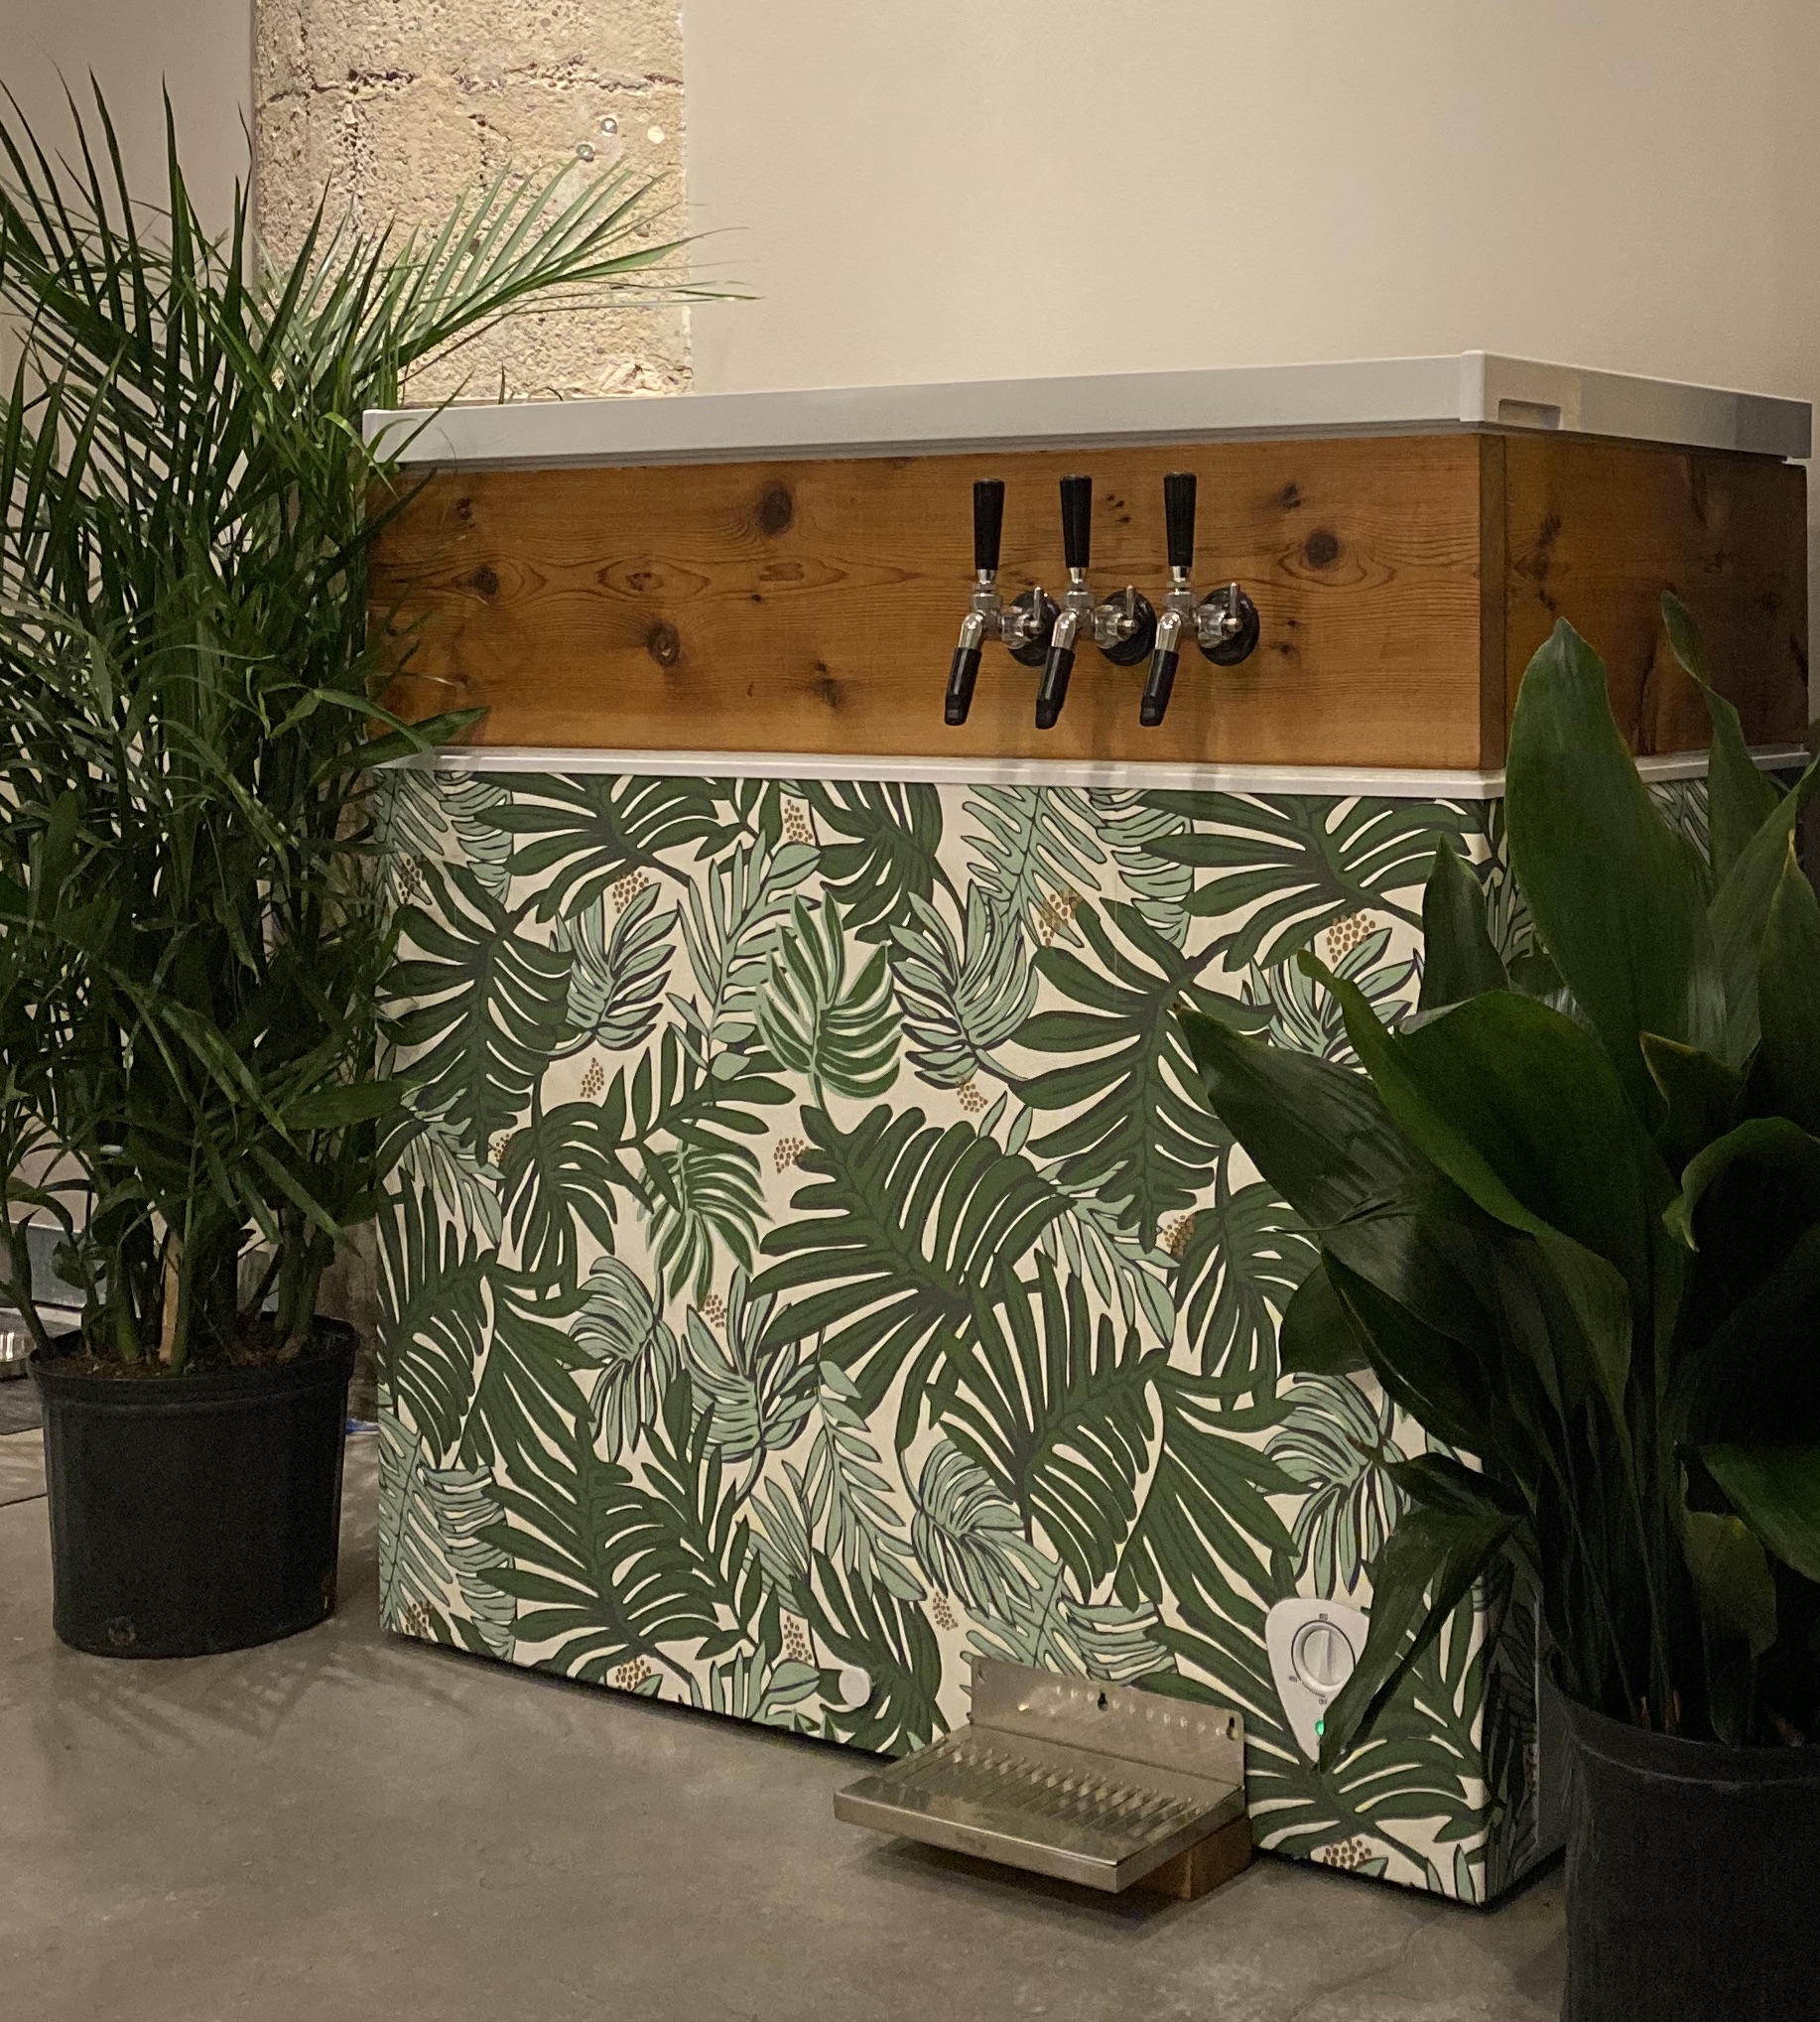
I've posted on here a couple times asking for advice on a keezer build that my girlfriend and I were working on. We've now completed the build (pictured below), and are very happy with what we've accomplished. That said, we are both complete amateurs to any kind of home-improvement (or generally any project involving tools) so we found ourselves learning quite a few lessons along the way that we wished we had known before starting. As a service to future keezer builders (and as a reference in case we ever decide to build another keezer), I've decided to document, step by step, what we've done, and list out all the lessons and tidbits that we learned along the way.

As I mentioned before, we are complete amateurs, so some of the lessons here might be wrong, and of course, some people might have had different experiences. If anyone has any different thoughts, please feel free to share. I'm also happy to answer questions to the extent I am able.

It'll probably take me a few days to get through this, so I'll put here an outline of the posts that I intend to make on this thread. I'll post placeholder posts that I'll edit later, and I may write the full posts out of order.
  1. Shopping list
    • Materials
    • Tools
    • Hardware
  2. Building the collar
  3. Finishing the wood
  4. Boring holes and mounting hardware
  5. Cutting insulation foam
  6. Mounting the collar to the freezer
  7. Insulating the collar
  8. Finishing up
  9. Next steps
IMG_7341.jpg


And here it is post drip tray addition and decoration:
62829834039__496D3C91-770B-46F9-8BA0-ADEC5DA92690.jpg
 
Last edited:
1. Shopping List

This list assumes that you already have a keg system, with kegs, CO2 tank, regulator, and distributor, as well as a chest freezer to form the basis of the keezer. We went with the Frigidaire 8.7 cu ft FFFC09M1RW. Links below are mostly to Menards, since that's where we made our purchases, but of course other stores will have comparable things.
  • Materials
    • Wood for the collar
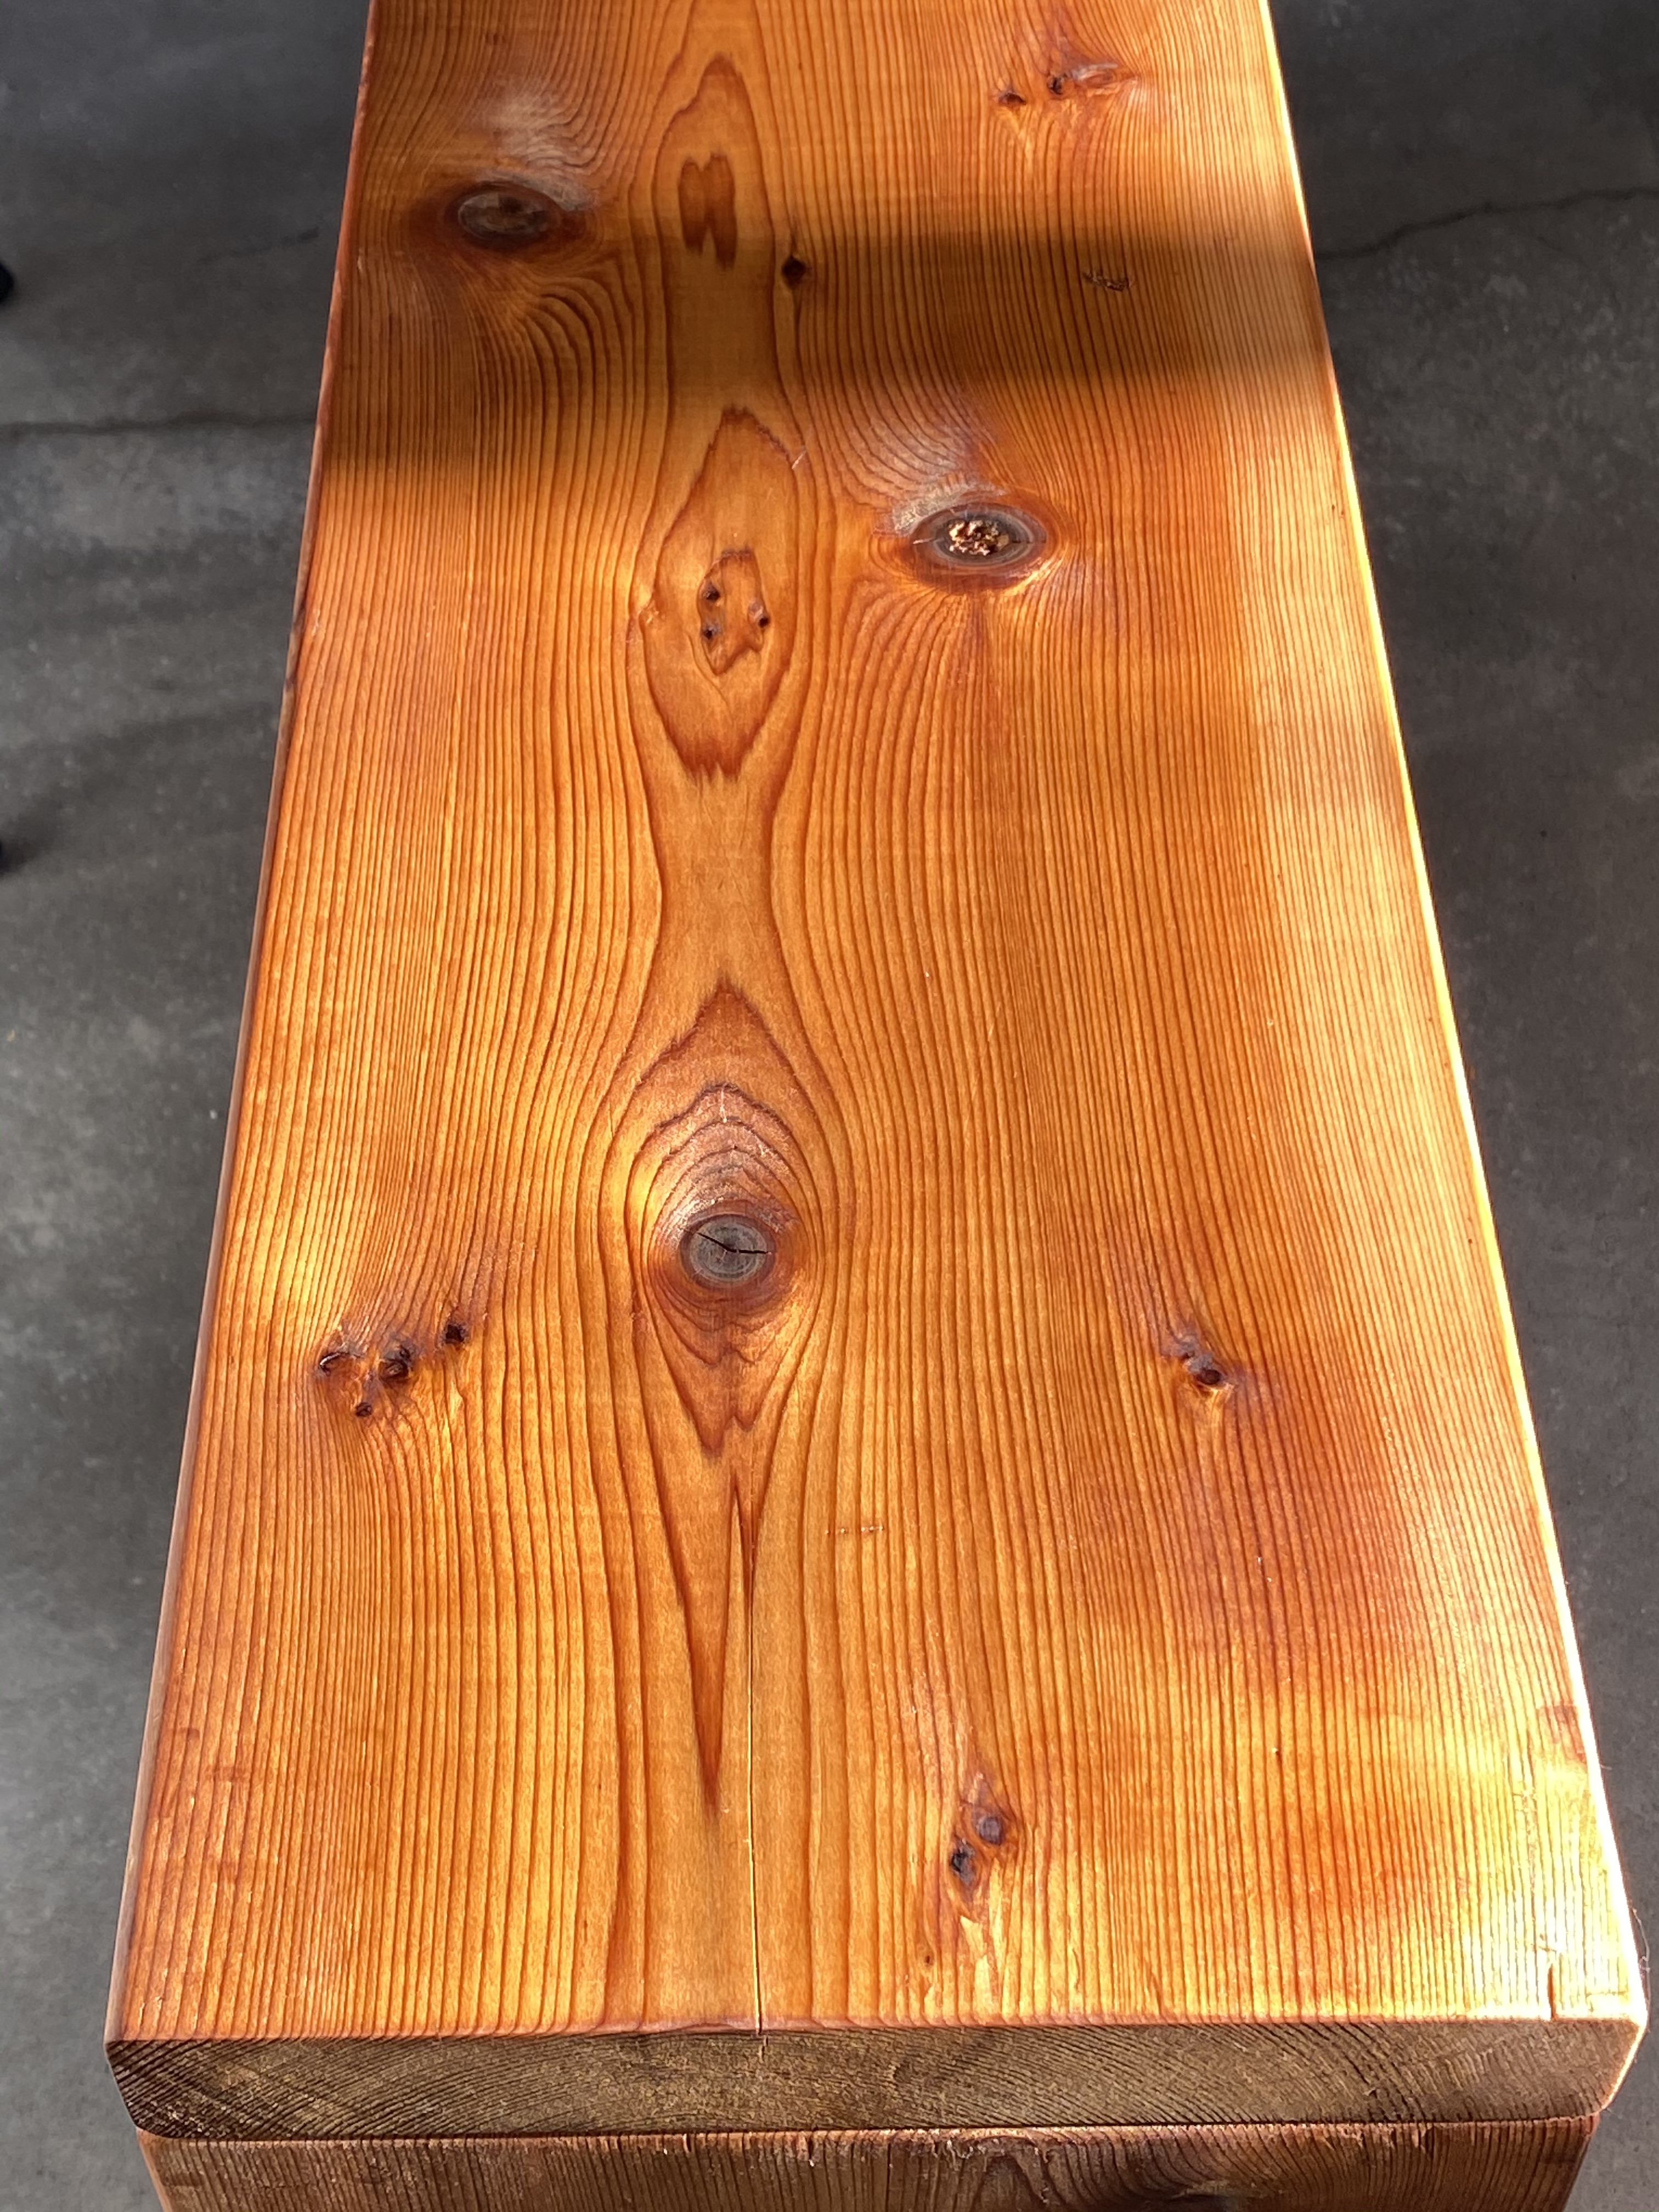
      • We decided to go with a red cedar 2x10. The cedar was chosen because we were hoping to make this into a statement furniture piece, and so we wanted to get something a little "nicer" than some of the more standard woods (e.g., pine). It's also our understanding that cedar exhibits some resistance to rot and decay. The total perimeter of the freezer is just over 10 feet, so we got a 12 foot-long board and used the extra (plus some more) as material to practice on.
      • Lesson learned: We went to the hardware store with the measurements of wood that we needed and had the guy at the hardware store cut the wood for us. To put it mildly, he did not do the best job getting our dimensions right. If we had to do it over, I'd buy a back saw (which I've since purchased for other reasons) and make the cuts myself to make sure they're accurate.
      • Note that 2x10s are not actually 2-by-10 inches in dimension, which is something to take into consideration when planning out your build.
    • Foam insulation
      • We chose to go with a half-inch thick piece of insulation. We got lucky that we chose the right type (thanks to tips on this forum), but you want to make sure to get an extruded foam rather than one made of tons of balls of foam pressed together. See step 5 for notes on how we cut the foam and how we should have cut the foam.
    • Weather stripping
    • Aluminum tape, for covering the (not so attractive) foam and sealing the gaps in the collar
    • Silicone caulk, 2 tubes to mount the collar to the freezer. We went with the white paintable silicone caulk instead of the clear because, evidently, it is a stronger adhesive
    • Foam board glue. Evidently ordinary glues can react chemically with the foam and cause it to melt. This stuff doesn't. Make sure the container size of this and of the silicone caulk are both compatible with the caulk gun you get (below).
    • Wood screws--we would up using 3 types in total
      • Pocket hole screws. For a 1.5 inch-thick piece of wood (as a 2x10 is), you need the 2.5 inch length screws. Evidently there are different types of these screws for different types of wood. We used the #8-gauge screws. These will attach the four pieces of the collar to one another.
      • #10-gauge wood screws, 3/4" long. These will attach various pieces of hardware to the collar.
      • #8-gauge wood screws, 1/4" long. These will attach various pieces of hardware to the collar.
    • Boiled linseed oil. This is to finish the wood of the collar. You can use all sorts of different oils, stains, or whatever you like. Be sure to see step 3 on proper disposal of materials used to apply the oil.
    • Lint-free rags to apply the linseed oil to the wood.
    • Tack cloth to remove sawdust from the wood after sanding
    • Sandpaper. We used 80, 120, and 220 grit
    • Brackets to mount the computer fan to the collar
  • Tools--most of these are generic, and so we had them lying around. I'll link below to things that we bought special for this project.
  • Hardware
    • Faucets. We went with the Perlick 690SS flow control with creamer. In our first few uses, we haven't found the creamer to be useful and would have preferred not to get the creamer model, but the rest of the faucet works great and just like any other.
    • Shanks. We went with a 3/16" bore to match our tubing (see below). Note some special tips on these in step 4
    • Gas tubing and related hardware
    • Beer tubing and related hardware
    • Temperature controller
      • We went with this one, which has worked great, but in retrospect I wish I'd gotten a wireless enabled one just to make things a little easier to access
    • Computer fan to circulate air in the keezer
    • Hook for the temperature controller
    • Dehumidifier
    • Drip tray. 10" seems to be a good size for 3 faucets spaced 3.5 inches apart. See step 9 on this, as we haven't mounted it yet
 
Last edited:
2. Building the Collar

I've included a diagram of the collar that we wound up building below. Note that in measuring how much wood you need, you'll have to take into consideration the thickness of the wood as well as its length. In our case the front of the keezer is where I've written "43 7/8".
Collar top view.jpg

We had initially intended to drive screws through the front and back of the keezer into the sides (the red arrows) and to fill the resulting holes with wood filler. But after testing on scrap wood we determined that this was going to look really bad. Instead, we decided to use pocket hole screws from the sides into the front and back (the blue arrows).

The procedure was as follows:
  1. Sand all the wood. We did first the 80 grit, then the 120 grit, then the 220 grit.
  2. Use a tack cloth to remove all the sawdust.
  3. Drill the pocket holes in the two shorter side panels. The instructions included in the pocket hole jig kit on how to do this are pretty clear, so I won't get into details. We used 3 screws per connection, for a total of 12 holes to be drilled.
  4. Using a right-angle clamp, attach a side panel to a front or back panel and drive the screws to connect. Repeat until the collar is completely build.
Lesson learned: Don't over tighten the screws! We did this and wound up with cracks in our front and back panels that (a) don't look great and (b) are a bit of a pain when you're trying to figure out where to attach things. Fortunately they don't go all the way through, but they're still problematic. It turns out that you can adjust the clutch on the drill so that it doesn't over-torque the screws. Do this. If I remember right, we set the clutch at something like 13 out of 15, when we should have set it at something like 5.

This is the collar after it was put together, sitting on the freezer:
IMG_7251.jpg


You can see one of the cracks I mentioned above in this picture (note that this is after we oiled the wood, which I'll discuss next):
IMG_7257.jpg

The crack is towards the bottom of the picture
 
Last edited:
3. Finishing the Wood

This step itself was fairly straightforward... it was the clean-up that was a little problematic.

We used the following procedure to finish the wood:
  1. Wearing gloves and using a lint-free rag, rub the boiled linseed oil into the wood. Note that you'll want to put down something to protect the floor, and that you might need to leave one side un-oiled at first so that you have a non-wet side to rest the collar on while it dries.
  2. Wait 5 minutes and wipe off the excess oil.
  3. Let dry for 2 hours.
  4. Sand lightly with a 220-grit sandpaper and then repeat steps 1-3.
  5. Let the collar dry for about 48 hours.
Lesson learned: As I mentioned above, it was the clean-up that was problematic here. The bottle that the oil came in had some warning on it about spontaneous combustion. Being generally skeptical people, we did not take this warning very seriously (spontaneous combustion?!?!? suuuuuure....). Well, after reading more about this, it turns out it is a very real concern---if you just bundle up and throw away the rags that you use for the oil before they dry, the reaction of the oil with oxygen can create heat and cause the rags to catch fire. So follow the disposal instructions on the bottle the first time---you won't have to dig through the trash to recover the rags for proper disposal like we had to.
 
Last edited:
4. Boring holes and mounting hardware

Now it's time to drill all the holes and mount all the hardware to the collar. You could do this after mounting the collar, but we decided to do this first to avoid getting sawdust into the freezer and to more easily be able to move the collar around for better angles and access.

You can, of course, change this up however works best for you. This is how we decided to set up the collar:
  • Three faucets on the front, slightly offset to the right. We determined that a good arrangement was to have the centers of the faucet holes 3.5" apart, and to put them slightly less than halfway up the height of the collar (so that once you attach a handle they look a little more centered--in our case, they were centered 4" from the bottom). For the shanks that we bought, a 7/8" hole was perfect, which we learned by drilling into a scrap piece of wood and seeing how things fit. Use the square to make sure these are placed accurately.
    • Lesson learned: To avoid splintering when the spade bit pushes through the wood, we drilled first from one side of the wood until the tip of the bit poked out the other side. Then we went to the other side and drilled through in the opposite direction so that the spade bit never actually broke through either face of the wood.
    • Lesson learned: When we drilled our first test hole with the spade, our scrap wood split. To avoid this, we started by drilling a 5/32" pilot hole before using the spade.
  • We mounted our gas distributor to the left inside of the collar. Our distributor matched with a #10-gauge screw, for which we drilled pilot holes with a 5/32" drill bit.
    • Lesson learned: A neat trick that is super simple once you see it but you might not think of yourself is to put a piece of tape on your drill bit so that you know when the pilot holes have reached the right depth.
  • The back of the collar had a few holes and mounts:
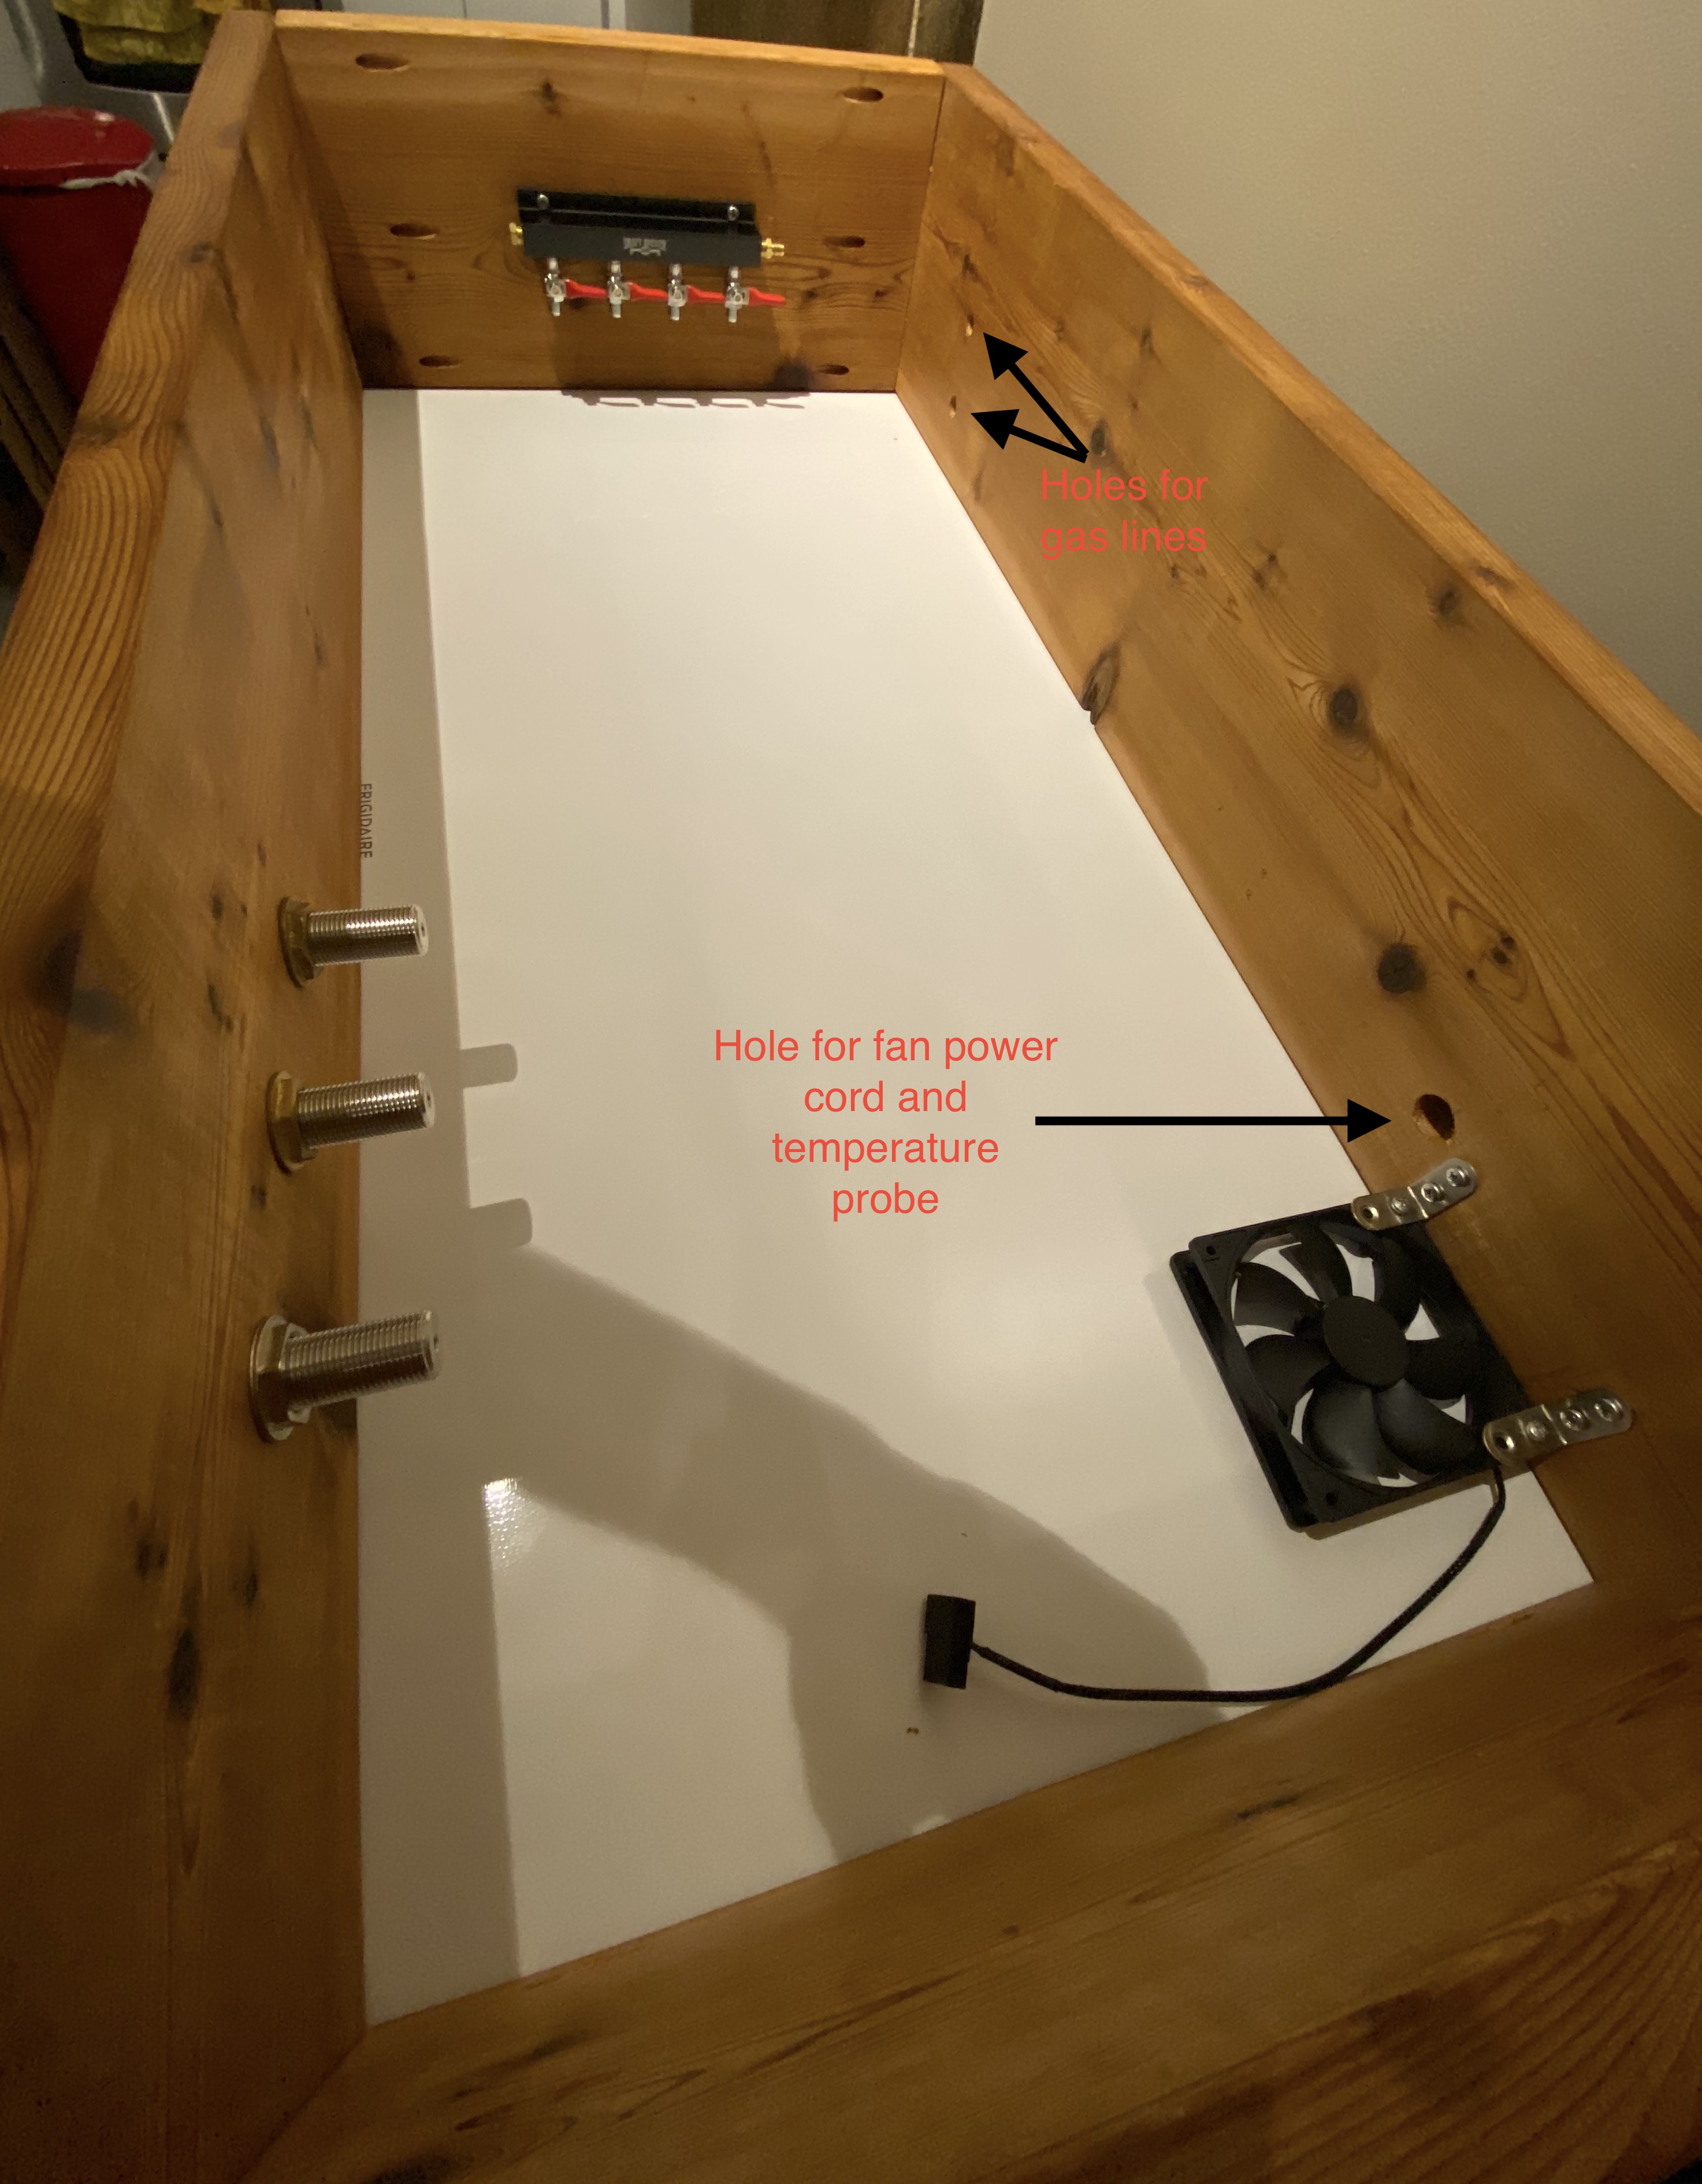
    • We used a 5/8" spade bit (again with a 5/32" pilot hole) for our two gas lines coming in the back. Again, you'll want to test this out on scrap wood to make sure the hole size is right. In our case, the hole is large enough to pass the gas line itself, but too small to pass it once there's a clamp on it. We're fine with this, since it lessens the chance for airflow between the keezer and outside, but it does mean that we have to pass the gas line in before clamping the end.
    • To pass the temperature probe and power cord for the fan, we drilled another 7/8" hole with the spade bit at the back right of the collar. The wires themselves are very small, but the power cord has a large connector that has to pass through the large hole. This results in a large open hole in the end, which we plugged with a piece of insulation foam that was sanded down to fit the hole.
    • We mounted the hook for hanging the temperature controller on the back outside of the collar with #8 screws and a 1/8" pilot hole
    • We mounted the brackets for the fan on the right back of the collar with #10 screws with a 5/32" pilot hole. There were 4 in total. We then screwed the fan to the brackets with #10 screws so that it was pointing down (though we removed the fan for mounting the collar to the freezer).
After drilling the holes, you can go ahead and mount everything to the collar. This is all pretty straightforward. That said, we did learn one lesson later on:
  • Lesson learned: Assemble and test your faucets and shanks off of the collar to make sure that the seals are tight. I'll talk about the hosing in step 8 below, but you'll want at this point to also make sure that the connection between the faucet and shank doesn't leak. In our case, two of the faucet-shank connections were fine, but one leaked like crazy, and since we didn't test it until the keezer was fully assembled, we got a leak (fortunately just water) all over the collar and keezer. The problem that we had is neatly described in the first post of this thread, and once I moved the snap ring (by prying with a screwdriver) everything was fine.
Here's the inside of the collar after all the drilling and mounting, with the non-obvious things labeled:
IMG_7266.jpg
 
Last edited:
5. Cutting Insulation Foam

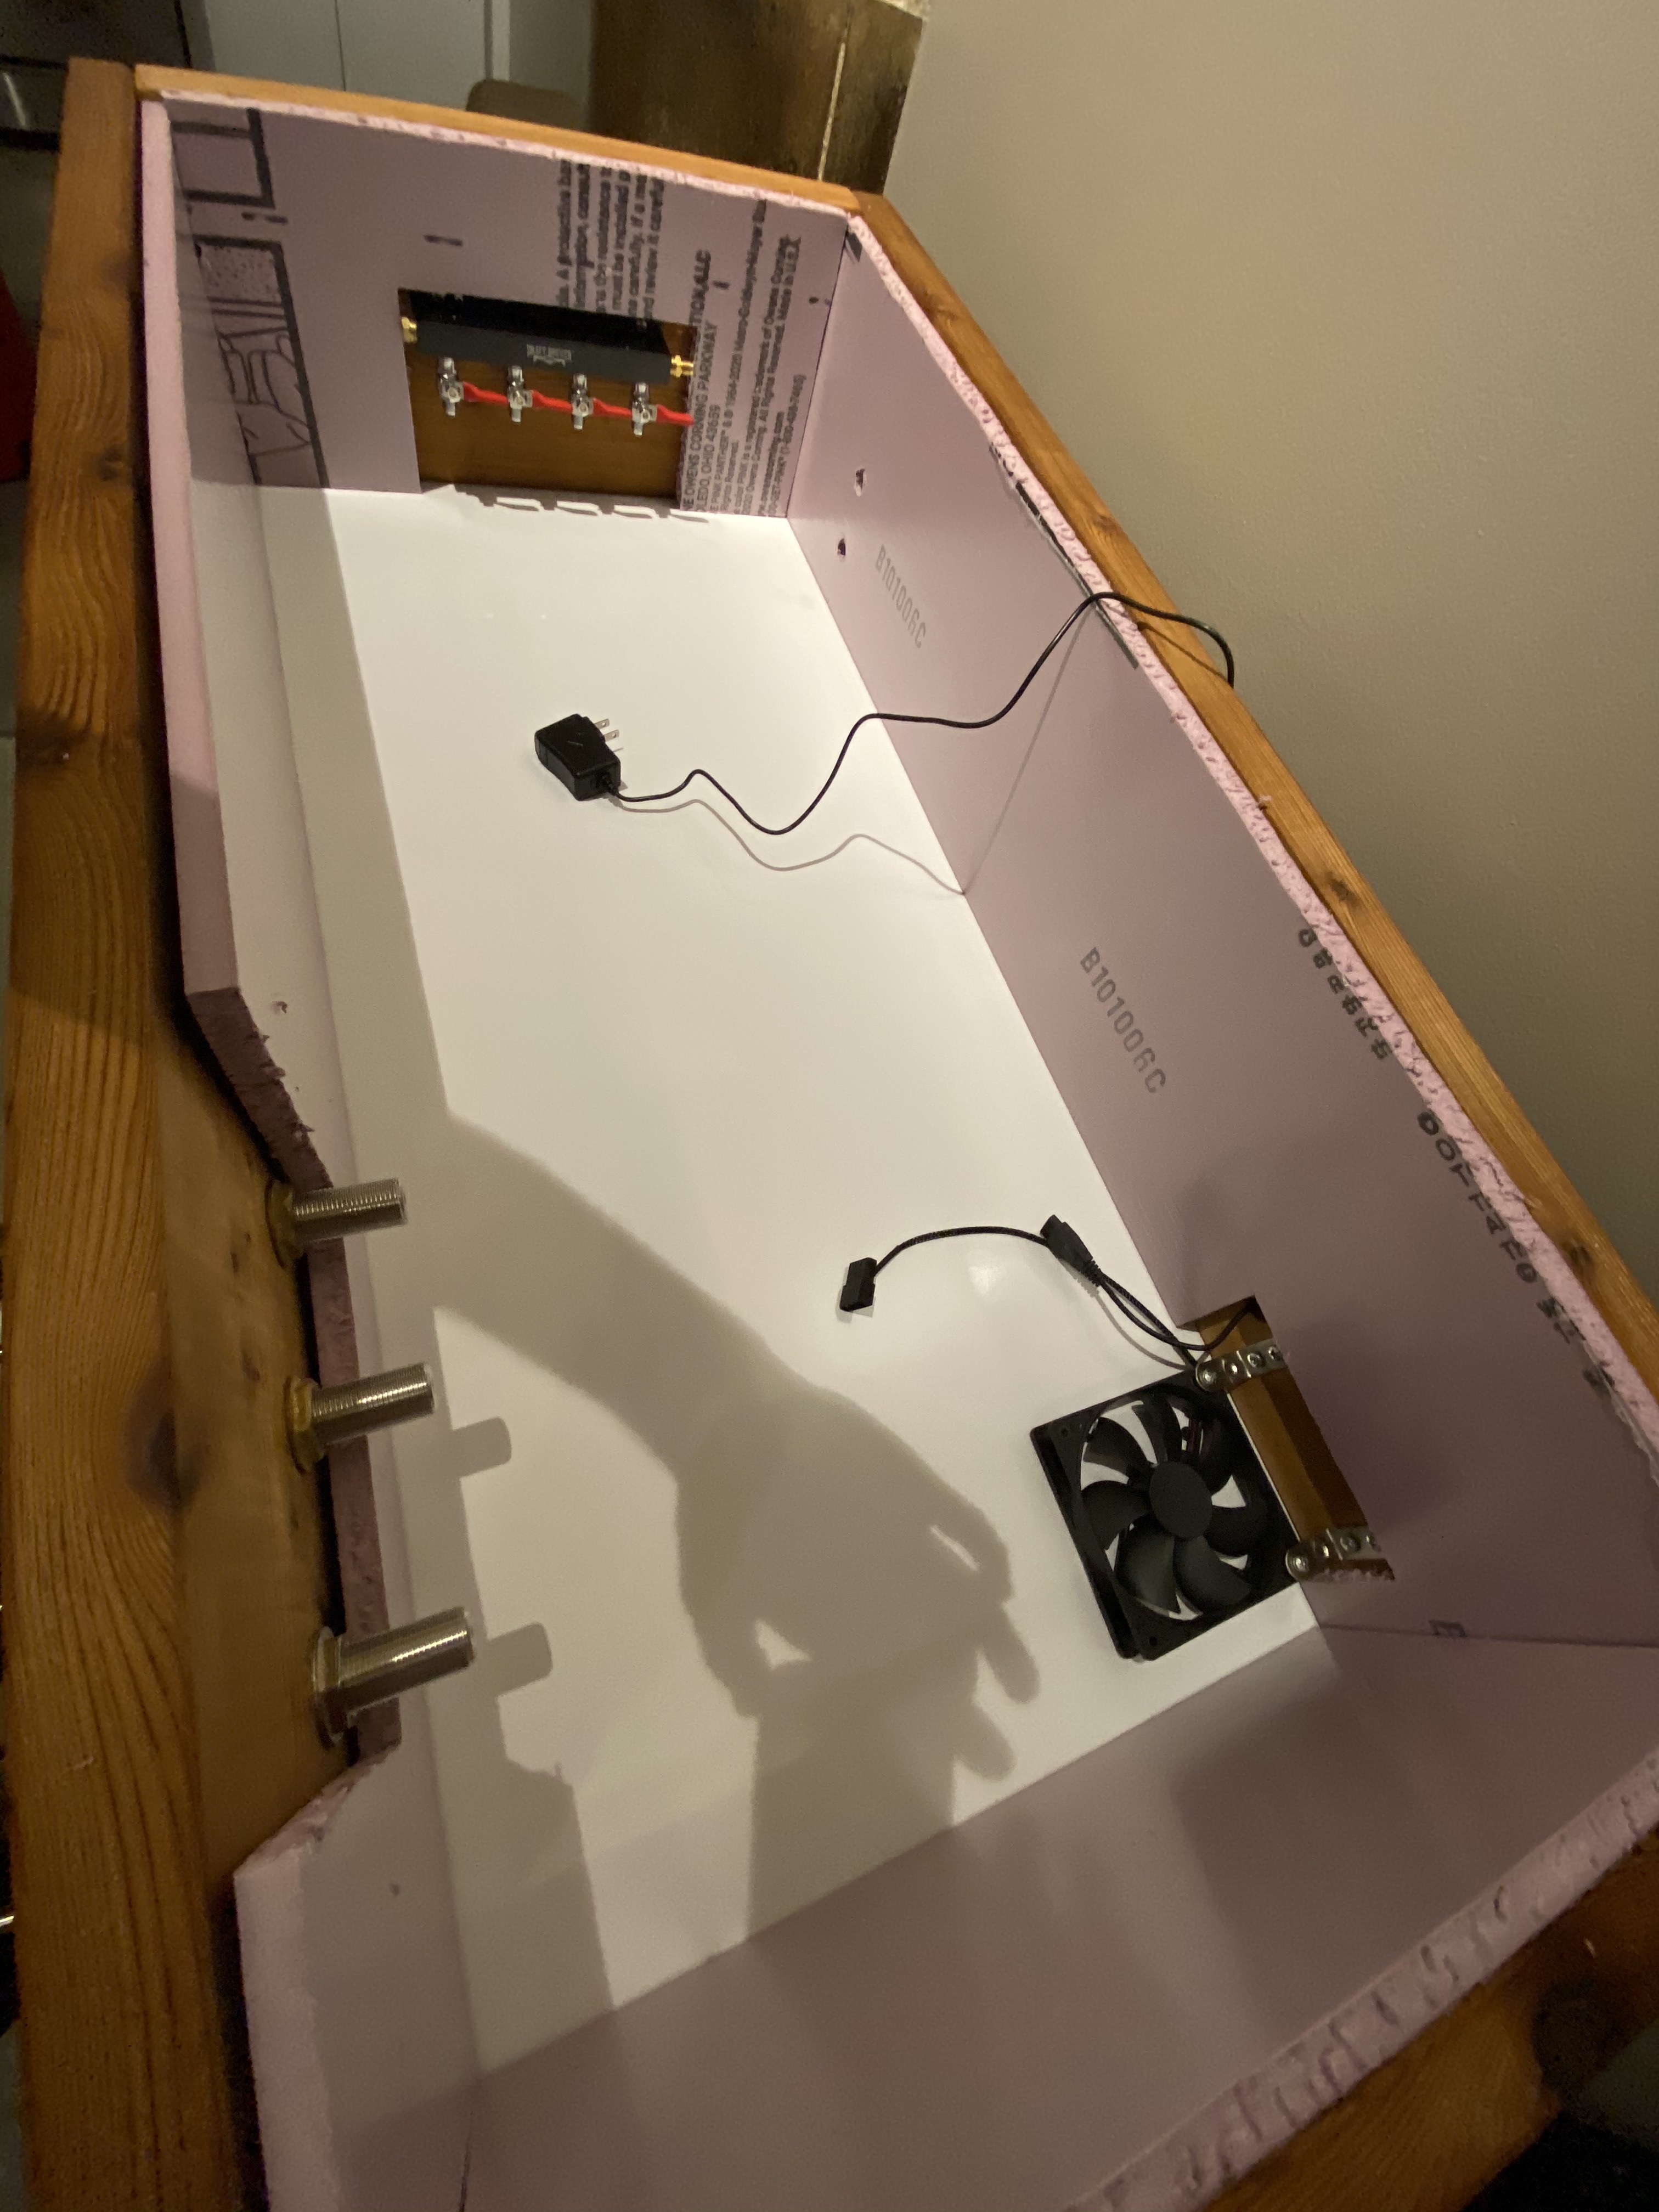
This was mostly straightforward. Measure the interior size of your collar and cut four pieces of foam to fit. Here is a picture of all the cut-out pieces sitting loosely in place after being cut, but before being glued to the collar (see step 7 for that).
IMG_7294.jpg

Note that we left room here for the various attachments to the collar, and made holes to match the holes in the collar.

Lesson learned: We cut our foam using a utility knife. This left very ragged edges that we were able to smooth out by sanding. But it turns out that there are special tools designed for making clean cuts in foam. Here's an example: https://www.amazon.com/Knife-Cutter-Styrofoam-Engraving-Calcor/dp/B078P81GGD
 
Last edited:
6. Mounting the Collar to the Freezer

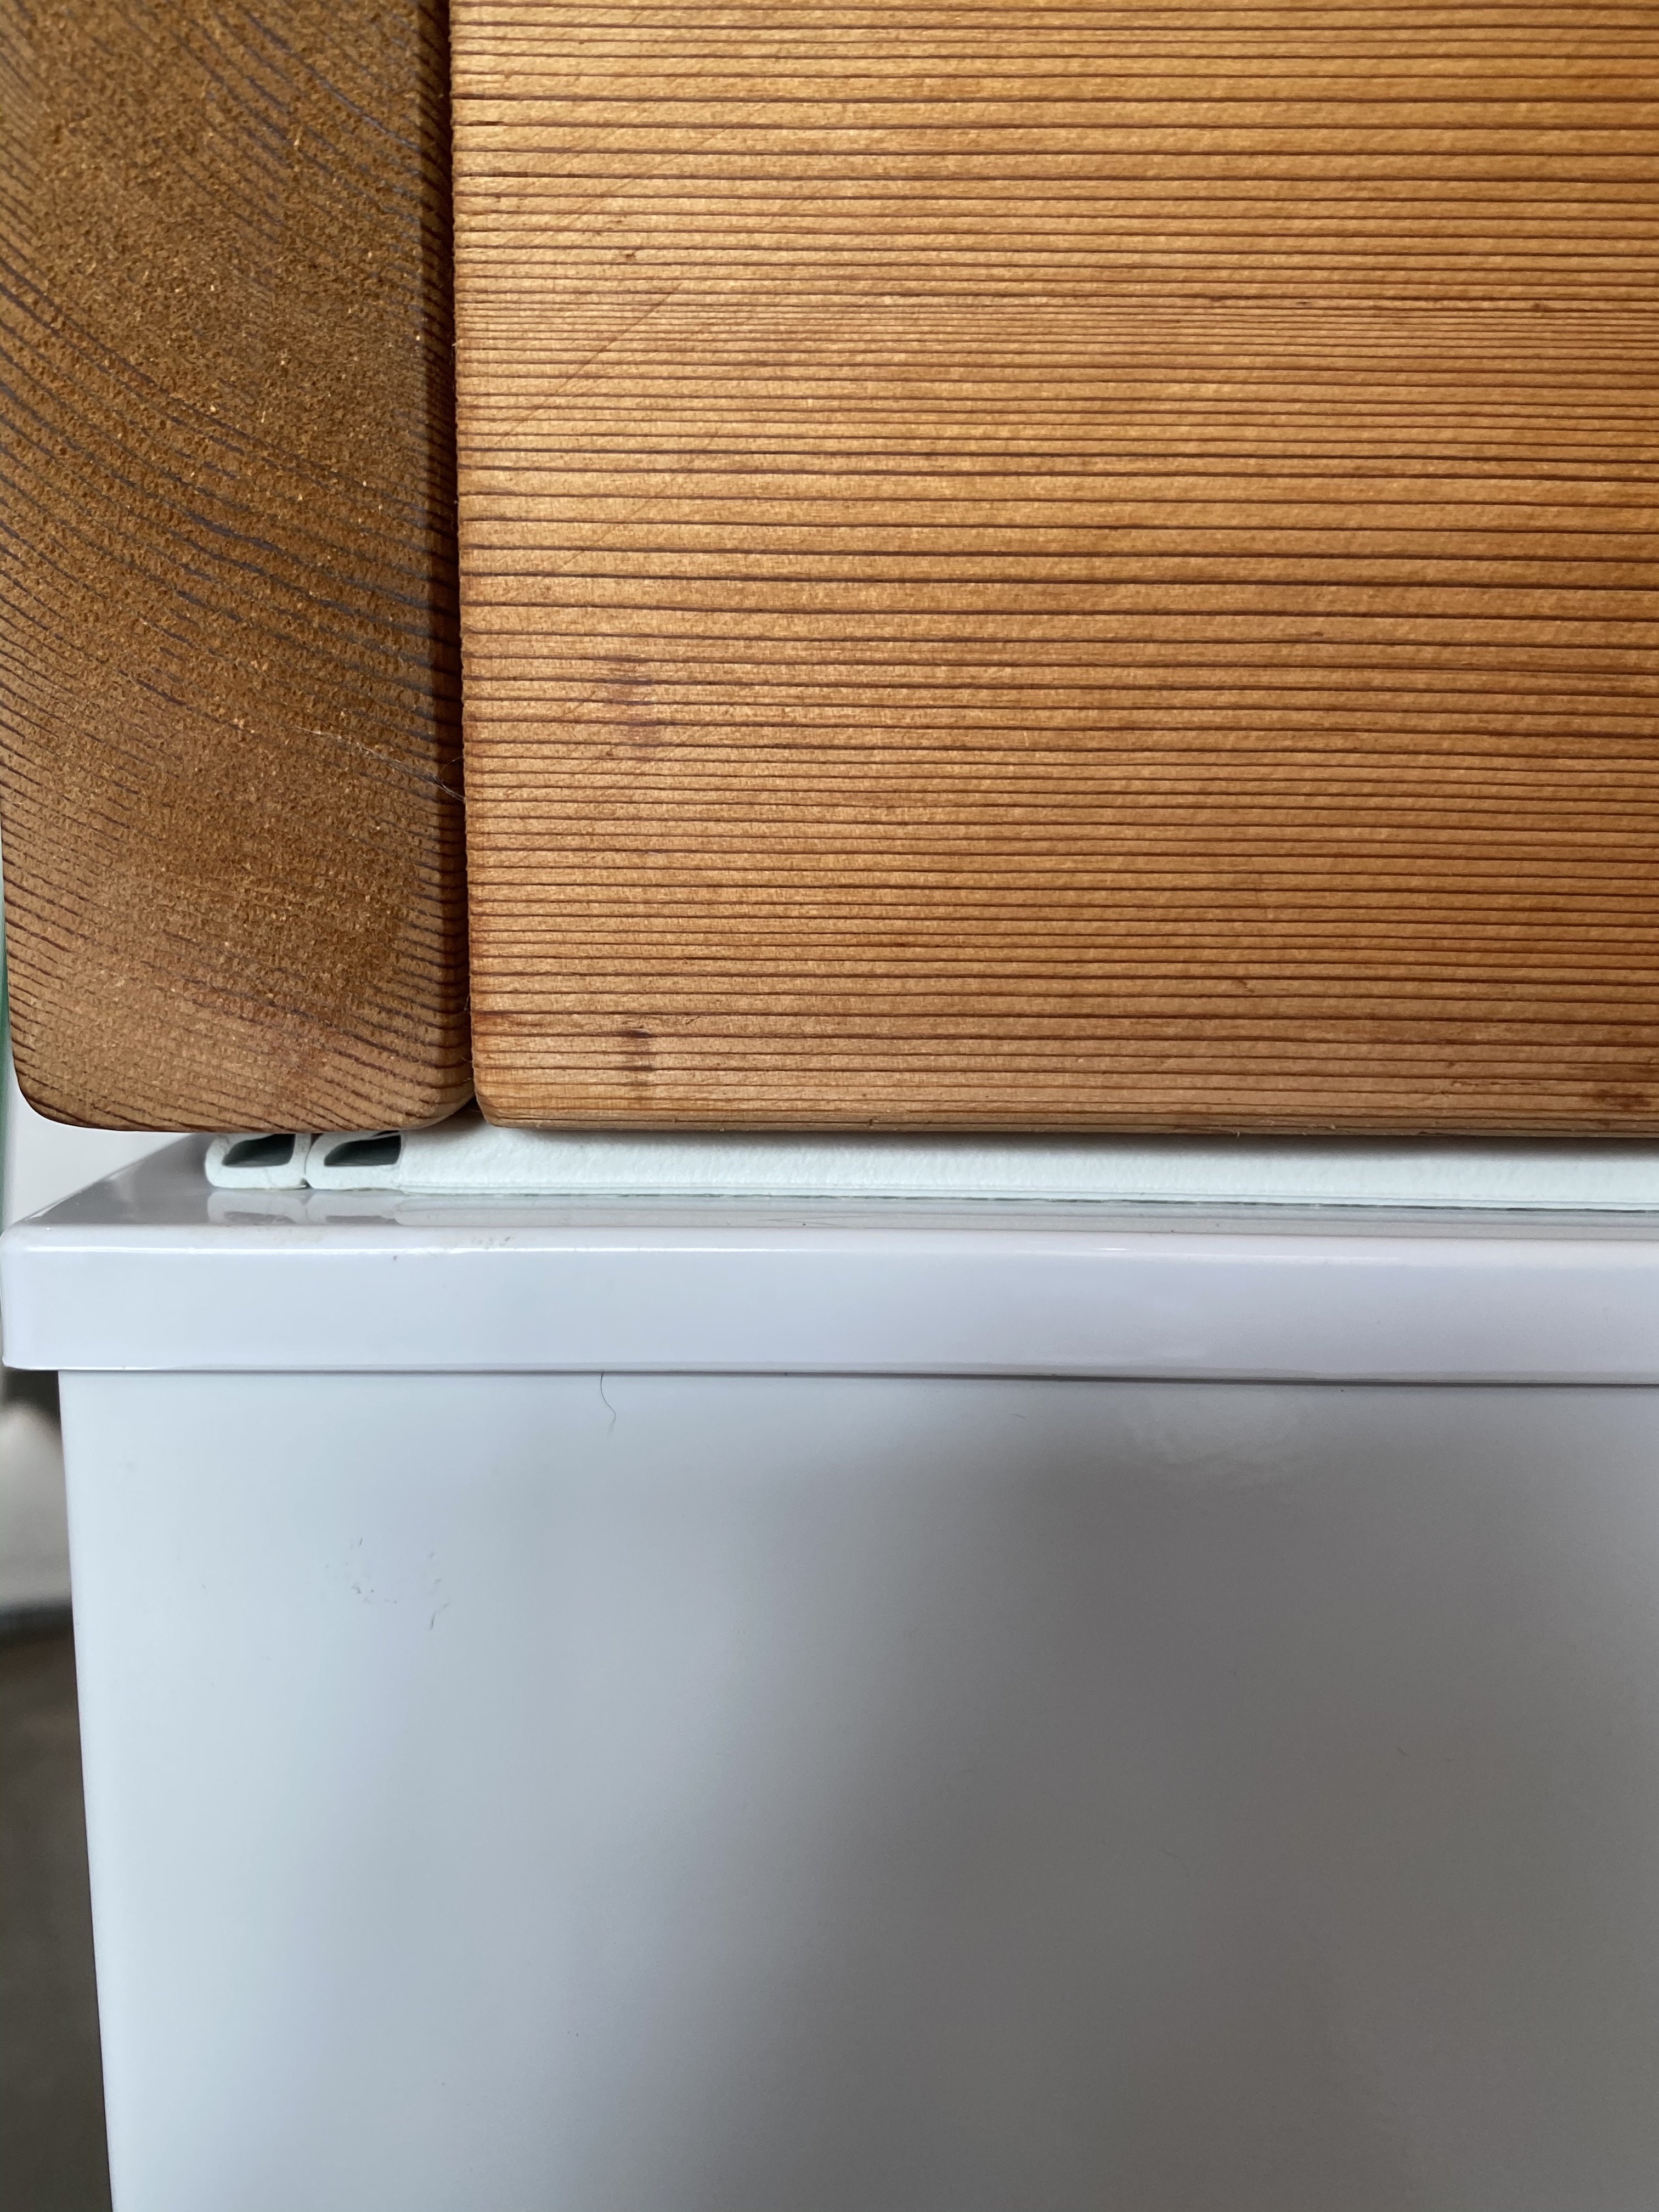
We started by removing the lid from the freezer and setting it aside. We then stuck the weather stripping all around the top of the freezer and placed the collar on top. This is a close-up of what the collar, weather stripping, and freezer top looked like after this:
IMG_7302.jpg


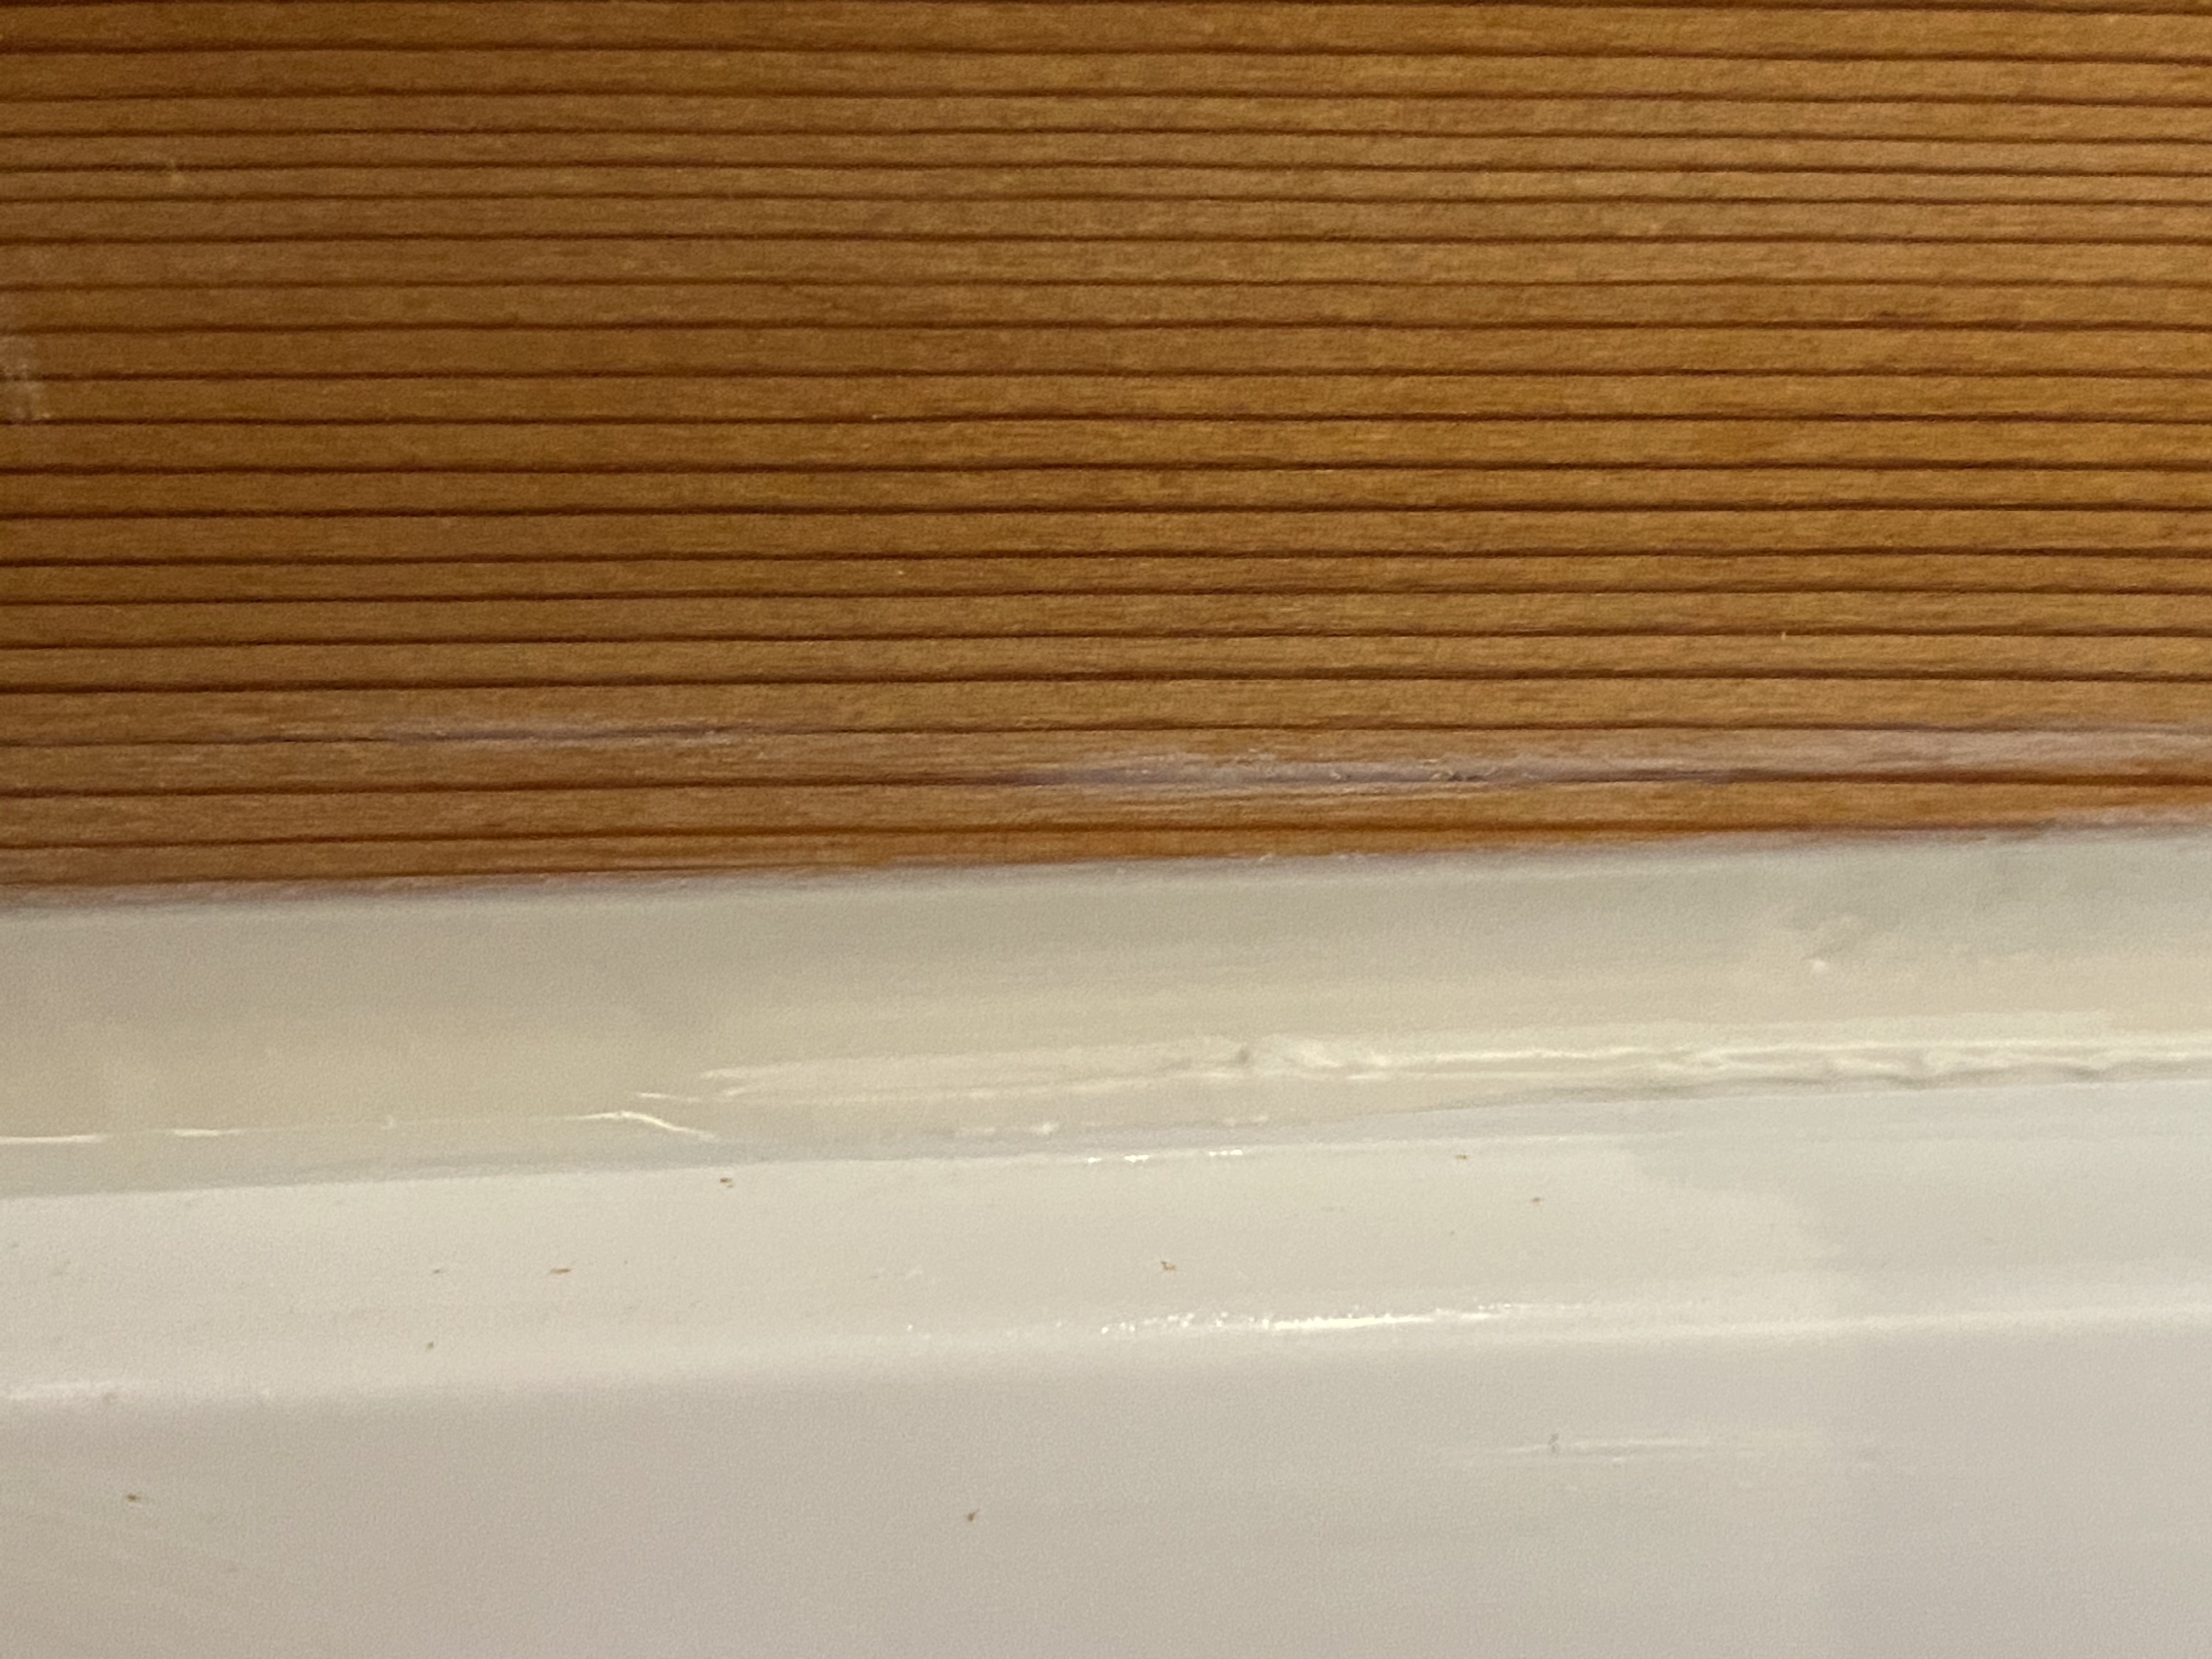
Then, to seal the gaps, stick the collar to the freezer, and for a better appearance, we filled in the gap between the collar and the freezer (both on the inside and the outside of the freezer) with the paintable silicone caulk. This is a close-up of the connection when it was finished:
IMG_7304.jpg


Lessons learned: Nothing much surprising happened here, but that's mostly because I had essentially nothing to do with applying the caulk---my partner, a surgeon, took care of that, which made for a pretty precise application. So I guess the lesson is to have a partner who's very detail oriented.
 
Last edited:
7. Insulating the Collar

With the collar attached to the body, we were in the home stretch. We started by gluing the foam insulation to the inside of the keezer with the special foam glue.

Lesson learned: Plan in advance what order you're going to get the foam pieces in. We went in the wrong order and wound up not being able to get a piece in without snapping it into two pieces.

Next, we covered the entirety of the inside of the collar with the aluminum tape, allowing the tape to extend out of the collar onto the interior body of the keezer and top rim of the collar. This was pretty straightforward, except for the following point:

Lesson learned: In a hurry to get this done, we didn't let the glue used to attach the foam to the collar dry all the way before putting the tape on. The result is that over a month later, the inside of our keezer still smells like glue. It doesn't affect what's in there, since it's all sealed, but it makes opening the keezer up a little unpleasant. Hoping this will fade over time.

Here is a picture of the inside of the collar after we taped everything up:
IMG_7330.jpg
 
Last edited:
8. Finishing Up

Finally, place the lid back on the keezer, mark the locations to drill holes for the screws (our screws matched a #10-gauge screw, which we discovered by drilling into some scrap wood), and attach!

That's all the construction! The last tasks were just to attach all the liquid and gas lines and pour a beer!
 
Last edited:
9. Next Steps

One thing that we had trouble figuring out was how to attach a drip tray. The collar is not big enough to just attach the drip tray to it (nor would we have wanted one that big). After much experimentation, we would up with the solution pictured below. What we've done is stick some neodymium magnets (https://www.amazon.com/gp/product/B07QWMHGHZ/ref=ppx_yo_dt_b_asin_title_o04_s00?ie=UTF8&psc=1) to the back of the drip tray, and take a 1.5 inch-thick block of wood and basically set the tray on the block, which sits on the floor. We tried having the tray sit at a more normal height, but it just slipped down, and the on-the-floor method works perfectly well for our needs (you can't really put a beer on it, but it prevents beer from dripping on the floor).

Finally, we decorated! We had hoped initially to find a black freezer, but with pandemic-related hoarding, it was hard to find any freezers, much less a black one. So we bought some wallpaper and wrapped the thing up. Here's what it looked like in the end, including drip tray:
62829834039__496D3C91-770B-46F9-8BA0-ADEC5DA92690.jpg
 
Last edited:
Similar to my build. I have Intertap Flow Control faucets but I don't really find them all that useful. Thinking about switching them for CMB or the Kegland Nukatap Faucets.

As for tubing, I initially went with what you chose but switched to Kegland EVA barrier. Much easier to work with and requires only about 6' vs 12-15' of the Accuflex Bevseal.
 

Latest posts

Back
Top