JuanMoore
Getting the banned back together
After tons of reading here, and slowly collecting pieces, I finally started building my HERMS. It's not pretty, but I hope it will eventually brew some tasty beer. I'm doing this on almost no budget, using stuff I already have around my shop, and scavenging a lot of parts. A little more of the "rustic" look as opposed to the bling I see on so many beautiful systems here. Thanks to all of the DIY'ers here on HBT for all of the great ideas and inspiration so far.
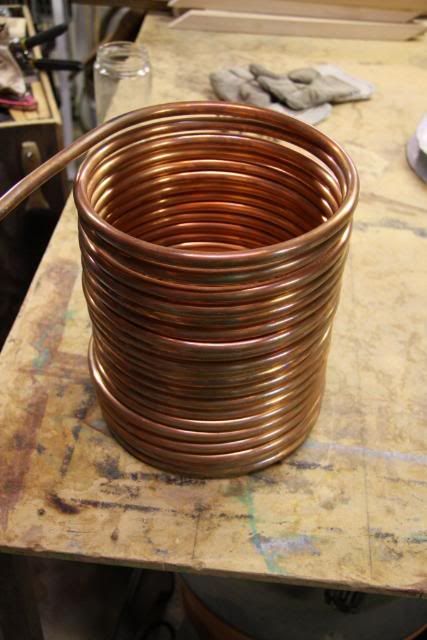
It all started when a client gave me a 47' long roll of 1/2" soft copper, and the next day I scored 3 sanke kegs. The HLT and MLT wll both be bottom draining, and the BK will have a side drain with a pick-up tube for whirlpooling. Here's the copper roughly formed for the HEX-
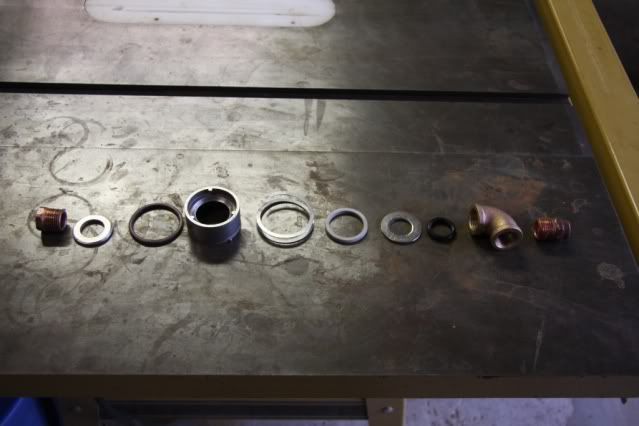
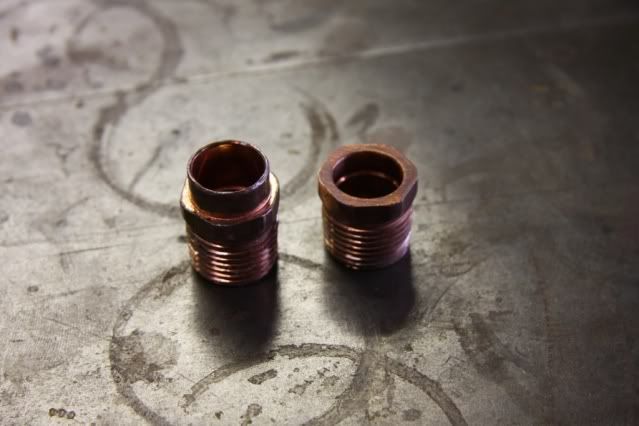
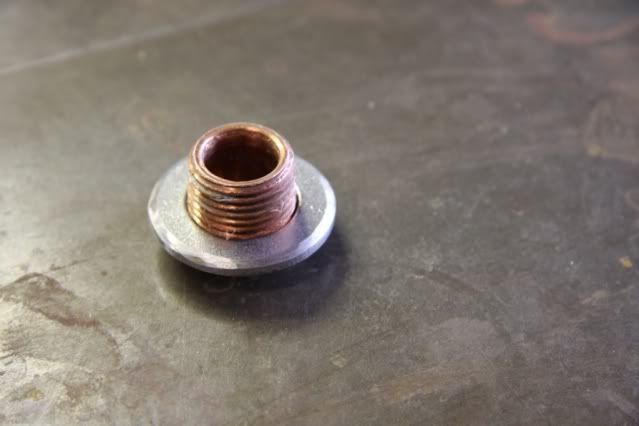
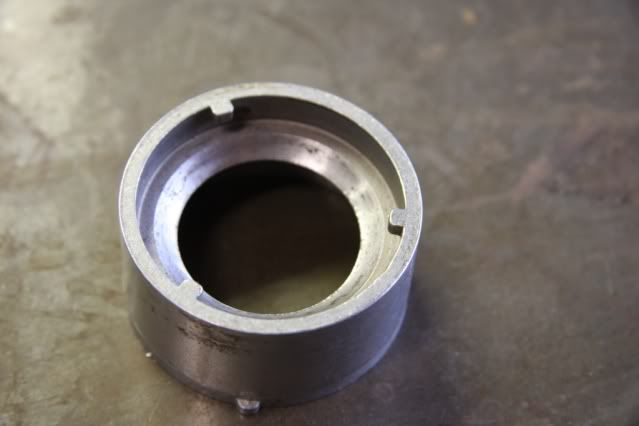
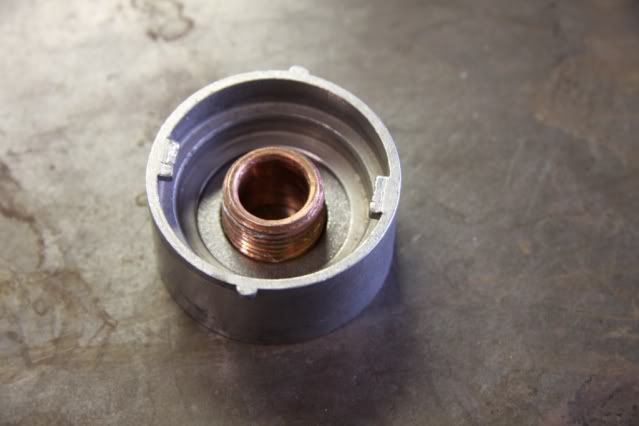
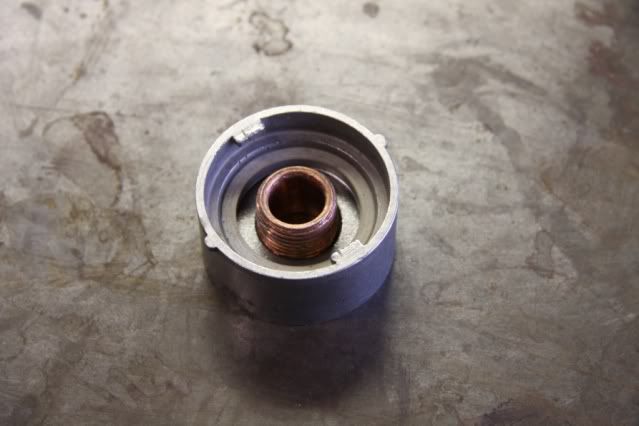
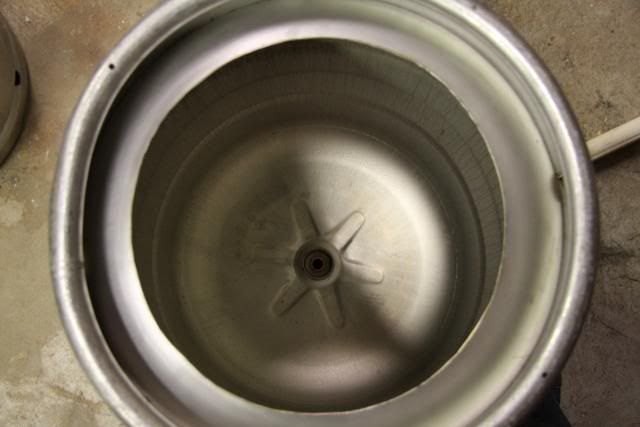
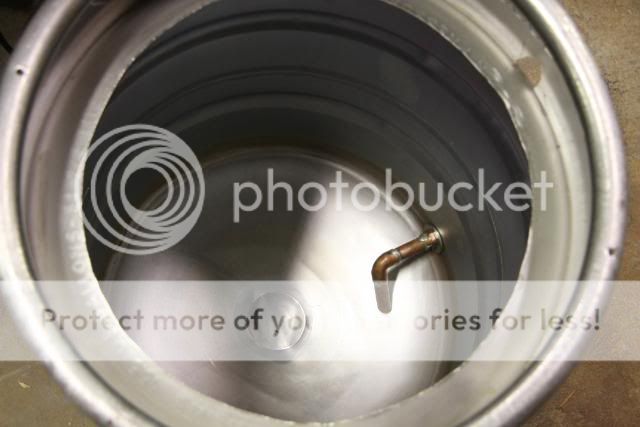
This is the inside of the HLT. The MLT looks identical inside. I water tested both vessels, and the deadspace is only about 1 tablespoon.
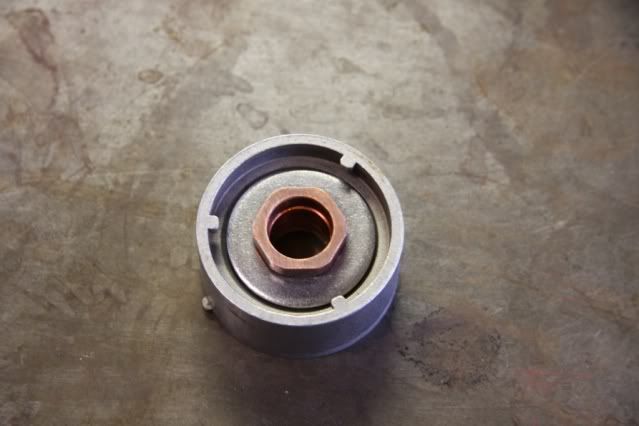
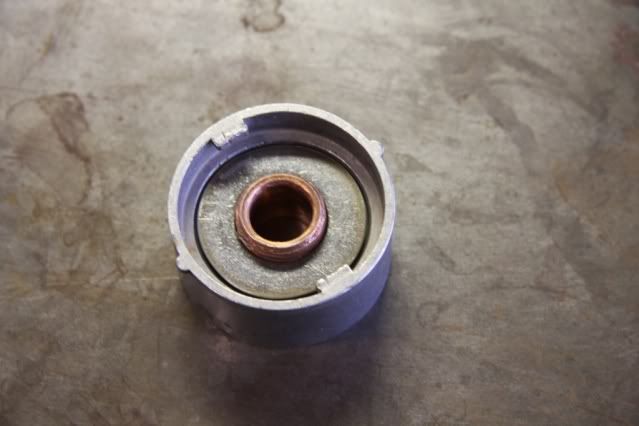
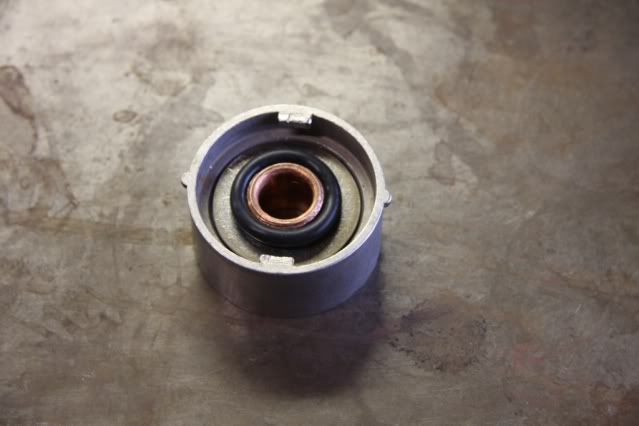
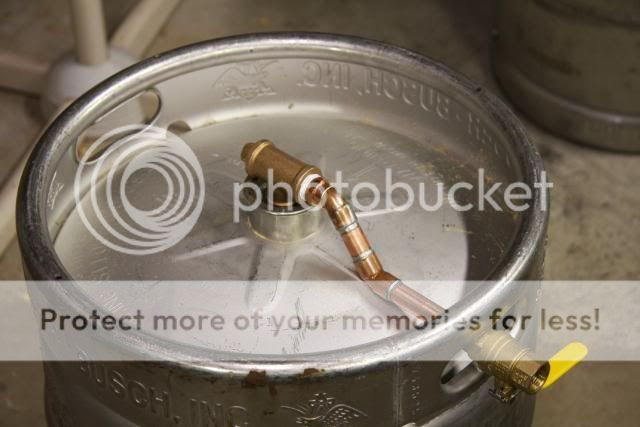
This is what the bottom looks like. I filled the rigid copper with sand and used a conduit bender to bend it to shape. After installing it I tried to tweak the bend and ended up putting a kink in it. I'll probably replace it with some 45's rather than the bent piece.

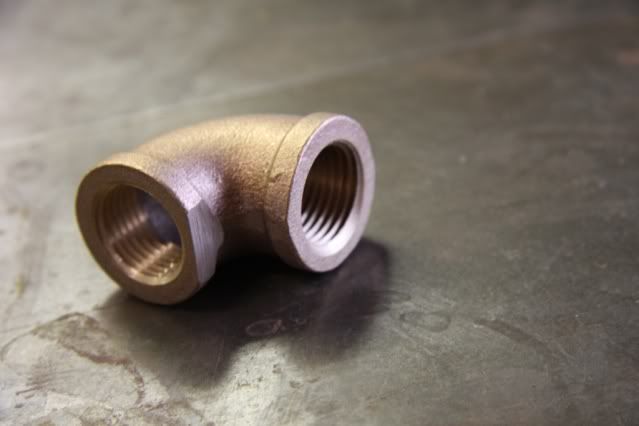
I learned my lesson on the HLT, and used 45's instead of trying to bend the pipe for the MLT. I only had one elbow, so I used a T and a plug for now. I might get an elbow to replace it with just to limit the nooks and crannies for stuff to hide in.
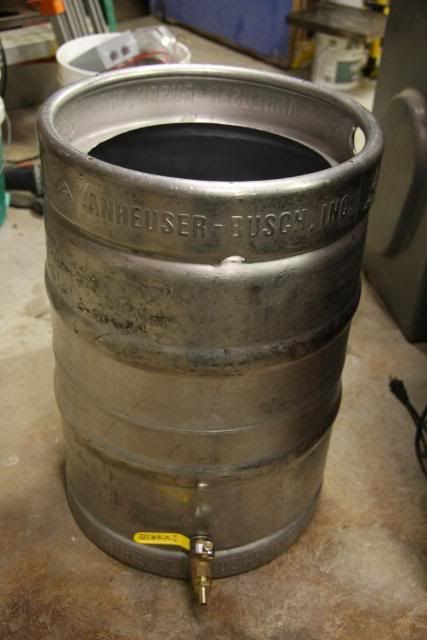
The BK is pretty straight forward so far, just a beat up old sanke with the top cut off and a ball valve / pick-up tube added.
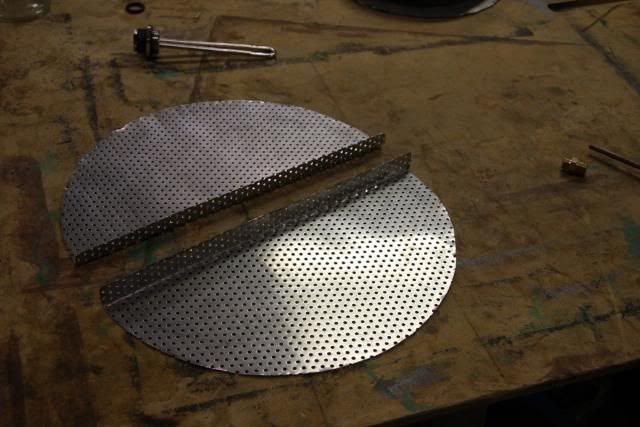
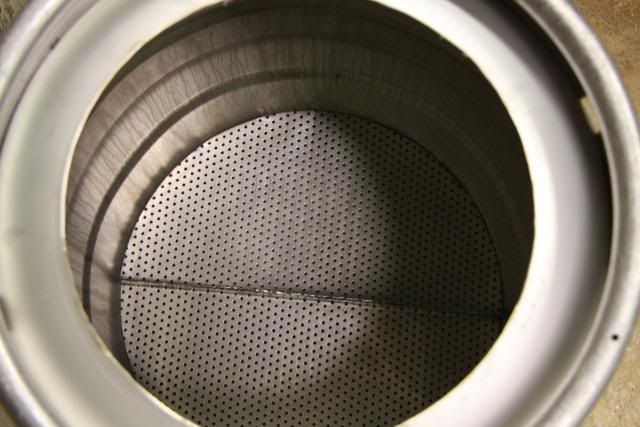
I picked up a remnant of perforated SS at a local shop. The holes are a little bigger than I'd like (1/8") and the spacing is a little wide, but at $10 for enough to make 3 false bottoms I figured it was worth a shot. I decided to keep things simple with a full diameter two piece FB that wedges into place.
Here's what it looks like installed. It's very stable, and doesn't move unless the center tabs are pulled upwards.
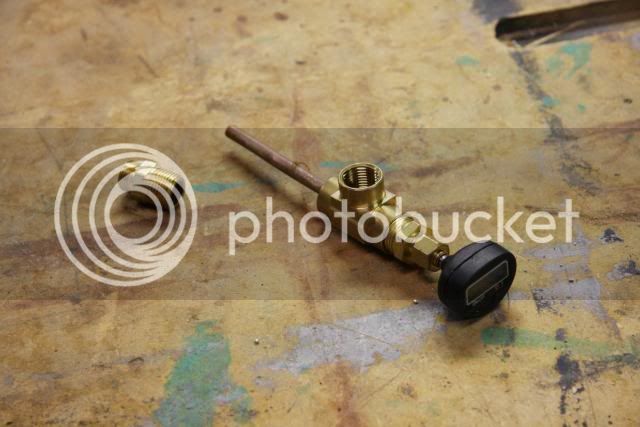
Here's the start of a thermowell and sight gauge. I have a piece of 3/8" pyrex tube that I plan on attatching with a compression fitting, but I'm worried it might be too fragile for my rough and tumble rig.
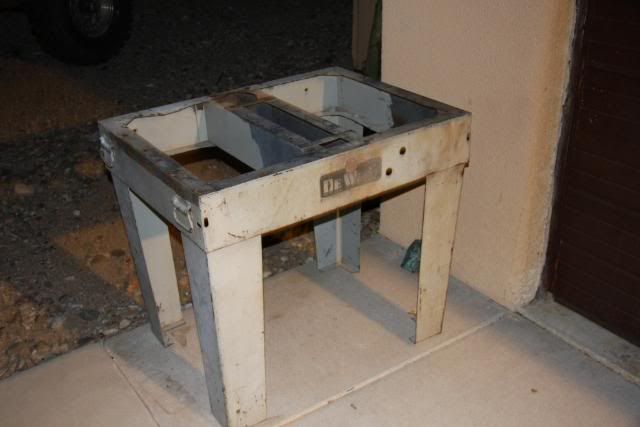
I think I'll use this old Dewalt RAS stand as the brew rig stand. It's a little taller than I'd like, so I'll probably shorten the legs some.
I've ordered some cam-lock fittings, and am looking for a pump. I'm still trying to figure out If I can go electric in my current brew location, or if I should just stick with my current propane burners. I'm sure I'll be asking a bunch of elec. questions of all you knowledgeable HBT'ers soon. It will most likely be slow going, but I'll continue to update this thread as I make progress. Any and all comments, critiques and suggestions are welcome.
It all started when a client gave me a 47' long roll of 1/2" soft copper, and the next day I scored 3 sanke kegs. The HLT and MLT wll both be bottom draining, and the BK will have a side drain with a pick-up tube for whirlpooling. Here's the copper roughly formed for the HEX-
This is the inside of the HLT. The MLT looks identical inside. I water tested both vessels, and the deadspace is only about 1 tablespoon.
This is what the bottom looks like. I filled the rigid copper with sand and used a conduit bender to bend it to shape. After installing it I tried to tweak the bend and ended up putting a kink in it. I'll probably replace it with some 45's rather than the bent piece.
I learned my lesson on the HLT, and used 45's instead of trying to bend the pipe for the MLT. I only had one elbow, so I used a T and a plug for now. I might get an elbow to replace it with just to limit the nooks and crannies for stuff to hide in.
The BK is pretty straight forward so far, just a beat up old sanke with the top cut off and a ball valve / pick-up tube added.
I picked up a remnant of perforated SS at a local shop. The holes are a little bigger than I'd like (1/8") and the spacing is a little wide, but at $10 for enough to make 3 false bottoms I figured it was worth a shot. I decided to keep things simple with a full diameter two piece FB that wedges into place.
Here's what it looks like installed. It's very stable, and doesn't move unless the center tabs are pulled upwards.
Here's the start of a thermowell and sight gauge. I have a piece of 3/8" pyrex tube that I plan on attatching with a compression fitting, but I'm worried it might be too fragile for my rough and tumble rig.
I think I'll use this old Dewalt RAS stand as the brew rig stand. It's a little taller than I'd like, so I'll probably shorten the legs some.
I've ordered some cam-lock fittings, and am looking for a pump. I'm still trying to figure out If I can go electric in my current brew location, or if I should just stick with my current propane burners. I'm sure I'll be asking a bunch of elec. questions of all you knowledgeable HBT'ers soon. It will most likely be slow going, but I'll continue to update this thread as I make progress. Any and all comments, critiques and suggestions are welcome.