• If you have bought, sold or gained information from our Classifieds, please donate to HomeBrewTalk and give back.

    You can become a Supporting Member which comes with a decal or just click here to donate.

Want to buy: Digital Conversion Thermostat

Homebrew Talk - Beer, Wine, Mead, & Cider Brewing Discussion Forum

Help Support Homebrew Talk - Beer, Wine, Mead, & Cider Brewing Discussion Forum:

This site may earn a commission from merchant affiliate links, including eBay, Amazon, and others.

Ntense

Well-Known Member
Joined
Nov 16, 2009
Messages
71
Reaction score
1
Location
Montreal
Well, title say it all, I need a digital conversion thermostat for my kegerator.

I can't set it up to the right temp, it's either too warm or too cold.

Let me know if you have one, or where I can get a new one.

I checked KegConnection, I liked the digital one, but they are expensive on shipping rate ($22.64).
 
I bought the controller B with the thermocouple. Got it for $66.70 shipped.

I'm really happy with the price, thanks again for your time!
 
Well, I got the parts today.

If you know how to wire this, let me know...

like I'm unsure about the where to plug the thermocouple...:)
 
It's easy bud. Nothing to it.

there should be some forks on the end of the thermo couple. Take a philips head screw driver and loosen the screws labeled 9 and 10 and slip one fork under each one and tighten them down.

Do you have the extension cord yet? if not get a 10 foot 3 prong 12 AWG extension cord.

Cut the extension cord in half. Strip about 8 inches of the outer sheathing back on each side. So the three wires are exposed. Should be a black, white, and green wire. Don't strip the individual wires yet.

Take the side with the male plug and cut 4 inches of the black and white wire.

Now strip a quarter inch off each end of the small black wire and and all of the wires on the extension cord.

Unscrew the #2 terminal and stuff a white wire from both halves of the cord under it (one on each side of the screw.) Tighten the screw.

Unscrew Terminal 13 and put the black wire from the cord with the female end under it and tighten the screw.

Unscrew terminal 14 and stuff one end of the short black wire under it and tighten.

Unscrew terminal 1 and stuff the black wire from the cable with male plug under one side of the screw and the other end of the short black wire on the other side of the screw and tighten it.

Make sure all of your connections are good and tight (Not He-man tight)

Last take the two green wires and use a wire nut to twist them together.

Plug the male end of the cord into the wall and the PID should power up.

If the temp looks very high then you need to swap the wires going to terminals 9 and 10. Just unplug the unit, make the swap and plug it back in.

Once you get to this point post up and we will get it configured.
 
Thank you very much!

I don't have at home a 3 wires extension cord, only 2 wire...so I'll go to the home depot tomorrow and I should be okay to hook this up!

Your time is really appreciated!!
 
I'd love to see a picture of one of these all wired up...

I'm using a Ranco for my 1650W HLT but would like to get one of these and use the Ranco for my temperature controlled fridge for fermentation.

Edit: would I need an SSR for a 1650 or 2000 watt 110 volt heating element?
 
Everything is all wired up now.

I'm about to configure it, here's the parameters I use:

Inty:K
outy:2
Hy: 3
Atdu:0
PSb:0
rd:1
CorF:0 (I want it in Celsius)

I'm unsure if all of these settings are good...

SV: 4 degre Celsius
AH1:6
AL1:5
AH2:2
AL2:3

I'm really unsure about these ones too.

thanks for the help!
 
Here are the configs you want
press set, enter 0089, press set again

intY = K
outY = 4 (on/off control using j2)
Hy = ? (This is the range you want it to operate in. If set to 3 the compressor will turn on at SV+3 degrees and off at SV-3 degrees. The smaller the number the tighter the control BUT you will cycle the compressor more)
Atdu = 0
PSb = ?, put the tip of the thermocouple in some ice water, adjust this number up and down till it reads 0 deg C. (I dont know if that probe is water tight. So just put the tip in the water or seal the back end with some silicone.
rd = 0
CorF = 0

Then you need to set one more parameter in the PID menu.
Press Set, enter 0036, press set again
ot = 20 to 40, This is the minimum time in seconds the fridge will be called to run and allowed to stop, preventing short cycling.
Everything else in this config is not applicable so leave them at their defaults.

After it is wired up, put your thermocouple in the fridge, plug the fridge into the female end of the cord and the male end into the wall. Set you SV and you are in buitness my friend.
 
Thanks, it works great now!

The rd should be at '1' instead of '0' (cooling instead of heating).

It's a pretty temp controller by the way...I like it!
 
I'm using the controller since a week by now, and it's definitely a good buy.

Highly recommended.
 
I'm using the controller since a week by now, and it's definitely a good buy.

Highly recommended.

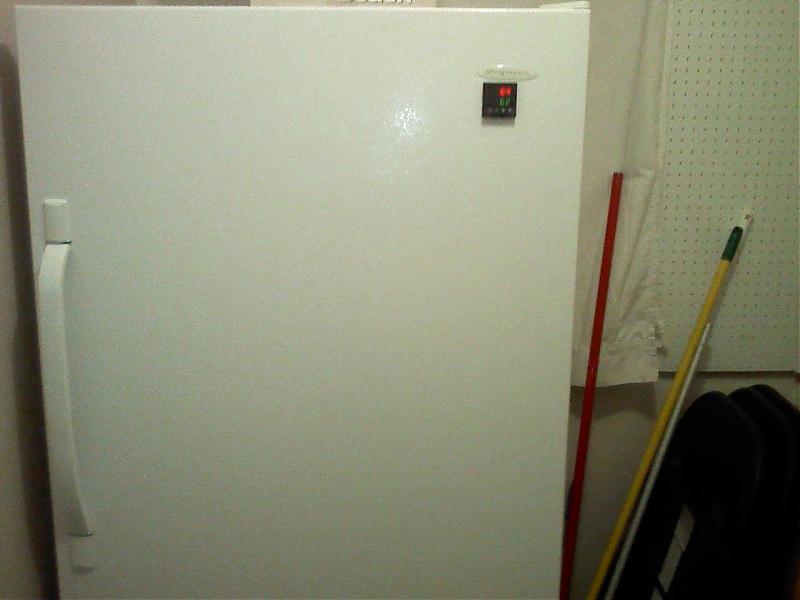
Cool, glad you like it. All this finally motivated me to mount the one I have into the fermenter door.
attachment.php


0119102114.jpg
 
Back
Top