specialized
Well-Known Member
Just wanted to showcase my keezer build for everyone and share any info I can. These forums have have been such a great resource for all things brewing that I wanted to give back.
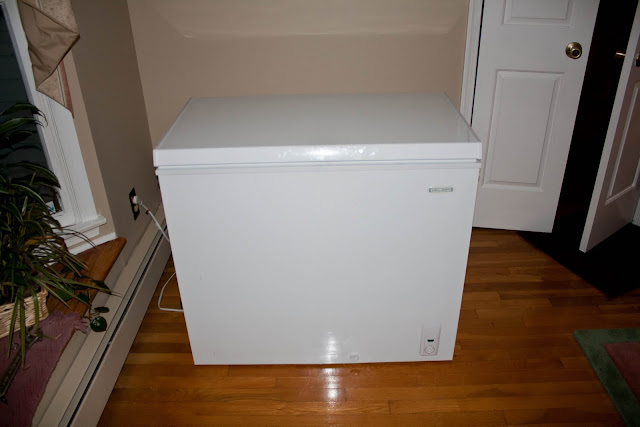
This was the first purchase. 7.0 cu Holiday brand freezer from Lowes.
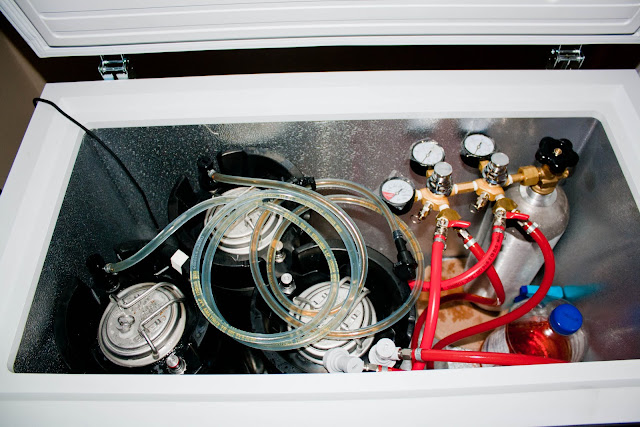
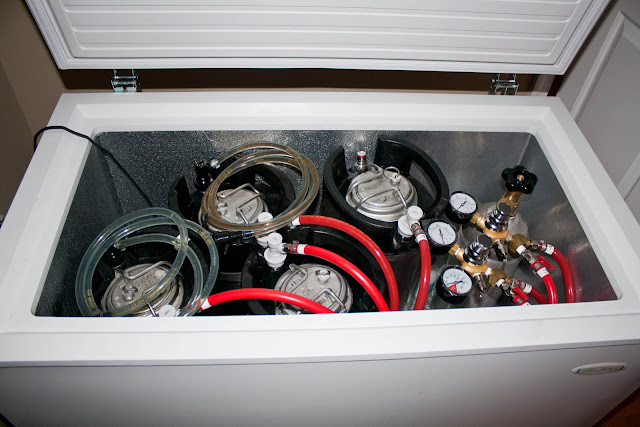
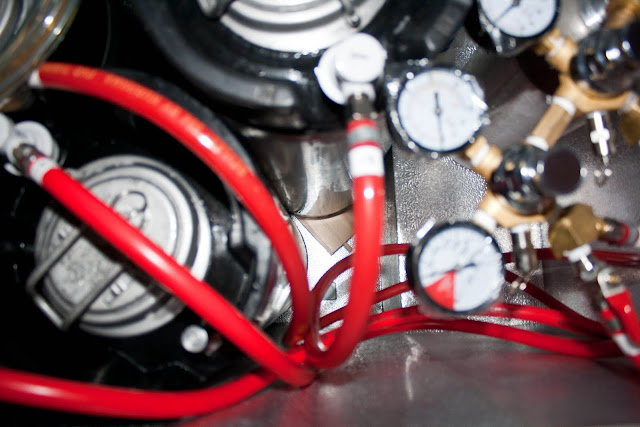
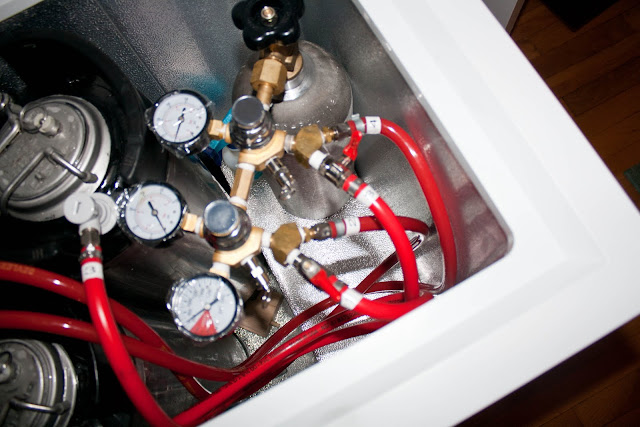
This is my kegging setup. I've got 4 cornies (1 not pictured). They fit in there but are very snug. A 5lb tank sits on the hump without problem.

I built a 3d model using google sketchup based on Jesters keezer build. I resized everything to work on my 7.0 cu ft holiday freezer.
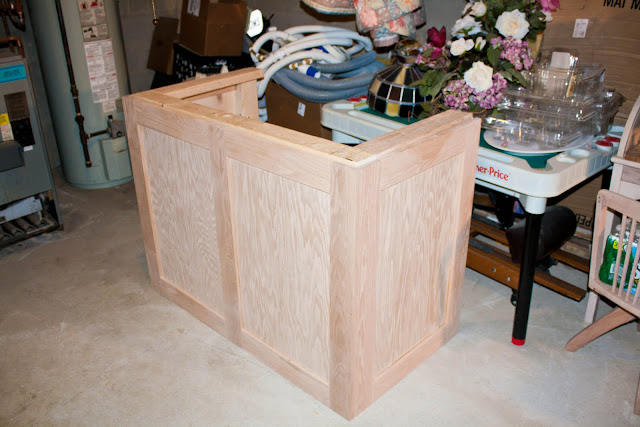
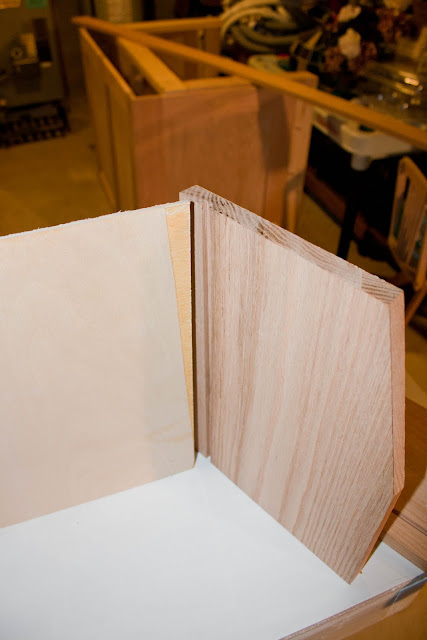
I was suprised with how well things are mimicking the plans. I am a rookie when it comes to carpentry but have learned that taking things slow yields impressive results.
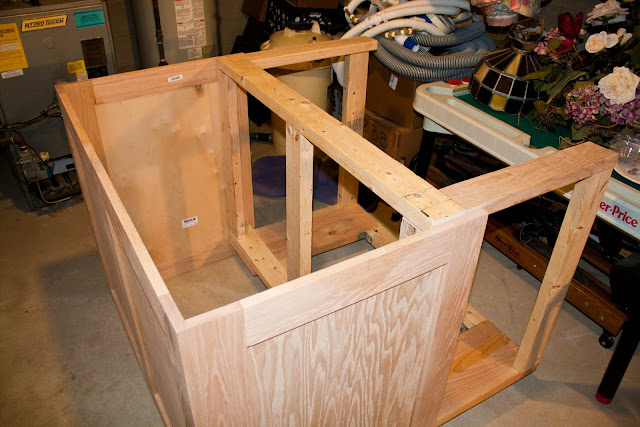
This is just an exploded view showing the framing and the paneling
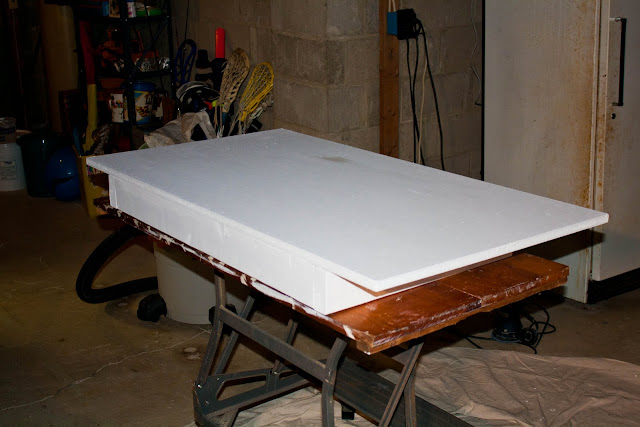
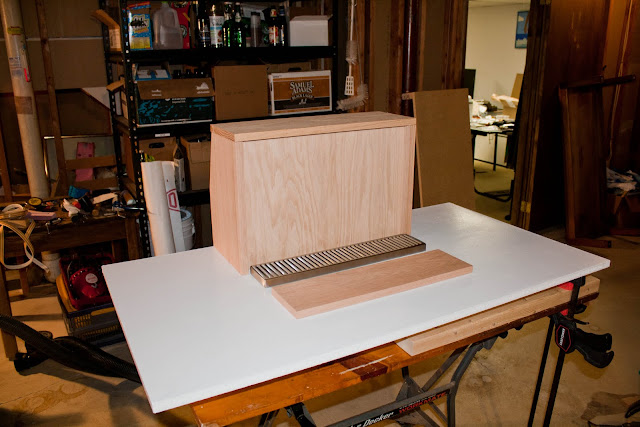
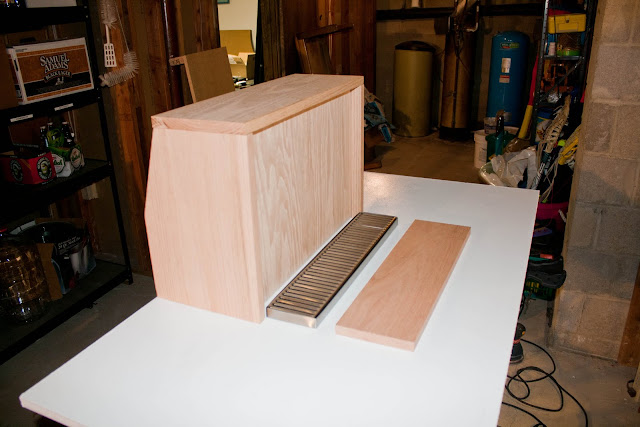
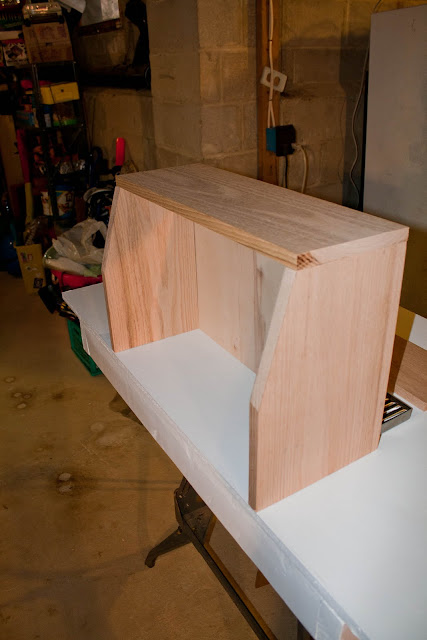
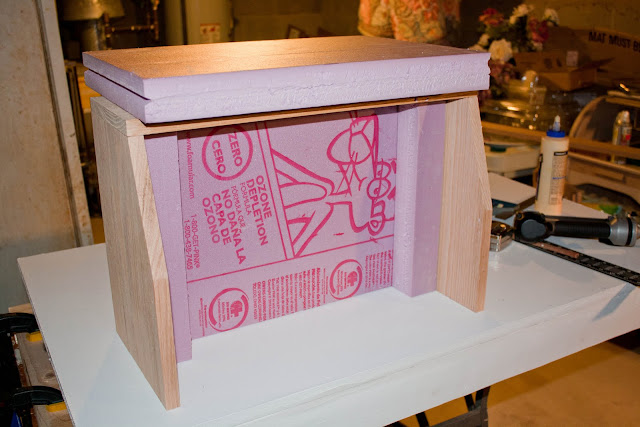
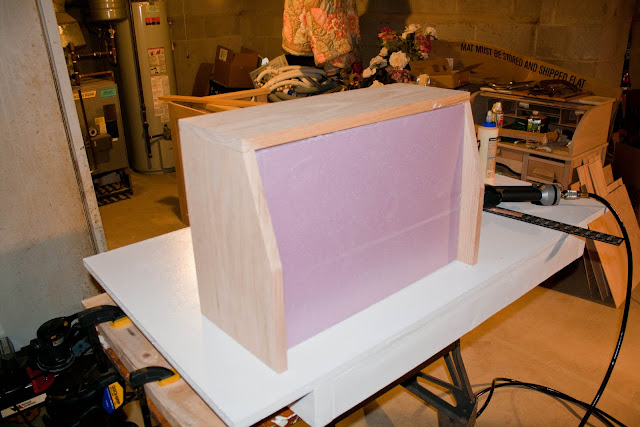
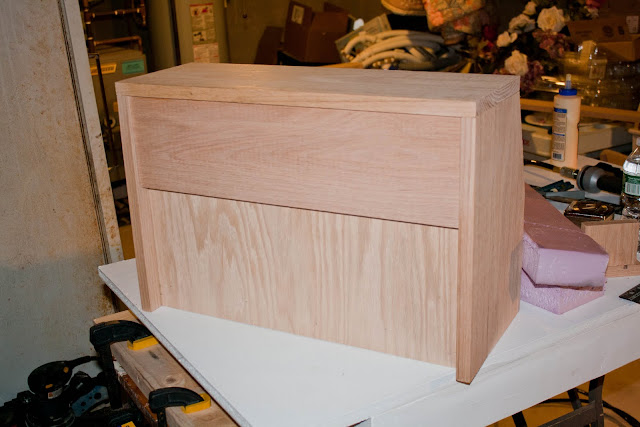
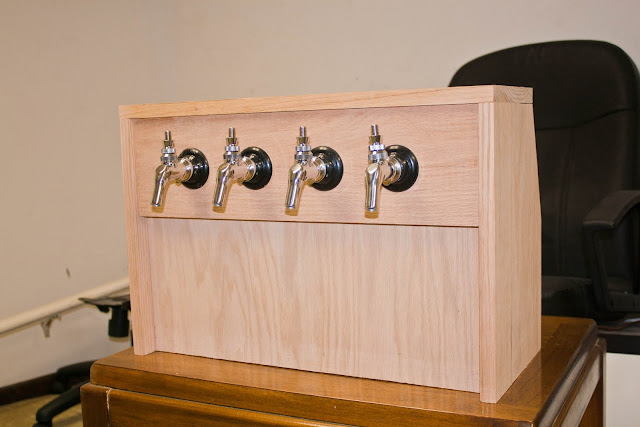
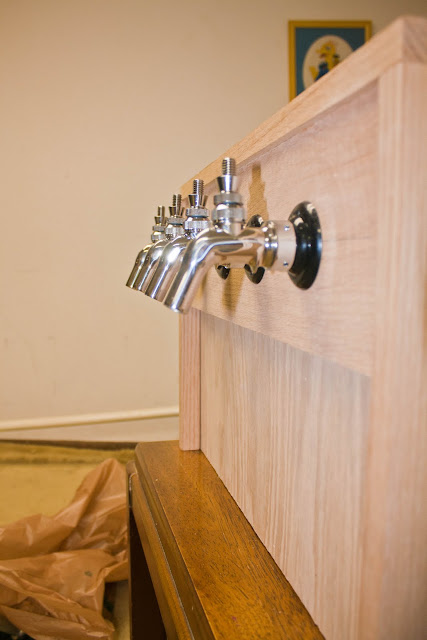
I've begun work on the lid. I decided to ditch the current lid and build an entirely new one. I didn't feel like drilling holes through the stock lid in case I ever decide to repurpose it as a normal freezer. I doubt that's going to happen though based on how much money I've pumped into this thing.
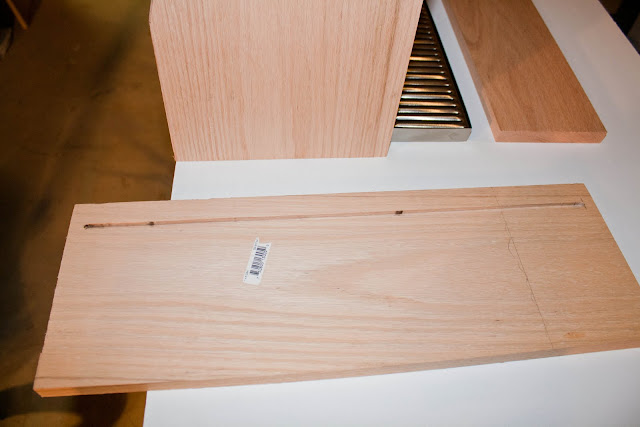
The bottom part of the lid is just your run of the mill 2x4, the top is MDF. Right now I have everything painted in a primer and plan on putting a coat of exterior paint on it. The paint won't be visible when the keezer is finished it's merely to seal the wood from any moisture in the freezer.
That's it for now. I'll keep this post up to date with my progress. Unfortunately I'm going away this weekend and will be out on business all next week so updates will be slow coming. As of right now I hope to finish it over Xmas break.
This was the first purchase. 7.0 cu Holiday brand freezer from Lowes.
This is my kegging setup. I've got 4 cornies (1 not pictured). They fit in there but are very snug. A 5lb tank sits on the hump without problem.
I built a 3d model using google sketchup based on Jesters keezer build. I resized everything to work on my 7.0 cu ft holiday freezer.
I was suprised with how well things are mimicking the plans. I am a rookie when it comes to carpentry but have learned that taking things slow yields impressive results.
This is just an exploded view showing the framing and the paneling
I've begun work on the lid. I decided to ditch the current lid and build an entirely new one. I didn't feel like drilling holes through the stock lid in case I ever decide to repurpose it as a normal freezer. I doubt that's going to happen though based on how much money I've pumped into this thing.
The bottom part of the lid is just your run of the mill 2x4, the top is MDF. Right now I have everything painted in a primer and plan on putting a coat of exterior paint on it. The paint won't be visible when the keezer is finished it's merely to seal the wood from any moisture in the freezer.
That's it for now. I'll keep this post up to date with my progress. Unfortunately I'm going away this weekend and will be out on business all next week so updates will be slow coming. As of right now I hope to finish it over Xmas break.


") The point is---get some mileage out of the shelf.
The point is---get some mileage out of the shelf.