Hello all,
Long time lurker, first time poster.
I am all ready to build my first keggerator. I have my handy kegco kit together and plan to start this weekend. However I ran into a problem.
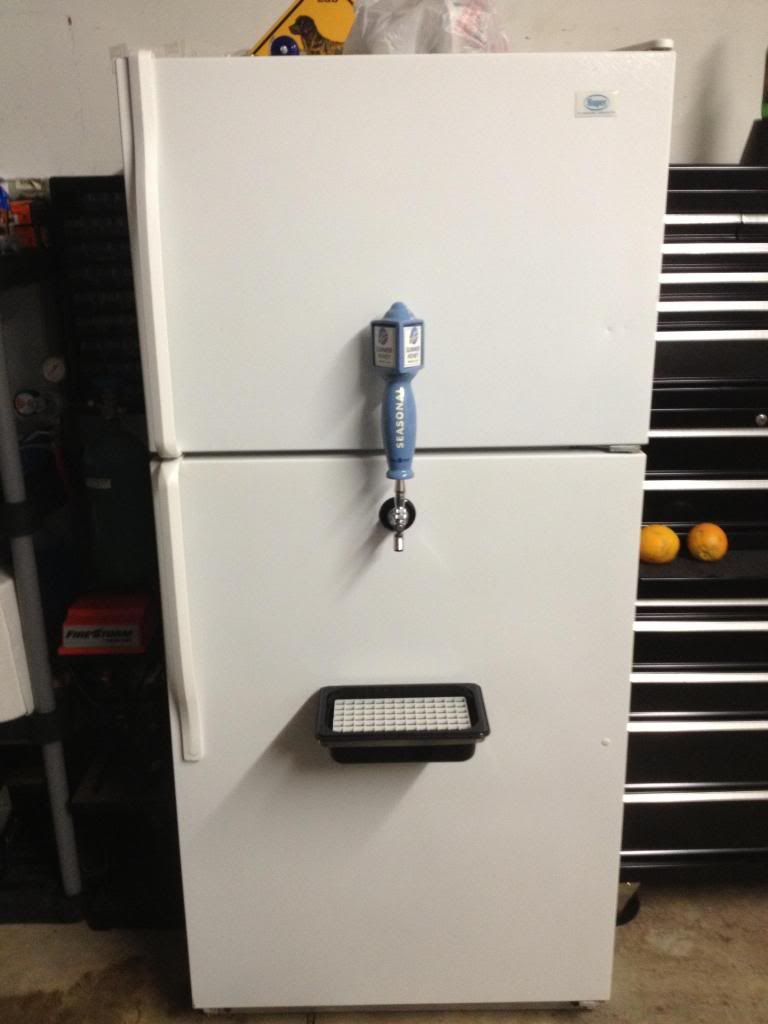
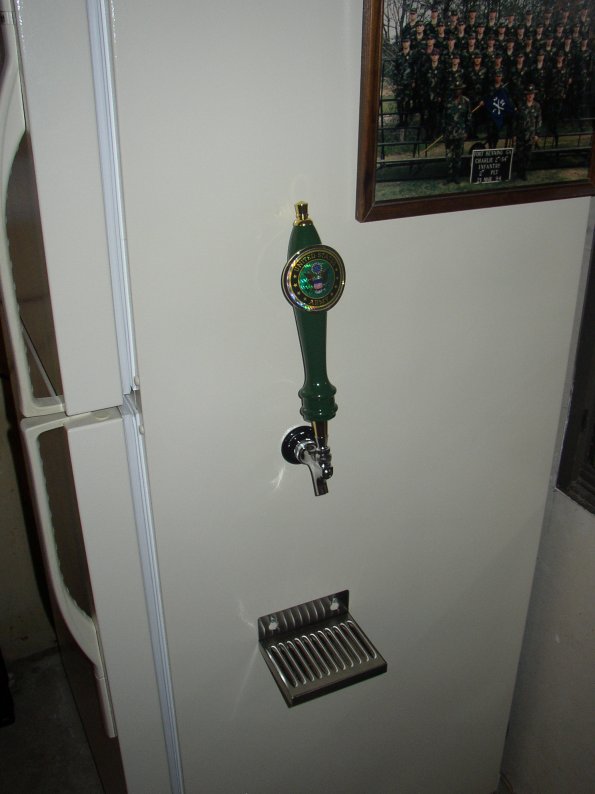
The fridge I am using is an old kenmore, easily capable of holding three kegs. The issue is this: the spot I want to add my first tap up high on the door has a shelf wall right in the middle of it. I would have to offset my three taps, which would look awful. The next available spot below the shelves isn't flat. It has a wavy wall. How much of an issue is the wave pattern? Can I just use that spot anyway? Or should I just use the top spots and not be so picky about centering the tap? I added pictures of the door to show what I am explaining.
Any help would be most appreciated. Cheers!
Sent from my iPhone using Home Brew
Long time lurker, first time poster.
I am all ready to build my first keggerator. I have my handy kegco kit together and plan to start this weekend. However I ran into a problem.
The fridge I am using is an old kenmore, easily capable of holding three kegs. The issue is this: the spot I want to add my first tap up high on the door has a shelf wall right in the middle of it. I would have to offset my three taps, which would look awful. The next available spot below the shelves isn't flat. It has a wavy wall. How much of an issue is the wave pattern? Can I just use that spot anyway? Or should I just use the top spots and not be so picky about centering the tap? I added pictures of the door to show what I am explaining.

Any help would be most appreciated. Cheers!
Sent from my iPhone using Home Brew