DunklesWeissbier
Well-Known Member
$30, a trip to HD, and about an hour of bending tubing and scratching my head. And I'm ready to brew!
I can't believe how easy it was.
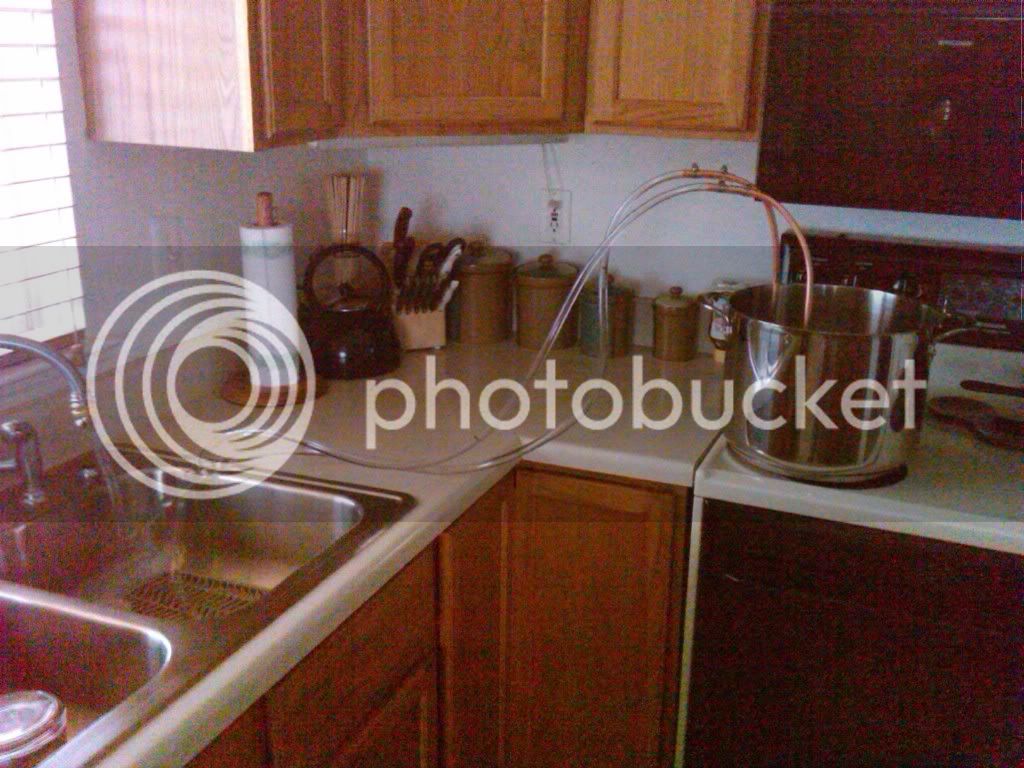
I'm heating up some water right now to give it a trail run. Hopefully I'll be brewing this afternoon.
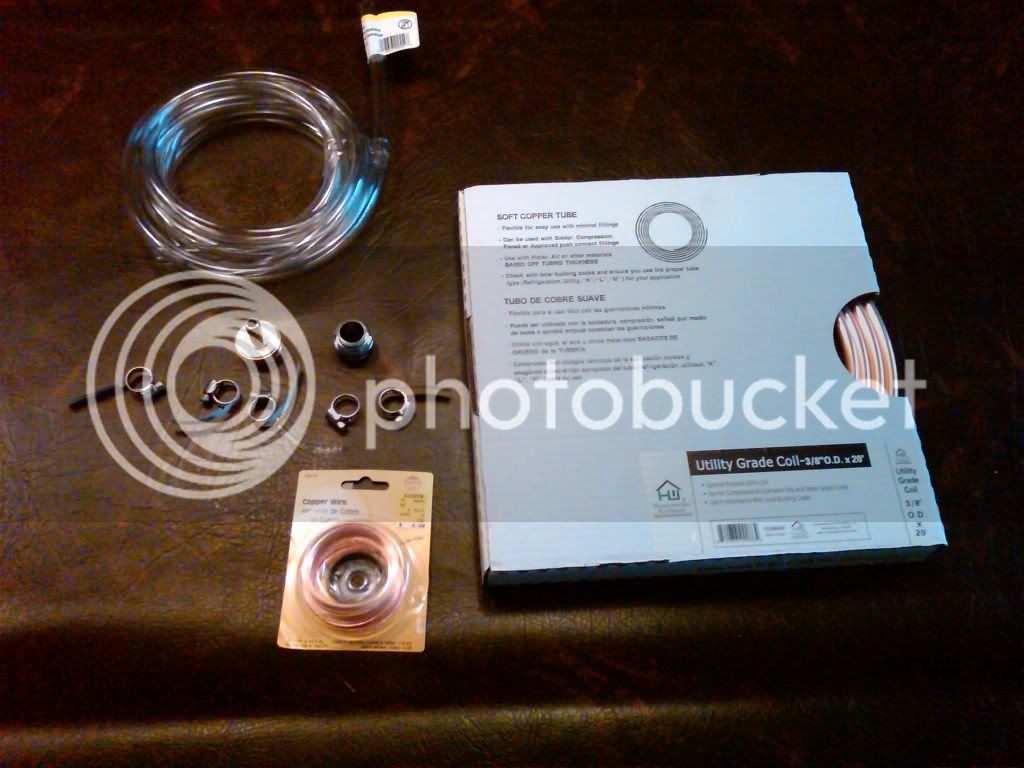
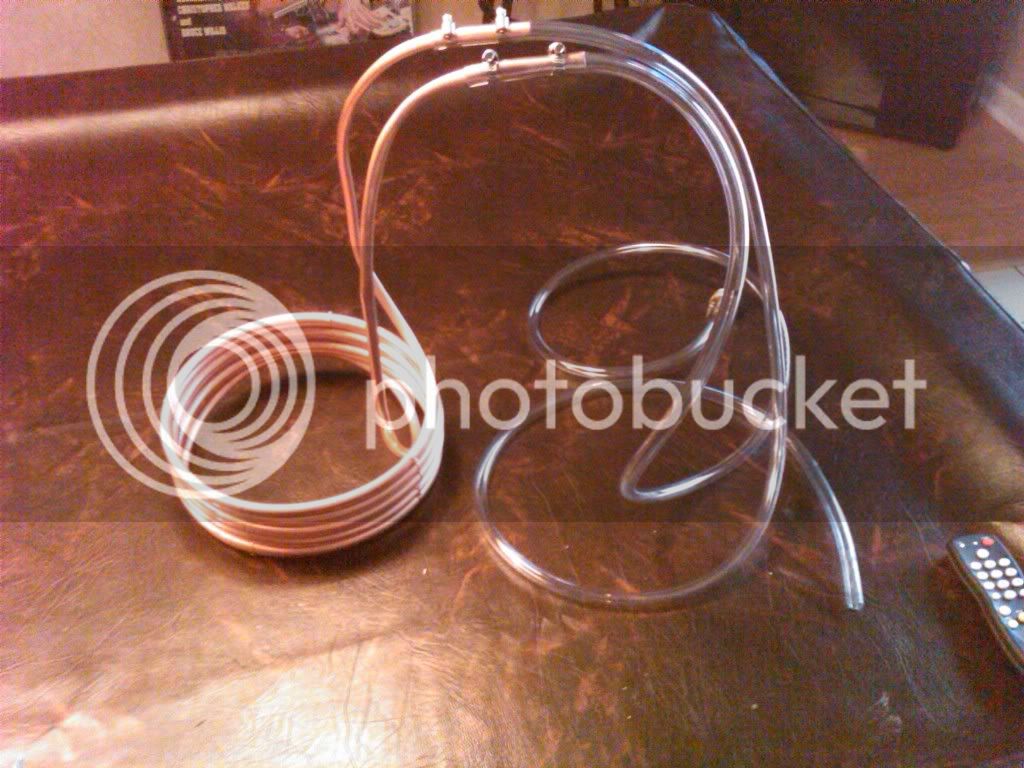
Parts.
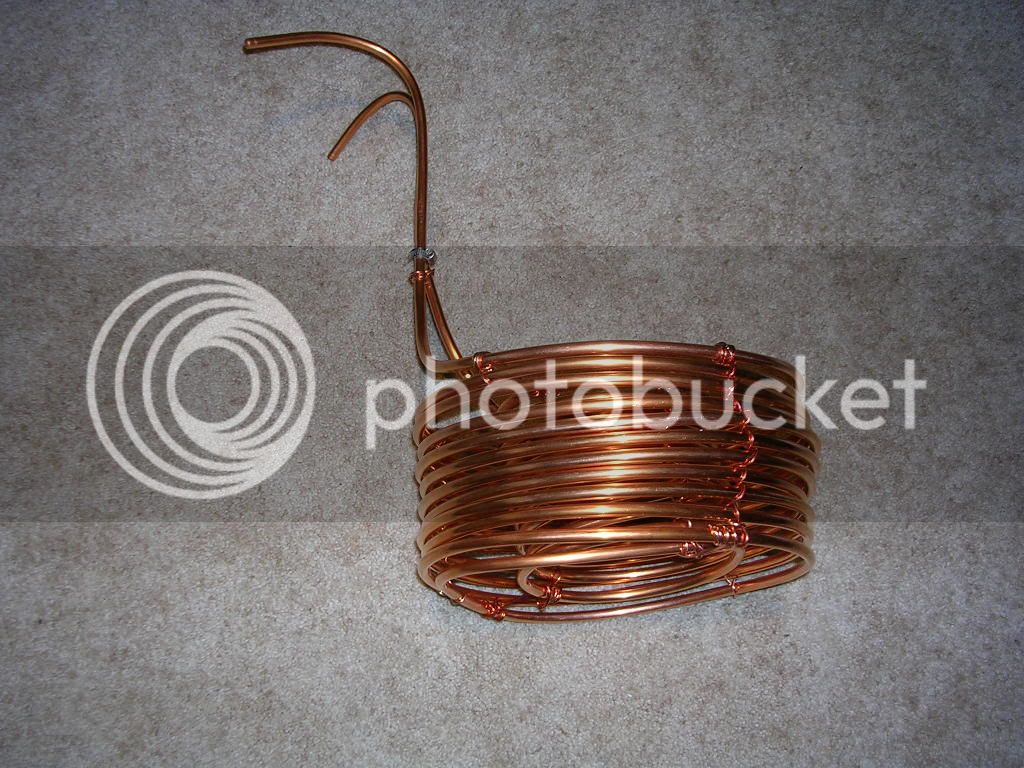
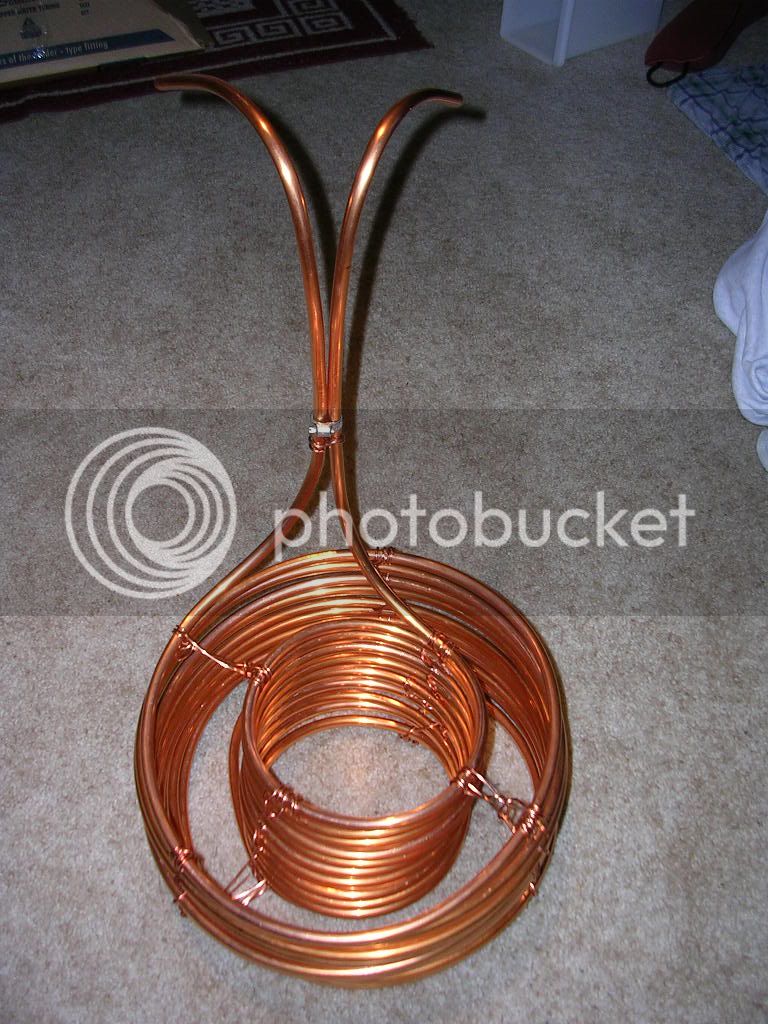
All done!
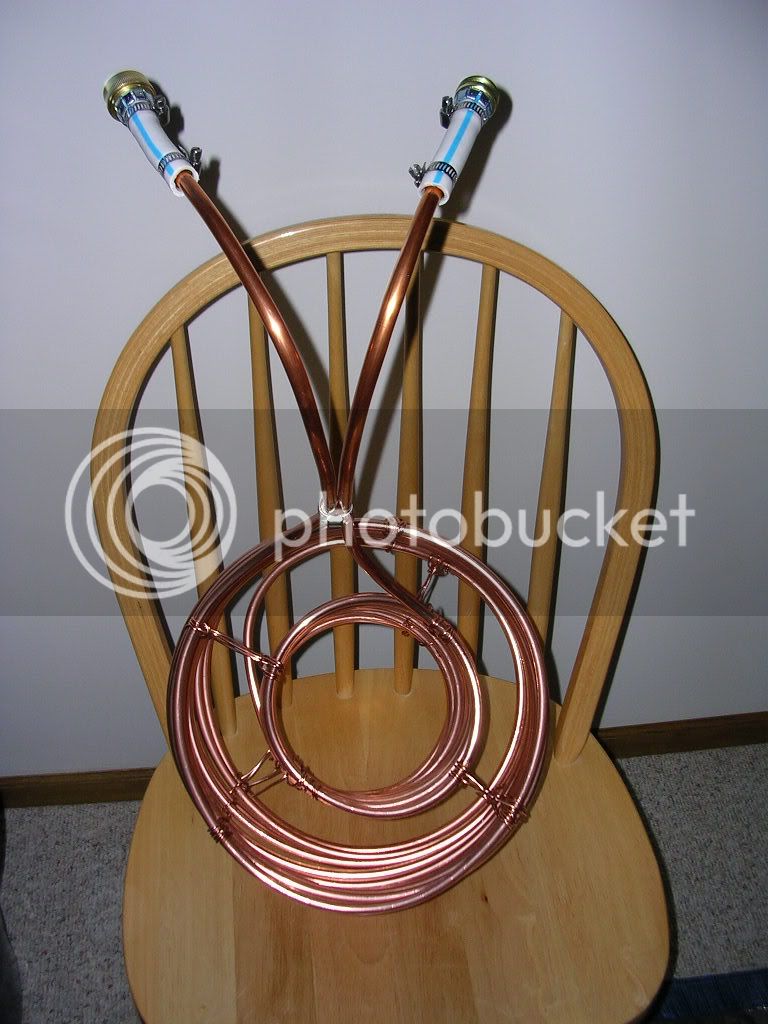
Testing for leaks.
And I'm ready to brew!I can't believe how easy it was.
I'm heating up some water right now to give it a trail run. Hopefully I'll be brewing this afternoon.
Parts.
All done!
Testing for leaks.


![Craft A Brew - Safale S-04 Dry Yeast - Fermentis - English Ale Dry Yeast - For English and American Ales and Hard Apple Ciders - Ingredients for Home Brewing - Beer Making Supplies - [1 Pack]](https://m.media-amazon.com/images/I/41fVGNh6JfL._SL500_.jpg)