• Please visit and share your knowledge at our sister communities:
  • If you have not, please join our official Homebrewing Facebook Group!

    Homebrewing Facebook Group

What is the purpose of the Brewzilla bottom exit tap?

Homebrew Talk

Help Support Homebrew Talk:

This site may earn a commission from merchant affiliate links, including eBay, Amazon, and others.

kohalajohn

Supporting Member
HBT Supporter
Joined
May 6, 2025
Messages
286
Reaction score
222
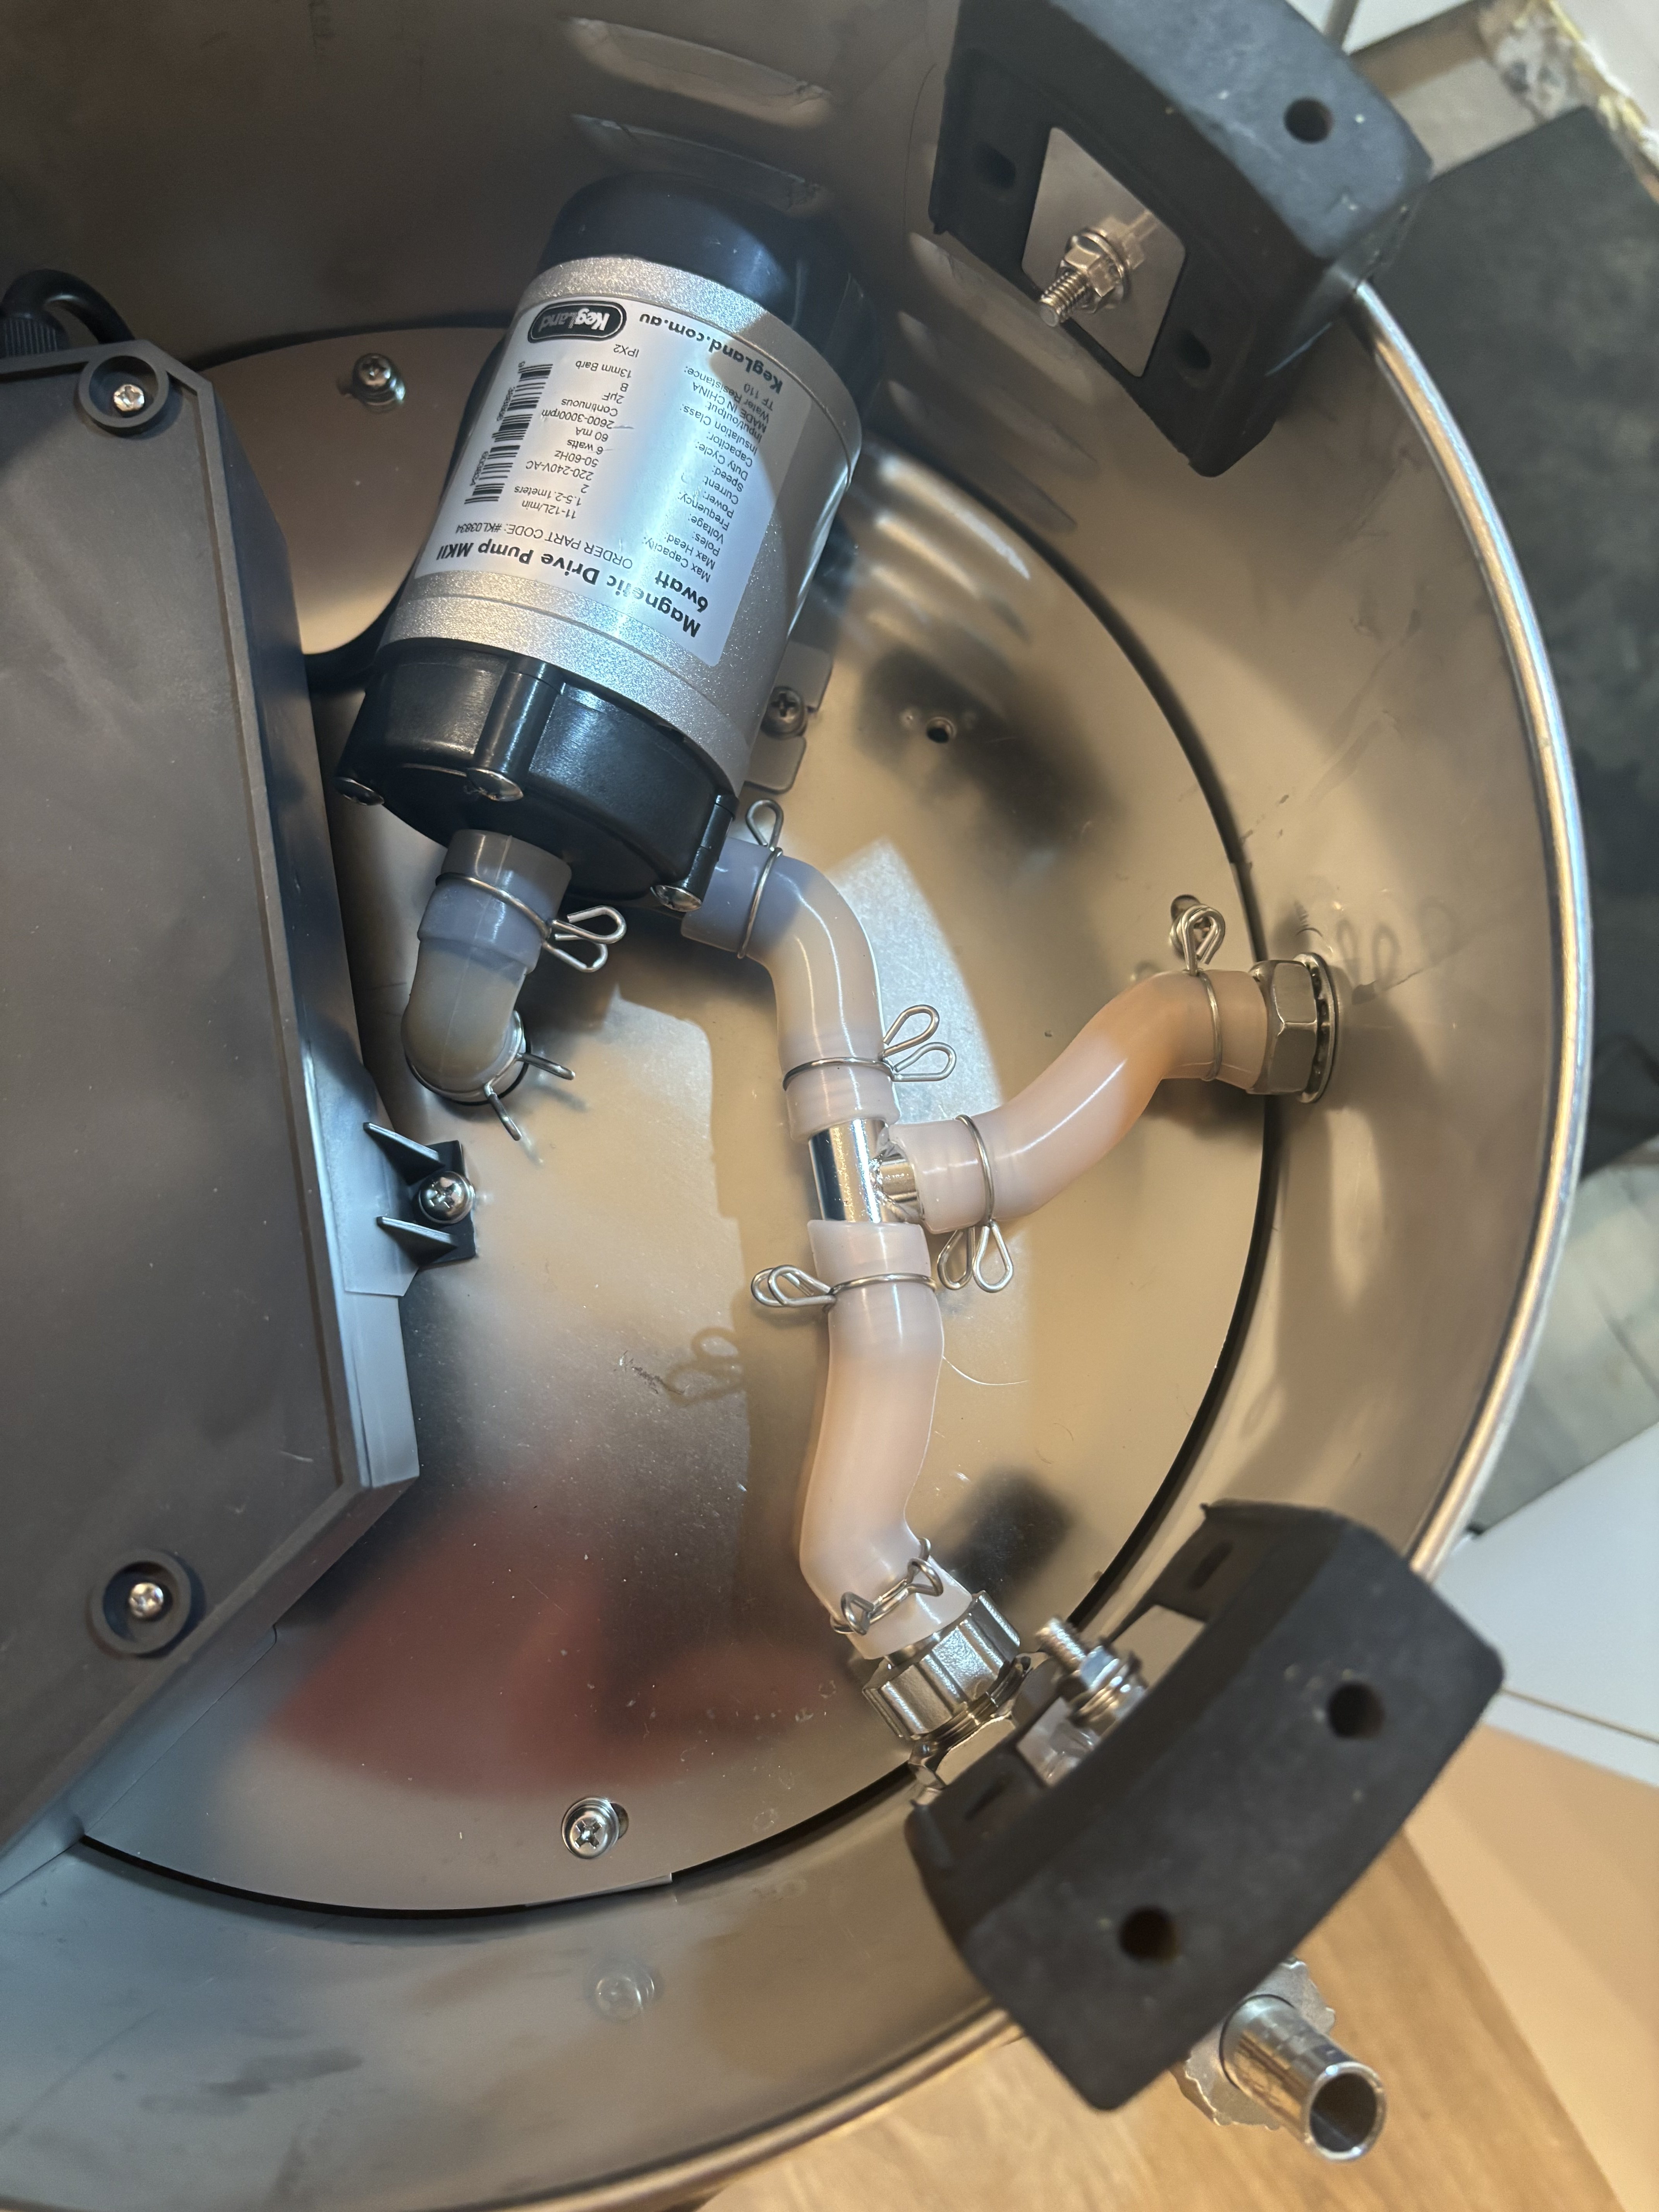
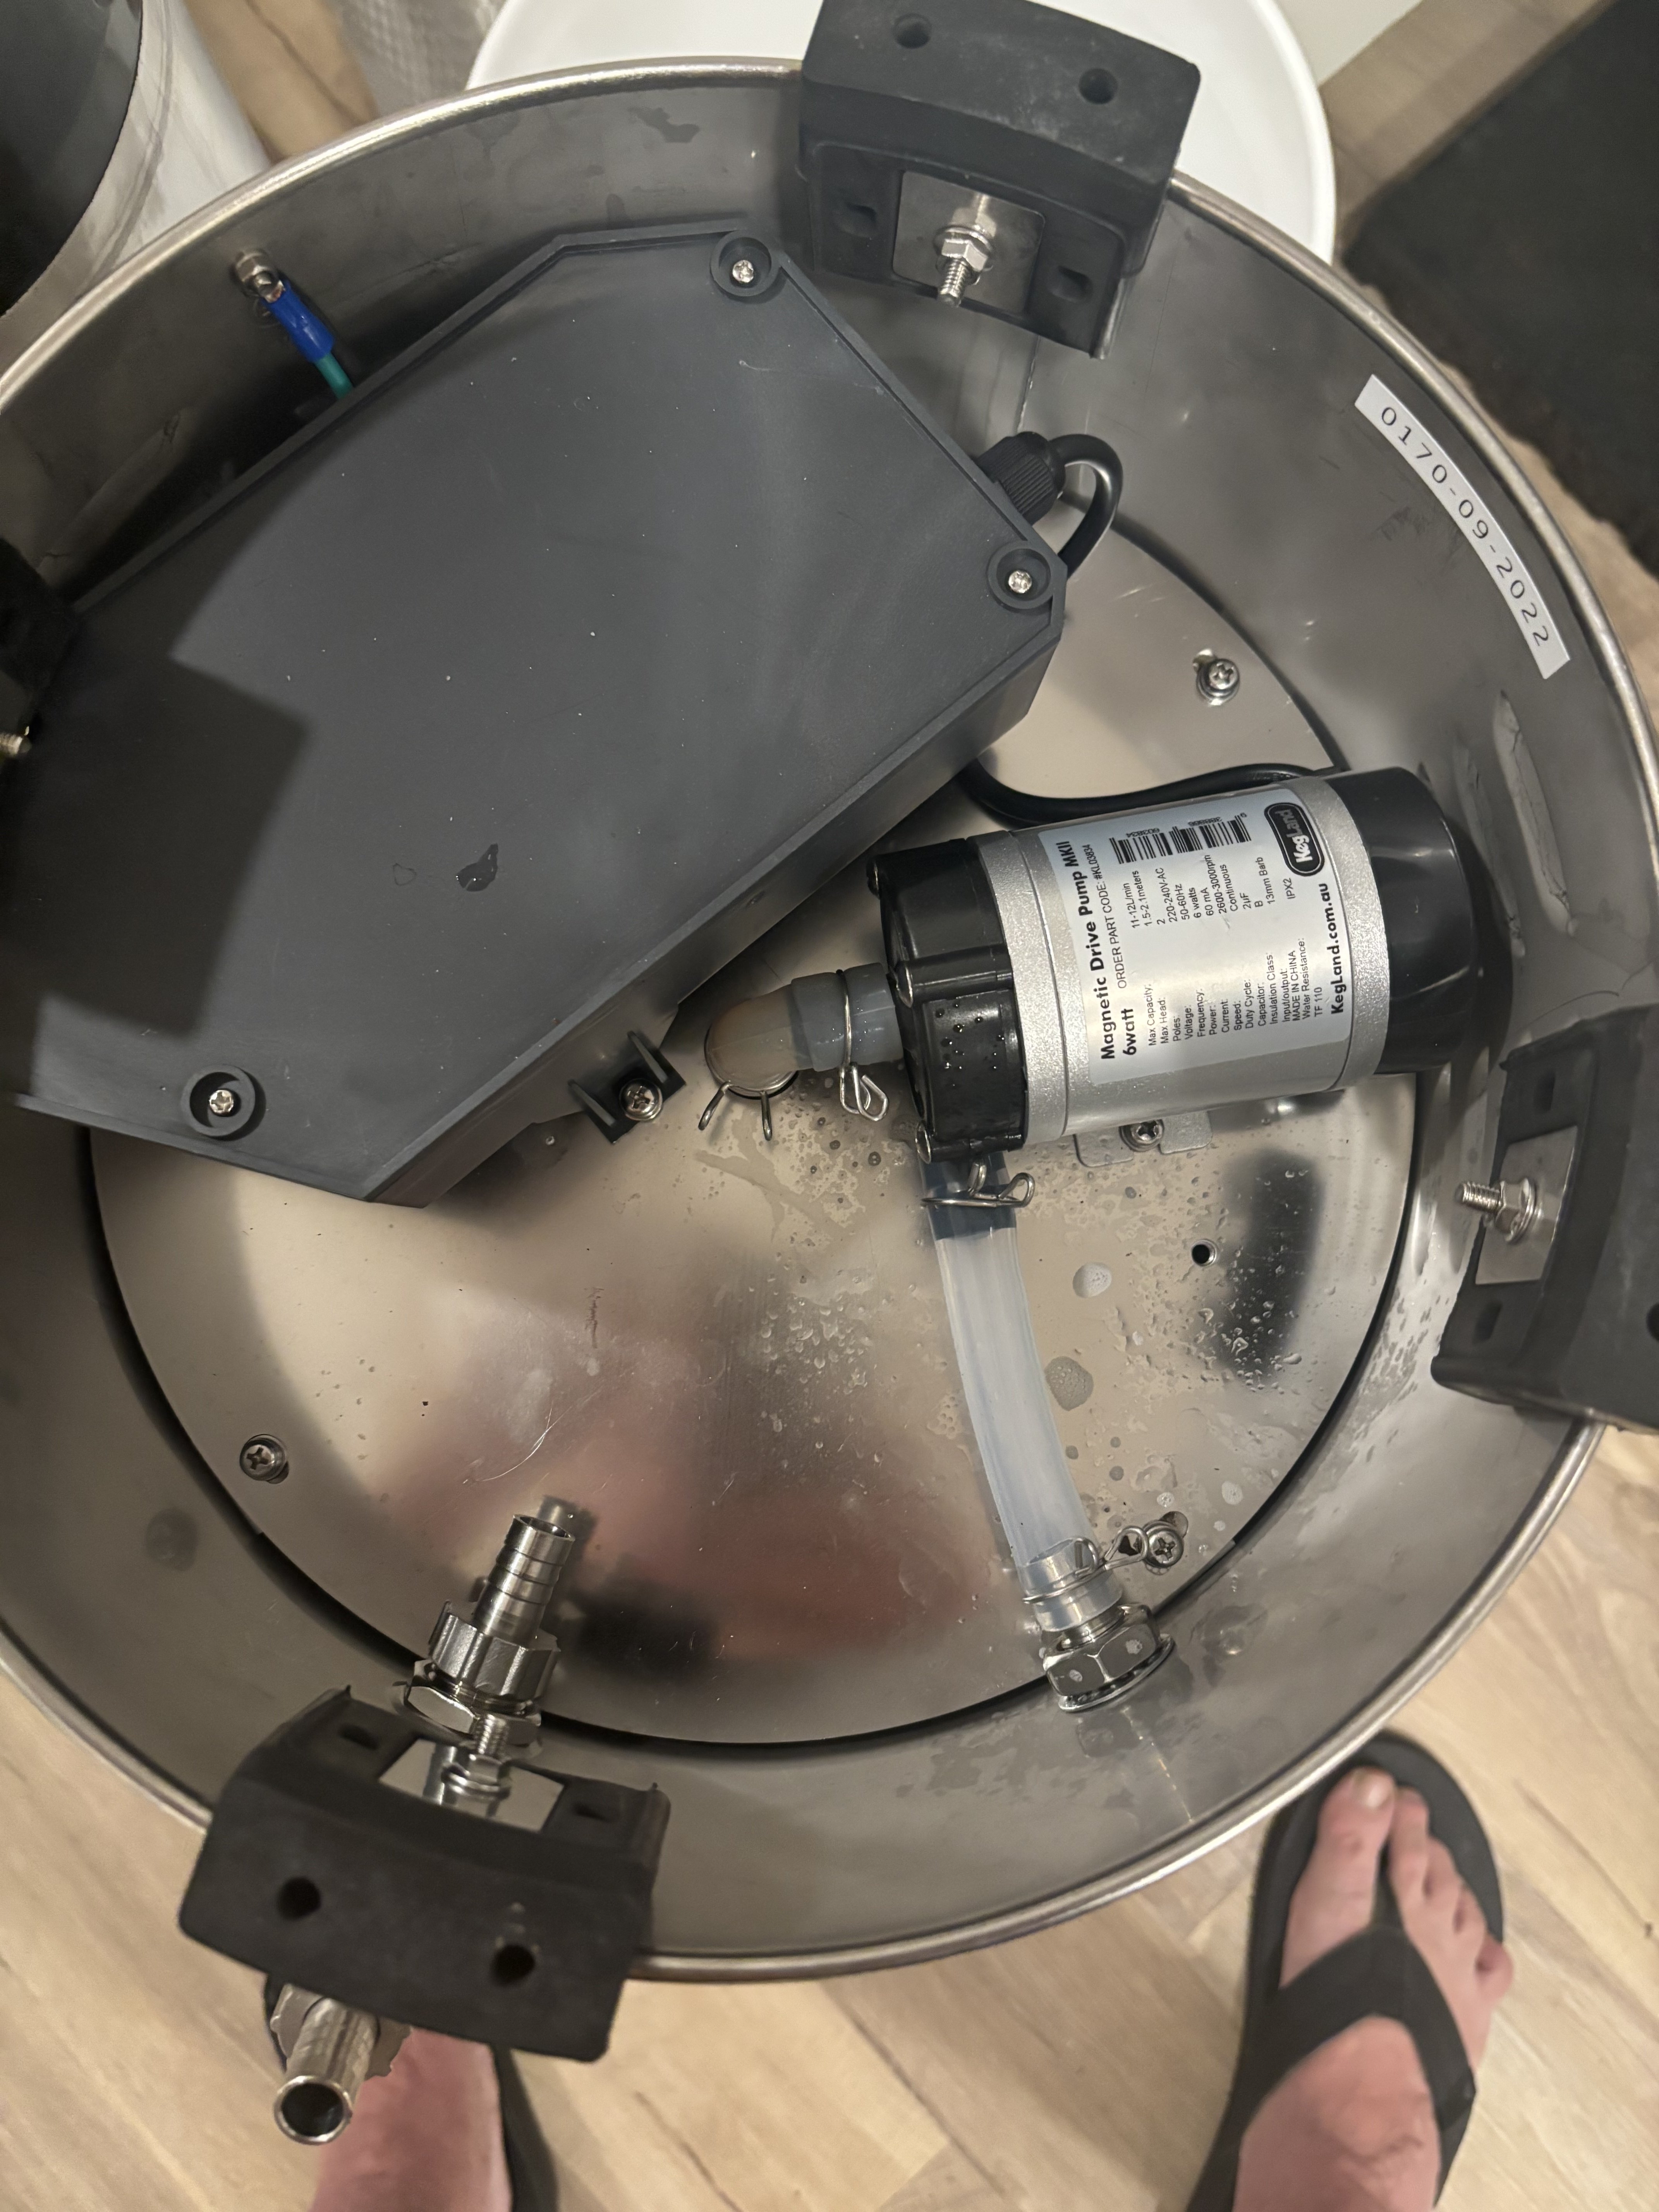
Just bought my Brewzilla. With the handy recirc arm, I'm not using the bottom exit tap at al.

There must be some reasons for it. And a reason why it's connected to the pump. I see Portly Gentleman mods his to add tri clover clamps to "open up all sorts of possibilities".

The only possibility I see, is the ability to drain the last cup that is below the pump. But after I clean ,there's nothing in there except a cup of steri san water.
 
I get that you could use it to pump the cooled wort to your fermenter, but the recirc arm can do that, and without attaching hoses.

I'm sure I'm missing something here
 
Depending on how it’s plumbed, possibly for when your pump clogs so bady you can’t remove the 5-6 gallons of wort you have just made?
Yeah, that might be it.

But if you want that backup, then that would mean changing the pump hoses. Strangely, the Brewzilla comes with this exit valve plumbed through the pump. So if the pump clogs, you can't use the exit valve.

They give instructions to those customers who want to diver the exit valve so it bypasses the pump, and just gives a straight exit. And they say that some customers choose to do that.

I think I may choose to do that. You don't want to be attempting this when you are in a situation with a plugged pump. Nope.

Photo attached. You'll see how all the wort goes through the pump first, and then you can choose to pump it up the recirc arm or out the lower exit.

I'm contemplating just removing the exit valve for now. It's just a place for stored wort to go bad. If I eventually think of some use for the exit valve, I can put it back in.
 

Attachments

  • brewzilla bottom.pdf
    3.4 MB
I broke down and read the manual.

Here is where they talk about the option to bypass the pump:

https://www.olbryggning.se/media/mu...rewzilla 65l gen 4 instruction manual eng.pdf

Here is what it looks like after you bypass it:


1748181767320.png
 
Now I'm thinking keep the exit valve, as it is good to be able to drain the boiler when the pump fails/clogs.

But then, it has to be moved to bypass the pump.

I'm giving up the ability to pump through the exit valve. Can't see how I'd ever want to do that. But I'm a new owner so I may figure it out later.

For sure though, you don't want to wait until you have a clogged pump. It's too late then.
The one thing I am thinking, just looking at the tubing, is that I would be inclined to order a spare elbow or two.
In a pinch you could replace the one that feeds the pump with a looped piece of straight tubing, but the the other one going to the center of the kettle (i presume)may be too-tight of a bend to replace it with straight tubing.
Maybe they never fail but the sailor in me sees the thin wire clamps and a yellow flag goes up.
Id rather have one in the toolbox than miss a brew day because of a surprise leak.
 
I've been enjoying your posts since you signed up and just want to congratulate you on doing your research and importantly; looking ahead to head off potential problems. Though I don't have Brewzilla myself, my understanding is that they have a false-bottom (https://www.ontariobeerkegs.com/search.asp?keyword=brewzilla+false+bottom) specifically to avoid a clogged pump...is that an extra option or included? Anyway; Before you mod your gear, just a suggestion: Try it out as shipped and by the manual the way that most users do so you can learn for yourself wether such a mod is appropriate for you. Since this is a return to brewing for you on all new gear, regard your first few brews as experiments. Allow yourself the possibilities of issues with 'the standard way of doing it', as the experience and how you deal with any problem that might come up are invaluable teachers. I'm totally on the same page as you in being proactive and detail-oriented, but at the same time, every issue I've run into on my own path has deepened my understanding of the whole process.
So: Which kit or recipe was that pale ale?
:mug:
 
Hi Broken, enjoying your writing too.

I know I should go slow, but I"m having so much fun with all this new gear and new tech.

Electricity? Wow. The Internet? Goodnesss me. When I last did it, even gravity was new.

Anyway, I couldn't wait. I just removed the drain tap. The new Gen 4 is famous for having a false bottom that really captures the trub and hops and I can confirm that that is right. Almost nothing got past it. I think the chances of plugged pumps in a gen 4 are reduced.


The plumbing is slightly different than in the manual.

The more I looked at the arrangement the more I saw that tap as a dead space for wort to go bad. Now all the cleaner and sanitizer run straight through with no dangerous side pockets.

And a second advantage is that the route from the pump to the recirc arm is now a straight shot.

Photos attached.
 

Attachments

  • IMG_2804 (1).jpg
    IMG_2804 (1).jpg
    2.4 MB
  • IMG_2808.jpg
    IMG_2808.jpg
    2.2 MB
I've added a second long hose to the tap, to do split recirculation.
The original hose, stuck down one of the malt pipe lift holes, does 'outer recirculation' at maximum flow rate for the whole mash time. Fast flow, reduces base temperature overshoots, and ensures the water outside the malt pipe is utilised during mashing, increasing efficiency. Rather than that water just being mixed in, diluting the wort, when the malt pipe is lifted. This outer flow, also acts as a heated jacket around the malt pipe, which also reduces time taken for any mash temperature steps.

The second hose does flow through the malt, with flow controlled by the drain tap position. It's 2m long, so I can pump out into a fermenter on the countertop, which the recirc arm can't reach. And it's a slightly bigger diameter, so pump out is around 40% quicker.
When using the whirlpool arm, it's hard to also keep the recirc arm sterilised for pump out. But the second hose is still in place (it still circulates via the hop spider, while the whirlpool is running).
I use double sided velcro tape, fitted around top of the recirc arm, to hold the second hose in place (for most of the time).

Draining via the tap (with second hose unscrewed), seems much easier during cleaning, as trying to pump out when nearly empty, always sucks air.
Anyone who does the pipe mod, makes it harder to clean the pump, as it becomes a low spot that you can't flush out.
 
Back
Top