What I did for beer today

Homebrew Talk - Beer, Wine, Mead, & Cider Brewing Discussion Forum

Help Support Homebrew Talk - Beer, Wine, Mead, & Cider Brewing Discussion Forum:

This site may earn a commission from merchant affiliate links, including eBay, Amazon, and others.
Thank you, John :mug:

Normally I'd batch up the blow-by-blow and pour it into a build thread, but that's kind of a one-and-done paradigm. I figured rolling it out here as I go along instead would breathe some extra life into the HBT daily news :)

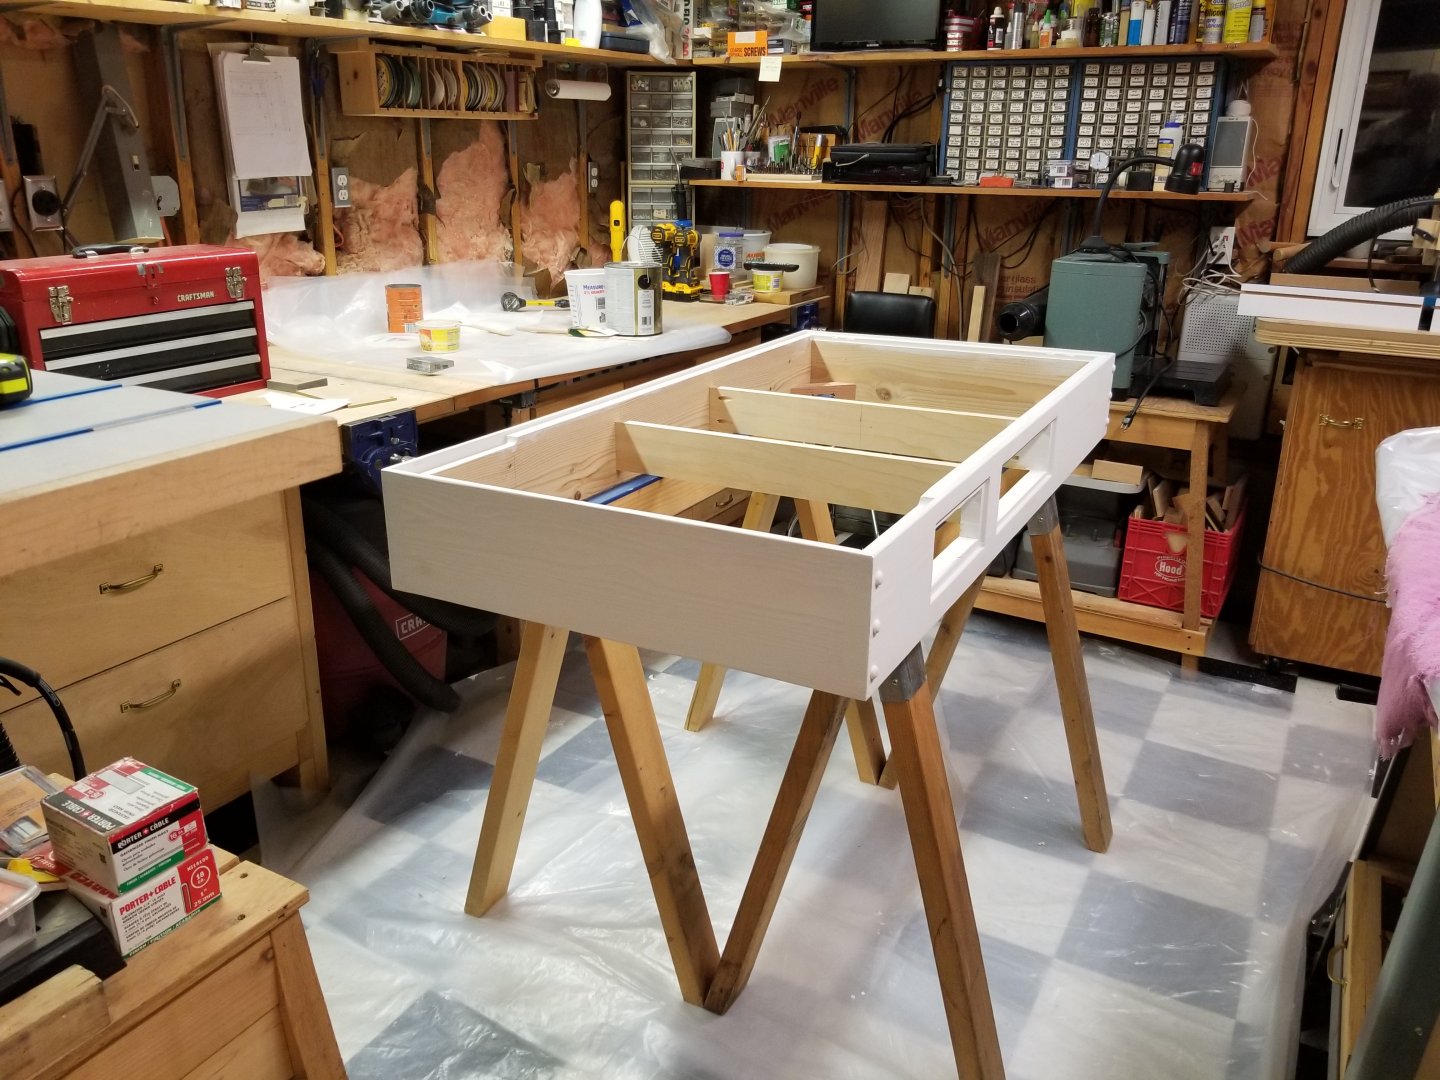
Nothing very exciting to show today, I had other tasks to deal with in the morning then spent the afternoon sanding, filling and priming.

dolly_build_27sm.jpg


Contrary to Zinsser, their primer isn't always ready for top coating in two hours, and it didn't feel "ready" by Beer-Thirty. Priorities :)
I wasn't going to get both top coats done today anyway, but I can tomorrow, so it's a wash.

Cheers!
 
[T]hen spent the afternoon sanding, filling and priming.

I wasn't going to get both top coats done today anyway, but I can tomorrow, so it's a wash.

As someone that makes a living repairing musical instruments, I can assure you that time spent on finish prep work is never time squandered.

It's looking great!
 
I love fabrication. Doesn't matter the material, purpose or design, I just like building stuff. Always have, from scale modeling in my early yute through various cabinetry and furniture pieces to the 4 BR 1500sf salt box my dad and I built in the mid-80s, with a myriad of diverse projects in between and since. Explains the collection of tools, most of which weren't in any of the pictures (stashed in the bench drawers). I even have a plate joiner and actually use it - who does that anymore?

But I do not enjoy finishing. Especially with modern, low VOC/water based finishes. They're a pita.
Life was easier with oil based primers and paints that actually leveled, these days in the era of 100% acrylics everything flashes so fast they have a scant chance of laying flat.

Fortunately, as has surely been evident on HBT, when it comes to keezers I'm all about function over form - "High Tech/Low Art" :)

I did get the two coats of white paint on the dolly today - on either side of a lovely 5 mile hike through our neighboring conservation land - and it'll do fine, just like its two predecessors. I have to caulk the inside of the new freezer carcass next, then I'll set it on the dolly and move on to the lid...

Cheers!
 
Dry hopped the Blonde Ale. I just tapped the keg on the last one so this seems really quick for 5 gallons, but I need to bring beer to the teachers/coworkers on Friday for a socially-distanced-blow-off-some-steam-because-teaching-by-video-sucks-and-is-stressful gathering. I don't think the first keg will last very long.

Made an Icewine kit, shooting for bottling by Thanksgiving.

Tasted the Port that is aging in barrel. Very strong vanilla flavor, but really tasty. I am looking forward to how this changes over the next month or two. Also want to bottle this after Thanksgiving.

The plan is to give everyone in the family two 375ml bottles, 1 each port and ice wine.
 
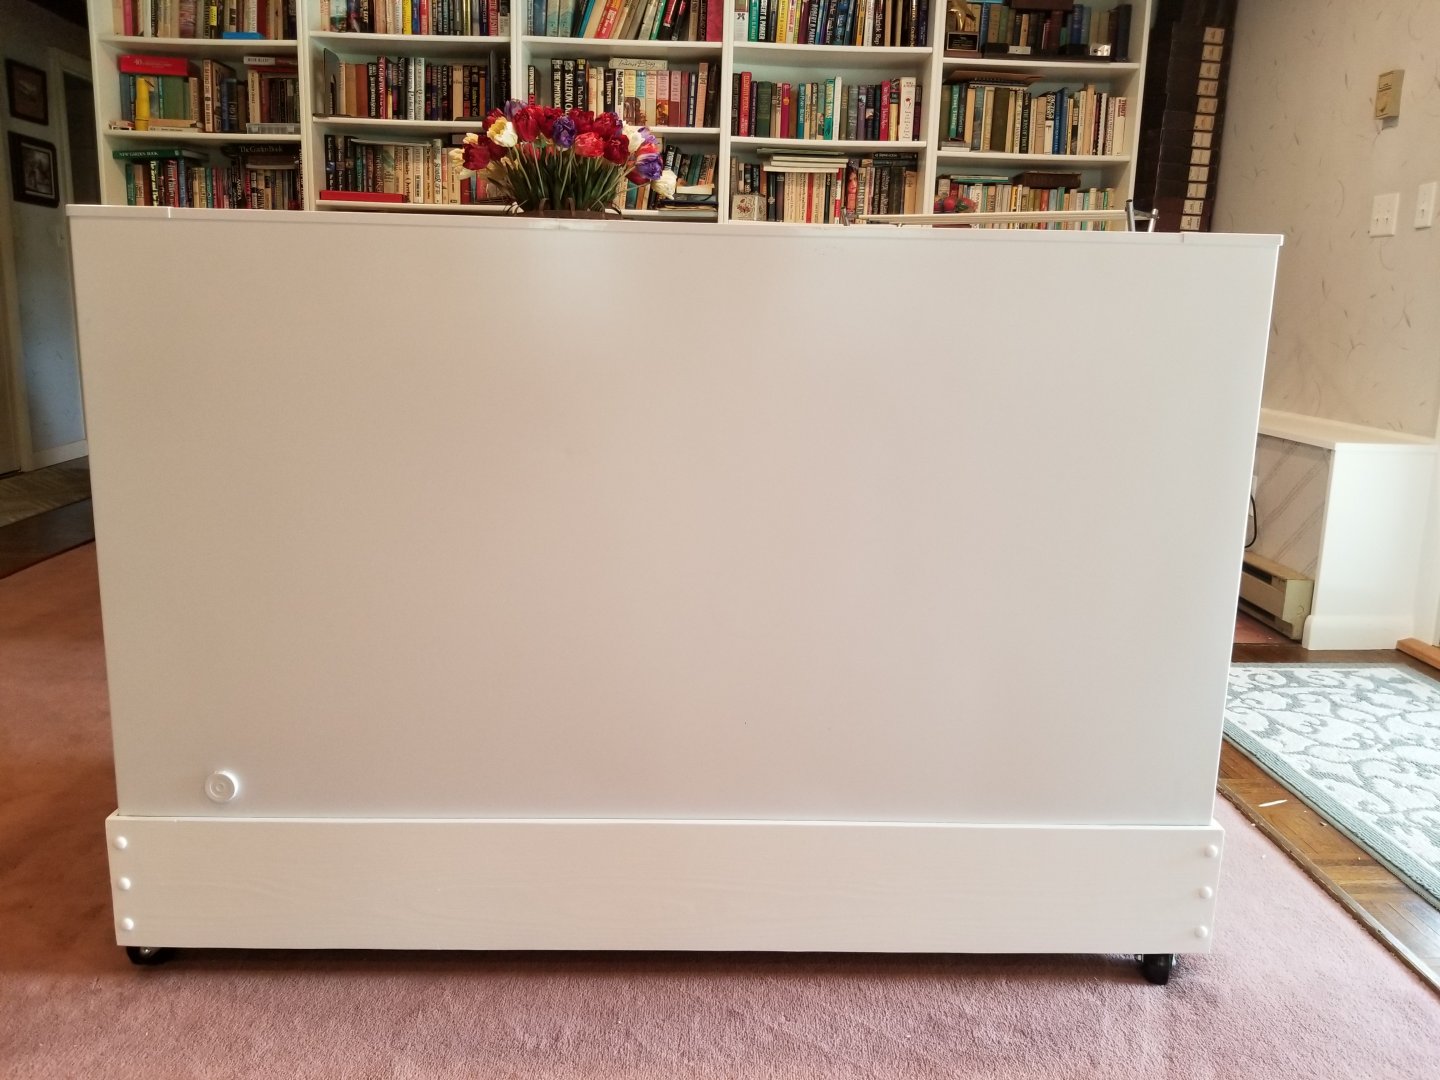
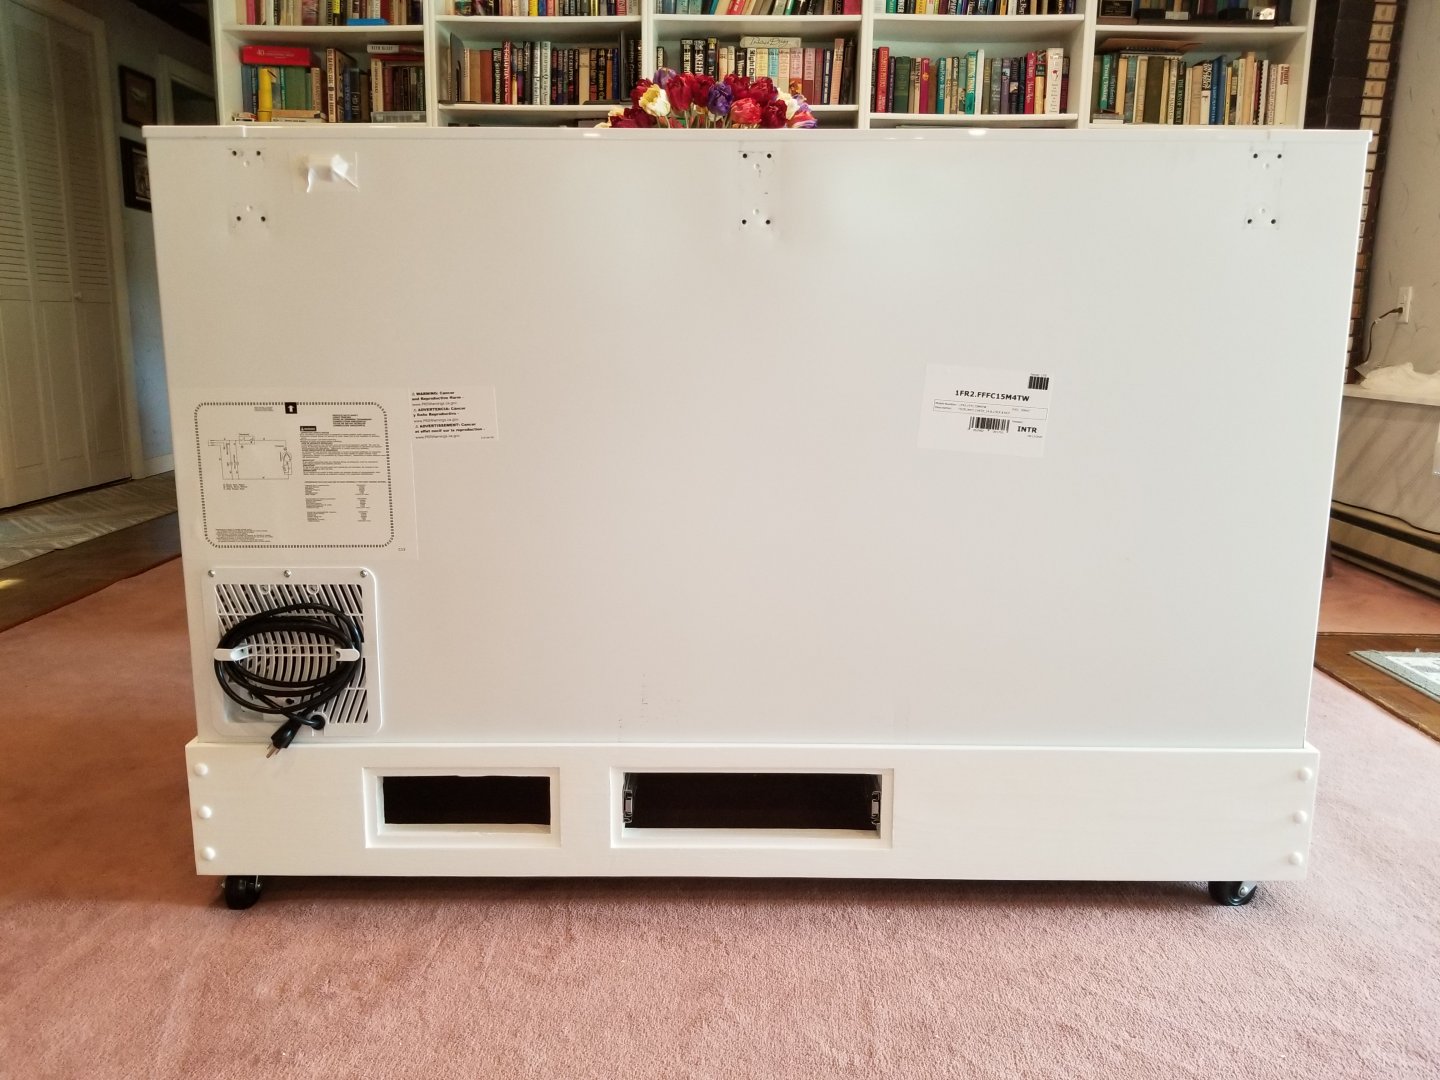
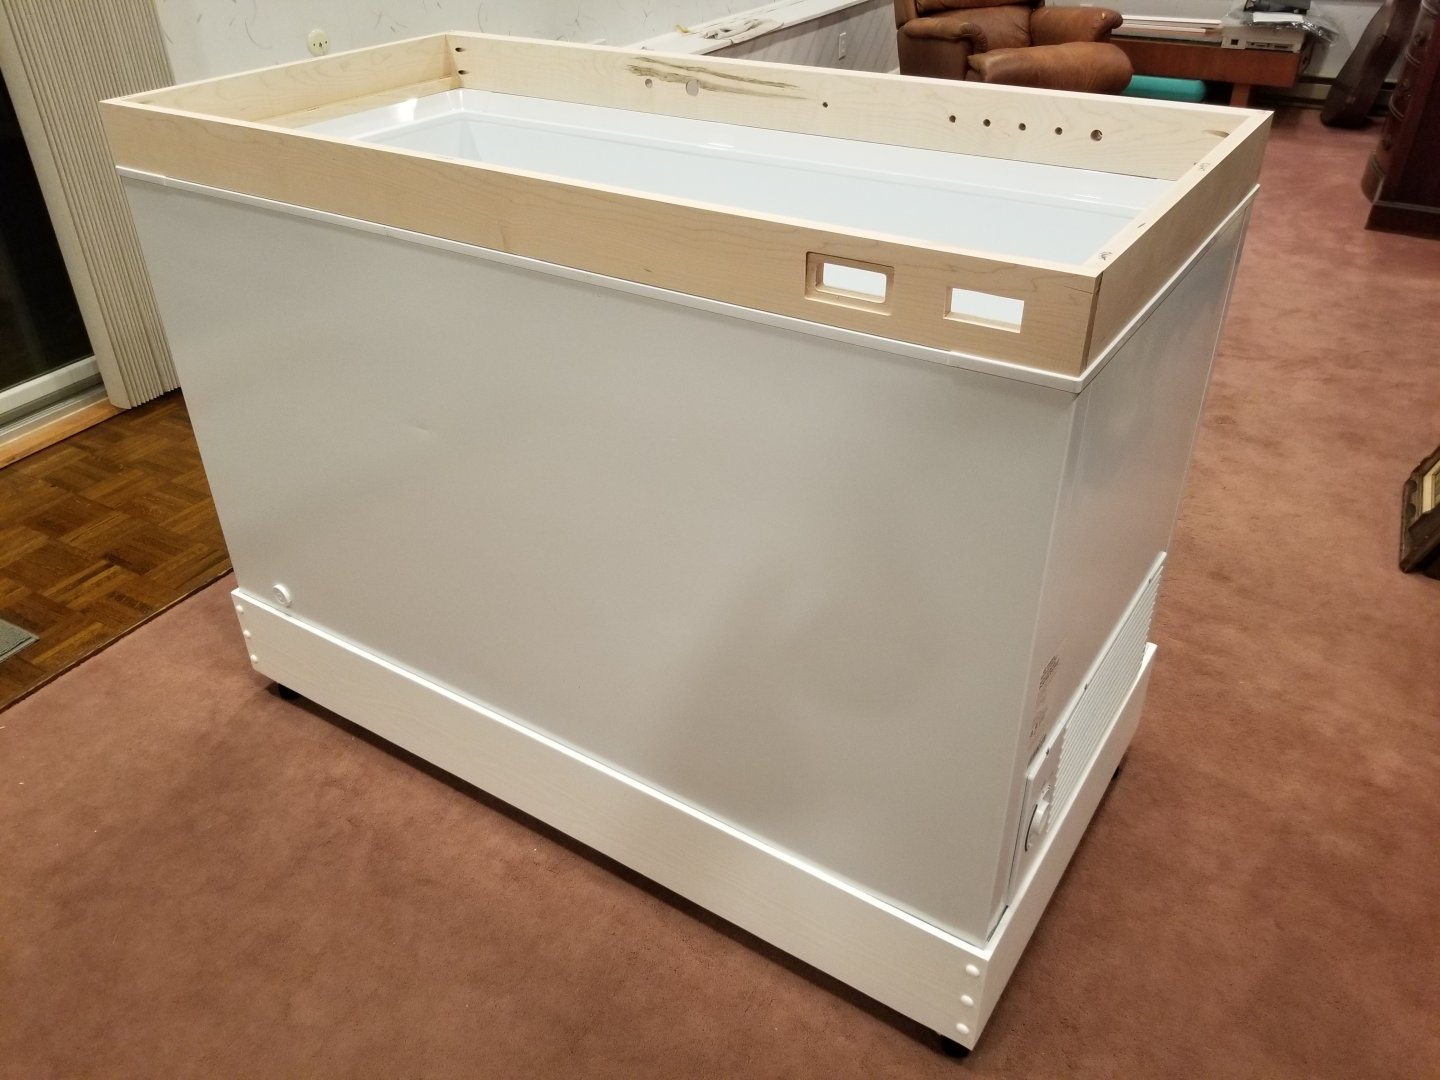
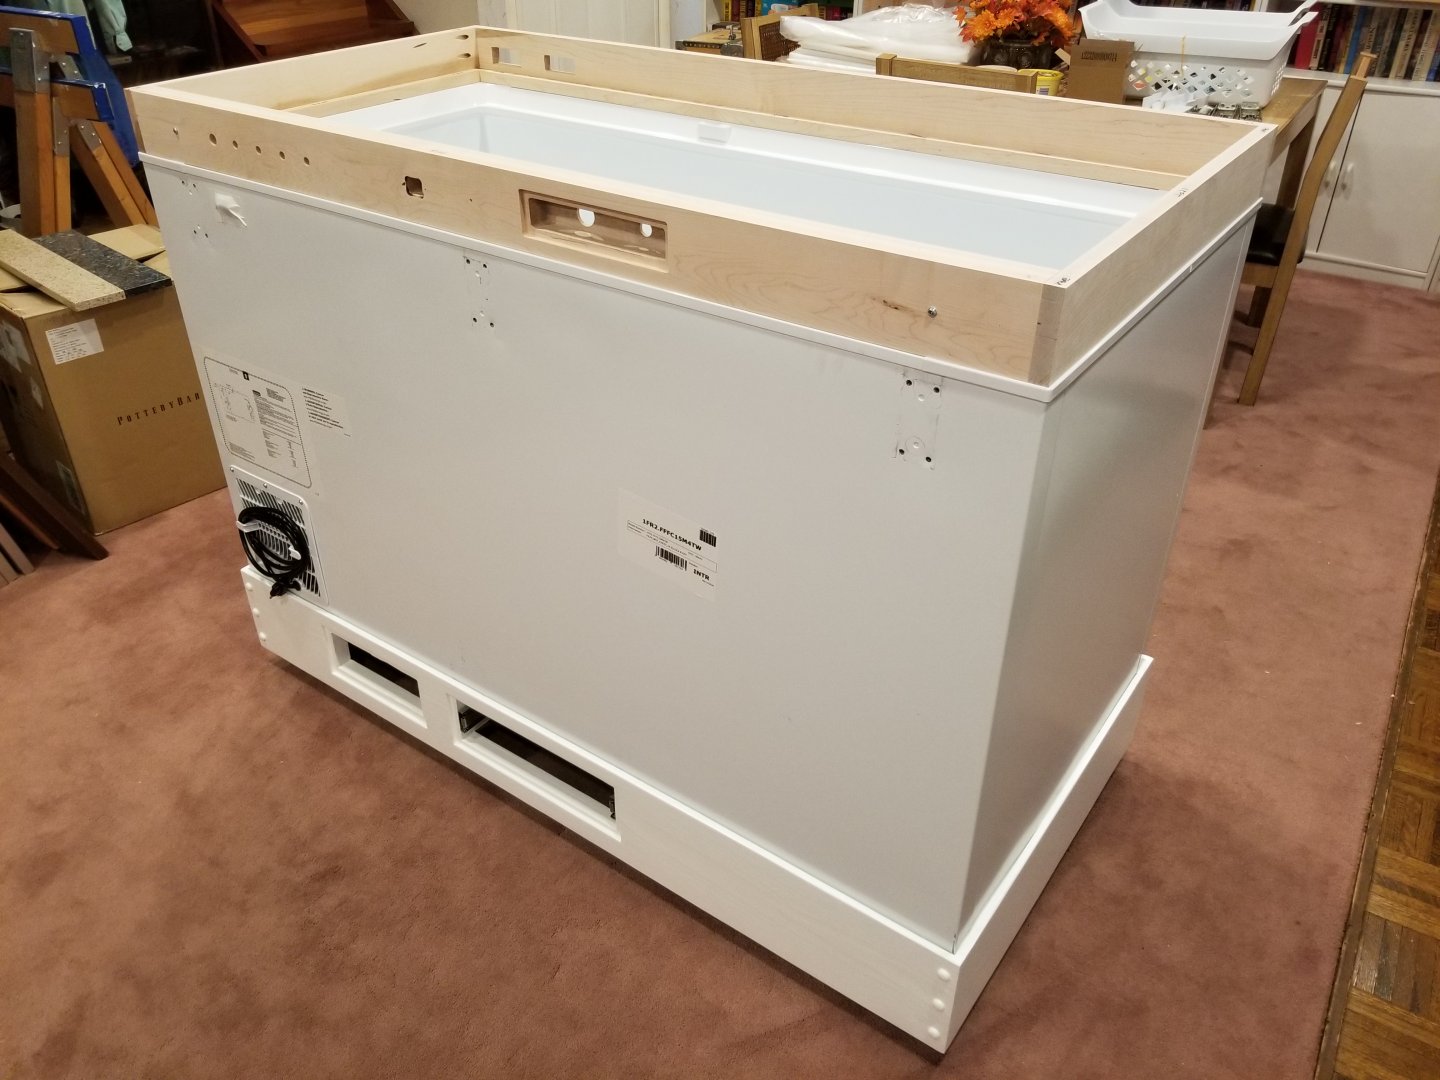
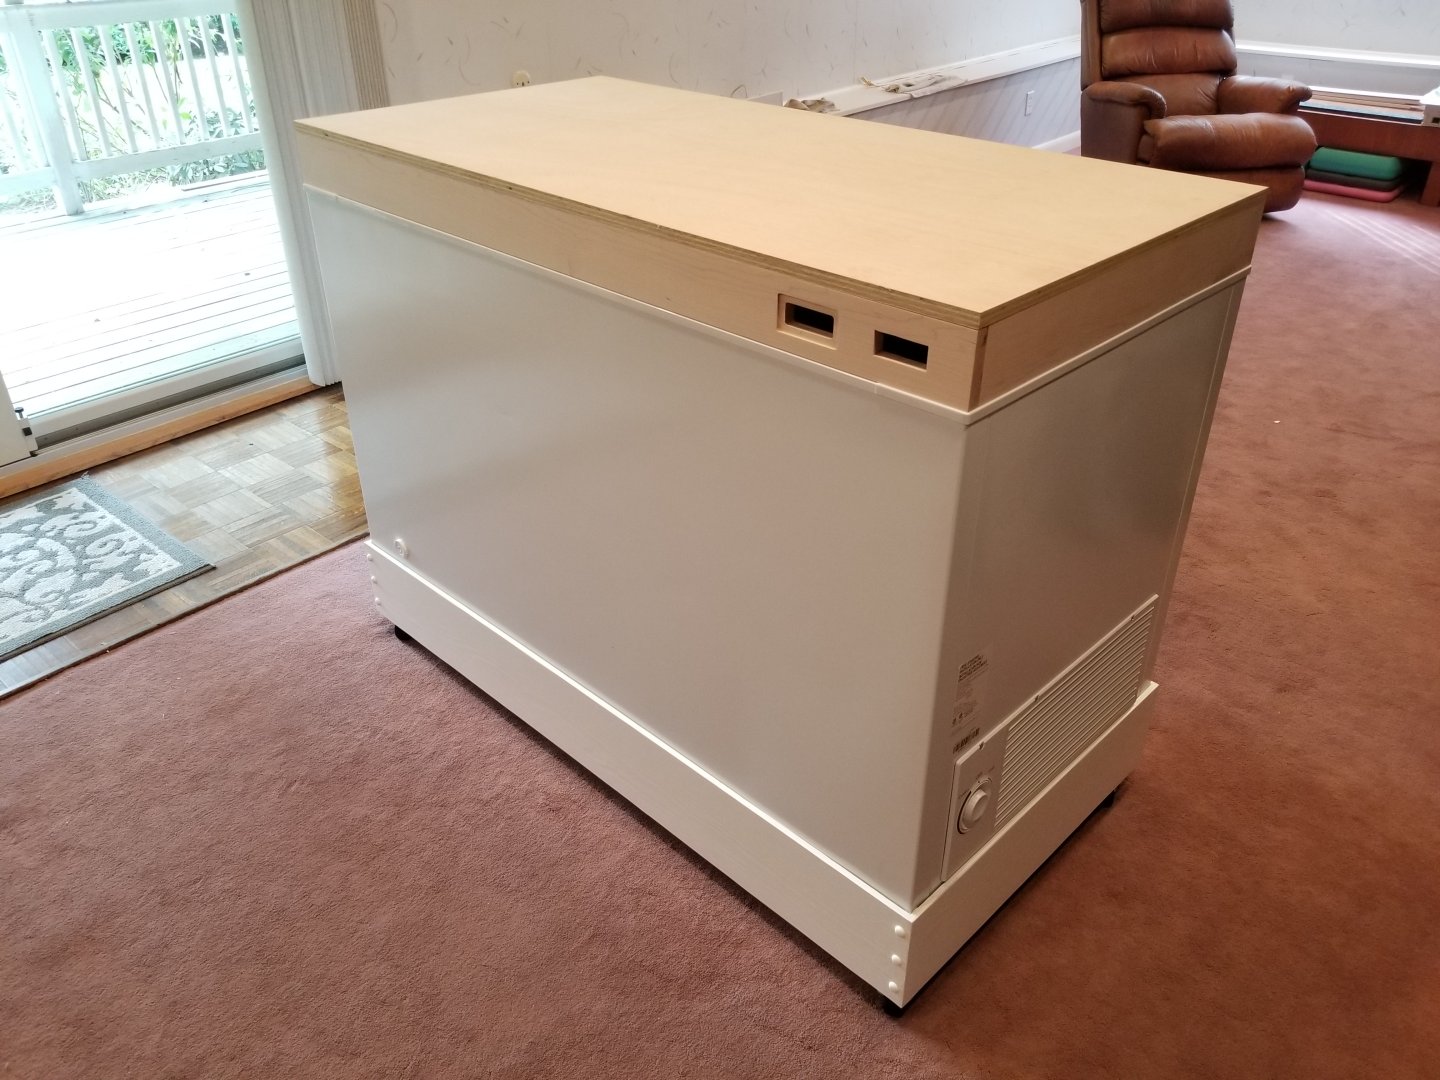
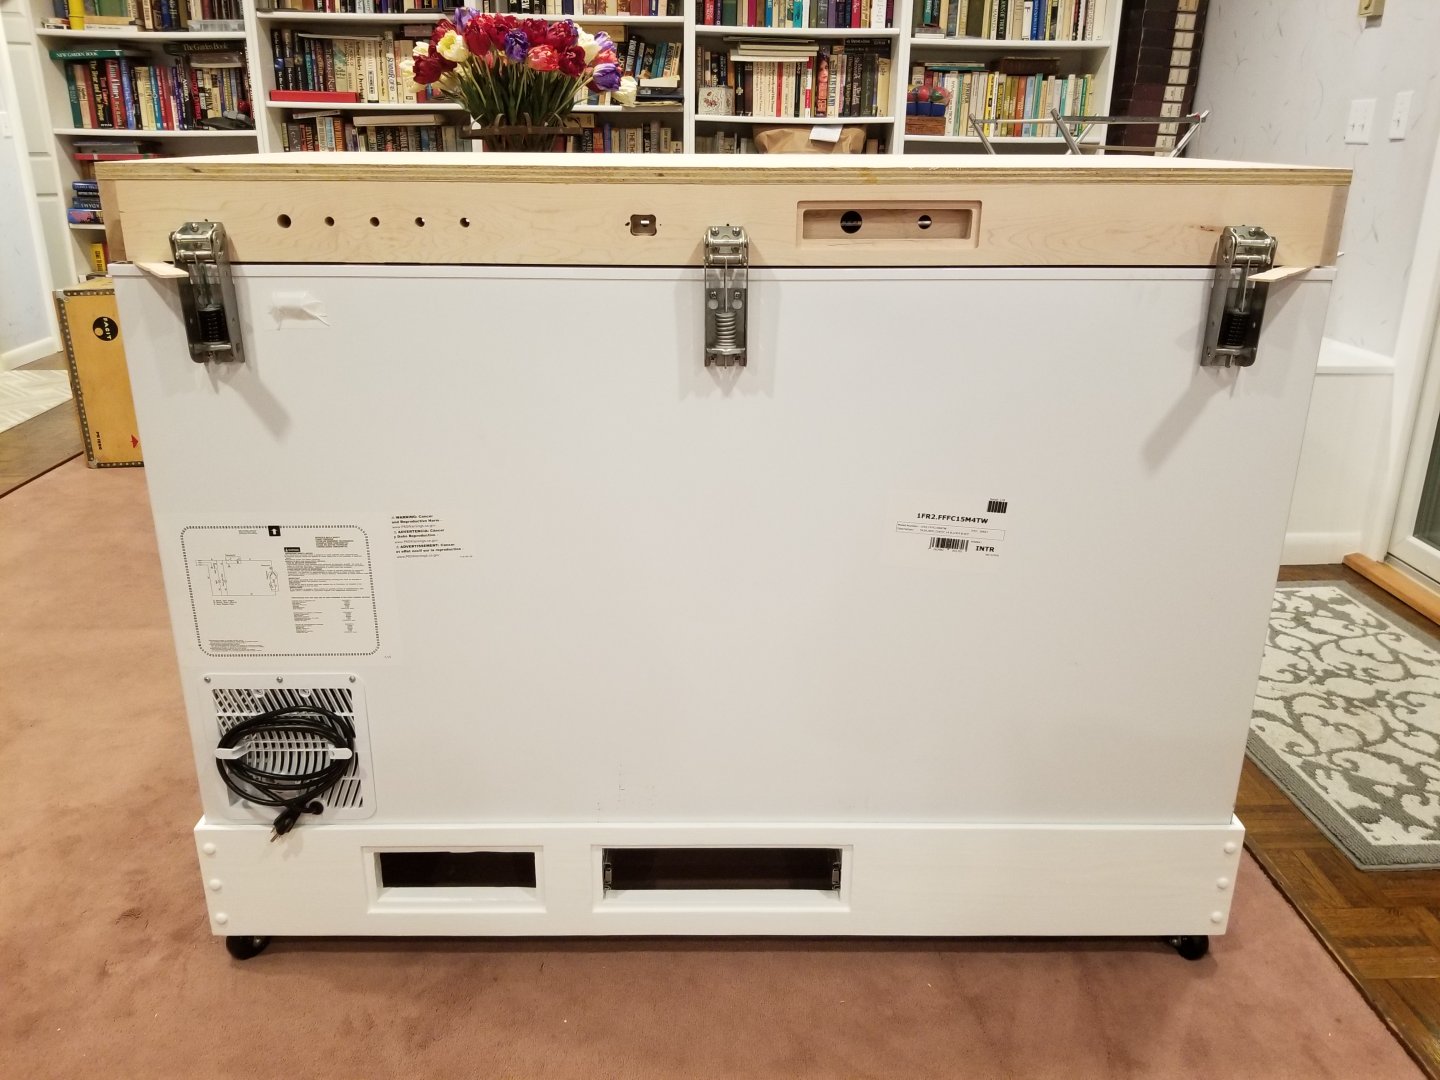
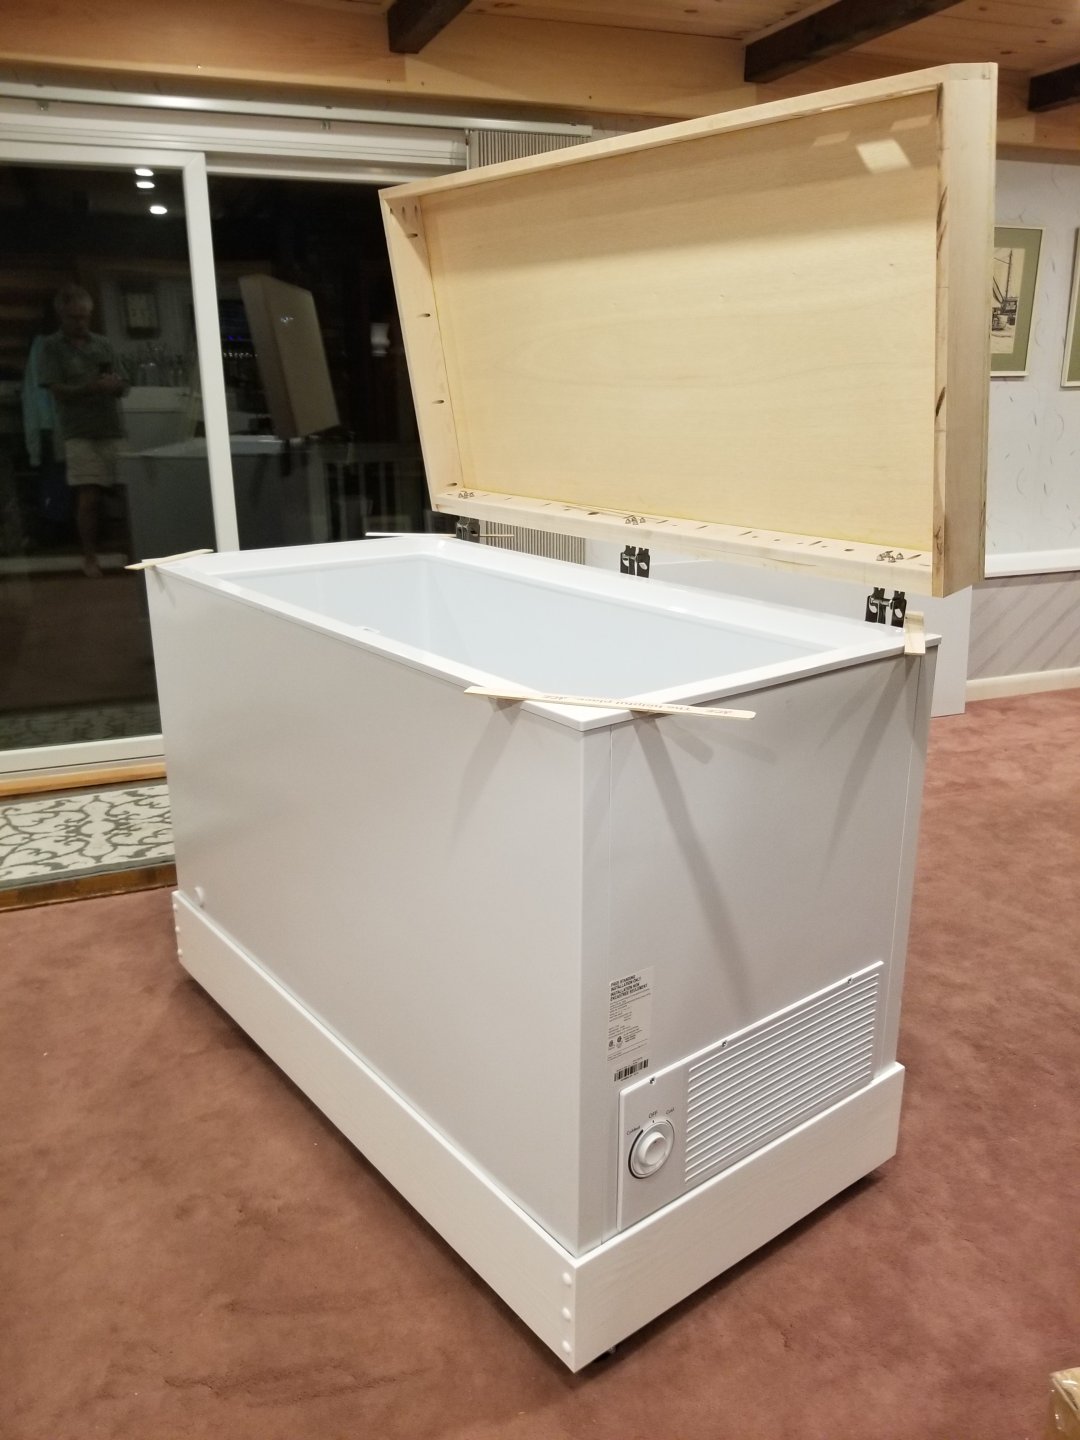
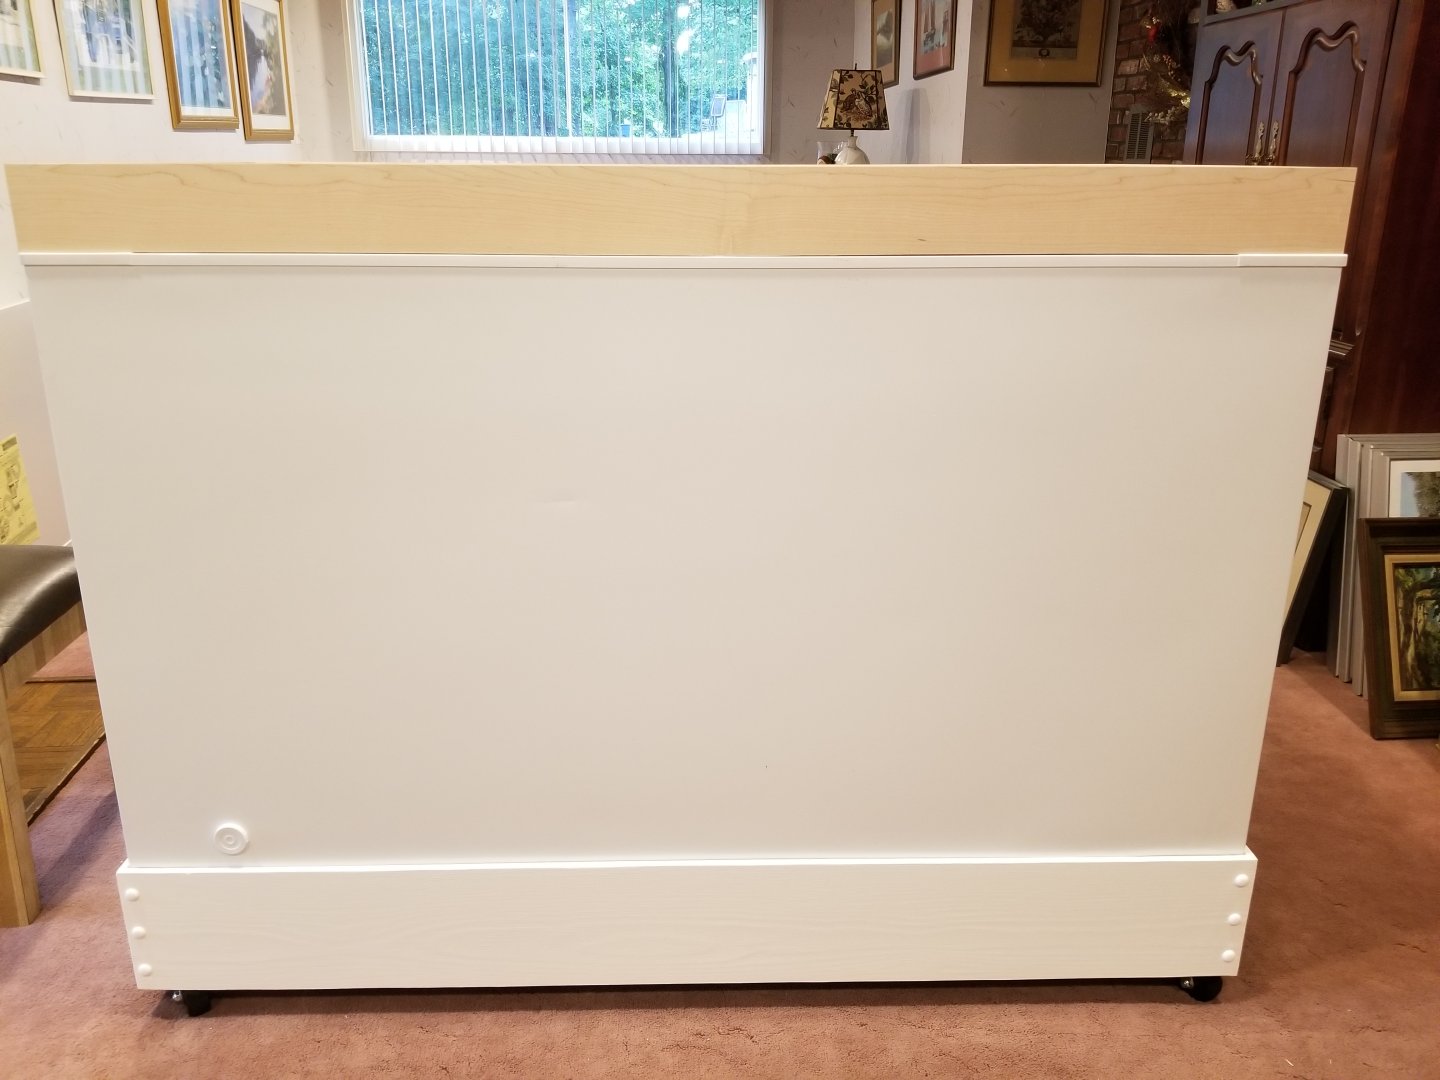
Got the freezer insides all caulked tight, then managed to get it on the dolly without trashing the paint job.

dolly_build_28sm.jpg


dolly_build_29sm.jpg


Been finishing up the fine design details tonight wrt where all the ins-and-outs in the lid perimeter will be located.
In the back there will be five 1/4" MFL bulkheads for gases, water and venting for the rinser system, an AC bulkhead, and a small FR4 panel with a DB37, 2x 3p Tiny XLRs, and a 4p Mini XLR, all for control and monitoring.
In the front there's an MH1210 single stage temperature controller - the backup to my BrewPi controller for the keezer - and the IR motion sensor that wakes the system console (with my Raspberry Pints tap list) from sleep.

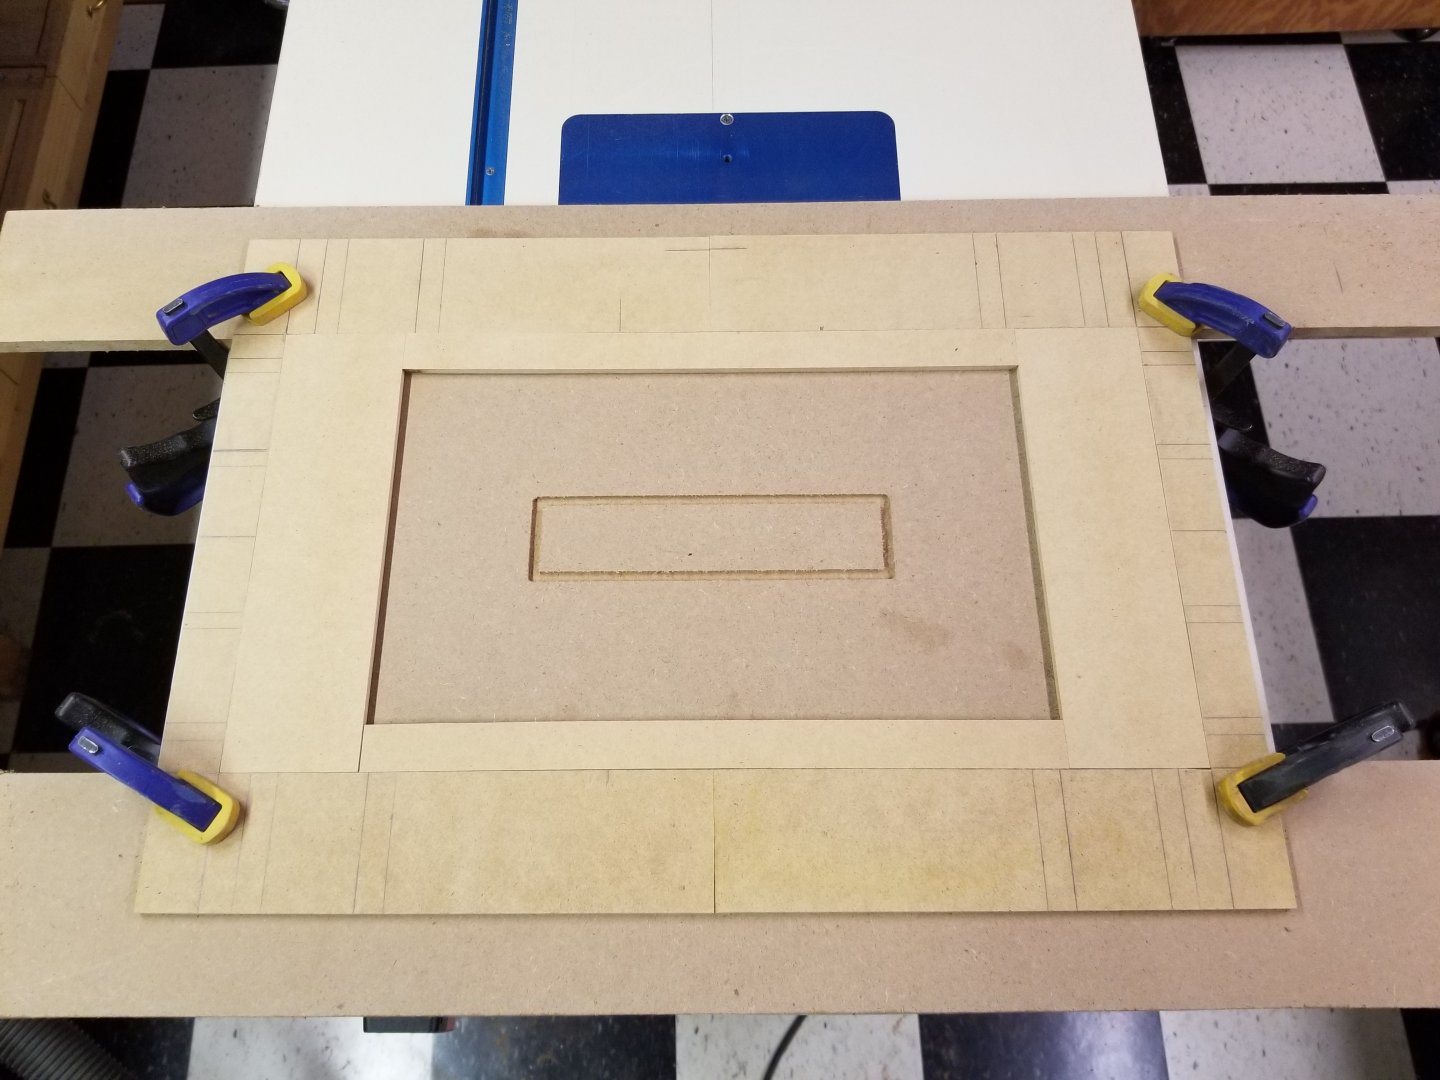
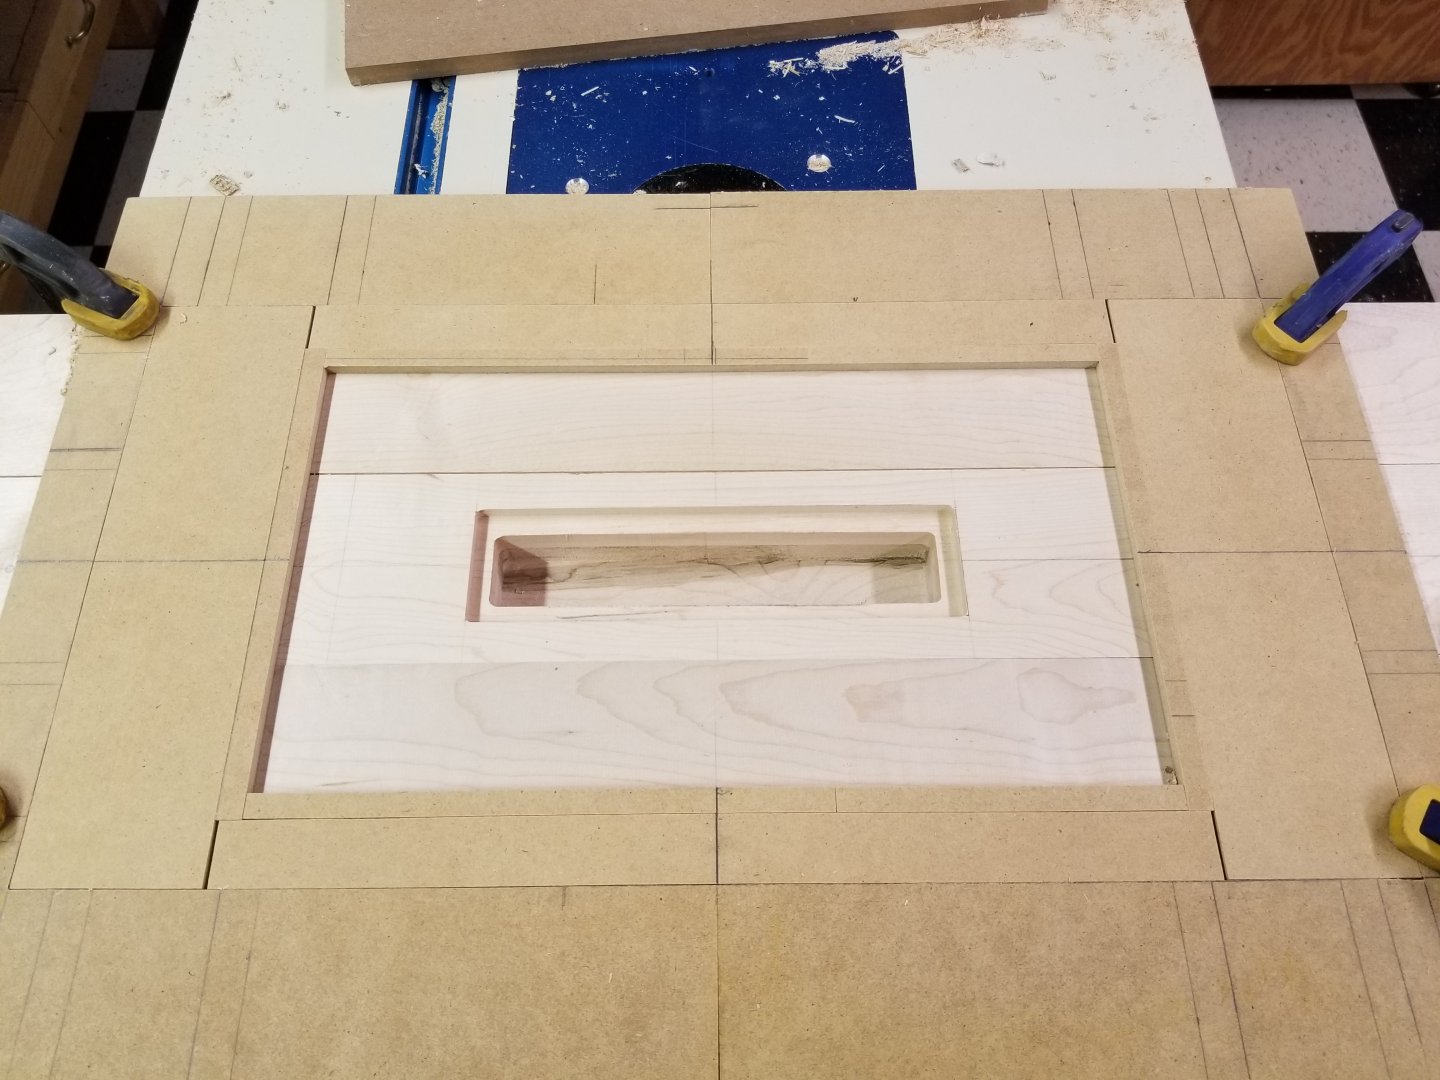
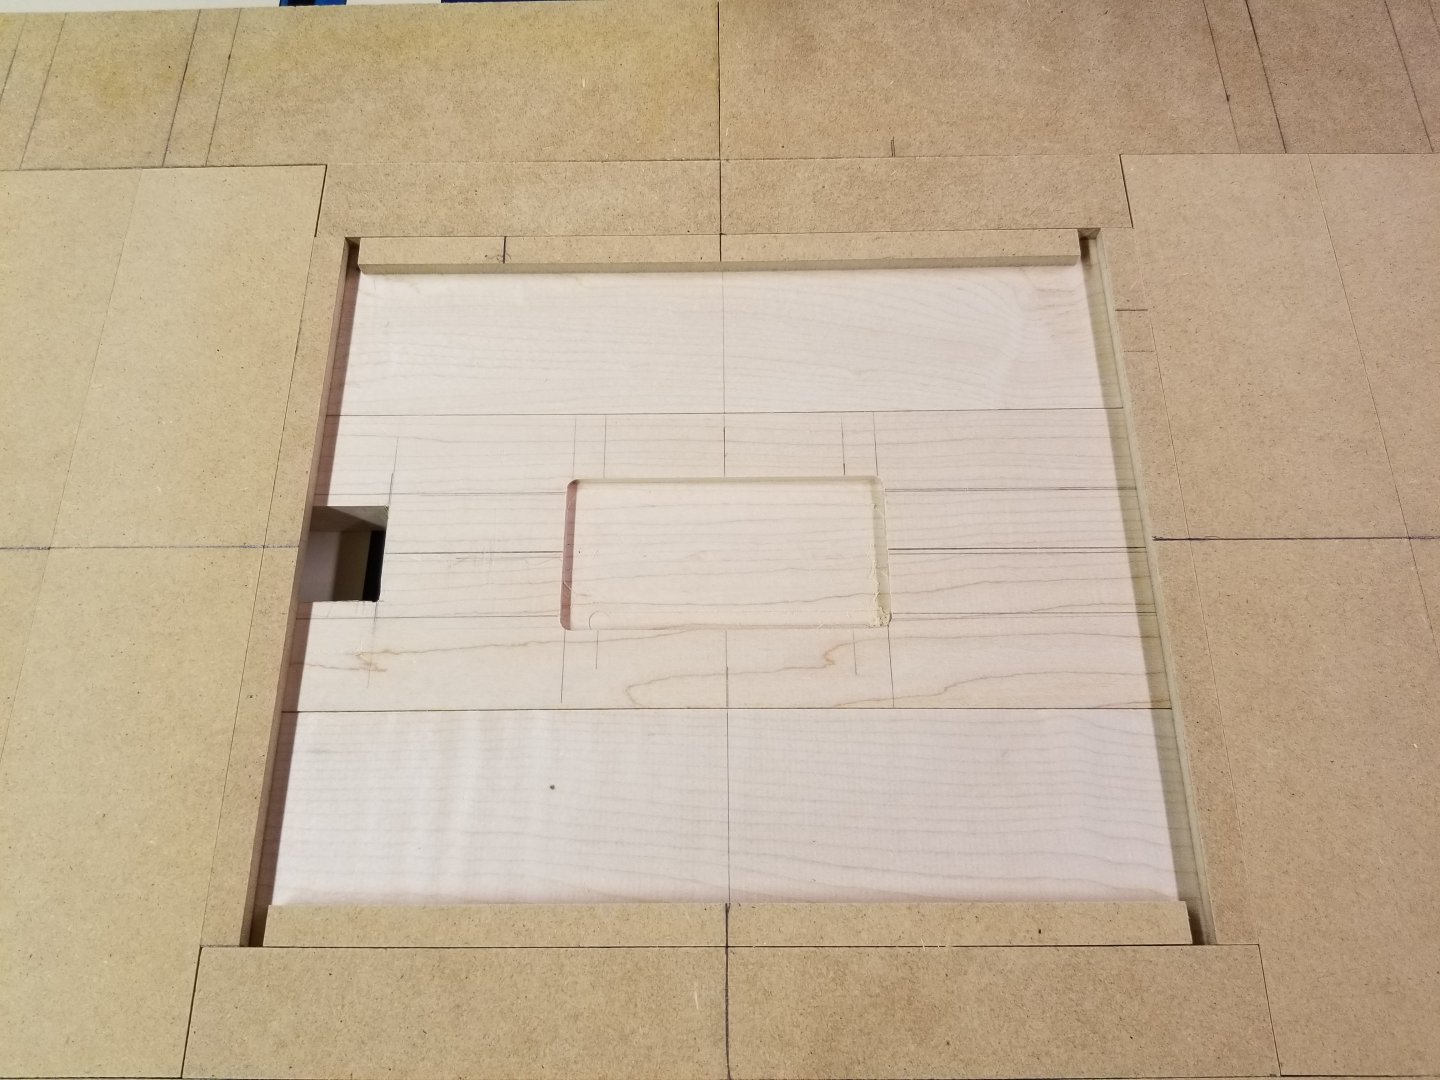
Lots of templating for the router...

Cheers!
 
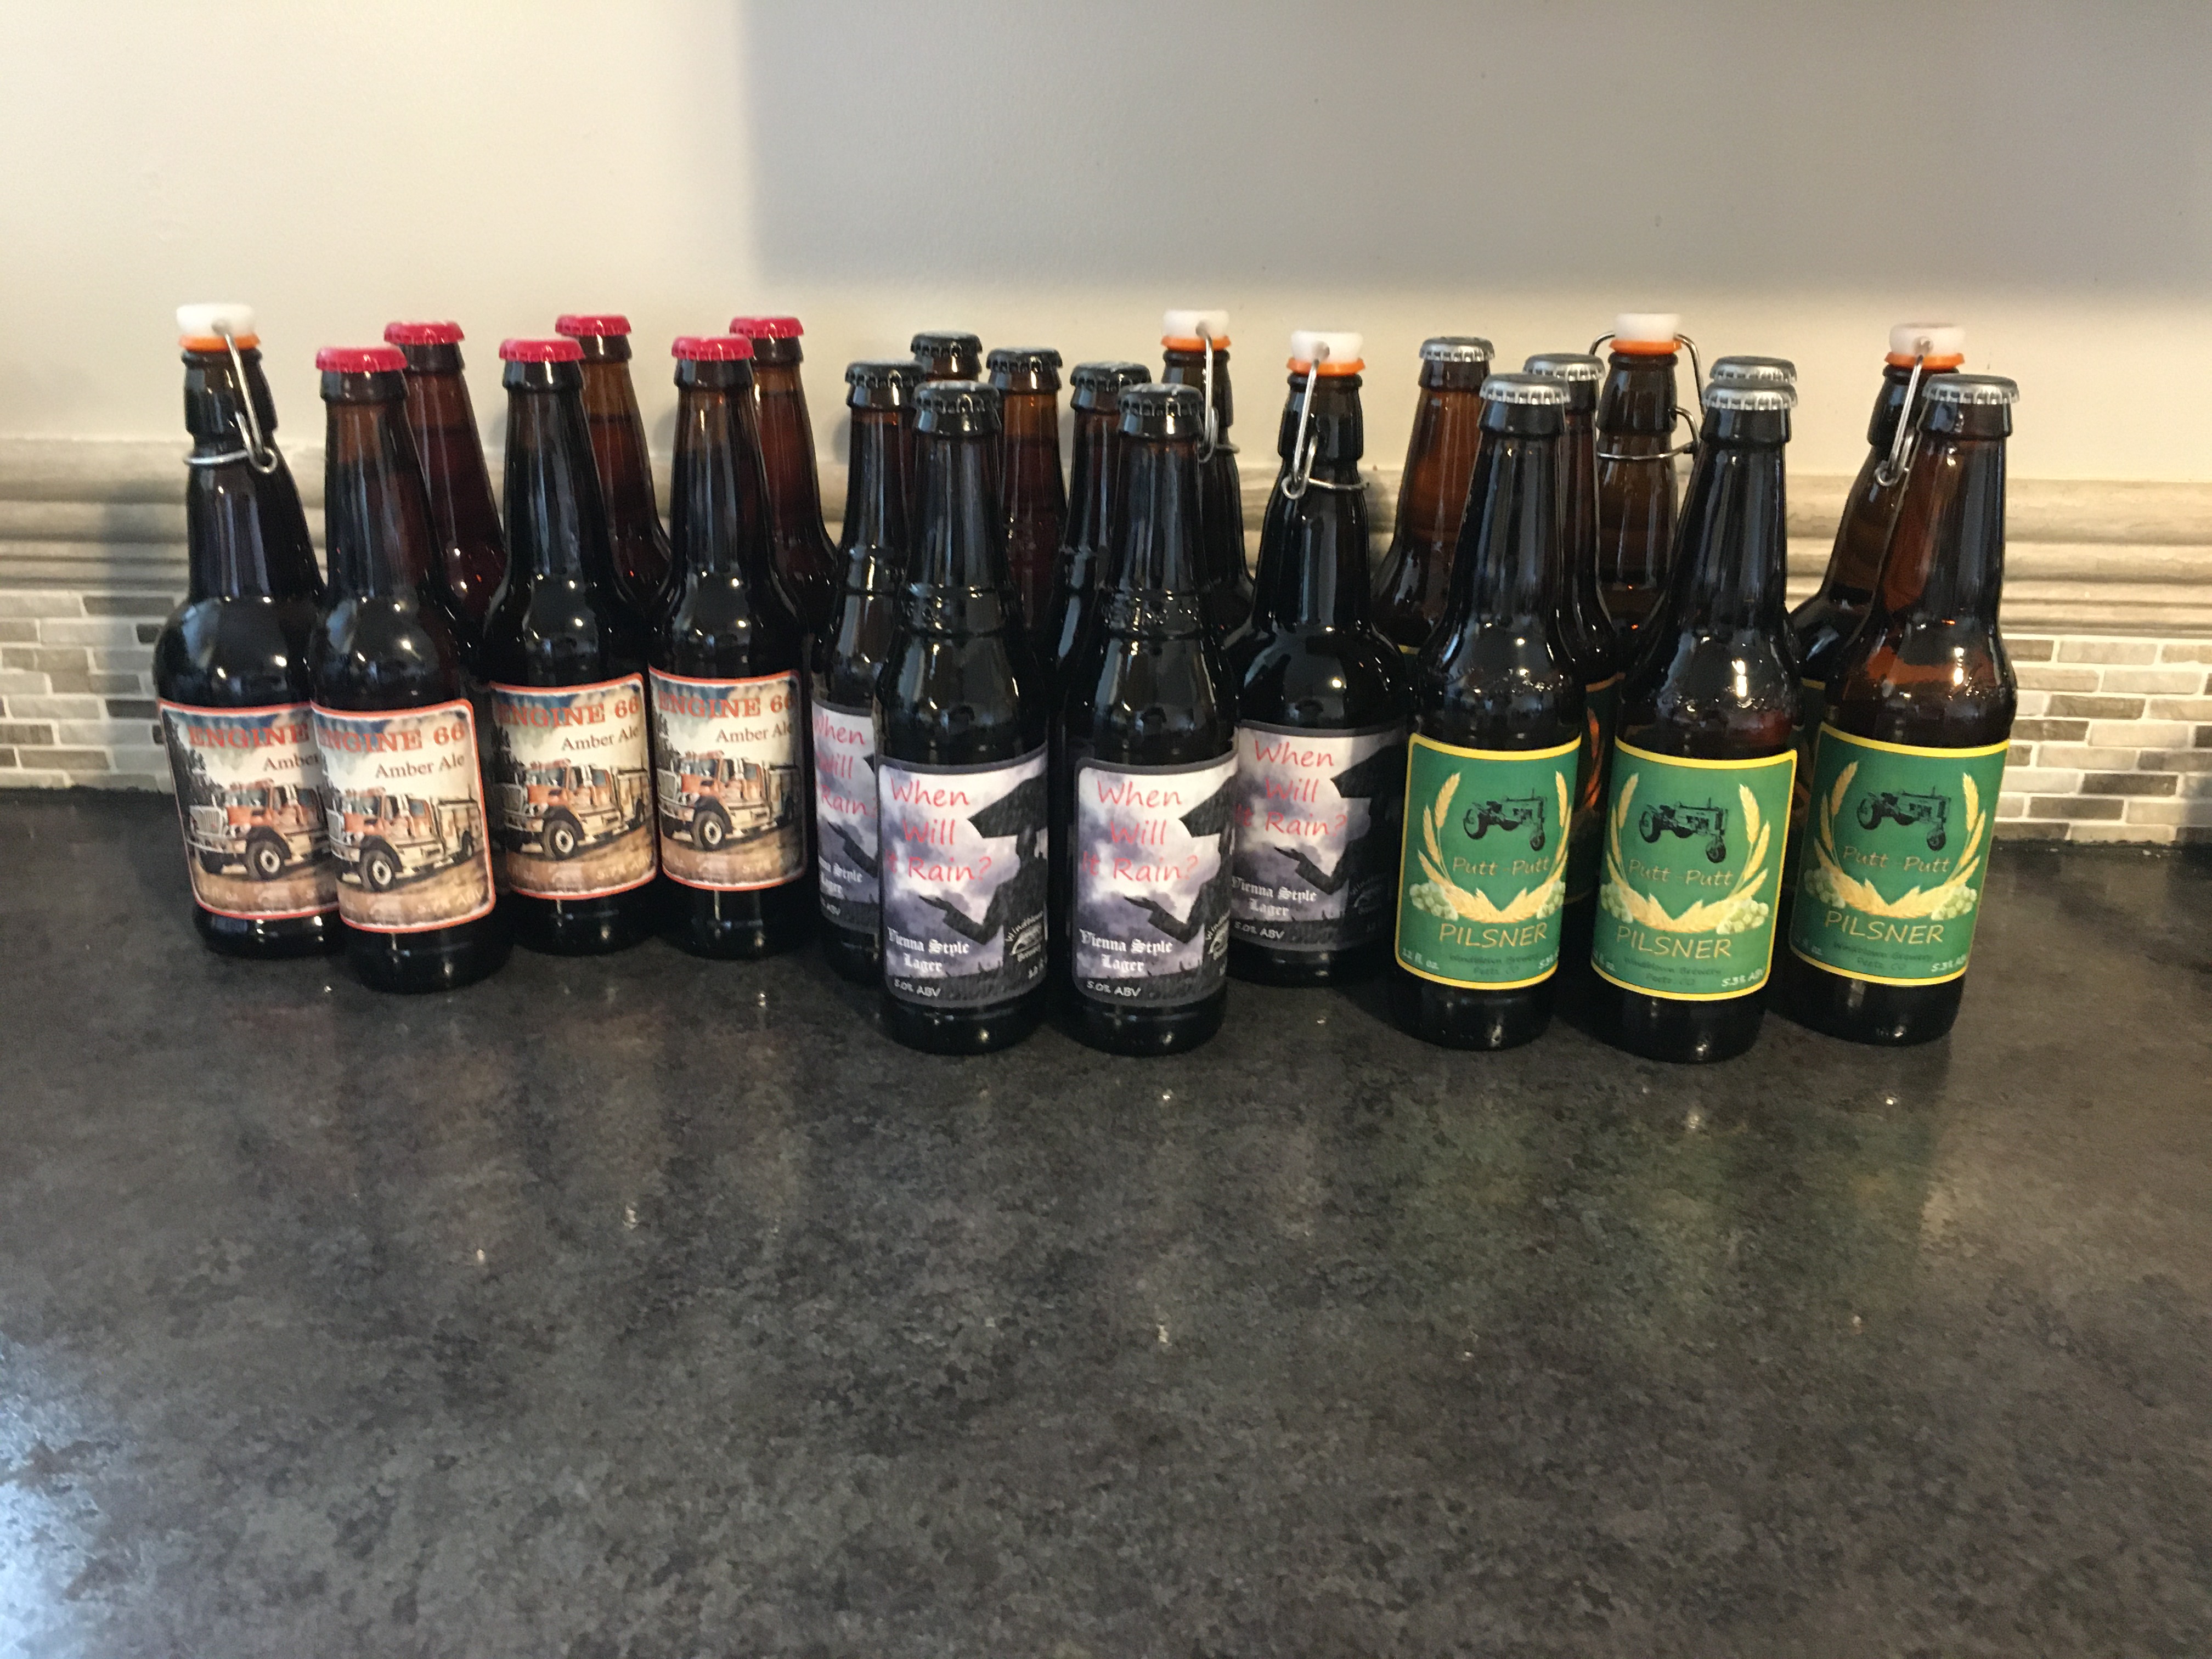
I made a Helles today and thankfully returned to the loving embrace of 34/70 after my disastrous dalliance with Diamond Lager.
My first 3 lagers I used Diamond Since it’s what was in stock. What didn’t you like about it? Any comparisons? i have 34/70 for the next few. I have onlt been able to drink the first of those lagers and really liked it. The second is ready to drink Tuesday and Third was just bottled
 
My first 3 lagers I used Diamond Since it’s what was in stock. What didn’t you like about it? Any comparisons? i have 34/70 for the next few. I have onlt been able to drink the first of those lagers and really liked it. The second is ready to drink Tuesday and Third was just bottled

If you look at page 7043 of the What Are You Drinking Now thread, you'll see a more detailed post outlining my struggles with Diamond. Bear in mind that my lager recipes are established and have a reliable track record with 34/70. Working on the assumption that Diamond is just a more reasonably priced version of 34/70, I treated it as such. Unfortunately, it didn't seem to perform that way on the series of beers that I brewed with Diamond.

In short: 1) At identical pitching rates, Diamond was very sluggish below 55F. In fact, it didn't do much of anything until I raised it to 55F. 2) It posted noticeably and consistently lower attenuation rates than 34/70, even when I strongly encouraged it to consume the last few points by raising it into the mid-60s, then left it for an extended D-rest at 70F. On the plus side, when it's done, it's done and it flocs hard. 3) The beers produced by Diamond aren't terribly crisp and they drink more like a mock lager (Pacman strain at 55F sorta thing). Diamond produces a beautiful roundness and softness that I think would be exceptional in a cream ale or American wheat, but that's not what I want in a lager--and that's not what 34/70 does.

My experience with Diamond seems to be way, way outside the norm. So much so, in fact, that I'm starting to wonder if my packages may have been mis-labeled, or perhaps one of the sachets that I pitched was mis-picked, I was too stupid to notice the error, and I inadvertently pitched a hybrid strain of Diamond and a packet of something else. My results are so far outside the norm that something bizarre like that must've happened.
Stick with 34/70! Tried and trusted
 
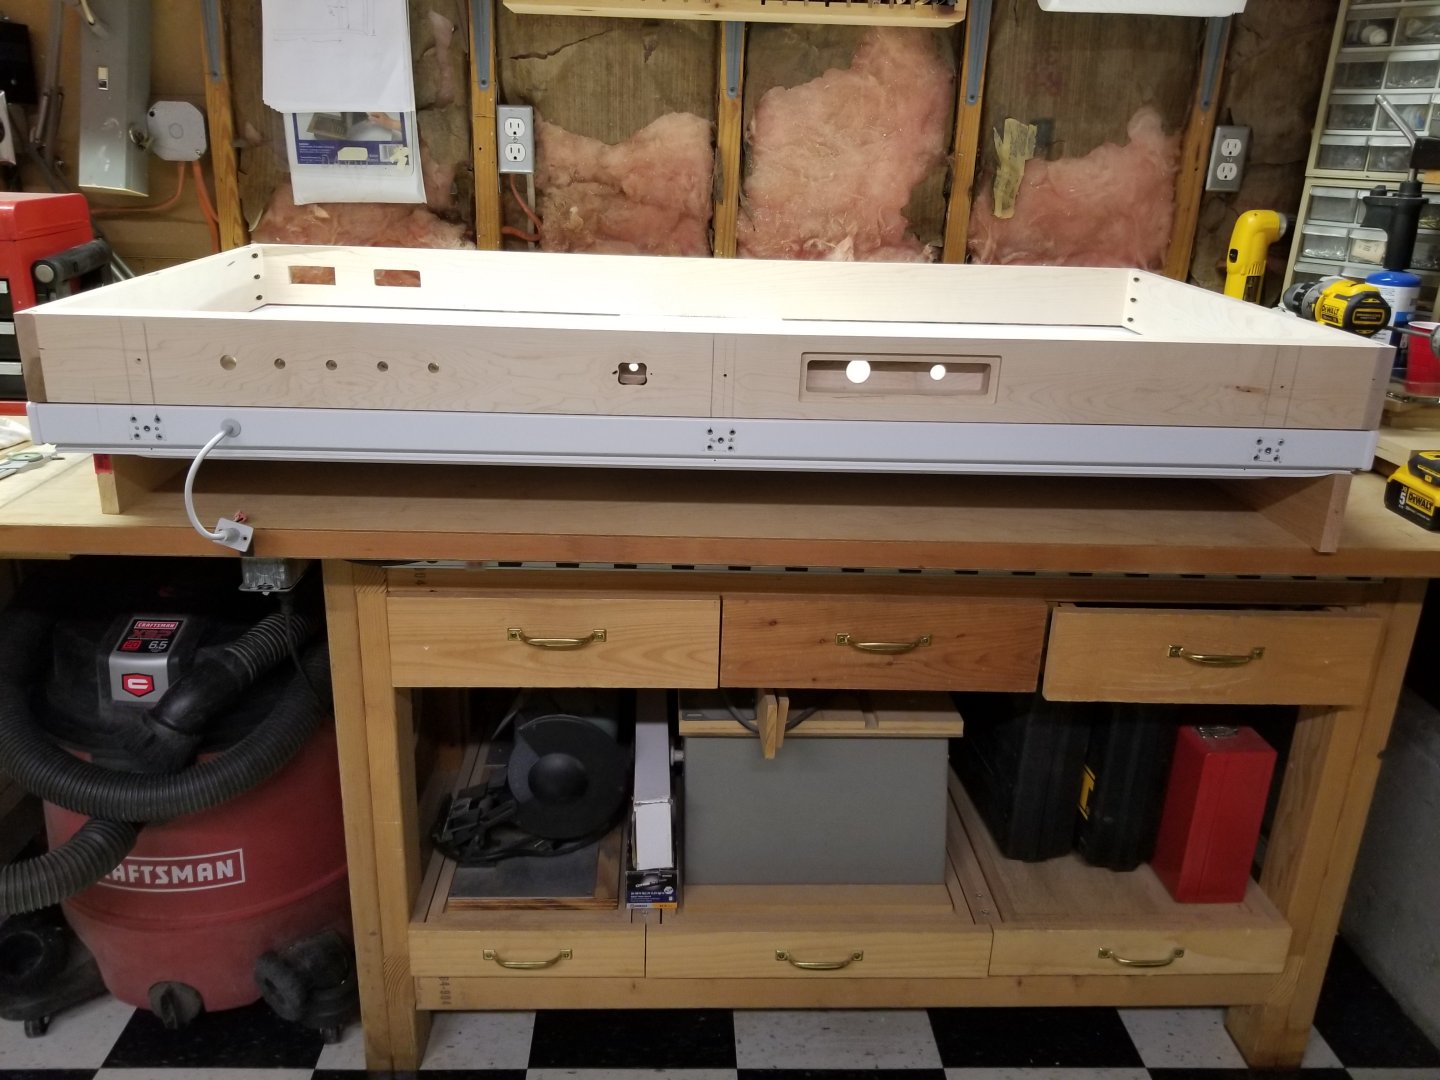
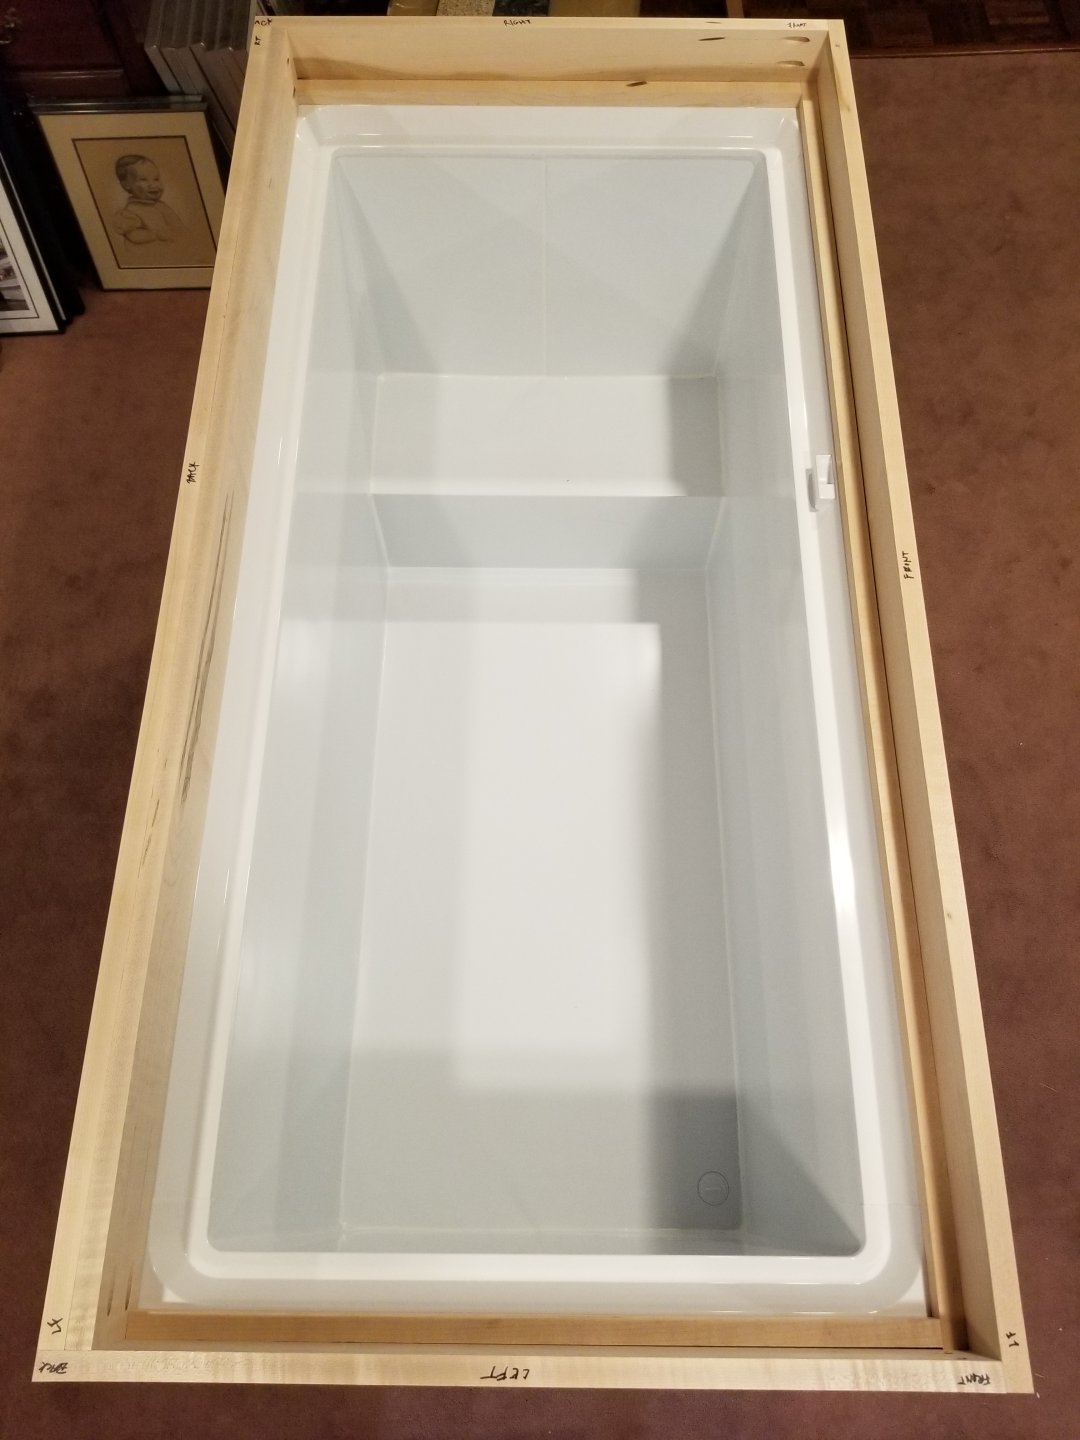
Moving along...yesterday I built the basic lid frame, dry-fitted the big pieces together and plopped it atop the freezer to check the fit.
It sat perfectly flat around the entire perimeter, a good start.

lid_build_01sm.jpg


I went with 1x4 hard maple, doubled at the hinged side for strength. And as the flat top of the freezer chassis rim is exceptionally thick (2") I'll add 1x1 strips (shown, but not attached yet) to the other three sides to double the width at the interface allowing for a wider gasket than a single 1x4 edge would allow.

lid_build_02sm.jpg


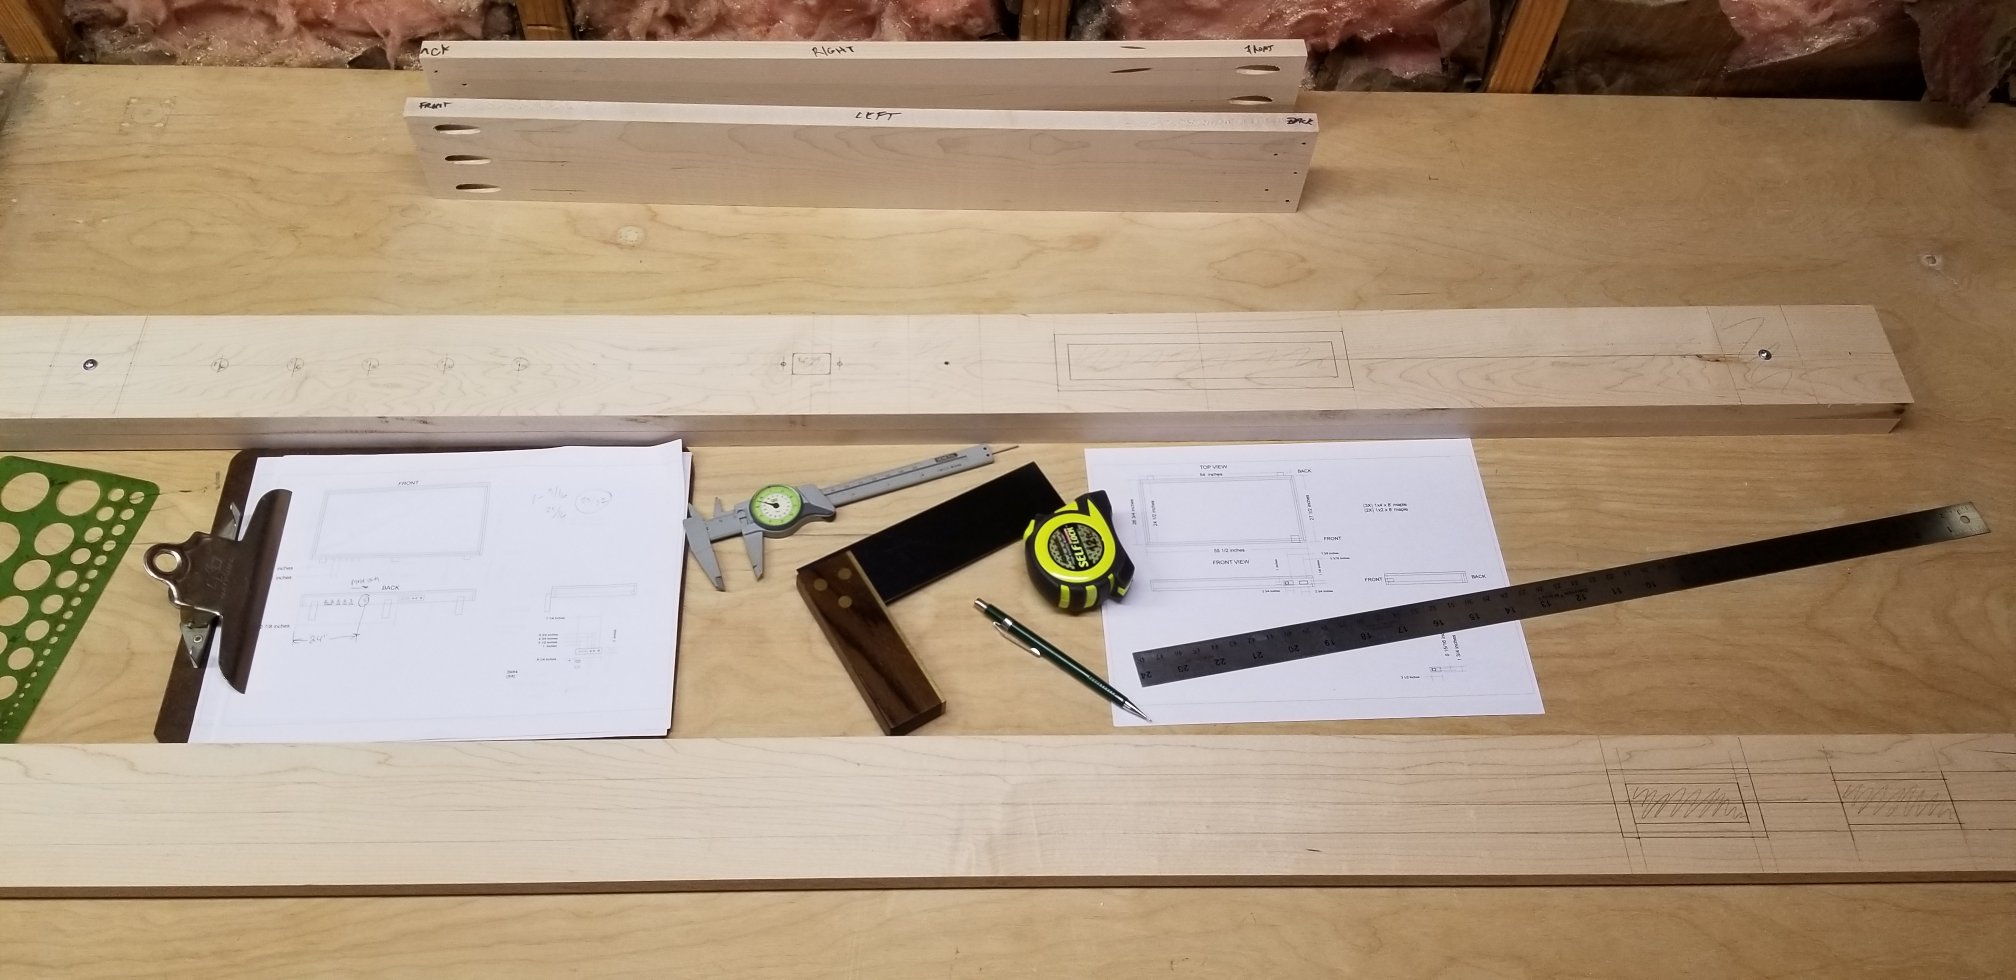
After the test fit I took the framing apart to get ready to make holes. First transferred the important dimensions from my plans to the front and back pieces, which immediately caught a couple of problems that required design revisions.

lid_build_03sm.jpg


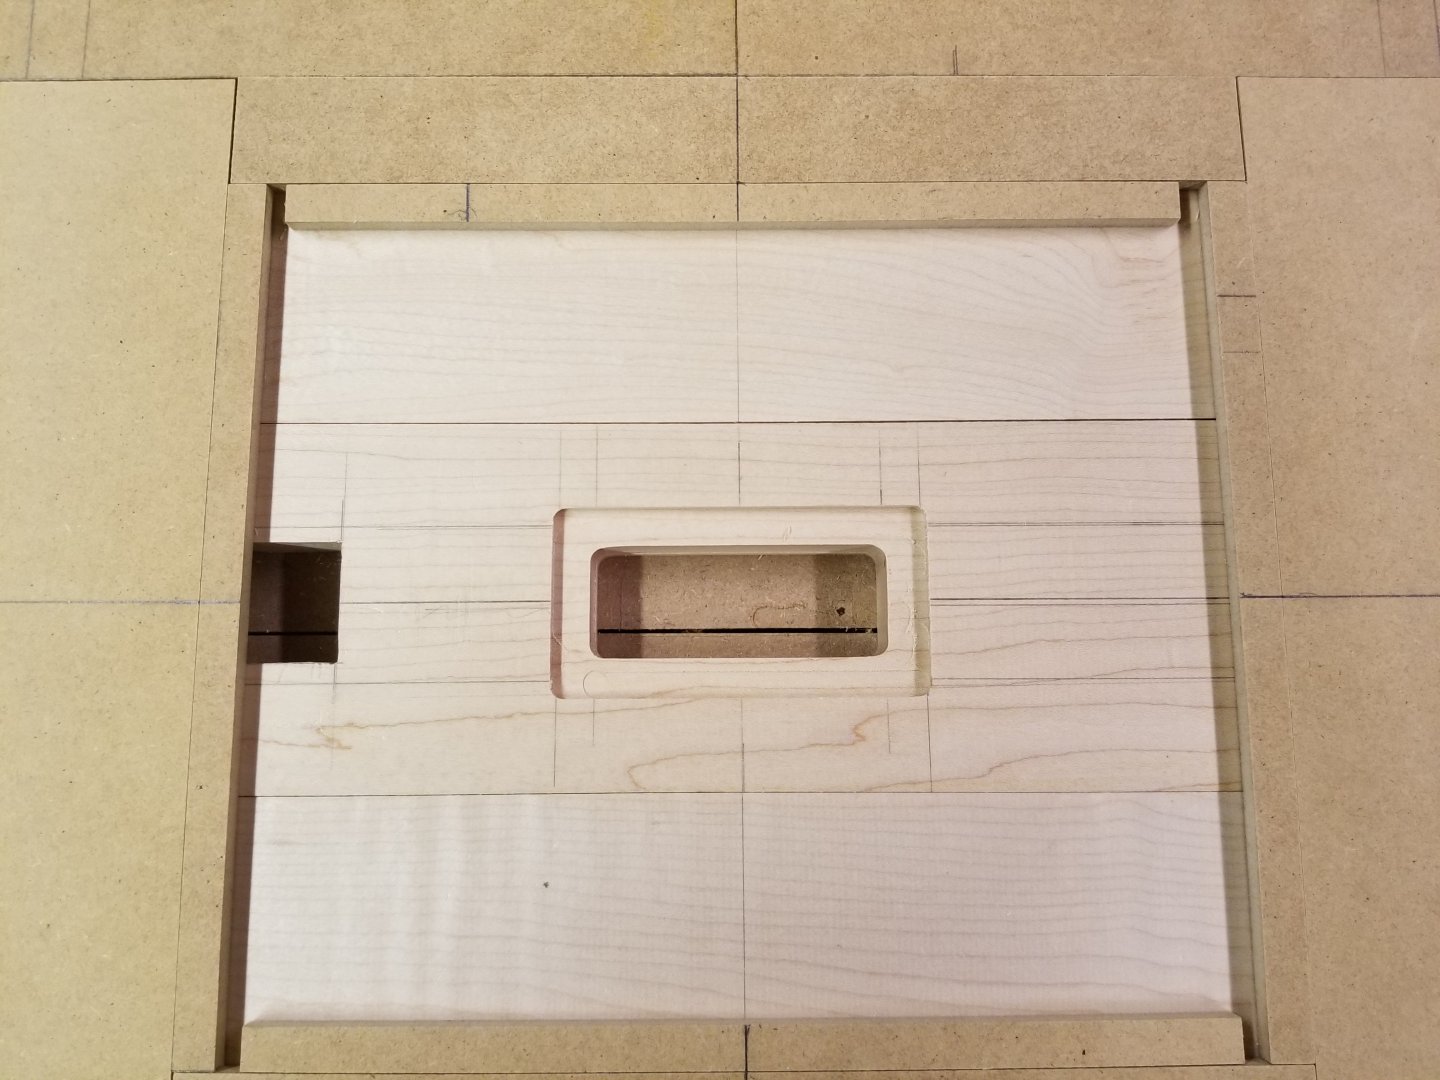
Revisions in place, I modified my router template for the recess around the electronics interface panel and did a test cut on a scrap of MDF...

lid_build_04sm.jpg


Green lighted, cut the recess into the rear stretcher...

lid_build_05sm.jpg


Modified the template yet again, this time for the deep relief for the connectors on the interface panel...

lid_build_06sm.jpg


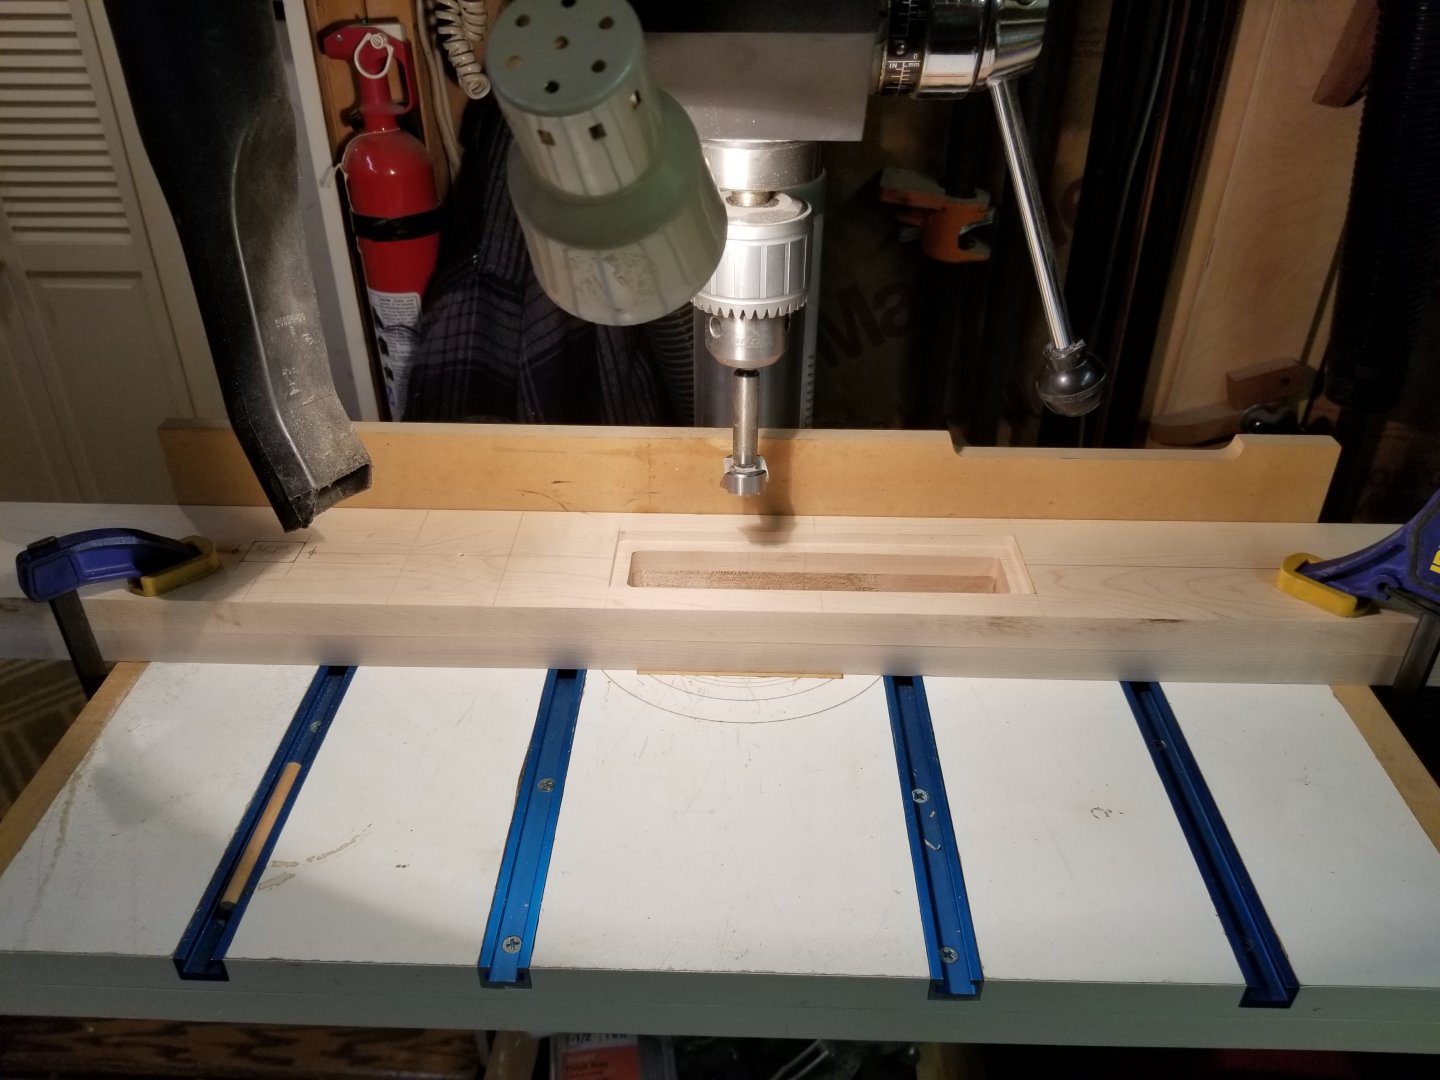
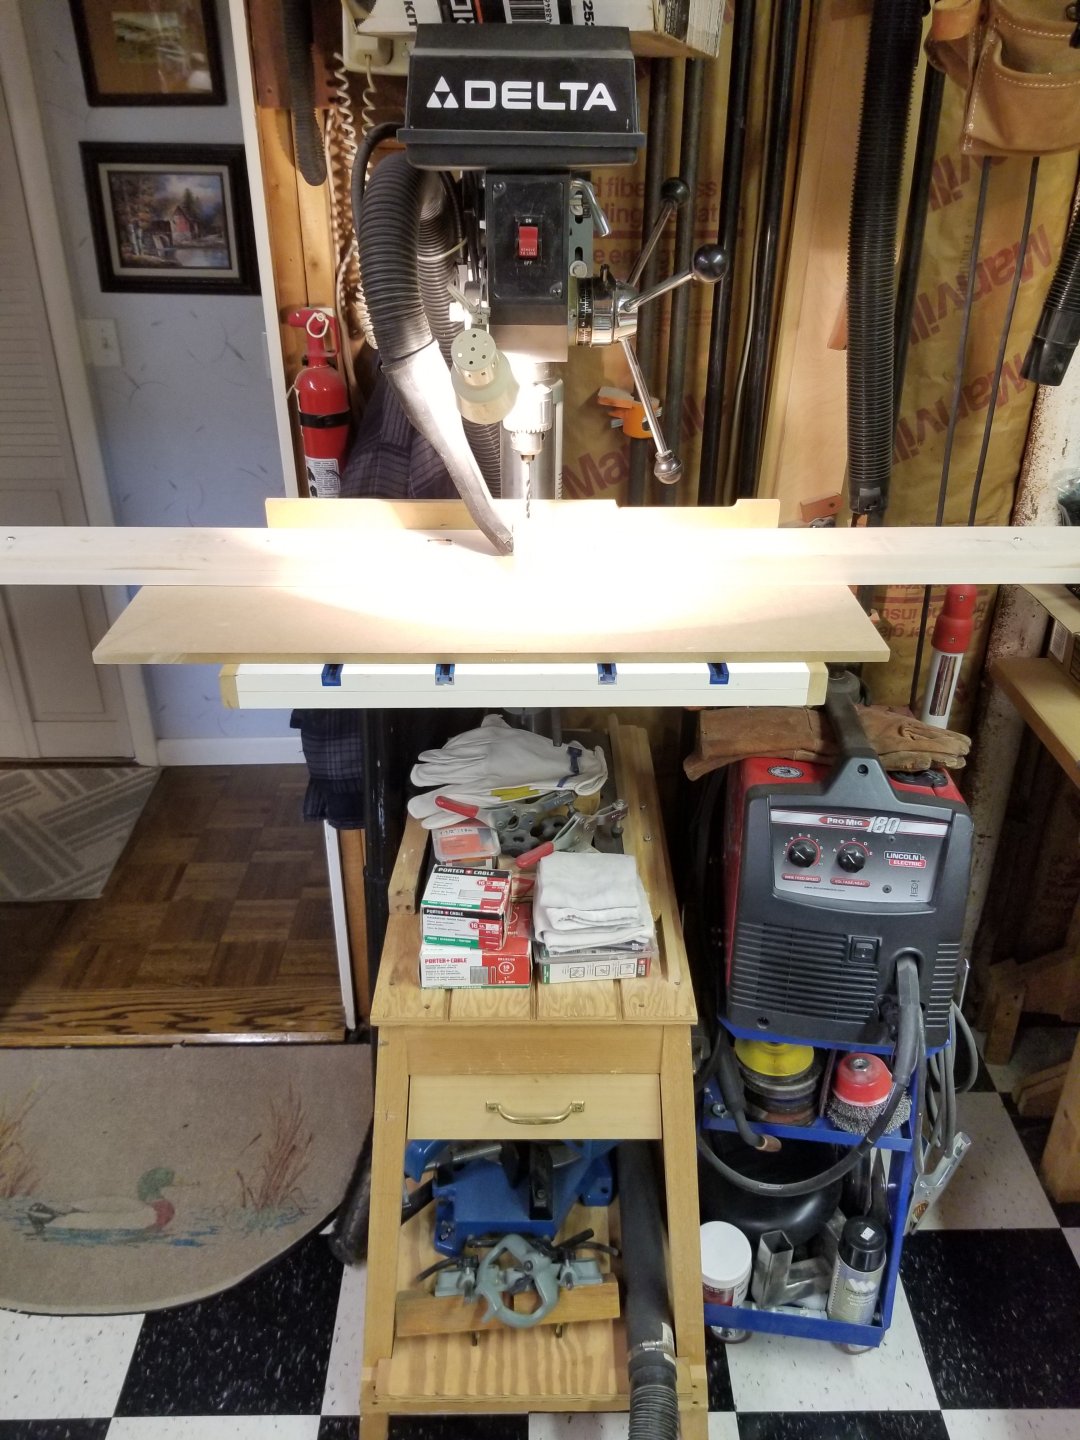
Next to the drill press to knock a couple of holes the rest of the way through for the cables to pass.
Also drilled the five holes for the 1/4" MFL bulkheads.

lid_build_07sm.jpg


Tomorrow I'll finish up the back stretcher - I have to carve out a hole for the AC bulkhead - then start on the front...

Cheers!
 
Aerated my first-ever batch of mead this morning. Earlier this evening, I took a hydrometer reading (1.041). I will aerate again before bed. This is its third full day in the fermenter. I welcomed some new members to HBT after posting about my first experience with mead. I also read several HBT articles.
 
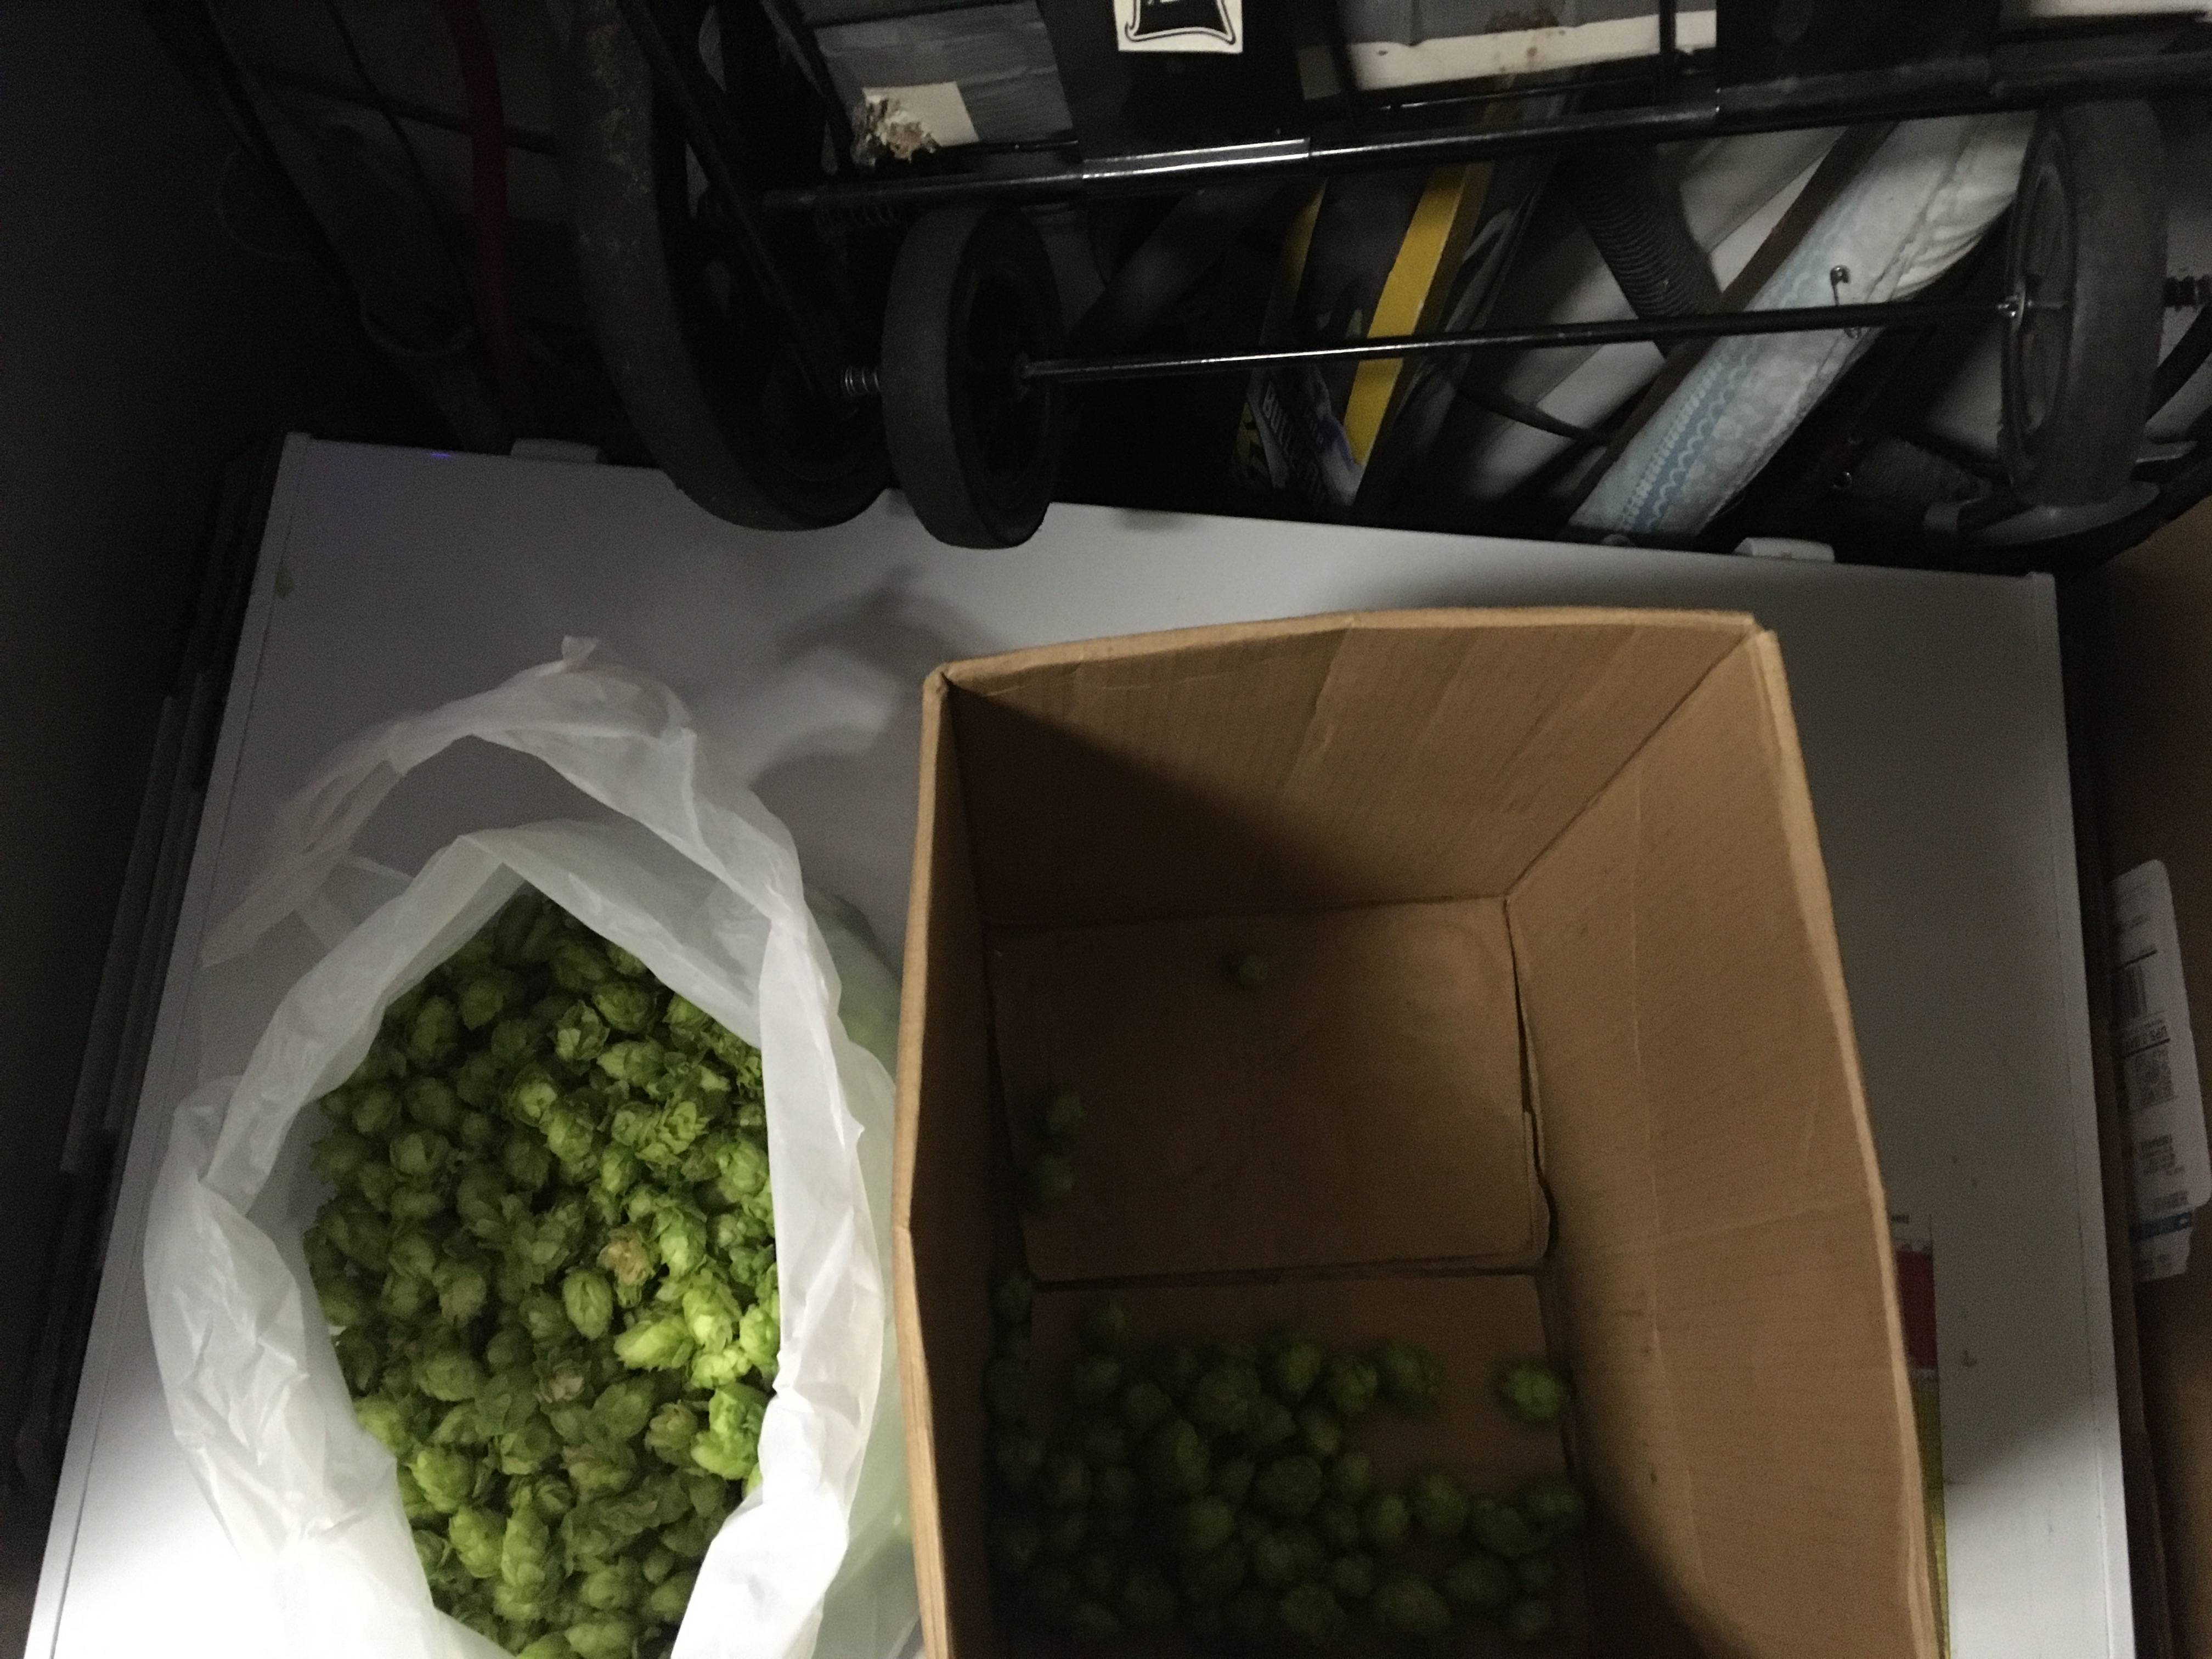
Picked my 2020 hops and put a West coast medley of 2019 hops in a Randallizer with a Blonde Ale.
What's your high level process for fresh hop batches? I have two Northern Brewer fresh hop ales going to try out #1. 1) boiled with pellets for an BU/GU ratio of about 60%, then dumped in 1.5 pounds of fresh hops at flame out and let cool naturally, and 2) BU/GU ratio with pellets to ~60% then fresh hops 1/4# at 15, 10, 5 and 0 minutes and chilled. Both in fermenters now.

Also, still have a few N Brewer cones on the bine. mulling over how to dry hop with fresh hops
 
Thanks, I was actually hopeful this hasn't been boring folks :)

Lost a bunch of time dealing with a tire that went down on the Big Road. Put the full-size spare on and when I got home took a close look at the tire and realized the whole set was definitely passed it's "Best Used By" date. Oh well...

Anyway, it was the final "router and template day" as I finished cutting both lid frame stretchers...

lid_build_08sm.jpg


lid_build_09sm.jpg


lid_build_10sm.jpg


Put the frame back together and perched it on the freezer. Still lays dead flat. Tomorrow I have to run out and pick up a sheet of 3/4" cab-grade plywood to make the top, and a sheet of 1" foil-backed polyiso foam board...

lid_build_11sm.jpg


lid_build_12sm.jpg


Cheers!
 
Last edited:
Should have posted yesterday, but I have been doing double shifts lately, so, thanks to @mcl for the plate chiller. I look forward to chilling my wort faster and making better beer.

Now for a hop-growers question: Some of my hops are falling off the bine. They are soft and springy, not dry at all and not very aromatic. This is the first year that I have strung my hops up to the roof (2nd story), so, is this just wind taking its toll? Is there anything else that would knock healthy hops off the bine?
 
I grew Chinook, Cascade, Centennial and some Fuggles for seven years and do not recall cones randomly falling off bines - at least prior to harvest time, when they were actually a pita to pop free. It's one of the reasons I finally gave it up :)

Cheers!
 
Today's progress...cut the 3/4" plywood top for the lid, always an adventure in my wee workspace. This was the next to last cut - I should have shot a pic of the first cuts on the full sheet but I'd have had to crawl under stuff to get to the doorway.

lid_build_13sm.jpg


Fits nicely...

lid_build_14sm.jpg


Laid out vertical lines from the oem lid mounting screw holes. For some reason the groups of four screw holes are not vertically aligned.

lid_build_15sm.jpg


I did a rubbing to pick up the offsets. Weird - no idea why they did that, but I have to deal with it.

lid_build_16sm.jpg


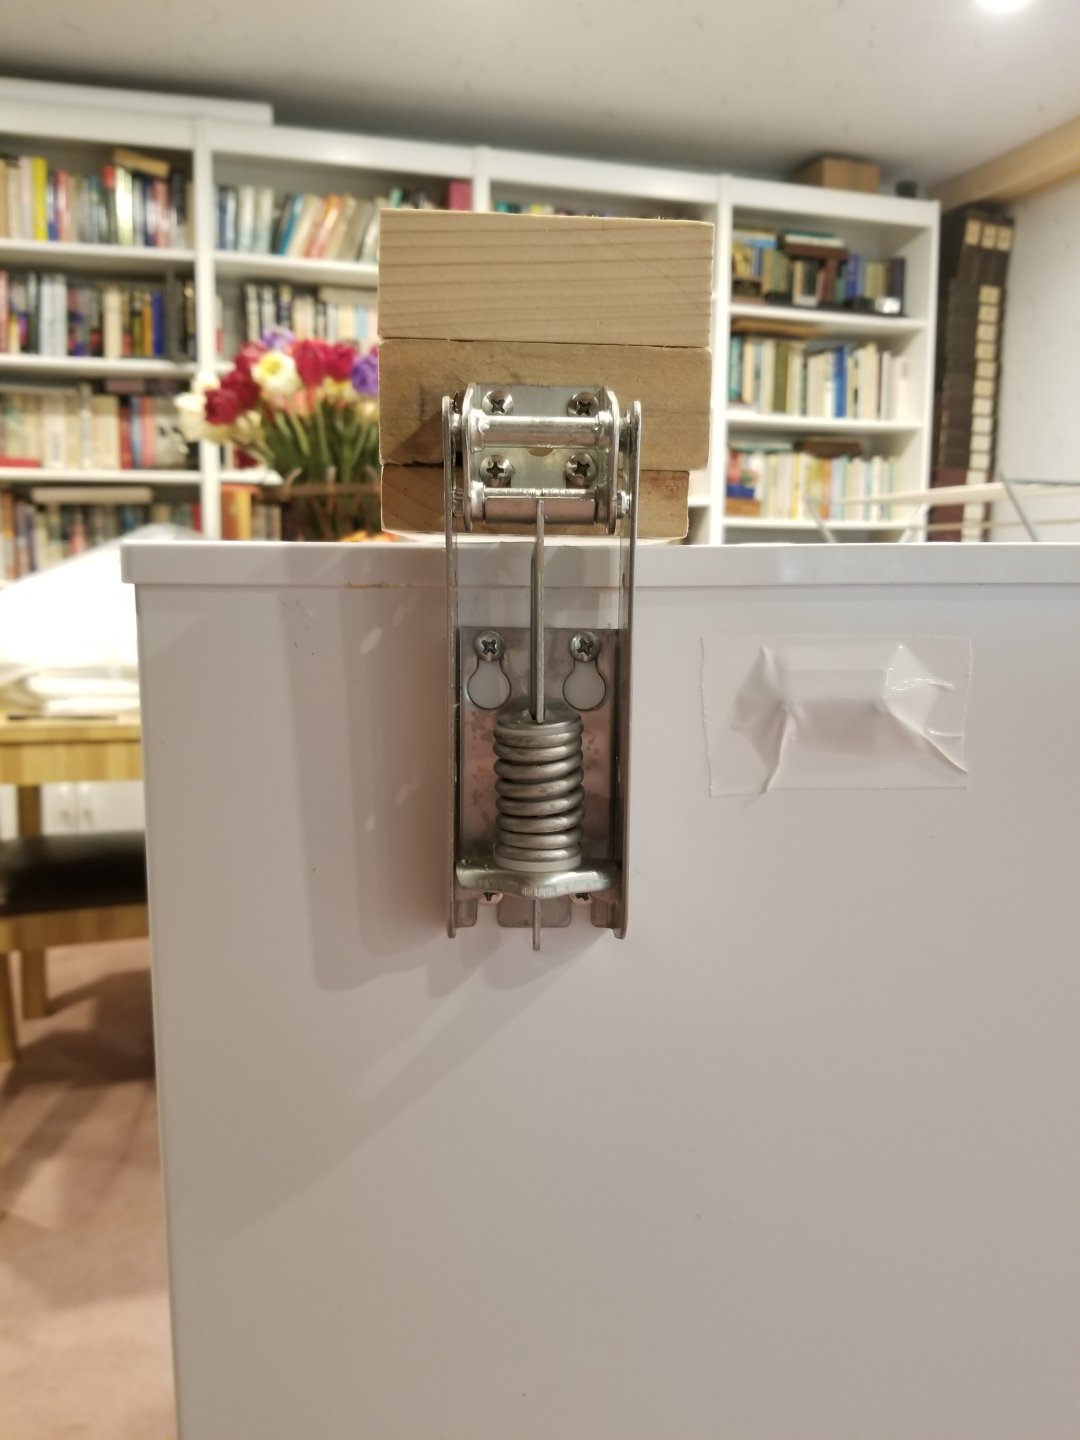
The oem lid gasket is a full 1/2" tall. I actually bought a replacement gasket, but it uses a back-side attaching rib with an extreme arrow-head profile that would be very tough to accommodate, so I'll be sending it back and using a more conventional, foam rubber gasket. But that will compress in the 1/8-3/16" ball park, so I can't mount the hinges to the lid using the same geometry as the original lid. My mount points have to be around 3/8" higher up on the lid edge.

There isn't a lot of adjustability in the hinge elevation relative to the cabinet - maybe a 1/4" - so I need to get the mounting right. Too low and the lid won't seal, too high and the lid won't full close. I finally decided to make a mechanical mock-up to give me something to visualize while not screwing up the actual lid.

lid_build_20sm.jpg


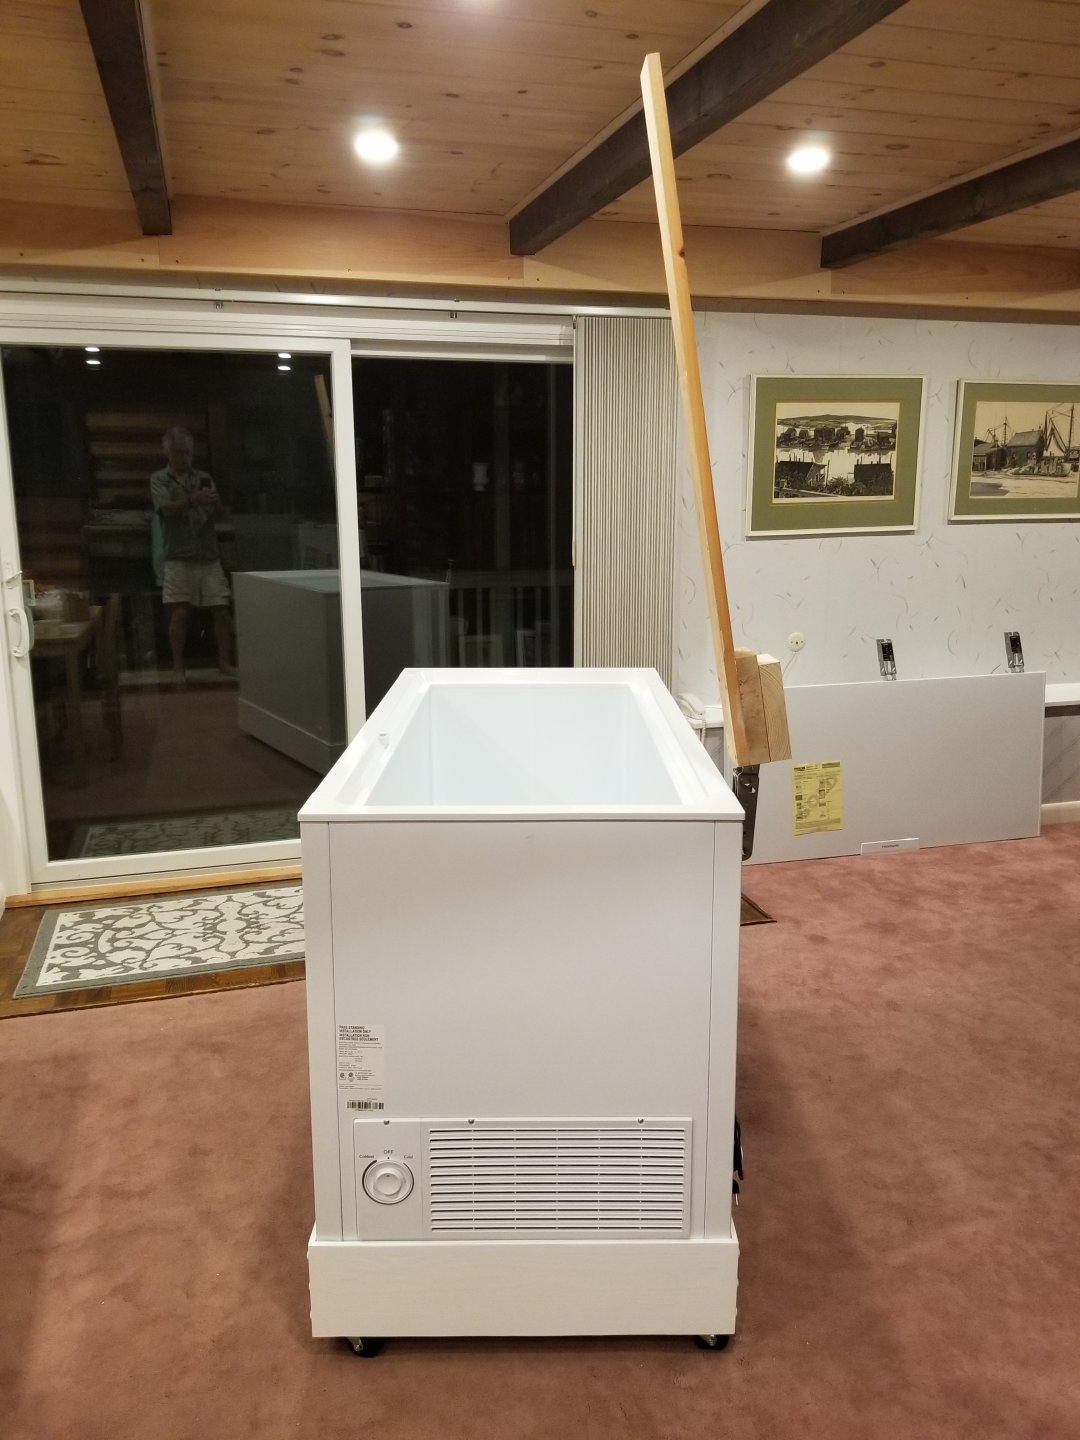
[Aside: Looking at that angle there's a small chance that once my tower is attached the lid will balance in the raised position.
Otherwise I'm looking at deployable prop arms.]

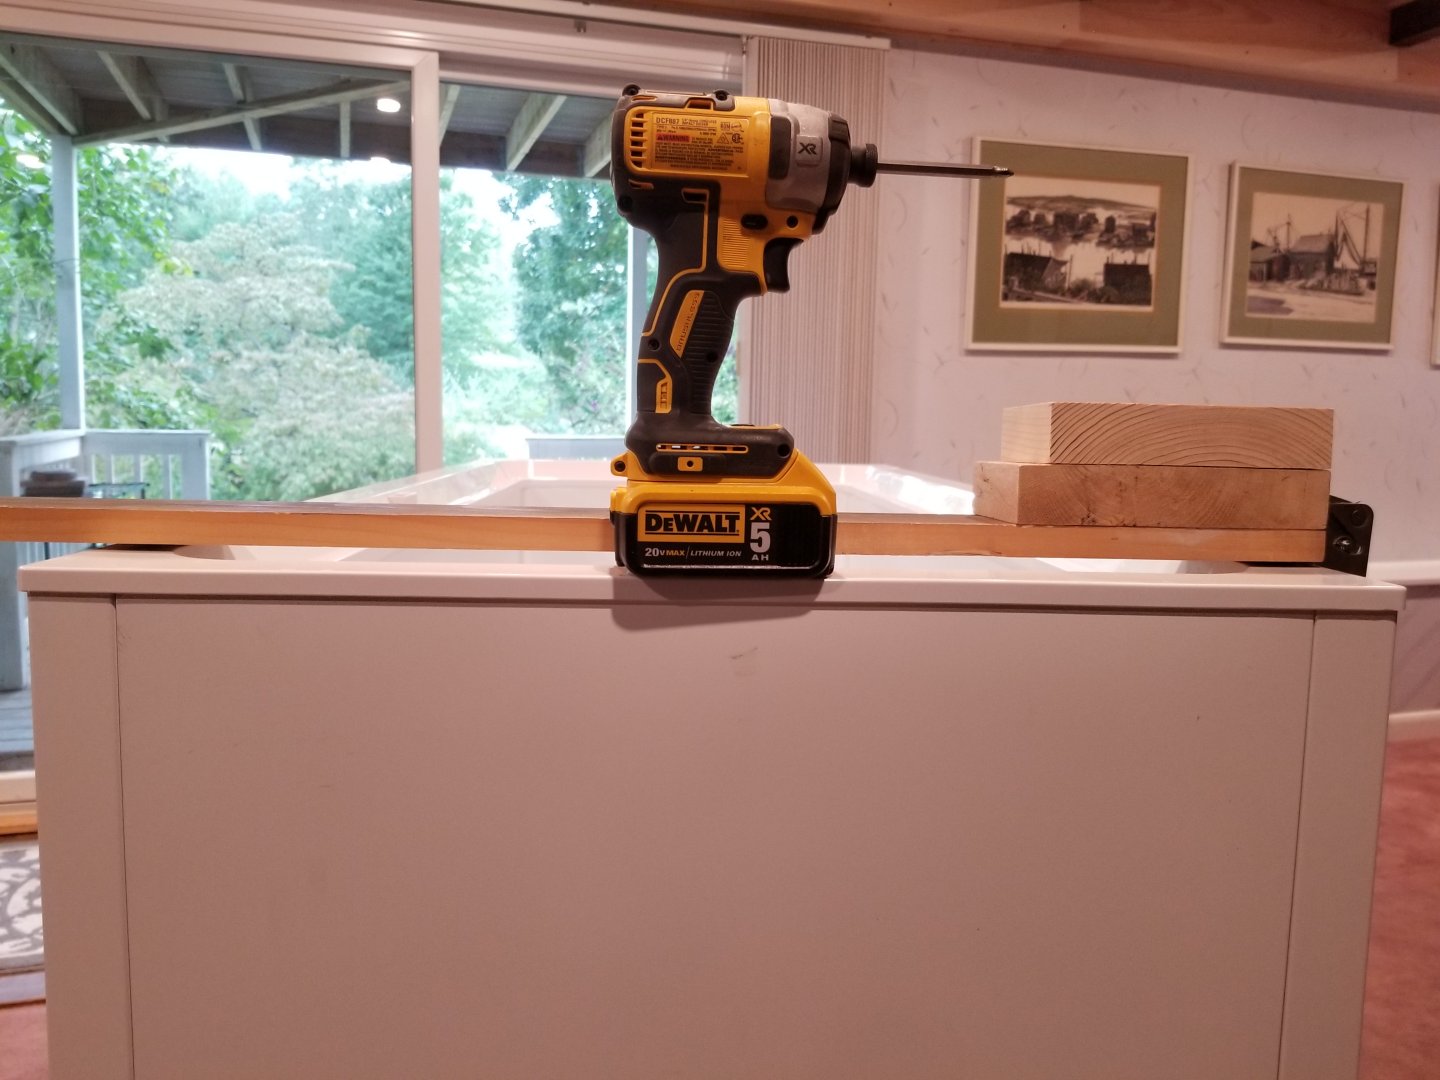
This is with the hinge mount points 1/2" higher than the oem lid. I think it will work.

lid_build_17sm.jpg


That was with the hinges bottomed on the cabinet ends; the only adjustability would be up.

lid_build_18sm.jpg


I stuck the end of the prospective gasket material under the back edge. It's almost totally compressed - adjusting the hinges up an 1/8" would be a perfect "crush".

lid_build_19sm.jpg


Tomorrow I'll summon up the courage to drill the lid frame for the hinges and hopefully all will be well there. Next I'll take the lid apart, drill pocket holes around the perimeter to attach the top to the frame, dry fit the frame to the lid and do some prep sanding before finally gluing and screwing it all together for the last time...

Cheers!
 
Last edited:
Well...I appreciate the kind words, but just to prevent end game disappointment, it'll likely all end up in "Appliance White", like K1 and K2.
Being this is the third keezer build in 14 years I'm disinclined to get more invested than that :)

Cheers!
 
Well...I appreciate the kind words, but just to prevent end game disappointment, it'll likely all end up in "Appliance White", like K1 and K2.
Being this is the third keezer build in 14 years I'm disinclined to get more invested than that :)

Cheers!
All I’m saying is that mine in comparison looks like it’s held together with bondo, chewing gum, and chicken wire; yours has some actual engineering and sexy, hand-crafted fenders.
 
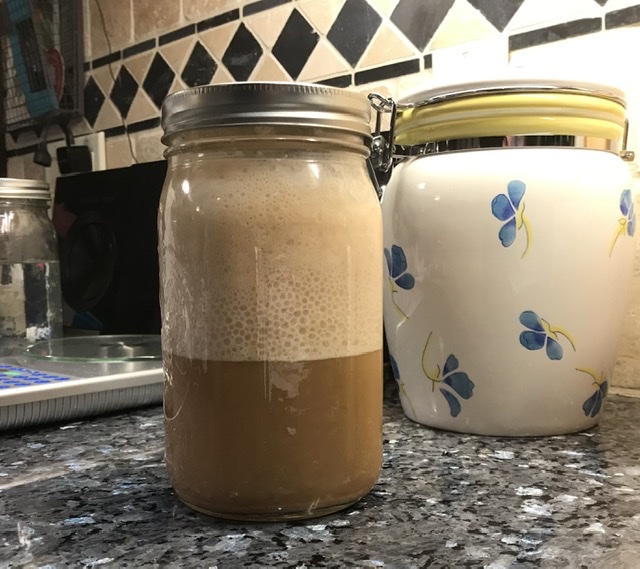
I fed my 4th generation Ardennes 3522 Belgian yeast culture. (Maybe last iteration.)

The yeasties are getting restless — Time to Brew!

Next up, Idaho Gem (9.1%AA)/Vienna Malt SMaSH. Should be awesome with fruity Belgian yeast.
Any suggestions for hop addition schedule? I want to be below 35 IBU’s at 1.055 O.G.

8D81F59A-4D04-4D80-BD15-E72CF76F131A.jpeg
 
Huge day today!

The whole hinging thing had me tied up in self-doubt. Honest to god if you'd seen me today you'd think I seriously needed leveling meds. I must've laid out 10 full sets of lines, sanding each off in favor of the next, before I finally settled on a drill pattern and went to town on the doubled back stretchers on the press [sorry 'bout the fried pic]...

lid_build_21sm.jpg


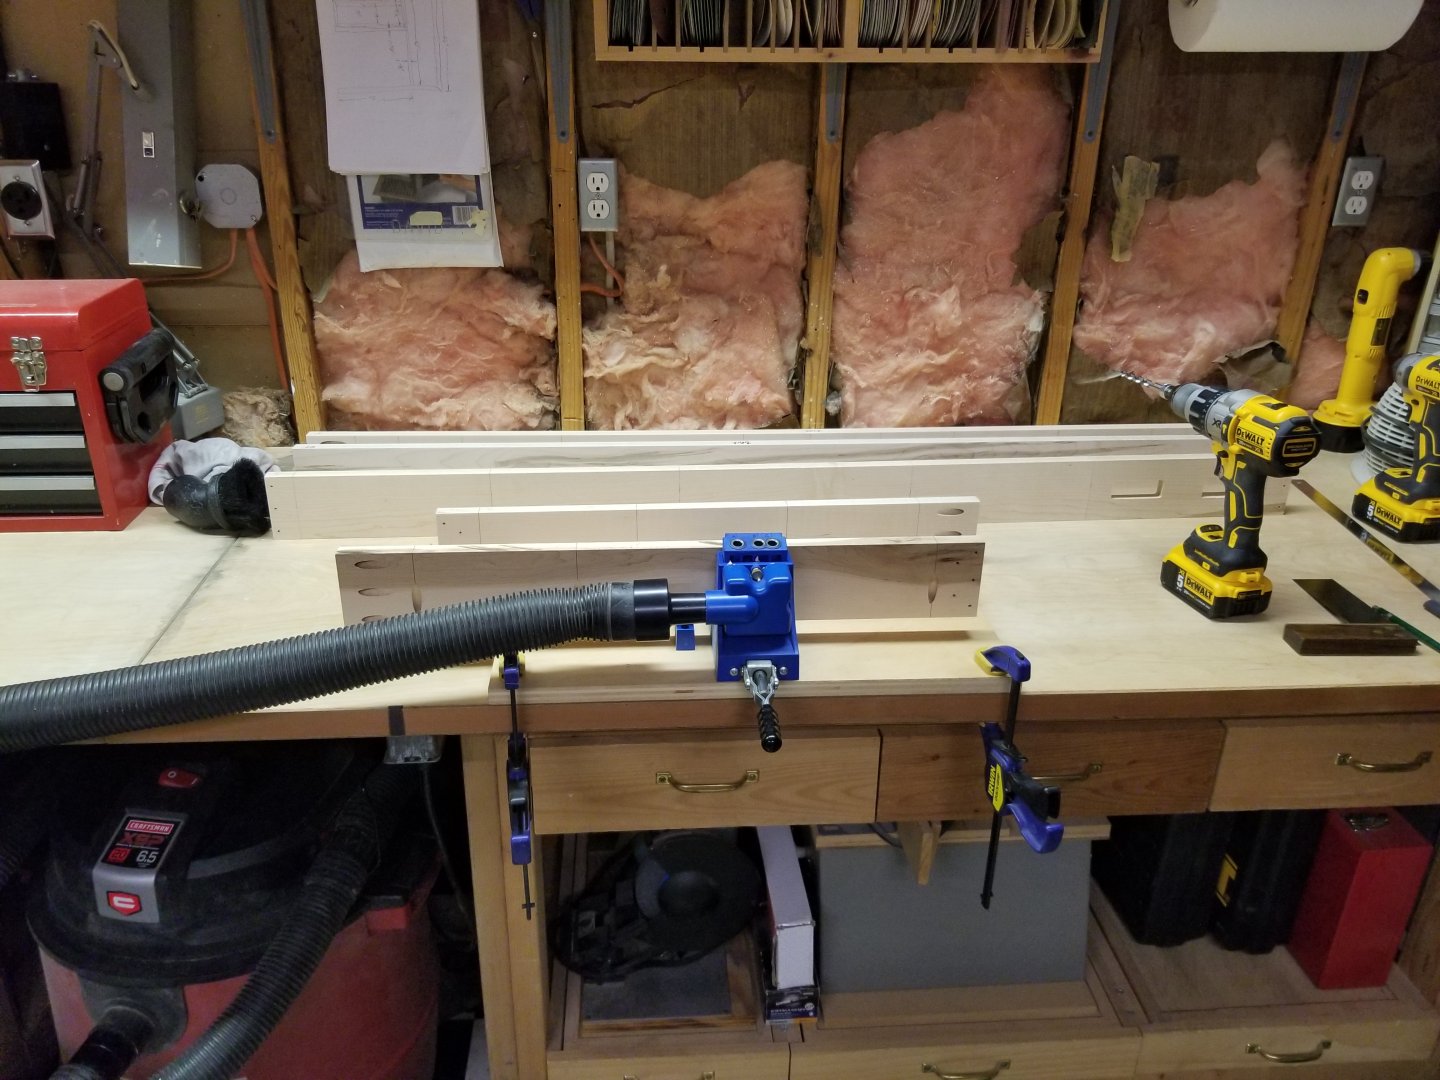
Ok, so that cake was baked and whatever was going to happen when the lid was attached to the cabinet was going to happen. But next I had to drill a crapton of pocket holes in the lid framing - and almost every step of the way I kept thinking I had the pieces either upside down or I was drilling the wrong side. Even the last board freaked me out because looking at it made me think I'd drilled the other 4 pieces wrong. I actually broke a bit of a panic sweat at that point.

lid_build_22sm.jpg


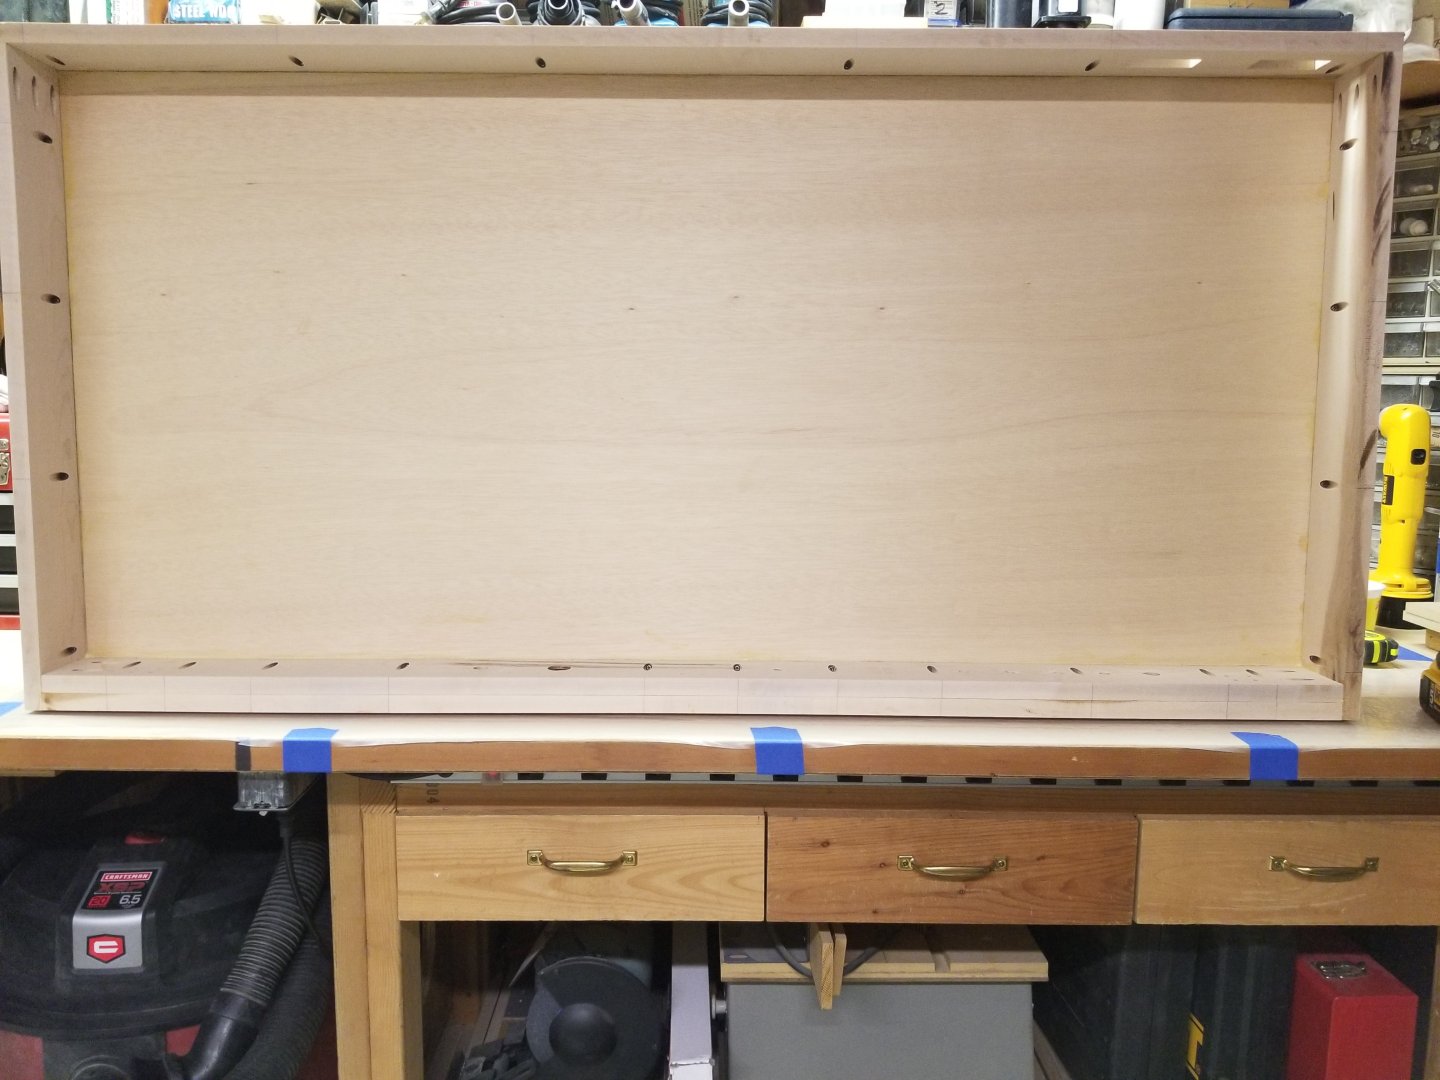
BUT...somehow I managed not to doubt myself into an actual eff-up, and got the lid assembly glued and screwed together.

lid_build_23sm.jpg


So, on to the real drama: did I get the hinge mounting right or did I do something I was gonna have to fix?

Nailed it!

lid_build_24sm.jpg


lid_build_26sm.jpg


And the next bestest everest part: it stands up on its own!

lid_build_25sm.jpg


So...tomorrow I'll sand that puppy up nice, hit it with primer, and maybe get one coat of paint on it (or not, if past is prologue, in which case I'll do both coats on Sunday). Next will be fitting the insulation board, then starting to mount the gas hardware...

Cheers!
 
Last edited:
All I’m saying is that mine in comparison looks like it’s held together with bondo, chewing gum, and chicken wire; yours has some actual engineering and sexy, hand-crafted fenders.
JA just think of all the people who don't have a "car" at all! Be proud of your "Volkswagen"! Might not be pretty but long as it gets you there!!
 
Hit the LHBS for a 55# bag of Maris Otter and the parts to make the new (used) plate chiller fully interactive. Figured that I won't be filtering/aerating my beer like I used to (post-chill, as it goes into fermenter), so also picked up the bits I needed to infuse O2 into the wort pre-pitch. Hit the hardware store for propane and an O2 tank. Harvested 9oz of Shaddock for tomorrow's saison. Next on the to-do list: finish the prep for the saison (filter H2O & grind grain, maybe I should do an overnight mash...hmmm), check on the Centennial (harvest some for bittering the saison), chaptalize the ice wine, keg the Blonde ale, and if I have the energy, bottle some of the sours.

If this seems like a lot, it's because I'd really like to be able to watch football tomorrow-Dad's a Steelers fan.

Edit: Got 1oz of fresh Centennial. Didn't cut the bines down, hoping the sidearms will keep producing.

I think what this means is I have approximately 1.8oz dried Shaddock and .2oz dried Centennial (for bittering/flavor comparison) and I already dried out .2oz of Old Mission that ripened earlier. So a home-grown, wet-hop saison.
IMG_8403.JPG
 
Last edited:
Back
Top