• Please visit and share your knowledge at our sister communities:
  • If you have not, please join our official Homebrewing Facebook Group!

    Homebrewing Facebook Group

Steel Horse Brewing 3 tier build and brewery pics

Homebrew Talk

Help Support Homebrew Talk:

This site may earn a commission from merchant affiliate links, including eBay, Amazon, and others.

Brew-ta-sauraus

Well-Known Member
Joined
Oct 5, 2008
Messages
302
Reaction score
6
Location
Parker, CO
Finally finished my 3 tier build and have run two 5 gal batches through it. Have worked out most of the bugs and ready for 10 gal batches. Below are pics of the 3 tier build and the rest of my home brewery cheers!

The basic frame work
000_0063.jpg


000_0062.jpg


000_0061.jpg


000_0060.jpg
 
Currently brew in the garage, then flow the wort through the chiller and down to my basement where I ferment. First batch was an Oatmeal Stout that was pretty thick adn it was difficult to get to flow down to the basement. Yesterday brewed a lager and used a march pump and the wort flew down to the basement with just a couple of hits to the power on the pump ( Thanks J & K for the use of the pump). A special thanks to several members of the Rock Hopper Brew Club out of Castle Rock CO for ides and tolerating all of my questions. Also thanks to my dad (the old guy in the pics doing the welding) for all the help building the 3 tier! Any questions on the garage sink drain set up,( ability to move ity in & out from under the bench) let me know I can always post more pics if needed.
 
The sink is a Home Depot two tub model. I bolted it to the rolling base constructed out of angle iron & diamond plate. Water connections from the house are basic ball valve out of the wall that stub into whashing maching 10' hoses

100_1792.jpg


They connect to the sink
100_1795.jpg


I core drilled a hole through the foundation of the garage wall. There is crawl space under the house adjacent to the garage wall.

100_1794.jpg


I ran a 3" drain line up to the foundation wall. Then using the rubber reduction fitting above ran a 10' long piece of 2" into the 3" main drain.
100_1793.jpg


I left the hose clamp on the 2" rubber reducer loose so that the 2" line slides in & out of the 3" line.

100_1793.jpg


Add a little lubricant and it works great!

100_1796.jpg
 
Great work, and great looking setup (love the New Belgium keg too :mug: )

I actually bought the kegs from New Belgium for $15.00 a piece. They were dead kegs they had lying around. Besides the 90 mile drive up to Fort Collins it was a pretty good deal & they are legal as well. :rockin:
 
I actually bought the kegs from New Belgium for $15.00 a piece. They were dead kegs they had lying around. Besides the 90 mile drive up to Fort Collins it was a pretty good deal & they are legal as well. :rockin:

plus you got to go to new belgium...

nice work on the system!
 
VERY nice work! Your garage rocks. Looks like some nice toys in there too. What kind of chopper is that?

2006 Big Dog k-9. Hence the name Steel Horse Brewing Company. I didn't think it was visable in the pics previously posted. I will see if I can find & post some better pics of the brewerys name sake.
 
I just ran natural gas into my garage brewery. What burners are you using and where did you get them. I am in the process of finding parts to build my system to go in the new garage.
 
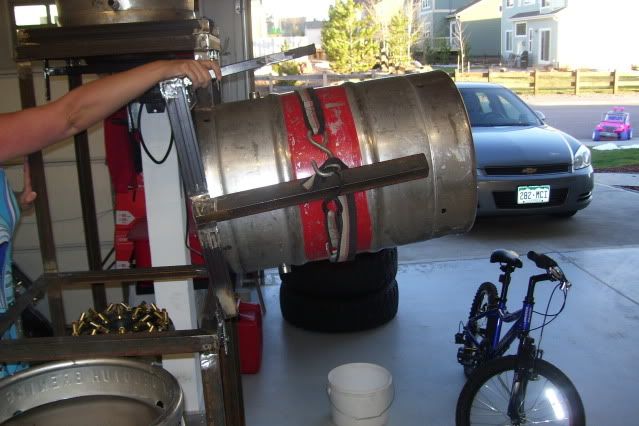
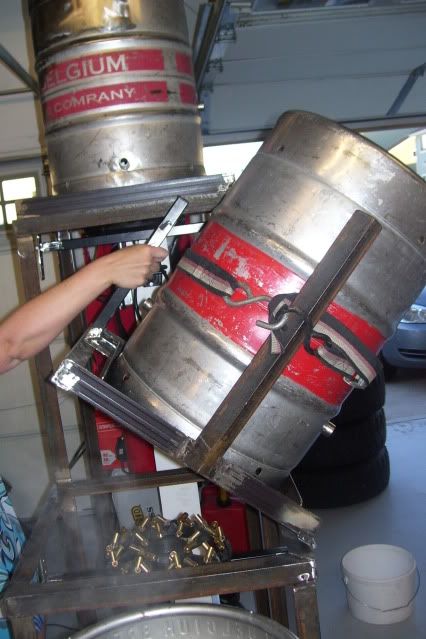
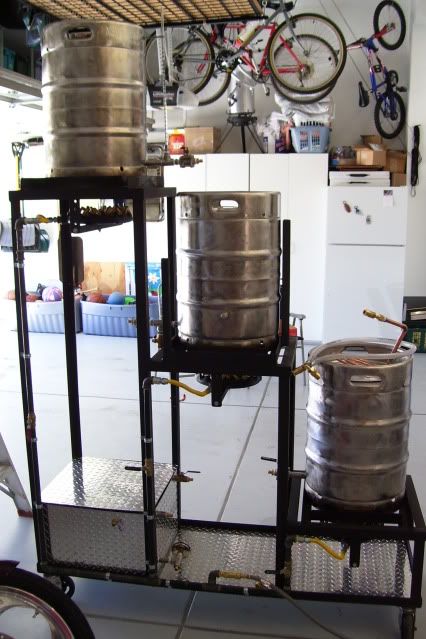
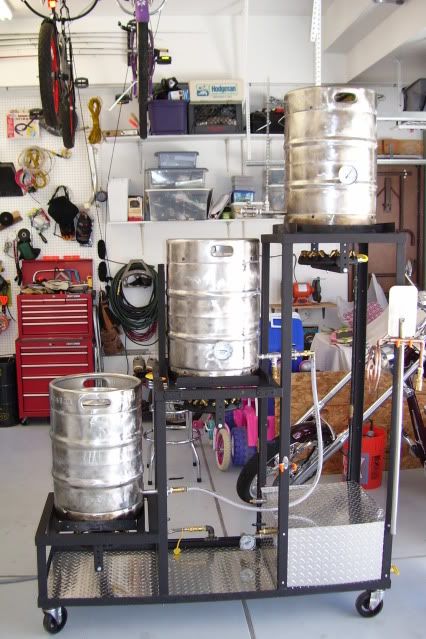
Brew-ta, very nice setup. Be careful with that side swing tippy dump. It seems like if it were full of wet grain, it has the potential to topple the stand. I mean, just be careful because you might actually want to clean the tun while you're boiling and that would be bad, mmmkay. Duh, you know that.

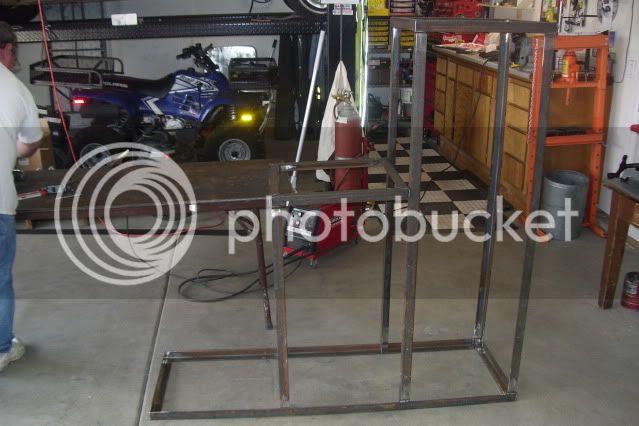
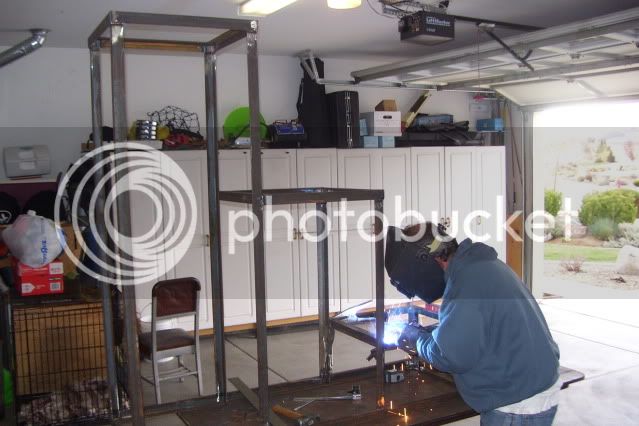
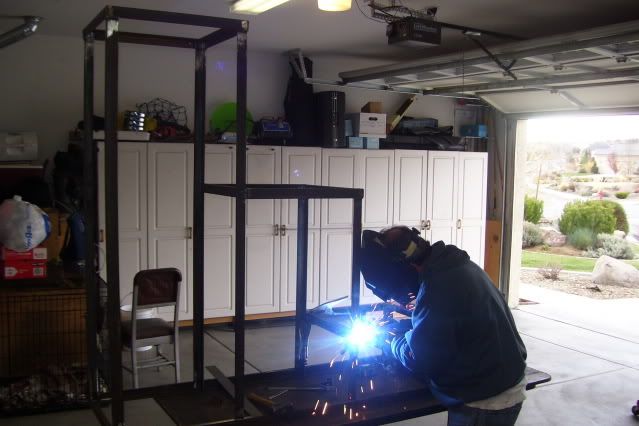
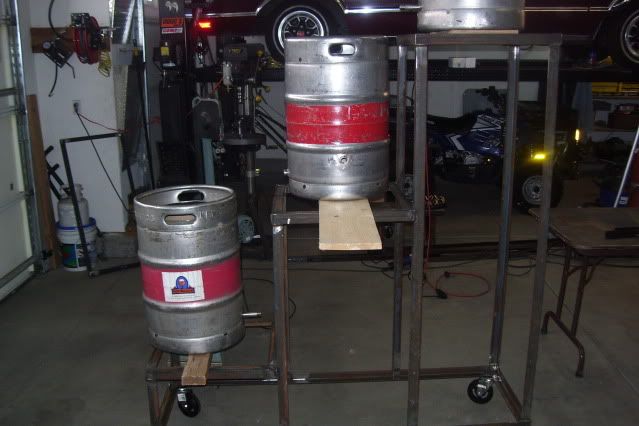
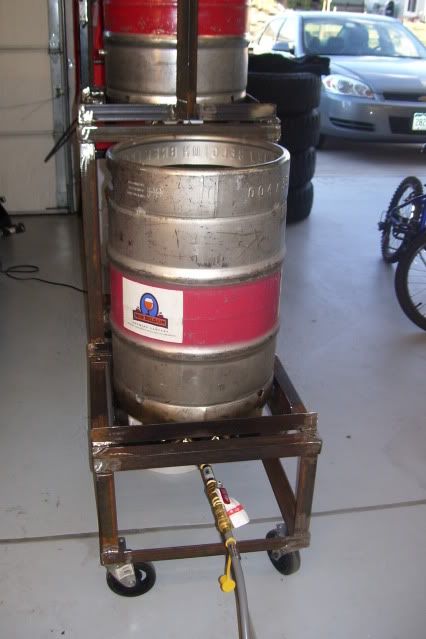
My only other comment (only to benefit those copying your design) is that you could have compressed the overall height by a few inches if headroom is a concern. You only need the next tier up to be high enough for the drain to make it over the lower vessel. If you're willing to put an "in" port in the next lower vessel, the height difference can be even less. Finally, with a pump in the plans, the BK doesn't have to be high enough to gravity drain to a fermenter. With all those considerations, it's possible to keep the MLT at a height to stir the mash while standing on the ground.

Don't take this stuff as criticism, just potential alternatives in design. The sculpture is awesome.

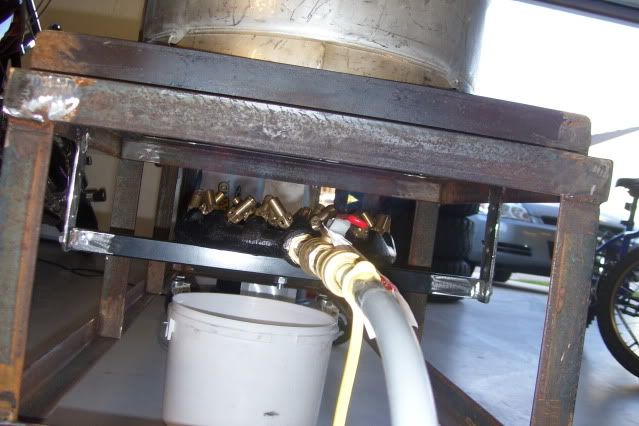
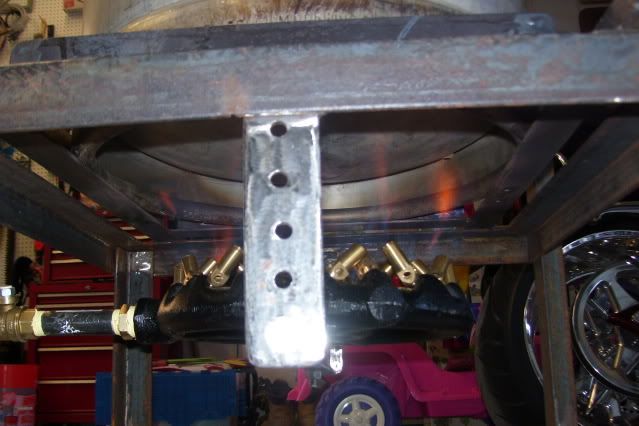
Holy crap, I just noticed you used the 32 tip burners. That's more heat than the space shuttle's main engine burn.
 
With that tippy dump, a cool way to prevent the rig from tipping over while cleaning out the grain would be to make a shelf that slides of flips out and locks into place. It would serve a dual purpose as a step and side support.
 
Was there a set of plans you followed for this build? Why a keg for the MLT instead of a cooler?

Thanks,

No plans actual written plans, just used measurements I got from other brewers 3 tier units. If you need any measurements or pics of other 3 tiers let me know I have both.
 
I just ran natural gas into my garage brewery. What burners are you using and where did you get them. I am in the process of finding parts to build my system to go in the new garage.

I used these burners


https://www.homebrewtalk.com/f11/200-000-btu-natural-gas-burner-14742/#post137905

I was going to go with the small, but they were backordered so I ended up buying the Medium and figured i would have to emply Bobby M's trick of removing some of the jets. As it worked out I ran 1/2 gas line to the garage from the basement. The burners work perfect out of the box. My guess is since my house is a newer home I must have a hell of a regulator on my main gass line as the line from the meter to the furnace is 1 1/2 inch. I tapped in right at the furnace at 1/2 inch. When I have a single burner on full blast it burns great, but if I turn on a 2nd or 3rd burner at the same time my BTU's drop per burner. A buddy of mine has the small burners and ran 3/4 " gas line. His burners are like a jet engine so much so that he has very little control of heat output (either on or off).
 
Back
Top