electrolight
Well-Known Member
- Joined
- Sep 19, 2013
- Messages
- 267
- Reaction score
- 66
.
.
Overview
Hello all,
I have searched all of the web looking for beer crates that are stackable and can hold the short chubby bottles AND longnecks... I have found many crates, some beautiful, some affordable and just many but they were all missing something...
Requirements:
Here was my requirement list:
- Must be under 10$ each.
- Must look like a traditional crate (rules out the solid walled box's some people call crates).
- Must hold 24 bottles of the short chubby bottles AND longnecks.
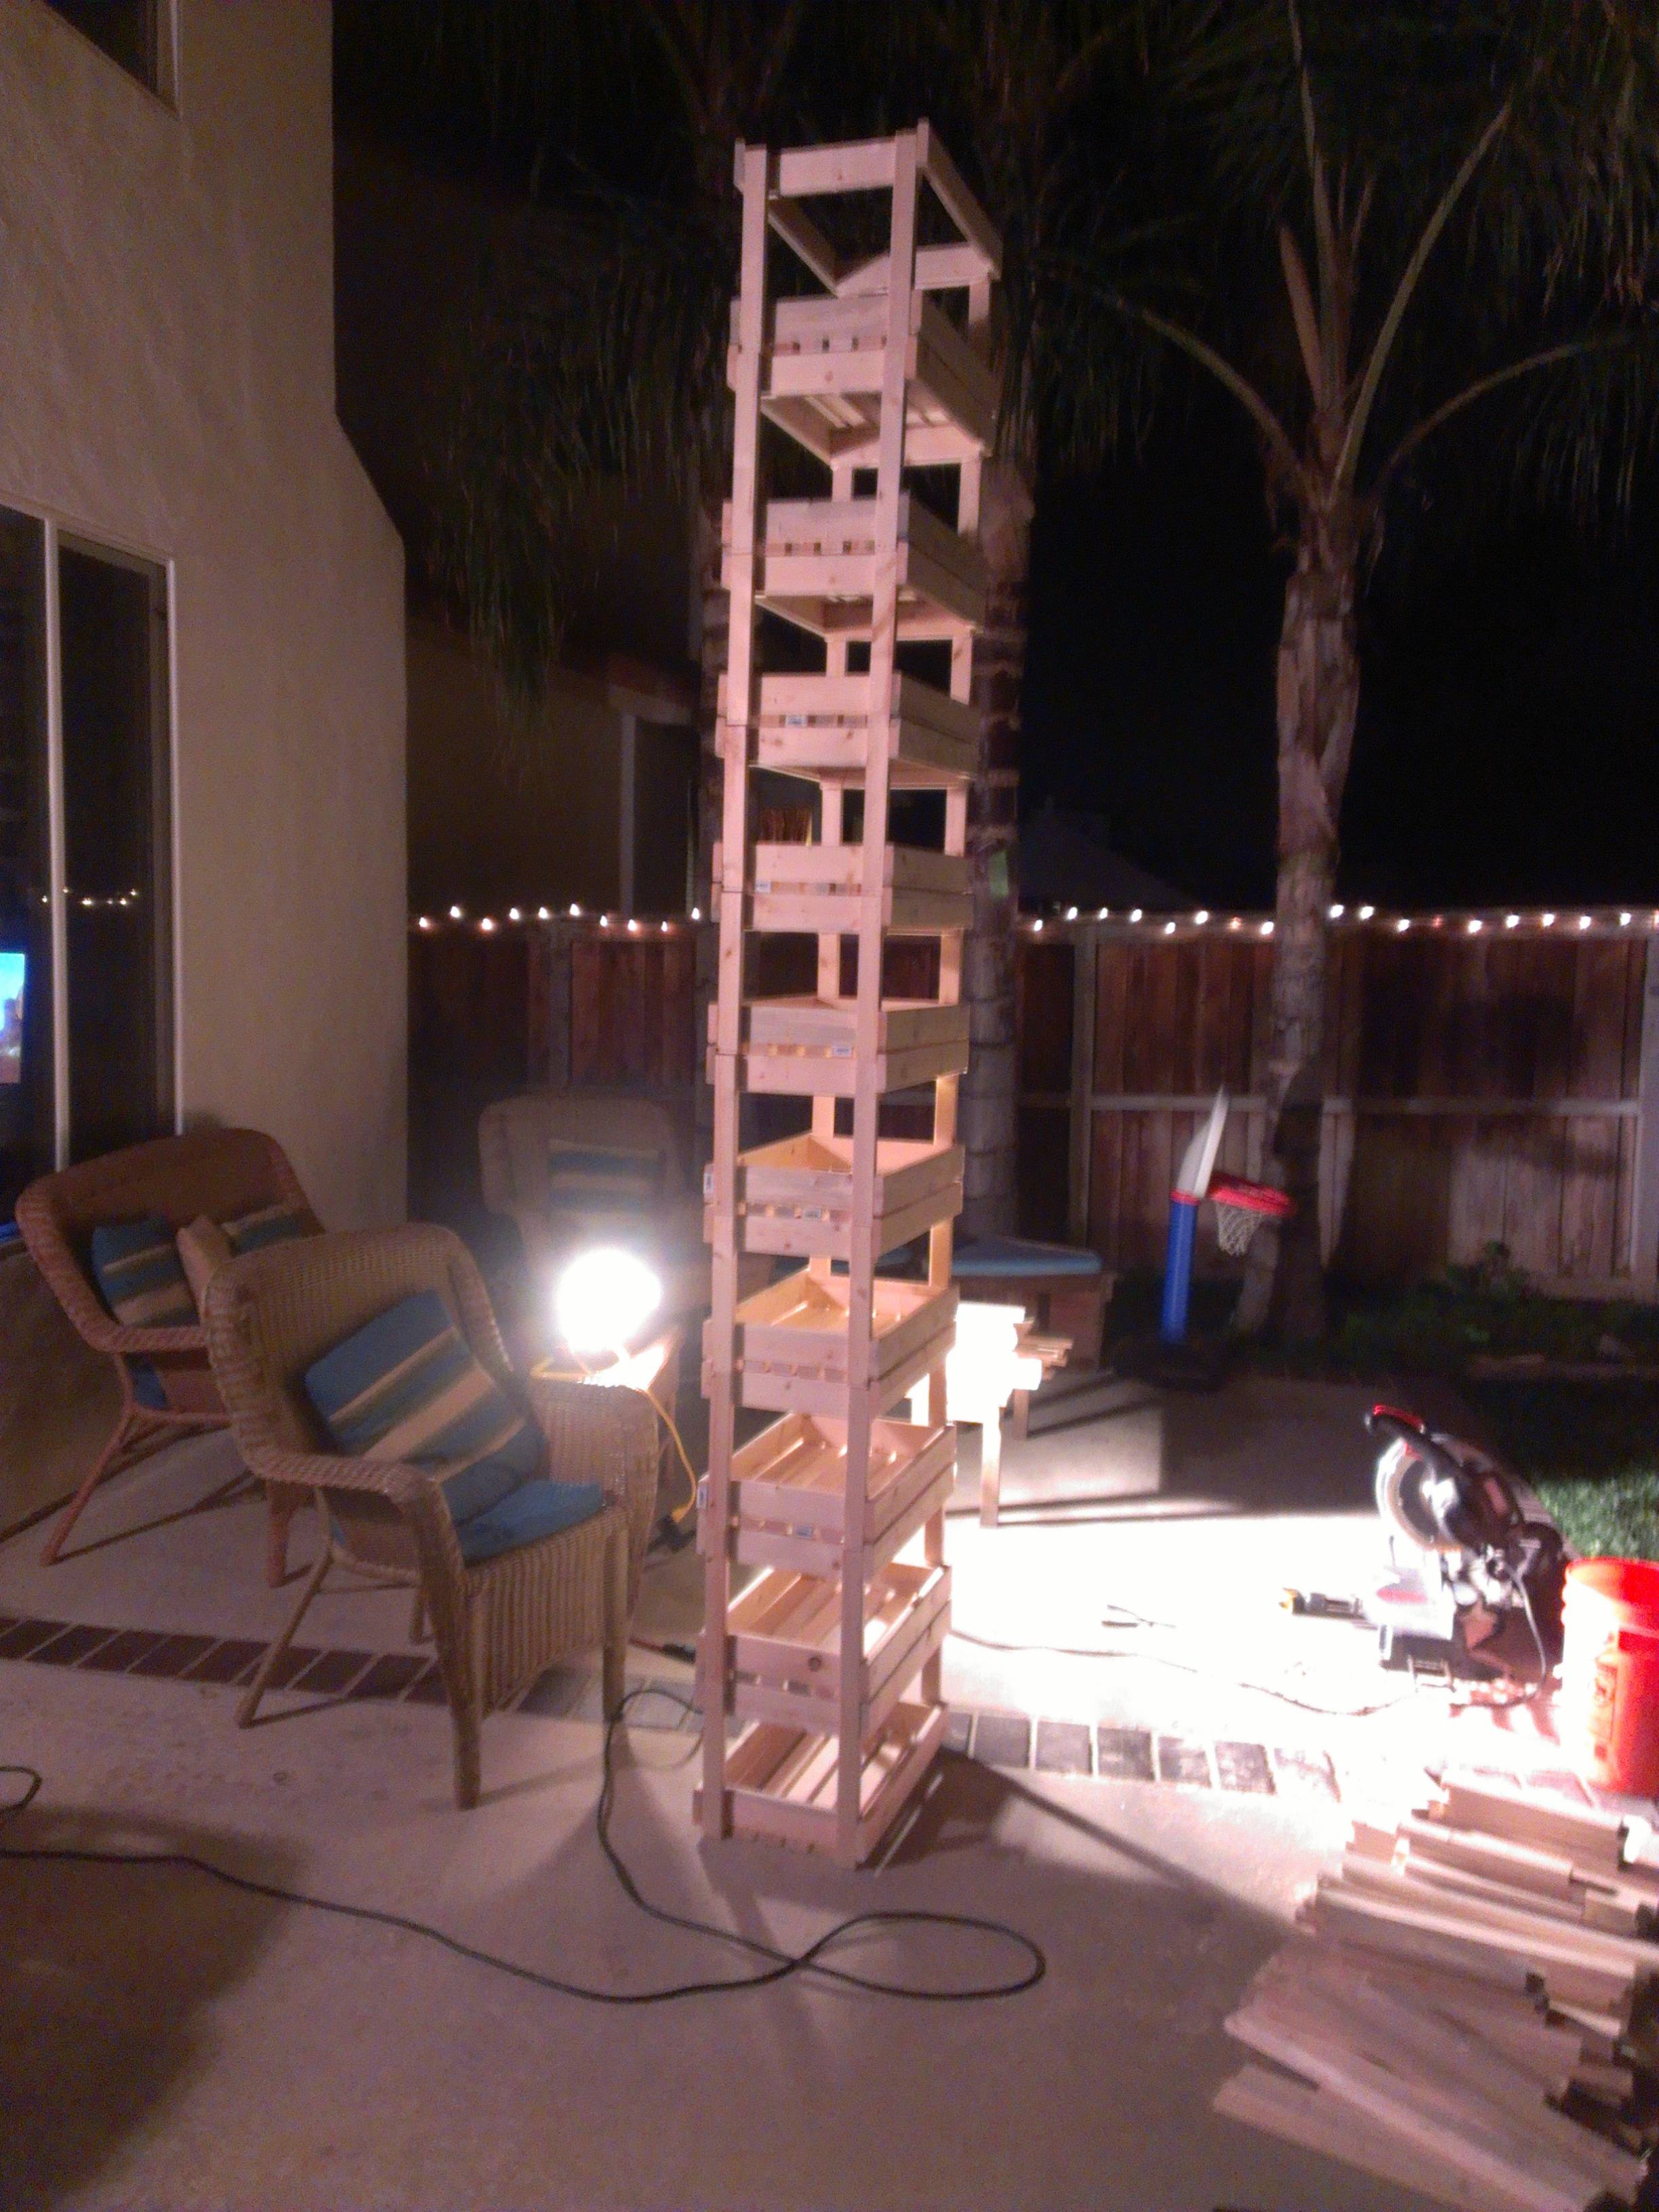
- Must be stack-able.
- Must be simple enough to make with a Black and Decker Matrix (only because that is what I own).
- Must be made of rot/pest resistant materials.
Cost Breakdown:
I achieved all requirements and the final cost comes to
$1.480 - Cedar Wooden Picket (3.5"x.5"x6') - x3 -- $ 5.92
$0.500 - Wood Glue (Estimate) ------------------ $ 0.50
$0.021 - 2.0" Outdoor Wood Screws - x72 ------- $ 1.51
Total ------------------------------------------ $ 6.45
Design:
So then I set out designing...
My inspiration came from here. But I don't have a table saw or we'll trained termites... so I needed a different, more simple design.
I know Solidworks so like any good engineer I made it in Solidworks first. The next few images show what I came up with.
I chose to offset the "flooring" to help prevent moisture build up in long term storage. Notice the corner offsets which allow the crate to stack.
There is enough separation to allow dividers to be placed. I intended to utilize cardboard. But since the crates are useful without the dividers that is a secondary priority and I will work on that when I have completed the other crates.
Note: I chose to make those offsets go up instead of down. This caused less stresses to exist in the wood according to Solidworks. When I had them down, the force from the crate and those stacked on top all focused on the four corners. Now its still mostly in the corners, but the sidewalls help spread it out.
Electrolight
.
.
.


.
Overview
Hello all,
I have searched all of the web looking for beer crates that are stackable and can hold the short chubby bottles AND longnecks... I have found many crates, some beautiful, some affordable and just many but they were all missing something...
Requirements:
Here was my requirement list:
- Must be under 10$ each.
- Must look like a traditional crate (rules out the solid walled box's some people call crates).
- Must hold 24 bottles of the short chubby bottles AND longnecks.
- Must be stack-able.
- Must be simple enough to make with a Black and Decker Matrix (only because that is what I own).
- Must be made of rot/pest resistant materials.
Cost Breakdown:
I achieved all requirements and the final cost comes to
$1.480 - Cedar Wooden Picket (3.5"x.5"x6') - x3 -- $ 5.92
$0.500 - Wood Glue (Estimate) ------------------ $ 0.50
$0.021 - 2.0" Outdoor Wood Screws - x72 ------- $ 1.51
Total ------------------------------------------ $ 6.45
Design:
So then I set out designing...
My inspiration came from here. But I don't have a table saw or we'll trained termites... so I needed a different, more simple design.
I know Solidworks so like any good engineer I made it in Solidworks first. The next few images show what I came up with.
I chose to offset the "flooring" to help prevent moisture build up in long term storage. Notice the corner offsets which allow the crate to stack.
There is enough separation to allow dividers to be placed. I intended to utilize cardboard. But since the crates are useful without the dividers that is a secondary priority and I will work on that when I have completed the other crates.
Note: I chose to make those offsets go up instead of down. This caused less stresses to exist in the wood according to Solidworks. When I had them down, the force from the crate and those stacked on top all focused on the four corners. Now its still mostly in the corners, but the sidewalls help spread it out.
Electrolight
.
.
.


") .
.